Articles
How To Store Homemade Pasta Dough
Modified: December 7, 2023
Learn the best methods for storing your homemade pasta dough to keep it fresh and delicious. Find helpful articles on proper storage techniques.
(Many of the links in this article redirect to a specific reviewed product. Your purchase of these products through affiliate links helps to generate commission for Storables.com, at no extra cost. Learn more)
Introduction
Homemade pasta is a true culinary delight. The delicate texture, the rich flavor, and the satisfaction of creating something from scratch make it a favorite among pasta enthusiasts. Making pasta from scratch is a labor of love, and it takes time and effort to achieve the perfect dough consistency.
Once you have mastered the art of making homemade pasta dough, you may find yourself with leftover dough that you want to store for later use. Fortunately, storing homemade pasta dough is simple and allows you to enjoy fresh pasta whenever you desire without the hassle of making it from scratch each time.
In this article, we will guide you through the process of properly storing homemade pasta dough. From the right equipment to the correct steps, we will ensure that your pasta dough stays fresh and ready for future cooking endeavors.
Key Takeaways:
- Store homemade pasta dough in an airtight container, labeled with the date, and covered with plastic wrap to maintain freshness. Refrigerate for 2-3 days or freeze for up to 1 month for future use.
- Properly mixed, kneaded, rested, shaped, and stored homemade pasta dough ensures convenience and deliciousness for future pasta dishes. Enjoy the flexibility of having fresh pasta readily available.
Read more: How To Store Pasta Dough
Equipment Needed
Before you can start storing your homemade pasta dough, it’s essential to gather the necessary equipment. Here are the items you’ll need:
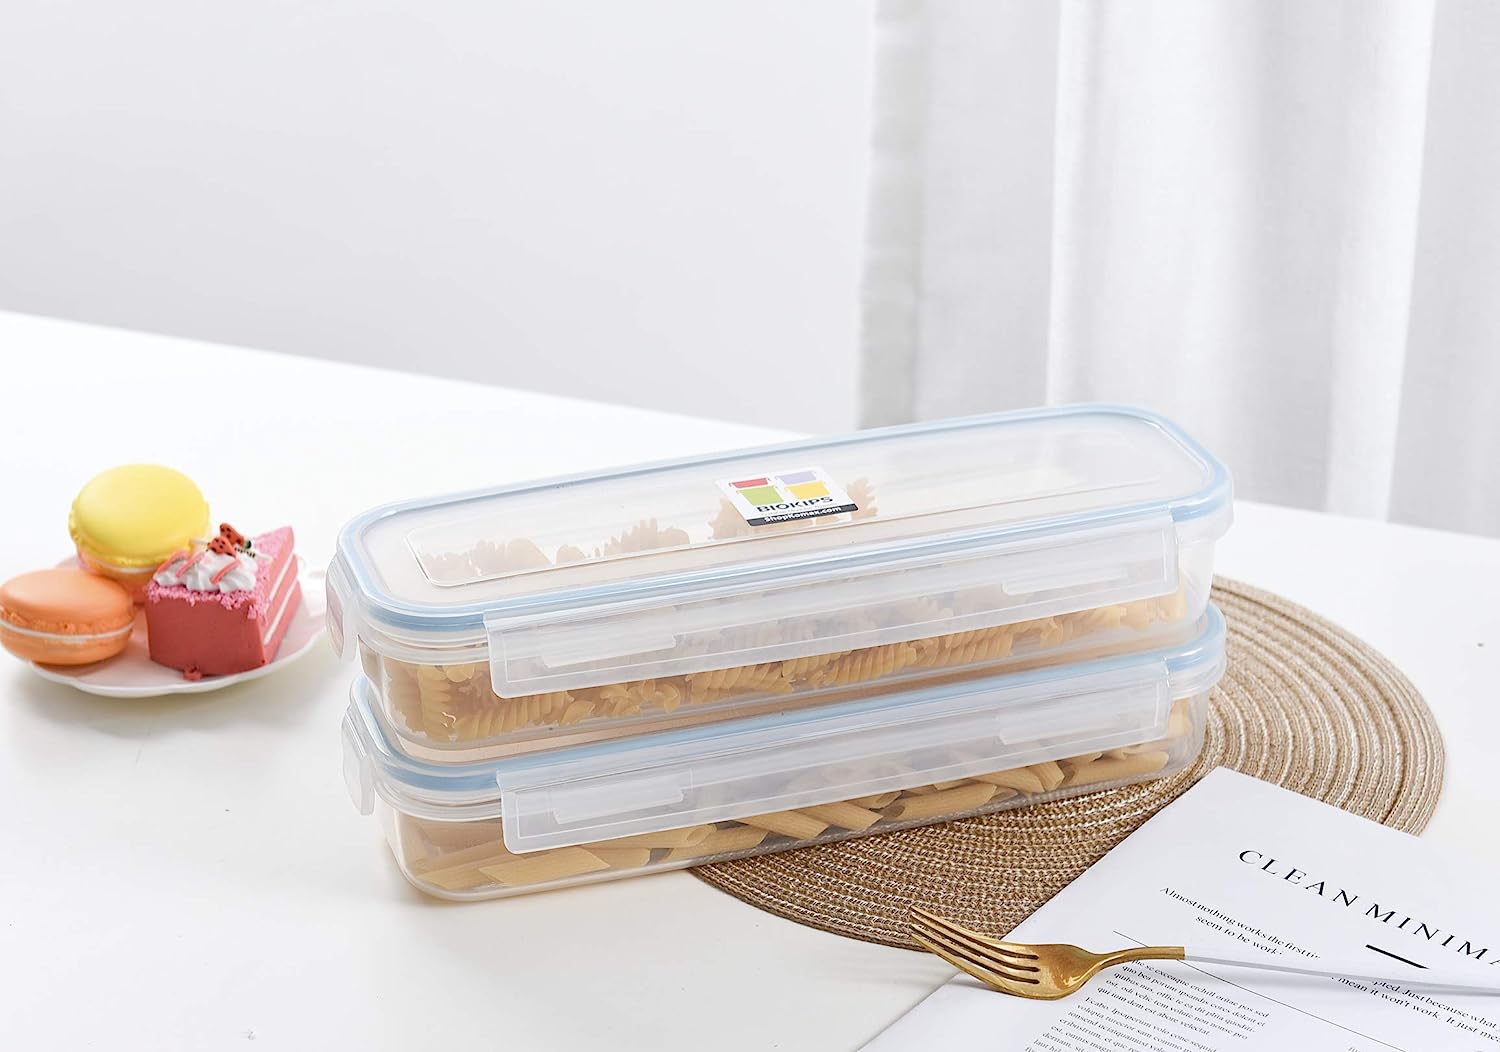
- Airtight Container: Choose a container that is large enough to accommodate your pasta dough. It should have a secure lid to prevent air and moisture from entering.
- Plastic Wrap: This will be used to cover the dough before placing it in the airtight container.
- Label or Marker: It’s important to label your storage container with the date so you can easily track the freshness of the dough.
- Refrigerator or Freezer: Depending on your storage preference, you will need either a refrigerator or a freezer to keep your pasta dough fresh.
Having these tools on hand will ensure that you can store your homemade pasta dough properly and maintain its quality over time.
Ingredients
When it comes to storing homemade pasta dough, there are no additional ingredients required. The ingredients you used to make the dough initially will be the same ones you’ll use for storage. Here’s a quick reminder of the ingredients needed to make homemade pasta dough:
- All-Purpose Flour: For the best results, use high-quality all-purpose flour.
- Eggs: Fresh eggs are essential to provide structure and richness to the dough.
- Salt: A pinch of salt enhances the flavor of the pasta dough.
- Water: Depending on the recipe, you may need a small amount of water to bring the dough together.
Ensure that your ingredients are fresh and of good quality to produce the best pasta dough and facilitate proper storage.
Step 1: Mixing the Dough
The first step in storing homemade pasta dough is properly mixing the ingredients to create a smooth and elastic dough. Follow these steps to mix the dough:
- Measure the ingredients: Begin by measuring the flour, eggs, salt, and water according to your recipe. It’s essential to follow the recipe’s measurements precisely for the perfect dough consistency.
- Create a well: In a large mixing bowl, make a well in the center of the flour. This will be the space where you’ll incorporate the wet ingredients.
- Add the wet ingredients: Crack the eggs into the well in the flour and add the salt. Gradually incorporate the flour into the eggs using a fork or your fingertips.
- Knead the dough: Once the ingredients are roughly combined, use your hands to knead the mixture until it forms a cohesive dough. If the dough feels too dry, add small amounts of water until it reaches the right consistency.
- Continue kneading: Transfer the dough onto a clean and lightly floured surface. Continue kneading for about 5-10 minutes or until the dough is smooth, elastic, and springs back when gently pressed with your finger.
Remember not to overwork the dough, as this can result in tough pasta. The goal is to mix the ingredients just enough to form a cohesive dough.
Once you have properly mixed the dough, you’re ready to move on to the next step: kneading the dough.
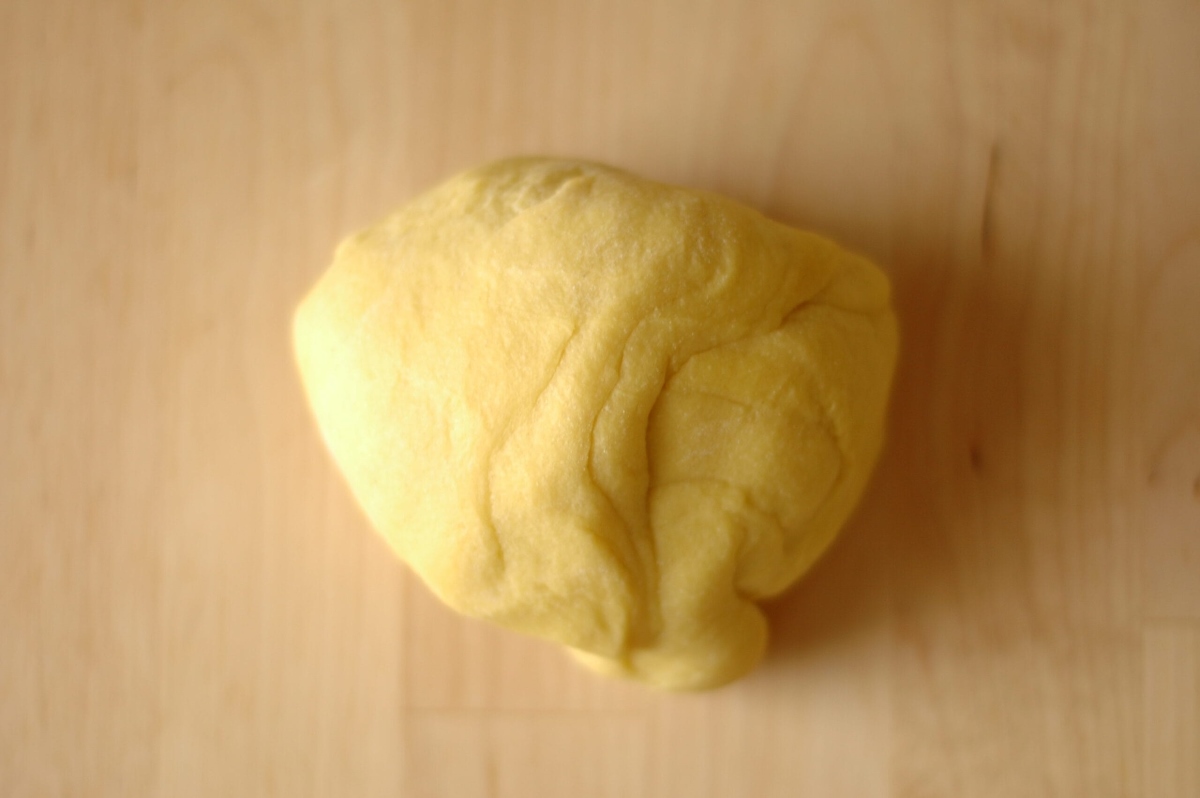
Step 2: Kneading the Dough
Kneading is a crucial step in the pasta dough-making process. It helps develop the gluten, which gives the dough its elasticity and structure. Follow these steps to knead the dough:
- Dust the work surface: Lightly dust your work surface with flour. This will prevent the dough from sticking.
- Shape the dough: Take the mixed dough from the previous step and shape it into a ball.
- Start kneading: With the heel of your hand, firmly push the dough away from you, folding it over onto itself. Rotate the dough a quarter turn and repeat the process.
- Continue kneading: Repeat the pushing, folding, and rotating process for about 5-10 minutes. The dough should become smoother and more elastic with each knead.
- Check the consistency: To check if the dough is properly kneaded, press your finger into the center. If it springs back, the dough is ready. If it leaves a dent, continue kneading for a few more minutes.
Remember, the key to successful kneading is to apply enough pressure to develop the gluten but not so much that the dough becomes tough. Take breaks during kneading if needed to avoid overexerting your hands.
Once you have finished kneading the dough, it’s time to let it rest before shaping and storing it.
After making homemade pasta dough, wrap it tightly in plastic wrap and store it in the refrigerator for up to 2 days. For longer storage, freeze the dough in an airtight container for up to 3 months.
Read more: How To Store Homemade Dough
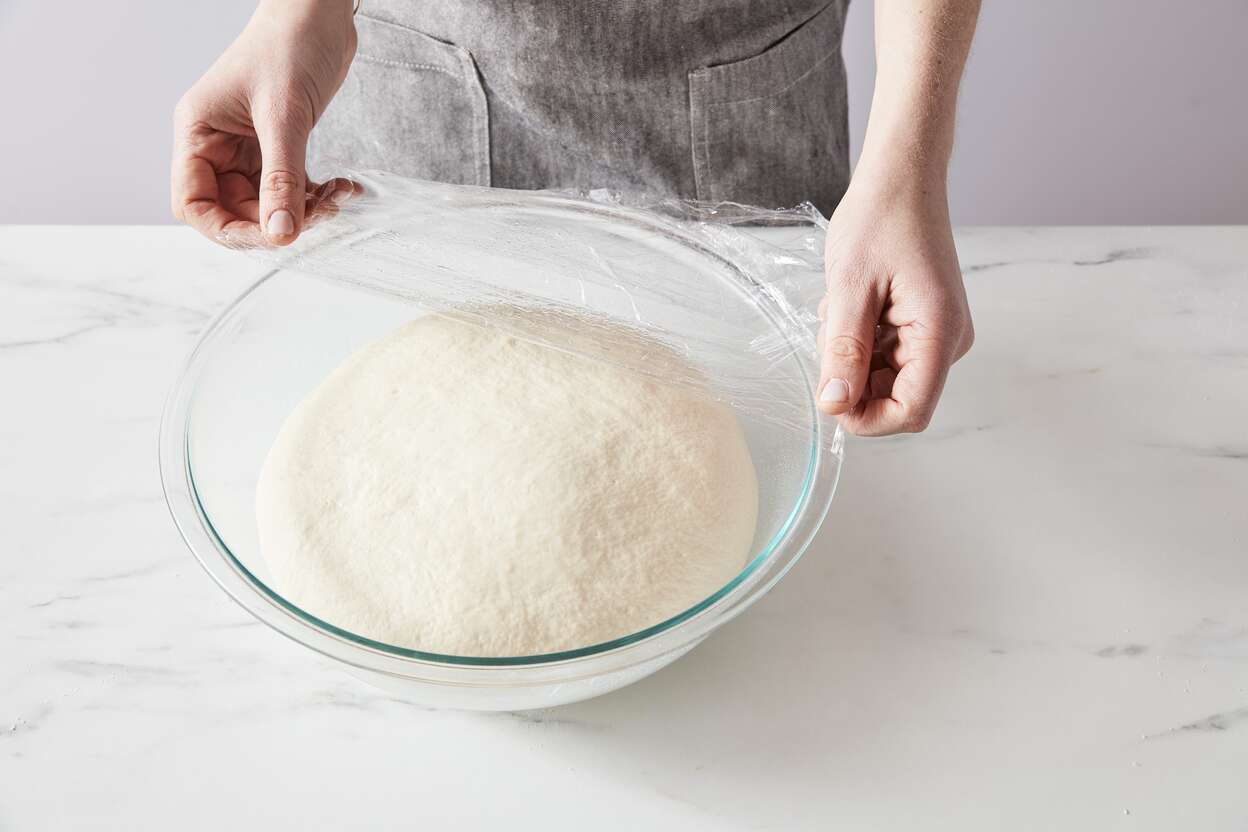
Step 3: Resting the Dough
Resting the dough is an important step in the pasta-making process. It allows the gluten to relax and the moisture to distribute evenly, resulting in a more pliable dough. Follow these steps to rest the dough:
- Shape the dough: After kneading, shape the dough into a ball and flatten it slightly with your hands.
- Wrap with plastic wrap: Wrap the dough tightly with plastic wrap to prevent it from drying out.
- Let it rest: Allow the dough to rest at room temperature for about 30 minutes to 1 hour. This resting period allows the gluten to relax, making the dough easier to roll out.
During the resting period, you can use this time to clean up your workspace and prepare any sauces or fillings for your pasta dish. The rest period is crucial for achieving the best texture and elasticity in your pasta dough.
Now that the dough has had time to rest, you’re ready to move on to the next step: shaping the dough.
Step 4: Shaping the Dough
Shaping the pasta dough is where you can let your creativity shine. There are various ways to shape the dough, depending on the type of pasta you want to make. Follow these general steps to shape the dough:
- Prepare the workspace: Lightly dust your work surface with flour to prevent the dough from sticking.
- Divide the dough: If you have a large batch of dough, divide it into smaller portions to make it easier to work with.
- Roll out the dough: Take one portion of the dough and flatten it with a rolling pin, starting from the center and working your way out. Roll the dough to your desired thickness.
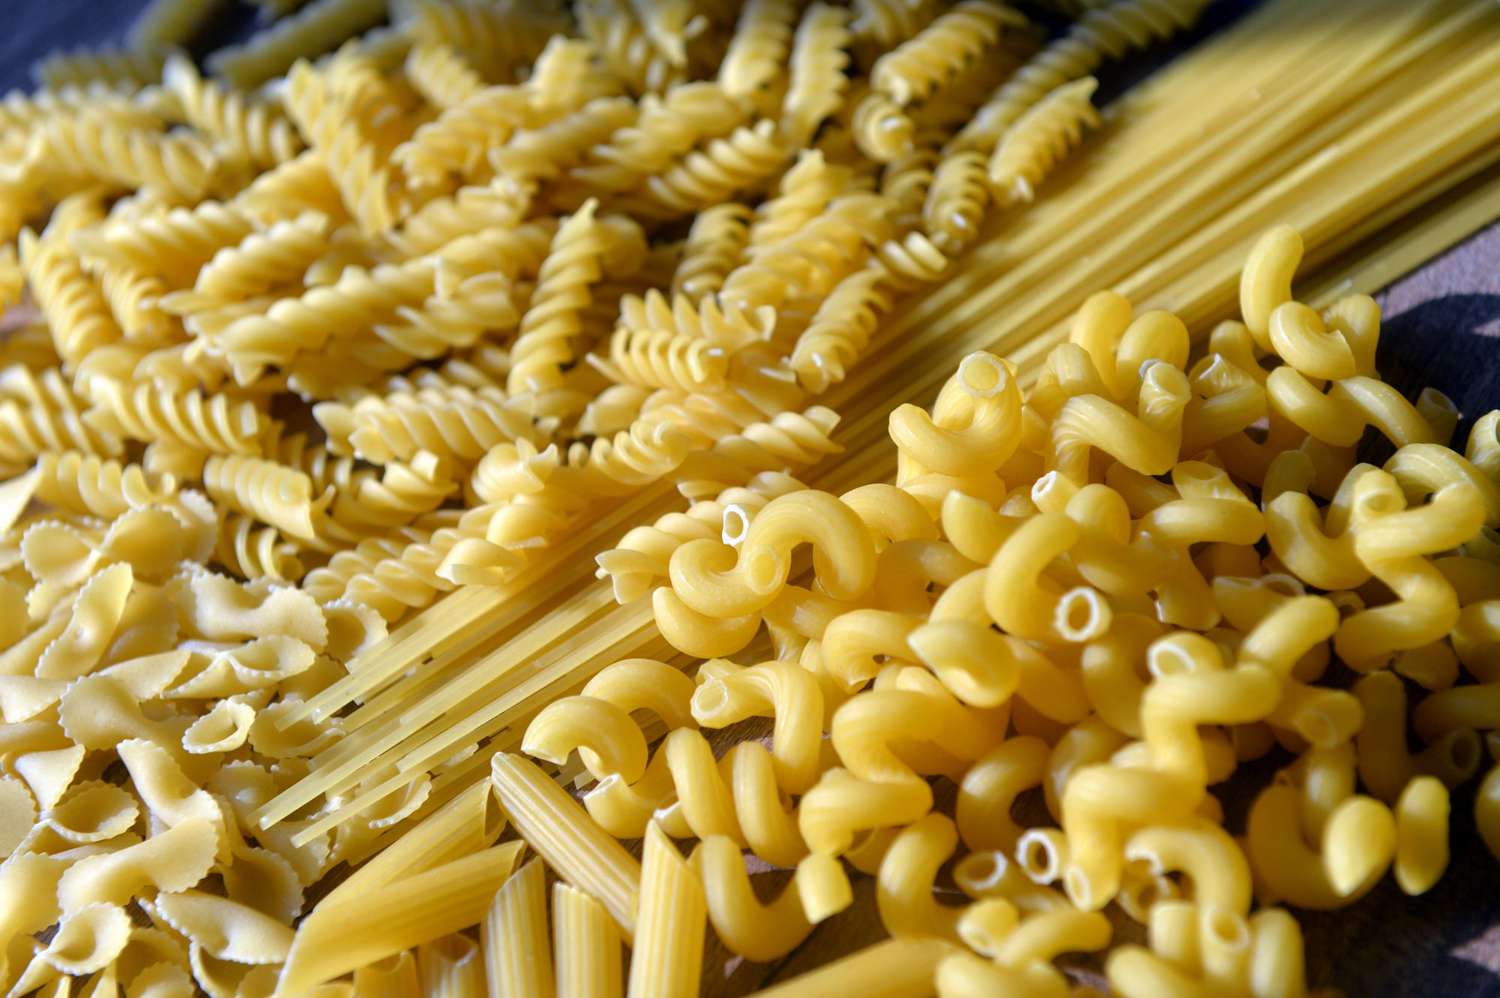
- Choose your shape: Use a pasta cutter, knife, or cookie cutter to cut the dough into the desired shape. You can make classic shapes such as spaghetti, fettuccine, or ravioli, or get creative and experiment with unique designs.
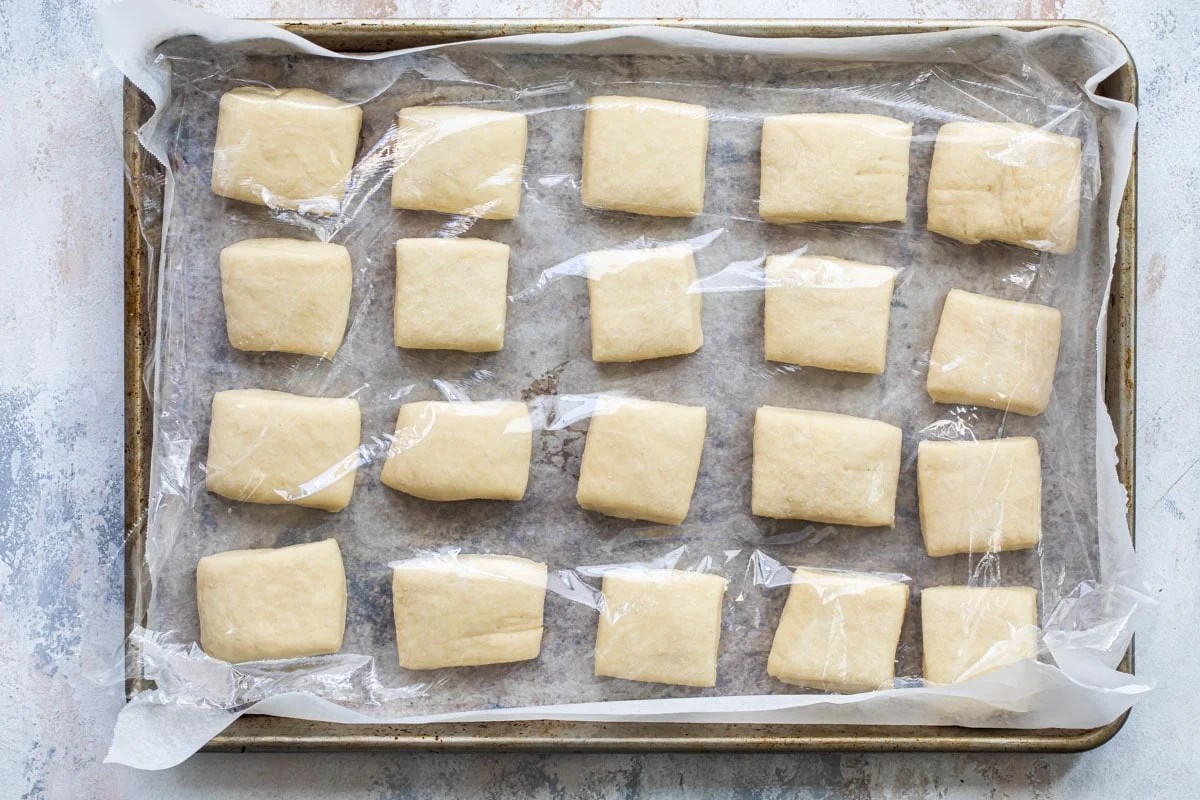
- Arrange the shaped pasta: Place the shaped pasta on a lightly floured surface or a baking sheet lined with semolina to prevent sticking.
As you shape the dough, avoid letting it dry out by covering any portions that you’re not currently working on with a clean kitchen towel or plastic wrap.
Once you have shaped the dough to your liking, it’s time to move on to the final step: storing the pasta dough.
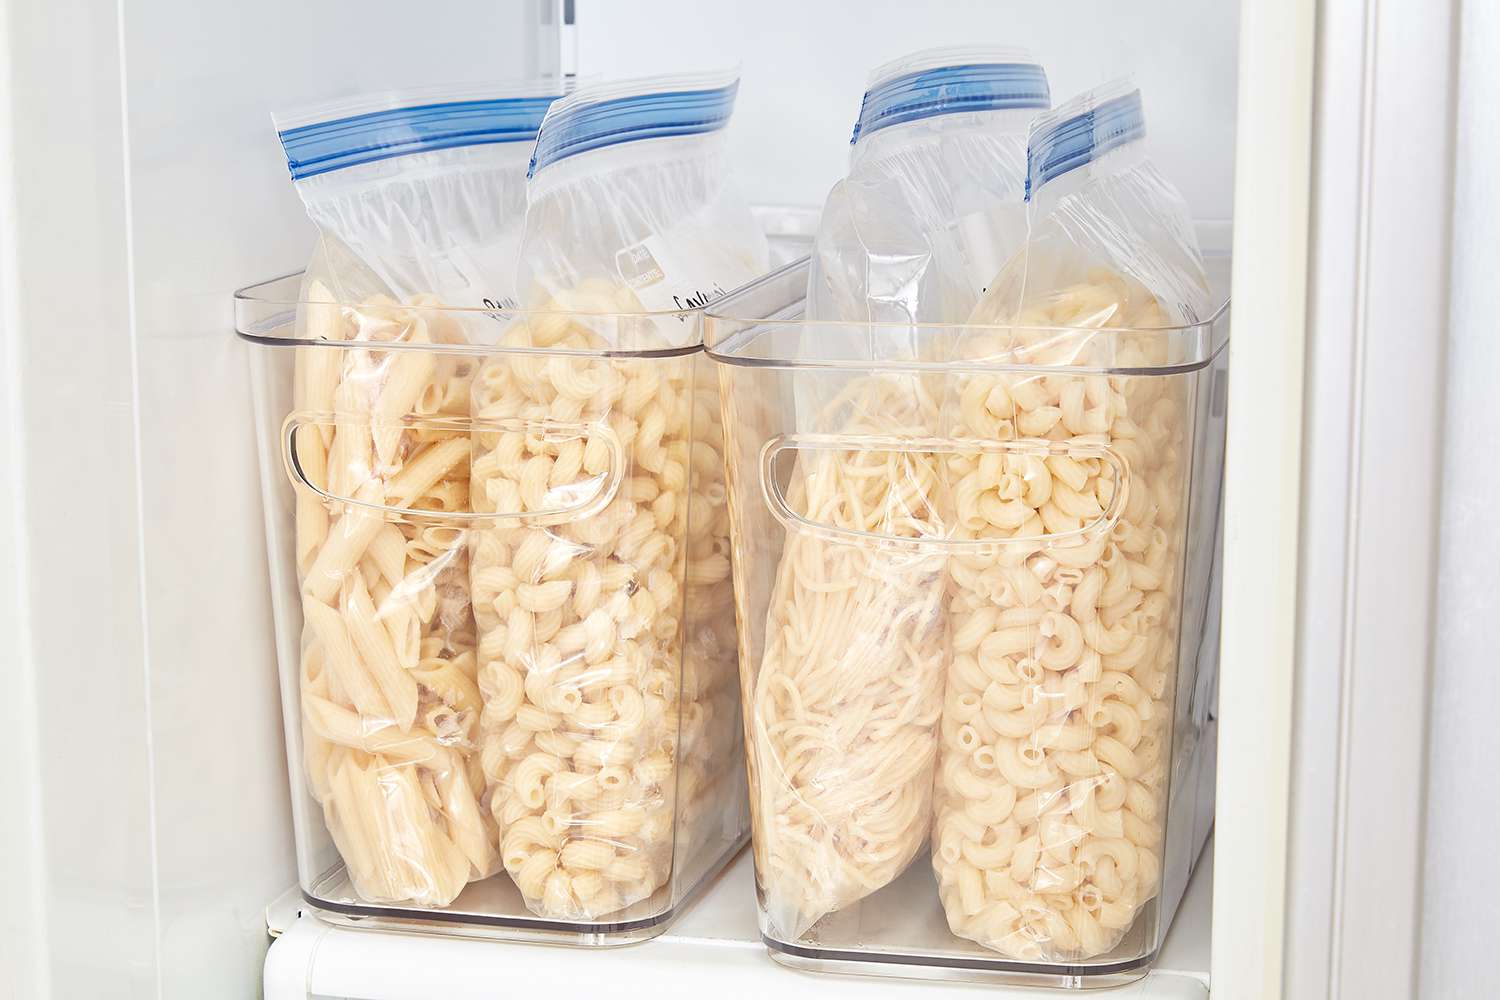
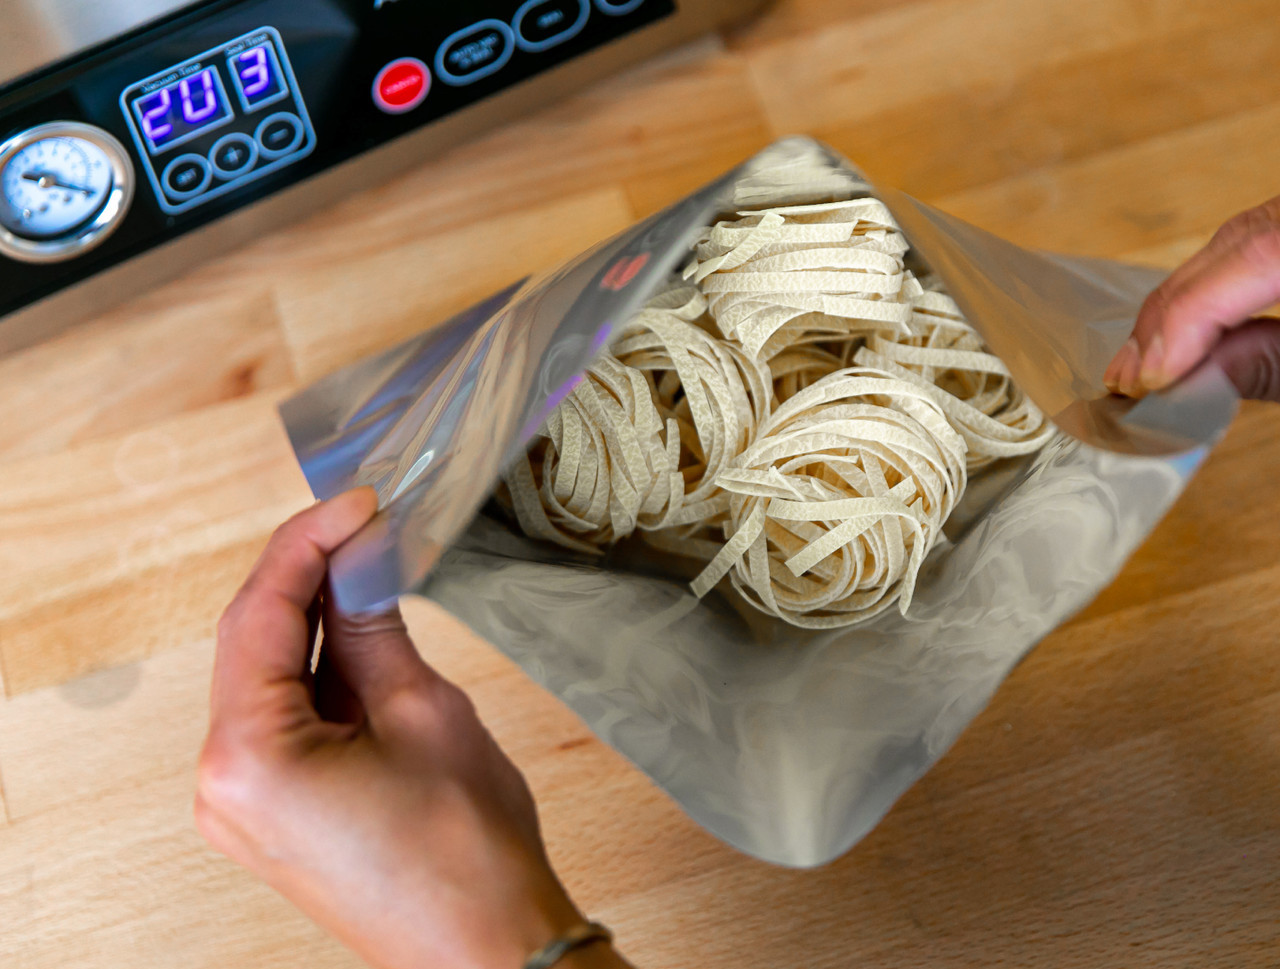
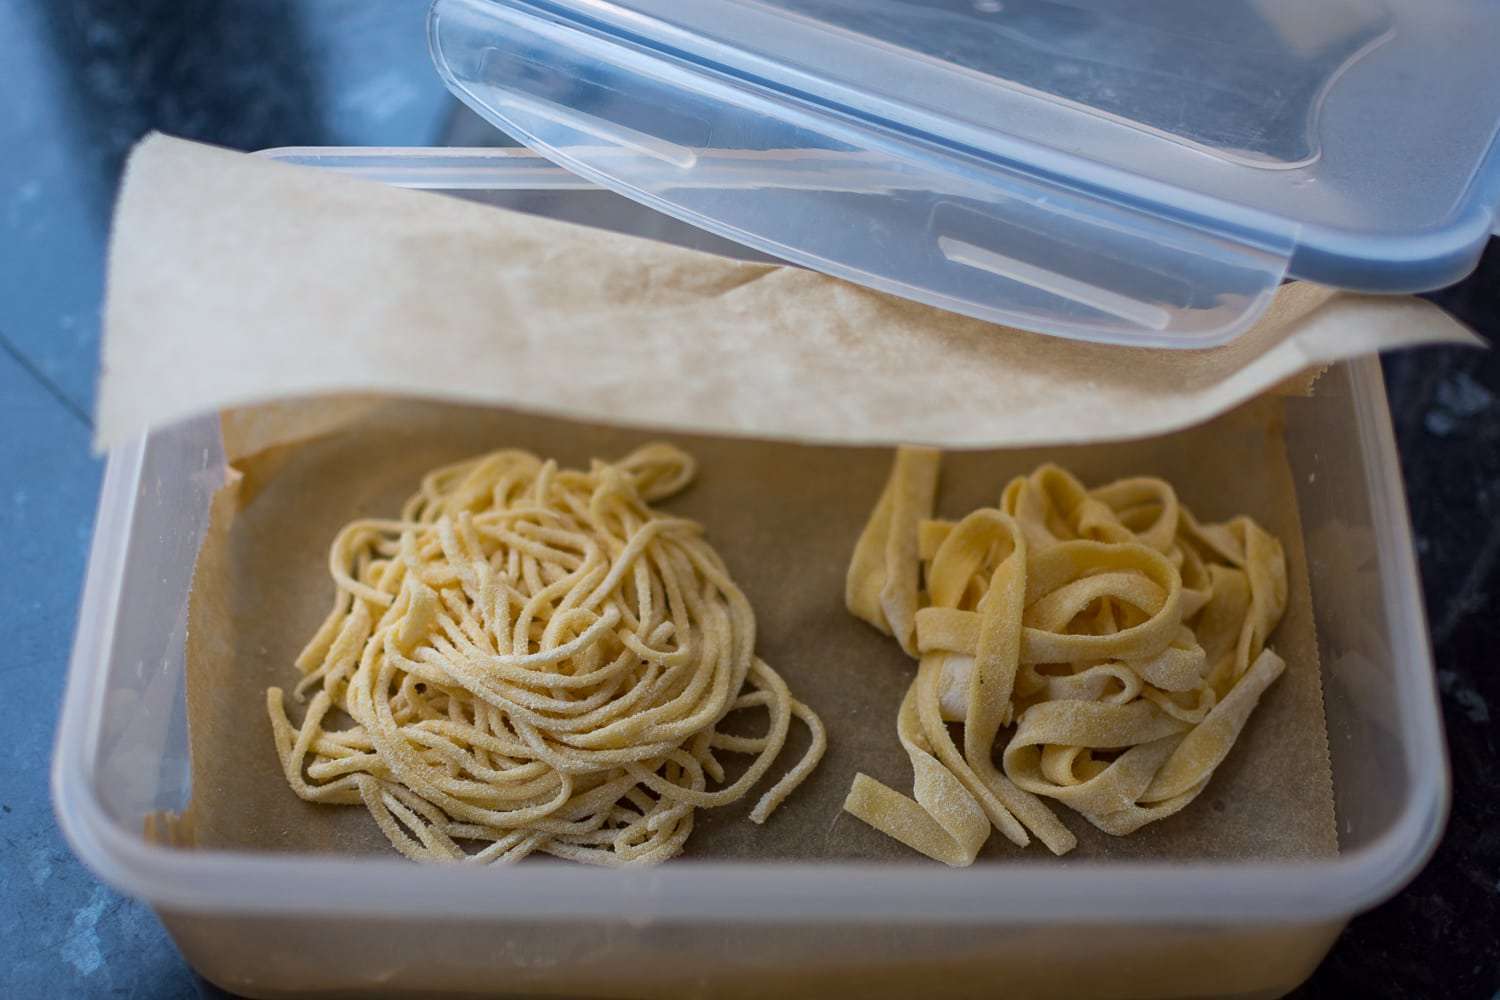
Step 5: Storing the Dough
After all the hard work of making and shaping your homemade pasta dough, it’s time to store it properly to ensure its freshness. Follow these steps to store your pasta dough:
- Prepare the storage container: Choose an airtight container that is large enough to hold the dough without squishing it. Make sure the container is clean and dry before use.
- Place the dough in the container: Gently transfer the shaped dough into the container, arranging it in a single layer. Avoid stacking or overcrowding the dough pieces, as this can cause them to stick together.
- Cover with plastic wrap: Before sealing the container, cover the dough with a layer of plastic wrap. This extra layer will help prevent moisture loss and maintain the dough’s freshness.
- Label and date the container: Using a label or marker, write the current date on the container. This will help you keep track of the dough’s freshness, as homemade pasta dough typically stays fresh for up to 2-3 days in the refrigerator and up to 1 month in the freezer.
- Store in the refrigerator or freezer: Depending on your intended use, place the airtight container in the refrigerator or freezer. If storing in the refrigerator, use the dough within a few days. If storing in the freezer, ensure it remains frozen until ready to use.
When you’re ready to use the stored pasta dough, simply remove it from the refrigerator or freezer and let it come to room temperature before proceeding with your recipe.
By following these steps, you can enjoy the convenience of having homemade pasta dough readily available whenever you crave a delicious pasta dish.
Conclusion
Storing homemade pasta dough allows you to enjoy the flexibility and convenience of having fresh pasta readily available whenever you desire. With the right equipment and proper techniques, you can ensure that your pasta dough stays fresh and maintains its quality over time.
From mixing and kneading the dough to shaping and storing it, each step in the process plays a significant role in achieving the perfect pasta dough. Taking the time to rest the dough and properly store it will ensure that you can enjoy homemade pasta without the need for extensive preparation each time.
Remember to use an airtight container, cover the dough with plastic wrap, and label it with the date for easy tracking. Whether stored in the refrigerator for a few days or in the freezer for longer-term storage, your pasta dough can be safely kept until you’re ready to indulge in a delicious pasta creation.
So, the next time you find yourself with leftover homemade pasta dough, don’t let it go to waste. Follow the steps outlined in this article to properly store your dough and savor the joy of having fresh pasta at your fingertips. Whether you’re making a classic spaghetti dish or exploring creative pasta shapes, homemade pasta dough stored properly will always enhance your culinary experience.
Frequently Asked Questions about How To Store Homemade Pasta Dough
Was this page helpful?
At Storables.com, we guarantee accurate and reliable information. Our content, validated by Expert Board Contributors, is crafted following stringent Editorial Policies. We're committed to providing you with well-researched, expert-backed insights for all your informational needs.


0 thoughts on “How To Store Homemade Pasta Dough”