Articles
How To Store Homemade Pasta Noodles
Modified: February 23, 2024
Learn the best techniques for storing your homemade pasta noodles with our helpful articles. Keep your pasta fresh and delicious for longer!##
(Many of the links in this article redirect to a specific reviewed product. Your purchase of these products through affiliate links helps to generate commission for Storables.com, at no extra cost. Learn more)
Introduction
Homemade pasta noodles are a delightful and versatile food that can be enjoyed in various dishes, from classic Italian recipes to creative fusion creations. Making your own pasta noodles from scratch allows you to tailor the flavors and textures to your liking, ensuring a truly personalized culinary experience.
However, if you’ve ever attempted to make homemade pasta noodles, you’ll know that they require time and effort to prepare. So, it’s essential to store any unused or extra noodles properly to maintain their freshness and quality.
In this article, we’ll guide you through the process of storing homemade pasta noodles, whether they’re fresh or cooked. We’ll cover the necessary equipment and ingredients, step-by-step instructions on making the dough, rolling it out, cutting and shaping the noodles, and finally, storing them for future use.
By understanding the right techniques and following our tips, you’ll be able to enjoy homemade pasta noodles whenever you desire, saving time and effort in the kitchen while still savoring the deliciousness of your creations.
Key Takeaways:
- Store homemade pasta noodles in airtight containers or plastic bags to maintain freshness. Consider using a pasta drying rack for air-drying before storage to preserve quality and flavor.
- When storing cooked pasta noodles, cool them, coat with oil or sauce, and portion into airtight containers. Label and date for easy tracking, and freeze for extended storage.
Read more: How To Store Homemade Pasta
Equipment and Tools Needed
To successfully make and store homemade pasta noodles, it’s crucial to have the right equipment and tools on hand. Here are the essentials you’ll need:
- Countertop or work surface: A clean and spacious countertop or work surface is essential for kneading and rolling out the pasta dough.
- Mixing bowls: You’ll need a large mixing bowl to combine the ingredients and a smaller bowl to beat the eggs.
- Fork or whisk: A fork or whisk will come in handy for beating the eggs and incorporating them into the flour mixture.
- Pasta machine or rolling pin: To roll out the pasta dough into thin sheets, you can use either a pasta machine or a rolling pin. A pasta machine helps achieve consistent thickness and saves time, while a rolling pin allows for a more hands-on approach.
- Sharp knife or pizza cutter: For cutting the rolled-out dough into noodles, a sharp knife or a pizza cutter is necessary. Ensure they are clean and sharp to achieve precise cuts.
- Pasta drying rack or clean towel: If you plan to dry the pasta noodles before storing, a pasta drying rack is ideal. Alternatively, you can lay the noodles on a clean towel to air dry.
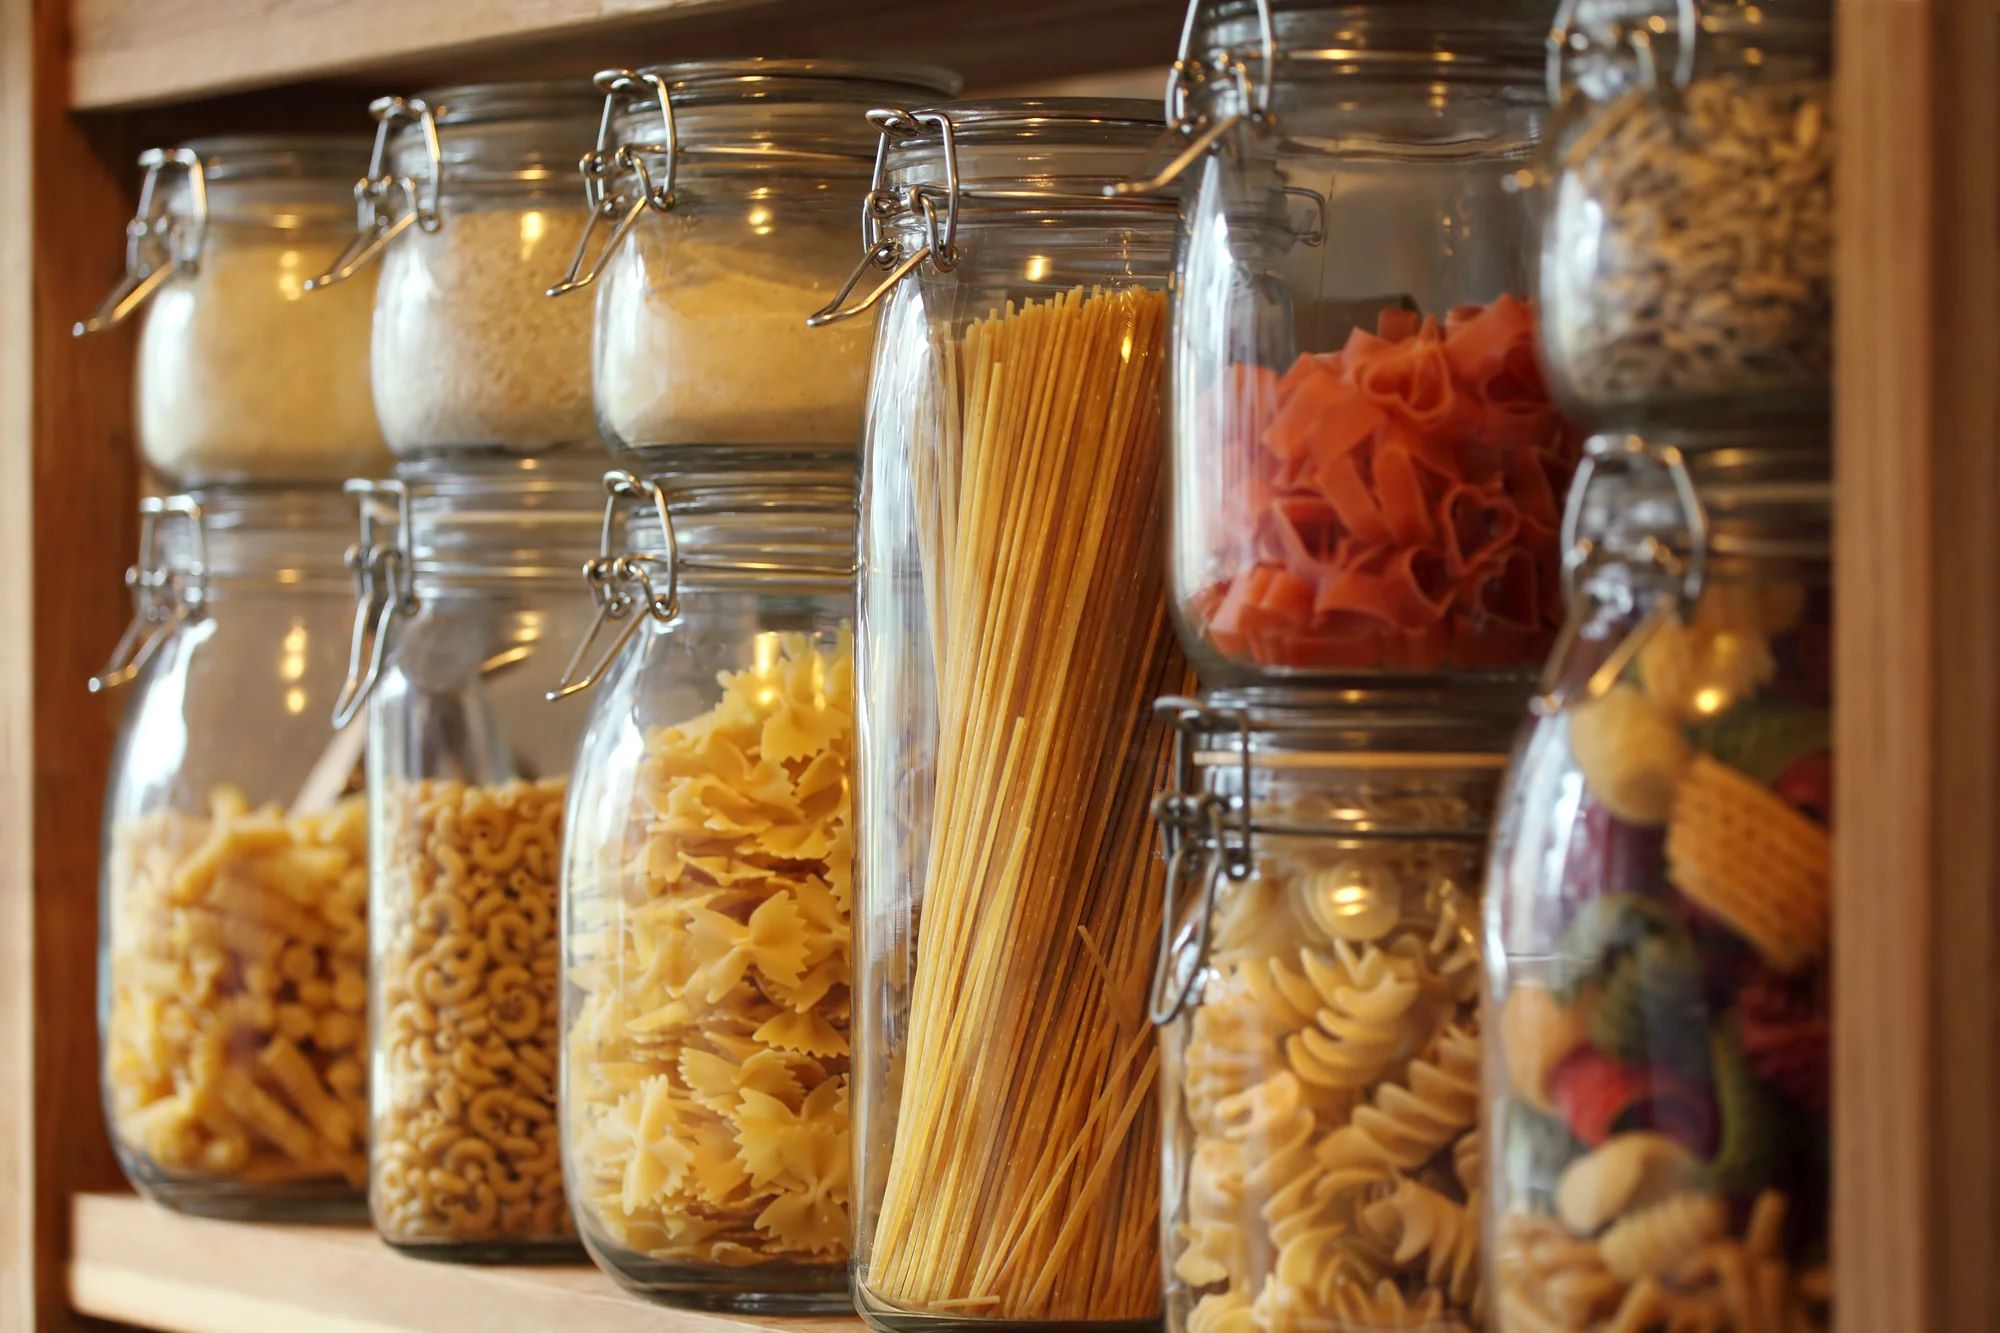
- Airtight containers or plastic bags: To store the pasta noodles, you’ll need airtight containers or plastic bags that can adequately protect them from moisture and air.
Having these equipment and tools ready before starting your homemade pasta noodle adventure will ensure a smooth and enjoyable cooking experience. It’s always best to gather everything you need beforehand to avoid any last-minute scrambling or interruptions in the cooking process.
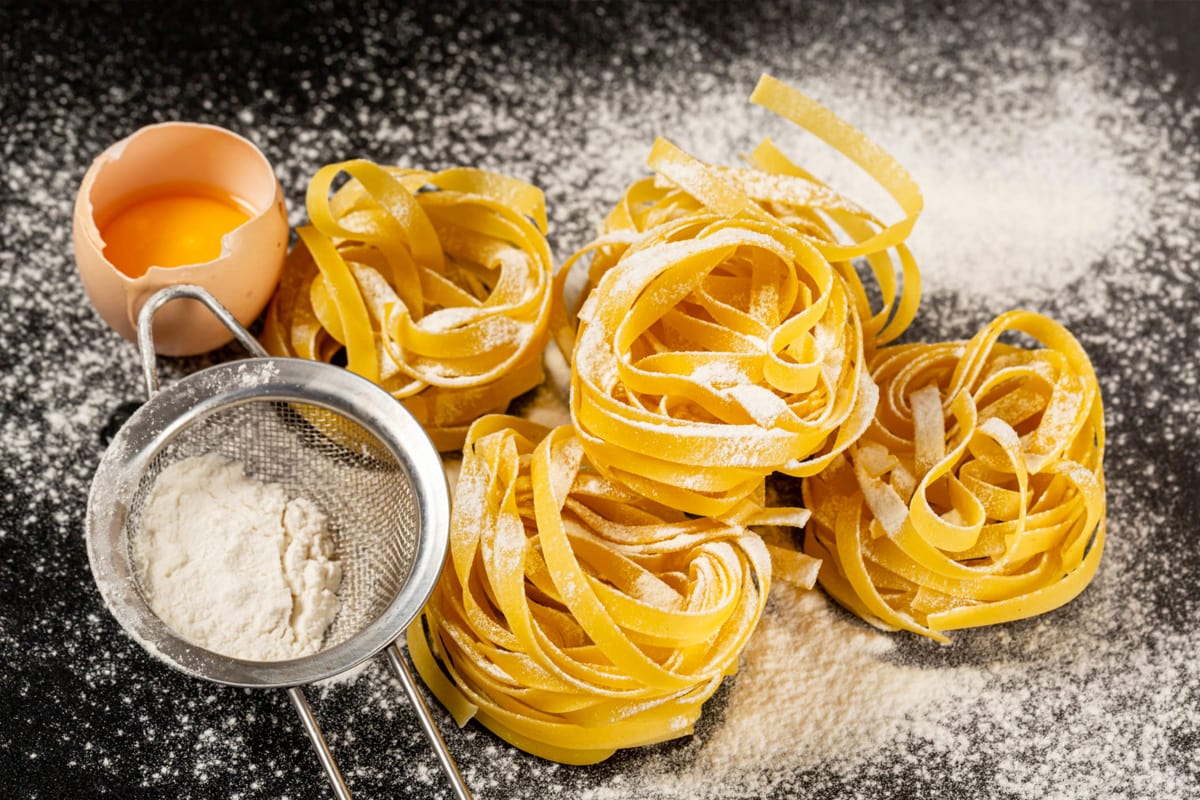
Ingredients for Homemade Pasta Noodles
To create delicious homemade pasta noodles, you’ll need just a few simple ingredients. Here’s what you’ll need:
- All-purpose flour: Start with good quality all-purpose flour, which has the right amount of protein to give the pasta dough structure.
- Eggs: Fresh eggs are crucial for both the flavor and binding properties of the pasta dough. Look for high-quality eggs from a trusted source.
- Salt: Adding a pinch of salt enhances the flavor of the pasta dough. Use fine-grain salt to ensure it incorporates evenly into the dough.
- Water (optional): While eggs are typically sufficient to bind the dough, you may add a tablespoon or two of water if needed to achieve the desired consistency.
- Flour for dusting: To prevent the dough from sticking, have some extra flour on hand for dusting the work surface and rolling pin.
These simple ingredients come together to create a smooth and elastic pasta dough that can be transformed into various noodle shapes, from classic spaghetti and fettuccine to unique shapes like farfalle or pappardelle. The quality of the ingredients is essential, so be sure to use fresh eggs and good-quality flour for the best results.
Remember, pasta dough is highly versatile, and you can experiment with different flavors by adding herbs, spices, or vegetable purees to the dough. However, it’s essential to strike a balance so that the flavors complement the dish you’re preparing and don’t overpower the overall taste.
With these ingredients ready, you’re one step closer to creating your own delectable homemade pasta noodles. Let’s move on to the step-by-step instructions for making the pasta dough.
Step-by-step Instructions on Making Pasta Dough
Making pasta dough from scratch is a satisfying process that requires attention to detail. Follow these step-by-step instructions to create the perfect pasta dough:
- Measure the flour: Start by measuring the desired amount of all-purpose flour and place it in a large mixing bowl.
- Add salt: Add a pinch of salt to the flour and mix it well, ensuring even distribution of the salt throughout the flour.
- Create a well: Make a well in the center of the flour, creating a hollow space. This is where you’ll add the wet ingredients.
- Add the eggs: Crack the eggs into a separate bowl and beat them lightly with a fork or whisk. Slowly pour the beaten eggs into the well created in the flour.
- Combine the ingredients: Using a fork or your fingers, gradually mix the flour into the eggs, incorporating a small amount of flour at a time. Continue mixing until the dough starts to come together.
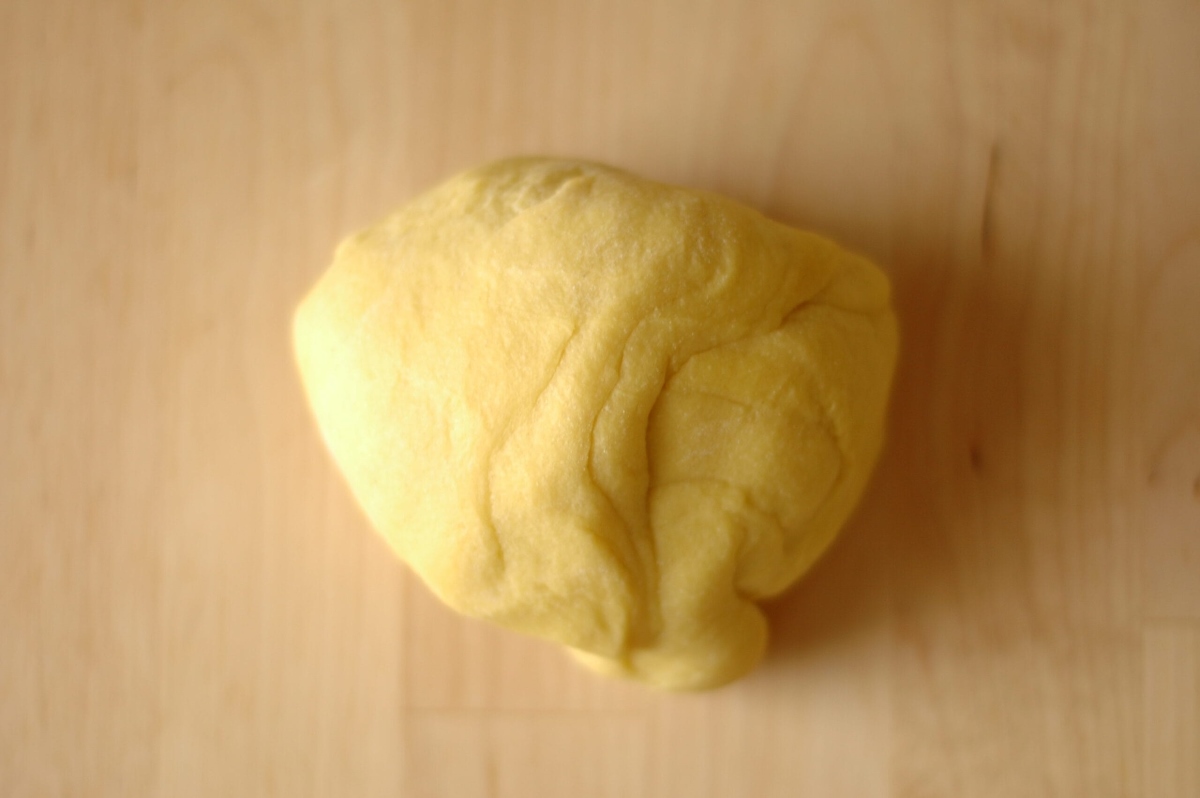
- Knead the dough: Transfer the dough onto a lightly floured work surface and begin kneading. Fold the dough over itself, pushing it away with the heel of your hand, then rotate it a quarter turn and repeat. Continue kneading for about 8-10 minutes or until the dough becomes smooth and elastic.
- Rest the dough: Wrap the dough in plastic wrap and let it rest at room temperature for at least 30 minutes. This allows the gluten to relax and makes the dough easier to roll out.
Following these step-by-step instructions will help you create a smooth and elastic pasta dough. Remember, patience and gentle handling are key when making pasta dough. Take your time with each step to ensure the best results.
Now that you have your pasta dough ready, it’s time to move on to rolling it out and cutting it into noodles. We’ll cover that in the next sections.
Resting and Rolling Out the Pasta Dough
After preparing the pasta dough, it’s important to allow it to rest before rolling it out. This resting period allows the gluten in the dough to relax and results in a more pliable and easier-to-work-with dough. Here’s what you need to do:
- Wrap the dough: Once the dough is kneaded, wrap it tightly in plastic wrap or cover it with a clean kitchen towel. Let it rest at room temperature for at least 30 minutes. This resting time allows the gluten in the dough to relax, making it easier to roll out.
- Prepare the work surface: Lightly dust your countertop or work surface with flour to prevent the dough from sticking. Additionally, ensure that you have enough space to roll out the dough into thin sheets.
- Divide the dough (optional): If you’re working with a large batch of dough, you may find it easier to work with smaller portions. Divide the rested dough into manageable pieces, keeping the remaining dough covered to prevent it from drying out.
- Flatten the dough: Take one portion of the dough and flatten it slightly with the palm of your hand. This helps make it easier to roll out evenly.
- Start rolling: Using a rolling pin or a pasta machine, begin rolling out the dough from the center, working towards the edges. Roll the dough into a thin and even sheet, rotating it occasionally to maintain an even thickness.
- Adjust thickness: Depending on the type of pasta you’re making, adjust the thickness of the sheet accordingly. For delicate noodles like angel hair, roll the dough thin. For thicker noodles like fettuccine or lasagna sheets, keep the dough slightly thicker.
- Dust with flour: As you roll out the dough, occasionally dust it with flour to prevent sticking. Be careful not to use too much flour as it can alter the texture and consistency of the pasta.
Remember to take your time while rolling out the dough. If using a pasta machine, gradually decrease the thickness setting as you roll the dough through multiple times until you achieve the desired thickness.
Once the pasta dough is rolled out, you can move on to cutting and shaping the noodles, which we’ll cover next.
After making homemade pasta noodles, let them dry for 12-24 hours, then store in an airtight container or resealable bag at room temperature for up to 2 weeks, or in the freezer for up to 8 months.
Read more: How To Store Homemade Noodles
Cutting and Shaping the Noodles
Now that your pasta dough is rolled out into thin sheets, it’s time to transform them into the desired noodle shapes. Here’s how you can cut and shape your homemade pasta noodles:
- Dust with flour: Lightly dust the rolled-out pasta sheets with flour to prevent sticking.
- Decide on the noodle shape: Determine the type of noodle shape you want to make. Some popular options include spaghetti, fettuccine, linguine, penne, or even unique shapes like bowties (farfalle) or tubes (rigatoni).
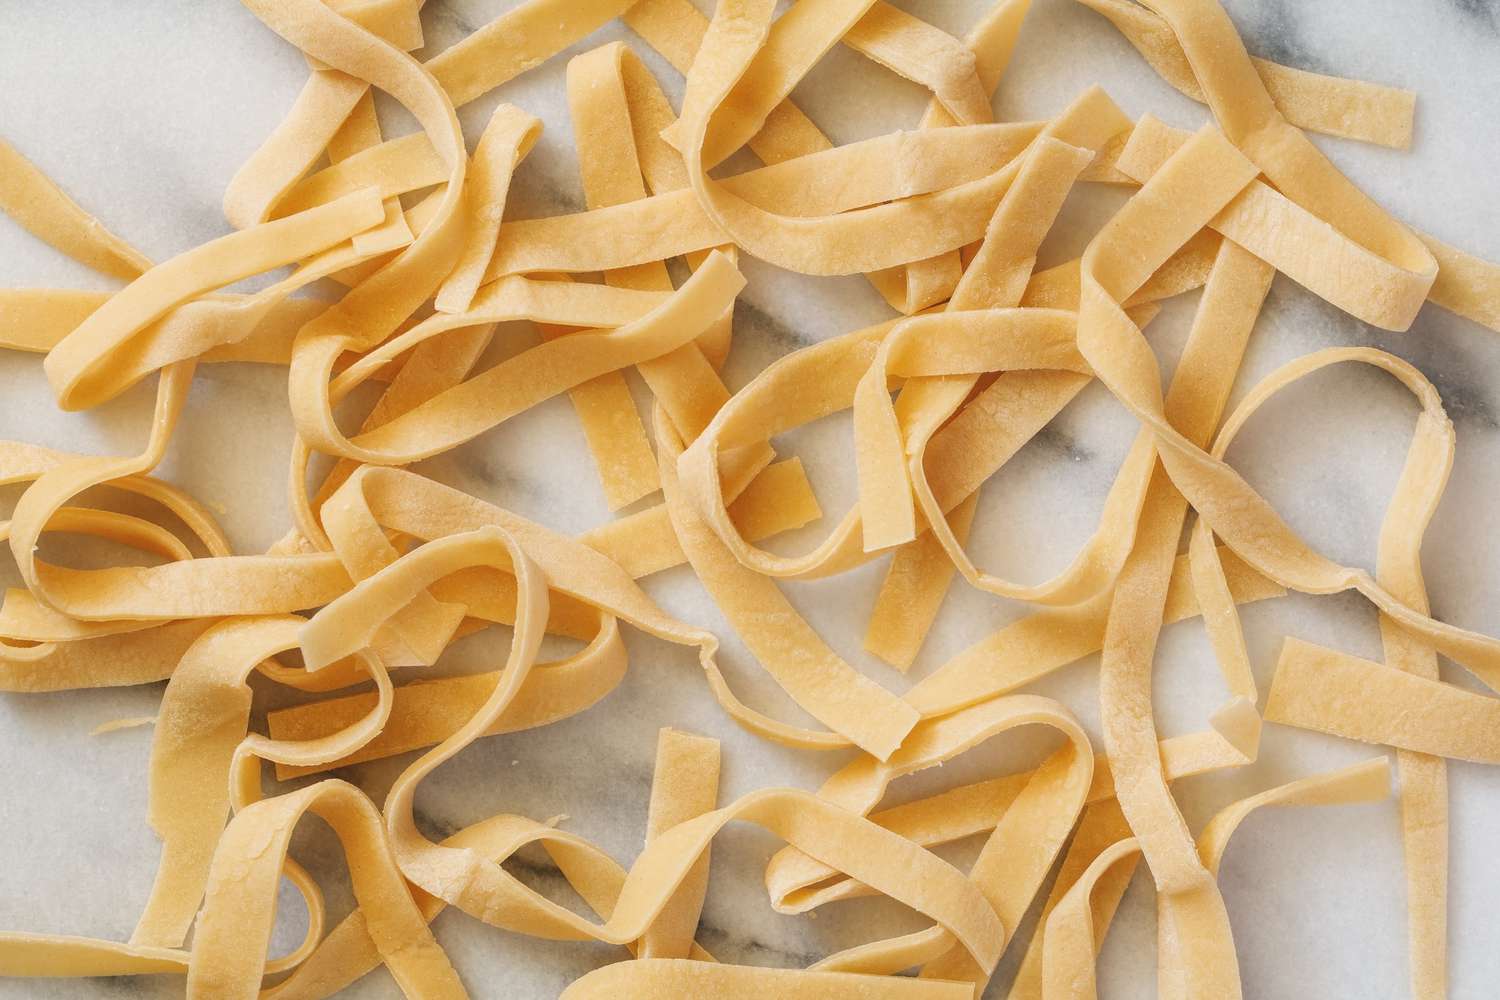
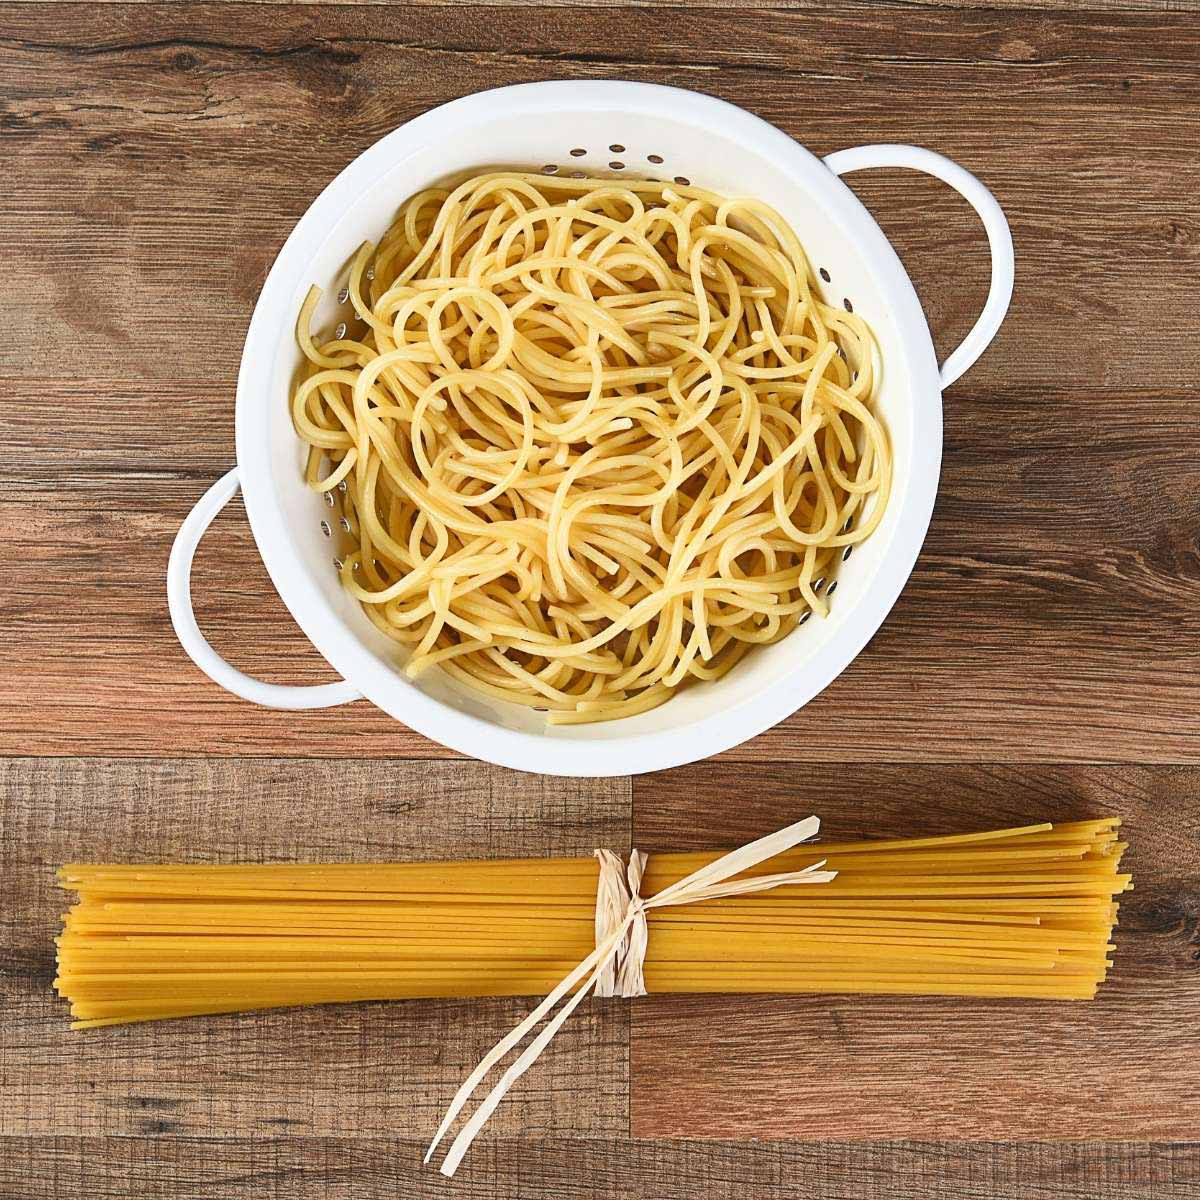
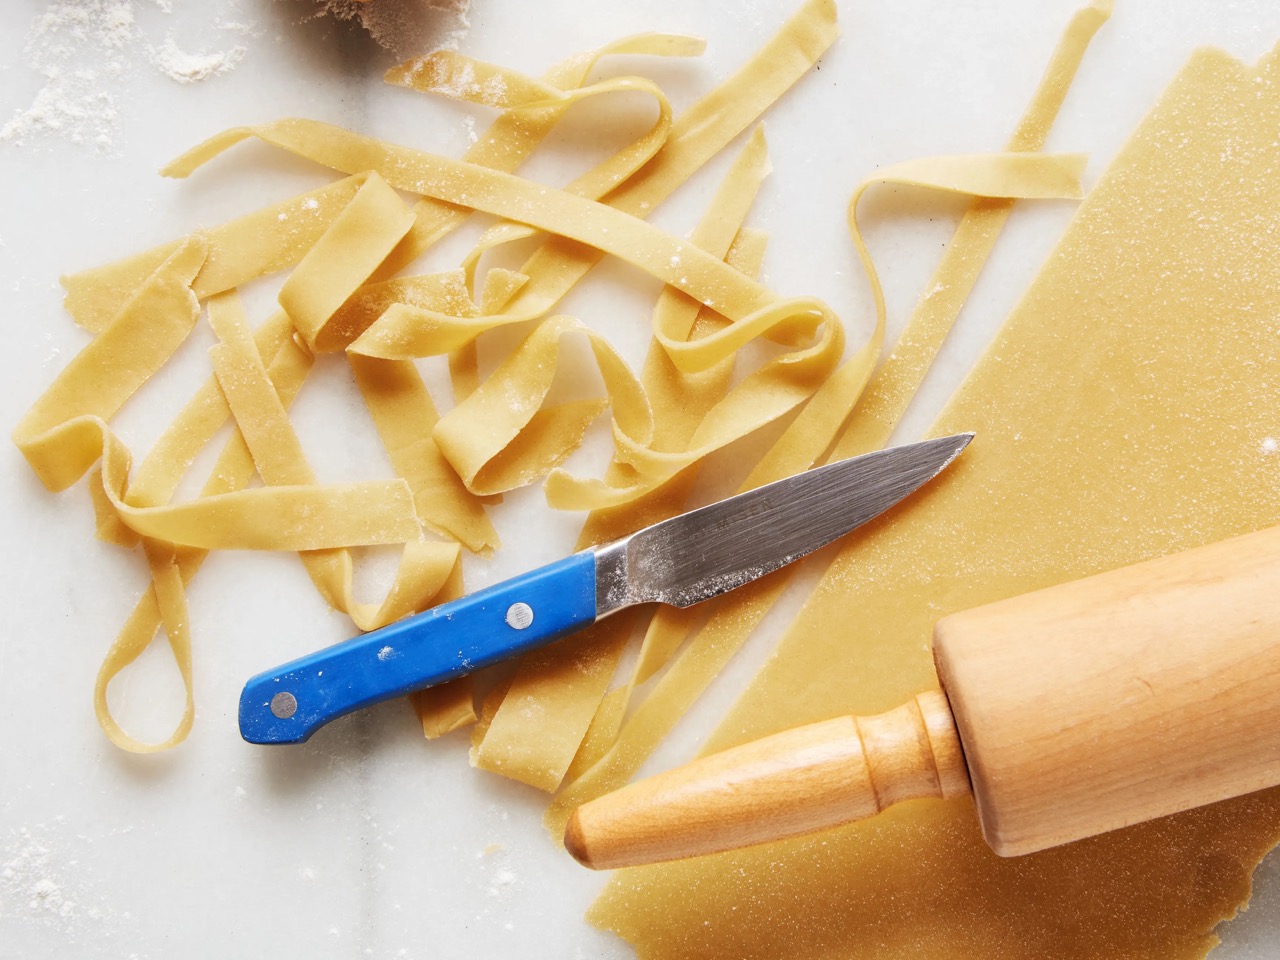
- For long noodles: For long, ribbon-like noodles such as spaghetti or fettuccine, loosely roll up the pasta sheet into a cylinder shape. Use a sharp knife or a pizza cutter to slice the cylinder into thin, even strips. Unroll the strips gently to separate the noodles.
- For flat noodles: To create wide, flat noodles such as pappardelle or lasagna, use a sharp knife to cut the pasta sheet into wide strips of your desired width. You can vary the thickness based on your preference.
- For shaped noodles: To make shaped noodles like bowties (farfalle) or stuffed pasta, use a pasta cutter or knife to cut out individual shapes from the pasta sheet. If making stuffed pasta, be sure to leave enough space between the shapes for filling and sealing.
- Dust with more flour: Once the noodles are cut, gently toss them with a bit more flour to prevent them from sticking together. Make sure the noodles are well-coated but not overloaded with flour.
As you cut and shape the noodles, lay them in a single layer on a baking sheet or lightly floured surface to prevent them from clumping or sticking together. It’s essential to handle the dough gently to maintain the shape and texture of the noodles.
Now that your noodles are ready, you can choose to cook them immediately or store them for future use. In the next sections, we’ll discuss the best methods for storing both fresh and cooked pasta noodles.
Storing Fresh Pasta Noodles
If you have made more pasta noodles than you can use immediately, you’ll want to store them properly to maintain their freshness and quality. Here are a few methods for storing fresh pasta noodles:
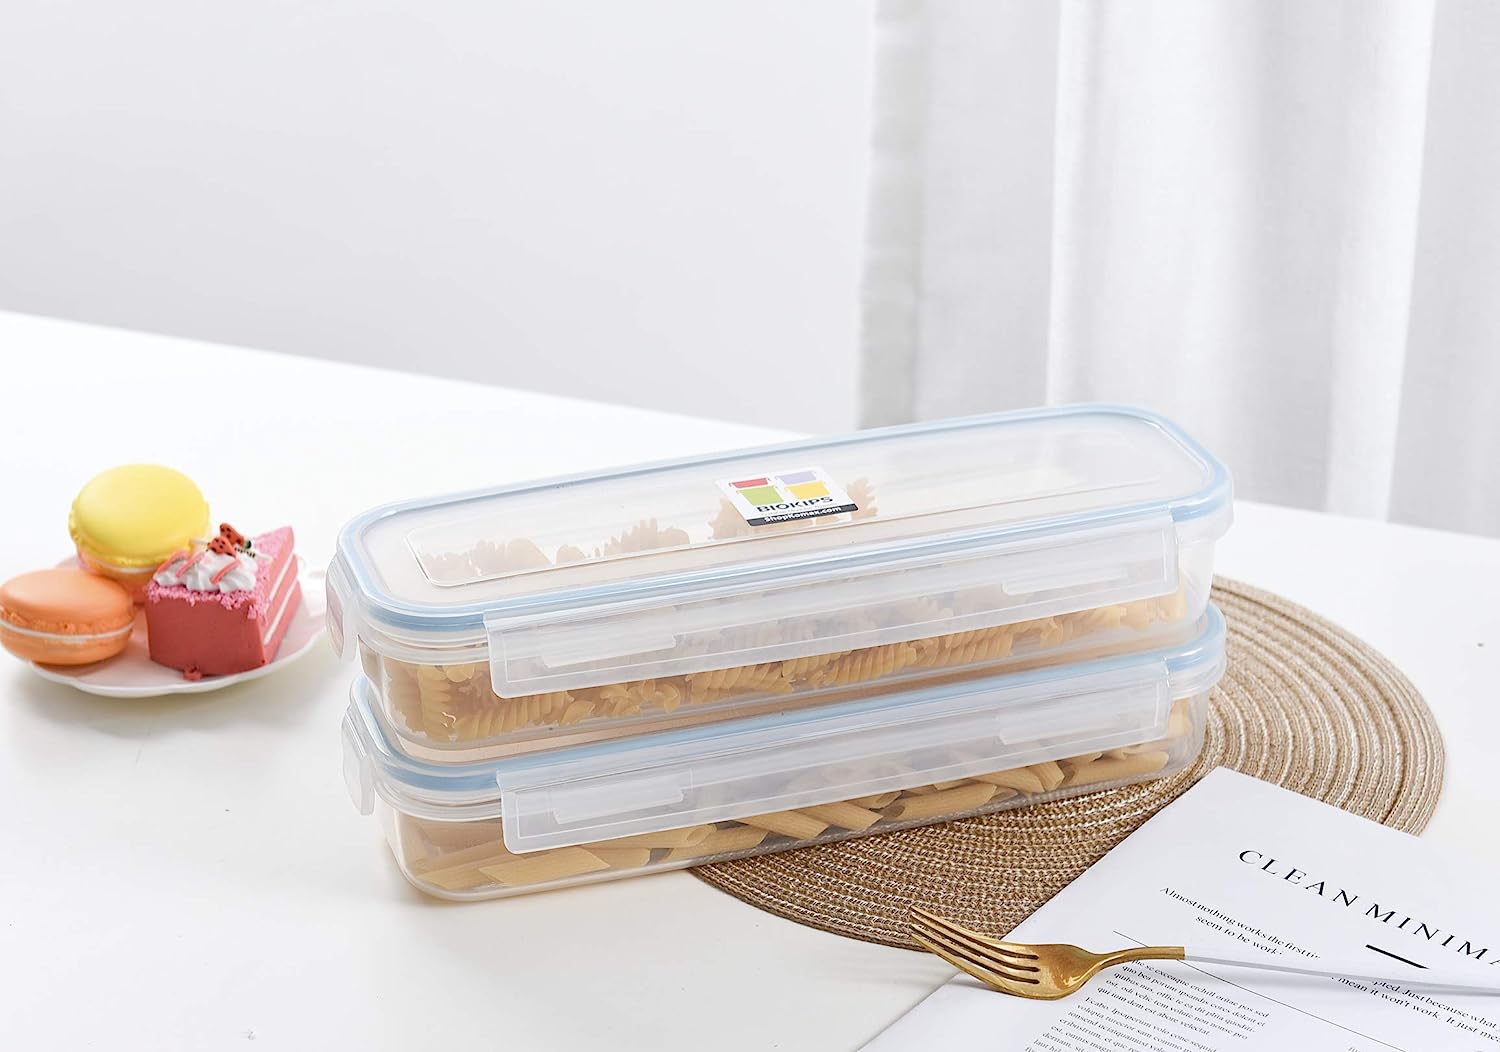
- Airtight containers: Place the freshly cut pasta noodles in an airtight container. Ensure that the container is large enough to hold the noodles without them being too tightly packed. This method is ideal if you plan to use the noodles within a few days.
- Plastic bags: Alternatively, you can place the noodles in resealable plastic bags. Press out as much air as possible before sealing. This method works well if you want to freeze the noodles for later use.
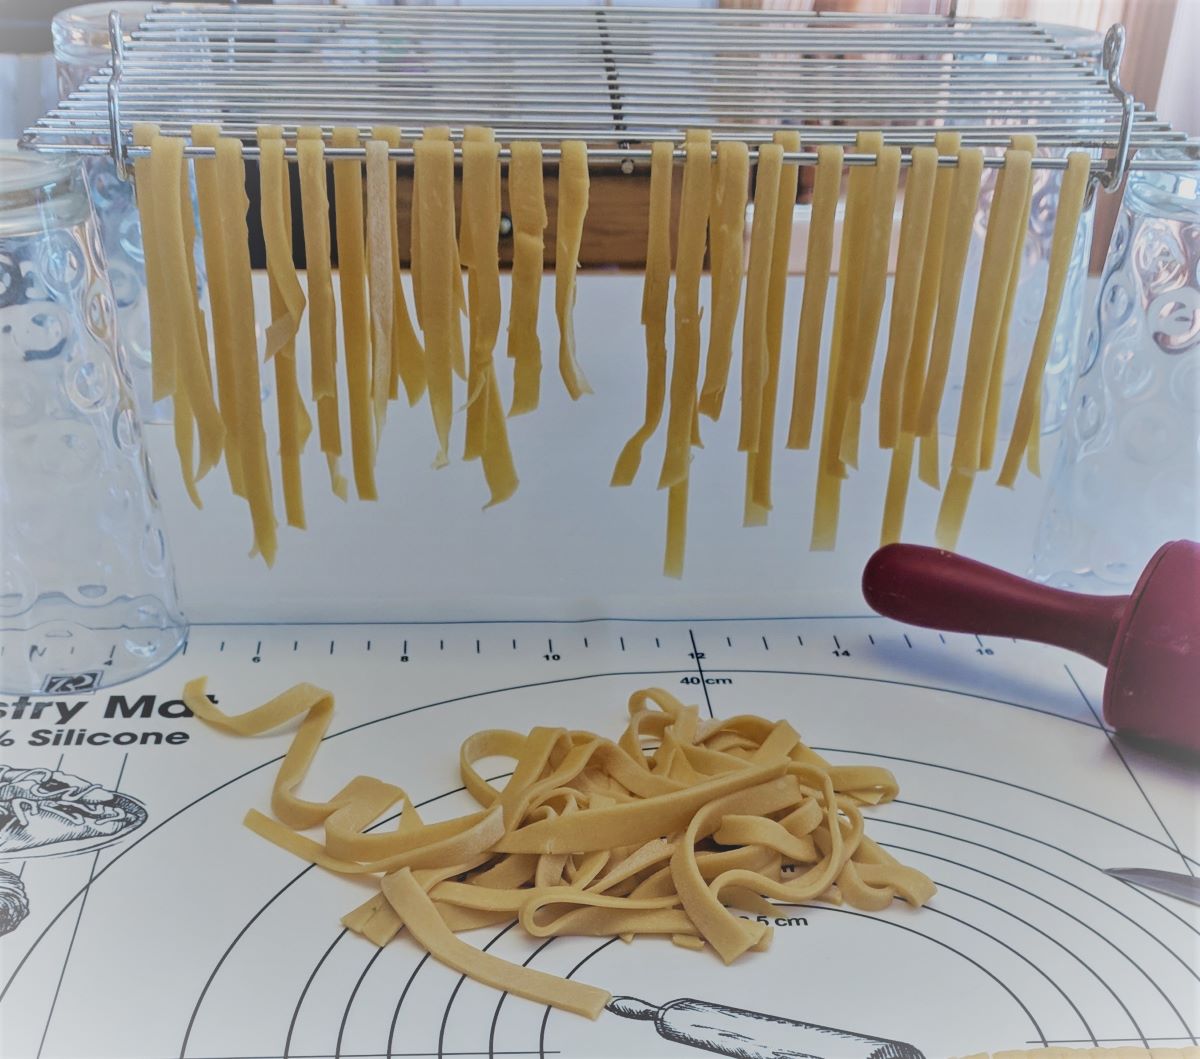
- Pasta drying rack: If you prefer to dry the noodles before storing, set up a pasta drying rack. Gently hang the fresh noodles on the rack in a single layer, ensuring they are not touching each other. Let them air dry for a few hours or until completely dry before transferring them to a container or bag for storage.
When storing fresh pasta noodles, it’s important to keep them away from moisture and air to prevent them from becoming soggy or developing a strange texture. Store the containers or bags in a cool, dry place, away from direct sunlight.
Properly stored fresh pasta noodles can last up to 2-3 days in the refrigerator or up to 2-3 months in the freezer. However, it’s always best to use them as soon as possible for the best taste and texture.
Now that you know how to store fresh pasta noodles, let’s move on to tips for storing cooked pasta noodles.
Tips for Storing Cooked Pasta Noodles
If you find yourself with leftover cooked pasta noodles, it’s essential to store them properly to maintain their texture and prevent them from drying out. Here are some tips for storing cooked pasta noodles:
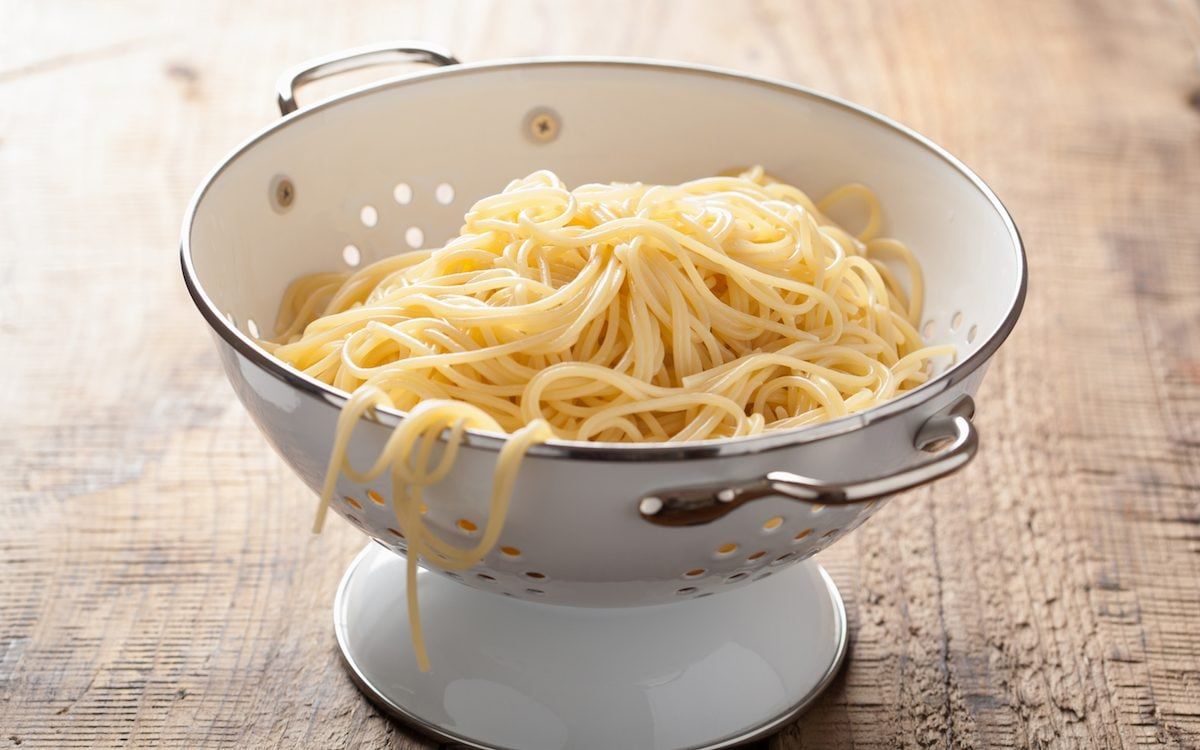
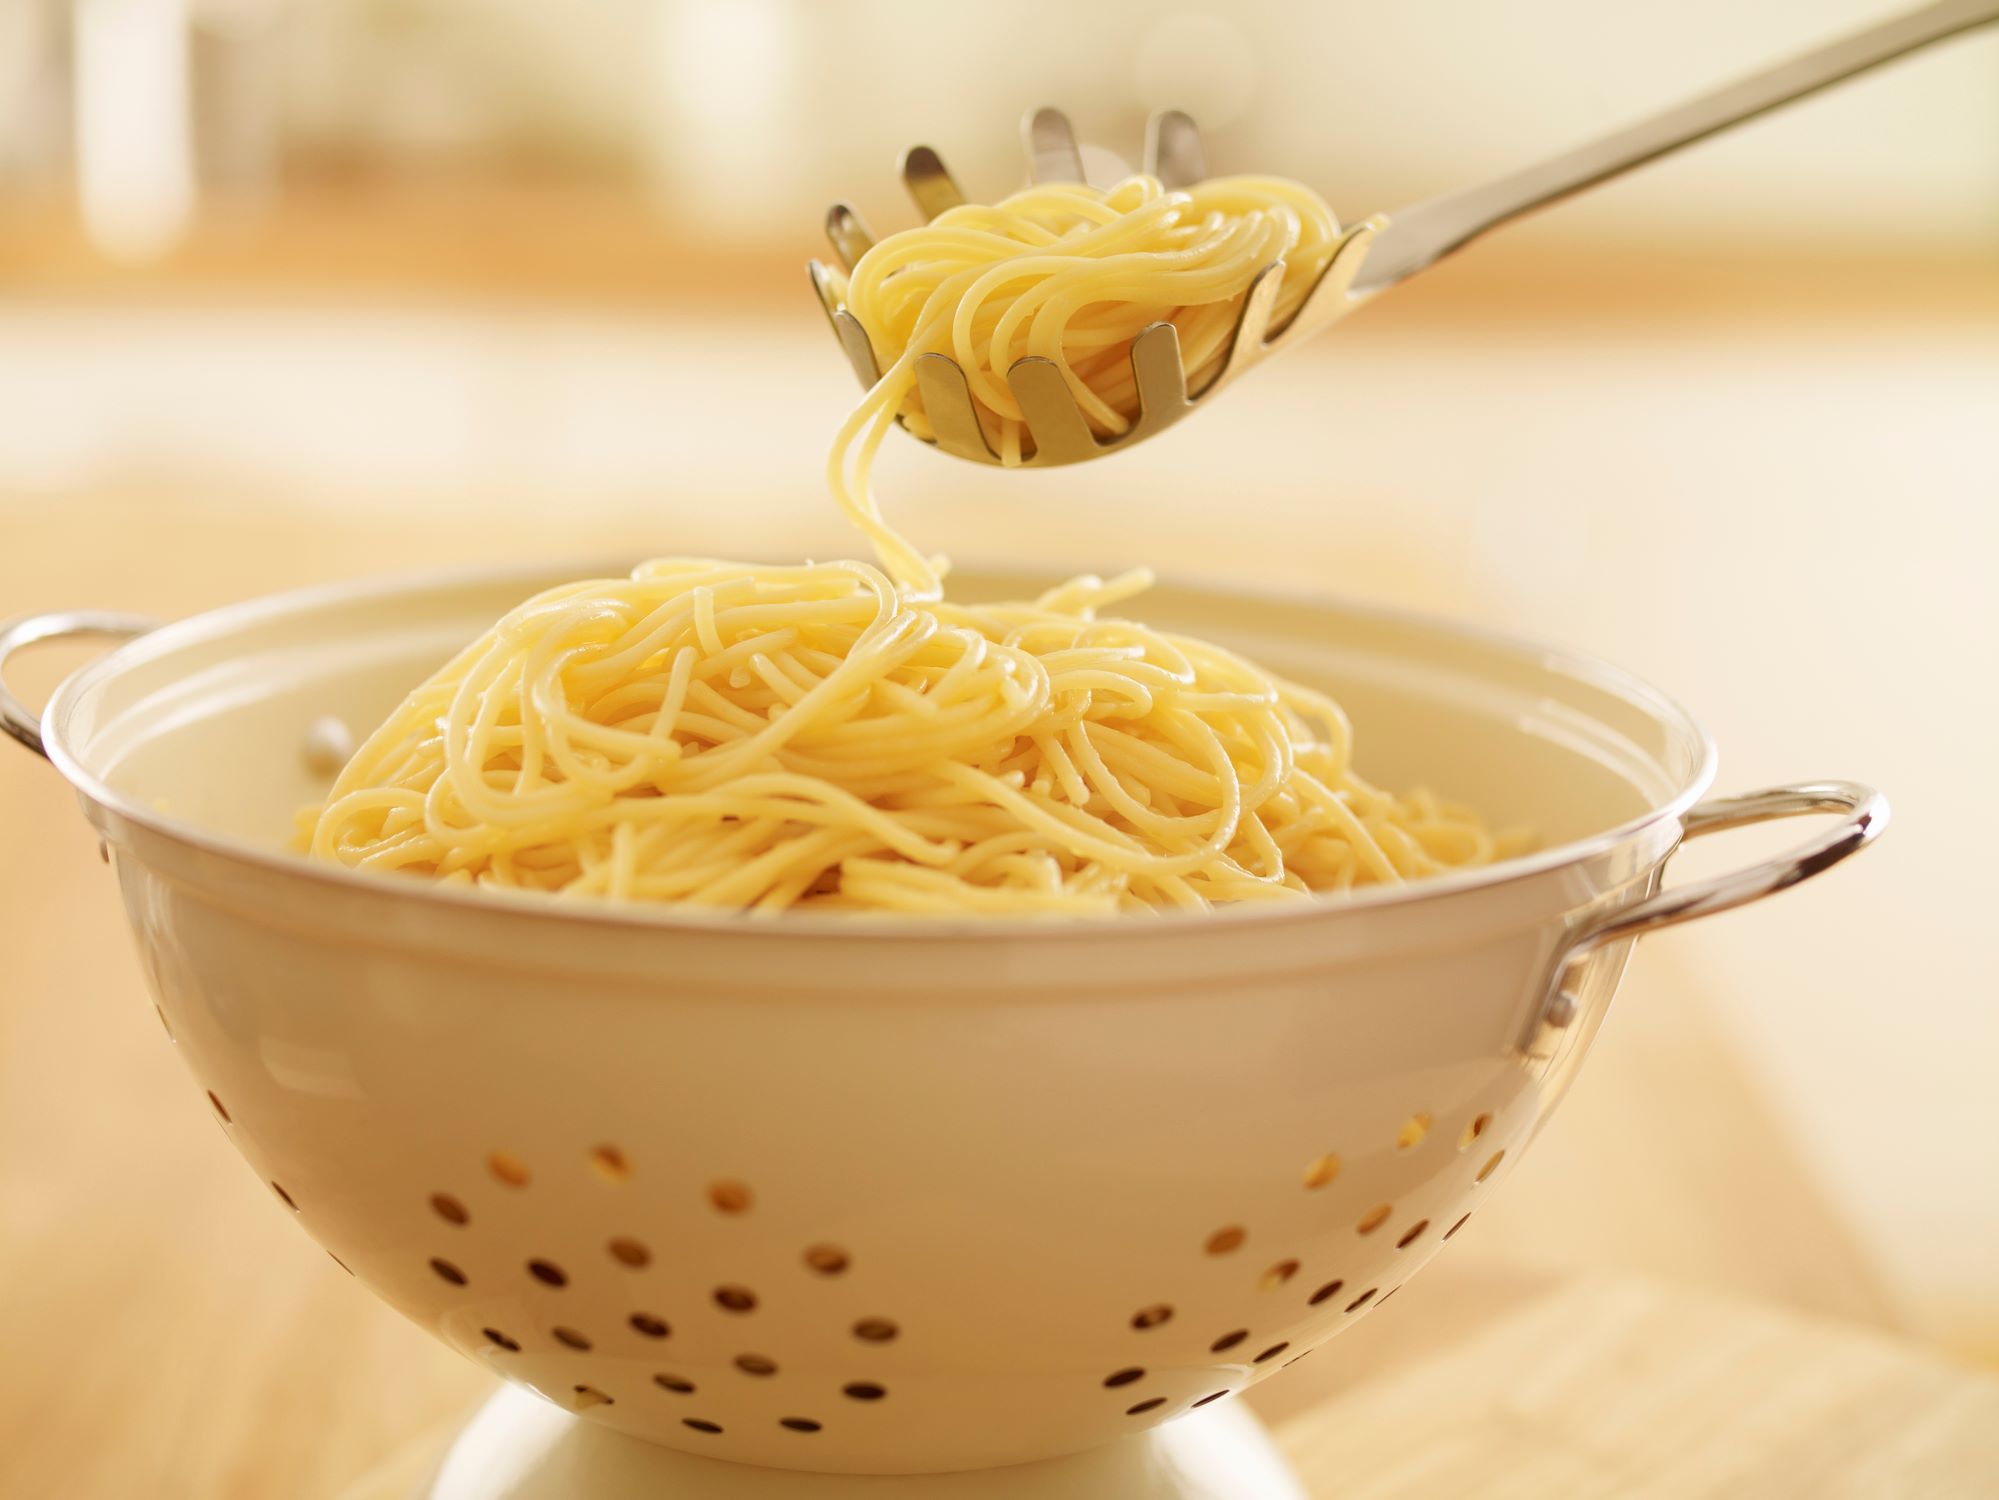
- Cool the noodles: After cooking the pasta, rinse it under cold water to stop the cooking process and cool it down quickly. This helps prevent the noodles from becoming mushy or overcooked.
- Oil or sauce coat: Toss the cooled pasta noodles with a drizzle of olive oil or your favorite pasta sauce. This helps coat the noodles and prevents them from sticking together.
- Airtight containers: Place the dressed pasta noodles in airtight containers or resealable bags. Make sure to remove as much air as possible before sealing. This method is suitable for storing cooked noodles in the refrigerator.
- Portion control: If you anticipate using only a portion of the cooked pasta at a time, consider dividing it into smaller serving sizes before storing. This way, you can thaw or reheat only what you need, minimizing waste.
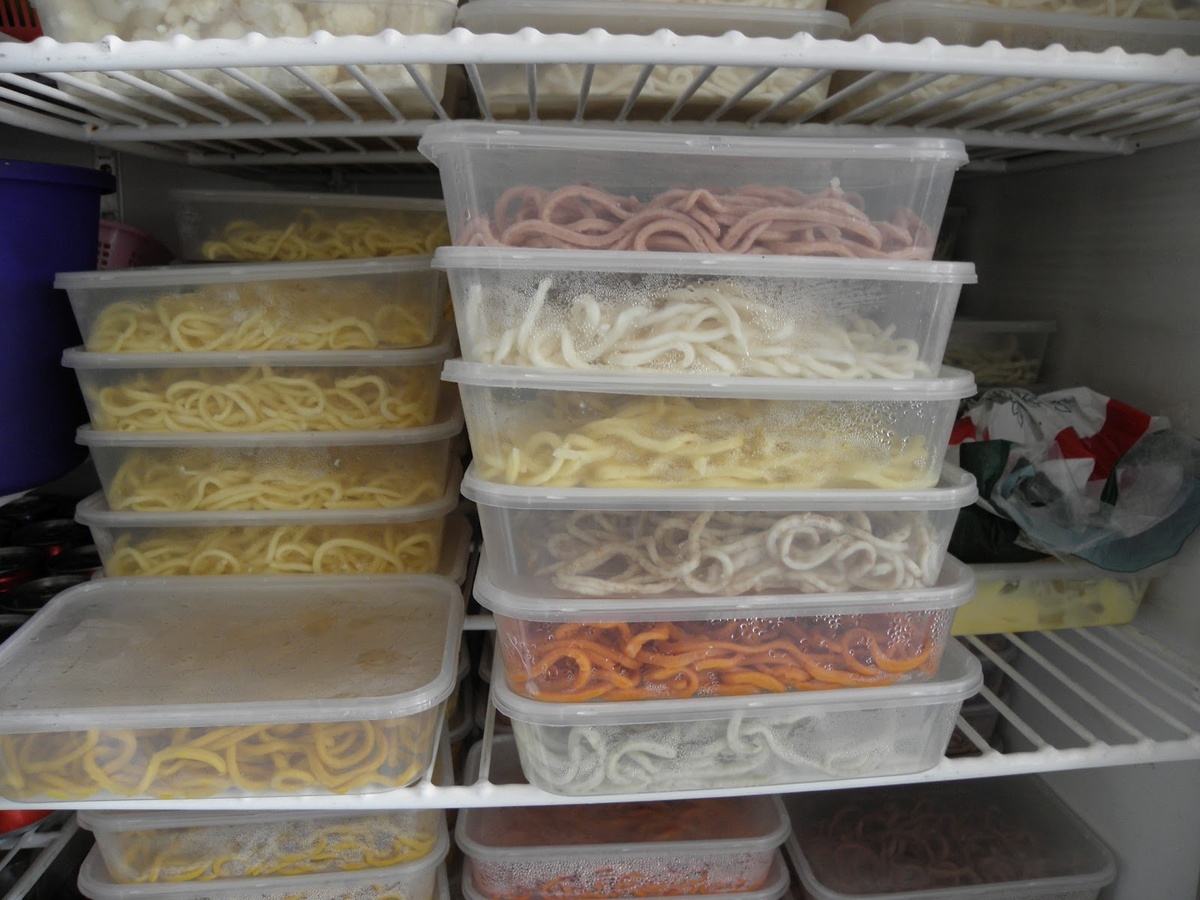
- Freezing: If you want to store the cooked pasta for an extended period, you can freeze it. To freeze, spread the cooked noodles in a single layer on a lined baking sheet and place them in the freezer until frozen. Once frozen, transfer the noodles to airtight containers or bags. This method helps prevent the noodles from clumping together.
- Label and date: Whether storing in the refrigerator or freezer, it’s essential to label the containers or bags with the date of storage. This way, you can keep track of how long the pasta noodles have been stored and ensure they are used within recommended timeframes.
When you’re ready to use the stored cooked pasta noodles, thaw frozen noodles in the refrigerator overnight or reheat them directly from the refrigerator. Reheat by immersing the noodles in boiling water for a few seconds or by sautéing them with a little olive oil or sauce.
By following these tips, you can store and enjoy cooked pasta noodles for later use, reducing food waste and saving time in the kitchen.
Now that you have learned how to store both fresh and cooked pasta noodles, it’s time to wrap up our guide to storing homemade pasta noodles.
Conclusion
Homemade pasta noodles are a delightful culinary creation that allows you to unleash your creativity in the kitchen. By making your own pasta dough from scratch, you can customize the flavors, textures, and shapes to suit your preferences and the dish you are preparing.
However, when it comes to storing homemade pasta noodles, it’s important to follow the right techniques to maintain their freshness and quality. Whether you have leftover fresh noodles or cooked pasta, proper storage methods are essential to prevent them from drying out, sticking together, or losing their delicious taste.
From using airtight containers or plastic bags to pasta drying racks and appropriate labeling, there are various methods you can utilize based on whether the noodles are fresh or cooked. It’s crucial to consider factors like moisture, air exposure, and freezing options when storing your noodles.
By following the tips and techniques outlined in this article, you can store your homemade pasta noodles effectively and enjoy them at your convenience. Whether it’s a quick weeknight meal or a special gathering, having homemade pasta noodles on hand allows you to create delicious and satisfying dishes in no time.
So, the next time you find yourself with a surplus of homemade pasta noodles, remember the steps to store them properly. By doing so, you can continue to enjoy the fruits of your labor and savor the taste of fresh, homemade pasta whenever you desire.
Happy cooking and enjoy your homemade pasta noodles!
Frequently Asked Questions about How To Store Homemade Pasta Noodles
Was this page helpful?
At Storables.com, we guarantee accurate and reliable information. Our content, validated by Expert Board Contributors, is crafted following stringent Editorial Policies. We're committed to providing you with well-researched, expert-backed insights for all your informational needs.


0 thoughts on “How To Store Homemade Pasta Noodles”