Articles
How To Store Icing In Piping Bag
Modified: October 20, 2024
Learn how to properly store icing in a piping bag with our informative articles. Keep your icing fresh and ready for piping anytime.
(Many of the links in this article redirect to a specific reviewed product. Your purchase of these products through affiliate links helps to generate commission for Storables.com, at no extra cost. Learn more)
Introduction
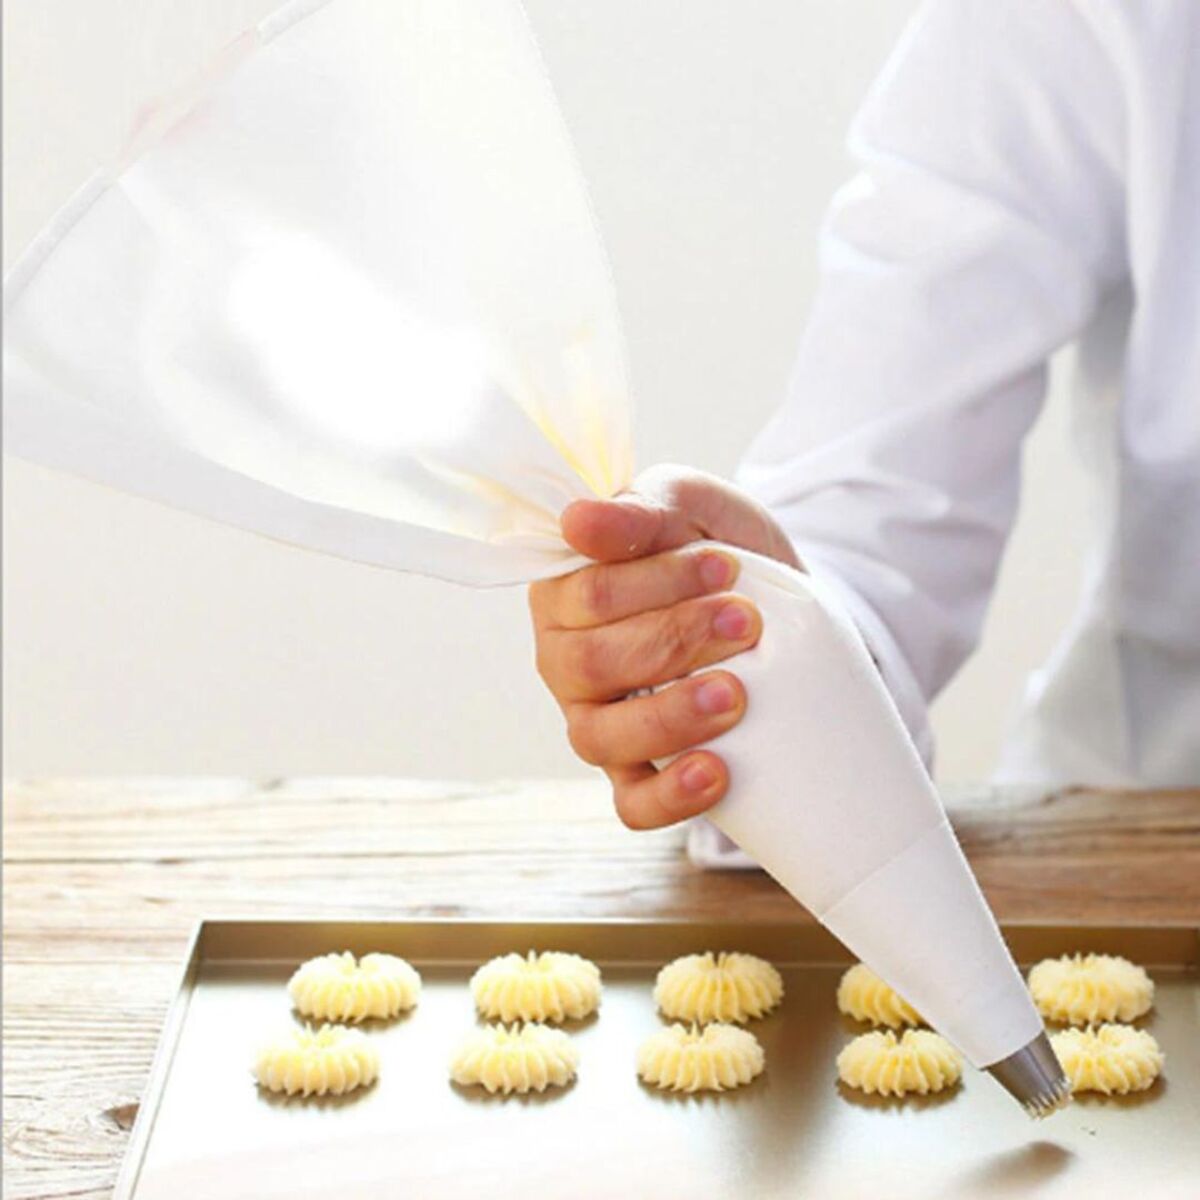
When it comes to decorating cakes and pastries, using a piping bag is an essential tool for achieving beautiful and intricate designs. Whether you’re a professional baker or someone who loves to bake as a hobby, knowing how to store icing in a piping bag can save you time and effort in your decorating process.
One of the challenges that cake decorators often face is keeping the icing fresh and ready for piping. Icing that is left exposed to air can quickly dry out, leading to frustrating clogs and uneven flow through the piping tip. Fortunately, there are simple techniques you can follow to properly store icing in a piping bag, ensuring that it remains fresh and easy to work with.
In this article, we will guide you through the process of choosing the right piping bag, preparing the icing, filling the piping bag, and storing the icing to maintain its freshness. We will also provide some helpful tips for using stored icing effectively. So, let’s dive in and discover the secrets to successful icing storage!
Key Takeaways:
- Properly storing icing in a piping bag involves choosing the right bag, preparing the icing, filling the bag, and storing it upright to maintain freshness and texture, ensuring hassle-free piping for beautiful cake decorations.
- When using stored icing, bring it to the right consistency, massage the bag, test the icing flow, store additional icing separately, keep the bag sealed between uses, and practice proper hygiene to ensure high-quality results in cake decorating projects.
Read more: How To Store Royal Icing In Piping Bag
Choosing the Right Piping Bag
When it comes to choosing a piping bag, there are a few factors to consider that can greatly impact your icing storage. Here are some key considerations:
- Material: Piping bags are commonly made from either plastic or reusable fabric (such as nylon or polyester). Plastic bags are typically disposable, while fabric bags can be washed and reused. Both options work well for storing icing, so choose based on your personal preference and environmental impact.
- Size: Piping bags come in various sizes, ranging from small to large. The size you choose depends on the amount of icing you plan to store and the size of your decorating project. For smaller tasks, a small to medium-sized bag should suffice, while larger projects may require a larger bag to hold more icing.
- Tip Compatibility: Consider the piping tips you will be using with your icing. Ensure that the piping bag you choose can accommodate the tips you plan to use. Some bags come with a set of tips included, which can be a convenient option if you are just starting out.
- Grip: Look for a piping bag with a non-slip grip. This will make it easier to hold and control the bag while piping, reducing the chances of the bag slipping from your grasp.
- Disposable vs. Reusable: Decide whether you prefer a disposable piping bag or a reusable one. Disposable bags are convenient because they eliminate the need for cleaning, but reusable bags can be more cost-effective and environmentally friendly in the long run.
Once you have determined the type and size of the piping bag that suits your needs, you are ready to move on to preparing the icing for storage. Choosing the right bag will contribute to a smooth and hassle-free icing storage experience, ensuring that your decorating process is seamless and enjoyable.
Preparing the Icing
Before you can store icing in a piping bag, you must first prepare the icing itself. Here are some steps to follow for preparing icing that is suitable for storage:
- Choose the right icing: Different types of icing have different consistencies and stability. For storing in a piping bag, it’s best to use icing that is thick and firm, such as buttercream or royal icing. These types of icings hold their shape well and are less likely to become runny or lose their texture during storage.
- Create a smooth texture: To ensure that your icing flows smoothly through the piping bag, it’s important to create a smooth texture. If your icing is too thick, you can add a small amount of liquid (such as milk or water) and gradually mix it in until the desired consistency is achieved. On the other hand, if your icing is too runny, you can add more powdered sugar to thicken it.
- Add flavor and color: If desired, you can enhance your icing by adding flavor extracts (such as vanilla or almond) or food coloring. Incorporate these additional ingredients slowly and mix well to ensure an even distribution and desired taste.
- Avoid overmixing: When preparing the icing, it’s essential not to over-mix it. Overmixing can introduce air bubbles into the icing, which can cause it to become unstable and prone to deflating. Mix the icing until it is smooth and well combined, but avoid excessive mixing.
- Cover the icing: Once the icing is prepared, cover it tightly with plastic wrap or transfer it into an airtight container. This will prevent the icing from drying out or developing a crust while it is being stored in the piping bag.
By following these steps, you can ensure that your icing is well-prepared and ready to be stored in a piping bag. Remember, a properly prepared icing will make the piping process much easier and yield beautifully decorated results.
Filling the Piping Bag
Now that you have chosen the right piping bag and prepared the icing, it’s time to fill the piping bag. Here are the steps to follow for filling the bag efficiently:
- Prepare the piping tip: If you are using a separate piping tip, attach it to the piping bag according to the manufacturer’s instructions. Make sure it is securely fitted to prevent it from dislodging while piping.
- Open the piping bag: Open the piping bag by unfolding the top edges or cutting off the pointed end of a disposable bag. If you are using a reusable bag, ensure that the opening is wide enough for easy filling.
- Hold the bag correctly: Hold the piping bag with one hand, grasping it at the top near the opening. Use your other hand to guide and control the filling process.
- Fill the bag with icing: Using a spatula or spoon, carefully transfer the prepared icing into the piping bag. Fill the bag only about halfway to three-quarters full, leaving enough room for the icing to move and flow without overflowing.
- Release any trapped air: Before sealing the piping bag, gently squeeze out any trapped air pockets. This will help prevent air bubbles from obstructing the icing flow and causing uneven piping.
- Seal the bag: To seal the piping bag, twist the top of the bag tightly near the opening to create a secure closure. You can also use a rubber band or bag clip to hold it in place.
Once the piping bag is filled and sealed, you are ready to proceed with storing the icing properly.
It’s important to note that if you are using different colors or flavors of icing, you will need separate piping bags for each one. This will allow for easier color or flavor changes during the decorating process and prevent unwanted mixing in the bag.
To store icing in a piping bag, place the bag in a tall glass with the tip facing down and secure the top with a rubber band. This will prevent the icing from drying out and keep it ready for use.
Storing the Icing in the Piping Bag
Properly storing the icing in the piping bag is crucial for maintaining its freshness and usability. Follow these steps to store the icing effectively:
- Secure the sealed end: Make sure the sealed end of the piping bag is tightly secured with a rubber band or bag clip. This will prevent the icing from leaking or drying out.
- Store upright: Position the piping bag upright in a tall glass or container. This will help the icing maintain its shape and prevent it from settling at the bottom of the bag. Avoid laying the bag flat, as this can cause the icing to spread and lose its intended consistency.
- Refrigerate or freeze: Depending on the type of icing you are working with, you may need to refrigerate or freeze it for long-term storage. Most buttercream and royal icings can be stored in the refrigerator for several days or in the freezer for several weeks. However, be sure to check the specific icing recipe for any storage guidelines or limitations.
- Protect from air and moisture: If storing in the refrigerator, cover the top opening of the bag with a small piece of plastic wrap to protect the icing from exposure to air and moisture. This will help maintain its freshness and prevent any unwanted odors or flavors from seeping into the icing.
- Thaw properly if frozen: If you have frozen your icing, allow it to thaw slowly in the refrigerator. Once thawed, it is recommended to let it come to room temperature before using it for piping. This will ensure the icing consistency is smooth and suitable for decorating.
Remember to always label your piping bags with the flavor and color of icing inside, especially if you are storing multiple bags. This will help you easily identify the desired icing when you are ready to use it.
By following these storing techniques, you can keep your icing fresh and ready to use at any time. Whether you need to store it overnight or for an extended period, a properly stored icing will maintain its texture and shape, allowing you to achieve beautiful and professional-looking decorations.
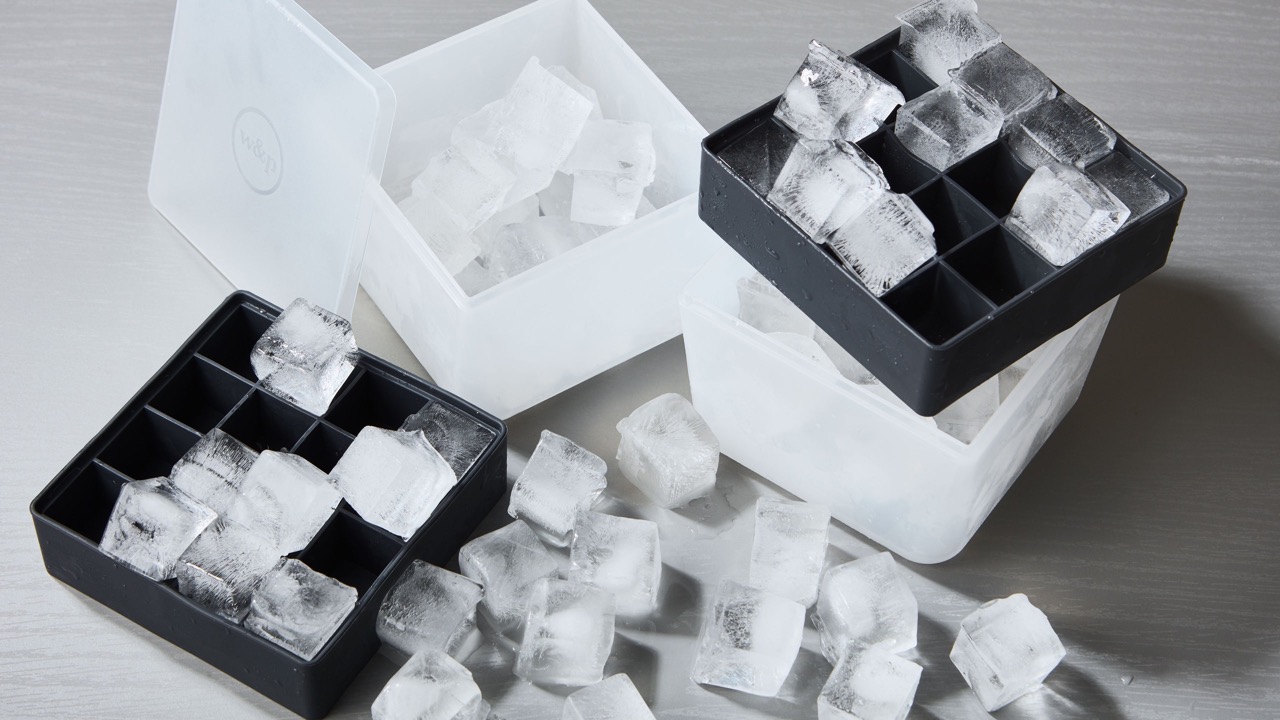
Read more: How To Store Bagged Ice In Freezer
Tips for Using Stored Icing
Using stored icing can be a convenient and time-saving solution for cake decorators. Here are some tips to ensure that you get the best results when using icing that has been stored:
- Bring the icing to the right consistency: If the stored icing has become too stiff or thick, you may need to let it sit at room temperature for a short while to soften. On the other hand, if the icing is too soft or runny, you can add a small amount of powdered sugar to thicken it. Adjust the consistency as needed before piping.
- Massage the piping bag: Before piping, gently massage the piping bag with your hands to help warm up the icing and make it more pliable. This will ensure that the icing flows smoothly and evenly through the piping tip.
- Test the icing flow: Before starting your decorating project, test the icing flow by piping a small amount onto a piece of parchment paper or a spare cake board. This will help you assess the consistency and adjust if necessary before moving on to your actual design. Adjusting the pressure or cutting the piping bag opening slightly can also affect the flow of the icing.
- Store additional icing separately: If you have extra icing that you did not use, store it separately from the icing in the piping bag. This will prevent cross-contamination and allow you to use the remaining icing for other purposes without compromising the stored icing’s freshness.
- Keep the piping bag sealed between uses: When taking breaks during decorating, make sure to reseal the piping bag to prevent the icing from drying out. You can use a bag clip or rubber band to keep the bag tightly closed until you are ready to continue piping.
- Practice proper hygiene: It is essential to maintain proper hygiene when working with stored icing. Clean your piping tips and wash your hands before handling the icing to prevent the transfer of bacteria or contaminants.
By following these tips, you can ensure that your stored icing performs optimally and allows you to create beautiful and professional-looking designs. With practice and proper handling, using stored icing can become a convenient and efficient technique in your cake decorating repertoire.
Conclusion
Storing icing in a piping bag is a practical skill that can greatly benefit cake decorators of all levels. By following the proper techniques for choosing the right piping bag, preparing the icing, filling the bag, and storing the icing, you can ensure that your icing remains fresh, pliable, and ready to use whenever you need it.
Choosing the right piping bag involves considering factors such as material, size, tip compatibility, and grip. This ensures that you have a bag that suits your preferences and needs, making the icing storage process more efficient.
Preparing the icing involves selecting the appropriate icing type, creating a smooth texture, adding flavor and color if desired, and avoiding overmixing. A well-prepared icing will enhance the piping experience and contribute to the overall success of your cake decorating project.
Properly filling the piping bag involves attaching the tip, opening the bag, filling it with icing, releasing trapped air, and sealing the bag. Following these steps will make sure that the icing is securely stored inside the bag, ready to be used at any time.
Storing the icing in the piping bag requires keeping the bag upright, refrigerating or freezing if necessary, protecting from air and moisture, and thawing properly if frozen. These techniques ensure that the icing retains its freshness, texture, and flavor, allowing for easy and hassle-free piping when needed.
When using stored icing, it is important to bring it to the right consistency, massage the bag, test the icing flow, store additional icing separately, keep the bag sealed between uses, and practice proper hygiene. These tips ensure that your icing is of high quality and delivers the desired results in your cake decorating projects.
In conclusion, proper storage of icing in a piping bag is a valuable skill that can save time and effort while producing beautifully decorated cakes and pastries. By following the techniques outlined in this article, you can ensure that your icing remains fresh and ready to create stunning designs, elevating your baking and decorating skills to new heights.
Frequently Asked Questions about How To Store Icing In Piping Bag
Was this page helpful?
At Storables.com, we guarantee accurate and reliable information. Our content, validated by Expert Board Contributors, is crafted following stringent Editorial Policies. We're committed to providing you with well-researched, expert-backed insights for all your informational needs.


0 thoughts on “How To Store Icing In Piping Bag”