Articles
How To Store Kids Toys
Modified: August 24, 2024
Discover effective strategies and practical tips for storing your kids' toys in this insightful collection of articles. Simplify cleanup and create an organized space with our expert guidance.
(Many of the links in this article redirect to a specific reviewed product. Your purchase of these products through affiliate links helps to generate commission for Storables.com, at no extra cost. Learn more)
Introduction
Welcome to the world of parenthood, where the joy of watching your bundle of joy grow is accompanied by the challenge of managing their ever-expanding collection of toys. With each passing birthday, celebration, or trip to the toy store, your little one’s toy collection seems to multiply. Before you know it, you’re left with a sea of toys scattered across every corner of your home. Fret not, because in this article, we will guide you on how to store your kids’ toys in a way that is not only organized and practical, but also fun and engaging for your child.
By following a few simple steps, you can transform the chaos into a well-structured and easily accessible toy storage system. Not only will this help keep your home tidy, but it will also teach your child important skills like responsibility, organization, and decision-making.
So, roll up your sleeves and let’s dive into the world of toy storage!
Key Takeaways:
- Transform the chaos of toy clutter into an organized and engaging experience for both you and your child. By following simple steps like decluttering, labeling, and creating accessible storage, you can foster independence and creativity while keeping your home tidy.
- Establish a toy rotation system to keep playtime fresh and exciting, while maintaining a clutter-free play area. Involve your child in the organization process to develop valuable life skills like responsibility and decision-making.
Read more: How To Store Pool Toys
Step 1: Decluttering and Sorting
The first step in creating an organized toy storage system is to declutter and sort through your child’s toy collection. Take the time to go through all the toys and determine which ones are still age-appropriate, in good condition, and regularly played with. Separate these toys from the ones that are broken, no longer used, or missing pieces.
One approach to decluttering is to involve your child in the process. Encourage them to participate by asking them questions about each toy. Is it a favorite? Do they still play with it? Does it bring them joy? This will not only help them develop decision-making skills, but it will also empower them to take ownership of their toys and contribute to the organization of their play space.
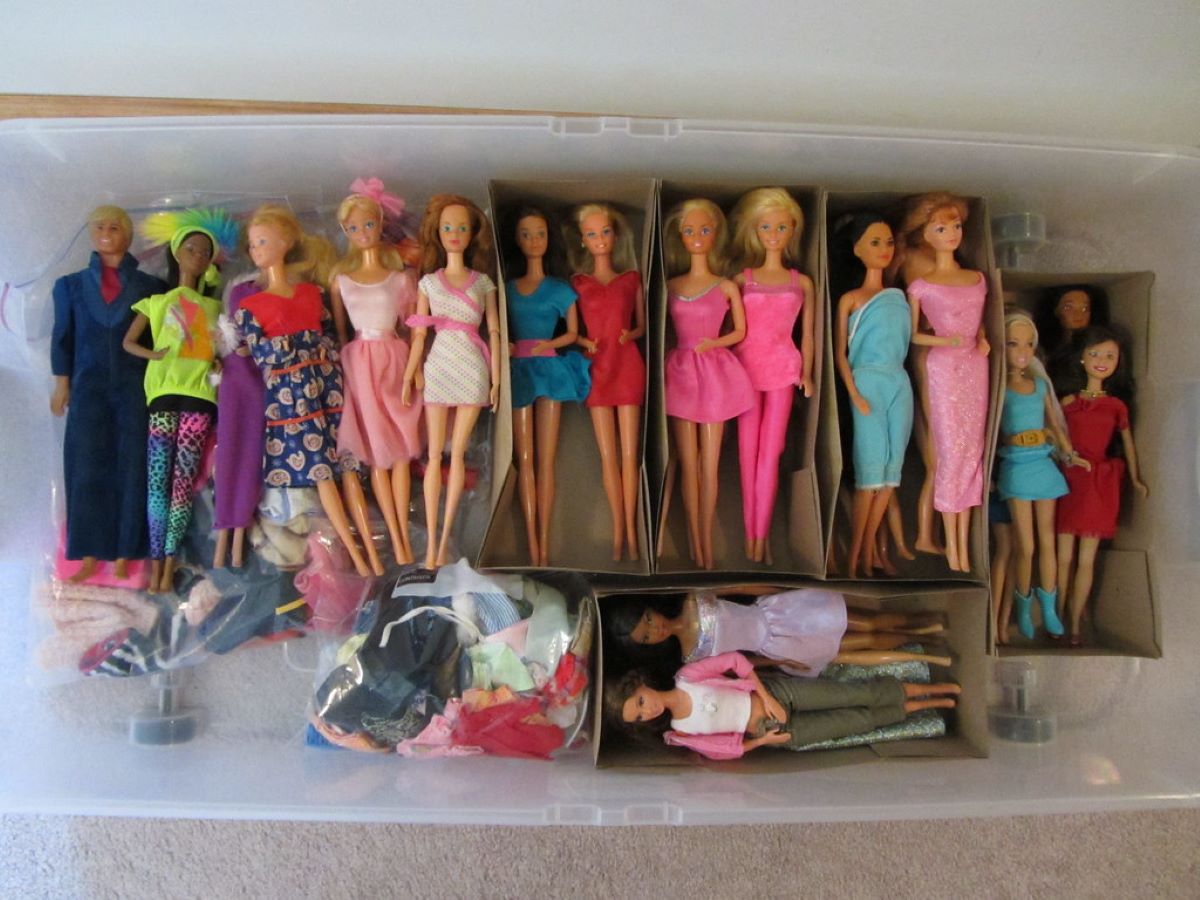
Once you have decluttered, you can categorize the toys into different groups. You can choose to sort them by type (such as action figures, puzzles, or dolls), by size, or even by theme. Having clearly defined categories will make it easier for you and your child to locate and access specific toys later.
Remember, the goal of decluttering and sorting is to create a manageable collection of toys that your child truly enjoys playing with, while also keeping the storage space clutter-free and organized.
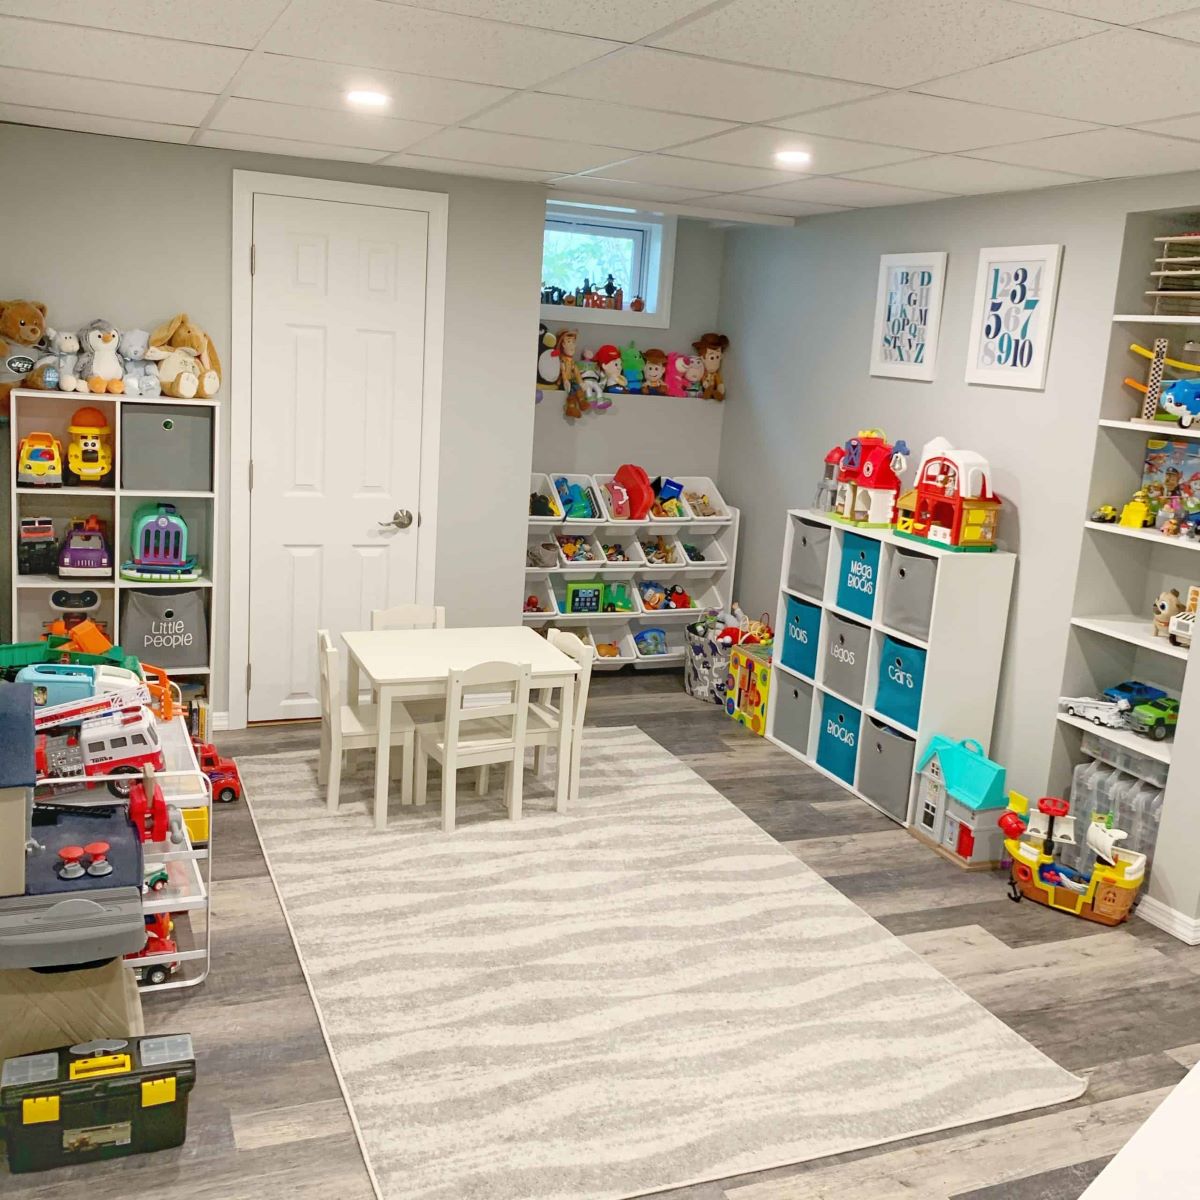
Step 2: Designating Storage Space
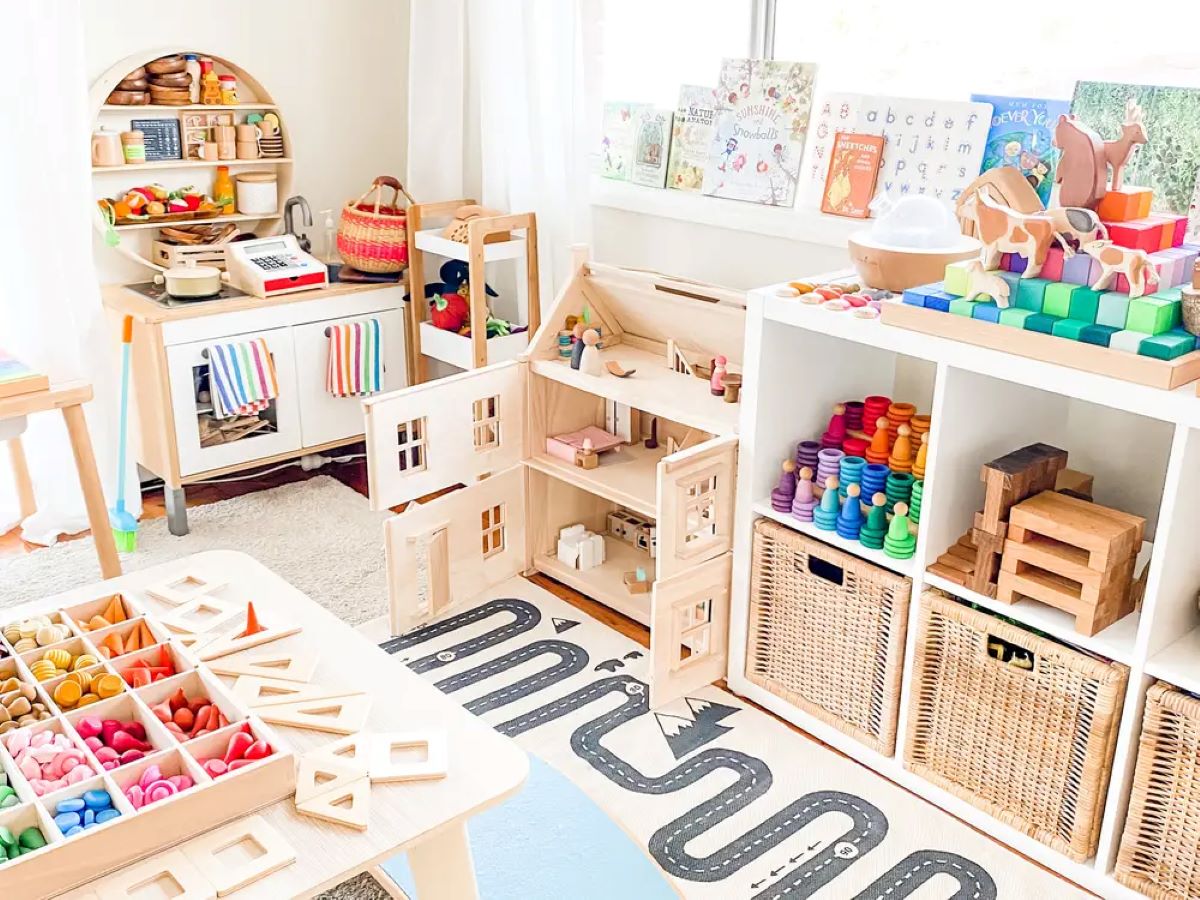
Now that you have decluttered and sorted the toys, it’s time to designate a specific storage space for them. Choose an area in your home that is easily accessible for your child and allows for efficient organization. This could be a dedicated playroom, a particular section of the living room, or even their bedroom.
Consider the available space and the amount of toys you have. If you have a large collection, you might need to utilize multiple storage solutions or invest in furniture specifically designed for toy storage, such as shelves, bins, or toy chests.
When designating storage space, keep in mind the need for functionality and safety. Make sure the storage area is easily accessible for your child, with shelves or containers at appropriate heights. Avoid placing heavy items or sharp edges within reach of your child to prevent any accidents.
Additionally, take into account the aesthetic appeal of the storage area. By incorporating colors, patterns, and decorative elements that align with your child’s interests, you can make the storage space visually appealing and inviting.
Remember, creating a designated storage space not only keeps the toys organized, but it also provides your child with a sense of ownership and responsibility over their play area.
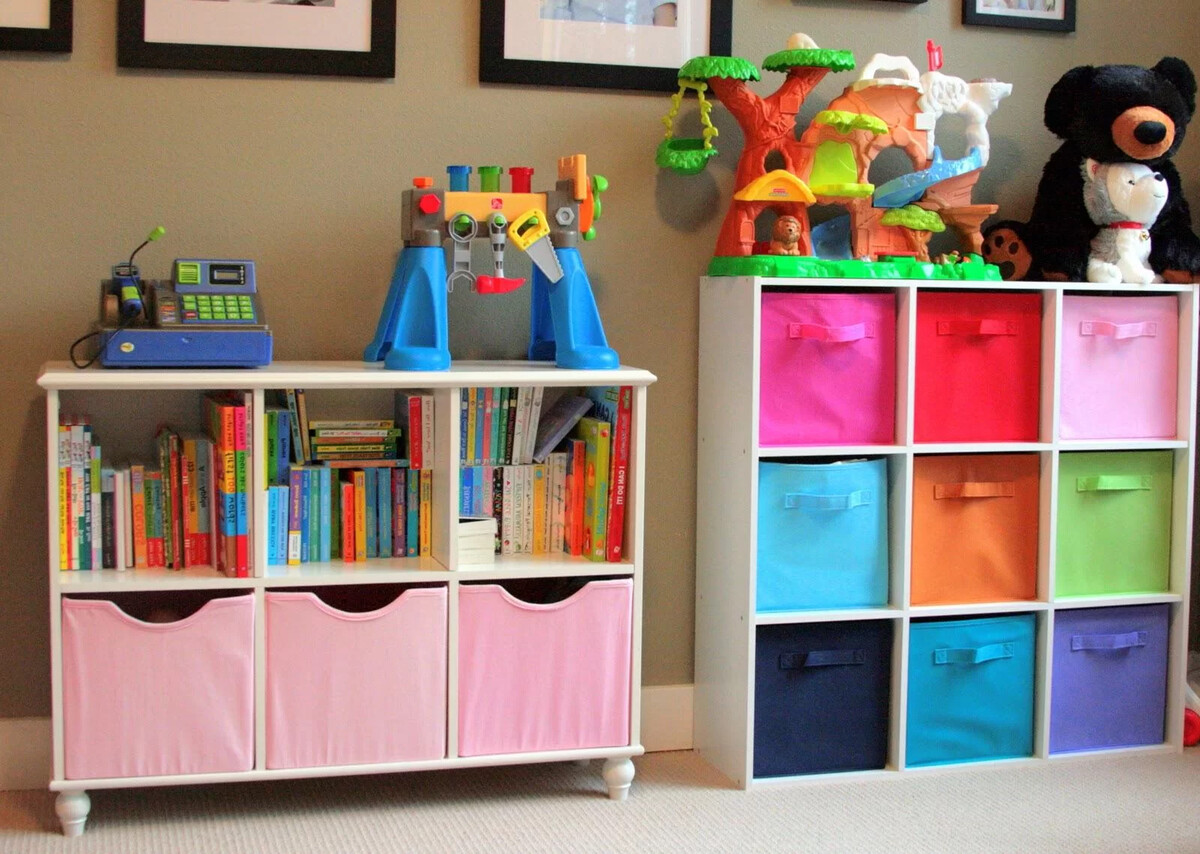
Step 3: Choosing the Right Storage Containers
Once you have designated a storage space, it’s time to choose the right containers to keep your child’s toys organized. The type of containers you select will depend on the size and type of toys you have, as well as your personal preferences.
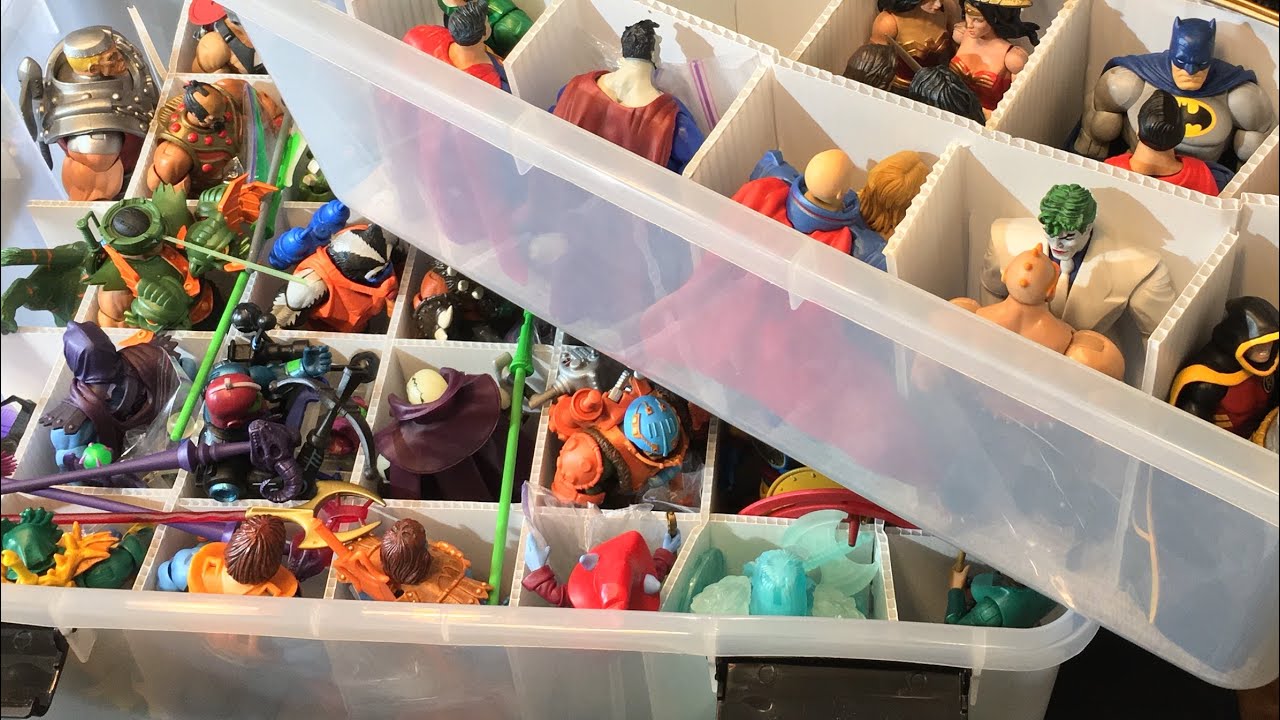
Consider utilizing a combination of storage options to accommodate different types of toys. For smaller toys like Legos or puzzle pieces, transparent plastic bins with lids can be a great choice as they allow for easy visibility and prevent pieces from getting lost. Labeling each bin with the specific toy category will make it even more convenient to locate toys when needed.
For larger toys or stuffed animals, consider using open baskets or woven bins. These not only provide easy access for your child, but they also add a touch of warmth and texture to the overall storage area. You can place these baskets on shelves or even use them as decorative accents in the room.
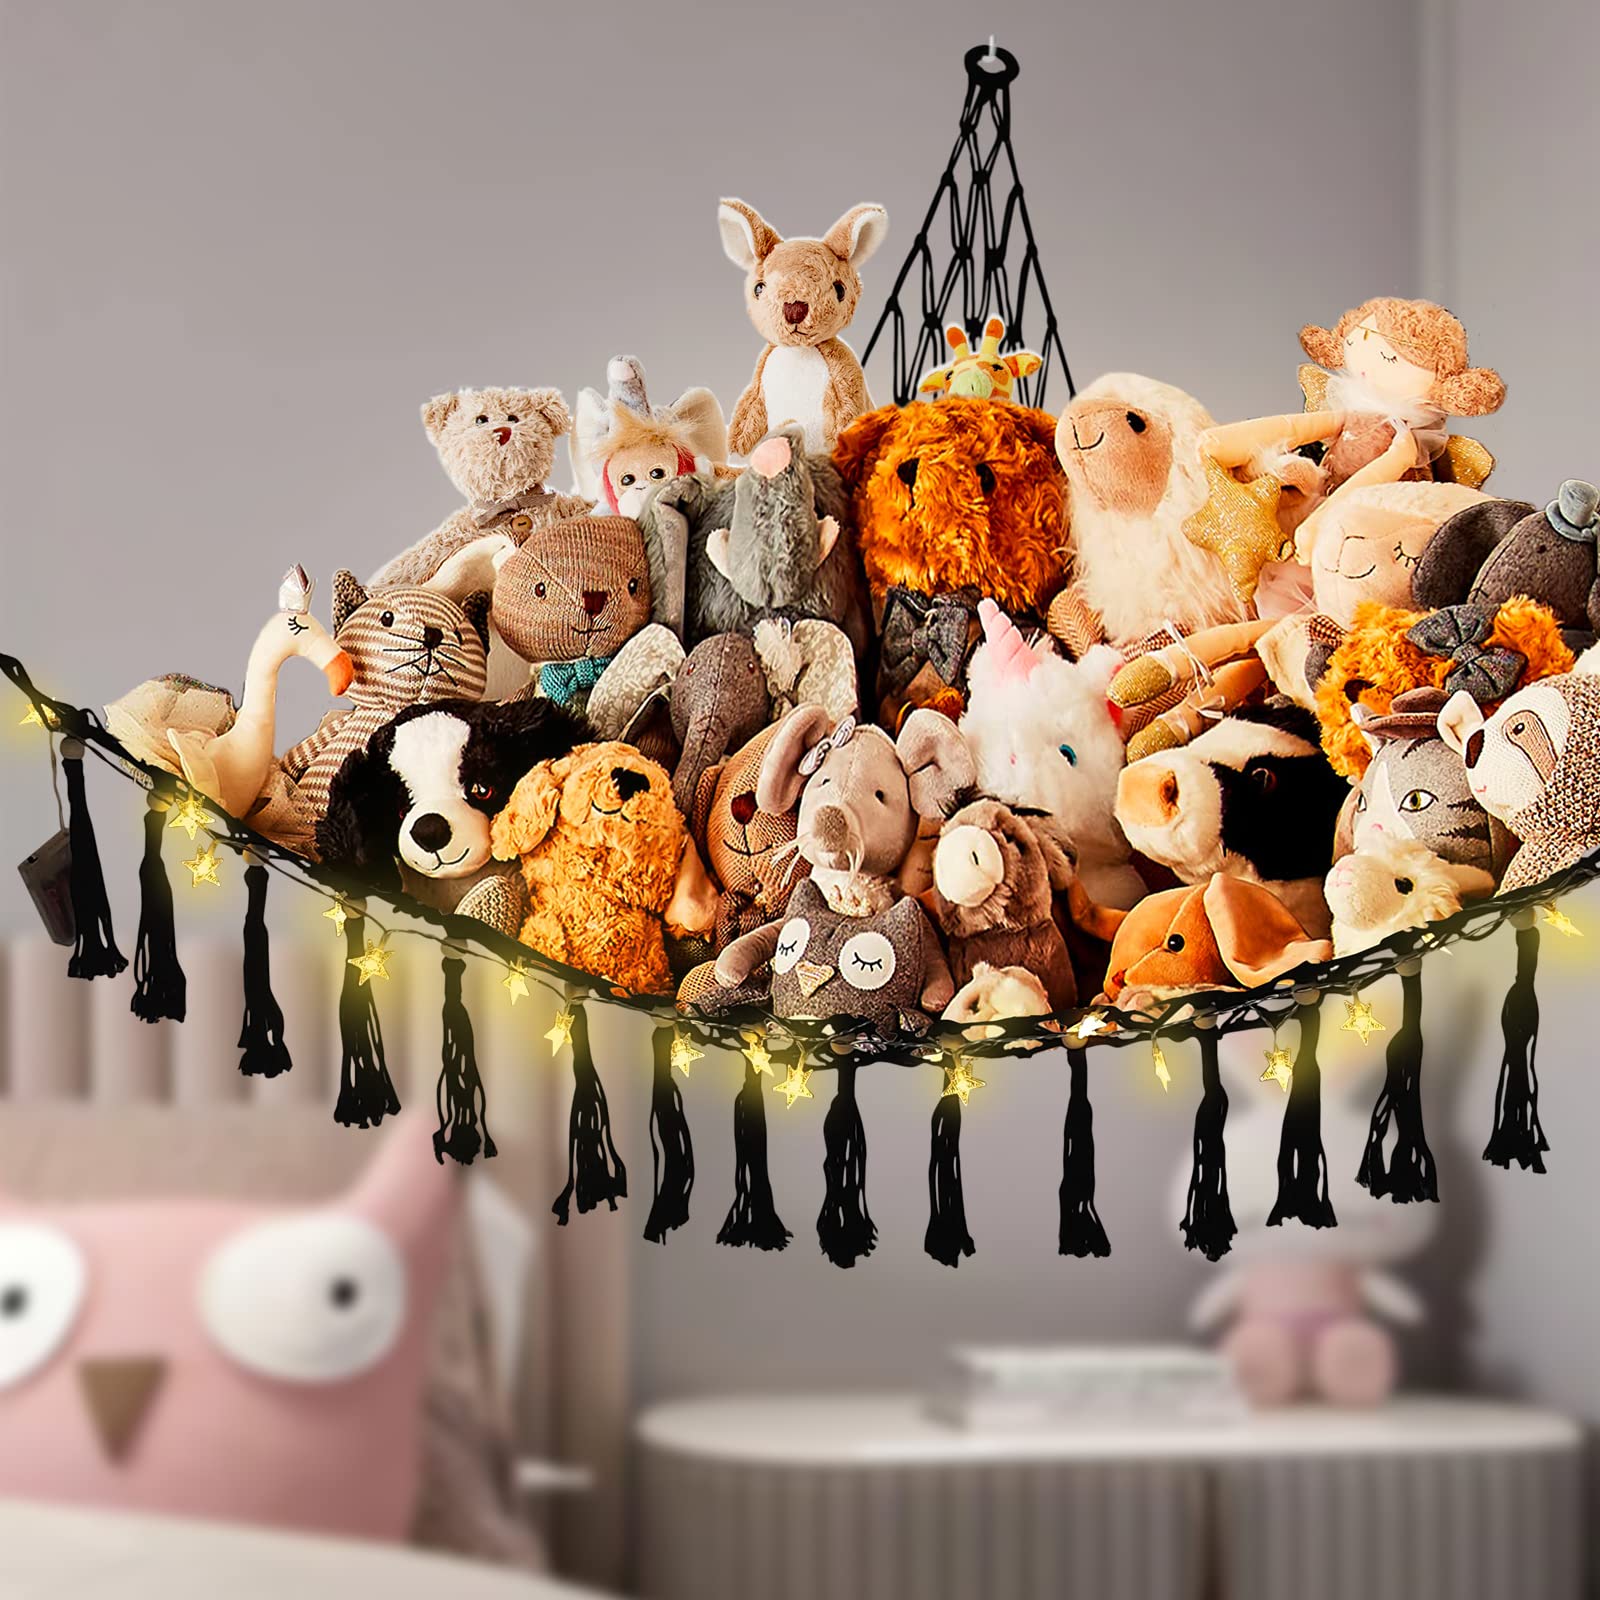
If you’re tight on space, collapsible storage bags or hanging organizers can be efficient solutions. These can be hung on hooks behind doors or on the back of the playroom door, maximizing vertical space and keeping the floor clutter-free.
When choosing containers, prioritize durability and safety. Look for containers that are made of sturdy materials and have smooth edges to prevent any risk of injury. Avoid containers with small parts or removable lids that could pose a choking hazard for young children.
Remember, the right storage containers will not only keep the toys organized but also add to the overall functionality and aesthetic appeal of the storage area.
Step 4: Organizing Toys by Categories
Now that you have the right storage containers, it’s time to organize your child’s toys by categories. Categorizing the toys will make it easier for your child to find specific items and facilitate the cleanup process.
Start by sorting the toys into different groups based on their type or theme. For example, you can create categories such as dolls and accessories, building blocks, art supplies, board games, and so on. Consider your child’s interests and the types of toys they have to determine the most appropriate categories.
Once you have created the categories, assign each one to a specific storage container or section of your designated storage area. This will create a structured and easily navigable system. You can place labels or signs on the containers or shelves to indicate the contents and encourage your child to put the toys back in the appropriate places.
When organizing the toys, keep in mind the frequency of use. Place the most frequently played-with toys in easily accessible locations, while toys that are not used as often can be stored in higher or harder-to-reach areas.
By organizing toys into categories, you not only make it simpler for your child to find what they’re looking for but also instill a sense of order and responsibility.
Remember, regularly reassess and adjust the categories as your child’s interests and toy collection evolve. This will ensure that the organization system remains effective and manageable over time.
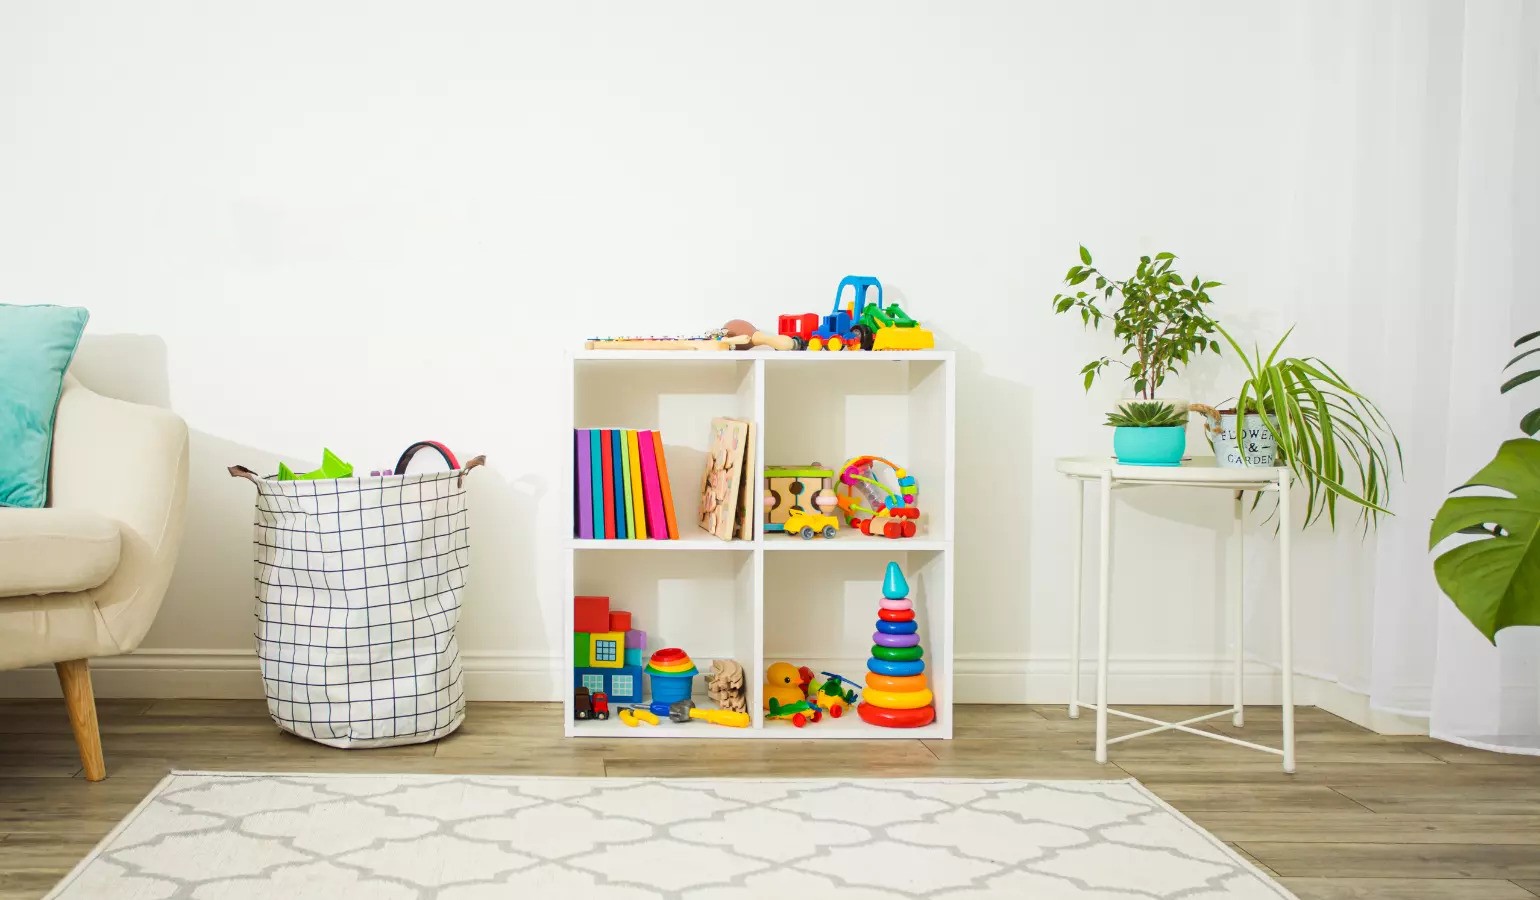
Consider using clear storage bins or baskets to organize and store kids’ toys. Label each container to make it easy for kids to find and put away their toys. This will also help keep the play area tidy and clutter-free.
Read more: How To Store Collectible Toys
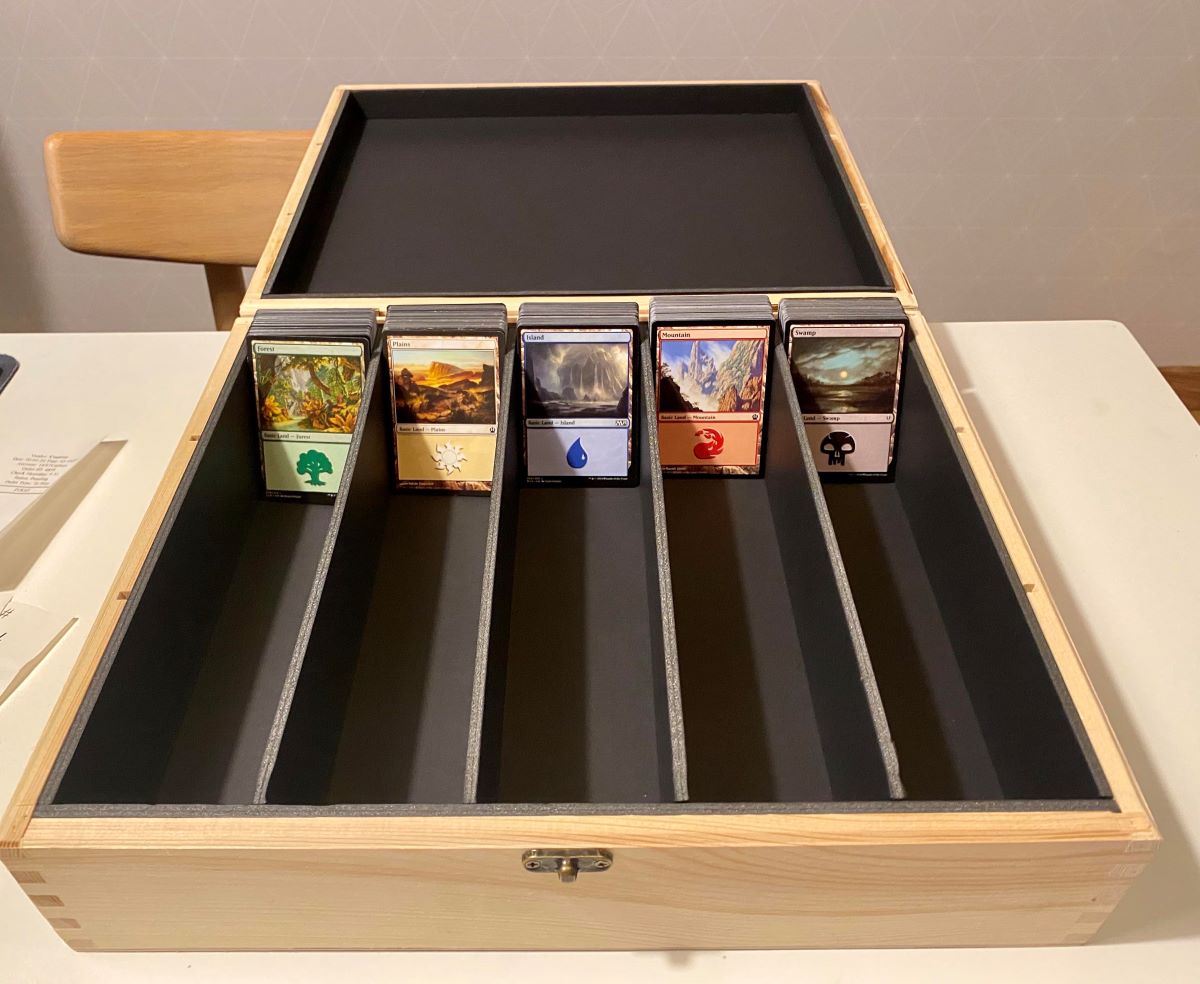
Step 5: Implementing a Labeling System
To further enhance the organization of your child’s toys, consider implementing a labeling system. Labels can provide clear visual cues for your child to identify where each toy belongs, making it easier for them to clean up and maintain the organization.
There are various options for labeling containers and shelves. You can use pre-made labels, printable labels, or even create your own using colorful paper or adhesive tape. Include both words and pictures on the labels to cater to children of different ages who may not be able to read yet.
When labeling, be specific and use clear language. Instead of simply labeling a bin as “toys,” add the specific category, such as “Dolls” or “Cars.” This will assist your child in easily locating and returning toys to the correct storage space.
Consider displaying the labels at the child’s eye level, especially for younger children who may not be able to reach higher shelves. This will empower them to take ownership of their toys and participate actively in the organization process.
As your child grows and their toy collection expands, be open to adjusting and updating the labels accordingly. Encourage your child to help with the labeling process, allowing them to feel a sense of ownership and pride in their organized play area.
Remember, a well-implemented labeling system will not only simplify the organization process but also develop your child’s literacy and cognitive skills.
Step 6: Creating Accessible Storage Solutions
When it comes to storing your child’s toys, accessibility is key. Creating storage solutions that are easily accessible for your child will promote independence, encourage tidiness, and make it more convenient for them to engage in their playtime.
Start by considering the height and reach of your child. Place frequently used toys, such as puzzles or building blocks, on lower shelves or in easily accessible bins. This will enable your child to retrieve and put away their toys without needing assistance.
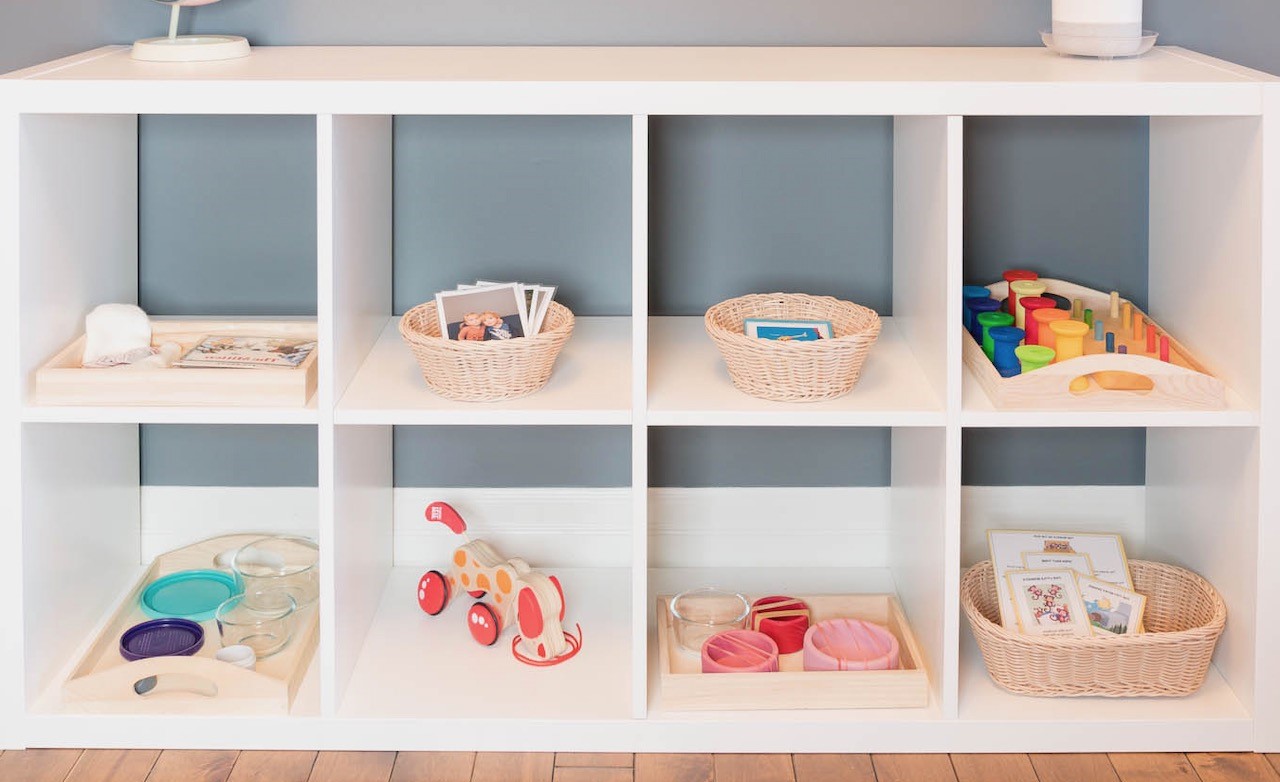
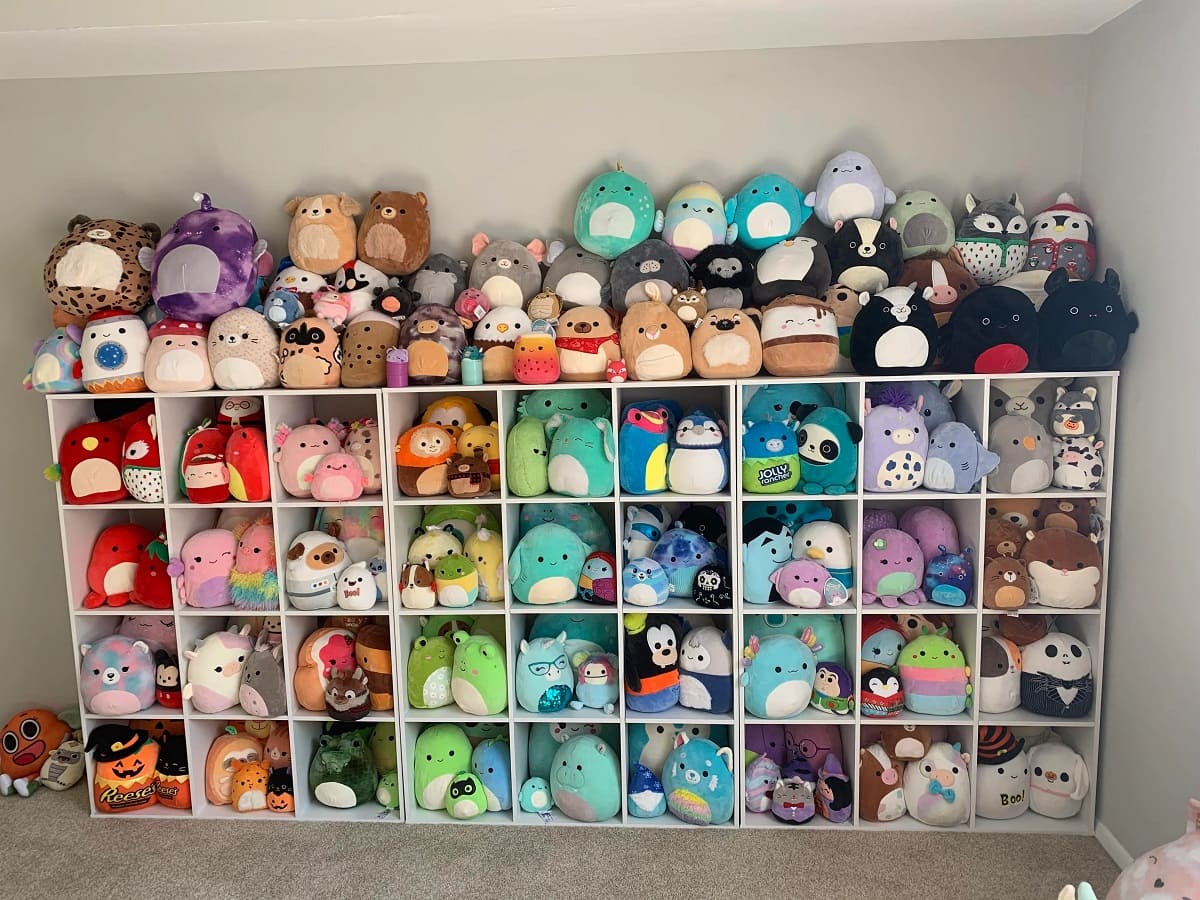
Make use of open storage solutions, such as low shelves or cubbies, to display toys that your child enjoys playing with regularly. This not only makes it easier for them to see and choose the toys they want but also encourages them to take responsibility for keeping the area organized.
If you have limited floor space, consider utilizing vertical storage options. Install wall shelves or hanging organizers to maximize the use of wall space. This not only keeps the floor clear but also provides a visually appealing display for your child’s toys.
Additionally, incorporate storage solutions that are specifically designed for smaller toys or accessories. Clear plastic bins with dividers or removable trays are excellent for organizing items like action figures, art supplies, or small building blocks. These allow for easy visibility and prevent items from getting mixed up or lost.
Remember to regularly assess and adjust the accessibility of the storage solutions as your child grows. As they reach different heights and develop new interests, you may need to modify the placement of toys and storage containers to ensure optimal accessibility.
By creating accessible storage solutions, you not only empower your child to take ownership of their toys, but you also cultivate a sense of pride and responsibility in keeping their play area organized.
Step 7: Establishing a Toy Rotation System
One effective strategy for managing your child’s toy collection is to establish a toy rotation system. This involves periodically swapping out a portion of the toys that are available to your child, keeping their play area fresh and exciting while also controlling clutter.
Start by dividing your child’s toys into different sets or groups. For example, you can have a set of toys for each season, different sets for specific themes, or sets based on your child’s current interests. Store the sets that are not currently in use in a separate designated storage area.
At regular intervals, rotate the toys by introducing a new set and storing the previous set. This can be done weekly, bi-weekly, or even monthly, depending on your preference and the size of your toy collection. By rotating the toys, you bring back a sense of novelty and excitement, as well as keep the play area from becoming overwhelming and cluttered.
When selecting toys for each rotation, consider your child’s age, developmental stage, and current interests. Choose a mix of toys that encourage creativity, problem-solving, and imagination. Include toys from different categories to provide a well-rounded play experience.
By implementing a toy rotation system, you not only maintain a clutter-free play area but also help your child appreciate and engage with their toys in a more meaningful way. It can also extend the lifespan of the toys, as they are not constantly being used and may retain their novelty and value for longer periods.
Remember to involve your child in the rotation process. Allow them to participate in selecting which toys to rotate and encourage them to give feedback on which toys they enjoy the most. This involvement fosters decision-making skills, independence, and a sense of control over their playtime.
Step 8: Maintaining and Cleaning the Toy Storage Area
Once you have established an organized toy storage system, it’s important to prioritize the maintenance and cleaning of the storage area to keep it functional and efficient. Regular upkeep will prevent clutter from accumulating and make it easier for both you and your child to locate and enjoy their toys.
Start by setting aside dedicated cleanup time. Establish a routine with your child to regularly tidy up the play area and put away toys at the end of each play session or day. This habit encourages responsibility and teaches your child the importance of keeping their space clean and organized.
During cleanup time, involve your child in the process. Make it a fun and interactive activity by turning on some music, setting a timer, or playing a cleanup game. By making it enjoyable, your child will be more inclined to participate and take ownership of keeping their toys organized.
Regularly assess the toy storage area and make adjustments as needed. As your child’s toy collection grows or their interests change, you may need to make modifications to the storage containers, shelves, or categories. Stay flexible and adapt the organization system to suit your child’s evolving needs.
Periodically deep-clean the storage area. Wipe down shelves, bins, and containers to remove any dust or debris. Launder or spot clean soft toys to keep them fresh and hygienic. This not only keeps the storage area visually appealing but also ensures a clean and safe environment for your child.
Encourage your child to participate in the cleaning process by teaching them how to properly care for their toys. Show them how to organize and arrange the toys in their designated containers or on shelves. Teach them to wipe down toys that may have gotten dirty during playtime.
Remember to regularly declutter and reassess the toy collection. Set aside time every few months to go through the toys and remove any that are broken, no longer age-appropriate, or no longer played with. This helps keep the storage area streamlined and ensures that only toys that are loved and enjoyed are kept.
By maintaining and cleaning the toy storage area regularly, you create a well-functioning and inviting space for your child’s playtime. It also instills valuable habits of cleanliness and organization that your child can carry with them into adulthood.
Read more: How To Store Ride On Toys
Conclusion
Managing and organizing your child’s toy collection can be a daunting task, but with the right approach, it can become a rewarding and enjoyable process. By following the steps outlined in this article, you can create an organized and accessible toy storage system that not only keeps your home tidy but also fosters your child’s independence, responsibility, and creativity.
Beginning with decluttering and sorting, you can create a manageable collection of toys that your child truly enjoys. Designating a specific storage space and choosing the right containers ensure that each toy has its own place and can be easily located. Organizing toys by categories and implementing a labeling system make it simpler for your child to find and put away toys.
Creating accessible storage solutions and establishing a toy rotation system introduce variety and excitement into your child’s playtime while preventing overwhelm and clutter. Finally, maintaining and cleaning the toy storage area on a regular basis ensures a clean and inviting play space for your child.
Remember, the process of organizing your child’s toys is not just about keeping your home neat and tidy. It is an opportunity to teach your child life skills such as responsibility, decision-making, and organization. It allows them to take ownership of their toys and their space, fostering independence and creativity.
So, embrace the challenge of organizing your child’s toys and transform it into a fun and engaging experience. By implementing these steps, you can create a well-structured and visually appealing toy storage system that benefits both you and your child.
Now, go forth and conquer the task of toy storage with confidence!
Frequently Asked Questions about How To Store Kids Toys
Was this page helpful?
At Storables.com, we guarantee accurate and reliable information. Our content, validated by Expert Board Contributors, is crafted following stringent Editorial Policies. We're committed to providing you with well-researched, expert-backed insights for all your informational needs.


0 thoughts on “How To Store Kids Toys”