Articles
How To Store Living Lettuce
Modified: August 27, 2024
Discover the best methods for storing living lettuce in this informative article. Keep your lettuce fresh and crispy for longer with these helpful tips and tricks.
(Many of the links in this article redirect to a specific reviewed product. Your purchase of these products through affiliate links helps to generate commission for Storables.com, at no extra cost. Learn more)
Introduction
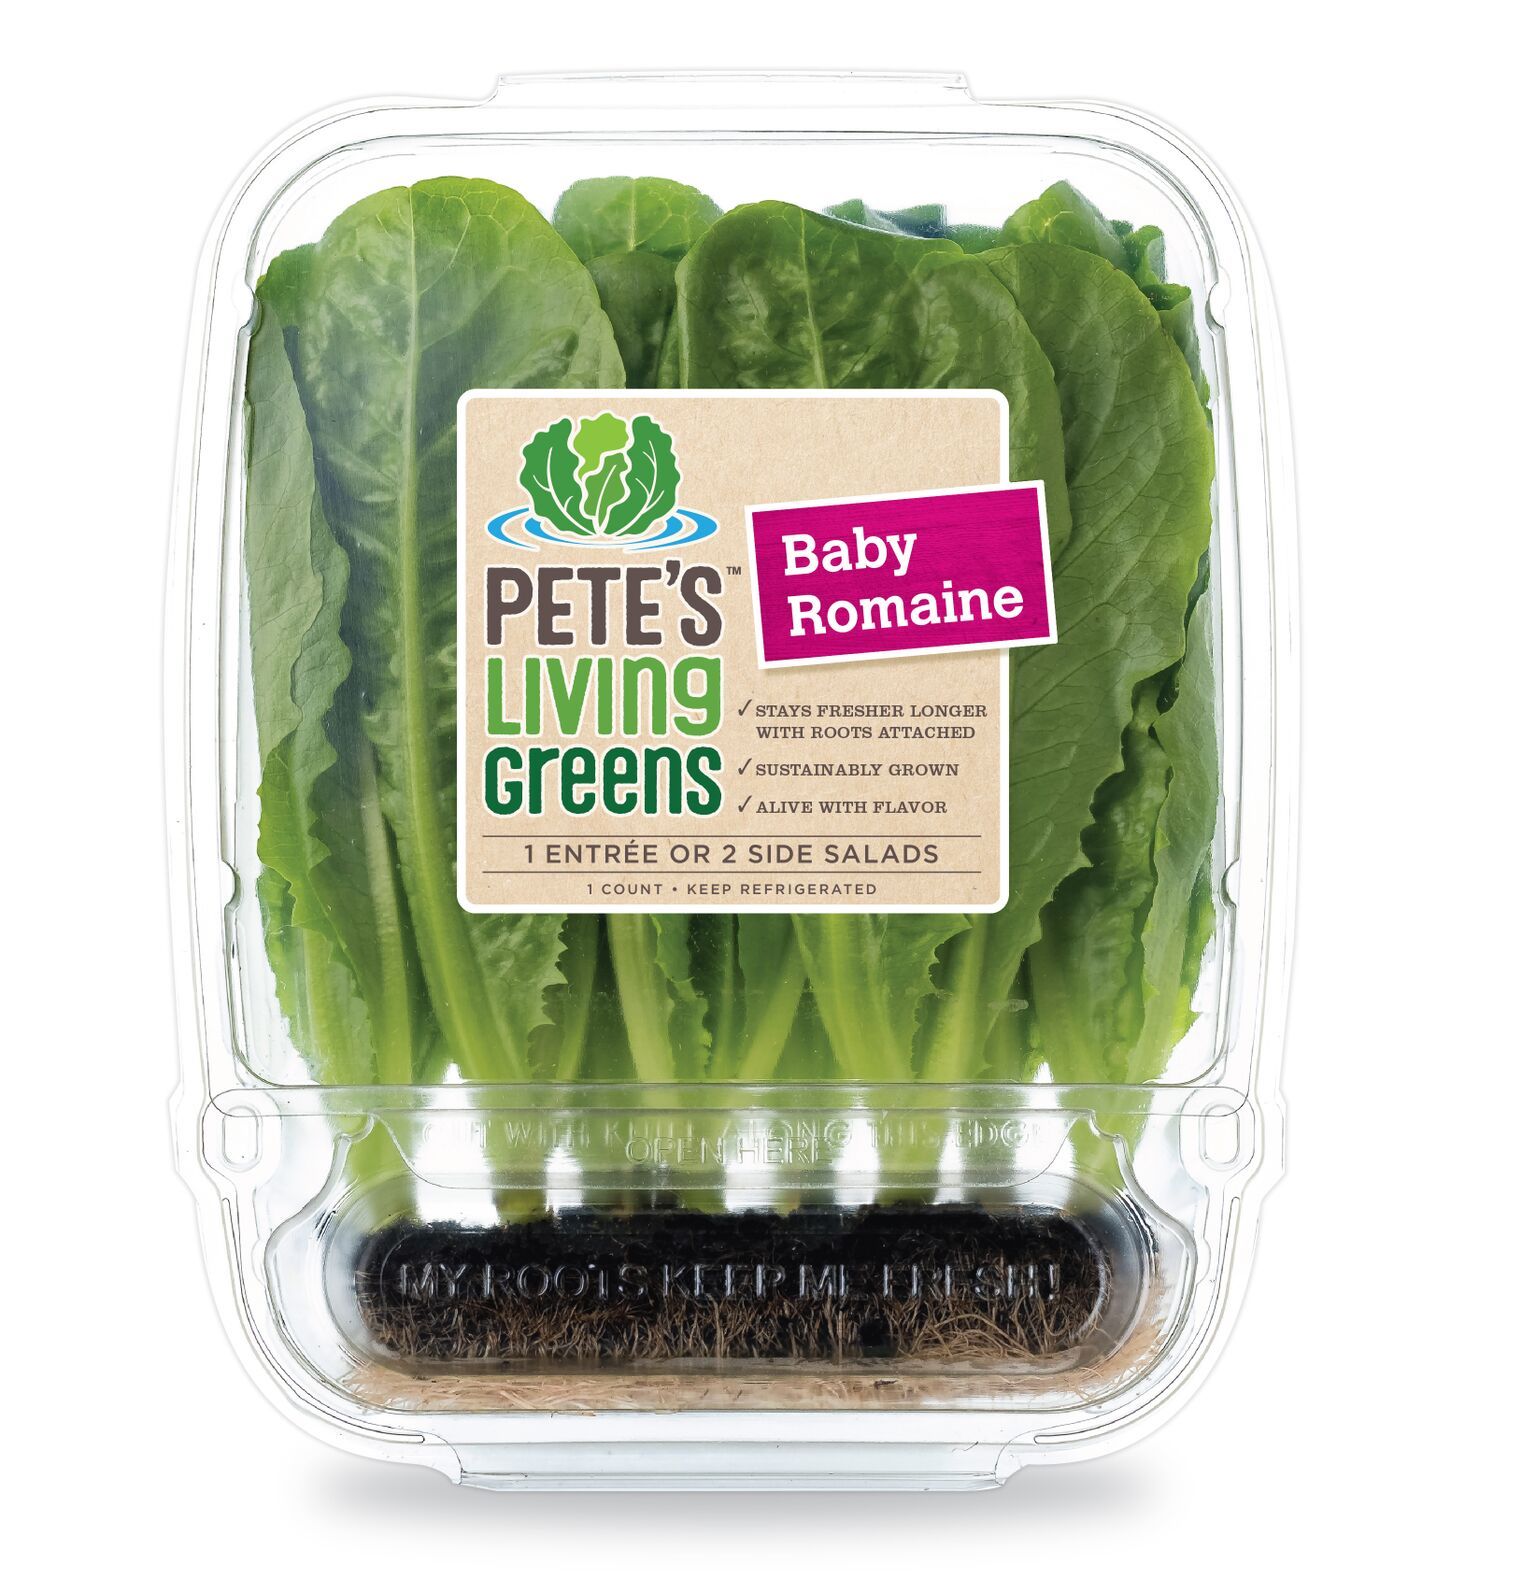
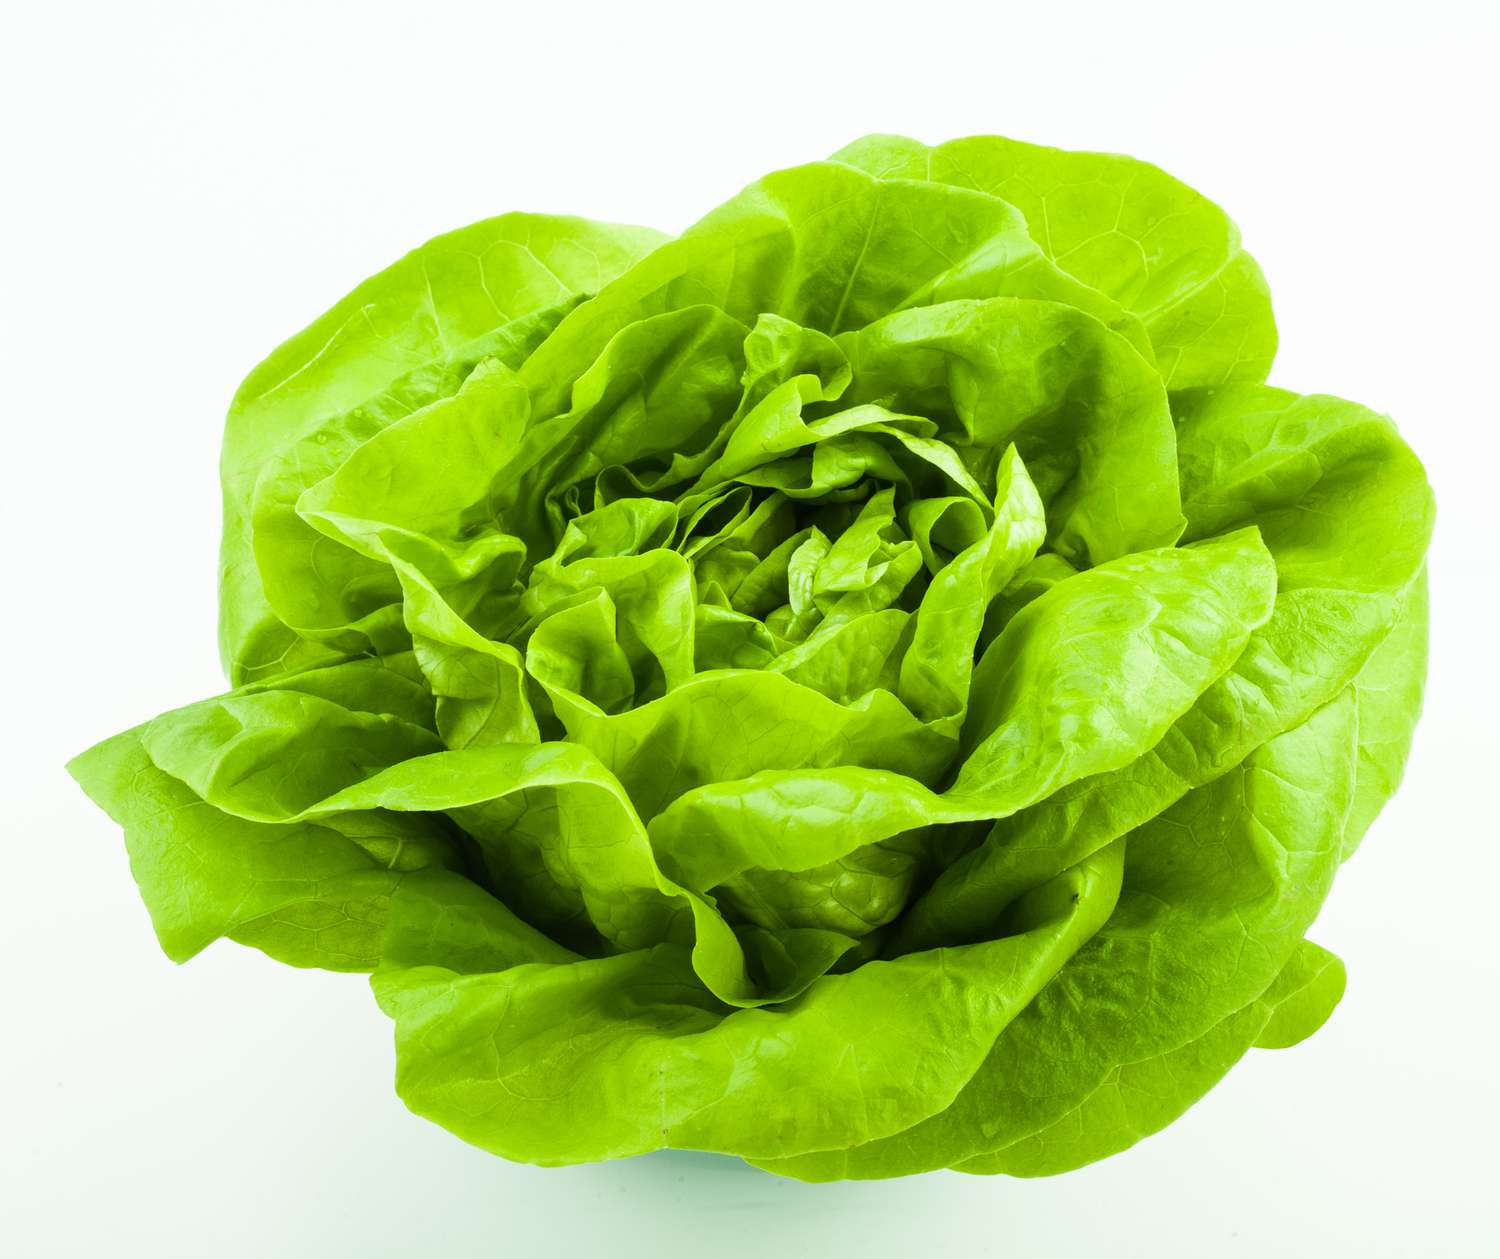
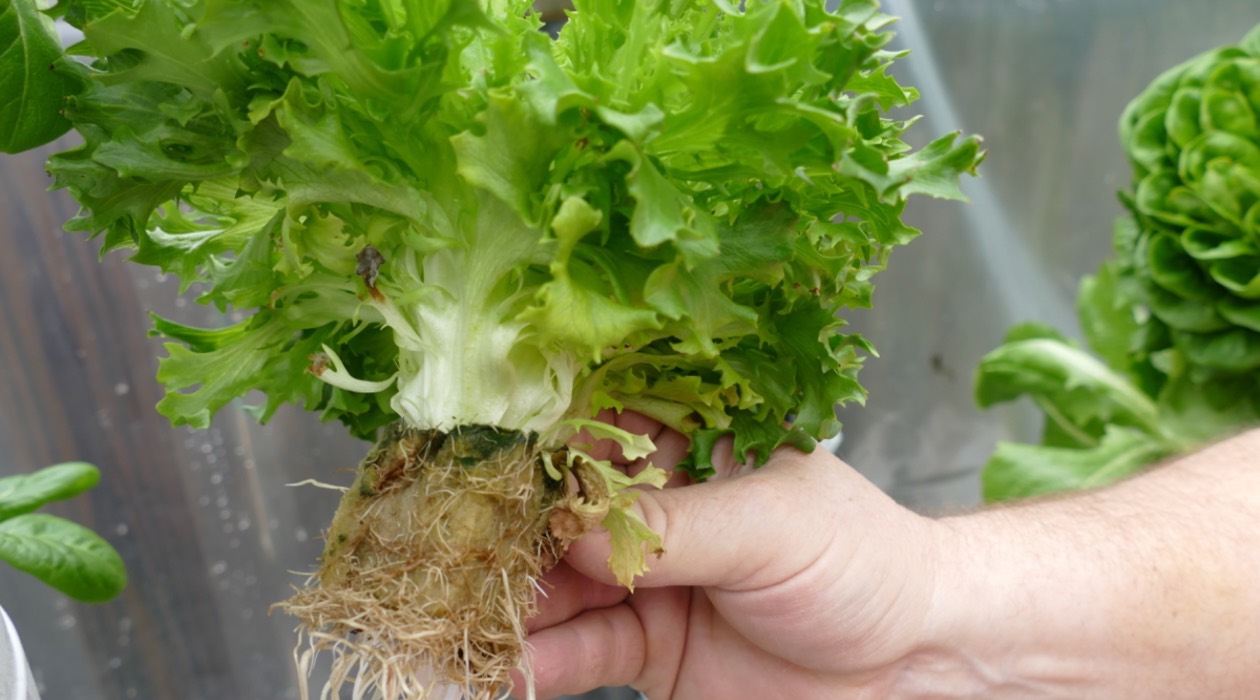
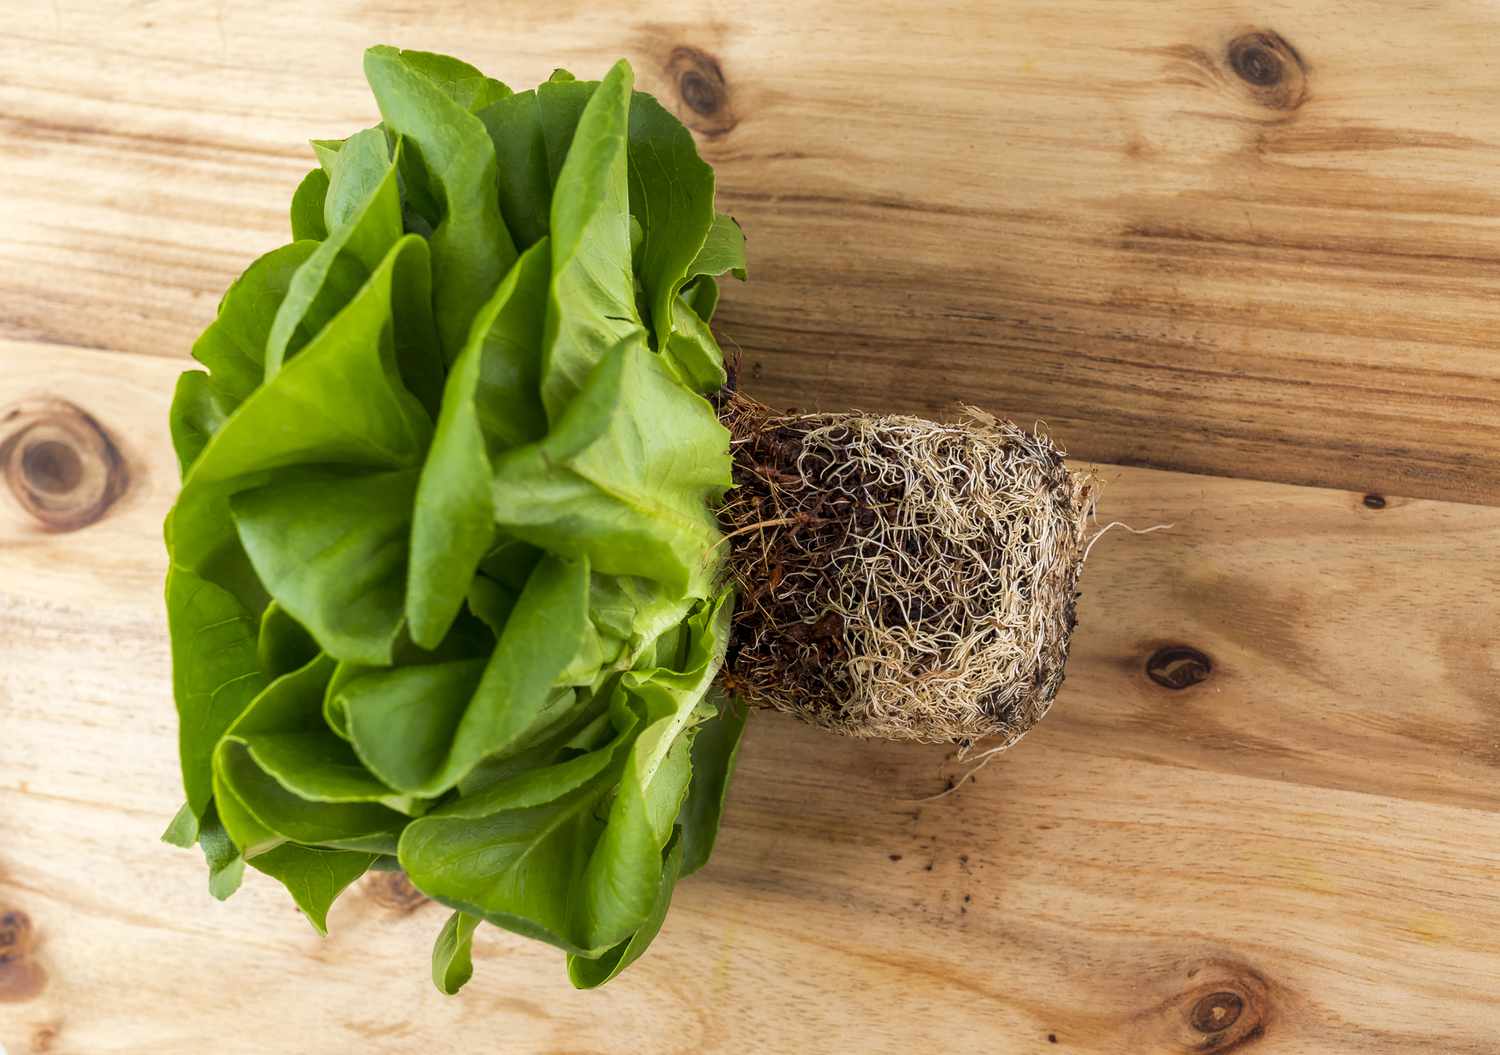
When it comes to enjoying fresh and crisp lettuce, nothing compares to the taste of living lettuce. Living lettuce refers to the type of lettuce that is harvested with the roots still intact, allowing it to stay alive for a longer period of time. This means that you can store living lettuce and enjoy its beautiful leaves for much longer than pre-cut lettuce.
Storing living lettuce has become increasingly popular among home gardeners and health-conscious individuals who want to have access to fresh greens all year round. The process involves creating the right environment for the lettuce to continue growing, even after it has been harvested.
In this article, we will explore the benefits of storing living lettuce and guide you through the process of storing it at home. Additionally, we will share some helpful tips to help you extend the shelf life of your living lettuce and make the most out of this delicious and nutritious leafy green.
Key Takeaways:
- Storing living lettuce offers extended freshness, cost-effectiveness, and environmental sustainability. It’s a practical, nutritious, and sustainable way to enjoy fresh greens at home.
- Choosing the right container, preparing the soil, and providing proper care are essential for successful living lettuce storage. Harvest and store the leaves properly to maximize their shelf life and flavor.
Read more: How To Store Lettuce
Benefits of Storing Living Lettuce
Storing living lettuce offers numerous benefits that make it an attractive option for any lettuce lover. Here are some of the key advantages:
- Extended freshness: When you store living lettuce, it stays fresher and crisper for a longer period of time compared to pre-cut lettuce. Since the roots are still intact, the lettuce continues to draw moisture and nutrients from the soil, keeping it vibrant and flavorful.
- Cost-effective: Buying living lettuce and storing it at home can save you money in the long run. Pre-packaged lettuce often comes with a higher price tag due to the processing and packaging involved. By storing living lettuce, you can harvest leaves as needed, reducing waste and ensuring you always have fresh greens on hand.
- Nutritional value: Living lettuce retains its nutritional value better than pre-cut lettuce. The longer the lettuce stays alive, the more vitamins, minerals, and antioxidants it retains. By storing living lettuce, you can enjoy a higher nutrient content in your salads and meals.
- Convenience: Having living lettuce at home means you can have a ready supply of fresh greens without having to run to the grocery store every time. You can simply harvest leaves as you need them, resulting in greater convenience and flexibility in meal planning.
- Environmental sustainability: By growing and storing your own living lettuce, you reduce your reliance on store-bought, pre-packaged lettuce. This helps to reduce plastic waste, energy consumption, and carbon emissions associated with the industrial food production system.
With these benefits in mind, it’s no wonder that more and more people are embracing the practice of storing living lettuce. Not only does it offer a practical and cost-effective solution for having fresh greens, but it also allows for a more sustainable and nutritious approach to eating. Let’s now explore how to store living lettuce successfully.
Choosing the Right Container
When it comes to storing living lettuce, choosing the right container is crucial to ensure the optimal conditions for growth and preservation. Here are some factors to consider when selecting a container:
- Size: Look for a container that is spacious enough to accommodate the size of your living lettuce. It should provide enough room for the roots to spread out and the leaves to grow without being cramped.
- Drainage: Ensure that the container has proper drainage holes to allow any excess water to escape. This prevents waterlogging and helps to maintain the appropriate moisture levels for the lettuce.
- Material: Opt for a container made of food-safe materials such as plastic or ceramic. Avoid containers made of metal, as they may react with the soil or water and contaminate the lettuce.
- Lid or cover: While not necessary, having a lid or cover for the container can help create a humid microclimate that promotes the longevity of the lettuce. If using a lid, make sure it is breathable to allow for air circulation.
- Transparency: Consider choosing a transparent or semi-transparent container. This allows you to monitor the growth and health of the lettuce without having to disturb the roots.
- Multipurpose: If space is a concern, look for a container that can serve multiple purposes. For example, a decorative planter with proper drainage can double as a container for your living lettuce.
By carefully considering these factors, you can choose a container that provides the ideal environment for your living lettuce to thrive. Once you have selected the right container, the next step is to prepare it for the arrival of the lettuce.
Preparing the Container
Before transferring your living lettuce to the container, it’s essential to properly prepare it to ensure the best conditions for growth. Here’s how to prepare the container:
- Clean the container: Start by cleaning the container with mild soap and water. Rinse it thoroughly to remove any residue or soap. This step helps to ensure a clean and sanitized environment for your lettuce.
- Add a drainage layer: Place a layer of small rocks or pebbles at the bottom of the container to facilitate drainage. This prevents the roots from sitting in stagnant water, which can lead to rotting.
- Fill with potting mix: Fill the container with a high-quality potting mix that is well-draining. Avoid using garden soil, as it may contain pests or diseases that could harm the lettuce. The potting mix should be loose and light to allow for proper root growth and airflow.
- Level the soil: Gently level the soil surface using your hands or a small tool. Ensure that the soil is evenly distributed, leaving some space at the top to accommodate the lettuce roots and allow for watering.
- Moisten the soil: Dampen the soil with water until it is evenly moist but not soaking wet. This provides a favorable environment for the lettuce roots to establish and promotes initial growth.
- Optional: Add organic matter: If desired, you can mix in some compost or other organic matter into the potting mix to provide additional nutrients for the lettuce. This step is optional, but it can help enhance the overall health and vigor of the plant.
By following these steps, you will create a well-prepared container that is ready to receive the living lettuce. Now, let’s proceed to the next step, which is transferring the lettuce to the container.
Transferring the Living Lettuce to the Container
Now that you have prepared the container, it’s time to transfer the living lettuce from its current location to the new container. Follow these steps to ensure a successful transfer:
- Choose healthy lettuce: Select lettuce plants that are healthy, with vibrant leaves and no signs of disease or pests. Avoid plants that are damaged or wilted.
- Carefully remove from original container: If your living lettuce came in a small nursery pot or grow tray, gently remove it by turning the container upside down and tapping the bottom. The lettuce should easily slide out with the soil and roots intact.
- Loosen the roots: Gently loosen the roots of the lettuce by lightly massaging the root ball. This helps to encourage new root growth and prevents them from becoming tightly bound.
- Place in the new container: Carefully place the lettuce plant in the prepared container with the root end touching the soil surface. Ensure that the plant is centered and upright.
- Backfill with soil: Carefully fill in the gaps around the lettuce plant with the potting mix, pressing it firmly but gently to secure the plant in place. Ensure that the soil level is slightly below the top edge of the container to prevent water runoff.
- Water thoroughly: Give the lettuce a good watering immediately after transferring it to the new container. Water until you see moisture seeping out of the drainage holes. This helps to settle the soil and ensures that the plant has adequate moisture.
Once you have completed these steps, your living lettuce is now comfortably situated in its new home. The next crucial step is to provide the necessary care to ensure its growth and vitality. In the following section, we will discuss the proper care and maintenance of living lettuce.
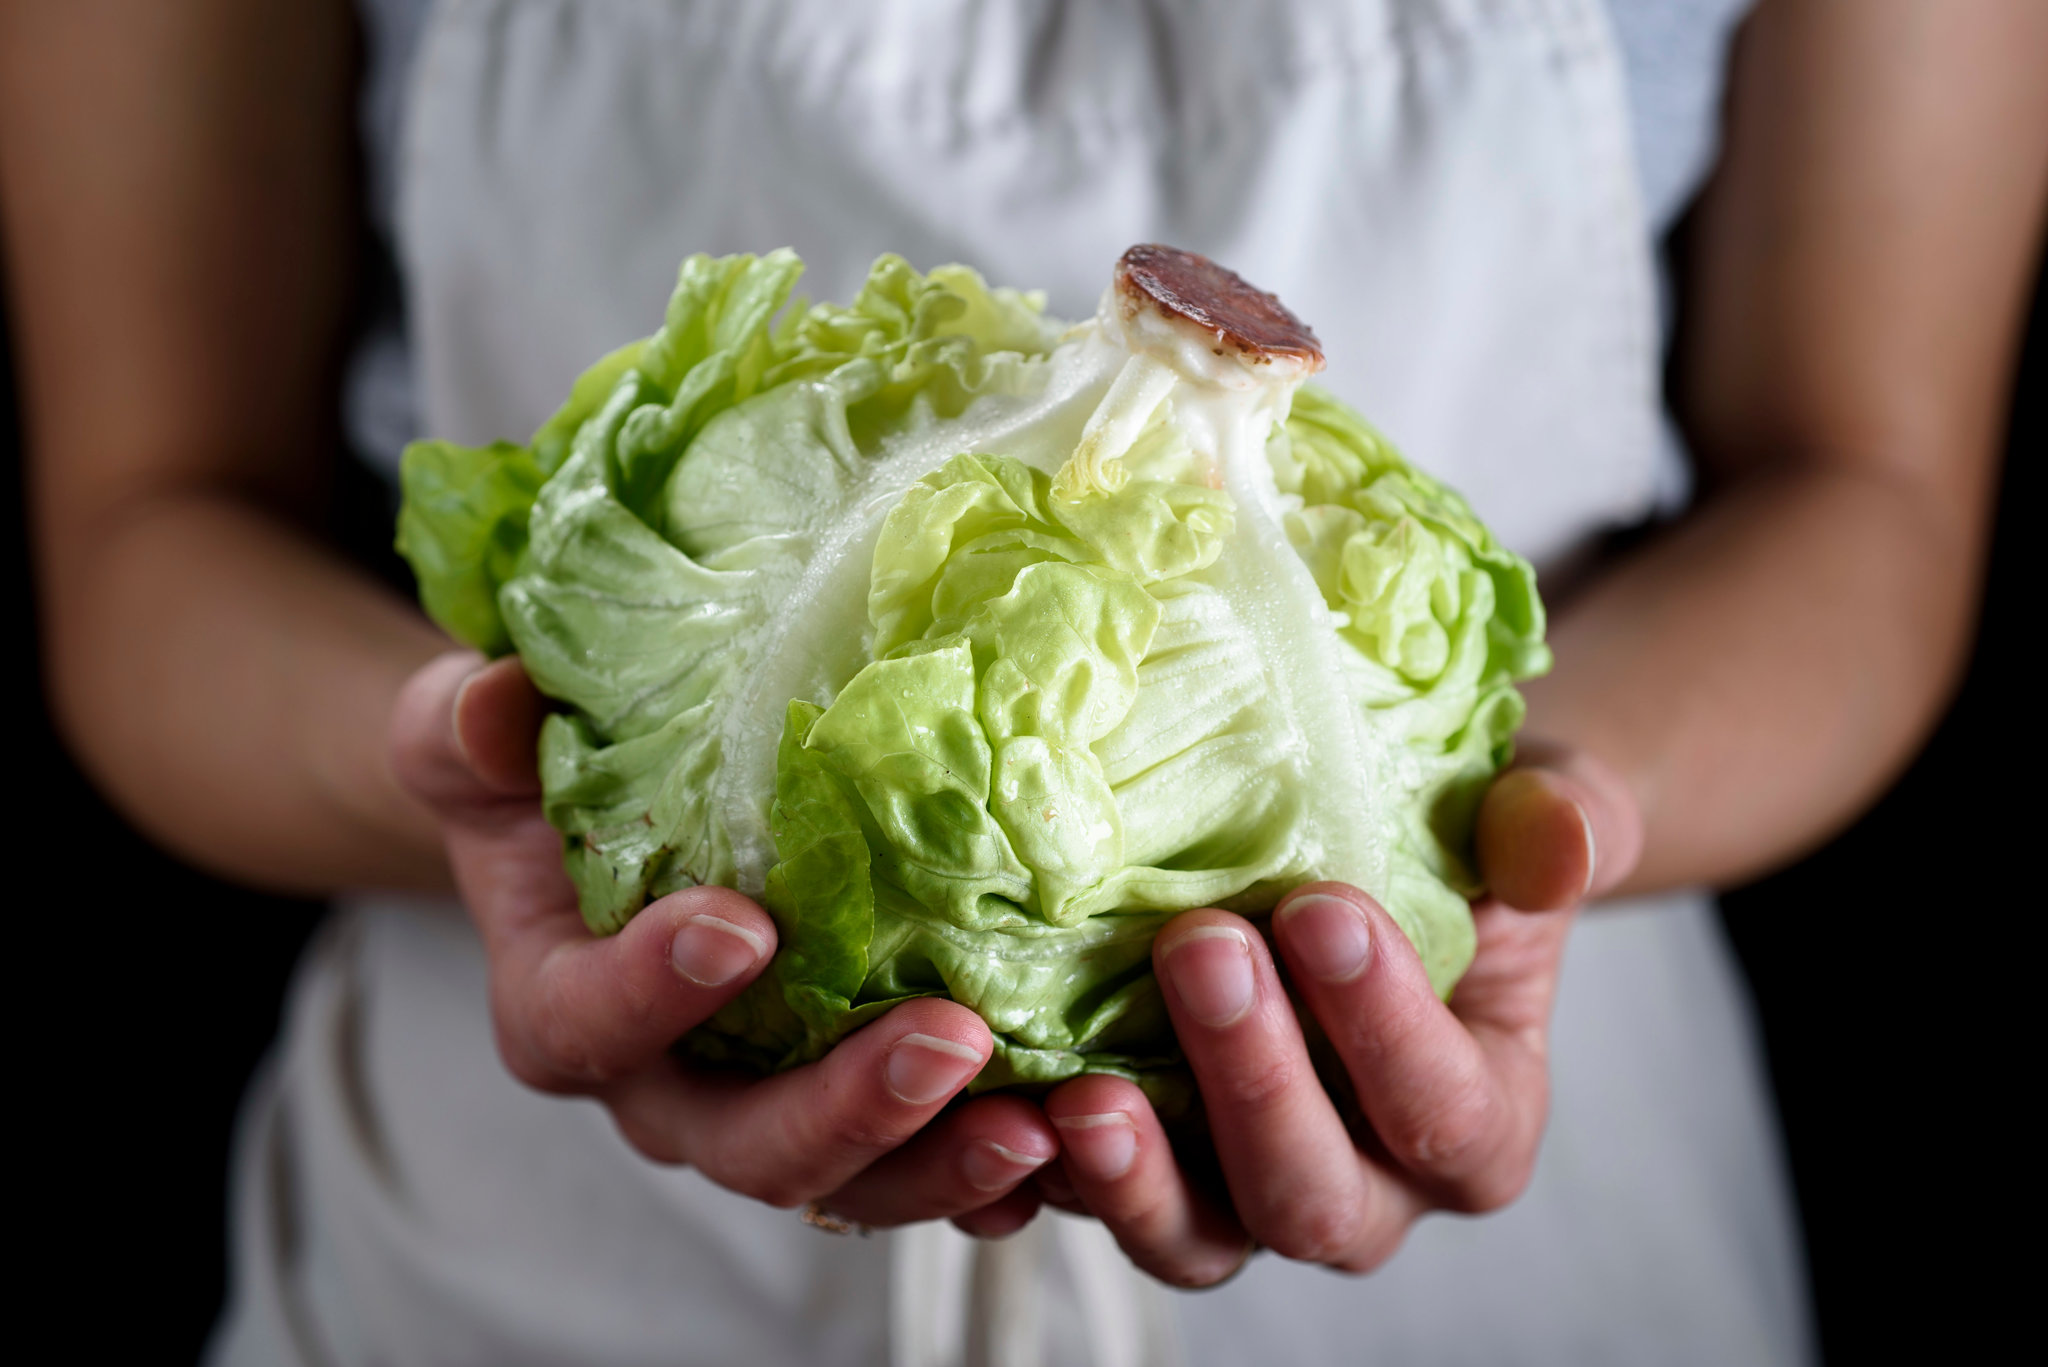
When storing living lettuce, it’s important to keep it in the original packaging or a perforated plastic bag in the refrigerator. This will help maintain its freshness and crispness for a longer period of time.
Read more: How To Store Lettuce For Winter
Caring for the Living Lettuce
Proper care and maintenance are integral to ensuring the health and growth of your living lettuce. Here are some essential tips for caring for your lettuce:
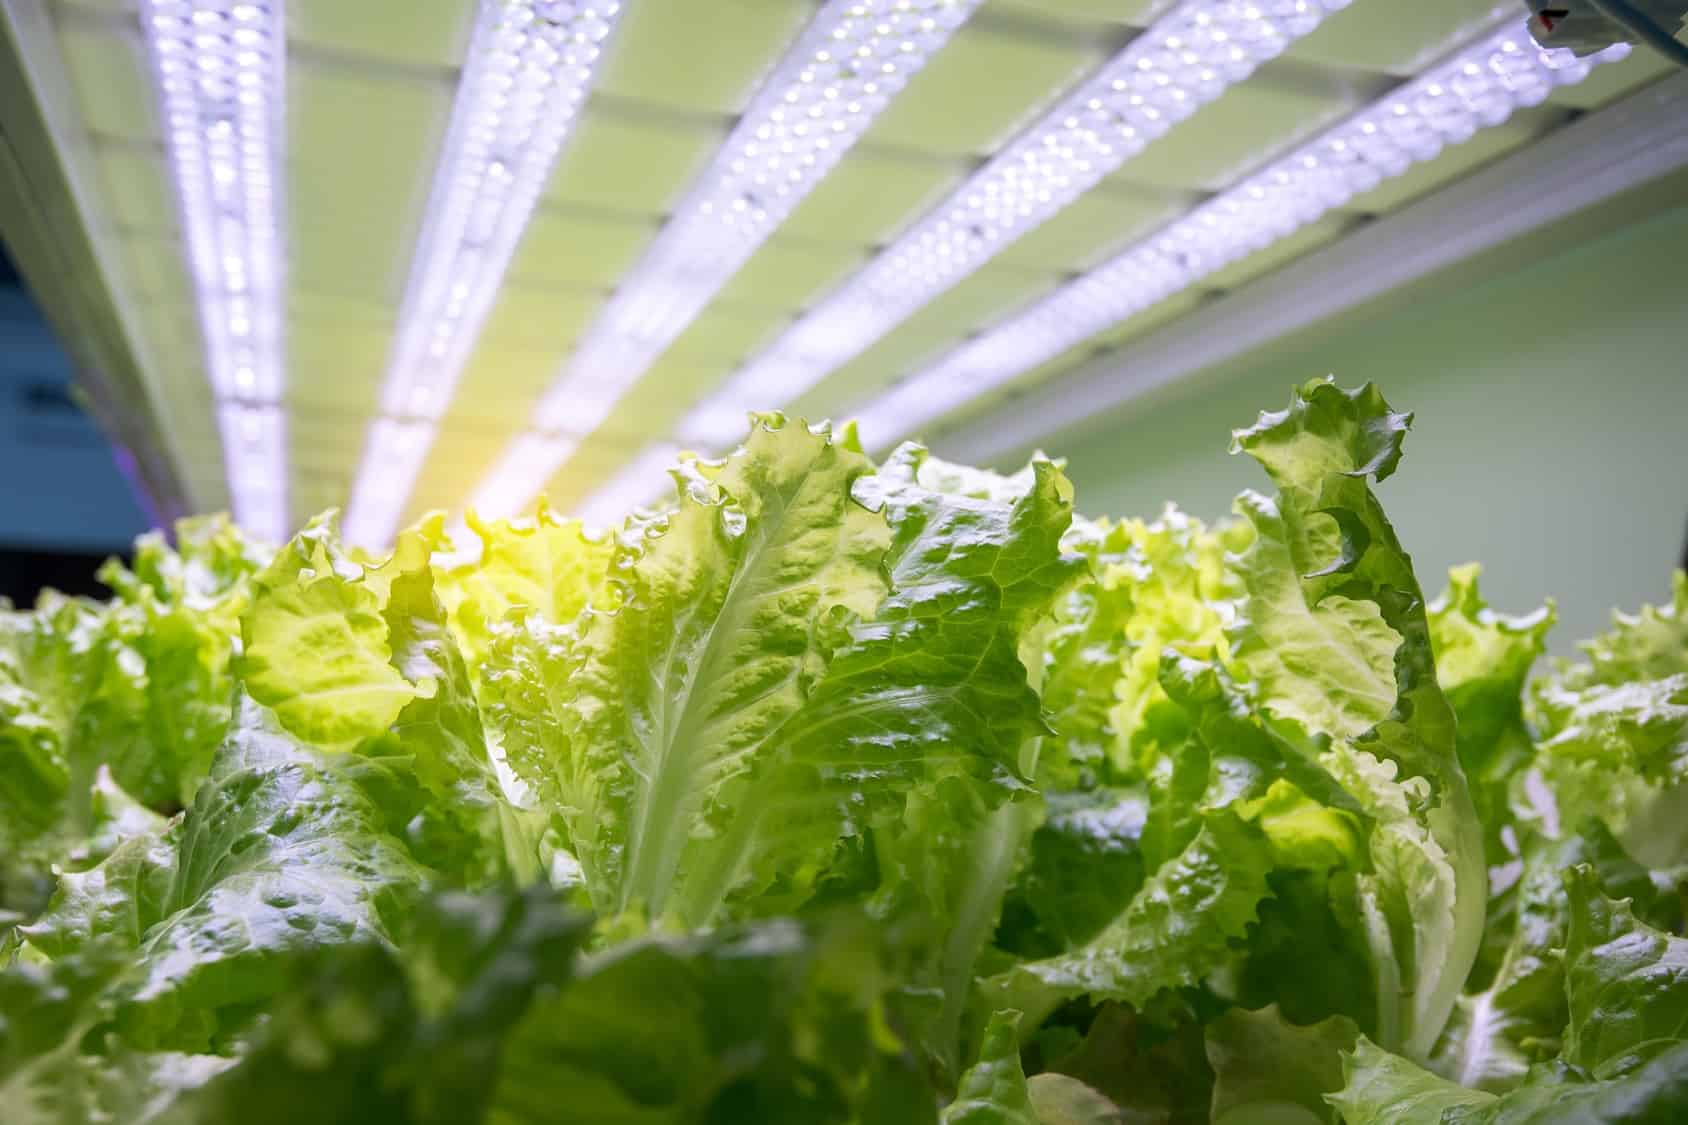
- Light: Place the container in a location that receives bright, indirect sunlight. Living lettuce thrives in partial shade or filtered sunlight. Too much direct sunlight can cause the leaves to wilt or scorch, while insufficient light can lead to leggy growth.
- Watering: Keep the soil consistently moist, but not waterlogged. Check the moisture level regularly by inserting your finger into the soil. If it feels dry up to the first knuckle, it’s time to water. Use room temperature water and ensure that the water reaches the roots without wetting the leaves excessively.
- Humidity: Lettuce prefers moderate humidity levels. To increase humidity, you can place a tray filled with water near the container or mist the leaves periodically. Avoid misting excessively, as it can promote fungal diseases.
- Temperature: Maintain an optimal temperature range of around 60-70°F (15-21°C) for the lettuce. Avoid extreme temperature fluctuations and protect the plants from frost or excessive heat.
- Fertilization: Feed your living lettuce with a balanced, water-soluble fertilizer every two to three weeks. Follow the package instructions for the correct dilution ratio and apply the fertilizer to the soil, avoiding contact with the leaves.
- Pruning: Regularly remove any damaged or yellowing leaves to promote new growth and prevent disease spread. Harvesting outer leaves for consumption will also encourage the plant to produce more leaves.
- Pest and disease management: Monitor your living lettuce for any signs of pests or diseases, such as aphids or mildew. If necessary, treat the affected plants with organic pest control methods or consult a local gardening expert for guidance.
By providing the proper care and attention, you can ensure that your living lettuce continues to thrive and provide you with a fresh harvest of tender and flavorful leaves. In the next section, we will discuss the process of harvesting the lettuce leaves for consumption.
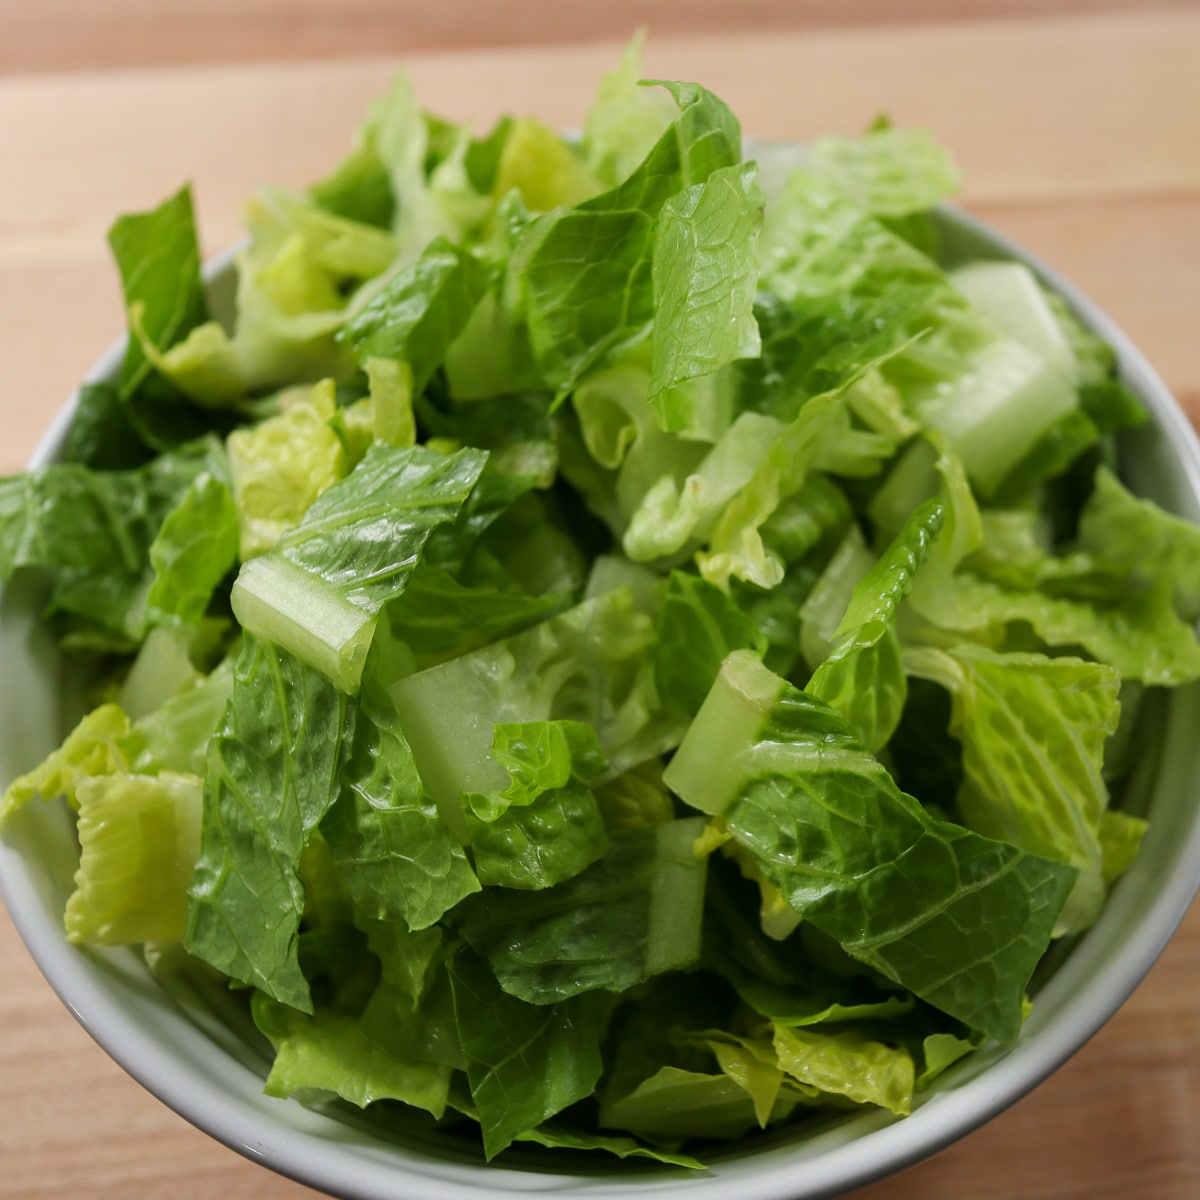
Harvesting the Lettuce Leaves
Harvesting the lettuce leaves from your living lettuce plants is an exciting and rewarding experience. Here’s how to properly harvest the leaves:
- Leaf selection: Choose the outer leaves of the lettuce plant for harvesting. These leaves are older and more mature, making them ready for consumption while allowing the inner leaves to continue growing.
- Cut or pinch: Use a clean pair of scissors or pinch the leaves off gently at the base. Avoid tearing or ripping the leaves, as this can damage the plant and lead to stress or infection.
- Harvesting frequency: Harvest the leaves as needed for your meals, ensuring that you leave enough leaves on the plant for ongoing growth. Younger, smaller leaves tend to be more tender and flavorful.
- Continuous harvesting: As you harvest outer leaves, new leaves will continue to grow from the center of the plant. This allows you to have a continuous supply of fresh lettuce leaves for an extended period.
- Store unused leaves: If you have harvested more lettuce leaves than you need, store them properly in the refrigerator to maintain freshness. We will discuss proper storage techniques in the next section.
By following these harvesting practices, you can enjoy a bountiful harvest of fresh, crisp lettuce leaves while allowing your living lettuce plants to thrive and regrow for future harvesting. Now let’s move on to the next step, which is storing the harvested lettuce leaves to maximize their shelf life.
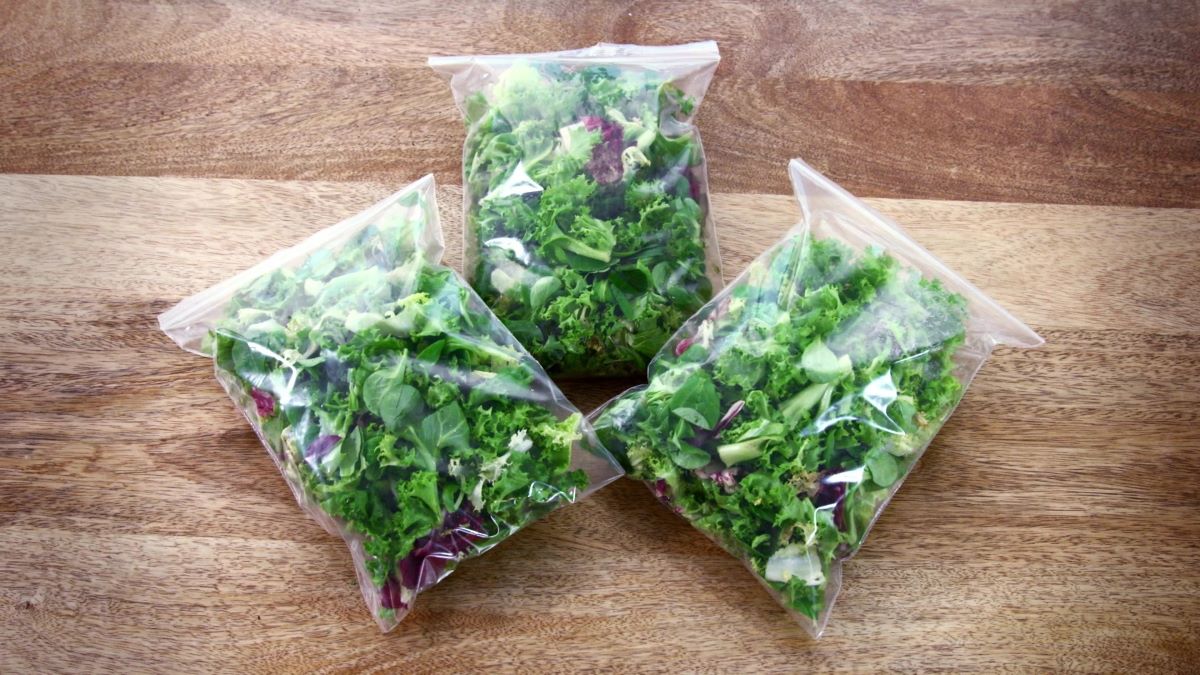
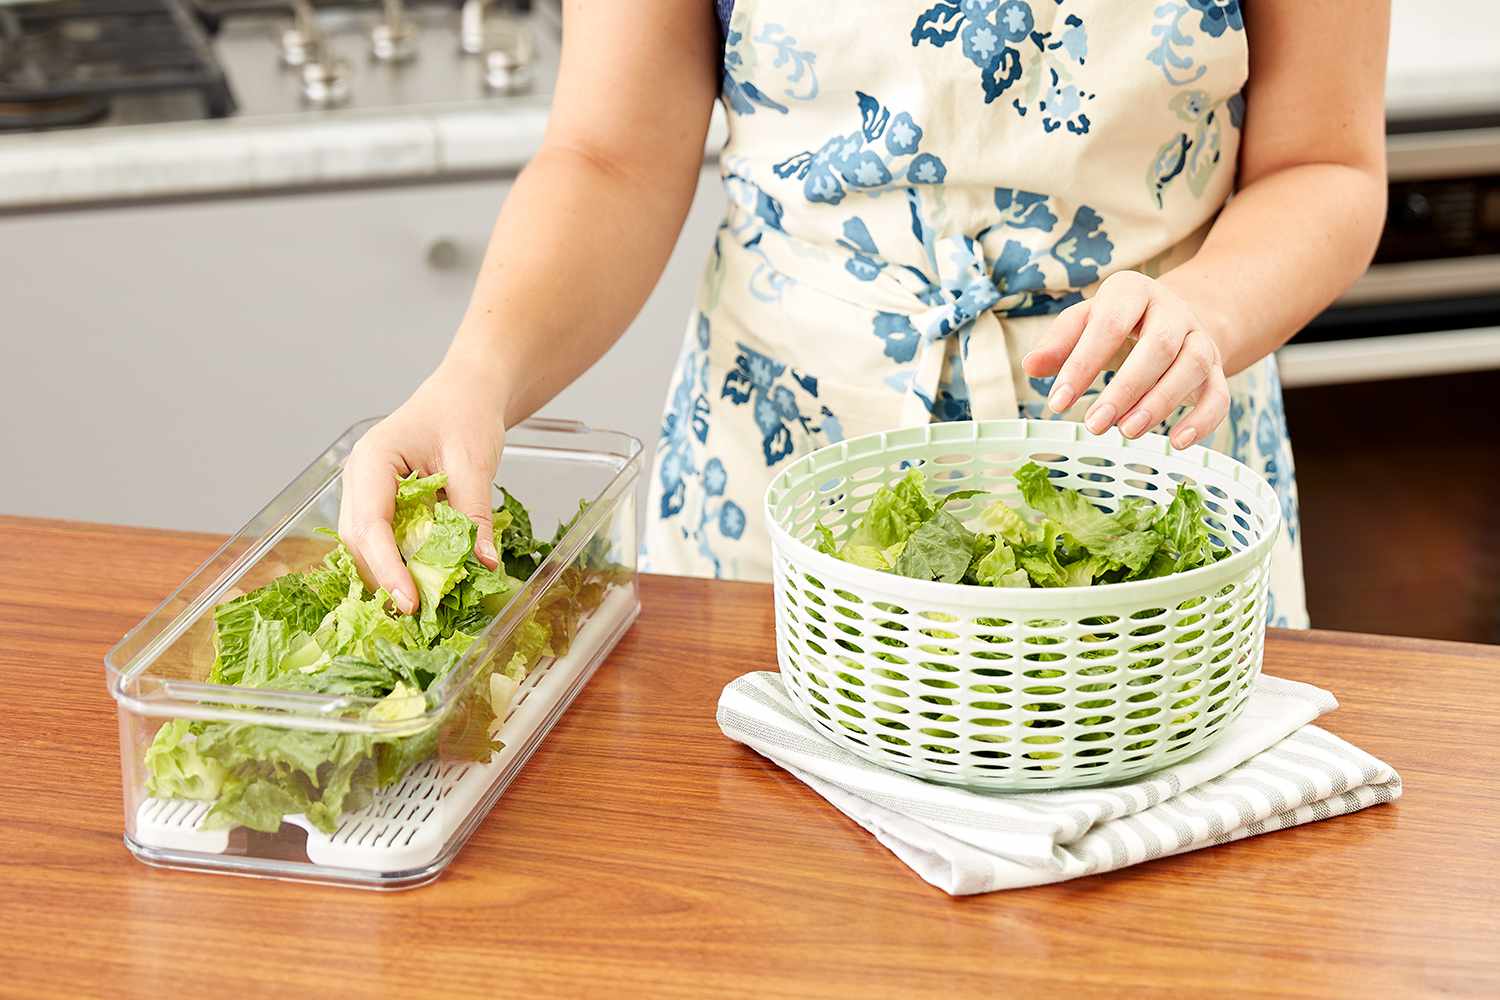
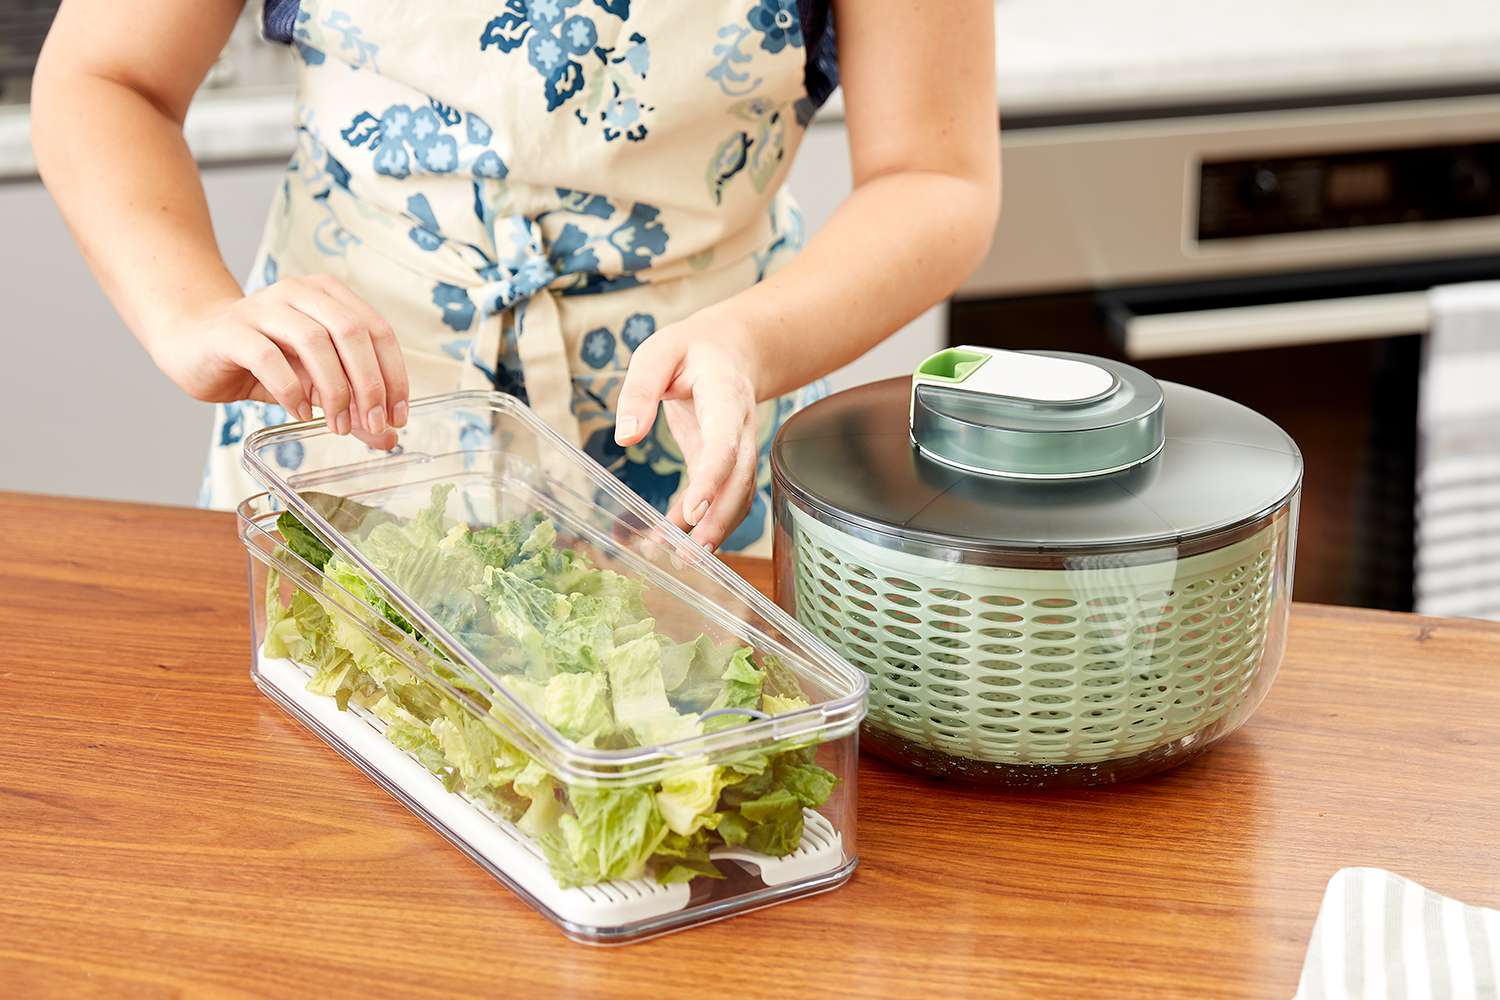
Proper Storage in the Refrigerator
After harvesting your lettuce leaves, proper storage is essential to maintain their freshness and extend their shelf life. Here are some tips for storing your lettuce leaves in the refrigerator:
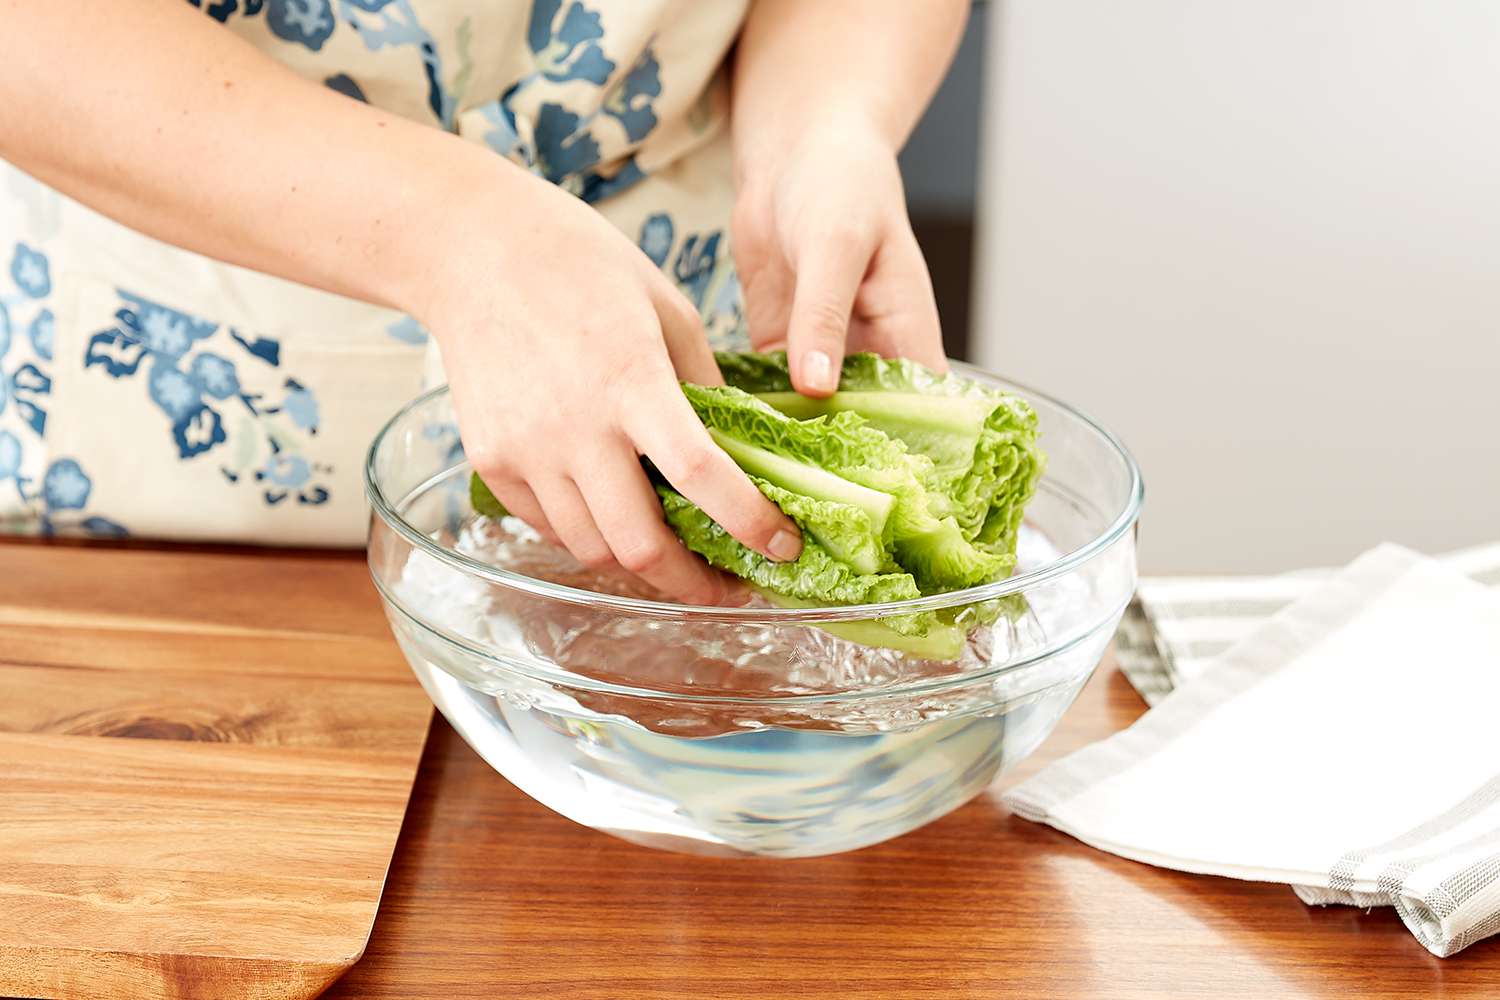
- Preparation: Before storing the lettuce leaves, gently wash them under cold water to remove any dirt or debris. Allow the leaves to dry completely by patting them dry with a paper towel or using a salad spinner. Excess moisture can promote wilting and spoilage.
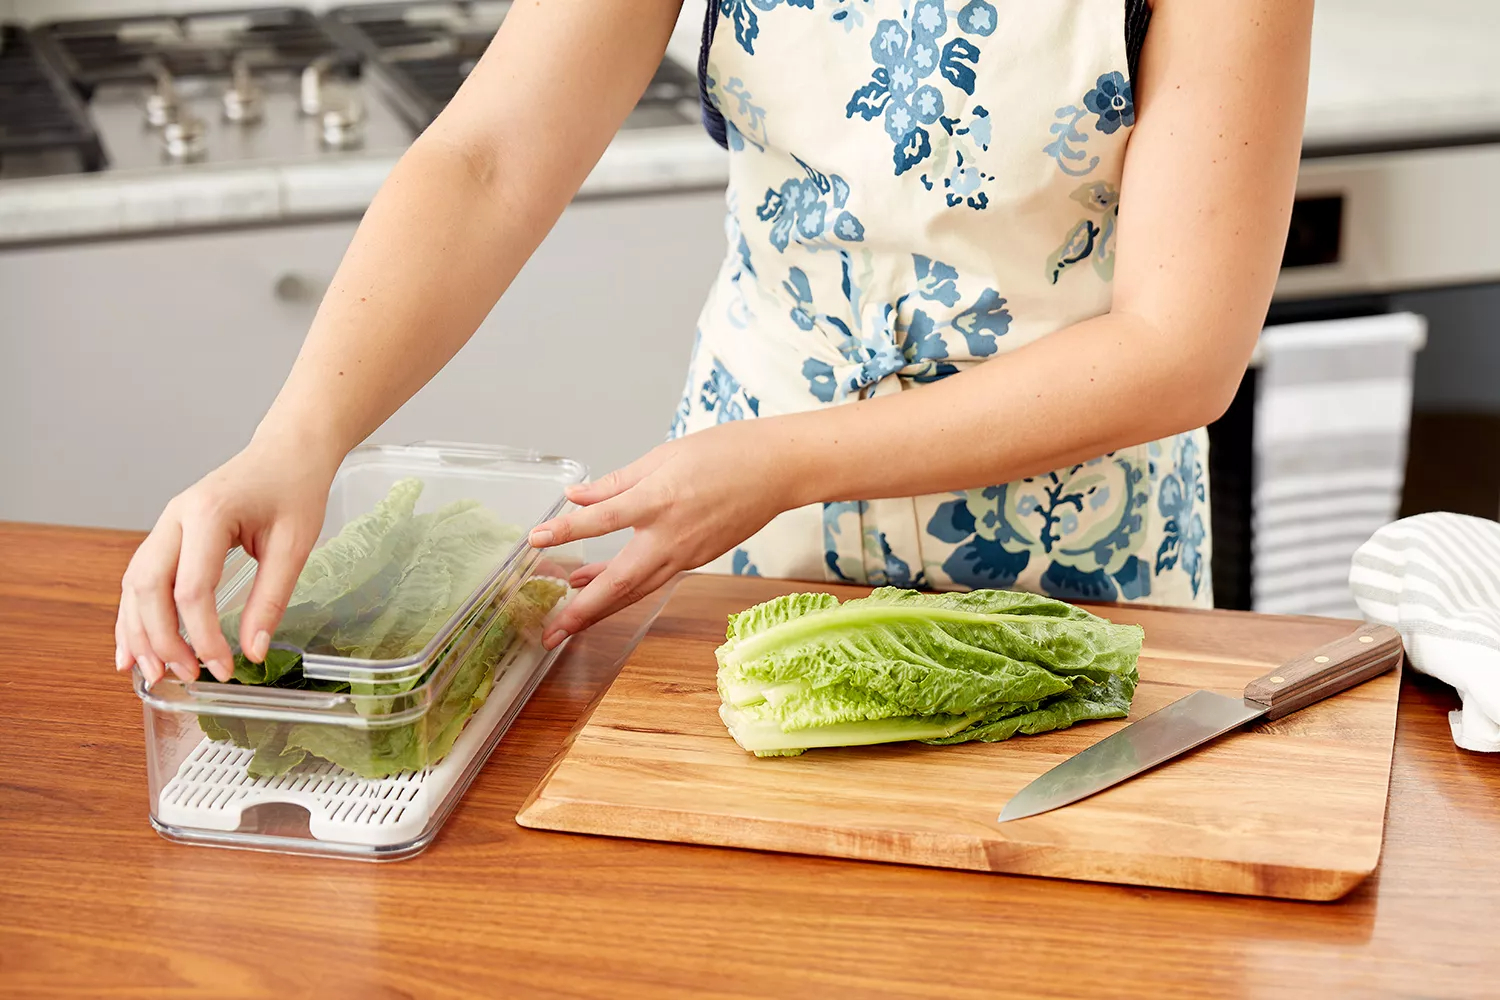
- Storage container: Place the lettuce leaves in a clean, airtight container or a resealable plastic bag. Squeeze out any excess air to minimize moisture and bacteria formation.
- Lining: For added freshness, consider lining the container or bag with a paper towel. The paper towel will help to absorb excess moisture and prevent the leaves from becoming soggy.
- Temperature: Store the container of lettuce leaves in the refrigerator at a temperature of around 32-40°F (0-4°C). Avoid placing them near fruits or vegetables that produce ethylene gas, as it can accelerate the wilting process.
- Use within: Ideally, consume the lettuce leaves within 3-5 days for optimal freshness and flavor. The leaves may start to lose their crispness after this period, but they can still be used in cooked dishes or smoothies.
- Inspect before use: Before using the stored lettuce leaves, inspect them for any signs of wilting, discoloration, or spoilage. Remove any damaged or unfit leaves before incorporating the rest into your recipes.
By following these proper storage practices, you can prolong the shelf life of your harvested lettuce leaves and ensure that they remain crisp and flavorful until you are ready to use them. Now, let’s explore some additional tips for maximizing the shelf life of your living lettuce.
Tips for Prolonging the Shelf Life
To make the most out of your living lettuce and extend its shelf life, consider the following tips:
- Harvest as needed: Instead of harvesting all the leaves at once, only harvest what you need for immediate use. This helps to keep the remaining leaves fresh and allows them to continue growing.
- Store in a cool spot: If you have space, consider storing your living lettuce container in a cool spot such as a basement or garage. The cooler temperature helps to slow down the growth and preserves the freshness of the lettuce.
- Trim the roots: Periodically check the roots of the living lettuce and trim them if they start to become overly long. This allows the plant to focus its energy on new leaf growth instead of root development.
- Refresh the soil: Every few weeks, gently loosen the soil in the container and add a thin layer of fresh potting mix. This provides new nutrients for the lettuce and helps to maintain a healthy growing environment.
- Rotate the container: To ensure even growth, rotate the container every few days to expose all sides of the lettuce to light. This prevents the leaves from leaning in one direction and promotes symmetrical growth.
- Avoid overcrowding: If you have multiple living lettuce plants in one container, make sure to provide enough space for each plant to grow. Overcrowding can lead to competition for resources and hinder the growth of the lettuce.
- Check for signs of pests: Regularly inspect your living lettuce for any signs of pests, such as aphids or snails. If you notice any infestation, take appropriate measures to control the pests and protect your lettuce.
- Experiment with different lettuce varieties: Try growing different types of lettuce, such as romaine, butterhead, or leaf lettuce, to enjoy a variety of flavors and textures. Each variety may have slightly different storage preferences, so experiment to find what works best for you.
By implementing these tips, you can prolong the shelf life of your living lettuce, ensuring a steady supply of fresh greens for salads, sandwiches, or garnishes. Now let’s conclude our discussion.
Read more: How To Store Romain Lettuce
Conclusion
Storing living lettuce provides a host of benefits, from enjoying extended freshness to saving money and reducing waste. By choosing the right container, preparing it properly, and transferring the living lettuce with care, you set a solid foundation for its growth. Caring for the living lettuce by providing adequate light, moisture, and nutrients ensures its health and vitality.
Harvesting the lettuce leaves at the right time and storing them properly in the refrigerator helps maintain their freshness and flavor. By following the recommended tips for prolonging the shelf life, you can ensure that your living lettuce continues to provide fresh, crisp leaves for your culinary adventures.
Remember to regularly inspect the plants for signs of pests or diseases, and take prompt action if necessary. Experiment with different lettuce varieties to enjoy a variety of flavors and textures in your dishes.
Storing living lettuce is not only a practical way to have fresh greens on hand, but it also allows for a more sustainable and nutritious approach to eating. By embracing this method, you can experience the joy of growing your own food and savor the taste of truly fresh lettuce leaves.
So go ahead, pick up some living lettuce, follow the proper storage and care instructions, and enjoy the benefits of having this vibrant and versatile green at your fingertips!
Frequently Asked Questions about How To Store Living Lettuce
Was this page helpful?
At Storables.com, we guarantee accurate and reliable information. Our content, validated by Expert Board Contributors, is crafted following stringent Editorial Policies. We're committed to providing you with well-researched, expert-backed insights for all your informational needs.
0 thoughts on “How To Store Living Lettuce”