Articles
How To Store Mulberries
Modified: December 7, 2023
Learn how to store mulberries properly with helpful articles and tips. Preserve the freshness and flavor of your mulberries for longer storage.
(Many of the links in this article redirect to a specific reviewed product. Your purchase of these products through affiliate links helps to generate commission for Storables.com, at no extra cost. Learn more)
Introduction
When it comes to delicious and nutritious fruits, mulberries are a delightful addition to any diet. These small, juicy berries are packed with vitamins, minerals, and antioxidants that offer a wide range of health benefits. But what happens when you have an abundance of mulberries and want to make them last longer?
That’s where proper storage techniques come into play. Storing mulberries correctly not only helps to extend their shelf life but also allows you to enjoy their unique flavor and nutritional properties months after the harvest season has ended.
In this article, we will explore the best ways to store mulberries, ensuring that you can savor them well beyond their peak season. From keeping them fresh to preserving their flavor through freezing and dehydrating, we’ve got you covered.
Key Takeaways:
- Extend the joy of mulberry season by storing them properly. From fresh to frozen, dehydrated to jam, savor the sweetness and nutritional benefits year-round with these effective storage methods.
- Whether fresh, frozen, or in jam form, mulberries offer versatile and nutritious options. Experiment with storage techniques to enjoy their delightful flavors long after the harvest season has ended.
Read also: 8 Best Mulberry Silk Pillowcase for 2025
Why Store Mulberries?
You may be wondering, why should I bother storing mulberries? After all, they are best enjoyed fresh from the tree or farmers market. While that is true, there are several compelling reasons to store mulberries for later use:
- Extended Availability: The mulberry season is relatively short, usually lasting only a couple of weeks. Storing mulberries allows you to enjoy their unique taste and health benefits throughout the year.
- Budget-friendly: When mulberries are in season, they are abundant and relatively inexpensive. By storing them, you can take advantage of the lower prices and have a supply on hand when they are no longer available or more expensive.
- Versatile Ingredient: Mulberries can be used in a variety of culinary creations, such as smoothies, jams, desserts, or even added to salads. Having stored mulberries readily available expands your options in the kitchen.
- Nutritional Benefits: Mulberries are rich in antioxidants, vitamins, and minerals. Storing them ensures that you can enjoy these nutritional benefits all year round.
By taking the time to store mulberries properly, you can reap the rewards of these delicious and nutritious berries well after their harvest season has ended.
Best Ways to Store Mulberries
Now that you understand the benefits of storing mulberries, let’s explore the most effective methods for preserving their freshness, flavor, and nutritional value. Here are five tried and tested ways to store mulberries:
- Fresh Mulberries: If you plan on consuming the mulberries within a few days, storing them fresh is the simplest option. Simply refrigerate them unwashed in a shallow container lined with paper towels to absorb moisture.
- Refrigerating Mulberries: To extend the shelf life of mulberries for up to a week, refrigeration is the way to go. After gently washing the berries, lay them out to air-dry and remove excess moisture. Then, transfer them to a sealed container lined with paper towels.
- Freezing Mulberries: Freezing mulberries is an excellent option if you want to enjoy them for several months. Start by washing and patting dry the berries before placing them on a baking sheet lined with parchment paper. Freeze the berries for a few hours, then transfer them to a freezer bag or airtight container. Label them with the date to keep track of their freshness.
- Dehydrating Mulberries: Dehydrated mulberries make for a tasty and nutritious snack. Spread the washed and dried berries on a baking sheet, leaving space between them. Set your oven to the lowest temperature and let the mulberries dry for several hours until they are shriveled and slightly chewy. Store them in an airtight container in a cool, dry place.
- Making Mulberry Jam: If you want to preserve the flavor of mulberries in a delicious spread, consider making mulberry jam. Simmer the washed and trimmed mulberries with sugar, lemon juice, and pectin until the mixture thickens. Pour the hot jam into sterilized jars, seal them properly, and store them in a cool, dark place.
Experiment with these storage methods to find the one that suits your preferences and requirements the best. Whether you want to enjoy fresh mulberries or savor their flavors in jams or dehydrated form, these techniques will help you make the most of this delightful fruit.
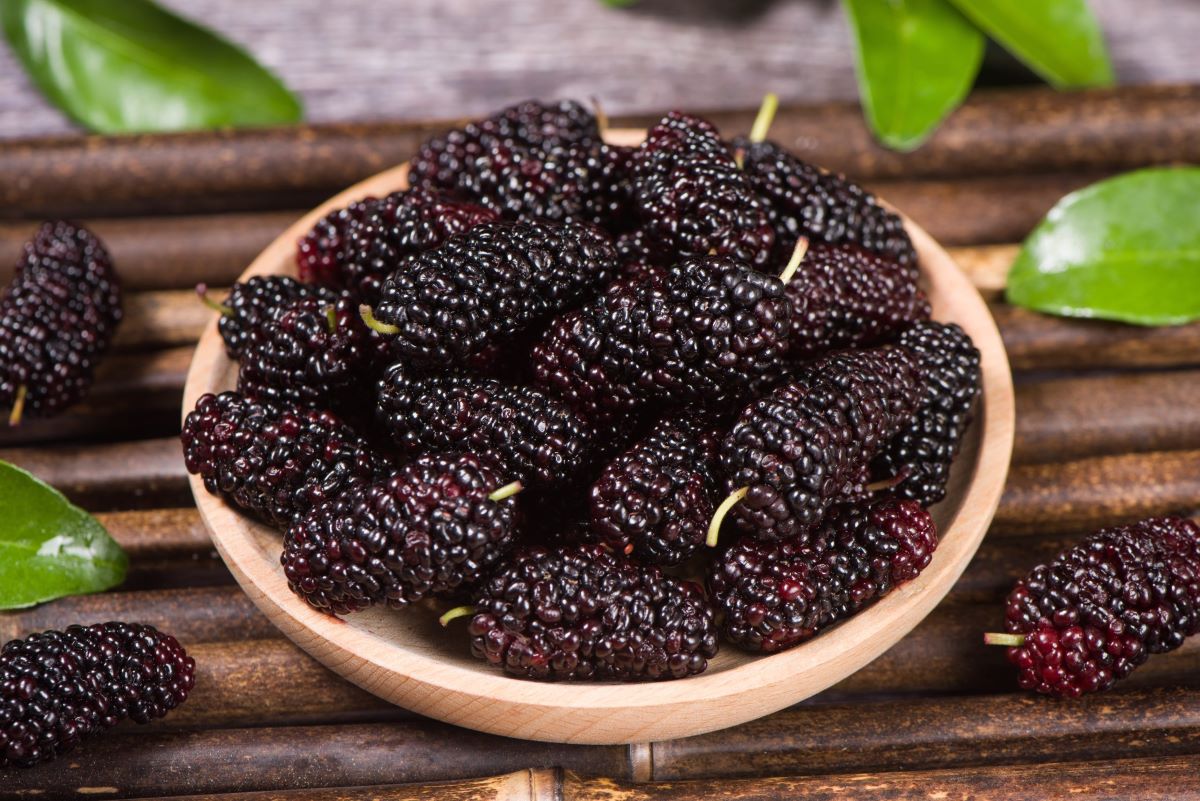
Fresh Mulberries
If you plan on consuming the mulberries within a few days of harvesting or purchasing them, storing them fresh is the simplest and most convenient option. Here’s how you can store fresh mulberries:
- Handle with Care: Mulberries are delicate fruits, so it’s important to handle them gently to avoid bruising and damage.
- Keep Them Unwashed: Store unwashed mulberries to prevent excess moisture and extend their shelf life. Washing the berries before storage can make them more prone to spoilage.
- Use a Shallow Container: Choose a shallow container that allows air circulation, such as a berry tray or a plate. Line the container with a paper towel to absorb any excess moisture.
- Avoid Overcrowding: Place the mulberries in a single layer in the container, ensuring that they are not overcrowded. This helps prevent the berries from getting squished and allows for better air circulation.
- Store in the Refrigerator: Place the container of mulberries in the refrigerator, ideally in the colder sections such as the crisper drawer. The optimal temperature for preserving their freshness is around 32-36°F (0-2°C).
- Check for Ripeness: Before consuming the mulberries, inspect them for any signs of spoilage, mold, or mushiness. Discard any berries that appear spoiled.
By following these steps, you can enjoy the fresh, juicy goodness of mulberries for a few days, allowing you to incorporate them into your meals, desserts, or snacks.
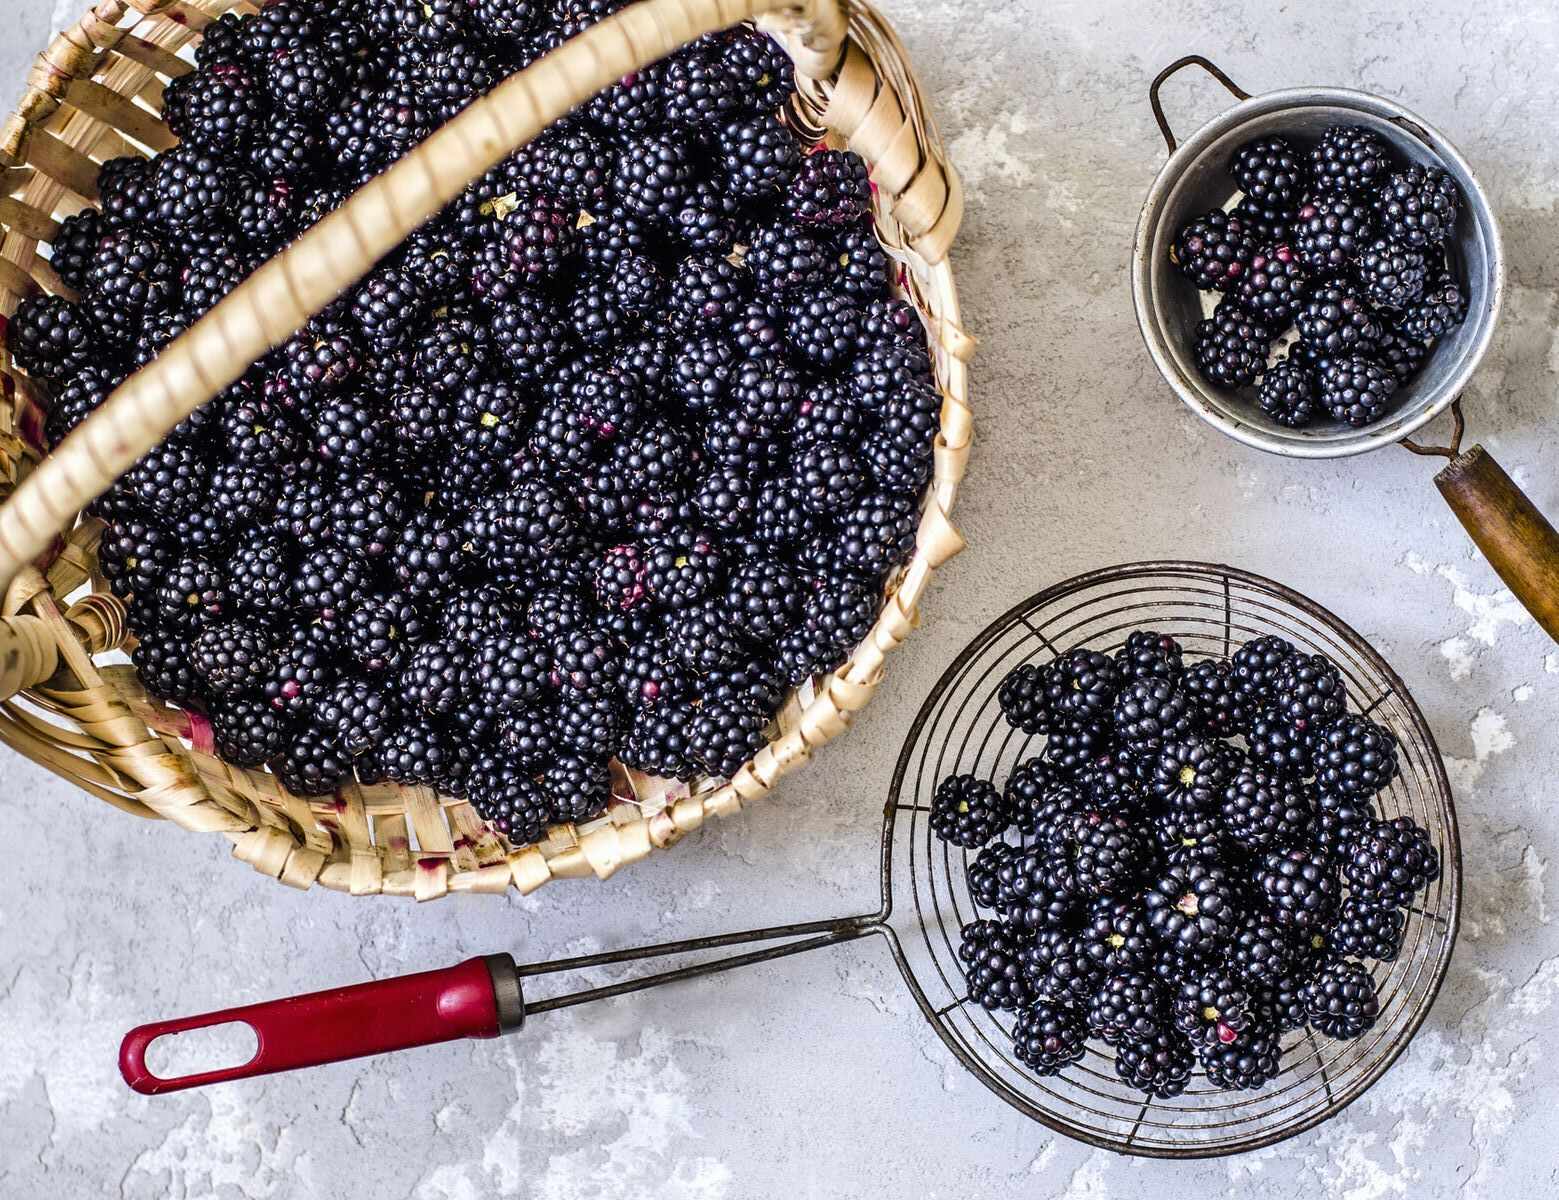
Refrigerating Mulberries
If you want to extend the shelf life of your mulberries beyond a few days, refrigeration is the best option. Follow these steps to properly refrigerate your mulberries:
- Wash the Mulberries: Start by gently rinsing the mulberries under cool water to remove any dirt or debris. Be careful not to agitate them too much, as they are fragile and can easily bruise.
- Pat Dry: After washing, place the mulberries on a clean kitchen towel or paper towel and gently pat them dry. Removing excess moisture helps prevent mold growth and prolongs their freshness.
- Prepare a Sealed Container: Get a shallow container with an airtight lid. Line the bottom of the container with a layer of paper towels to absorb any moisture that may accumulate.
- Arrange the Mulberries: Carefully place the washed and dried mulberries in a single layer on top of the paper towels. Avoid overcrowding the berries to prevent them from getting squished or crushed.
- Seal and Refrigerate: Once the mulberries are arranged in the container, seal it tightly with the lid. Place the container in the refrigerator, preferably in the crisper drawer or a cold section to maintain a temperature of around 32-36°F (0-2°C).
- Check and Use Within a Week: Regularly check the mulberries for any signs of spoilage, such as mold or mushiness. Consume them within a week for the best taste and quality.
Refrigerating mulberries allows you to enjoy their freshness and flavor for up to a week. They make a delightful addition to breakfast bowls, salads, smoothies, or can be enjoyed on their own as a refreshing snack.
Store mulberries in the refrigerator in a shallow container lined with paper towels to absorb any excess moisture. They will keep for 2-3 days.
Read more: How To Store Store-Bought Bread
Freezing Mulberries
If you have a surplus of mulberries and want to enjoy them beyond their peak season, freezing is the perfect way to preserve their taste and nutritional value. Follow these steps to properly freeze mulberries:
- Preparation: Start by carefully washing the mulberries under cool water to remove any dirt or debris. Once clean, gently pat them dry with a clean kitchen towel or paper towel.
- Spread on a Baking Sheet: Line a baking sheet with parchment paper. Arrange the mulberries in a single layer on the baking sheet, ensuring they are not touching each other.
- Pre-Freeze: Place the baking sheet with the mulberries in the freezer and let them pre-freeze for 2-3 hours. This step prevents the berries from sticking together when you package them for long-term storage.
- Transfer to Freezer Bags or Containers: Once the mulberries have pre-frozen, transfer them to freezer bags or airtight containers. Label the bags or containers with the date of freezing for reference.
- Seal and Freeze: Make sure to remove as much air as possible from the bags or containers before sealing them tightly. Place the mulberries back in the freezer, ensuring they are stored at a temperature of 0°F (-18°C) or lower.
- Thawing: When you’re ready to use frozen mulberries, gently thaw them in the refrigerator overnight or place them directly into recipes that require cooking or blending.
Frozen mulberries can be used in smoothies, baked goods, jams, or enjoyed as a frozen treat on their own. Keep in mind that thawed mulberries may lose some of their texture, so they are best used in recipes rather than eaten fresh.
With proper freezing techniques, you can enjoy mulberries year-round and effortlessly incorporate them into your favorite dishes and snacks.
Dehydrating Mulberries
If you’re looking to enjoy the sweetness and concentrated flavor of mulberries in a preserved form, dehydrating them is an excellent option. Follow these steps to properly dehydrate mulberries:
- Washing: Begin by gently washing the mulberries under cool water to remove any dirt or debris. Pat them dry with a clean kitchen towel or paper towel.
- Preparation: Remove the stems from the mulberries, if necessary, and cut any larger berries into halves or quarters to ensure even drying. This will help speed up the process and prevent uneven results.
- Arrange on a Dehydrator Tray: Lay the prepared mulberries on the dehydrator trays in a single layer, making sure they are not touching each other. This allows for proper airflow and even drying.
- Set the Dehydrator: Adjust the dehydrator’s temperature to around 135°F (57°C) and set the time according to the manufacturer’s instructions. Typically, it takes around 8-12 hours for mulberries to fully dehydrate, but the drying time may vary depending on the moisture content and size of the berries.
- Check for Dryness: After the recommended drying time has passed, check the mulberries for dryness. They should be slightly chewy and no longer sticky to the touch. If needed, continue drying for additional time until you achieve the desired texture.
- Cooling and Storing: Once the mulberries are fully dried, remove them from the dehydrator and let them cool to room temperature. Store the dehydrated mulberries in an airtight container or resealable bag. Place the container in a cool, dark place away from moisture and heat.
Dehydrated mulberries make for a convenient, shelf-stable snack that can be enjoyed on its own or incorporated into granola, trail mix, or baked goods. Their concentrated sweetness and chewy texture add a delightful twist to any recipe.
By dehydrating mulberries, you can savor their flavor and nutritional benefits throughout the year, even when they’re not in season.
Making Mulberry Jam
If you’re looking to preserve the flavors of mulberries in a delicious spread, making mulberry jam is a wonderful option. Follow these steps to make your own homemade mulberry jam:
- Preparation: Start by cleaning the mulberries under cool water and removing any stems or leaves. Pat them dry with a clean towel and set them aside.
- Cooking the Mulberries: In a large, non-reactive pot, combine the mulberries with sugar and lemon juice. The general rule of thumb is to use equal parts mulberries and sugar, but you can adjust the sweetness to your preference. Cook the mixture over medium heat, stirring occasionally, until the berries release their juices and start to soften.
- Simmering: Reduce the heat to low and continue simmering the mixture, stirring occasionally, until the berries break down and the jam thickens. This process can take anywhere from 30 minutes to an hour, depending on the desired consistency.
- Testing for Gel Point: To check if the jam has reached the gel point, place a small plate in the freezer beforehand. Drop a small amount of the hot jam onto the chilled plate and let it cool for a few seconds. If the jam sets and wrinkles when pushed with your finger, it has reached the desired gel point. If not, continue simmering for a few more minutes and test again.
- Preserving: Once the jam reaches the desired gel point, remove the pot from the heat. Carefully pour the hot jam into sterilized jars, leaving about ¼ inch of headspace at the top. Wipe the rims of the jars clean and seal them tightly with sterilized lids and bands.
- Processing: To ensure long-term preservation, process the filled jars in a boiling water bath. Place the sealed jars in a large pot of boiling water, making sure they are fully submerged, and process for the recommended time specific to your altitude and the size of the jars.
- Cooling and Storage: Once the jars have been processed, carefully remove them from the boiling water bath and let them cool on a clean kitchen towel. As they cool, you may hear the lids “pop,” indicating a proper seal. Store the cooled jars in a cool, dark place and consume within a year.
Homemade mulberry jam is a wonderful treat that can be enjoyed on toast, scones, pancakes, or as a delectable filling for cakes and pastries. The vibrant color and rich flavor of mulberries make for a truly delightful spread.
Making mulberry jam allows you to preserve the taste of mulberries and enjoy their sweetness long after the harvest season is over.
Conclusion
Storing mulberries properly is essential to extend their shelf life, maintain their flavor, and enjoy their nutritional benefits throughout the year. Whether you have an abundant harvest from your own mulberry tree or bought a surplus at the farmers market, there are several effective ways to preserve these delicious berries.
From keeping them fresh in the refrigerator to freezing, dehydrating, or making jam, each method offers its own unique benefits and allows you to enjoy mulberries in different forms and recipes. By following the appropriate storage techniques, you can savor the taste of mulberries long after their peak season has passed.
Remember to handle mulberries with care, wash them gently, and remove any spoiled or damaged berries before storing. Whether you choose to enjoy them fresh, refrigerated, frozen, dehydrated, or in the form of jam, make sure to label and date your stored mulberries for easy reference and consume them within a reasonable time frame.
Now that you have learned the best ways to store mulberries, it’s time to put your knowledge into practice. Enjoy the sweetness, versatility, and nutritional benefits of mulberries throughout the year by using these storage methods. Get creative in the kitchen, experiment with different recipes, and savor the delightful flavors of this delectable fruit.
So go ahead and make the most of mulberry season by storing them properly and indulging in their taste long after the trees have shed their leaves. Happy mulberry storing and enjoy the deliciousness!
Frequently Asked Questions about How To Store Mulberries
Was this page helpful?
At Storables.com, we guarantee accurate and reliable information. Our content, validated by Expert Board Contributors, is crafted following stringent Editorial Policies. We're committed to providing you with well-researched, expert-backed insights for all your informational needs.


0 thoughts on “How To Store Mulberries”