Articles
How To Store Peach Pie
Modified: August 19, 2024
Learn the best methods and tips for storing peach pie in this informative article. Discover how to keep your peach pie fresh for longer and avoid any unnecessary waste.
(Many of the links in this article redirect to a specific reviewed product. Your purchase of these products through affiliate links helps to generate commission for Storables.com, at no extra cost. Learn more)
Introduction
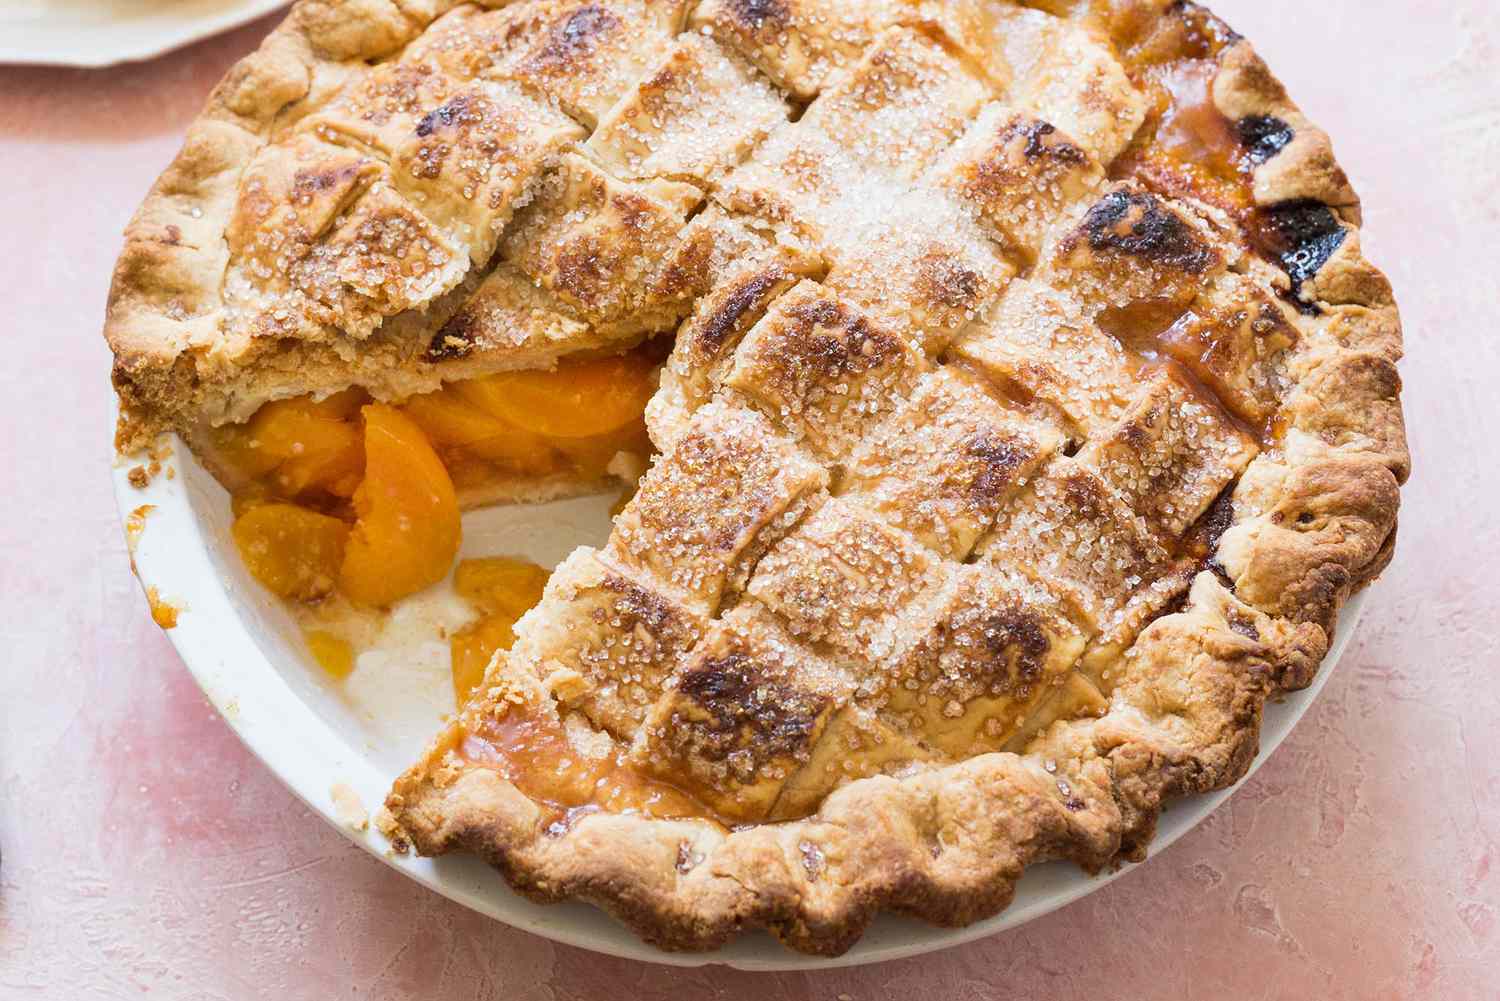
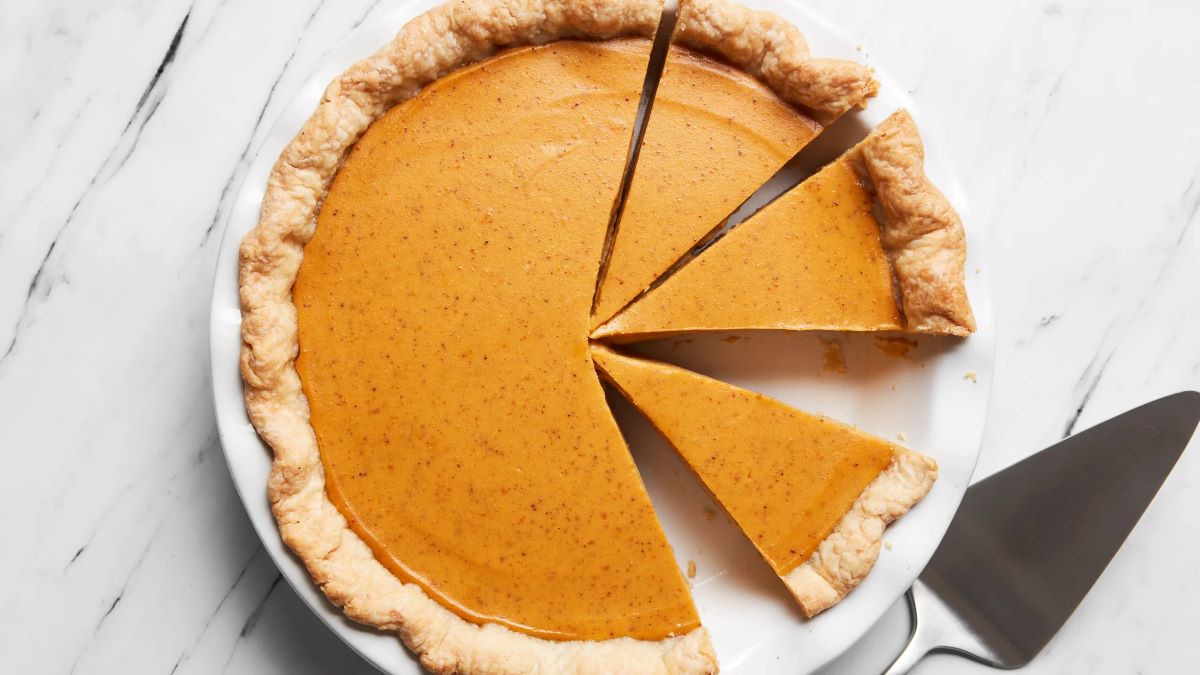
Welcome to the wonderful world of peach pies! There’s nothing quite like sinking your teeth into a slice of freshly baked peach pie with its sweet and juicy filling and flaky, golden crust. But what happens when you have leftover pie or you want to store a whole peach pie for later enjoyment? Fear not, as we will guide you through the process of storing peach pie to ensure it stays deliciously fresh.
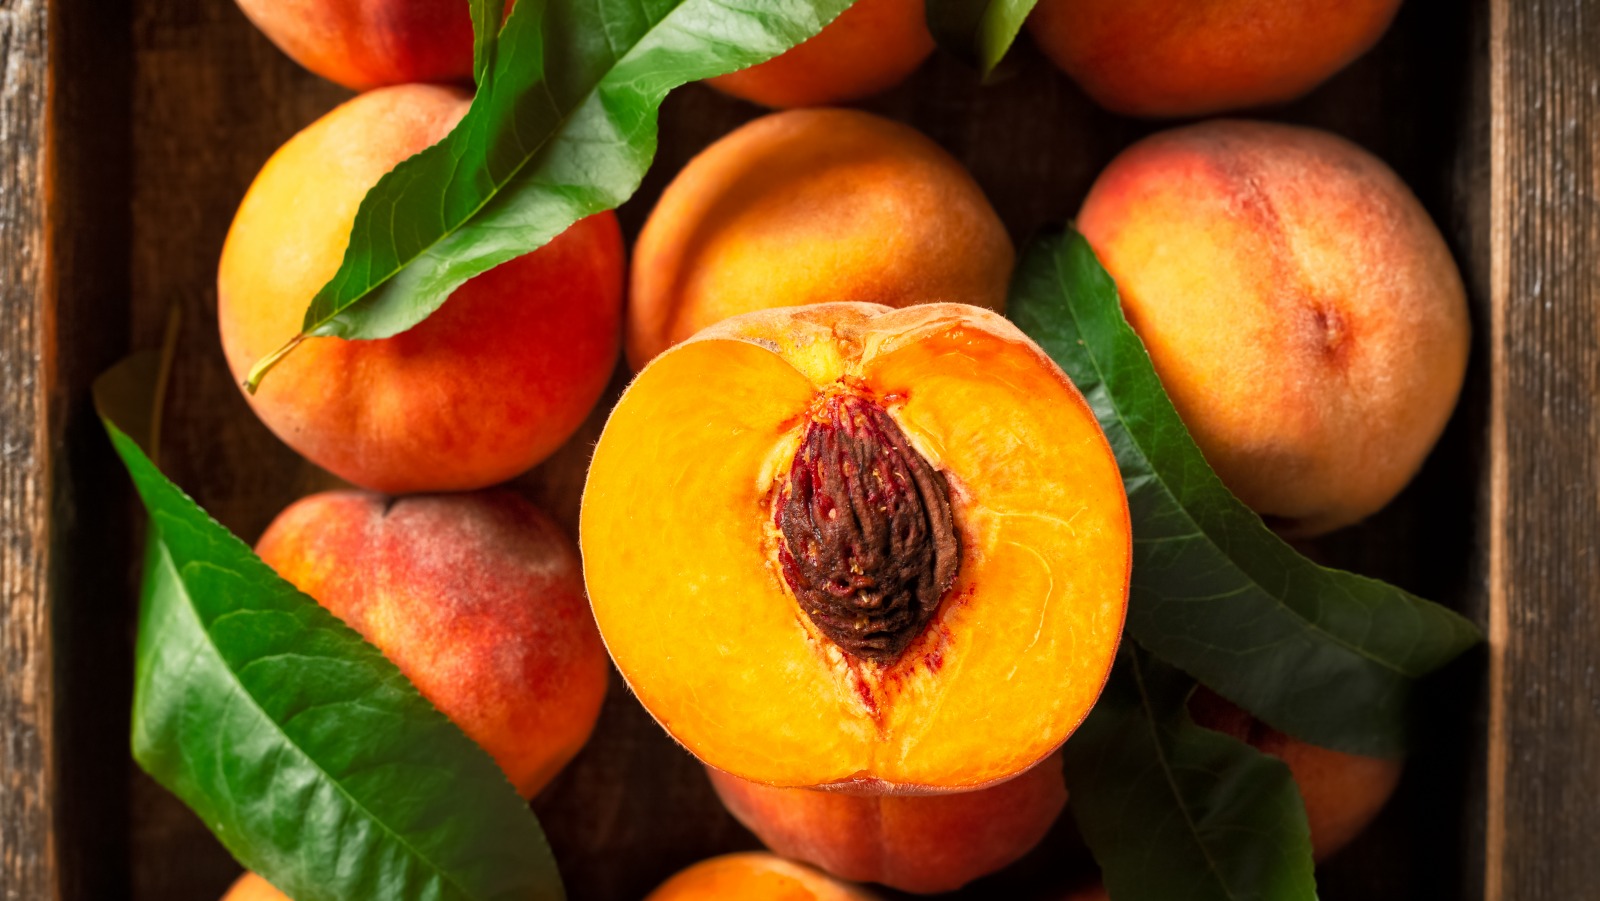
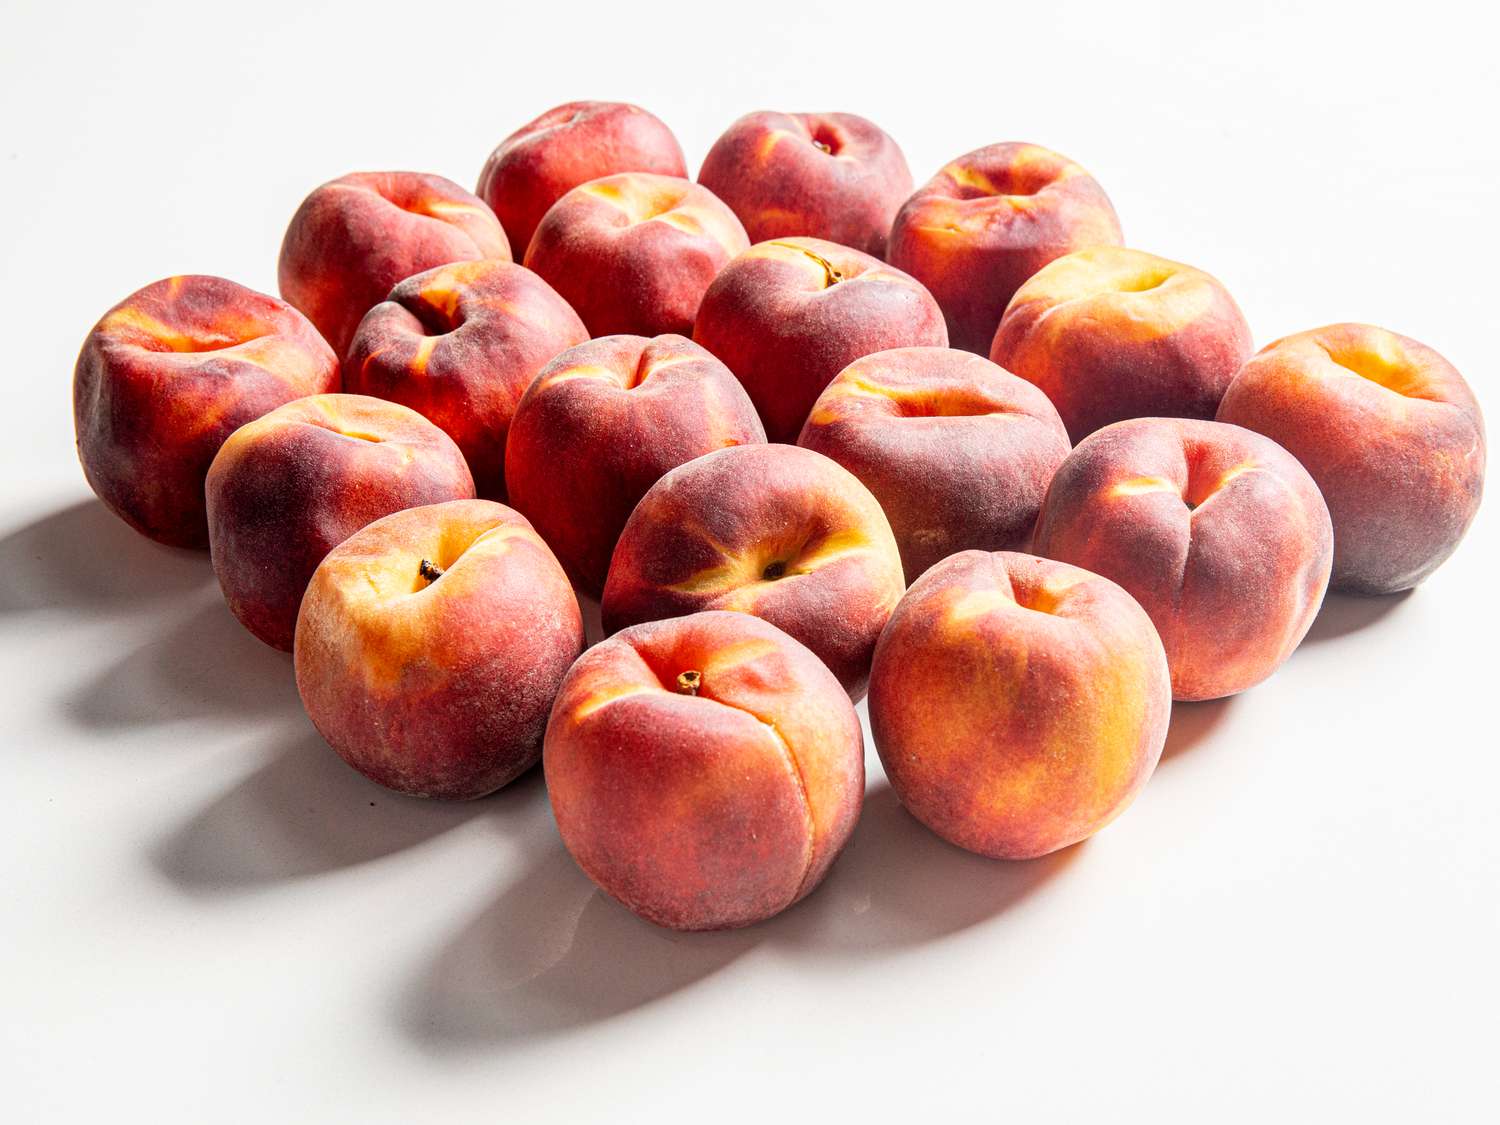
Whether you’ve just picked an abundance of peaches from your own tree or you’ve purchased them from a local farmer’s market, using ripe and juicy peaches is the key to a flavorful and mouthwatering pie. When selecting your peaches, look for ones that are firm yet yield slightly when gently pressed. They should also have a pleasant aroma and vibrant color.
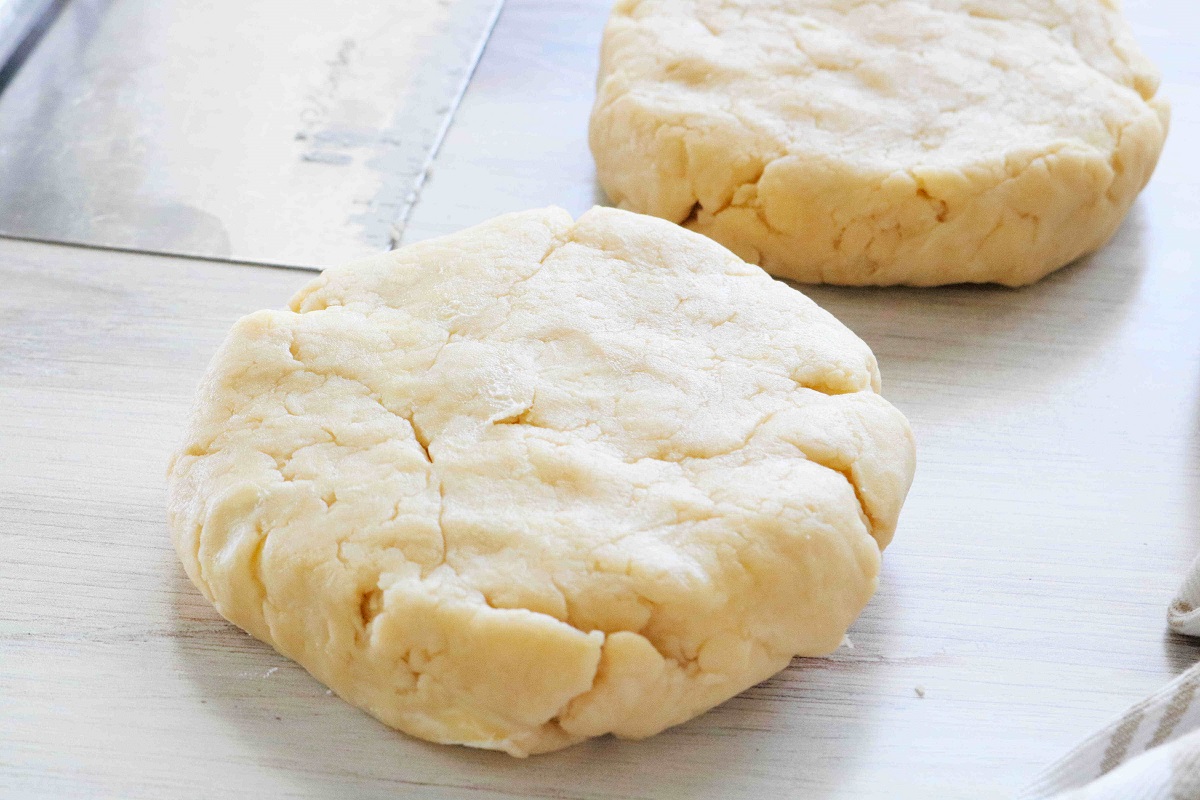
Now that you have your peaches ready, it’s time to prepare the pie crust. You can choose to make your own crust from scratch or opt for a store-bought one. If making your own, be sure to follow a reliable recipe and give yourself enough time for the dough to chill properly before rolling it out. The crust is the foundation of your peach pie, so it’s important to handle it with care and ensure it’s flaky and buttery.
The next step is creating the peach filling. Start by peeling and slicing the peaches, removing the pits as you go along. To prevent the sliced peaches from browning, you can toss them in lemon juice or a mixture of lemon juice and sugar. This not only adds a touch of tartness but also helps preserve the vibrant color of the peaches.
When assembling the pie, make sure to evenly distribute the peach filling over the crust, leaving just enough room for the filling to expand as it bakes. You can add a sprinkle of sugar, cinnamon, or even a drizzle of honey to enhance the flavors. Now, carefully place the top crust over the filling and seal the edges by crimping them together.
It’s time to pop your masterpiece into the oven and let the magic happen. Bake the peach pie at the recommended temperature and for the specified duration in your recipe. Keep an eye on it to ensure the crust doesn’t burn or become overly brown. Once the pie is golden brown and the filling is bubbling, it’s ready to be removed from the oven.
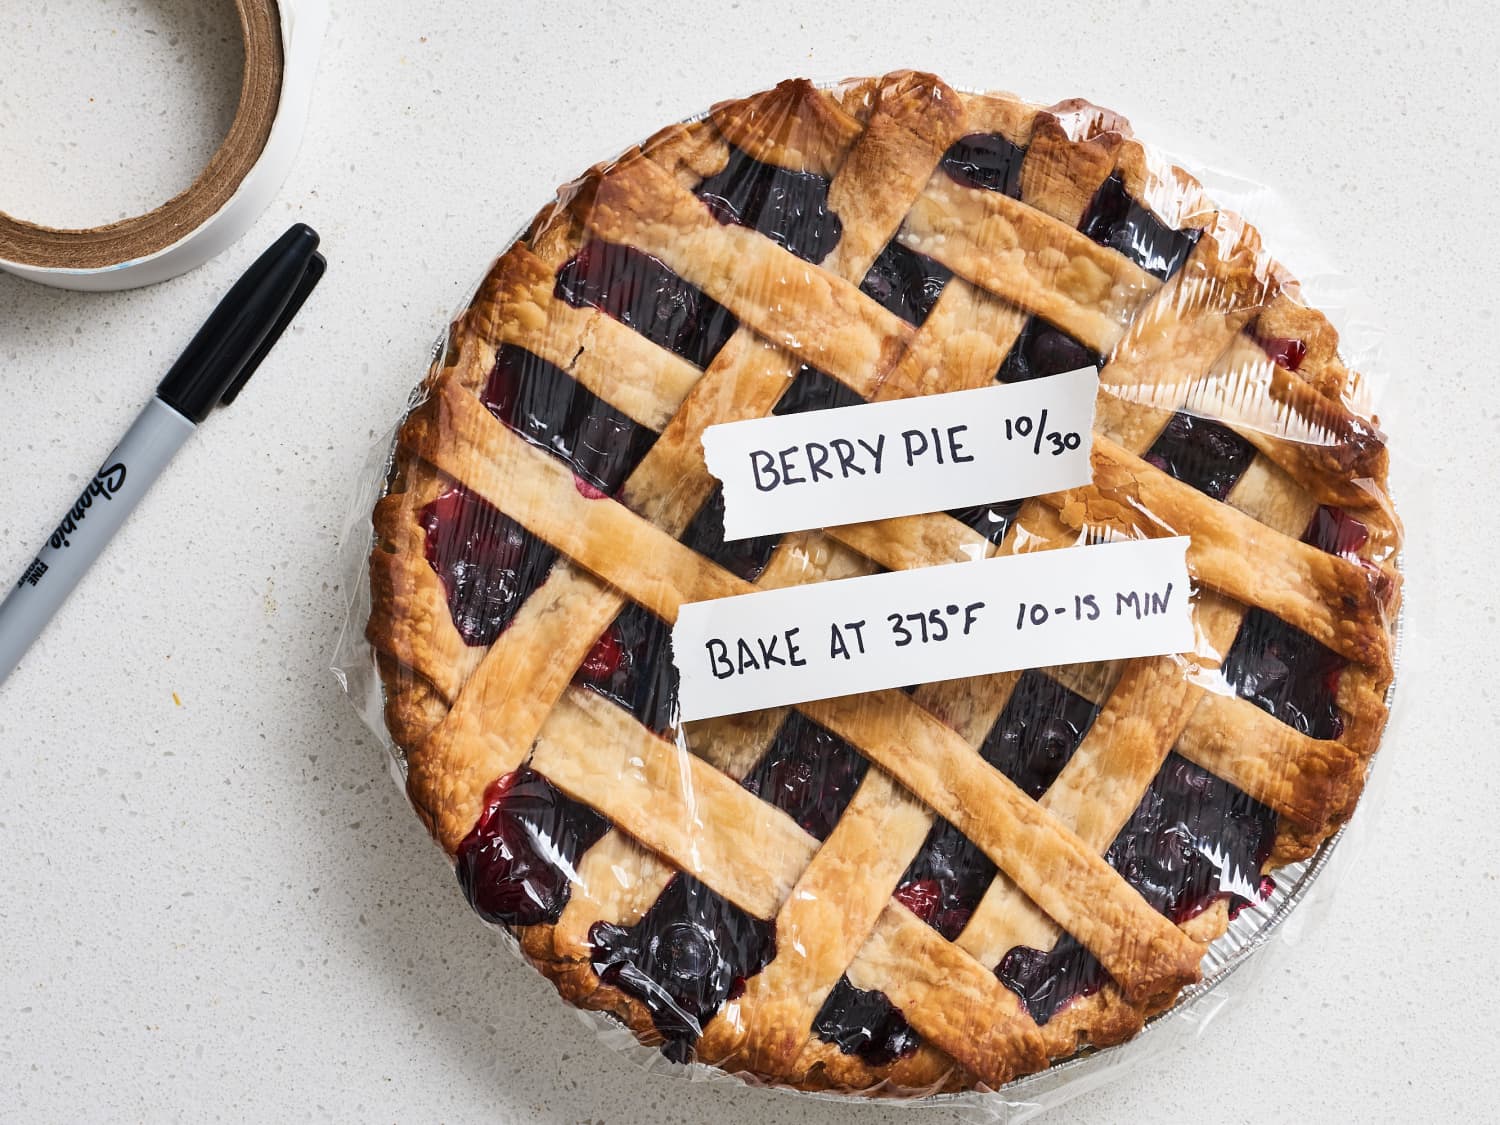
Allow the peach pie to cool completely before storing it. This ensures that the filling has time to set and the crust retains its texture. Once cooled, you can either store the whole pie or slice it into individual servings. Wrap the pie tightly with plastic wrap or aluminum foil, making sure it’s well-sealed to prevent air from entering and causing the pie to dry out.
If you’re storing the whole pie, it can be kept in the refrigerator for up to three days. However, if you plan on keeping it for longer, it’s best to freeze it. To freeze the pie, wrap it in an additional layer of aluminum foil or place it in a freezer-safe bag to protect it from freezer burn. Label the package with the date and store it in the freezer for up to three months.
When the time comes to enjoy your stored peach pie, you have a few options. If it’s in the refrigerator, you can simply slice and serve it cold. However, if the pie was frozen, it’s ideal to thaw it in the refrigerator overnight before reheating. Once thawed, you can either reheat the entire pie or individual slices in the oven at a low temperature for about 15 minutes or until warmed through.
Now that you know how to store peach pie, you can indulge in this delicious dessert whenever you desire. So go ahead, pick some fresh peaches, prepare a scrumptious pie, and enjoy the fruits of your labor for days to come.
Key Takeaways:
- Select ripe, fragrant peaches for a mouthwatering peach pie. Look for vibrant color, gentle firmness, and a sweet aroma to ensure a flavorful and juicy filling.
- Properly store and reheat peach pie for lasting enjoyment. From refrigeration to freezing and gentle reheating, preserve the pie’s freshness and deliciousness for future indulgence.
Read more: How To Store Peaches
Picking Fresh Peaches
When it comes to making the perfect peach pie, using fresh, ripe peaches is essential. The taste and texture of the peaches will greatly impact the final result of your pie. Here are some tips for picking fresh peaches:
- Look for ripe peaches: When selecting peaches for your pie, opt for ones that are ripe but not overly soft. Ripe peaches will have a slight give when gently pressed, indicating that they are juicy and sweet.
- Check the color: Choose peaches that have a vibrant and even color. Depending on the variety, peaches can range from pale yellow to deep orange. Avoid peaches with green patches or bruises.
- Smell the peaches: Give the peaches a gentle sniff. Ripe peaches will have a sweet and fragrant aroma. If the peaches lack any scent, they might not be fully ripe or flavorful.
- Avoid green and unripe peaches: Green peaches are underripe and will not have the same sweetness and juiciness as ripe ones. It’s best to wait until they are fully ripe before using them in your pie.
- Consider the firmness: While ripe peaches should have a slight give, they should still be firm to the touch. Avoid peaches that feel mushy or overly soft, as they may be overripe or starting to spoil.
- Buy from local sources: If possible, purchase your peaches from local farmers or farmer’s markets. Local peaches are often picked at their peak ripeness and have a greater depth of flavor compared to those that have been shipped long distances.
Remember, the quality of your peaches will greatly affect the taste of your peach pie. Taking the time to select ripe, flavorful peaches will ensure that your pie is bursting with sweet, juicy goodness.
Preparing the Pie Crust
The pie crust is an essential component of any peach pie. It provides a buttery and flaky base that complements the sweet and juicy peach filling. Here’s how to prepare the perfect pie crust:
- Choose your crust: You have two options when it comes to the pie crust – making it from scratch or using a store-bought crust. Both options can yield delicious results, so choose whichever suits your preferences and time constraints.
- Make the dough: If you’re making your crust from scratch, start by combining the dry ingredients – flour, sugar, and salt – in a large mixing bowl. Cut cold butter into small cubes and add it to the flour mixture. Use a pastry cutter or your fingertips to cut the butter into the flour until it resembles coarse crumbs.
- Add liquid: Gradually add ice water, a tablespoon at a time, to the flour-butter mixture. Use a fork or your hands to gently mix the dough until it comes together. Be careful not to overmix, as this can result in a tough crust.
- Chill the dough: Shape the dough into a disk and wrap it tightly in plastic wrap. Place it in the refrigerator and let it chill for at least 30 minutes. Chilling the dough allows the gluten to relax and the butter to solidify, resulting in a flakier crust.
- Roll out the dough: Once the dough has chilled, lightly flour a clean surface. Place the dough disk on the floured surface and use a rolling pin to roll it out into a circle, starting from the center and working your way out. Rotate the dough occasionally to ensure an even thickness.
- Transfer to a pie dish: Gently lift the rolled-out dough and carefully place it into a greased pie dish. Press the dough into the bottom and sides of the dish, making sure it fits snugly. Trim any excess dough hanging over the edges.
- Crimp the edges: To create an attractive border, use your fingers or a fork to crimp the edges of the pie crust. This not only adds a decorative touch but also helps seal the filling inside the pie during baking.
- Pre-bake the crust (optional): Depending on your recipe, you may need to pre-bake the pie crust before adding the peach filling. This step helps prevent a soggy bottom crust. Follow the instructions in your recipe for pre-baking the crust if required.
With your pie crust prepared, you’re now ready to move on to making the delicious peach filling that will fill your pie with juicy goodness.
Making the Peach Filling
The peach filling is the star of the show in a peach pie. It’s where the sweetness and juiciness of the peaches shine through. Here’s how to make a delectable peach filling:
- Prepare the peaches: Start by peeling the peaches. To easily remove the skin, you can blanch them in boiling water for about 30 seconds, then transfer them to an ice bath. The skin should easily peel off. Once peeled, slice the peaches and remove the pits.
- Toss with lemon juice: To prevent the sliced peaches from browning, toss them in lemon juice. The acidity of the lemon juice not only adds a touch of tartness but also helps preserve the bright color of the peaches. You can also add a sprinkle of sugar to the peaches if desired.
- Add flavorings: To enhance the flavor of the peach filling, you can add various ingredients such as sugar, cinnamon, nutmeg, or vanilla extract. These flavorings complement the natural sweetness of the peaches and add depth to the filling. Adjust the amount of sugar and spices based on your taste preferences and the sweetness of the peaches.
- Thicken the filling: To ensure your pie isn’t excessively runny, you’ll need to thicken the peach filling. You can use cornstarch, flour, or tapioca starch as a thickening agent. Sprinkle the thickener over the peach slices and gently toss them until well coated. This will absorb the excess moisture and create a luscious filling.
- Let it macerate: For an extra burst of flavor, you can let the peach filling macerate for about 30 minutes to an hour. Macerating involves allowing the peaches to sit with the sugar and spices, allowing their flavors to meld together. This step is optional but can enhance the overall taste of the filling.
- Drain excess liquid: Depending on the ripeness and juiciness of the peaches, they may release some liquid while macerating. Before assembling the pie, drain off any excess liquid to prevent a soggy crust. You can use a slotted spoon to transfer the peaches to the crust, leaving the excess liquid behind.
- Reserve some filling: If you prefer a chunkier peach pie, you can set aside a small portion of the filling to add to the pie after it’s assembled. This creates layers of texture and adds extra bursts of peach flavor throughout the pie.
Now that you have a delicious peach filling prepared, it’s time to assemble your peach pie and prepare it for baking. Get ready for the tantalizing aroma that will soon fill your kitchen!
After baking, let the peach pie cool completely at room temperature. Once cooled, cover the pie with plastic wrap or aluminum foil and store it in the refrigerator for up to 3-4 days.
Assembling the Peach Pie
Now that you have your pie crust prepared and your peach filling ready, it’s time to bring them together and assemble your peach pie. Follow these steps to create a beautifully layered and delicious pie:
- Preheat the oven: Start by preheating your oven to the recommended temperature stated in your recipe. This ensures that the pie bakes evenly and helps create a golden, flaky crust.
- Roll out the top crust: If you’re using a double-crust recipe, roll out the second portion of pie dough to a similar size as the bottom crust. This will be used to cover the filling and seal in all the peachy goodness.
- Place the bottom crust: Carefully transfer the bottom crust into the pie dish. Gently press it into the bottom and sides, making sure it fits snugly. Trim any excess dough hanging over the edges.
- Add the peach filling: Spoon the peach filling into the prepared crust, spreading it evenly over the bottom. Be sure not to overfill the pie, as the filling may spill out during baking. Leave a small gap between the filling and the edge of the crust to allow for expansion.
- Add any additional layers: If you reserved some of the peach filling, this is the time to add it on top of the initial layer. This will create variation in texture and flavor throughout the pie.
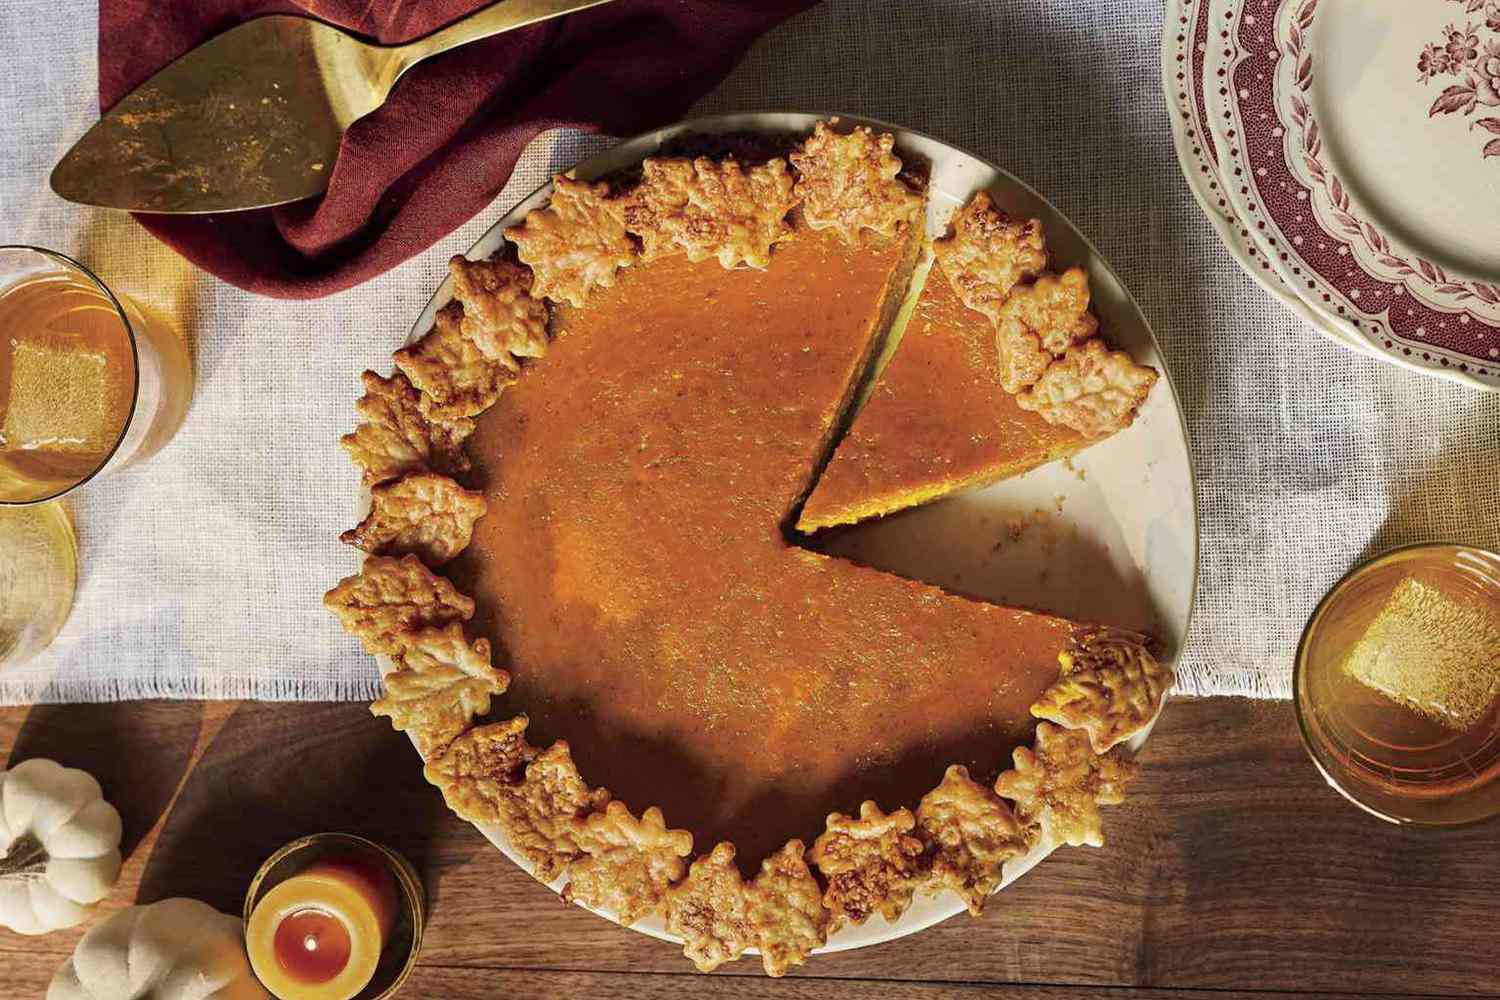
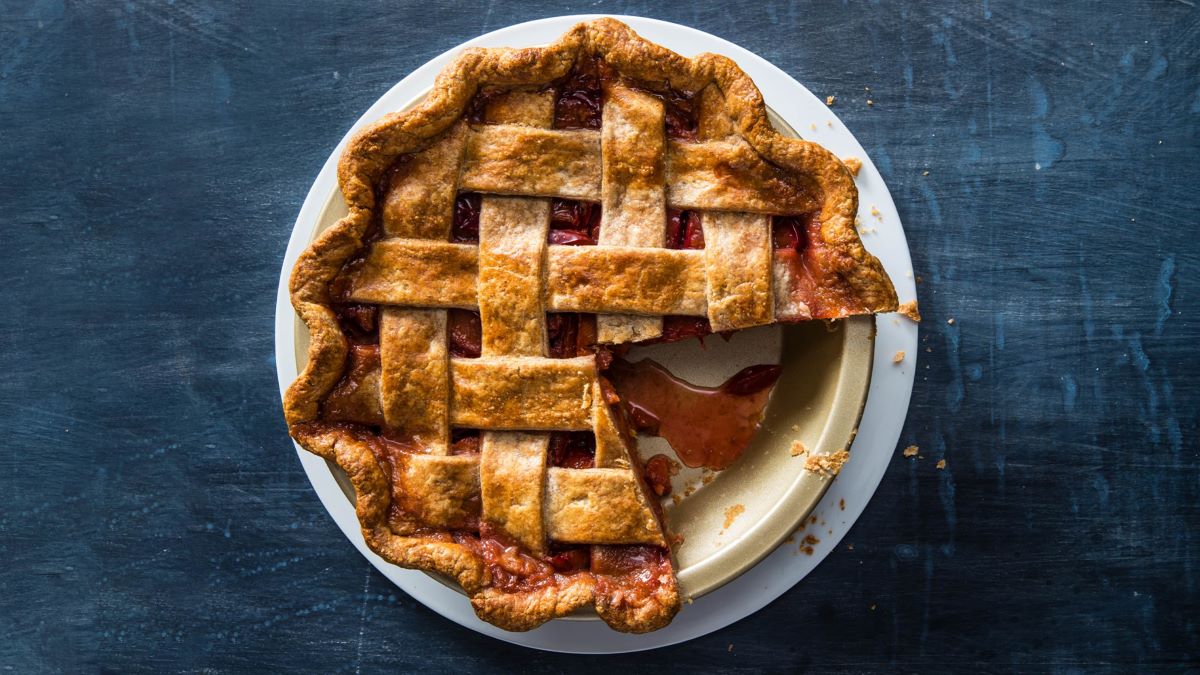
- Cover with the top crust: Carefully place the rolled-out top crust over the peach filling. Gently press the edges of the top and bottom crusts together to seal the pie. You can crimp the edges for a decorative finish or use a fork to press them together. Cut slits or create decorative vents in the top crust to allow steam to escape during baking.
- Brush with an egg wash: For an extra golden and glossy crust, you can brush the top crust with an egg wash. Beat an egg and brush it gently over the crust, making sure to cover the entire surface. This adds a beautiful sheen to the pie once baked.
- Sprinkle with sugar (optional): If you want to add a touch of sweetness and crunch to the crust, you can sprinkle some sugar over the top. This creates a delightful caramelized crust that adds extra texture and flavor.
With your peach pie beautifully assembled, it’s time to slide it into the oven and let the baking process work its magic. Get ready for the irresistible aroma that will fill your home as the pie bakes to golden perfection!
Read more: How To Store Peach Seeds
Baking the Pie
Now that your peach pie is assembled and ready to bake, it’s time to bring all the flavors together and transform it into a delectable dessert. Follow these steps to ensure a perfectly baked peach pie:
- Preheat the oven: Before placing the pie in the oven, make sure to preheat it to the temperature specified in your recipe. This ensures that the pie bakes evenly and that the crust achieves that coveted golden brown color.
- Position the pie: Carefully place the assembled peach pie on the center rack of the preheated oven. Positioning it in the middle allows for even heat distribution and ensures that the crust bakes uniformly.
- Monitor the baking time: Every recipe is different, so it’s important to keep a close eye on the pie as it bakes. Follow the recommended baking time in your recipe, but be alert for visual cues such as the crust turning golden brown and the filling bubbling through the vents or slits.
- Rotation (if necessary): If you notice that one side of the pie is browning faster than the other, you can rotate the pie 180 degrees halfway through the baking time. This helps promote even browning and ensures that all sides of the crust develop a beautiful color.
- Protect the crust: To prevent the edges of the crust from over-browning or burning, you can place a pie shield or cover them with strips of aluminum foil. This shields the edges while allowing the rest of the pie to continue baking until fully cooked.
- Perform the “jiggle” test: To determine if the pie is fully baked, gently give it a small shake. The filling should be set and not excessively jiggly. If it still appears runny or overly jiggly, continue baking for a few more minutes and retest until the filling is firm.
- Cooling time: Once the pie is fully baked, remove it from the oven and place it on a wire rack to cool. Allow the pie to cool completely before slicing and serving. This allows the flavors to meld, the filling to set, and the crust to become firm.
With these tips and techniques, your peach pie will bake to perfection, with a golden crust and a luscious filling. Get ready to enjoy the mouthwatering aroma that will fill your kitchen as the pie bakes in the oven.
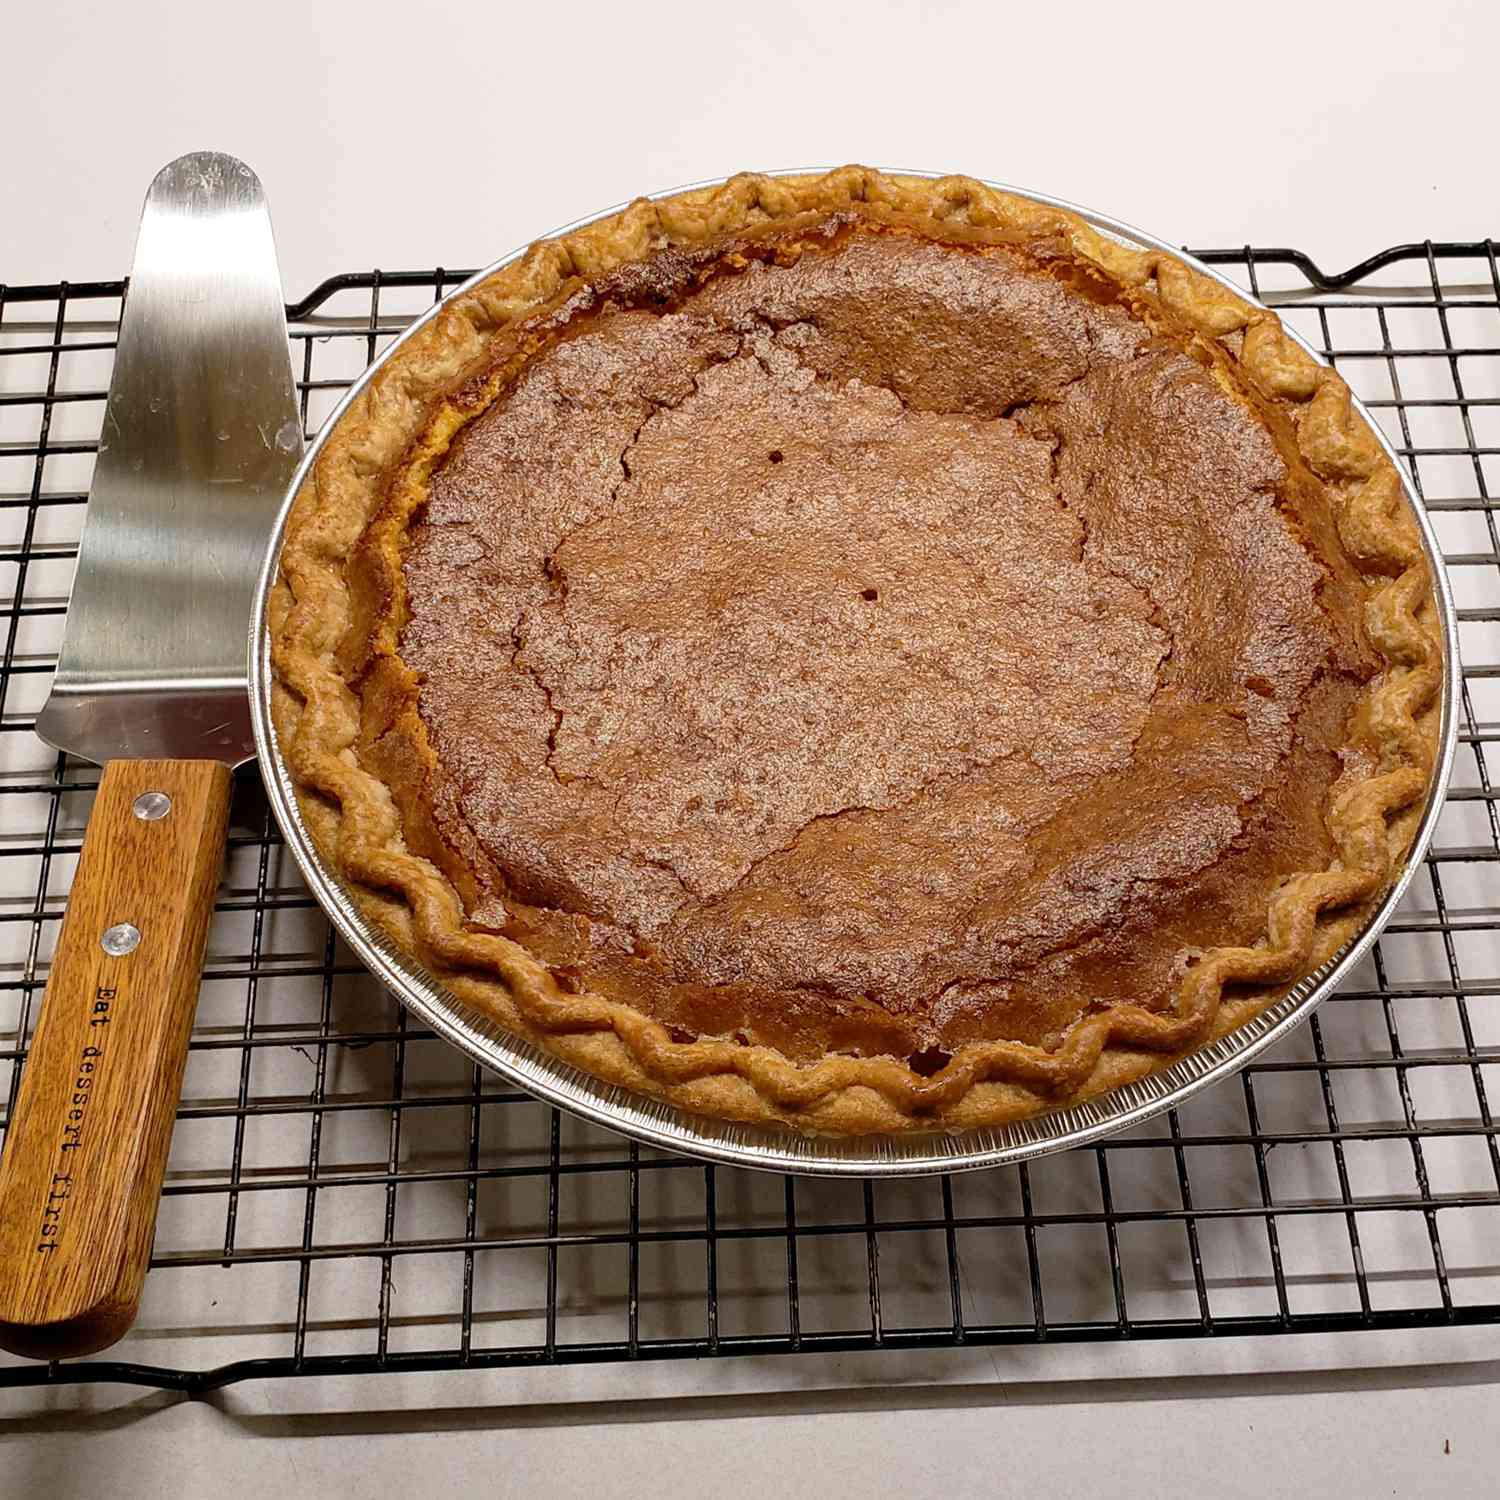
Cooling and Storing the Peach Pie
After your peach pie finishes baking, it’s important to allow it to cool properly before storing to ensure that it retains its optimal texture and flavor. Here’s how to cool and store your peach pie:
- Cooling the pie: Once you remove the pie from the oven, place it on a wire rack and allow it to cool completely. This will take approximately 2 hours. Cooling the pie allows the filling to set and the crust to firm up, making it easier to slice and serve.
- Room temperature storage: If you plan to consume the pie within a day or so, you can store it at room temperature. Place the cooled pie on a clean countertop or in a covered cake dome to protect it from dust and to keep it fresh. Make sure the pie is properly sealed to prevent it from drying out.
- Refrigerator storage: If you need to store the pie for a longer period, or if you’re concerned about the ingredients in the pie filling, it’s best to store it in the refrigerator. Wrap the pie tightly with plastic wrap or cover it with an airtight container. A chilled peach pie can last for up to 3 days in the refrigerator.
- Freezing the pie: If you want to prolong the shelf life of your peach pie, freezing is an excellent option. To freeze the pie, make sure it has cooled completely. Wrap the pie securely with a double layer of plastic wrap or aluminum foil to prevent freezer burn. For added protection, place the wrapped pie in a freezer-safe bag or container. A properly frozen peach pie can last for up to 3 months in the freezer.
- Thawing the frozen pie: When you’re ready to enjoy your frozen peach pie, remove it from the freezer and let it thaw in the refrigerator overnight. Thawing slowly in the refrigerator helps preserve the texture and taste of the pie. Once thawed, you can either serve the pie cold or reheat it before serving.
Remember, when storing and handling your peach pie, it’s crucial to maintain its integrity and prevent it from drying out. Proper cooling and storage techniques ensure that your pie remains fresh and delicious until you’re ready to indulge in another slice.
Tips for Reheating Leftover Pie
Leftover peach pie can be just as tasty as when it was freshly baked, especially when reheated properly. Here are some tips to ensure your reheated pie maintains its deliciousness:
- Thaw frozen pie: If you have a frozen peach pie that you want to reheat, make sure to thaw it in the refrigerator overnight before reheating. Thawing the pie gently preserves its texture and prevents it from becoming soggy.
- Oven reheating: To reheat the whole pie, preheat your oven to a low temperature, around 300°F (150°C). Place the pie on a baking sheet and cover it loosely with aluminum foil to prevent the crust from burning. Reheat the pie in the oven for approximately 15-20 minutes or until warmed through.
- Individual slice reheating: If you have individual slices of peach pie to reheat, you can use the oven or microwave. In the oven, place the slices on a baking sheet and cover them with foil. Bake at a low temperature of around 300°F (150°C) for 5-10 minutes or until warmed through. In the microwave, place a slice on a microwave-safe plate and heat in 30-second intervals until warm.
- Reheat with a splash of water: To help prevent the pie from drying out during reheating, you can add a splash of water to the pie. Sprinkle a few drops of water over the pie or drizzle a small amount around the edges of the pie filling. This helps add moisture and keeps the pie juicy.
- Add a scoop of ice cream: Enhance the enjoyment of your reheated peach pie by serving it with a scoop of vanilla ice cream. The contrast of warm pie and cold ice cream creates a delightful combination that is sure to please your taste buds.
- Use a pie crust shield: If you’re reheating the pie in the oven and want to prevent the edges of the crust from over-browning, consider using a pie crust shield or aluminum foil strips to cover the edges. This allows the filling to heat evenly without sacrificing the crust’s appearance.
- Enjoy leftovers chilled: If you prefer, you can also enjoy leftover peach pie chilled. Simply refrigerate the pie and serve it cold. The flavors will still be delicious, and the cold temperature can provide a refreshing twist to your pie-eating experience.
Remember, while reheating can revive the flavors and warmth of leftover peach pie, it’s essential not to overheat it, as this can dry out the crust. With these tips, you can savor your peach pie leftovers as if they were freshly baked.
Frequently Asked Questions about How To Store Peach Pie
Was this page helpful?
At Storables.com, we guarantee accurate and reliable information. Our content, validated by Expert Board Contributors, is crafted following stringent Editorial Policies. We're committed to providing you with well-researched, expert-backed insights for all your informational needs.


0 thoughts on “How To Store Peach Pie”