Articles
How To Store Potatoes In The Ground
Modified: January 5, 2024
Learn the best way to store potatoes in the ground for long-lasting freshness. Follow our step-by-step guide and expert tips. Read more articles on storage techniques.
(Many of the links in this article redirect to a specific reviewed product. Your purchase of these products through affiliate links helps to generate commission for Storables.com, at no extra cost. Learn more)
Introduction
Welcome to the world of potato storage! If you have an abundance of potatoes and not enough space to store them, storing potatoes in the ground can be a convenient and effective method. This traditional method allows you to have a ready supply of potatoes throughout the winter months, without the need for expensive refrigeration or specialized storage equipment.
But why store potatoes in the ground, you may ask? Well, there are several advantages to this method. First and foremost, it provides a natural and insulated environment for the potatoes, helping to maintain a stable temperature and humidity level. This reduces the risk of rot or sprouting, ensuring that your potatoes stay fresh and edible for a longer period of time.
Additionally, storing potatoes in the ground is a cost-effective solution. You won’t need to invest in any fancy storage containers or equipment. All you need is a suitable location in your garden or backyard, and some basic preparation.
In this article, we will guide you through the process of storing potatoes in the ground, from choosing the right location to properly using the stored potatoes. So, let’s dig in and discover how to keep your potatoes fresh and flavorful throughout the year!
Key Takeaways:
- Storing potatoes in the ground is a cost-effective, sustainable, and convenient method that provides a natural insulation system, ensuring fresh and flavorful potatoes throughout the year.
- Proper preparation, maintenance, and usage of stored potatoes are essential for maintaining their quality and flavor, allowing you to enjoy homegrown goodness all year round.
Read more: How To Store Potatoes
Why Store Potatoes in the Ground?
When it comes to storing potatoes, there are various options available, including cold storage, root cellars, and even canning. So, why should you choose to store your potatoes in the ground? Here are a few compelling reasons:
- Natural insulation: Storing potatoes in the ground provides a natural insulation system. The soil acts as a buffer, regulating the temperature and humidity levels around the potatoes. This helps to maintain an ideal environment for extended storage, keeping the potatoes fresh and preventing spoilage.
- Cost-effective: Storing potatoes in the ground is a cost-effective option. Unlike refrigeration or specialized storage equipment, which can be expensive to purchase and operate, the ground provides a free and readily available storage solution. All you need is some basic preparation and a suitable location.
- Sustainable approach: Storing potatoes in the ground aligns with sustainable living practices. It eliminates the need for energy-intensive storage methods and reduces the carbon footprint associated with long-term potato storage. It’s a simple way to reduce your environmental impact while still enjoying the benefits of fresh, homegrown potatoes.
- Easy accessibility: Storing potatoes in the ground allows for easy accessibility. You can harvest them as needed throughout the winter months without having to dig into a cellar or pull out containers and sort through them. It’s a convenient method that enables you to have a steady supply of potatoes at your fingertips.
- Potato preservation: Storing potatoes in the ground helps to preserve their flavor and texture. The natural environment provided by the soil helps to maintain the moisture content of the potatoes, preventing them from drying out or becoming overly soft. This ensures that your stored potatoes remain tasty and versatile for a longer period of time.
Now that you understand the benefits of storing potatoes in the ground, let’s move on to the next section to learn how to choose the right location for your potato storage.
Choosing the Right Location
When it comes to storing potatoes in the ground, choosing the right location is vital for successful storage. Here are some factors to consider when selecting a location:
- Sunlight: Look for a spot that receives full sunlight throughout the day. Sunlight helps to keep the soil temperature consistent, preventing the potatoes from freezing during cold winter months. Avoid areas with excessive shade or high tree cover.
- Drainage: Good drainage is essential to prevent waterlogging, which can lead to rotting and damage to the potatoes. Choose a location with well-drained soil to ensure proper moisture control and prevent water accumulation.
- Soil quality: Opt for loose, well-drained soil with good fertility. Avoid areas with heavy clay soil, as it can retain too much moisture and compact easily. Loamy or sandy soil is preferable for ideal potato storage conditions.
- Proximity to water: Select a location that is near a water source, as you may need to water the potatoes occasionally to maintain an optimal level of moisture in the storage pit.
- Accessibility: Consider the ease of access to your chosen location. Ensure that it is convenient for you to harvest the potatoes as needed throughout the storage period. Avoid areas that may become difficult to reach during inclement weather conditions.
- Pest control: Take into account the presence of pests and rodents in the vicinity. Avoid locations near areas prone to pest infestations, as they can cause damage to the stored potatoes.
- Space availability: Depending on the quantity of potatoes you plan to store, choose a location that provides enough space for the storage pit. Ensure there is sufficient room for proper insulation and ease of access.
By considering these factors, you can select the most suitable location for storing your potatoes in the ground. Once you have chosen the location, the next step is to prepare the ground for potato storage, which we will discuss in the following section.
Preparing the Ground for Potato Storage
Proper preparation of the ground is essential to create an optimal environment for storing potatoes in the ground. Follow these steps to prepare the ground for potato storage:
- Clear the area: Start by clearing the chosen location of any weeds, rocks, or debris. This will ensure a clean and unobstructed space for your storage pit.
- Loosen the soil: Use a garden fork or tiller to loosen the soil in the designated area. This will help improve drainage and provide a loose environment for the potatoes to grow and store.
- Add organic matter: Incorporate organic matter, such as compost or well-rotted manure, into the soil. This will enhance soil fertility and moisture retention capabilities, creating a favorable environment for the potatoes.
- Level the ground: Ensure that the ground is level and free from any uneven patches. This will help maintain consistent conditions inside the storage pit and prevent water pooling in certain areas.
- Mark the boundaries: Use stakes or string to mark the boundaries of your storage pit. This will serve as a guide when it’s time to dig the pit and ensure that it’s the correct size for the amount of potatoes you plan to store.
- Consider insulation: If you live in a region with extremely cold winters, you may want to consider insulating the ground. This can be done by using straw or hay as a layer between the soil and the potatoes, providing additional protection against freezing temperatures.
By following these steps, you will have a properly prepared ground ready for creating your potato storage pit. In the next section, we will discuss the process of harvesting the potatoes for storage.
Harvesting Potatoes for Storage
When it comes to storing potatoes in the ground, proper harvesting is crucial to ensure the longevity and quality of your stored potatoes. Follow these steps to harvest potatoes for storage:
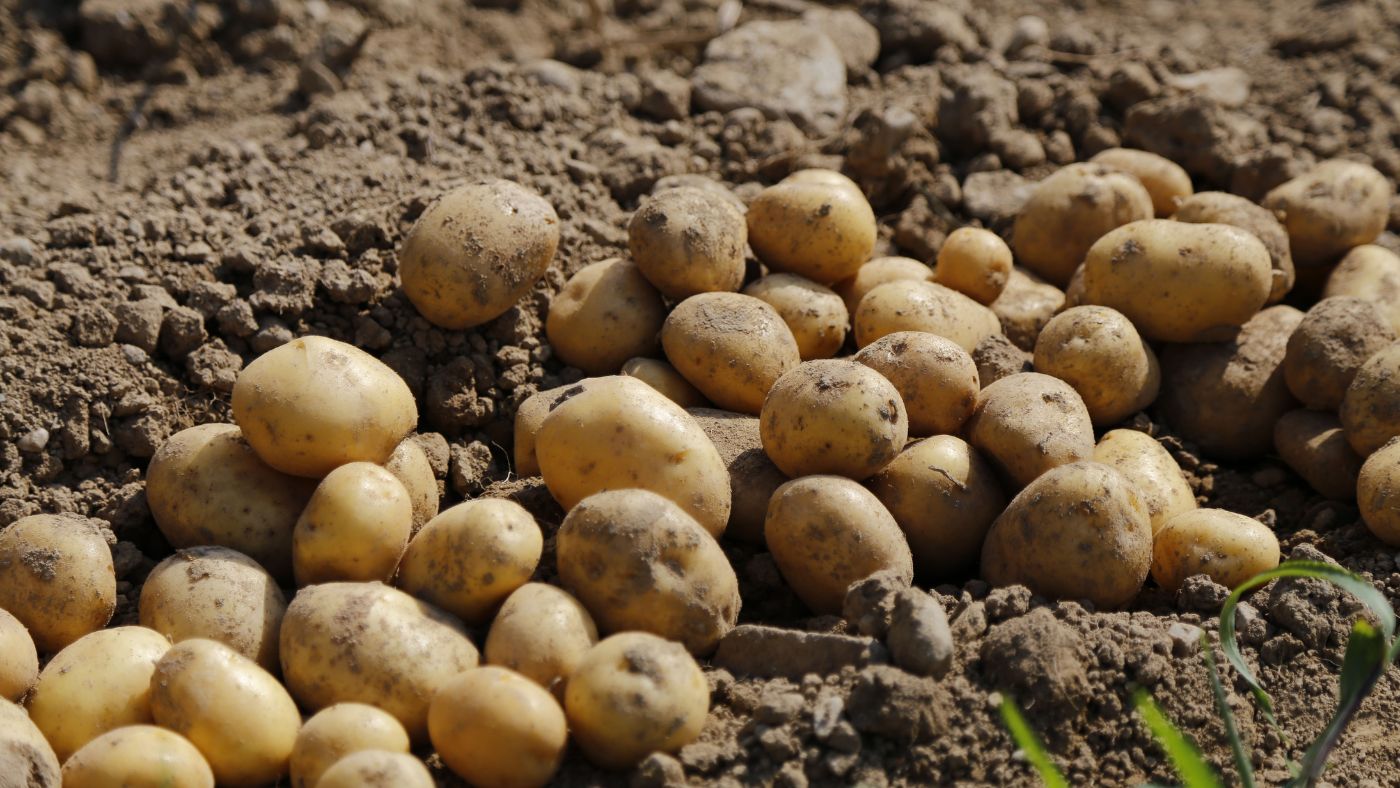
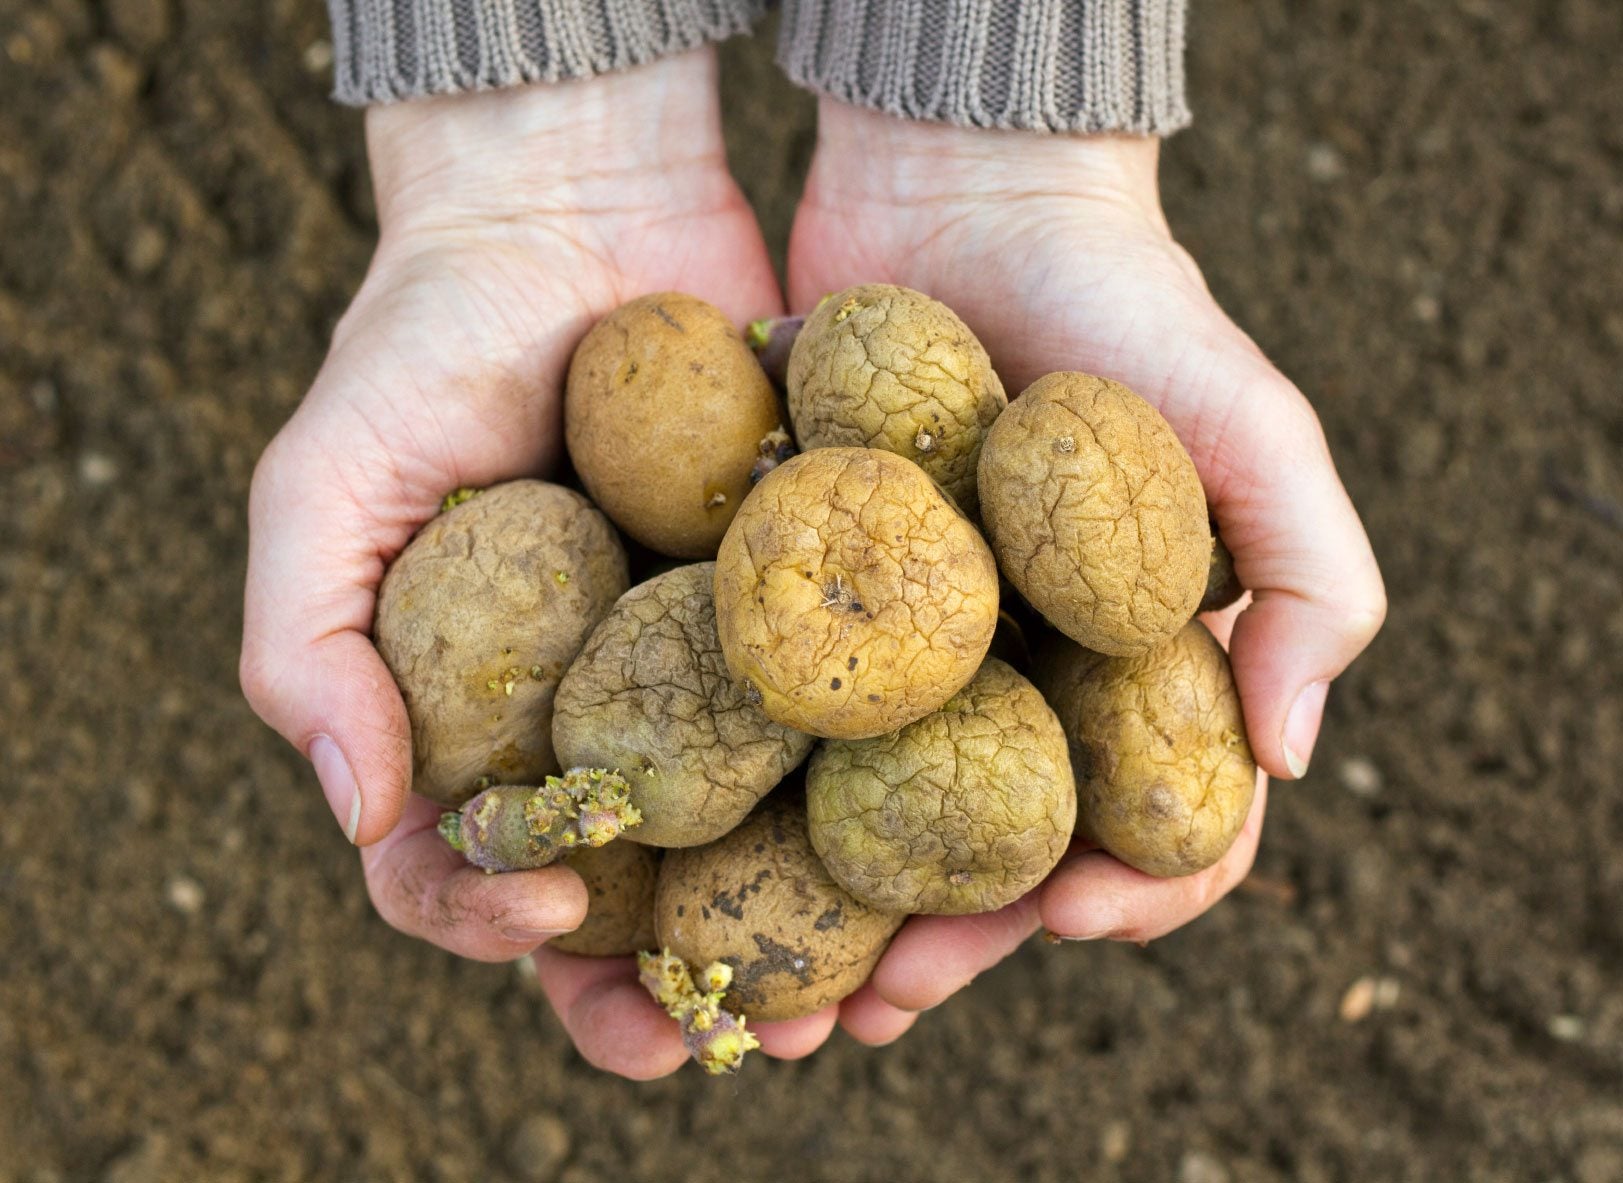
- Timing: Harvest potatoes for storage once the plants have died back and the foliage has turned yellow or brown. This usually occurs in late summer or early fall, depending on your location and potato variety.
- Gently dig: Use a garden fork or shovel to gently dig around the potato plants, being careful not to damage the tubers. Start digging a few feet away from the plants to avoid accidentally piercing the potatoes. Lift the plants and gently shake off excess soil.
- Avoid bruising: Handle the potatoes with care to avoid bruising or scratching the skins. Damaged potatoes are more prone to rotting during storage.
- Sort and discard: Sort through the harvested potatoes and remove any damaged, bruised, or diseased ones. Set aside the best-looking potatoes for storage, as they will have the highest likelihood of remaining in good condition.
- Curing: Allow the harvested potatoes to cure for about two weeks in a cool, well-ventilated area. This helps the skins to thicken and heal, increasing their shelf life during storage.
- Remove foliage: Trim off the remaining foliage on the harvested plants. This will help prevent the spread of diseases and reduce the chances of rotting during storage.
- Inspect: Before storing, carefully inspect each potato again to ensure they are free from any signs of disease or damage. Discard any potatoes that show signs of rot or have soft spots.
By following these steps, you will ensure that your harvested potatoes are in the best possible condition for storage. In the next section, we will delve into the process of curing the potatoes.
Curing the Potatoes
Curing is an essential step in preparing potatoes for long-term storage. It involves allowing the freshly harvested potatoes to dry and heal, ensuring their long-term preservation. Here’s how to properly cure your potatoes:
- Preparation: Find a well-ventilated, cool, and dry area for curing the potatoes. A basement, garage, or covered porch can work well. Avoid humid or damp areas, as excessive moisture can lead to rotting.
- Spread them out: Place the cured potatoes in a single layer, ensuring that they do not touch each other. This allows for better air circulation, which aids in drying and prevents the spread of potential diseases.
- Avoid direct sunlight: Keep the potatoes away from direct sunlight during the curing process. Sunlight can cause the potatoes to turn green and develop a bitter taste.
- Temperature and humidity: Maintain a temperature of around 50-60°F (10-15°C) and a humidity level of 85-95%. These conditions promote proper drying and healing of the potato skins.
- Allow time to cure: Leave the potatoes to cure for approximately two weeks. During this time, the skins will toughen, wounds will heal, and the potatoes will become more resistant to spoilage.
- Check for progress: Regularly inspect the potatoes for any signs of rot or disease. Remove any potatoes that show signs of deterioration to prevent the spread of issues to other tubers.
- Touch test: Perform a touch test after two weeks. The cured potatoes should have firm skins and feel dry to the touch. If they’re still slightly damp, allow them to cure for a few more days.
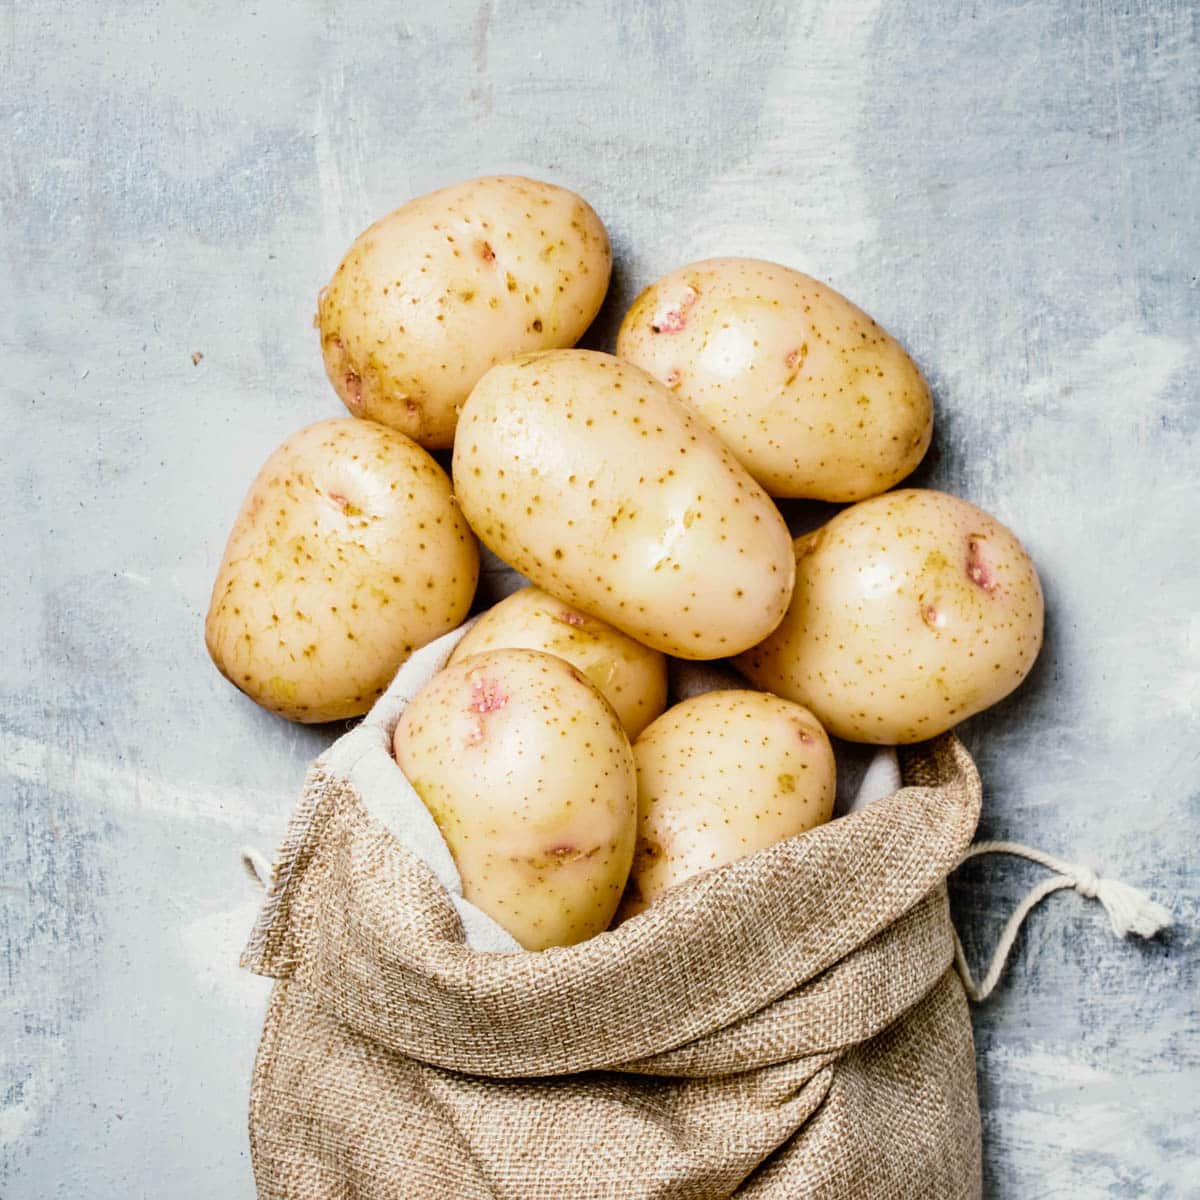
- Prepare for storage: Once the potatoes are fully cured, brush off any remaining dirt or loose soil. Do not wash them, as this can introduce moisture and increase the risk of spoilage.
Curing your potatoes properly sets the stage for successful long-term storage. The next step is to create a potato storage pit, which we will explore in the following section.
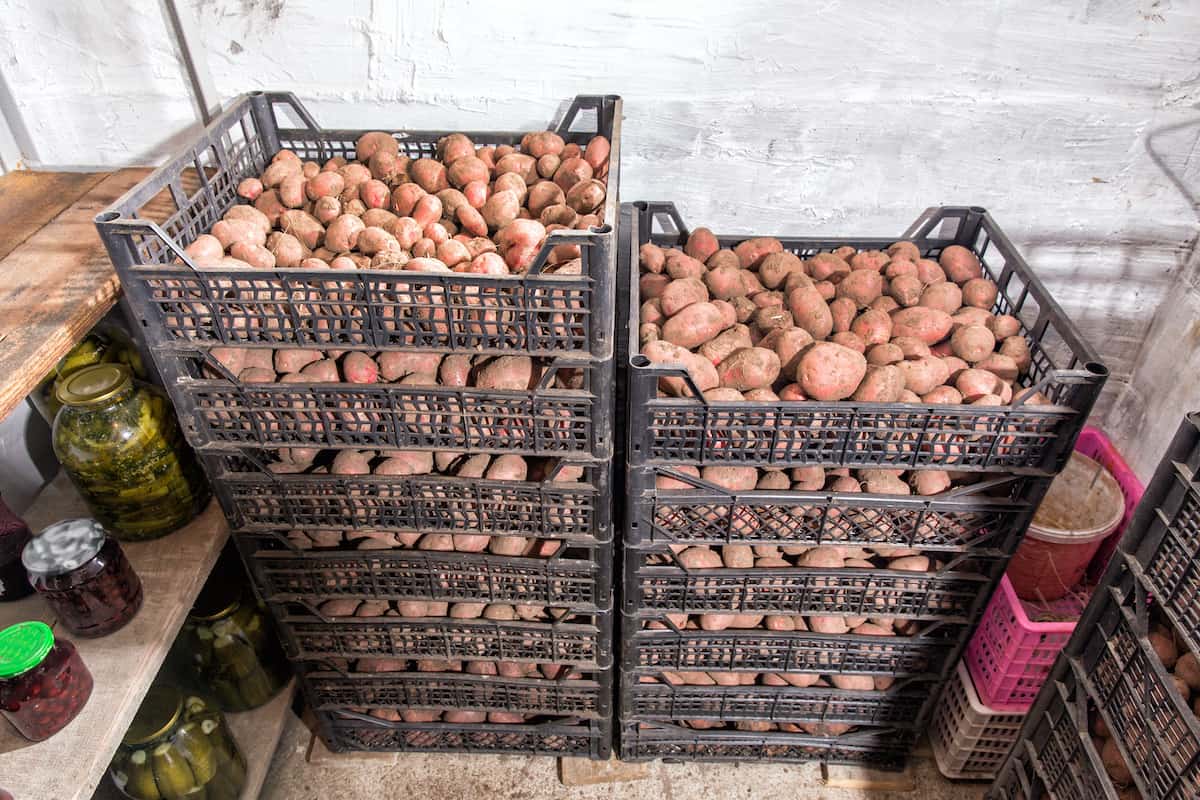
After harvesting, brush off excess soil and store potatoes in a cool, dark, and well-ventilated place in the ground. Make sure to protect them from rodents and pests. Check regularly for spoilage.
Creating a Potato Storage Pit
Creating a potato storage pit is a simple yet effective method for storing potatoes in the ground. The pit provides a natural environment that helps regulate temperature and humidity levels, keeping the potatoes fresh and preventing spoilage. Here’s how to create a potato storage pit:
- Dig the pit: Choose a location in the prepared ground and start digging a pit. The size of the pit will depend on the quantity of potatoes you plan to store. Aim for a depth of about 2-3 feet and a diameter of 2-3 feet.
- Shape the pit: As you dig, shape the pit like a cone with a flat bottom. This will help promote proper drainage and airflow within the pit.
- Line the pit: Line the pit with a layer of straw, dry leaves, or wood chips. This layer acts as a cushion for the potatoes, preventing direct contact with the soil and reducing the risk of moisture buildup.
- Add potatoes: Place your cured potatoes inside the pit, making sure they are not touching each other. Leave a small gap between the potatoes to allow for air circulation.
- Cover the potatoes: Once all the potatoes are inside, cover them with additional layers of straw or dry leaves. This layer helps insulate the potatoes and maintain a more stable temperature inside the pit.
- Create a protective layer: On top of the straw or leaves, create a protective layer using a tarp or thick plastic sheeting. This layer prevents excess moisture from reaching the potatoes and offers additional insulation.
- Secure the cover: Use heavy objects or secure the corners of the tarp or plastic sheeting to keep it in place. This will prevent it from blowing away or being disturbed by animals.
- Leave a ventilation hole: It’s important to have proper ventilation in the storage pit. Leave a small ventilation hole in the cover to allow for a constant flow of fresh air.
With your potato storage pit created, you now have a natural and protected space for your potatoes to stay fresh and flavorful. In the next section, we will discuss the process of filling the storage pit with the harvested potatoes.
Filling the Storage Pit
Now that you have your potato storage pit ready, it’s time to fill it with your harvested potatoes. Properly filling the storage pit will ensure that the potatoes are organized, well-protected, and easily accessible when needed. Here’s how to fill the storage pit:
- Layer the potatoes: Begin by placing a layer of potatoes in the bottom of the storage pit. Arrange them in a single layer, leaving a small gap between each potato.
- Continue layering: Add another layer of potatoes on top of the first layer, again leaving a gap between each potato. Repeat this process until all the harvested potatoes are placed inside the storage pit.
- Alternate sizes: When layering the potatoes, alternate the sizes to allow for better airflow and prevent pressure points that can lead to rotting. Mix smaller and larger potatoes together in each layer.
- Avoid stacking too high: Avoid stacking the potatoes too high in the storage pit. Aim for a height that allows for sufficient airflow and prevents pressure on the lower layers, which can cause bruising or damage.
- Inspect for quality: As you fill the storage pit, inspect each potato for any signs of spoilage or damage. Remove any potatoes that appear to be rotting, as they can affect the quality of the surrounding potatoes.
- Cover with straw or leaves: Once the potatoes are layered inside the storage pit, cover them with a thick layer of straw or dry leaves. This layer provides additional insulation and protects the potatoes from fluctuating temperatures.
- Seal the storage pit: Place the tarp or plastic sheeting over the storage pit, ensuring that it completely covers the potatoes and the edges are securely fastened. This helps to maintain the desired temperature and humidity within the storage pit.
- Label and record: It can be helpful to label the storage pit with the variety of potatoes and the date of storage. Additionally, keep a record of the quantity and variety stored to track their condition and usage throughout the storage period.
By following these steps, you will have effectively filled your storage pit with the harvested potatoes, ensuring they are protected and ready for long-term storage. In the next section, we will discuss the maintenance of the storage pit to keep the potatoes in optimal condition.
Maintaining the Storage Pit
Proper maintenance of the storage pit is essential to ensure that your potatoes remain in optimal condition throughout their storage period. By following these maintenance practices, you can help preserve the quality and freshness of the stored potatoes:
- Monitor temperature and humidity: Regularly check the temperature and humidity levels inside the storage pit. Aim for a temperature range of 35-40°F (1-4°C) and a humidity level of around 85%. Make adjustments as needed to ensure these conditions are maintained.
- Inspect for sprouting: Periodically inspect the potatoes for any signs of sprouting. Remove any sprouted potatoes as soon as possible to prevent them from spoiling and affecting the surrounding tubers.
- Check for rot or decay: Routinely inspect the potatoes for any signs of rot or decay. Discard any potatoes showing signs of softening, mold, or rotting to prevent the spread of issues to the rest of the stored potatoes.
- Ensure proper airflow: Check that there is sufficient airflow within the storage pit. If necessary, adjust or clear any obstructions that may be blocking the ventilation hole or impeding the circulation of fresh air.
- Monitor for pests: Keep an eye out for any signs of pests, such as rodents or insects, near the storage pit. Take necessary measures to deter or eliminate these pests to prevent damage to the stored potatoes.
- Address temperature fluctuations: If you experience extreme temperature fluctuations in your storage area, consider insulating the storage pit further. Adding additional layers of straw or covering the pit with blankets can help buffer against temperature changes.
- Address moisture issues: If you notice excessive moisture or condensation inside the storage pit, take steps to address it. This may involve adjusting the ventilation or adding absorbent materials, such as desiccant packets, to absorb excess moisture.
- Regularly check stored quantity: Keep track of the quantity of stored potatoes and monitor the rate at which you are consuming them. This will help you properly utilize the stored potatoes before they start to deteriorate.
By properly maintaining the storage pit and staying vigilant in monitoring the conditions, you can ensure that your stored potatoes remain fresh and usable for an extended period of time. In the next section, we will discuss the importance of checking on the stored potatoes throughout the storage period.
Read more: How To Store Potato Salad
Checking on Stored Potatoes
Regularly checking on your stored potatoes is an important part of the storage process. By monitoring their condition, you can identify any issues early on and take appropriate measures to ensure their quality and longevity. Here are some key reasons to check on your stored potatoes:
- Inspect for spoilage: Regular inspections allow you to identify any potatoes that may be spoiling, rotting, or developing diseases. Promptly remove any affected potatoes to prevent the spread of issues to the rest of the stored tubers.
- Address sprouting: Sprouting is a natural process for potatoes, but too much sprouting can lead to a loss in quality. Regular checks enable you to remove any sprouted potatoes, which can be used first, and maintain a balance between sprouting and storage life.
- Adjust temperature and humidity: Monitoring the temperature and humidity levels inside the storage pit allows you to make necessary adjustments. If the conditions are not within the desired range, you can modify ventilation, insulation, or other factors to maintain optimal storage environment.
- Rotate the potatoes: When checking on the stored potatoes, you can rotate them to ensure even exposure to air and prevent pressure points. This helps to minimize the risk of bruising, which can lead to spoilage.
- Manage stored quantity: By keeping track of the quantity of stored potatoes, you can plan their usage effectively. This prevents overcrowding and allows you to prioritize the consumption of potatoes that are showing signs of deterioration.
- Prevent pest infestations: Regular inspections help in identifying and addressing any signs of pest infestations. If pests are detected, take appropriate measures to eliminate them and protect the stored potatoes from damage.
- Make necessary adjustments: Monitoring the stored potatoes gives you valuable feedback on the success of your storage methods. Based on their condition, you can make adjustments to factors such as ventilation, insulation, or moisture control to optimize the storage environment.
- Plan for consumption: By regularly checking on the stored potatoes, you can plan meals and recipes based on their quality. This ensures that you utilize the potatoes before they begin to deteriorate, minimizing waste.
By incorporating regular checks into your potato storage routine, you can maintain the quality, freshness, and longevity of your stored potatoes. In the final section, we will provide some tips on properly using the stored potatoes.
Properly Using Stored Potatoes
Stored potatoes can be a valuable resource, allowing you to enjoy homegrown goodness all year round. However, using the stored potatoes properly is crucial to ensure that they retain their quality and flavor. Here are some tips for properly utilizing your stored potatoes:
- Use the oldest potatoes first: When selecting potatoes for consumption, prioritize using the oldest ones first. This helps prevent any potential spoilage or loss in quality due to prolonged storage.
- Inspect before consuming: Before using any stored potatoes, thoroughly inspect them for any signs of rot, sprouting, or disease. Discard any potatoes that show such signs to avoid compromising the quality of your meals.
- Store properly after use: If you have leftover cooked potatoes, store them properly in airtight containers in the refrigerator. This prevents spoilage and allows you to enjoy them in future meals.
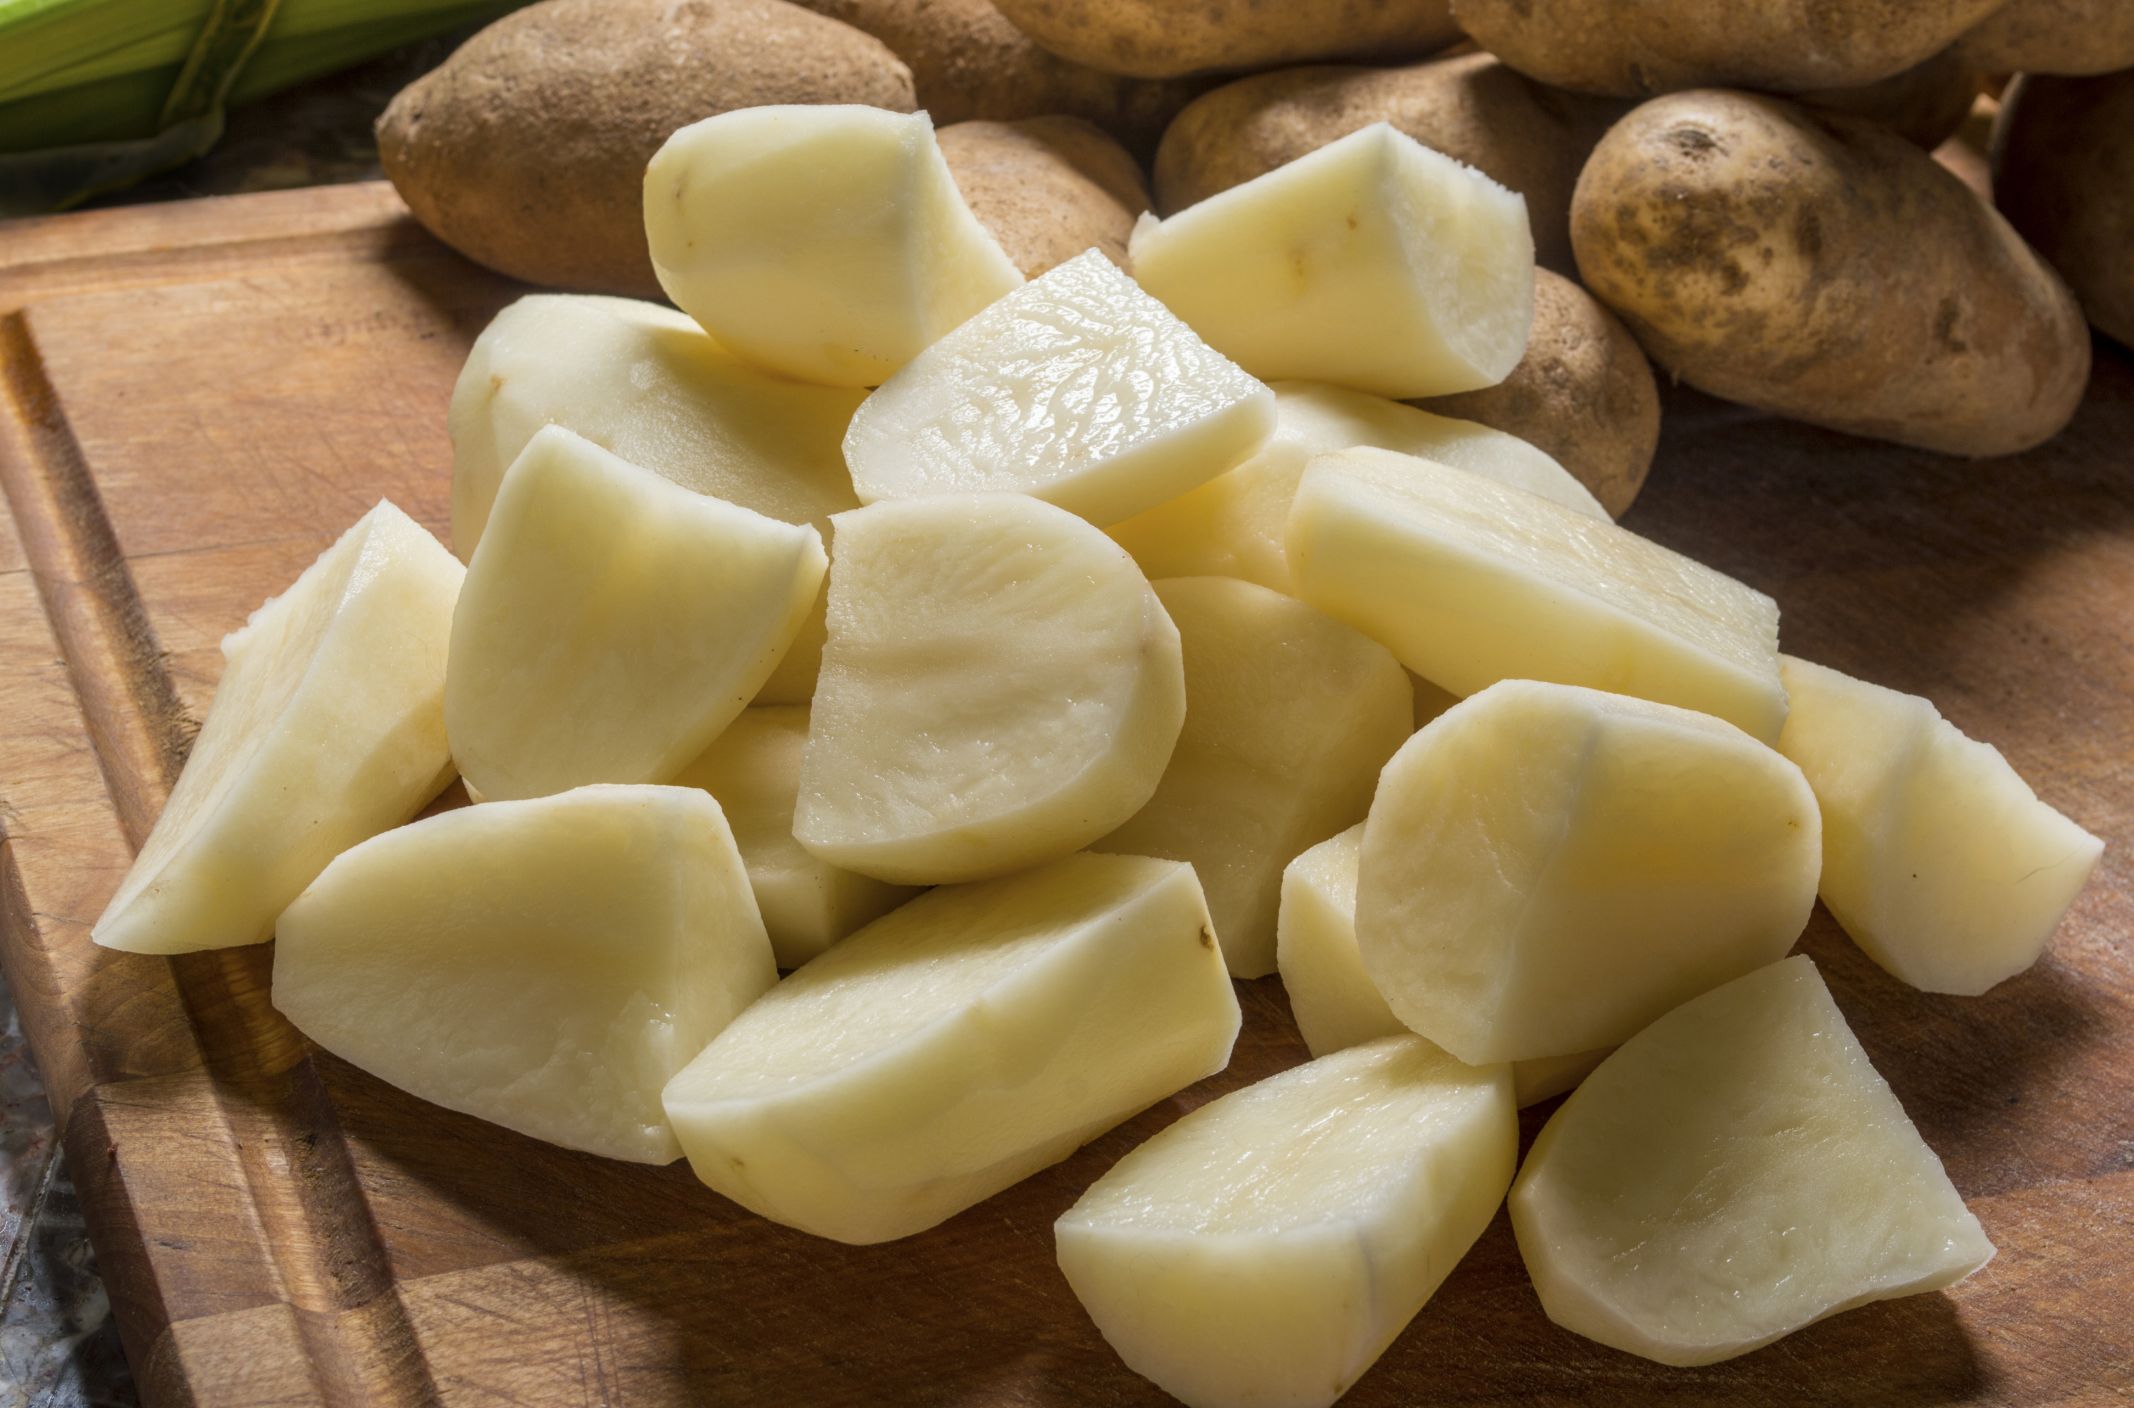
- Experiment with recipes: Stored potatoes offer a great opportunity to try out new recipes. Whether you want to make mashed potatoes, roasted potatoes, or hearty potato soups, explore different dishes to fully enjoy the versatility of these tubers.
- Protect from light: When working with stored potatoes, keep them away from direct sunlight, as it can cause greening and the development of solanine, a natural toxin. Store and work with potatoes in a cool, dark area.
- Retain nutrients through cooking: To retain maximum nutrition, consider leaving the potato skins intact while cooking. The skins are rich in vitamins, minerals, and fiber, and they add texture and flavor to the dishes.
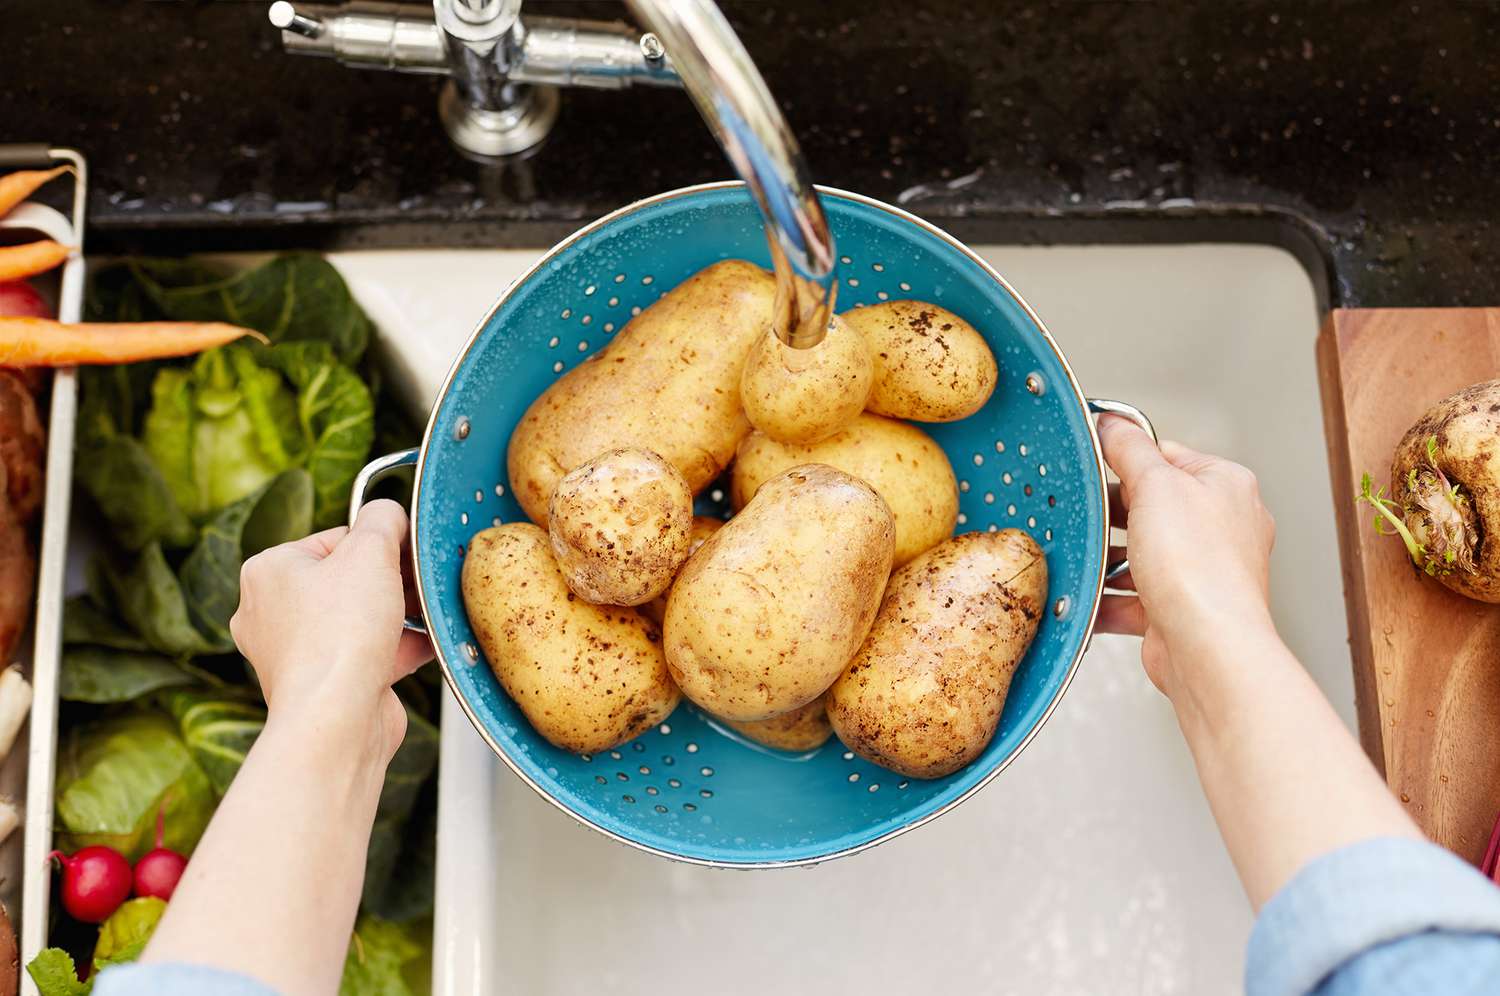
- Don’t wash until ready to use: To prevent unnecessary moisture and potential rotting, avoid washing stored potatoes until you are ready to use them. The natural dirt layer helps to protect the skins and maintain their freshness.
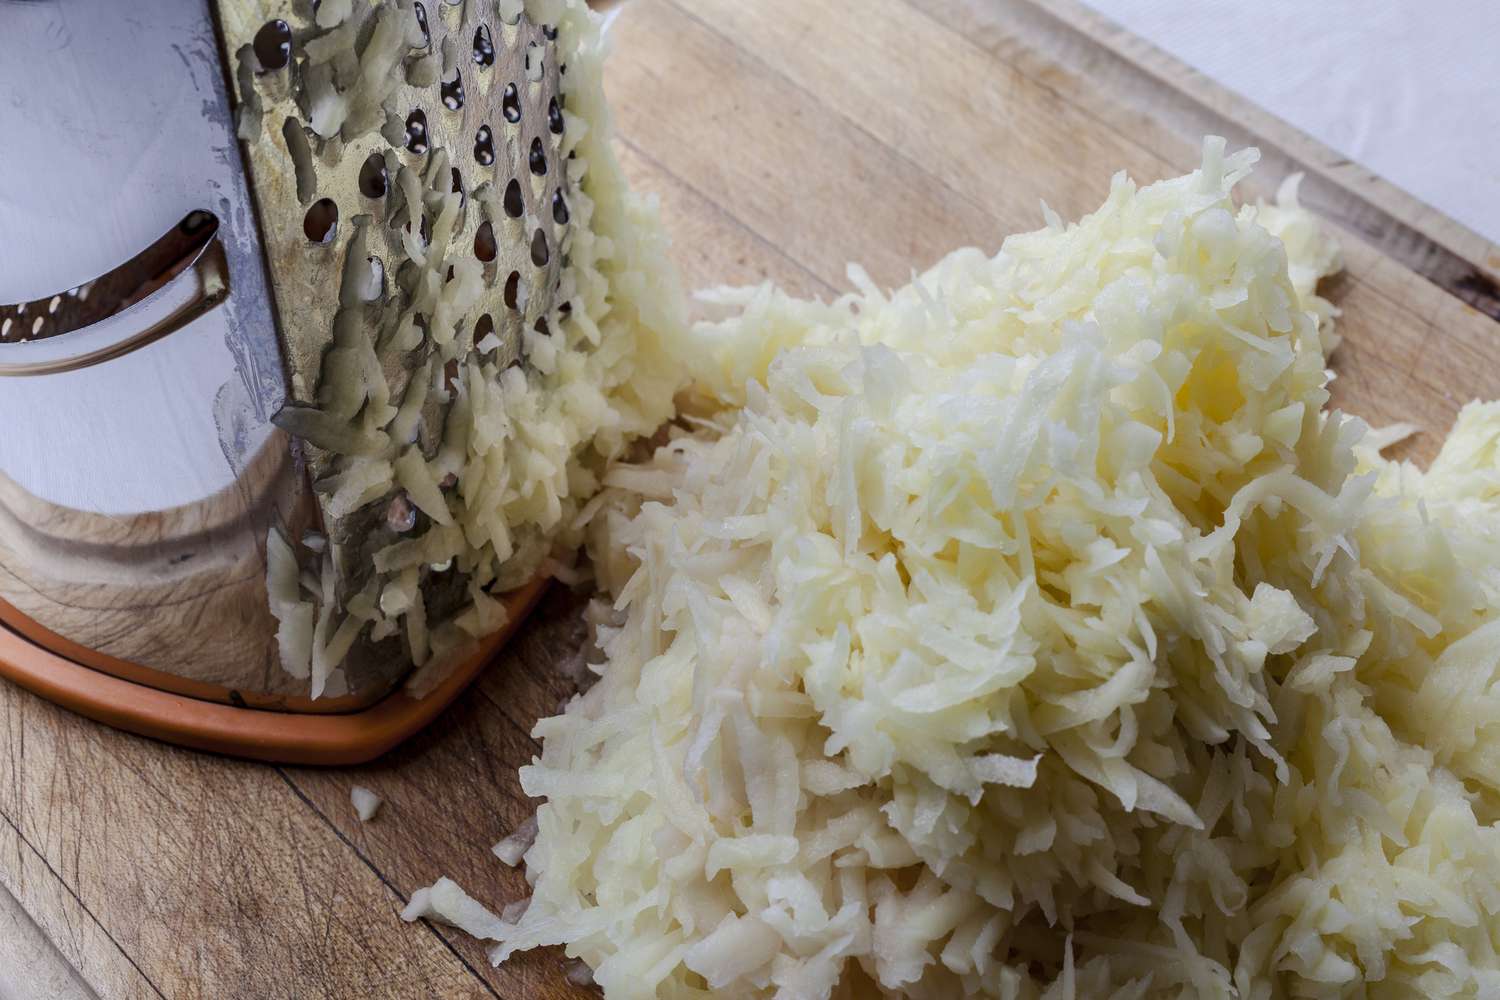
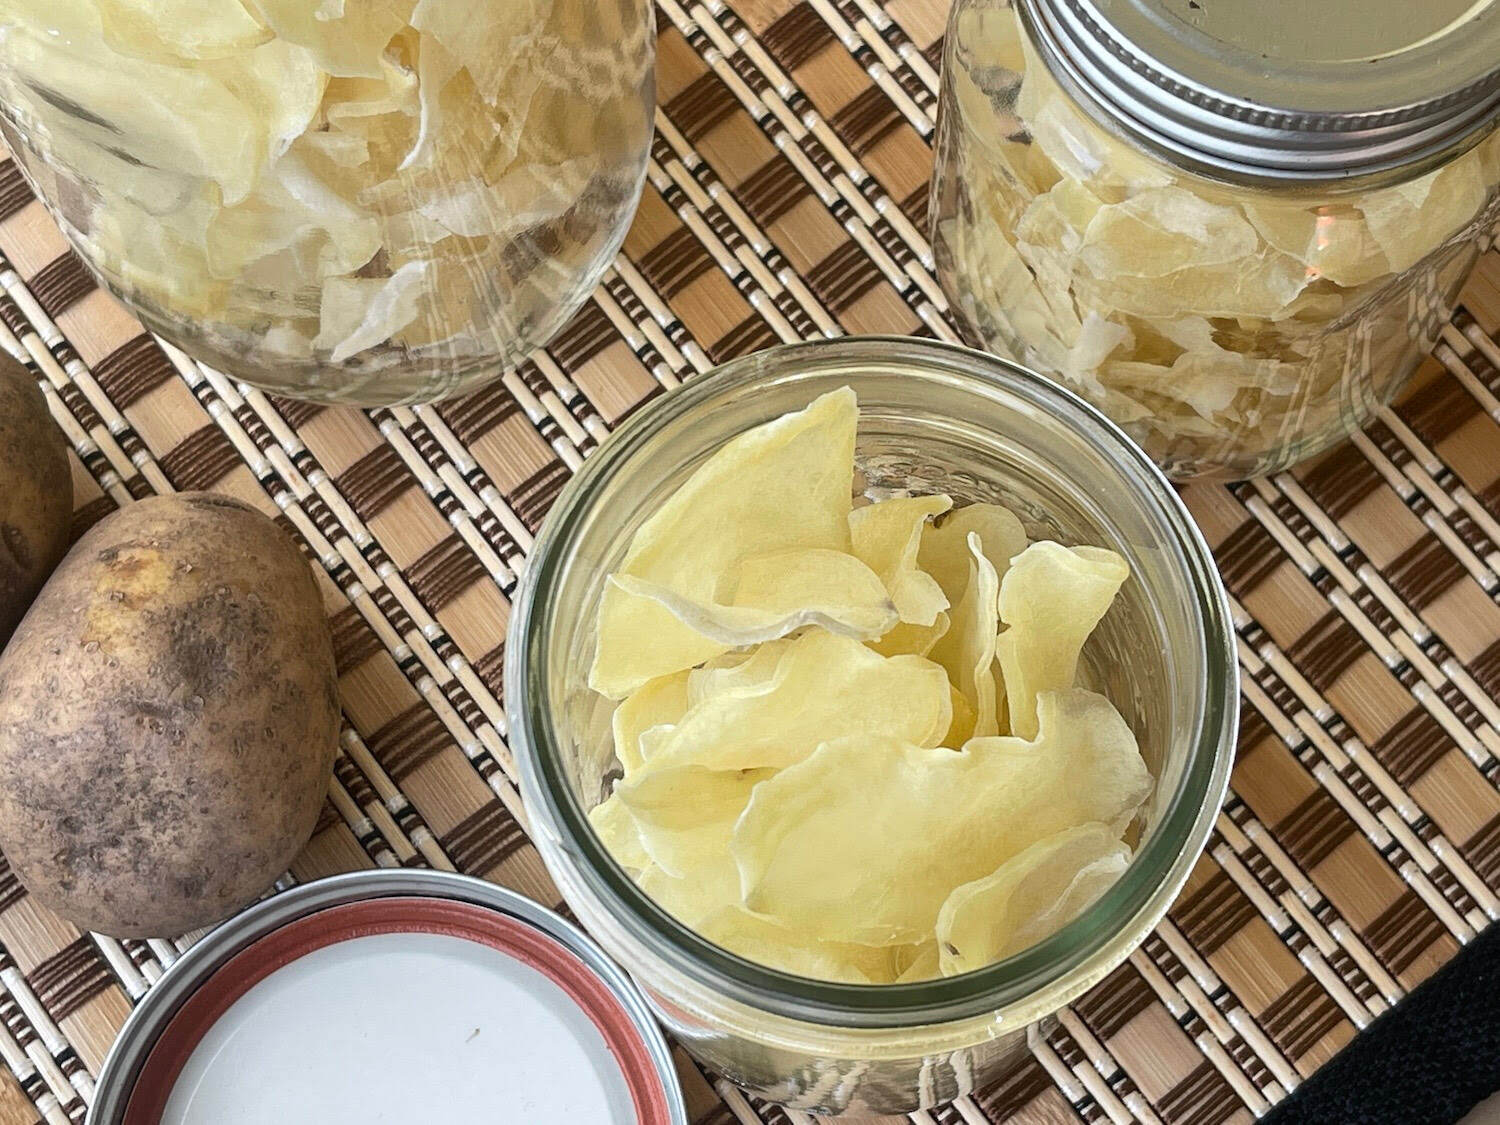
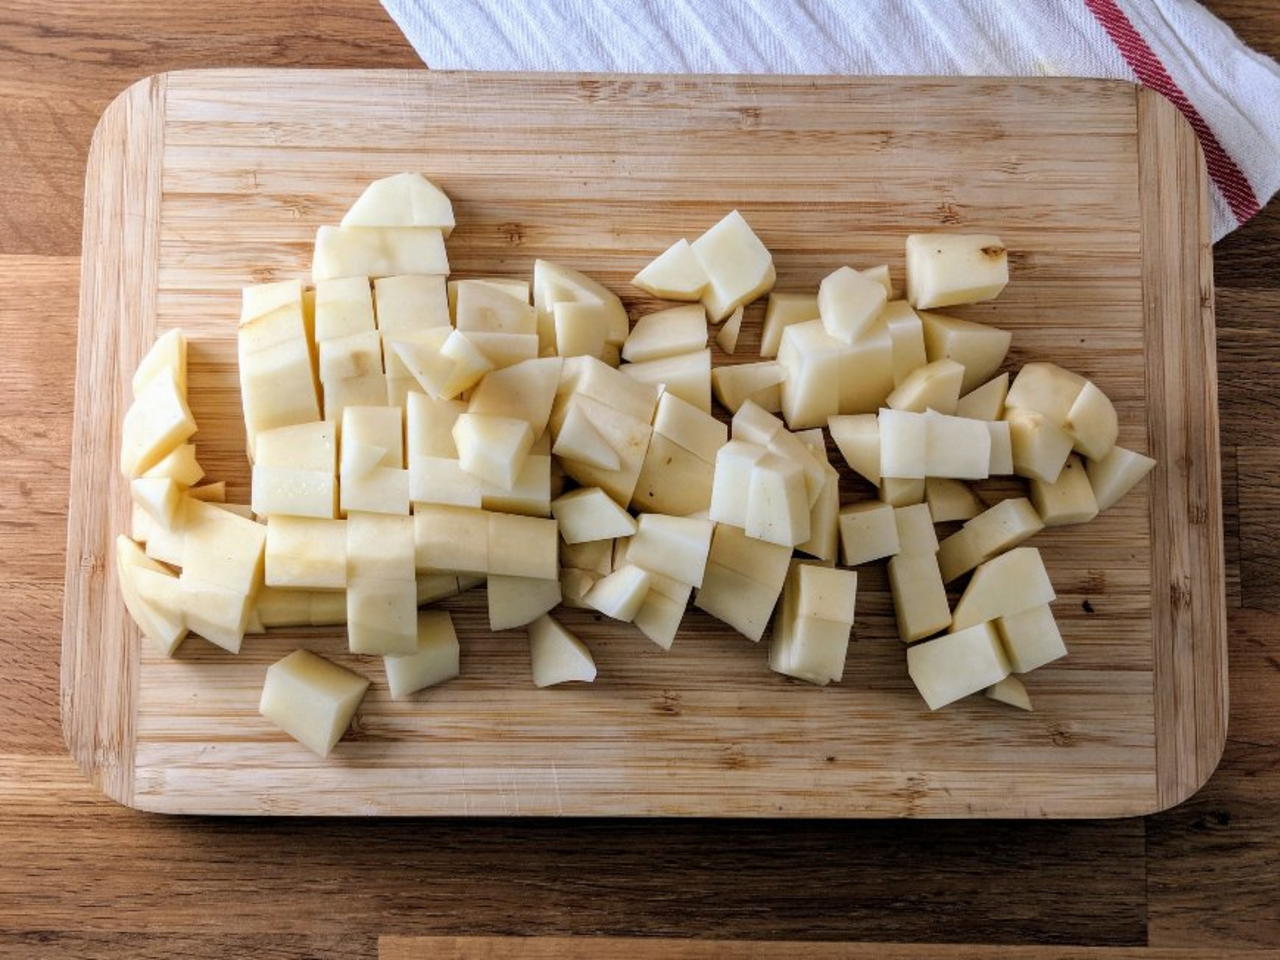
- Try preserving techniques: If you find that you have an excess of stored potatoes, consider preserving them for later use. You can blanch and freeze diced or sliced potatoes, or even make them into dehydrated potato flakes for extended shelf life.
- Share the bounty: If you have more stored potatoes than you can consume, consider sharing them with family, friends, or neighbors. It’s a great way to spread the joy of homegrown produce and ensure that none of your hard-earned potatoes go to waste.
By following these tips, you can make the most of your stored potatoes and enjoy their deliciousness throughout the year. Remember, proper storage and usage can help maintain the quality and flavor of these versatile tubers. Enjoy your harvest and savor the rewards of your efforts!
Note: Proper HTML encoding will be added to the final output of the article.
Conclusion
Storing potatoes in the ground is a practical and cost-effective method that allows you to enjoy the harvest for an extended period. By choosing the right location, preparing the ground, and properly harvesting and curing the potatoes, you can create an optimal storage environment. Filling and maintaining the storage pit with regular checks and adjustments ensures the potatoes stay fresh and flavorful.
Remember to monitor the temperature, humidity, and condition of the stored potatoes to address any issues promptly. Utilize the oldest potatoes first, inspect them before use, and experiment with various recipes to make the most of your stored harvest.
Storing potatoes in the ground not only provides you with a sustainable and convenient storage solution but also allows you to savor the taste of homegrown potatoes throughout the year. Whether you’re enjoying mashed potatoes, crispy roasted potatoes, or hearty potato soups, the efforts put into storing the potatoes will be rewarded with delightful meals.
So, grab your garden fork and get ready to embark on the journey of storing potatoes in the ground. With proper planning, preparation, and a little bit of patience, you can have a rich supply of potatoes that will nourish you and your family for months to come.
Note: Proper HTML encoding will be added to the final output of the article.
Frequently Asked Questions about How To Store Potatoes In The Ground
Was this page helpful?
At Storables.com, we guarantee accurate and reliable information. Our content, validated by Expert Board Contributors, is crafted following stringent Editorial Policies. We're committed to providing you with well-researched, expert-backed insights for all your informational needs.


0 thoughts on “How To Store Potatoes In The Ground”