Articles
How To Store Seed Potatoes
Modified: October 20, 2024
Discover expert tips and techniques for storing seed potatoes in this informative articles. Safely preserve your potatoes for future planting and enjoy a bountiful harvest.
(Many of the links in this article redirect to a specific reviewed product. Your purchase of these products through affiliate links helps to generate commission for Storables.com, at no extra cost. Learn more)
Introduction
Storing seed potatoes is a crucial step in ensuring a successful potato harvest. Seed potatoes are the tubers that are used for planting in order to grow new potato plants. Properly storing seed potatoes helps maintain their freshness and viability, ensuring that they are in prime condition for planting.
When it comes to storing seed potatoes, there are several important factors to consider. This article will guide you through the step-by-step process of storing seed potatoes, from choosing the right potatoes to monitoring for rot or decay. By following these steps, you’ll be able to store your seed potatoes effectively and increase your chances of a bountiful potato harvest.
Key Takeaways:
- Choose disease-free, firm, and high-quality potatoes for storage. Thoroughly clean and dry them to prevent contamination and decay, setting the stage for a successful potato harvest.
- Create a suitable storage environment with proper ventilation and regular monitoring. Care for the stored potatoes by maintaining stable conditions and using the oldest ones first for optimal results.
Read more: How Many Potatoes Grow From One Seed Potato
Step 1: Choosing the Right Potatoes
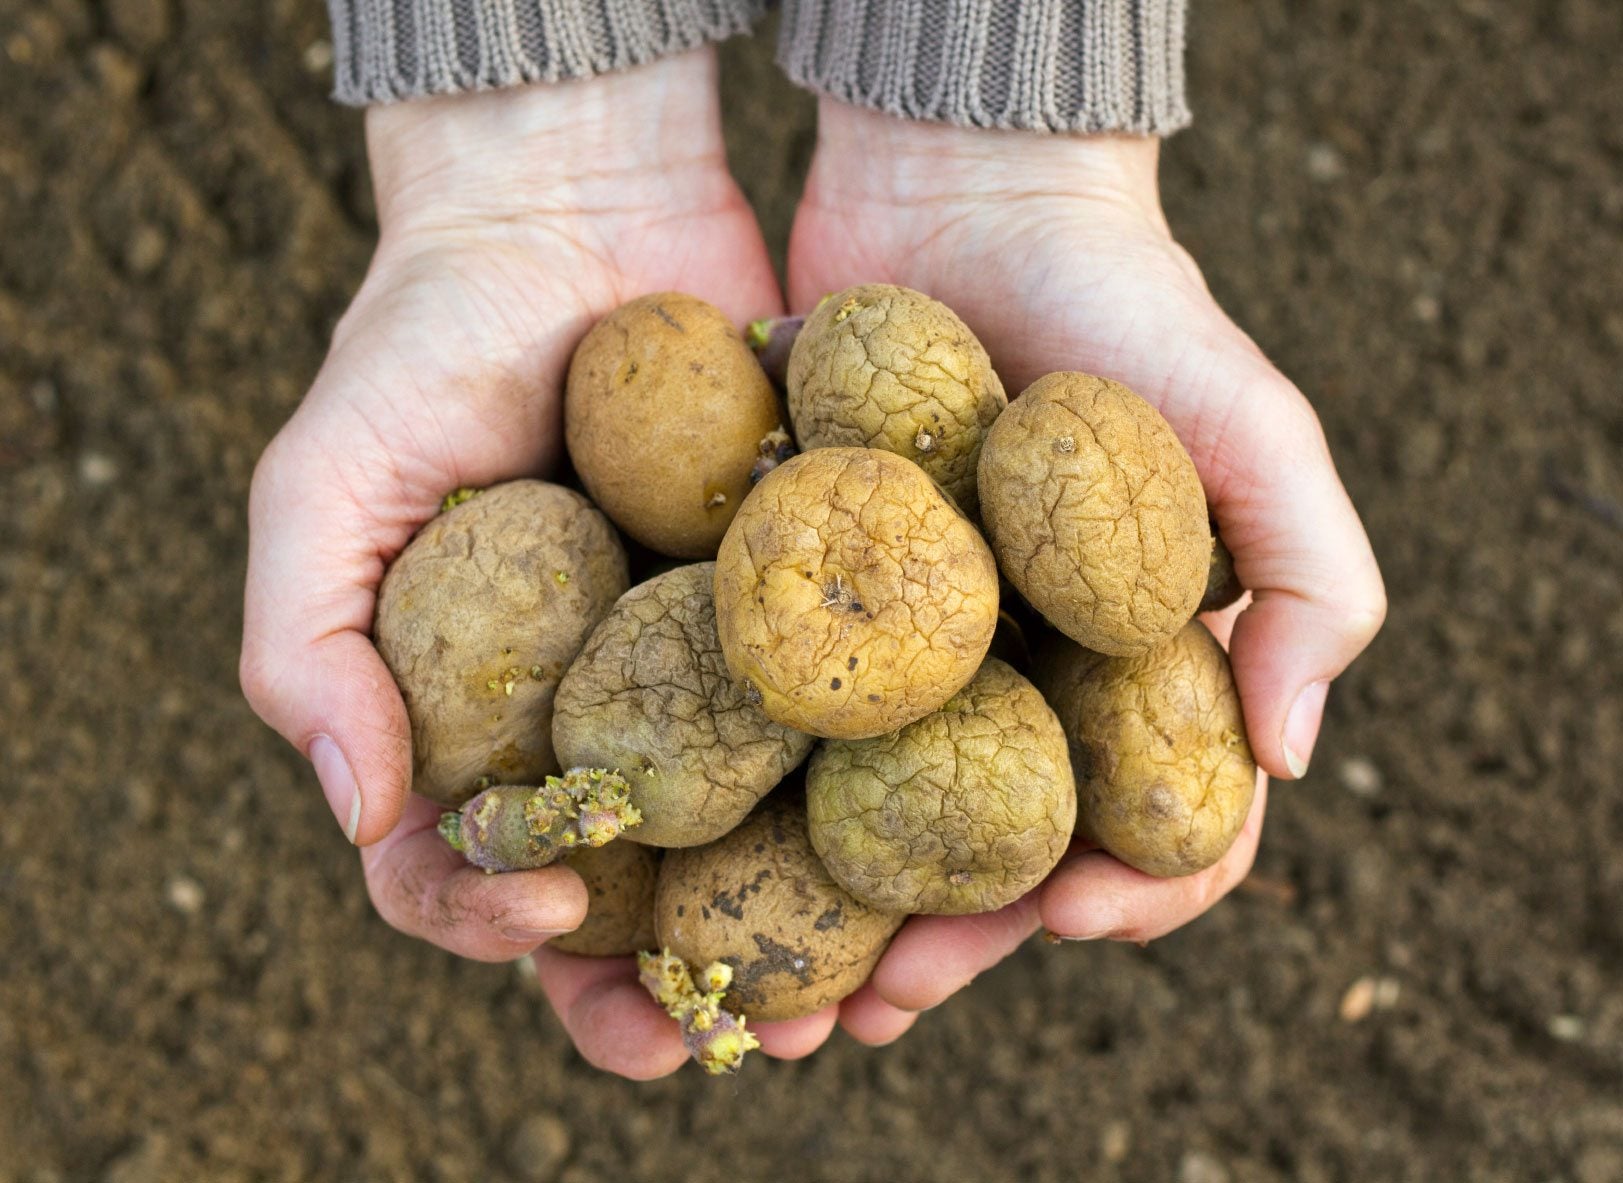
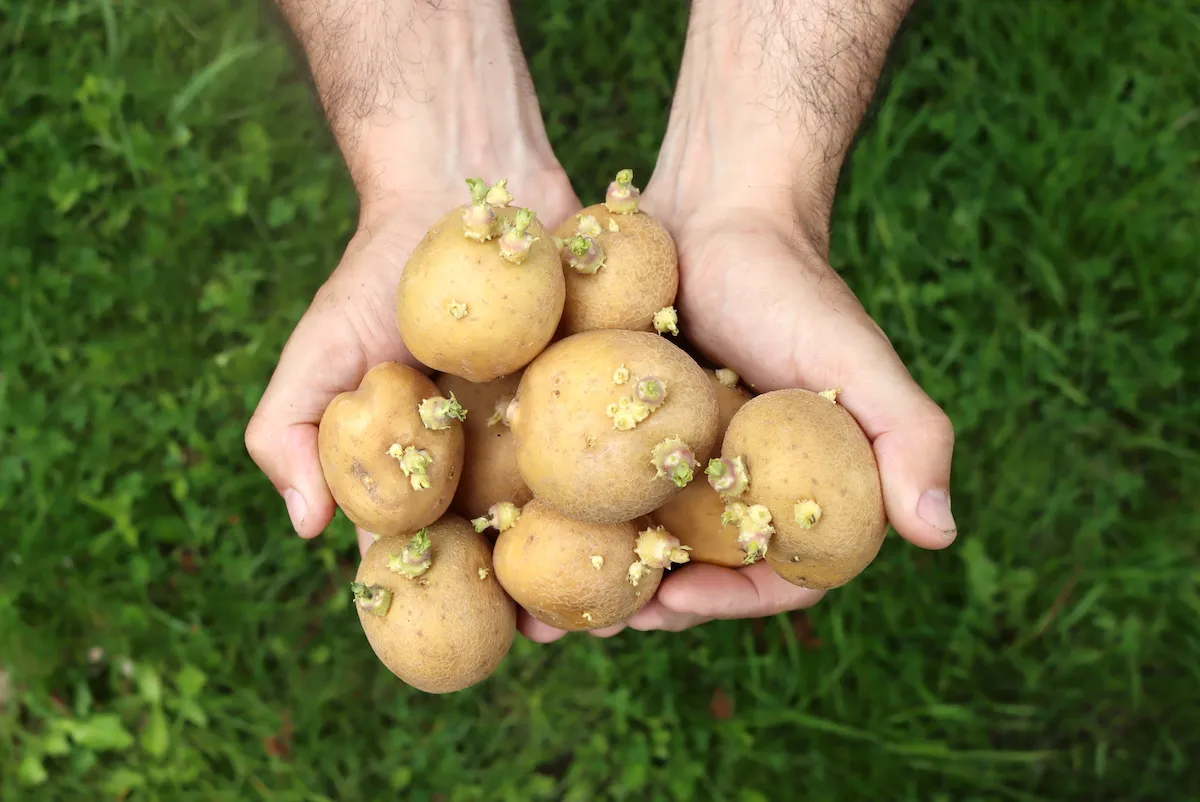
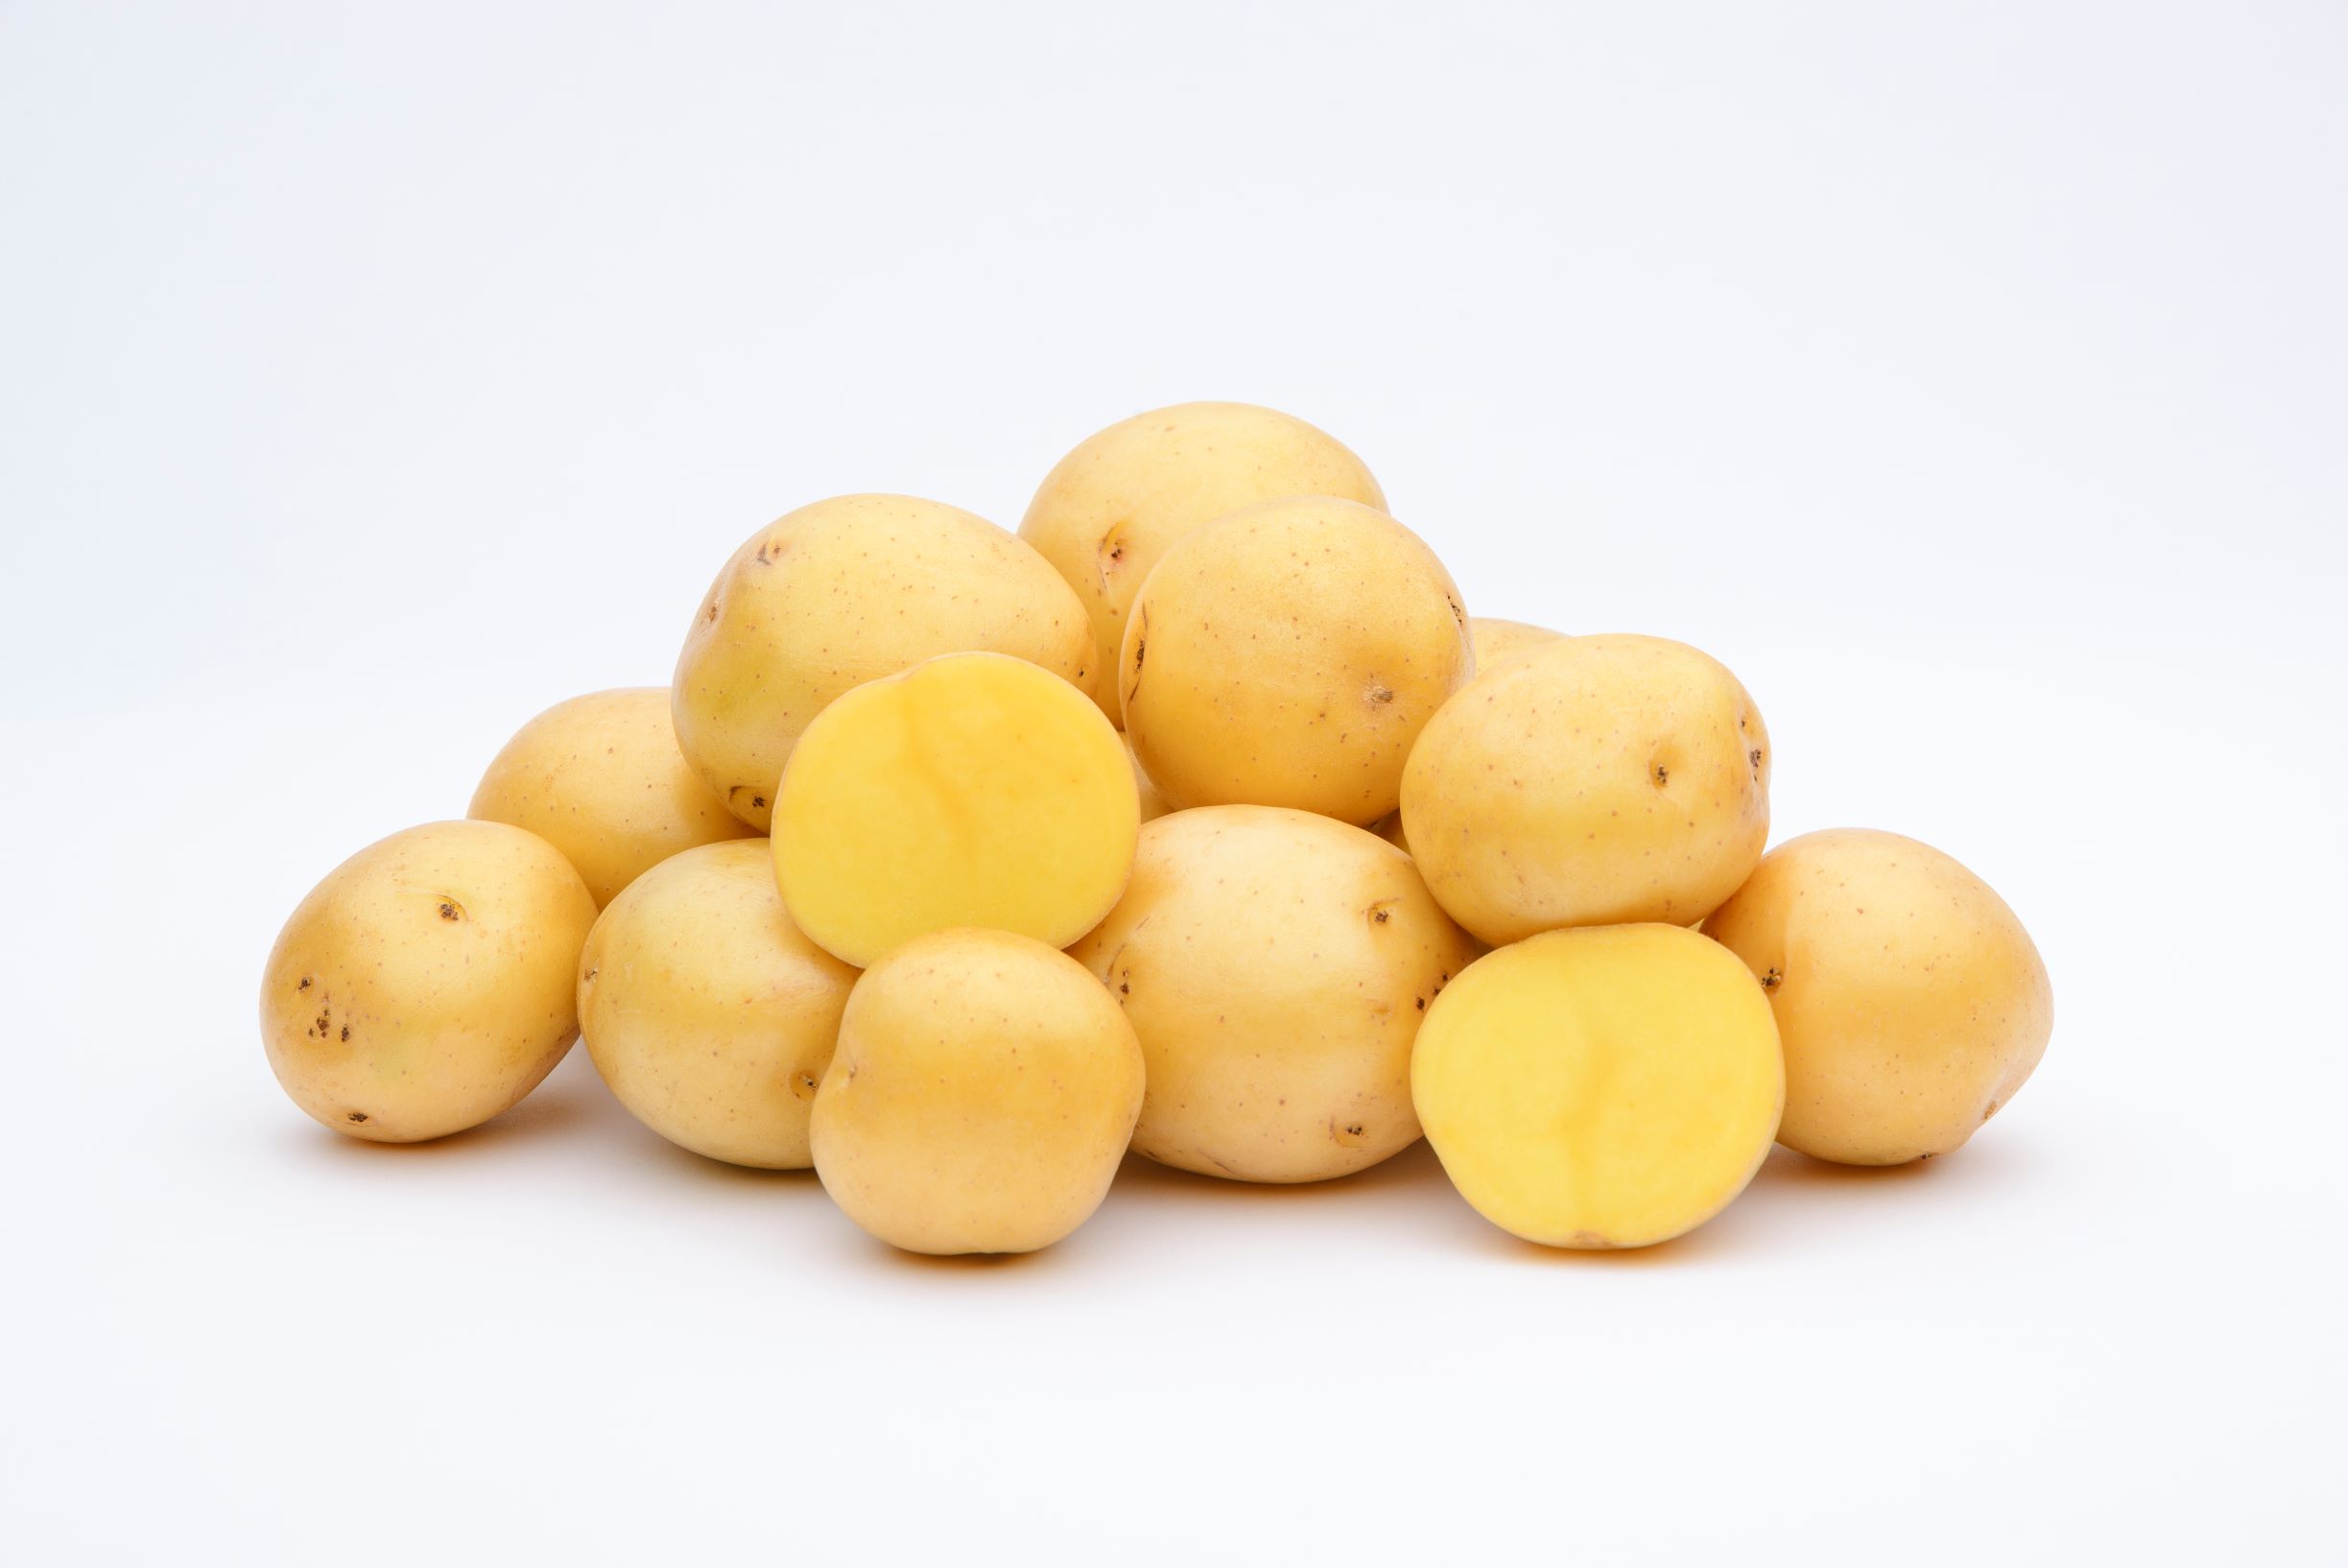
The first step in storing seed potatoes is to choose the right potatoes for your storage. It’s essential to select healthy, disease-free, and high-quality potatoes to ensure successful storage and subsequent growth.
When choosing seed potatoes, it’s recommended to opt for certified disease-free potatoes. These potatoes have been inspected and certified by agricultural authorities to be free from common potato diseases, such as late blight or bacterial wilt.
Additionally, select potatoes that are firm and free from blemishes or bruises. Avoid potatoes with any signs of decay or sprouting. Look for varieties that are known for their good storage capabilities, such as Yukon Gold or Russet Burbank.
It’s also important to consider the size of the potatoes. Small to medium-sized potatoes are ideal for storage as they tend to store better and are less prone to rot. Larger potatoes can be used for immediate consumption or processing, rather than long-term storage.
Once you have selected your potatoes, handle them with care to avoid any damage. Rough handling can lead to bruising, which can make the potatoes more susceptible to rot during storage.
By carefully choosing the right potatoes for storage, you set the foundation for successful seed potato storage and a thriving potato crop in the future.
Step 2: Cleaning the Potatoes
After choosing the right potatoes for storage, the next step is to properly clean them. Cleaning the potatoes helps remove dirt, debris, and any potential pathogens that may be present on the surface.
To clean the potatoes, start by rinsing them under cool running water. Gently rub the surface of each potato with your hands or a soft brush to remove any soil or dirt. Pay close attention to crevices and eyes of the potatoes, as dirt can get trapped in those areas.
It’s important to note that you should not wash the potatoes too vigorously or use harsh chemicals or detergents. Excessive cleaning can damage the potato’s protective layer, making it more prone to decay during storage.
After rinsing, inspect each potato for any blemishes, cuts, or signs of disease. Remove any damaged or diseased potatoes, as they can spoil the rest of the batch during storage.
Once the potatoes are thoroughly cleaned and inspected, allow them to air dry before proceeding to the next step. Place them in a well-ventilated area, away from direct sunlight. A drying period of 1-2 days is usually sufficient to ensure that the potatoes are completely dry.
By properly cleaning the potatoes, you eliminate potential sources of contamination and create a clean and healthy environment for long-term storage.
Step 3: Drying the Potatoes
After cleaning the potatoes, the next step is to ensure they are properly dried before storage. Drying the potatoes helps remove excess moisture, which can contribute to rot and decay during storage.
To dry the potatoes, start by spreading them out in a single layer on a clean and dry surface. Avoid overcrowding the potatoes, as this can impede air circulation and prolong the drying process.
Allow the potatoes to air dry naturally in a well-ventilated area. It’s best to place them in a location away from direct sunlight to prevent any potential sun damage. Depending on the humidity levels in your area, the drying process may take anywhere from a few hours to a couple of days.
During the drying process, it’s important to periodically check the potatoes for any signs of moisture or condensation. If you notice any wet spots or dampness, gently blot them dry with a clean cloth or paper towel. Ensuring that the potatoes are completely dry before storage is crucial for preventing rot.
It’s worth noting that if you’re in a hurry or live in an area with high humidity, you can use a fan or a dehumidifier to speed up the drying process. Just be sure to adjust the settings accordingly and keep an eye on the potatoes to prevent them from drying out too much.
Once the potatoes are thoroughly dry, they are ready to be stored. Properly drying the potatoes ensures that they are in the best condition for long-term storage, minimizing the risk of rot and decay.
Step 4: Preparing the Storage Containers
Before you can store the dried potatoes, it’s important to prepare the storage containers to provide an optimal environment for their preservation. Choosing the right storage containers and preparing them properly can help maintain the quality and freshness of the potatoes.
When it comes to selecting storage containers, there are a few options to consider. Common choices include burlap sacks, paper bags, wooden crates, or plastic bins with ventilation holes. Whichever option you choose, it’s essential that the containers provide good airflow while protecting the potatoes from excess light.
Once you have selected the containers, it’s important to clean them thoroughly to remove any dirt, dust, or potential contaminants. Wash the containers with mild soap and water, rinse them well, and allow them to dry completely.
If you’re using burlap sacks, paper bags, or wooden crates, it’s a good idea to line them with newspaper or straw to provide an extra layer of protection and insulation for the potatoes. This can help prevent bruising and maintain a consistent temperature within the storage containers.
Keep in mind that it’s crucial to avoid using plastic bags or airtight containers for storing potatoes. Potatoes require ventilation to prevent the build-up of moisture and the growth of mold or bacteria. The containers should have sufficient airflow to keep the potatoes fresh.
Additionally, consider labeling your storage containers with the date and variety of the potatoes. This will help you keep track of their storage duration and easily identify the specific potatoes you need when it’s time for planting.
By properly preparing the storage containers, you create a suitable environment for the potatoes to be stored, ensuring their freshness and quality over an extended period.
Store seed potatoes in a cool, dark, and well-ventilated place, such as a cellar or garage. Keep them in a breathable container, like a paper or burlap sack, to prevent moisture buildup and rot. Check regularly for any signs of sprouting or decay.
Read more: What Are Seed Potatoes
Step 5: Layering the Potatoes
Once you have prepared the storage containers, it’s time to layer the potatoes for optimal storage. Layering the potatoes properly helps maintain good airflow and prevents the spread of rot or decay among the tubers.
Start by placing a layer of dry straw, shredded newspaper, or wood chips at the bottom of the storage container. This layer acts as a cushion and helps absorb any excess moisture, ensuring the potatoes stay dry and protected.
Next, carefully arrange the potatoes in a single layer on top of the base layer. It’s important to avoid stacking the potatoes on top of each other, as this can lead to bruising and increased risk of rot. Instead, create a single layer of potatoes, ensuring they are not touching one another.
As you layer the potatoes, inspect them for any signs of damage or decay. Remove any potatoes that show signs of rot, as they can spoil the entire batch.
After the first layer of potatoes is laid down, add another layer of the protective material (straw, newspaper, or wood chips) on top of the potatoes. This layer helps provide insulation and further prevents moisture build-up.
Repeat the process of layering the potatoes and the protective material until all the potatoes are placed in the storage container. Be sure to leave a small gap between the top layer of potatoes and the lid of the container to allow for proper airflow.
It’s important to note that you should avoid overfilling the storage containers. Overcrowding can limit airflow and increase the risk of rot. If you have a large batch of potatoes, it might be best to use multiple storage containers or dividers within a larger container to maintain proper air circulation.
By layering the potatoes correctly, you create an environment that promotes air circulation and minimizes the risk of rot or decay, ensuring the longevity of your stored potatoes.
Step 6: Storing the Potatoes
Once the potatoes are layered in the storage containers, it’s time to store them in a suitable location. Choosing the right storage area is essential for maintaining the quality and freshness of the potatoes over an extended period.
The ideal temperature for storing potatoes is between 40 and 50 degrees Fahrenheit (4 to 10 degrees Celsius). It’s important to avoid storing them in areas that are too cold or too warm, as extreme temperatures can lead to spoilage or sprouting.
Look for a cool and dark location for storing the potatoes. Basements, cellars, or cool garages are often good options. The storage area should also be well-ventilated to prevent the build-up of excess moisture.
When placing the storage containers, ensure they are elevated from the floor to prevent any condensation or moisture absorption. You can use pallets or shelves to provide adequate air circulation underneath the containers.
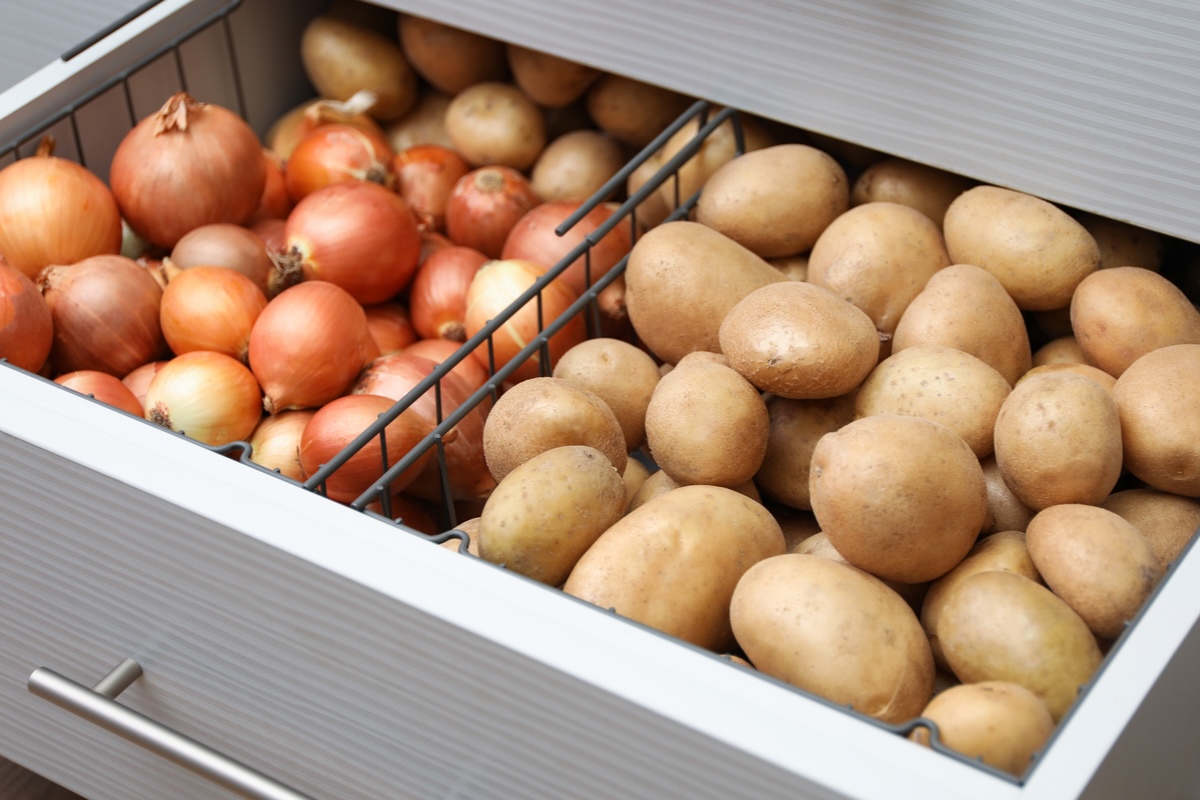
Avoid storing potatoes near fruits, as the ethylene gas produced by some fruits can accelerate sprouting. It’s also important to keep the potatoes away from onions, as the gases released by onions can cause potatoes to spoil more quickly.
It’s crucial to check on the stored potatoes regularly. Inspect the potatoes for any signs of rot or decay, and promptly remove any affected potatoes to prevent the spread of spoilage. Additionally, check the storage containers for any moisture or condensation and make any necessary adjustments to maintain a dry environment.
By storing the potatoes in a suitable location with the right temperature and ventilation, you create an environment that promotes longevity and helps preserve the quality of your seed potatoes.
Step 7: Monitoring for Rot or Decay
Monitoring your stored potatoes is an essential step in ensuring their long-term preservation. By regularly checking for signs of rot or decay, you can promptly address any issues and prevent the deterioration of the entire batch.
Start by inspecting the stored potatoes on a weekly basis. Look for any soft spots, dark discoloration, or foul smells, as these are indications of rot. If you come across any potatoes showing signs of decay, remove them immediately to prevent the spread of spoilage.
It’s also important to check for sprouting. While some sprouting is normal during storage, excessive sprouting can indicate unfavorable conditions. Remove any heavily sprouted potatoes, as they may not be suitable for planting or consumption.
In addition to visually inspecting the potatoes, it’s recommended to gently feel the surface of the potatoes. Any potatoes that feel soft or mushy should be discarded to prevent contamination of the surrounding tubers.
During the monitoring process, it’s crucial to maintain a dry and well-ventilated storage environment. Check the storage containers for any signs of moisture or condensation. If necessary, provide additional ventilation or adjust the storage conditions to maintain a dry atmosphere.
Regularly monitoring the stored potatoes allows you to catch any issues early on and take necessary actions to preserve the quality of the remaining potatoes. By promptly addressing any signs of rot or decay, you can maximize your chances of a successful harvest in the future.
Step 8: Caring for Stored Potatoes
Proper care and maintenance are crucial for the long-term storage of potatoes. By following these care guidelines, you can ensure the potatoes remain fresh and suitable for planting or consumption when the time comes.
First and foremost, continue to regularly monitor the stored potatoes, as mentioned in the previous step. Check for signs of rot, decay, or sprouting, and remove any affected potatoes promptly. This ongoing vigilance will help prevent the spread of spoilage and maintain the quality of the remaining tubers.
It’s also important to maintain a stable storage environment. Keep the temperature within the recommended range of 40 to 50 degrees Fahrenheit (4 to 10 degrees Celsius). Avoid sudden fluctuations in temperature that can stress the potatoes and lead to spoilage. Additionally, ensure the storage area remains well-ventilated to prevent the build-up of excess moisture.
Periodically check the storage containers for any changes in humidity or condensation. If you notice any moisture, address the issue by adjusting the ventilation or removing any excess moisture. Keeping the storage environment dry is vital for preventing the growth of mold or bacteria.
Consider rotating the potatoes occasionally. Gently rearrange the layers or containers to ensure equal exposure to air and minimize the chances of any potatoes getting overlooked or forgotten. This rotation helps maintain a more consistent storage environment and prolongs the shelf life of the potatoes.
Lastly, be mindful of the storage duration. Potatoes can generally be stored for several months, but their quality and freshness will gradually decline over time. It’s advisable to use the oldest potatoes first or plan your planting and consumption accordingly to ensure you make the most of the stored tubers.
By caring for the stored potatoes with regular monitoring, maintaining a stable storage environment, and taking necessary precautions, you can prolong the shelf life and preserve the quality of your seed potatoes.
Read more: How To Make Seed Potatoes Sprout
Conclusion
Storing seed potatoes is a vital step in ensuring a successful potato harvest. By following the step-by-step process outlined in this article, you can effectively store your seed potatoes, maintaining their freshness and viability for planting.
Starting with the selection of the right potatoes, choosing disease-free, firm, and high-quality tubers sets the foundation for successful storage. Cleaning the potatoes thoroughly and allowing them to dry helps eliminate potential sources of contamination and excess moisture.
Preparing the storage containers and layering the potatoes in a well-ventilated and dark environment are essential for maintaining a suitable storage environment. Regular monitoring for signs of rot, decay, or sprouting allows you to address any issues promptly and prevent the spread of spoilage.
Caring for the stored potatoes by maintaining a stable storage environment, periodically checking for changes in humidity, and rotating the potatoes helps prolong their shelf life and preserves their quality.
By following these guidelines and putting in the effort to properly store your seed potatoes, you increase your chances of a bountiful potato harvest. Whether you’re a dedicated gardener or simply enjoy homegrown potatoes, the satisfaction of growing and enjoying your own crop makes the storage process well worth it.
Remember to plan your consumption and planting accordingly, using the oldest potatoes first to make the most of your stored harvest. With proper storage and care, you can reap the rewards of your efforts and enjoy delicious homegrown potatoes throughout the year.
Frequently Asked Questions about How To Store Seed Potatoes
Was this page helpful?
At Storables.com, we guarantee accurate and reliable information. Our content, validated by Expert Board Contributors, is crafted following stringent Editorial Policies. We're committed to providing you with well-researched, expert-backed insights for all your informational needs.


0 thoughts on “How To Store Seed Potatoes”