
Articles
How To Store Sliced Apples
Modified: August 24, 2024
Learn how to store sliced apples to keep them fresh and prevent them from browning. Read our informative articles for helpful tips and techniques.
(Many of the links in this article redirect to a specific reviewed product. Your purchase of these products through affiliate links helps to generate commission for Storables.com, at no extra cost. Learn more)
Introduction
When it comes to enjoying the crisp and refreshing taste of apples, there’s nothing quite like slicing them up and indulging in their juicy goodness. Whether you’re planning to use them for a delicious apple pie, a healthy snack, or a refreshing addition to salads and smoothies, knowing how to store sliced apples is essential to maintain their freshness and flavor.
In this article, we will guide you through the step-by-step process of storing sliced apples to ensure they stay fresh for as long as possible. From choosing the right apples to exploring various storage methods, we’ve got you covered. So, let’s dive in and discover the best ways to keep your sliced apples tasting their best!
Key Takeaways:
- Choose firm and crisp apple varieties like Granny Smith, Honeycrisp, Pink Lady, or Fuji for slicing. Select fresh, vibrant apples and consider flavor preferences to ensure the best taste and texture for your sliced apples.
- Store sliced apples in the refrigerator, freezer, or an airtight container based on your needs. Use proper preparation techniques and anti-browning solutions to maintain freshness and enjoy the convenience of having sliced apples readily available.
Read more: How Long To Dry Apple Slices In A Dehydrator
Choose the Right Apples
When it comes to selecting apples for slicing and storage, it’s essential to choose the right ones. Not all apples are created equal, and certain varieties are better suited for slicing and storing than others. Here are a few factors to consider while selecting the perfect apples:
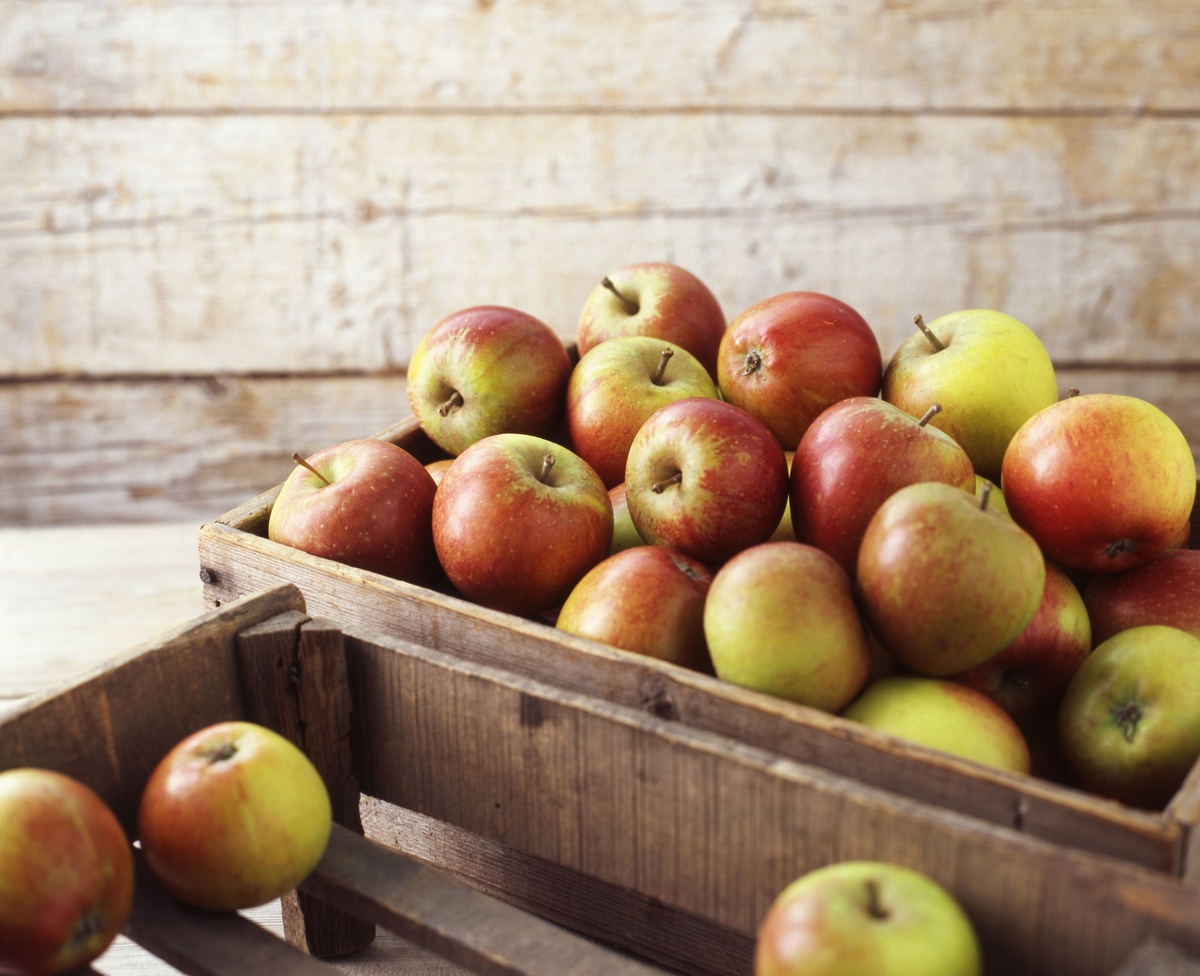
- Variety: Different apple varieties have varying textures and flavors. For slicing, it’s best to choose firm and crisp varieties that hold their shape well, such as Granny Smith, Honeycrisp, Pink Lady, or Fuji apples.
- Freshness: Select apples that are fresh and free from bruises or blemishes. Avoid apples that feel overly soft or have wrinkled skin.
- Skin Color: While the color of the apple’s skin depends on the variety, aim for apples with vibrant and even colors. This indicates that the fruit is ripe and ready to be sliced.
- Flavor Profile: Consider the flavor profile you prefer. Some apples offer a tart taste, while others are sweeter. Choose the variety that best suits your palate and the purpose of your sliced apples.
By keeping these factors in mind, you’ll be well on your way to choosing the perfect apples for slicing and storing. Remember, the quality of the apples you select will directly impact the freshness and taste of your sliced apples.
Prepare the Apples
Before diving into the storage methods, it’s important to properly prepare your apples for slicing. Follow these steps to ensure that your sliced apples are clean and ready for storage:
- Wash the Apples: Start by rinsing the apples under cool running water. Use a produce brush to gently scrub away any dirt or residue on the skin.
- Remove the Stem: Use a sharp knife or apple corer to cut off the stem from the top of each apple. This will make it easier to slice the apples and remove any potential tough or woody parts.
- Core the Apples: If desired, use an apple corer or a knife to remove the apple’s core. This step is optional but can be beneficial if you prefer your sliced apples without the core.
- Slice the Apples: Once the apples are washed and cored, proceed to slice them to your desired thickness. You can choose to slice them into wedges, thin rounds, or any shape that suits your needs.
- Lemon Juice Bath (Optional): To prevent browning, you can soak the sliced apples in a mixture of water and lemon juice. The acid in the lemon juice helps to retard the oxidation process, keeping your apples fresh and vibrant.
By following these steps, you will have perfectly prepared sliced apples that are now ready for storage. Take care to handle the apples gently while slicing to avoid any unnecessary bruising or damage.
Next, we will explore various options for storing sliced apples to prolong their freshness and maintain their flavor. Let’s delve into the different methods, so you can choose the one that works best for you.
Options for Storing Sliced Apples
When it comes to storing sliced apples, you have a few different options to choose from. The best method for storing your sliced apples depends on your preferences and how long you’d like them to stay fresh. Let’s explore the different options:
- Method 1: Storing in the Refrigerator
One of the most common methods for storing sliced apples is to keep them in the refrigerator. Here’s how to do it: - Place the sliced apples in an airtight container or a resealable plastic bag.
- Before sealing, remove as much air as possible.
- Label the container or bag with the date to keep track of freshness.
- Store the container or bag in the refrigerator, where the temperature is generally between 32-40°F (0-4°C).
- When properly stored, sliced apples can last up to 5 days in the refrigerator.
- Method 2: Freezing Sliced Apples
Freezing sliced apples is a great option if you want to store them for a longer period. Follow these steps: - Toss the sliced apples in a solution made of water and lemon juice (1 tablespoon of lemon juice per cup of water) to prevent browning.
- Arrange the slices in a single layer on a baking sheet lined with parchment paper or a silicone mat.
- Place the baking sheet in the freezer and let the slices freeze for about an hour.
- Transfer the frozen apple slices into freezer-safe containers or resealable freezer bags.
- Label the containers or bags with the date.
- Return the slices to the freezer, where they can be stored for up to 12 months.
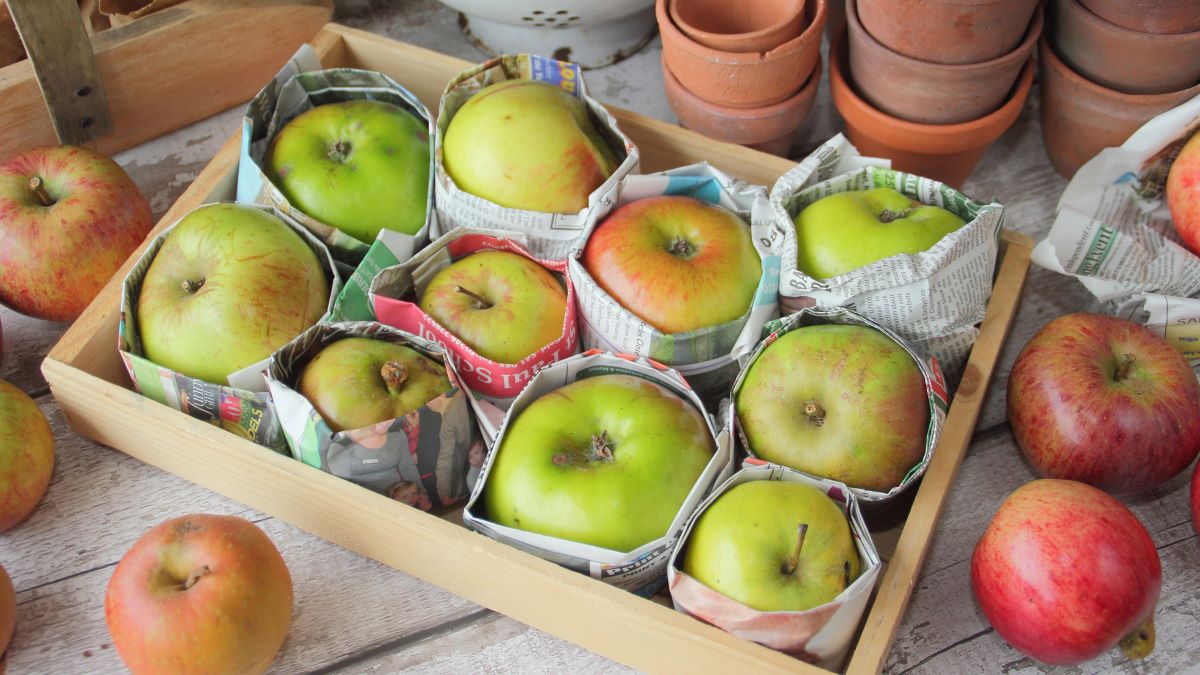
- Method 3: Storing in an Airtight Container
If you prefer not to refrigerate or freeze your sliced apples, storing them in an airtight container is another option: - Place the sliced apples in an airtight container, ensuring that there is minimal excess air inside.
- Seal the container tightly and label it with the date.
- Store the container in a cool, dark place, such as a pantry or cellar, away from direct sunlight and sources of heat.
- When stored properly, sliced apples can be kept at room temperature for 1 to 2 days.
Now that you’re familiar with the different storage methods, choose the one that suits your needs and preferences. Whether you opt for the refrigerator, freezer, or an airtight container, these methods will help ensure that your sliced apples stay fresh and tasty for longer periods.
In the next section, we’ll share some essential tips for maintaining the freshness of sliced apples. Stay tuned!
Method 1: Storing in the Refrigerator
Storing sliced apples in the refrigerator is a simple and effective method to maintain their freshness for a few days. Here’s how you can do it:
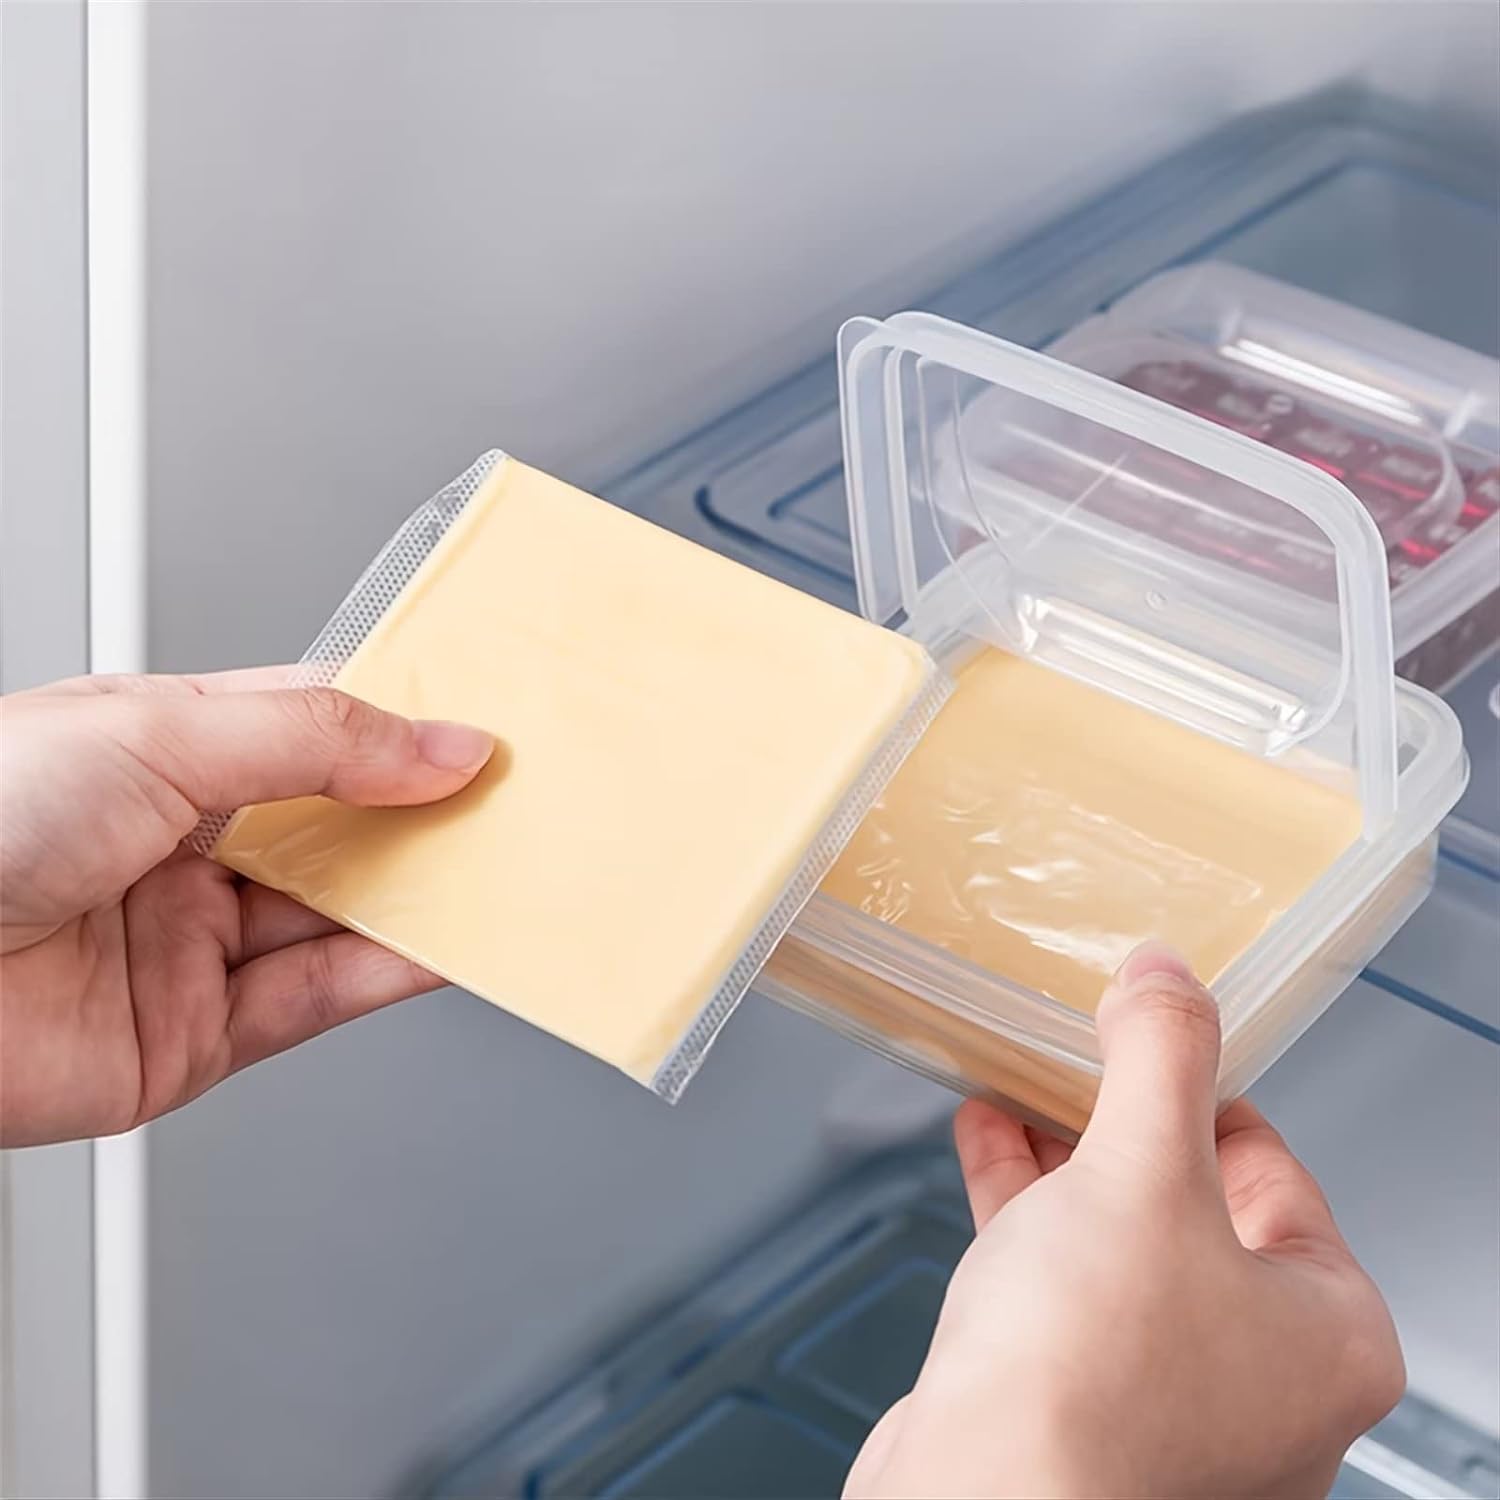
- Select an Airtight Container or Bag: Choose a proper container or resealable plastic bag to store the sliced apples. Make sure it is airtight to prevent any air or moisture from entering.
- Remove Excess Air: Before sealing the container or bag, try to remove as much air as possible. Exposure to air can cause the apple slices to oxidize quickly and turn brown.
- Label the Container: It’s a good practice to label the container or bag with the date you stored the apples. This will help you keep track of their freshness and determine when it’s time to use them.
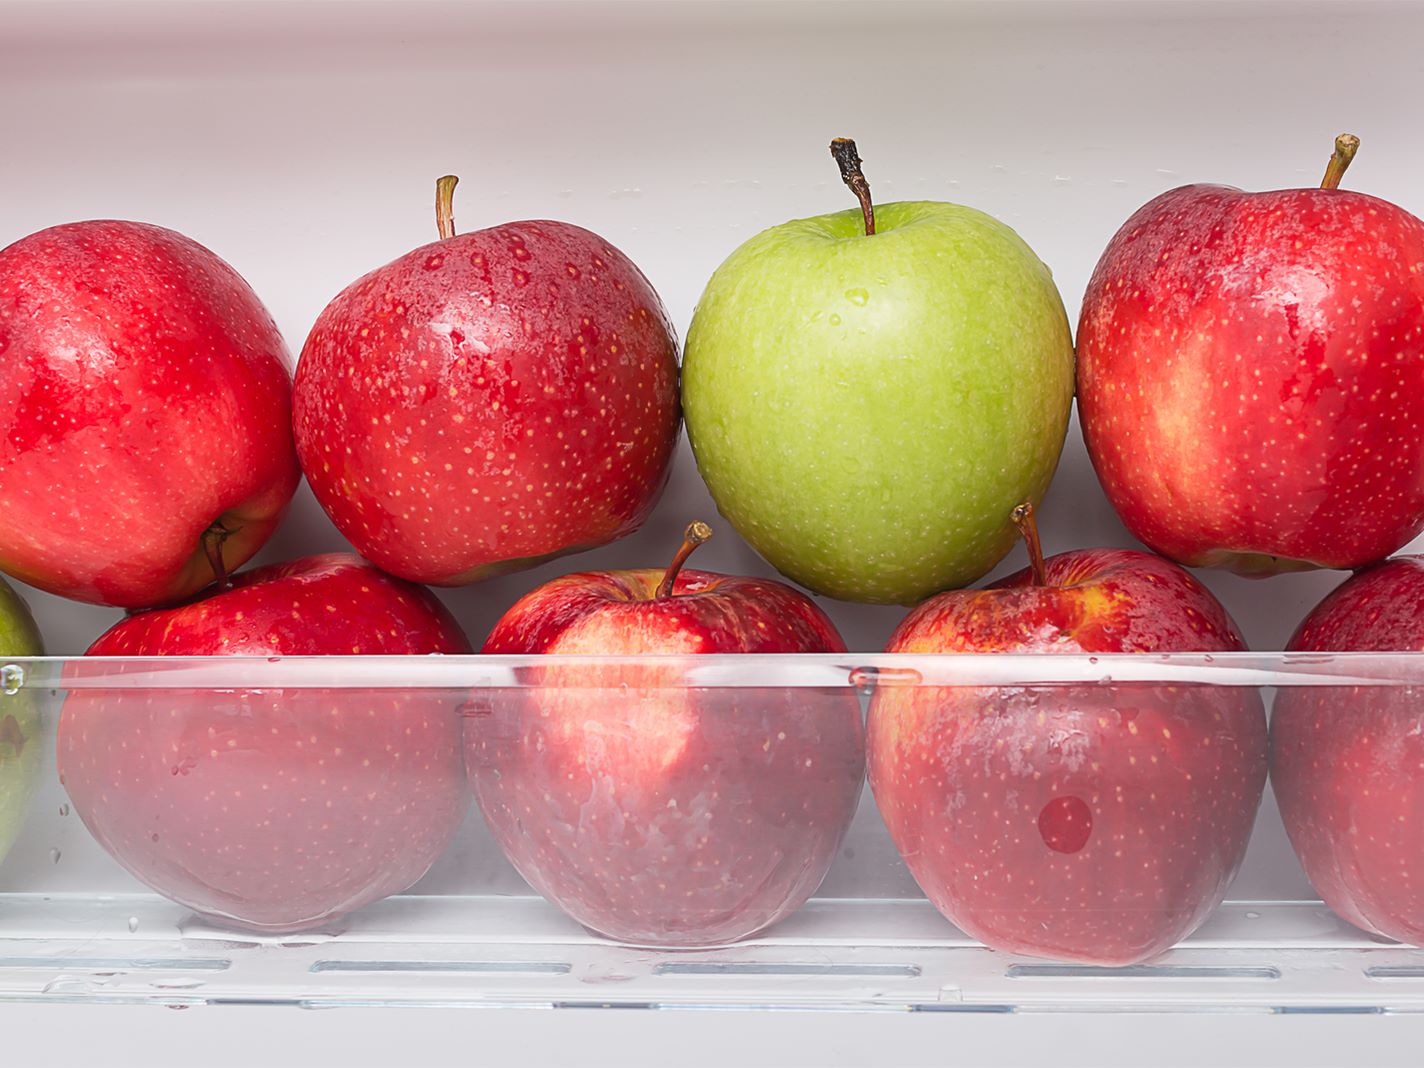
- Store in the Refrigerator: Place the sealed container or bag in the refrigerator. Ideally, keep them in the main compartment of the fridge, away from areas with high humidity or temperature fluctuations.
- Optimal Temperature: The refrigerator temperature should be set between 32-40°F (0-4°C). This cool and controlled environment will help slow down the ripening process and extend the shelf life of the sliced apples.
- Best Before: When stored properly, sliced apples can typically last for up to 5 days in the refrigerator. However, it’s always best to use your judgment and check for any signs of spoilage, such as a strange odor or texture.
Storing sliced apples in the refrigerator allows you to easily access them whenever you need a quick and healthy snack or ingredient for your recipes. Just remember to consume them within the recommended timeframe to enjoy their optimal taste and texture.
Now that you know how to store sliced apples in the refrigerator, let’s move on to the next method: freezing. Freezing sliced apples can help you preserve them for even longer periods. Keep reading to learn more!
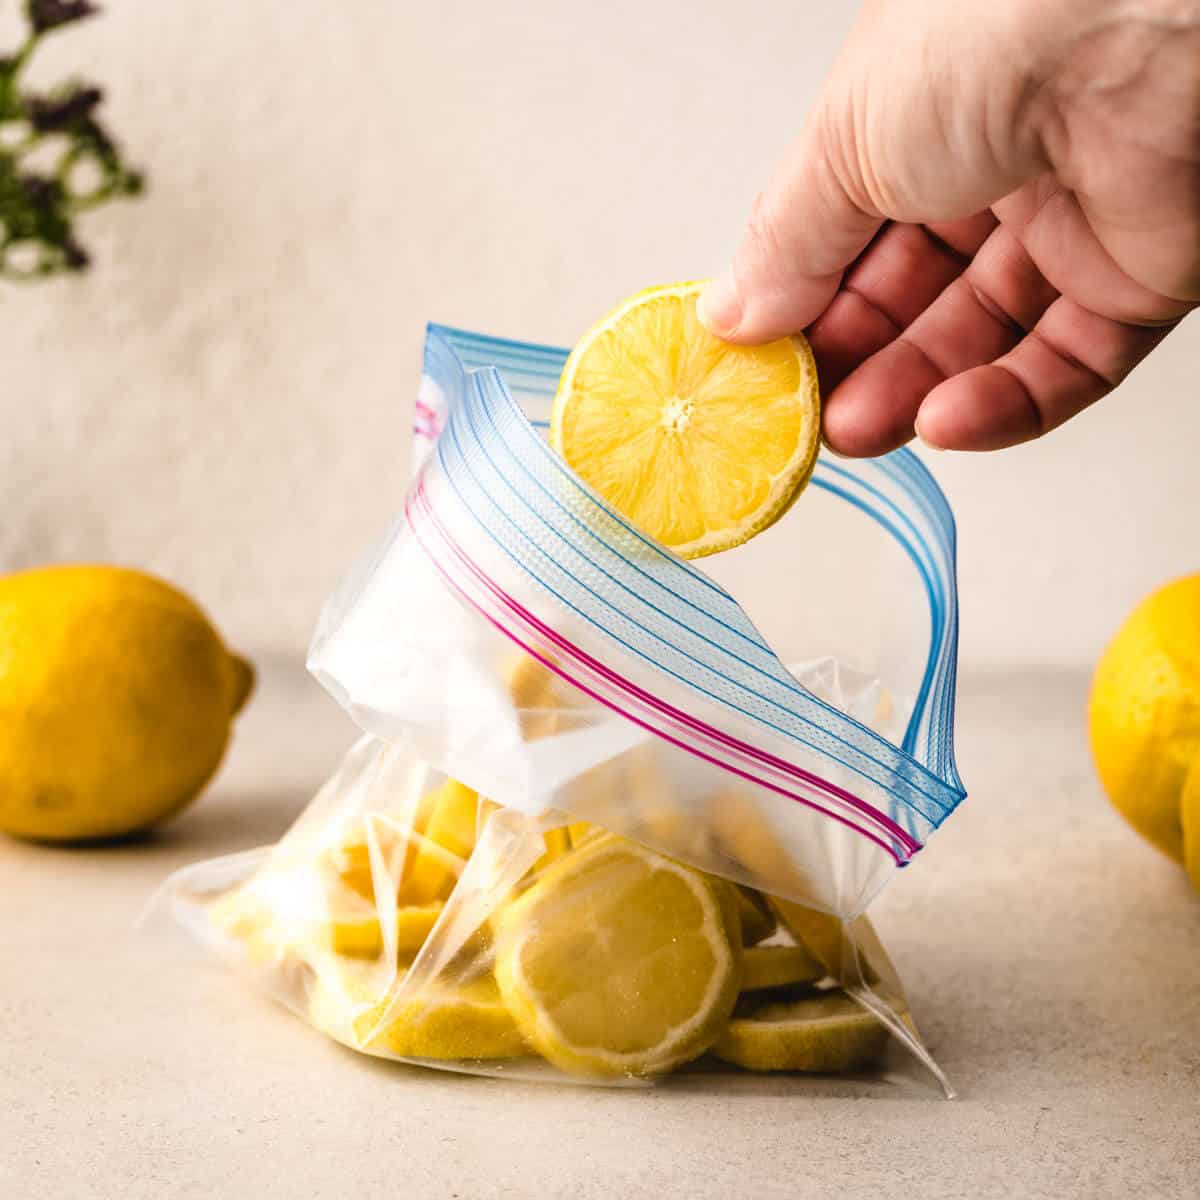
Store sliced apples in an airtight container or resealable bag with a squeeze of lemon juice to prevent browning. Keep them in the refrigerator to maintain freshness.
Read more: How To Store Sliced Onion
Method 2: Freezing Sliced Apples
If you want to store sliced apples for an extended period, freezing them is an excellent option. Freezing not only helps preserve their freshness but also allows you to have sliced apples on hand whenever you need them. Follow these steps to freeze your sliced apples:
- Prepare the Sliced Apples: Start by washing, coring, and slicing the apples to your desired thickness. Ensure that the slices are of uniform size for even freezing and thawing.
- Toss in an Anti-Browning Solution: To prevent the apple slices from browning during freezing, mix 1 tablespoon of lemon juice with 1 cup of water. Toss the sliced apples in this mixture and let them soak for a few minutes.
- Arrange on a Baking Sheet: Line a baking sheet with parchment paper or a silicone mat. Arrange the sliced apples in a single layer, ensuring they do not overlap. This allows for faster and more even freezing.
- Pre-Freeze the Slices: Place the baking sheet with the sliced apples in the freezer. Allow them to pre-freeze for about an hour or until they are firm and icy to the touch. This step prevents the slices from sticking together when stored in containers or bags.
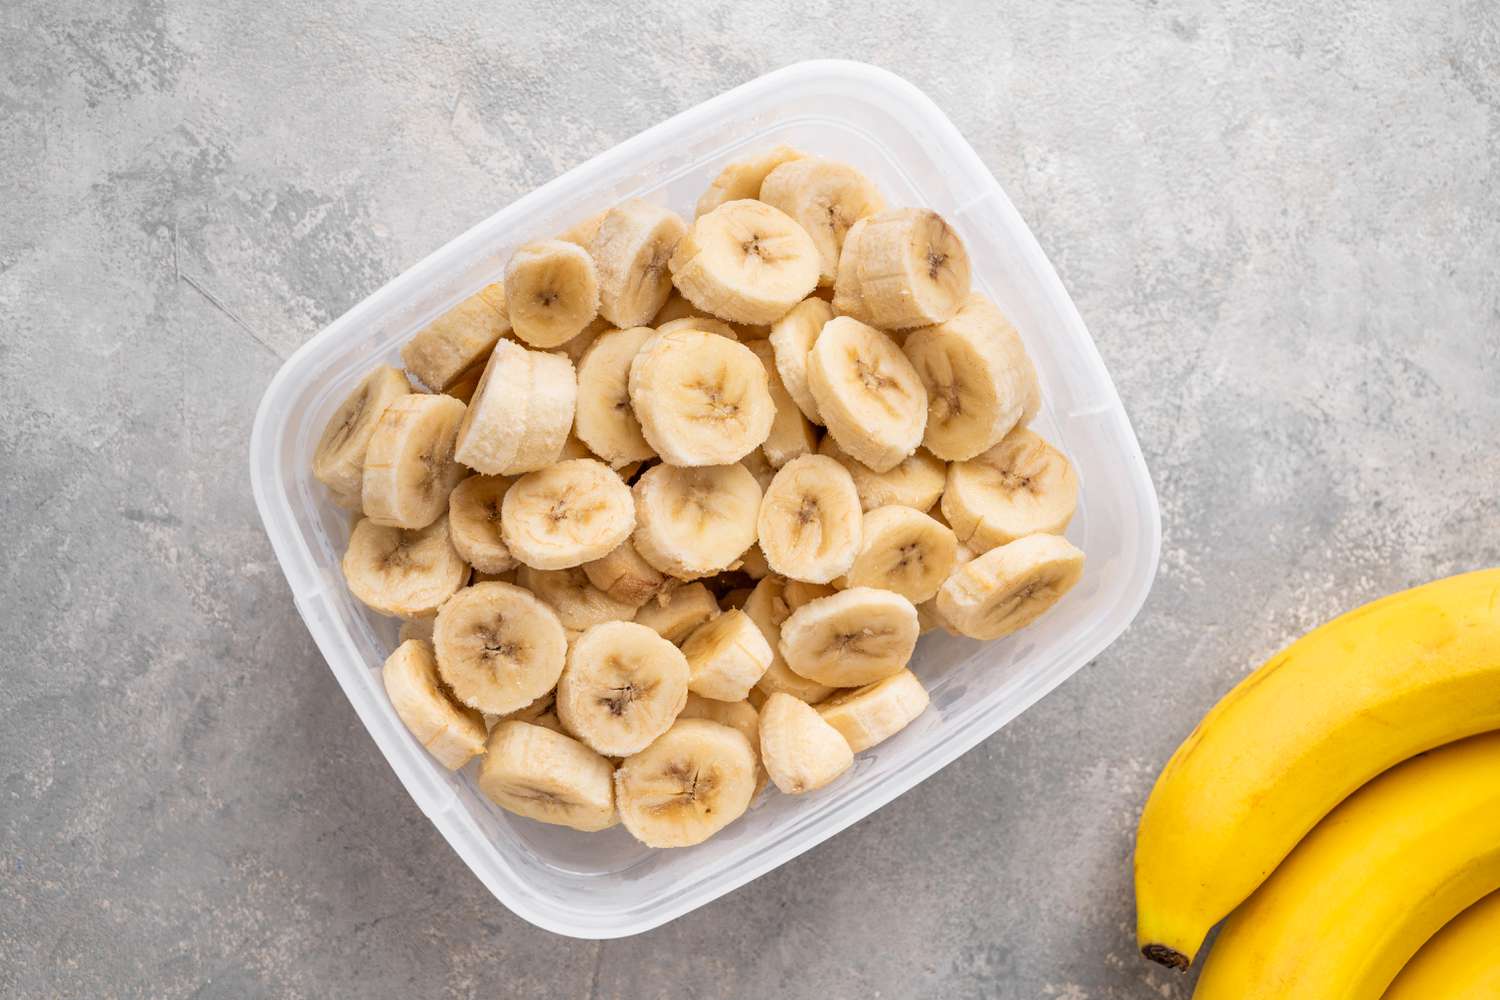
- Transfer to Freezer-Safe Containers: Once the slices are pre-frozen, transfer them into freezer-safe containers or resealable freezer bags. Remove any excess air from the containers or bags as much as possible before sealing them tightly.
- Label and Freeze: Clearly label the containers or bags with the date and contents. Place them in the freezer, where the temperature is typically set to 0°F (-18°C). Sliced apples can remain frozen for up to 12 months.
By following these steps, you can now enjoy the convenience of having sliced apples readily available whenever you need them. Whether for baking, smoothies, or snacks, frozen sliced apples offer versatility and can be used in various recipes without compromising their taste or texture.
Remember, freezing alters the texture of apples, making them softer upon thawing. As a result, frozen apple slices are best used in cooked or baked dishes rather than consumed raw. Thaw the desired amount of frozen sliced apples in the refrigerator or use them directly in your favorite recipes.
Now that you know how to freeze sliced apples, let’s explore another storage method: storing them in an airtight container. Read on to find out more!
Method 3: Storing in an Airtight Container
If you prefer to keep your sliced apples at room temperature or don’t have access to a refrigerator or freezer, storing them in an airtight container is an excellent option. Here’s how you can do it:
- Choose the Right Container: Select a clean, airtight container that is suitable for storing food. Glass or plastic containers with a secure lid work well for this purpose.
- Place the Sliced Apples: Arrange the sliced apples in a single layer inside the container. Avoid overcrowding the slices, as this can cause them to bruise or stick together.
- Seal the Container Tightly: Ensure the container’s lid is securely sealed to create an airtight environment. This helps prevent air from reaching the apples and helps maintain their freshness.
- Choose a Suitable Storage Location: Find a cool and dark place in your home to store the container of sliced apples. A pantry or cellar works well, as long as it is away from direct sunlight and sources of heat.
- Check for Freshness Regularly: It’s important to monitor the sliced apples for any signs of spoilage. Check on them periodically and discard any slices that become mushy, develop an off odor, or show signs of mold.
- Recommended Shelf Life: When stored at room temperature in an airtight container, sliced apples can typically stay fresh for 1 to 2 days. However, keep in mind that warmer temperatures can accelerate spoilage, so it’s best to consume them as soon as possible.
Storing sliced apples in an airtight container is a convenient option, especially if you plan to use them within a couple of days. However, it’s essential to regularly check for freshness and consume them promptly to ensure optimal taste and texture.
Now that you’re familiar with the different methods of storing sliced apples, it’s time to explore some essential tips to help you maintain their freshness. Read on to discover these valuable tips!
Tips for Maintaining Freshness
To keep your sliced apples fresh and flavorful for as long as possible, here are some essential tips to follow:
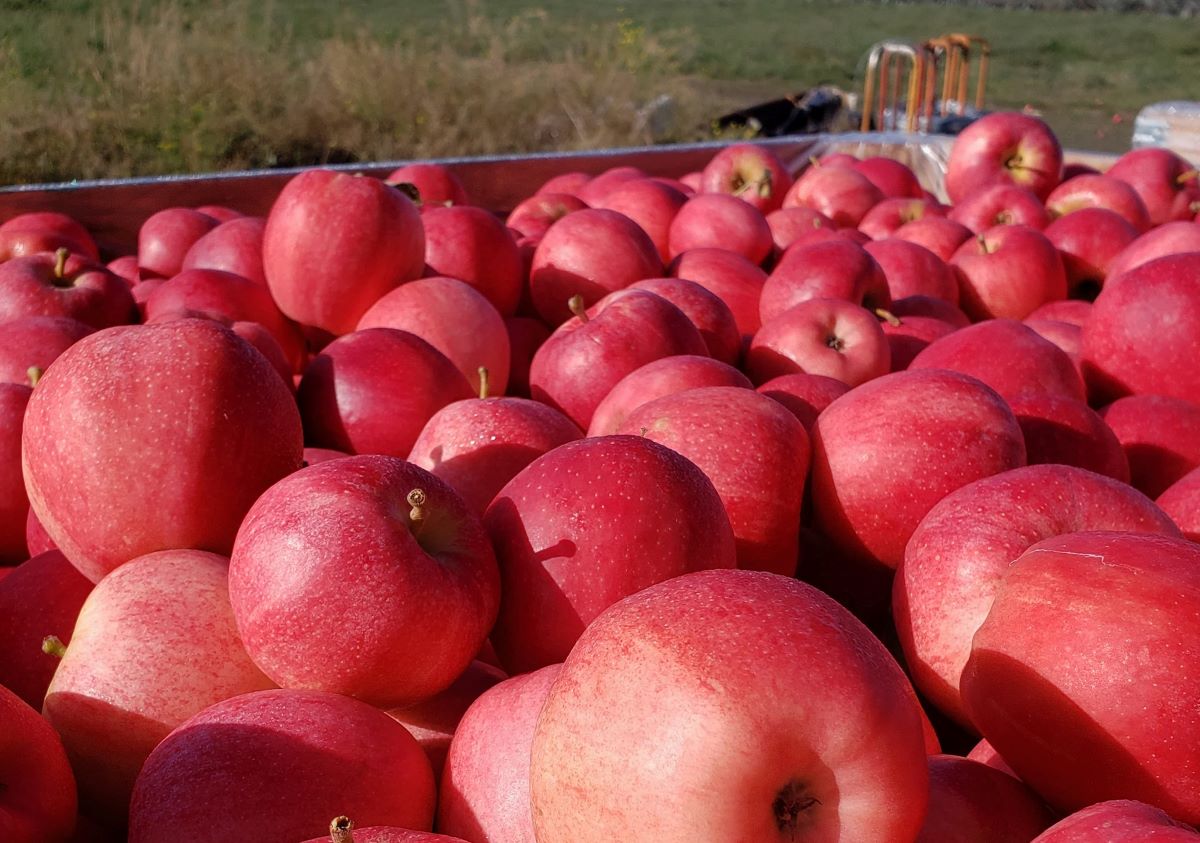
- Use Fresh Apples: Start with fresh and high-quality apples. Opt for apples that are firm, free from bruises or blemishes, and have a vibrant color.
- Minimize Exposure to Air: Air exposure can cause sliced apples to oxidize and turn brown. Seal the storage container tightly, remove excess air, or use a vacuum sealer to minimize exposure.
- Reduce Browning: If you notice browning on the apple slices, dip them in a solution of water and lemon juice before storing. The acidity in lemon juice helps slow down the enzymatic browning process.
- Keep Slices Separate: When storing sliced apples in the refrigerator or freezer, spread them out in a single layer on a baking sheet to prevent them from sticking together. This makes it easier to take out the desired amount as needed.
- Store Different Varieties Separately: If you have sliced apples of different varieties, it’s best to store them in separate containers. Certain varieties may ripen faster or emit ethylene gas, which can affect the freshness of other varieties.
- Rotate and Use First-In, First-Out: When storing multiple batches of sliced apples, organize them in a way that allows you to use the oldest ones first. This prevents them from sitting in storage for too long and helps you avoid waste.
- Avoid Temperature Fluctuations: To maintain the freshness of sliced apples, keep them in a stable environment. Avoid exposing them to temperature fluctuations, such as leaving them on the kitchen counter under direct sunlight or near heat sources.
- Check for Spoilage: Regularly inspect the sliced apples for any signs of spoilage, such as odd odors, mold growth, or changes in texture. Discard any slices that appear mushy or develop an off smell.
- Consider Preservation Methods: If you anticipate not being able to consume the sliced apples within a few days, explore alternative preservation methods like freezing or canning to extend their shelf life.
By following these tips, you can significantly extend the freshness and enjoyment of your sliced apples. Implementing proper storage techniques and being mindful of their condition will help you make the most out of your apple slices.
Now that you’re equipped with the knowledge to store and maintain the freshness of sliced apples, you can confidently enjoy their deliciousness in various recipes or as a healthy snack. So go ahead, slice some apples and savor their natural goodness!
Remember, the key to retaining their crisp texture and delightful flavor is to choose the right apples, prepare them properly, and store them using suitable methods. With these practices in place, you’ll always have a supply of sliced apples ready for your culinary adventures.
Happy storing and enjoy your fresh sliced apples!
Conclusion
Knowing how to store sliced apples is essential for preserving their freshness and flavor. Whether you’re preparing them for a delectable dessert, a healthy snack, or an exceptional addition to your favorite recipes, proper storage methods can make a significant difference in maintaining their quality.
In this article, we explored various options for storing sliced apples, including refrigeration, freezing, and using an airtight container. Each method has its benefits and can be chosen based on personal preferences and the desired shelf life.
Remember to select the right apples for slicing, preparing them properly by washing, coring, and slicing them, and using anti-browning techniques to prevent oxidation. These steps are crucial in ensuring the best results when it comes to storing sliced apples.
Whether you choose to store your sliced apples in the refrigerator for a few days, freeze them for long-term use, or keep them at room temperature in an airtight container for short periods, following the recommended guidelines will help extend their freshness.
Additionally, we provided tips for maintaining the freshness of sliced apples, including minimizing air exposure, preventing browning, and checking for spoilage regularly. By implementing these recommendations, you can maximize the lifespan of your sliced apples and minimize waste.
So, the next time you have an abundance of fresh apples, feel confident in your ability to store and enjoy them in their sliced form. Whether you’re preparing a tasty dessert, adding a burst of flavor to your salads, or delighting in a convenient and healthy snack, your stored sliced apples will be ready to enhance your culinary creations.
Now that you possess the knowledge and techniques for storing sliced apples, it’s time to put them into practice. Enjoy the convenience, freshness, and taste that sliced apples bring to your meals, and savor the natural sweetness and crunch in every bite.
Happy slicing and storing!
Frequently Asked Questions about How To Store Sliced Apples
Was this page helpful?
At Storables.com, we guarantee accurate and reliable information. Our content, validated by Expert Board Contributors, is crafted following stringent Editorial Policies. We're committed to providing you with well-researched, expert-backed insights for all your informational needs.


0 thoughts on “How To Store Sliced Apples”