Articles
How To Store Apple
Modified: September 1, 2024
Learn the best techniques for storing apples to keep them fresh and flavorful. Read informative articles on proper apple storage and make the most of your harvest.
(Many of the links in this article redirect to a specific reviewed product. Your purchase of these products through affiliate links helps to generate commission for Storables.com, at no extra cost. Learn more)
Introduction
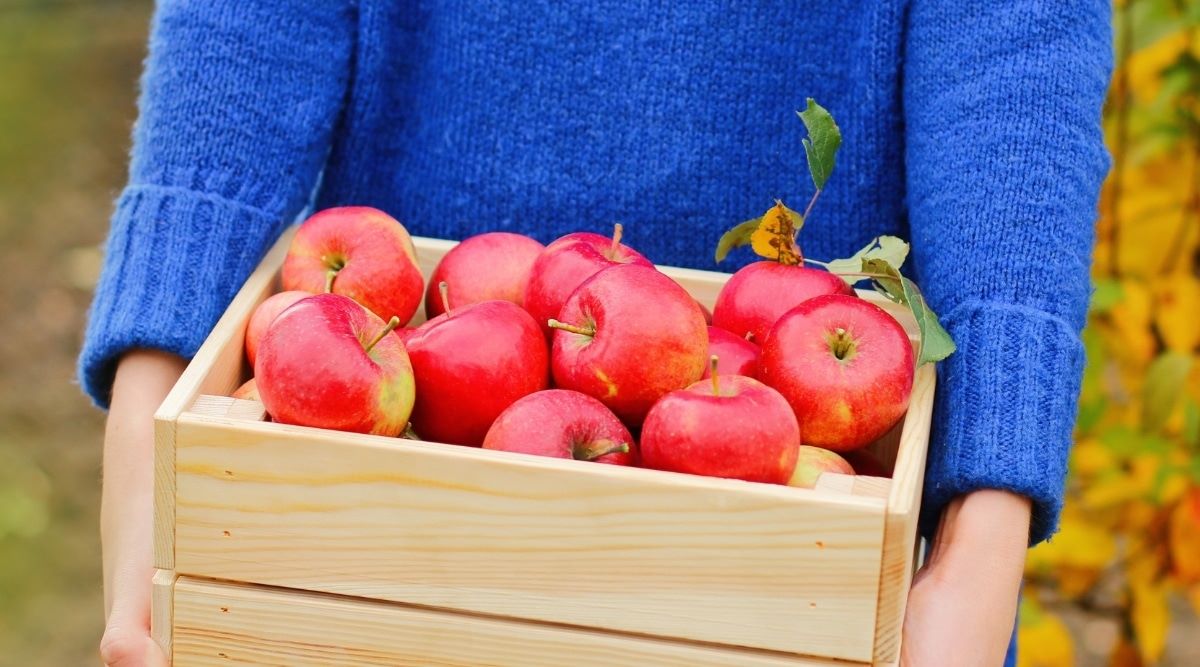
Welcome to our comprehensive guide on how to store apples! Whether you have a bountiful harvest from your backyard apple tree or you simply couldn’t resist buying a large bag of apples from the grocery store, knowing how to properly store your apples can ensure that they stay fresh and delicious for longer periods of time.
Apples are known for being a versatile and nutritious fruit, but improper storage can lead to quick spoilage and loss of flavor and texture. However, with the right techniques and storage methods, you can enjoy your apples well beyond their peak season.
In this article, we will walk you through the best practices for storing apples, whether you have a large quantity or just a few. We will cover choosing the right storage location, cleaning and preparing the apples, sorting and organizing them, and various methods for wrapping and storing them. Additionally, we will discuss techniques to prevent spoilage and extend the shelf life of your apples.
So, let’s dive in and learn how to store your apples to keep them fresh and crisp for as long as possible!
Key Takeaways:
- Proper storage of apples is crucial for maintaining their freshness and flavor. From choosing the right location to monitoring for spoilage, following these techniques will ensure your apples stay delicious for an extended period.
- Freezing apples is a convenient way to preserve them for future use. By selecting the right varieties, preparing them properly, and using them in various recipes, you can enjoy the taste of apples year-round.
Read more: How To Store Apples In Fridge
Choosing the Right Storage Location
The first step in ensuring the longevity of your apples is selecting the right storage location. Ideally, you want a place that is cool, dark, and well-ventilated.
Temperature is crucial when it comes to apple storage. The ideal range is between 30 to 40 degrees Fahrenheit (0 to 4 degrees Celsius). This helps to slow down the ripening process and prevent premature spoilage. Avoid storing apples in areas that are too warm, such as near a heater or in direct sunlight, as this can accelerate the ripening process and cause the apples to deteriorate quickly.
Darkness is also important, as exposure to light can cause apples to lose their color and flavor more rapidly. Therefore, choose a storage location that is away from direct light or cover the apples with a cloth or paper bag to shield them from any potential sources of light.
Lastly, providing proper ventilation is crucial. Apples release ethylene gas, which can hasten the ripening process and cause other fruits and vegetables nearby to spoil more quickly. Therefore, it is advisable to store apples separately from other produce and ensure that there is adequate airflow around them. This can be achieved by placing the apples in a basket or crate with slatted sides or using breathable storage bags.
Some suitable storage locations for apples include:
- A root cellar: Ideal for long-term storage as it provides consistent cool temperatures and high humidity levels.
- A basement or garage: Ensure that the temperature remains within the recommended range.
- A refrigerator: Useful if you have a small quantity of apples, but be mindful of storing them away from other produce.
By choosing the right storage location, you are setting the foundation for keeping your apples fresh and delicious for an extended period of time. Now that you know the importance of the storage location, let’s move on to the next step: cleaning and preparing the apples for storage.
Cleaning and Preparing Apples for Storage
Before storing your apples, it is essential to clean and prepare them properly. This step helps remove any dirt, debris, or potential contaminants from the surface of the fruit, ensuring that they stay fresh and free from bacteria during storage.
Here are some steps to follow when cleaning and preparing your apples:
- Start by gently rinsing the apples under cool tap water. Use your hands to rub the surface of each apple to remove any dirt or residue. Avoid using soap or harsh detergents, as they can leave a residue on the apple skin.
- If you notice any wax coating on the apples, it is recommended to remove it. This wax is commonly used to enhance the fruit’s appearance and prolong its shelf life. You can remove the wax by rubbing the apple gently with a clean cloth or scrubbing brush.
- Inspect each apple for any signs of damage, such as bruises or cuts. Remove any damaged apples from the batch, as they can spoil quickly and affect the other apples’ quality.
- Once the apples are cleaned and inspected, allow them to air dry completely. Placing them on a clean towel or a drying rack can help speed up the drying process.
It is worth noting that if you have apples that are intended for long-term storage, it is best to select varieties that are known for their storage capabilities. Some examples of apple varieties that store well include Granny Smith, Honeycrisp, Jonathan, and Winesap.
After following these cleaning and preparation steps, your apples will be ready for storage. In the next section, we will discuss how to effectively sort and organize your apples for optimal storage conditions.
Sorting and Organizing Apples
Properly sorting and organizing your apples is a crucial step to ensure that they stay fresh and maintain their quality throughout the storage period. By categorizing and arranging your apples based on their condition and ripeness, you can easily identify which ones to consume first and which ones to save for longer-term storage.
Here are some steps to effectively sort and organize your apples:
- Separate apples based on their condition: Sort the apples into three categories – unblemished, slightly blemished, and damaged. Unblemished apples are those with no visible bruises, cuts, or soft spots. Slightly blemished apples may have minor imperfections but are still suitable for consumption. Damaged apples are those with significant damage or signs of rot and should be discarded.
- Categorize apples by ripeness: Sort the apples based on their ripeness levels. This will help you prioritize which apples to consume first. Generally, apples that are fully ripe should be eaten sooner, while slightly underripe apples can be stored for longer periods.
- Use different baskets or containers: Assign separate baskets or containers for each category of apples. This will make it easier to access the apples and maintain proper storage conditions for each group.
- Label your containers: To keep track of the storage duration and ripeness levels, consider labeling your containers with the date of storage and the category of apples inside. This will help you monitor their freshness and plan your consumption accordingly.
Remember, it is important to regularly check and inspect your stored apples to remove any that show signs of spoilage. By regularly sorting and organizing your apples, you can effectively manage your apple inventory and prevent any quality issues from spreading to the rest of the batch.
In the next section, we will discuss different methods for wrapping and storing apples to prolong their freshness and shelf life.
Wrapping Apples for Long-Term Storage
To extend the shelf life of your apples and keep them fresh for an extended period, wrapping them properly is essential. Wrapping helps create a protective barrier around the apples, preventing them from losing moisture and being exposed to external factors that can cause spoilage.
Here are a few methods for wrapping apples for long-term storage:
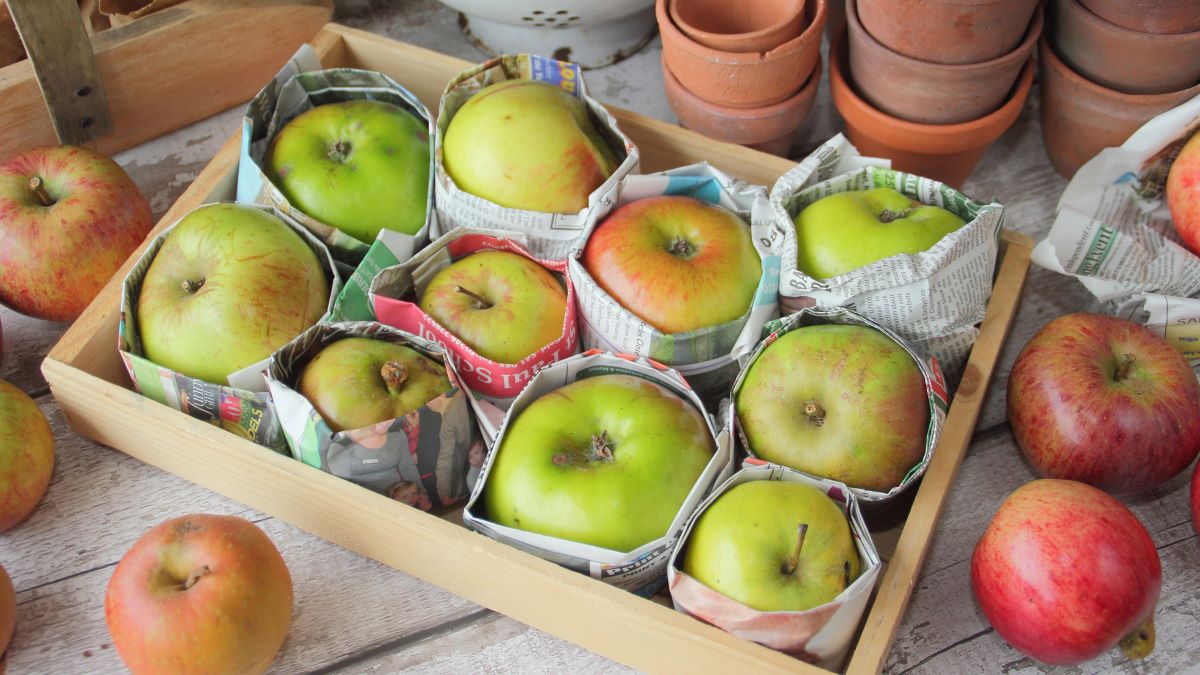
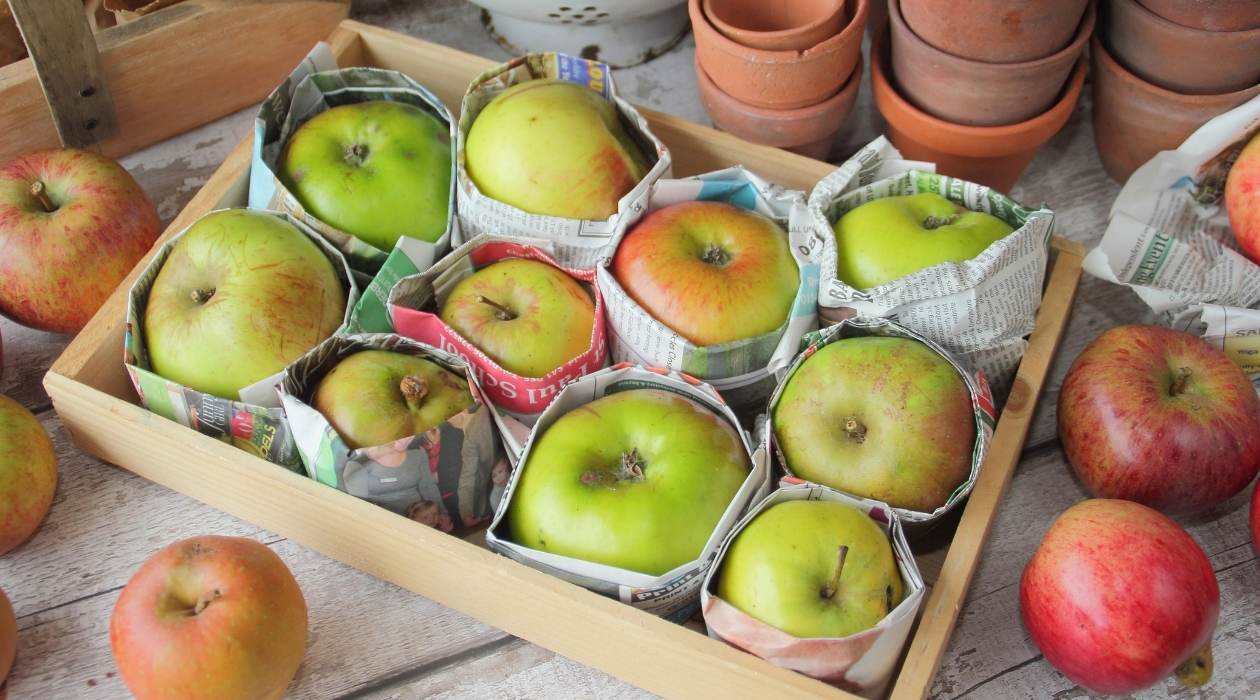
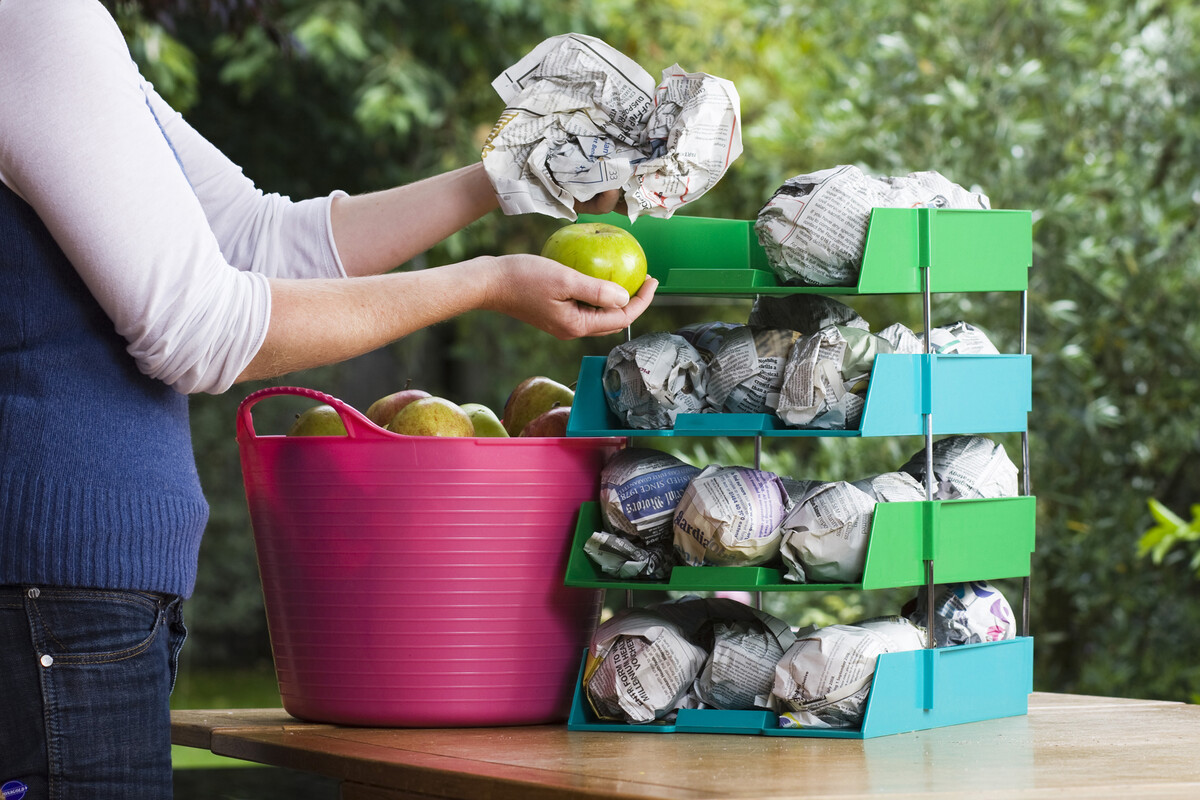
- Individual wrapping: Wrap each apple individually in a sheet of newspaper or paper towel. This helps absorb any excess moisture and prevents the spread of spoilage if one apple starts to rot. Secure the wrapping with a rubber band or string, and place the wrapped apples in a basket or crate.
- Apple sleeves: Alternatively, you can use specialized apple sleeves or fruit bags that are designed specifically for storing apples. These sleeves provide good airflow while protecting the apples from light and humidity. Simply slip each apple into the sleeve and seal it tightly.
- Plastic wrap: For a more airtight option, you can wrap each apple tightly in plastic wrap. This method helps retain moisture and prevent the exchange of gases between the apple and its surroundings. However, it’s important to note that this method may not be as breathable as the other options, so proper ventilation is crucial.
Regardless of the wrapping method you choose, it is important to handle the apples gently to avoid bruising or damaging the skin. Remember to only wrap apples that are in good condition and free from any defects or signs of spoilage.
Once the apples are wrapped, store them in a cool, dark location with proper ventilation, as discussed earlier. Regularly check the wrapped apples for any signs of spoilage and remove any affected apples promptly to prevent further contamination.
In the next section, we will explore the option of using containers for apple storage and discuss their benefits.
Read more: How To Store Apples At Home
Using Containers for Apple Storage
Using containers for storing apples provides an organized and convenient way to keep them fresh while also protecting them from potential damage. Containers help maintain the desired storage conditions and prevent the apples from coming into contact with other fruits or objects that could cause bruising or spoilage.
Here are a few container options for apple storage:
- Baskets or crates: Sturdy baskets or wooden crates are a popular choice for storing apples. They provide ample airflow and allow any excess moisture to evaporate, preventing the apples from becoming damp and prone to spoilage. The slatted design of these containers also helps in proper ventilation.
- Perforated plastic bags: These bags have small holes or perforations that allow for ventilation. They are an excellent alternative to baskets or crates, as they provide similar airflow while also keeping the apples contained and protected.
- Ventilated storage bins: If you have a large quantity of apples, investing in ventilated storage bins can be a practical option. These bins usually have adjustable venting systems that allow you to control the airflow and humidity level inside the container, ensuring optimal storage conditions for the apples.
When using containers for apple storage, it is important to arrange the apples in a single layer if possible. This allows for better air circulation and prevents excess weight on the bottom layer of apples.
Additionally, it is advisable to line the bottom of the container with a clean towel or paper towels. This helps absorb any excess moisture and provides a cushioning layer for the apples, reducing the risk of bruising.
Remember to keep the containers in a cool, dark location with good ventilation, as mentioned earlier. Regularly check the containers for any signs of spoilage and promptly remove any affected apples to prevent the spread of decay.
In the next section, we will explore the option of storing apples in a root cellar, which can provide an ideal environment for long-term apple storage.
Store apples in the crisper drawer of the refrigerator to keep them fresh for longer. Keep them away from strong-smelling foods as they can absorb odors.
Storing Apples in a Root Cellar
A root cellar can be an excellent storage option for apples, especially if you have a large quantity to store or if you’re aiming for long-term storage. Root cellars provide a naturally cool and humid environment, which is ideal for maintaining the freshness and flavor of apples over an extended period.
Here are some key steps to consider when storing apples in a root cellar:
- Prepare the root cellar: Make sure your root cellar is clean, well-ventilated, and has a stable temperature between 30 to 40 degrees Fahrenheit (0 to 4 degrees Celsius). The humidity level should be around 80% to prevent the apples from drying out.
- Place the apples in crates or baskets: Arrange the apples in single layers inside crates or baskets. Avoid stacking apples too high to allow for proper airflow around each apple.
- Keep storage containers off the floor: Elevate the crates or baskets off the floor using pallets or wooden boards. This helps to prevent moisture absorption from the ground and minimizes the risk of rot or mold development.
- Monitor and rotate the apples: Regularly inspect the apples for any signs of spoilage. Remove any damaged or rotting apples to prevent the decay from spreading. Additionally, rotate the apples occasionally to ensure even air circulation and prevent any pressure points that could lead to bruising.
- Check and adjust humidity levels: Keep an eye on the humidity levels in your root cellar. If the air becomes too dry, you can increase the humidity by placing a basin of water or damp towels in the root cellar. On the other hand, if the air is too damp, you can open the cellar door or use a dehumidifier to regulate the moisture.
Storing apples in a root cellar can offer an extended storage period, allowing you to enjoy fresh apples throughout the winter months. However, it’s important to regularly monitor the apples for any signs of spoilage and promptly remove any affected fruit to prevent the spread of rot.
In the next section, we will discuss the importance of monitoring and checking stored apples to ensure their quality and freshness over time.
Monitoring and Checking Stored Apples
Regular monitoring and checking of stored apples are essential to maintain their quality and freshness. As time goes by, some apples may start showing signs of spoilage or decay, and it is important to identify and remove them promptly to prevent contamination of the entire batch.
Here are some key steps for monitoring and checking stored apples:
- Inspect the apples regularly: Set a schedule to inspect your stored apples at least once a week. Look for any signs of mold, soft spots, or rotting. Pay close attention to the stems and bottoms of the apples, as these are common areas for decay to start.
- Remove any damaged or spoiled apples: If you come across any apples that show signs of spoilage, promptly remove them from the storage container. Discard any apples that are soft, moldy, or have an off smell. This will help prevent the spread of spoilage to the remaining apples.
- Check for changes in color and texture: As apples age, they may undergo changes in color and texture. Some apples may develop slightly shriveled skin or darken in color, which is a natural process. However, if you notice any extreme changes, such as severe wrinkling or a mushy texture, it may indicate spoilage.
- Pay attention to the scent: When checking your apples, take a moment to smell them. A mild, fresh aroma is a good sign of their quality. However, if you detect a strong, unpleasant odor, it may indicate that the apples are starting to spoil.
Regularly monitoring and checking your stored apples will help you identify any issues early on and take necessary actions to prevent further spoilage. It is crucial to remove any damaged or spoiled apples promptly to maintain the overall freshness and quality of the remaining apples.
In the next section, we will explore techniques to prevent spoilage and extend the shelf life of your stored apples.
Preventing Spoilage and Shelf-Life Extension Techniques
Preventing spoilage and extending the shelf life of your stored apples is essential for maximizing their freshness and flavor. By implementing a few simple techniques, you can help preserve the quality of your apples for a longer period of time.
Here are some effective methods to prevent spoilage and extend the shelf life of your stored apples:
- Keep apples separate from other produce: As mentioned earlier, apples release ethylene gas, which can accelerate the ripening and spoilage of other fruits and vegetables. Store apples separately to prevent this gas from having a negative impact on nearby produce.
- Handle apples with care: Excessive handling or dropping apples can lead to bruises and damage, which can accelerate the spoilage process. Always handle apples gently and avoid stacking them too high to prevent bruising or pressure points.
- Store only healthy apples: When storing apples, it is crucial to start with fresh, unblemished fruit. Damaged or bruised apples are more susceptible to rot and can affect nearby apples as well. Inspect your apples regularly and remove any damaged ones promptly.
- Control storage temperature and humidity: Maintaining an ideal storage temperature between 30 to 40 degrees Fahrenheit (0 to 4 degrees Celsius) is crucial to slow down the ripening process and prevent spoilage. Additionally, maintaining a humidity level around 80% helps prevent the apples from drying out.
- Avoid overcrowding: Proper air circulation is essential for preserving the freshness of stored apples. Avoid overcrowding the storage containers or shelves to allow for adequate airflow around each apple.
- Consider using refrigeration: If you have a small quantity of apples and want to extend their shelf life, storing them in the refrigerator can be a viable option. Place the apples in a perforated plastic bag to maintain some humidity while still allowing for airflow. Remember to keep apples away from other ethylene-sensitive produce in the refrigerator.
- Rotate the apples: To ensure even exposure to air and temperature, periodically rotate the apples within their storage containers. This helps prevent any areas from becoming excessively warm or humid due to poor airflow.
By following these preventative measures and techniques, you can significantly reduce the risk of spoilage and extend the shelf life of your stored apples. Remember to regularly inspect, handle with care, and maintain the proper storage conditions to enjoy fresh and delicious apples for an extended period.
In the next section, we will provide some tips for using frozen apples as an alternative storage method.
Read more: How To Store Gala Apples
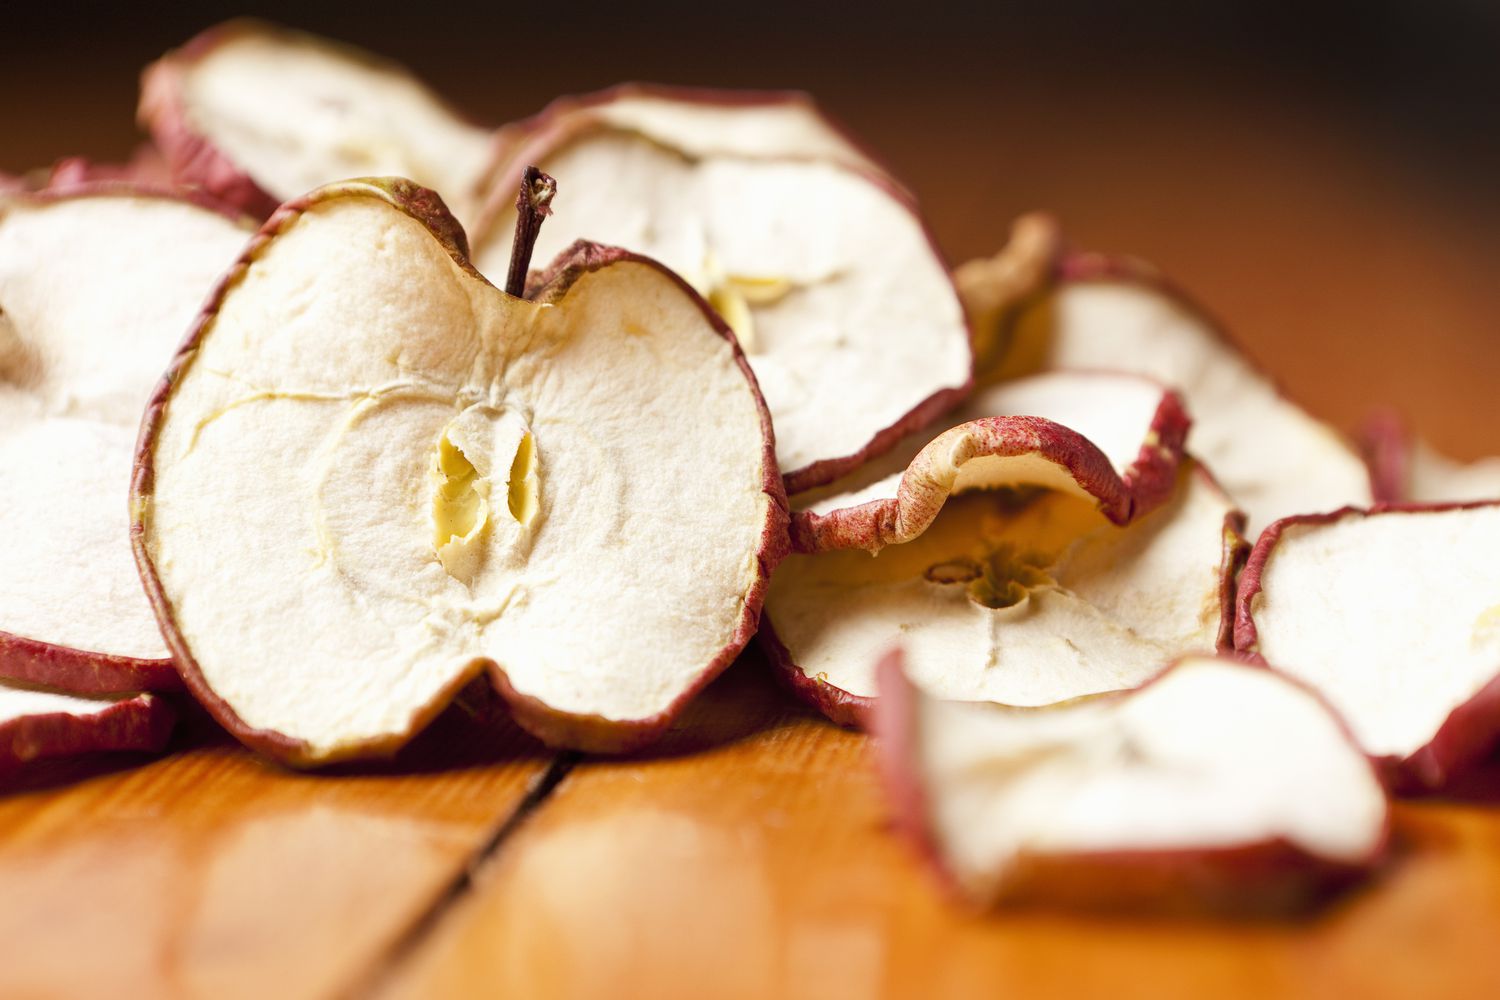
Tips for Using Frozen Apples
Freezing apples is a great way to preserve their freshness and enjoy them throughout the year. Whether you have an abundance of apples or want to save them for future use, here are some tips for effectively using frozen apples:
- Choose the right apples: Select apples that are suitable for freezing. Varieties like Granny Smith, Honeycrisp, and Jonathan work well because they maintain their texture and flavor when frozen.
- Wash and prep the apples: Start by washing the apples thoroughly to remove any dirt or residue. Peel, core, and slice the apples according to your preference. You can cut them into slices, wedges, or even dice them, depending on how you plan to use them later.
- Treat the apples to retain color: Apples have the tendency to brown when cut and exposed to air. To prevent this, you can treat the sliced apples with a solution of lemon juice and water. This will help preserve their natural color and appearance.
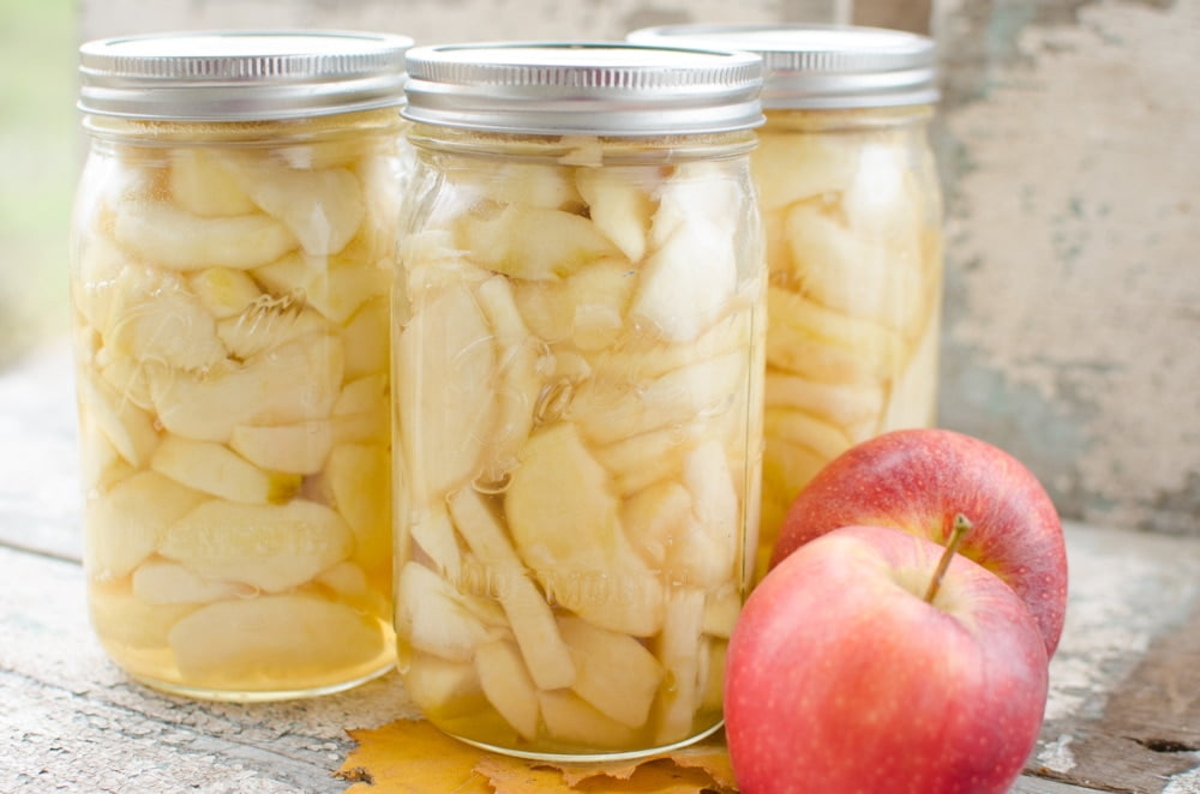
- Packaging for freezing: Place the prepared apple slices or chunks into freezer-safe containers or bags. Make sure to label them with the date to keep track of their freshness. Remove any excess air from the bags to prevent freezer burn.
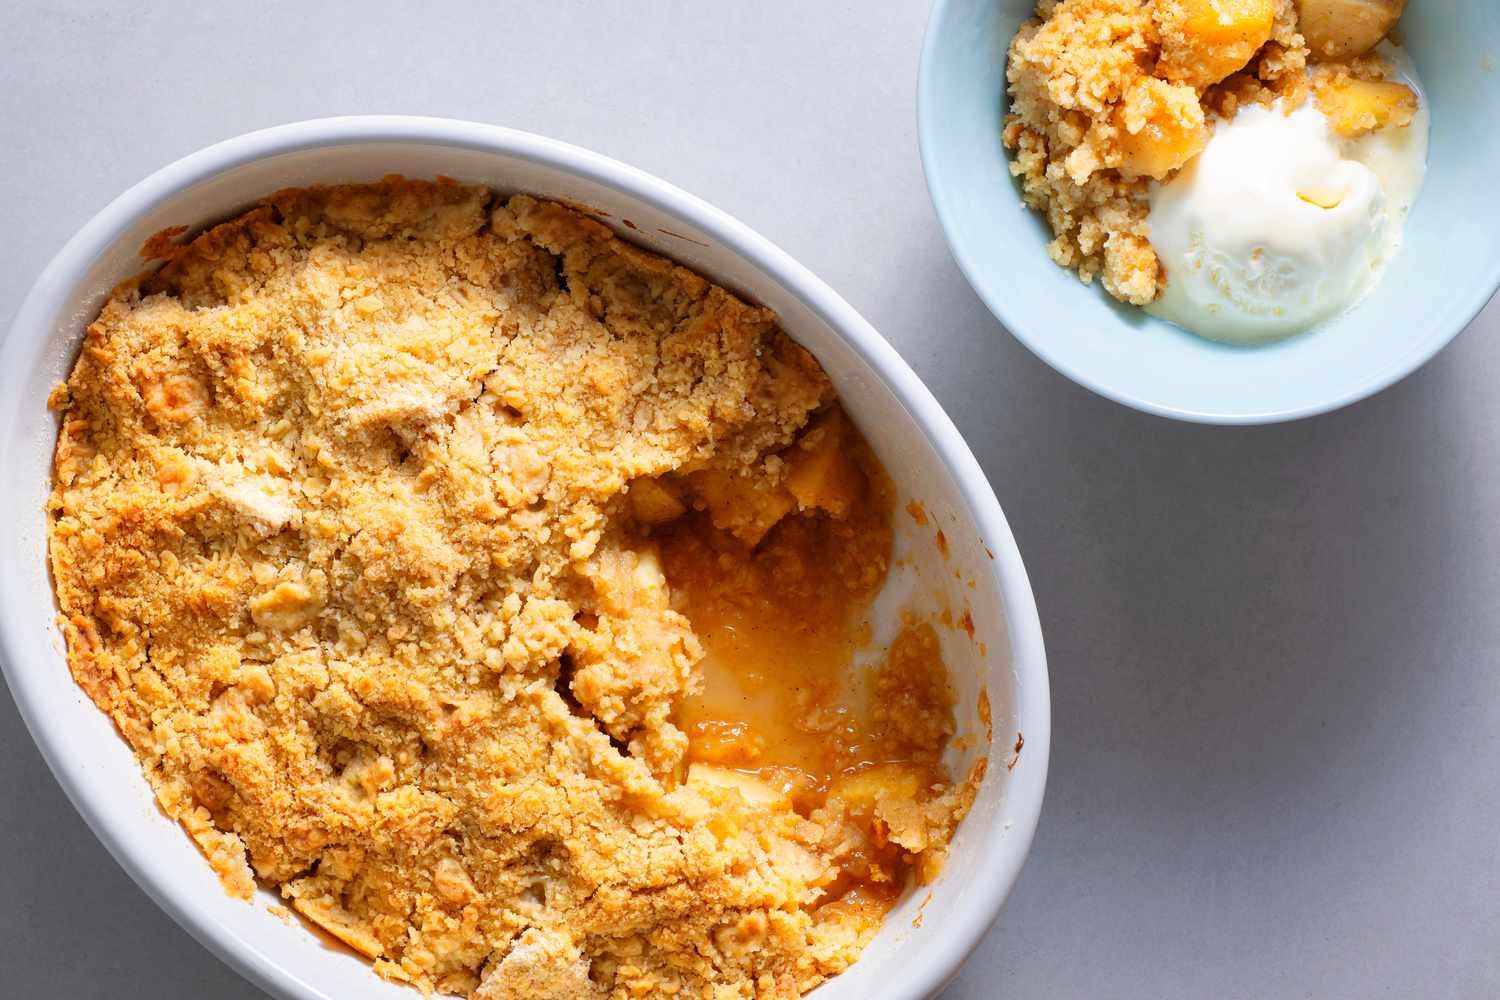
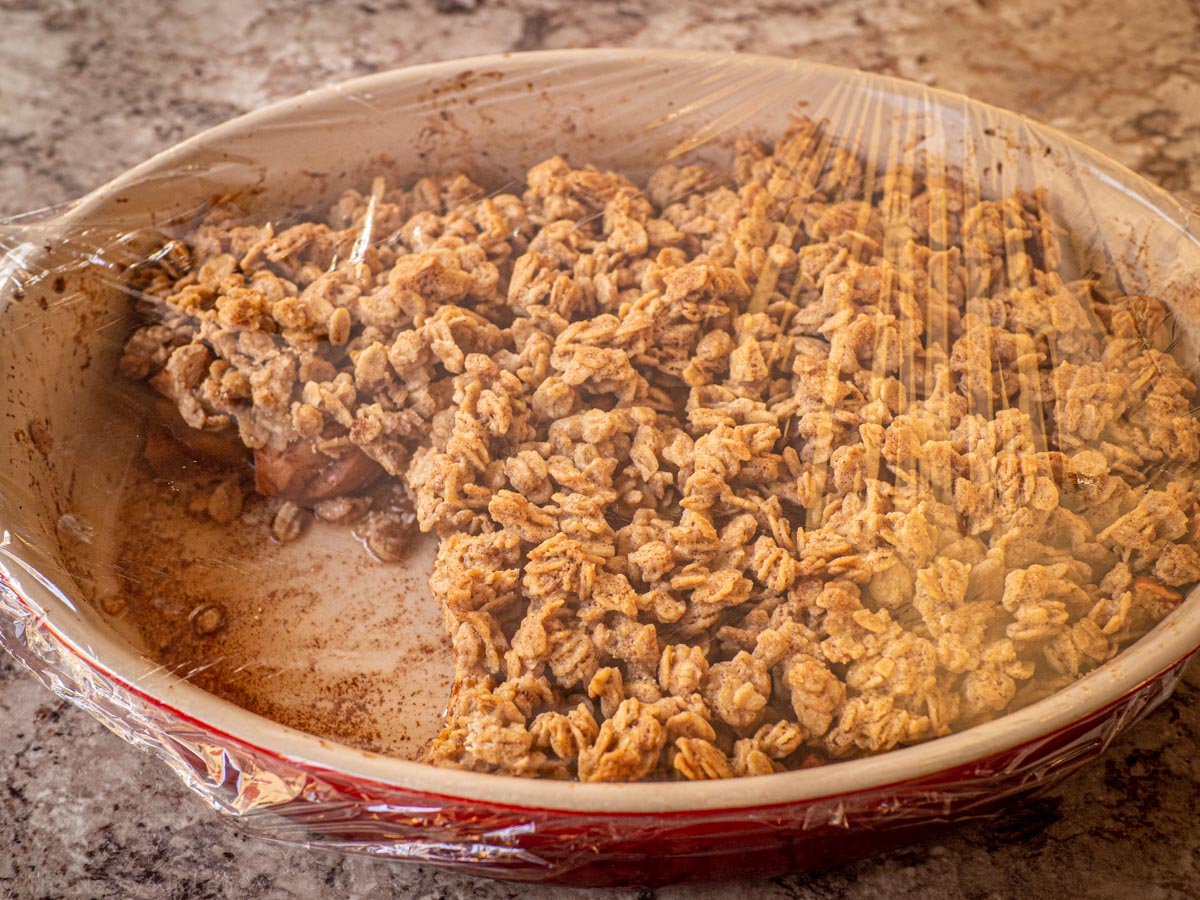
- Using apple in recipes: Frozen apples are perfect for baking pies, tarts, crumbles, and cobblers. They can also be used in smoothies, sauces, or as toppings for oatmeal or pancakes. Thaw the frozen apples in the refrigerator overnight before using them in recipes.
- Proper storage duration: Frozen apples can maintain their quality for about 10 to 12 months. However, for the best flavor and texture, it is recommended to use them within 6 to 8 months.
- Consider pre-cooking: If you plan to use the frozen apples in cooked dishes like pies, it can be beneficial to pre-cook them slightly before freezing. This helps retain their shape and texture during the cooking process.
Remember to always thaw frozen apples in the refrigerator to maintain their texture and avoid rapid spoilage. Once thawed, frozen apples may have a softer texture than fresh ones, but they are still delicious and can be used in a variety of recipes.
Frozen apples provide a convenient option for enjoying the taste and benefits of apples even when they are not in season. With proper preparation and storage, you can have the versatility of using apples year-round.
Is there anything else you would like to know?
Conclusion
Learning how to store apples properly is key to maintaining their freshness, flavor, and nutritional value. Whether you have a surplus from your own apple tree or have purchased a large quantity from the store, implementing the right storage techniques will allow you to enjoy the delicious taste of apples for an extended period.
We began by discussing the importance of choosing the right storage location, emphasizing the need for a cool, dark, and well-ventilated area. We then moved on to the cleaning and preparation process, highlighting the significance of removing any dirt or wax coating from the apples and inspecting them for any damage.
Sorting and organizing the apples is an important step to prioritize their consumption and prevent spoilage. Categorizing the apples based on their condition and ripeness levels helps you efficiently manage their storage and ensures that you use them before they spoil.
Properly wrapping the apples provides an additional layer of protection and helps to maintain their moisture content. Whether you choose to individually wrap them, use specialized apple sleeves, or wrap them in plastic, the goal is to create a barrier that prevents spoilage while allowing for proper ventilation.
We also explored the option of using containers for apple storage, such as baskets, crates, or ventilated storage bins. These containers help maintain organization and provide a suitable environment for storing the apples while allowing for proper air circulation.
For those fortunate enough to have a root cellar, we discussed its benefits for long-term apple storage. Root cellars offer optimal temperature and humidity levels, creating an ideal environment for storing apples and prolonging their freshness.
Regular monitoring and checking of the stored apples are essential to identify and remove any spoiled or damaged fruit, preventing the spread of decay. We also provided techniques to prevent spoilage and extend the shelf life of stored apples, such as storing them separately from other produce, handling them with care, and maintaining the proper storage conditions.
Lastly, we explored the option of freezing apples for long-term storage, along with tips for preparing and using frozen apples in various recipes.
By implementing these storage techniques and following the tips provided, you can ensure that your apples stay fresh, flavorful, and nutritious for an extended period of time. Whether you choose to enjoy them as a healthy snack, incorporate them into your favorite recipes, or savor them out of season, proper storage is the key to maximizing the longevity of this versatile and delicious fruit.
Now, armed with the knowledge and techniques outlined in this guide, you can confidently store your apples and enjoy their crispness and sweetness long after the harvest season has ended. So go ahead, store those apples and savor their taste all year round!
Frequently Asked Questions about How To Store Apple
Was this page helpful?
At Storables.com, we guarantee accurate and reliable information. Our content, validated by Expert Board Contributors, is crafted following stringent Editorial Policies. We're committed to providing you with well-researched, expert-backed insights for all your informational needs.


0 thoughts on “How To Store Apple”