Articles
How To Store Spinach In Freezer
Modified: February 29, 2024
Learn the best method for storing spinach in the freezer to keep it fresh and nutritious for longer. Our articles provide step-by-step instructions and helpful tips.
(Many of the links in this article redirect to a specific reviewed product. Your purchase of these products through affiliate links helps to generate commission for Storables.com, at no extra cost. Learn more)
Introduction
Have you ever found yourself with an abundance of fresh spinach that you just can’t eat fast enough? Rather than letting it go to waste, freezing spinach is a great way to preserve its freshness and nutritional value. By following a few simple steps, you can store spinach in the freezer and have it readily available for use in your favorite recipes, such as salads, smoothies, and cooked dishes.
Freezing spinach not only allows you to enjoy this leafy green vegetable throughout the year but also saves you money by preventing spoilage. When properly stored, frozen spinach can retain its flavor and nutritional benefits for up to 12 months.
In this article, we will guide you through the process of storing spinach in the freezer. From selecting the freshest spinach to thawing it properly for use, we will cover each step and provide helpful tips along the way.
Key Takeaways:
- Preserve the freshness and nutrients of spinach by freezing it for up to 12 months. Follow simple steps from selecting fresh spinach to proper thawing for convenient use in various recipes.
- Reduce waste and save money by freezing spinach. Enjoy the convenience of having this nutritious green vegetable readily available for use in salads, smoothies, and cooked dishes.
Read more: How To Store Spinach
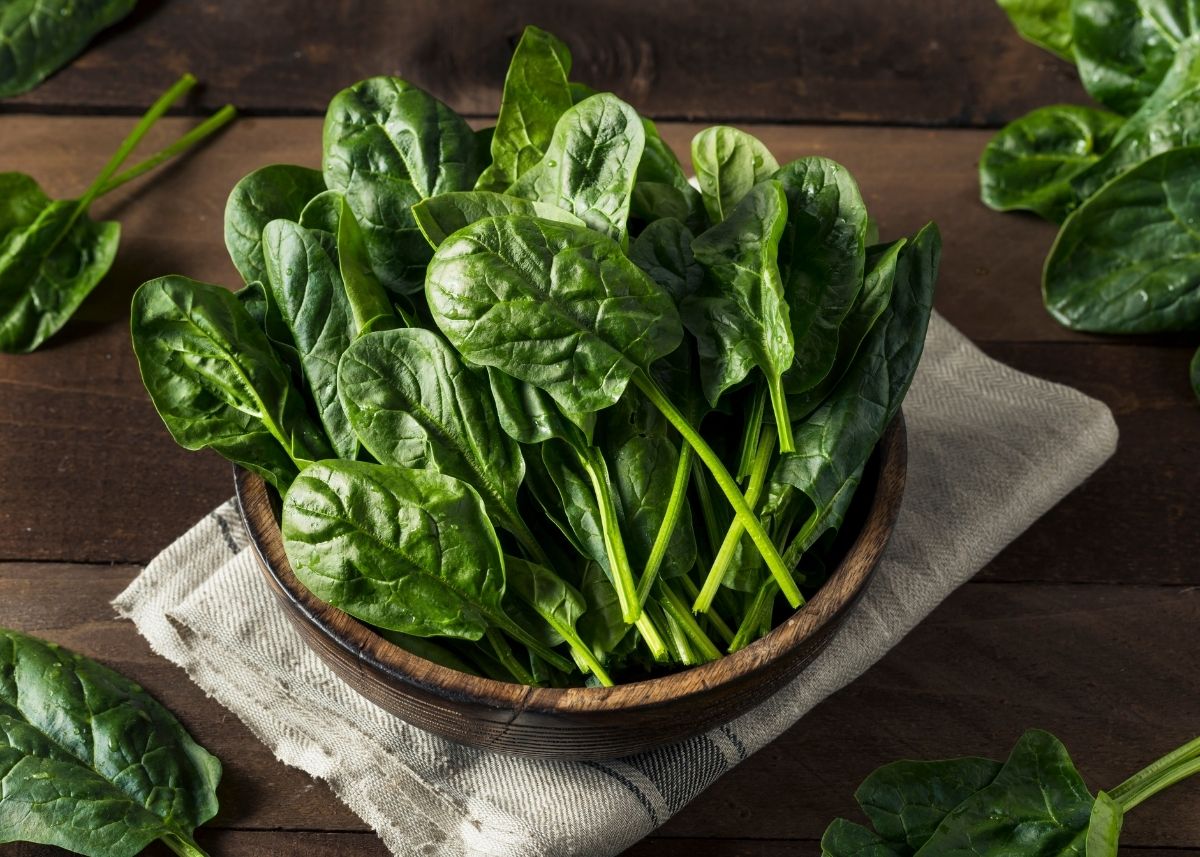
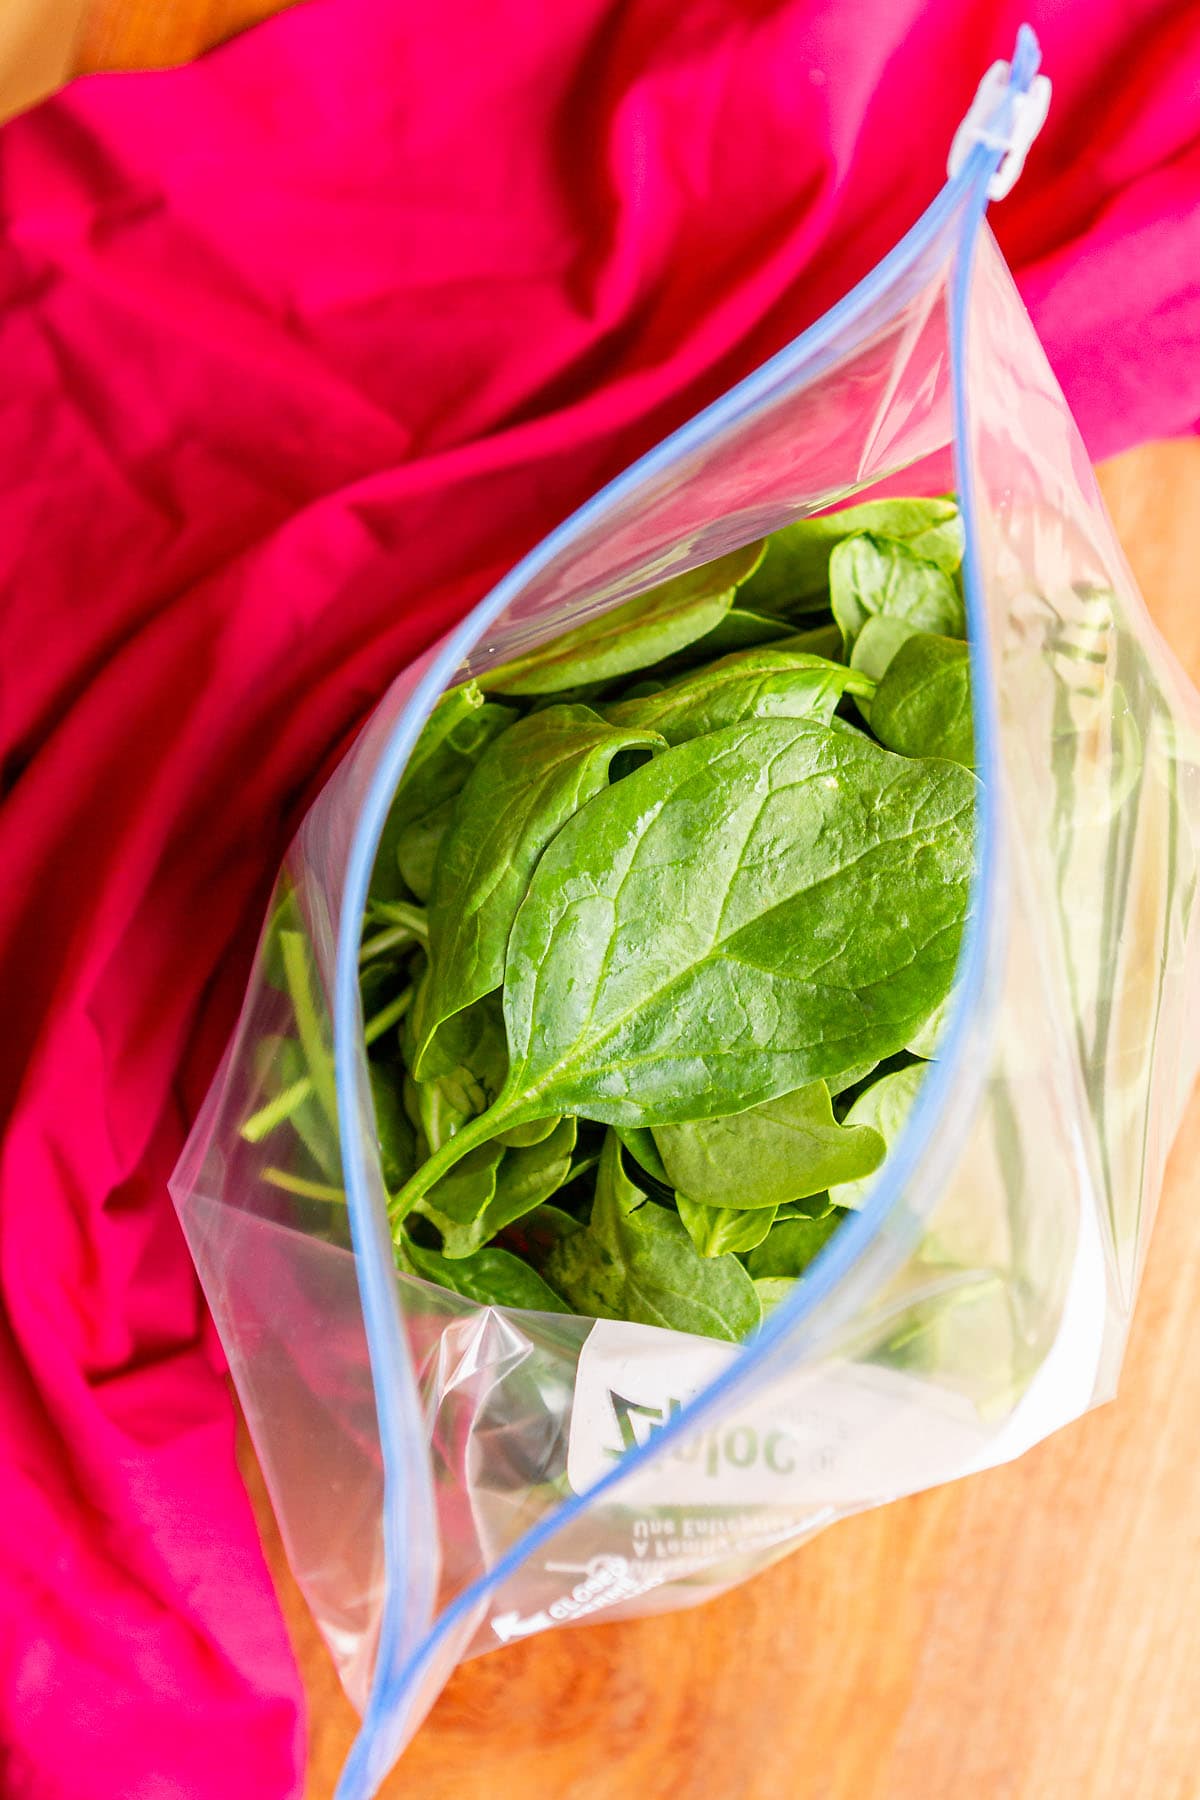
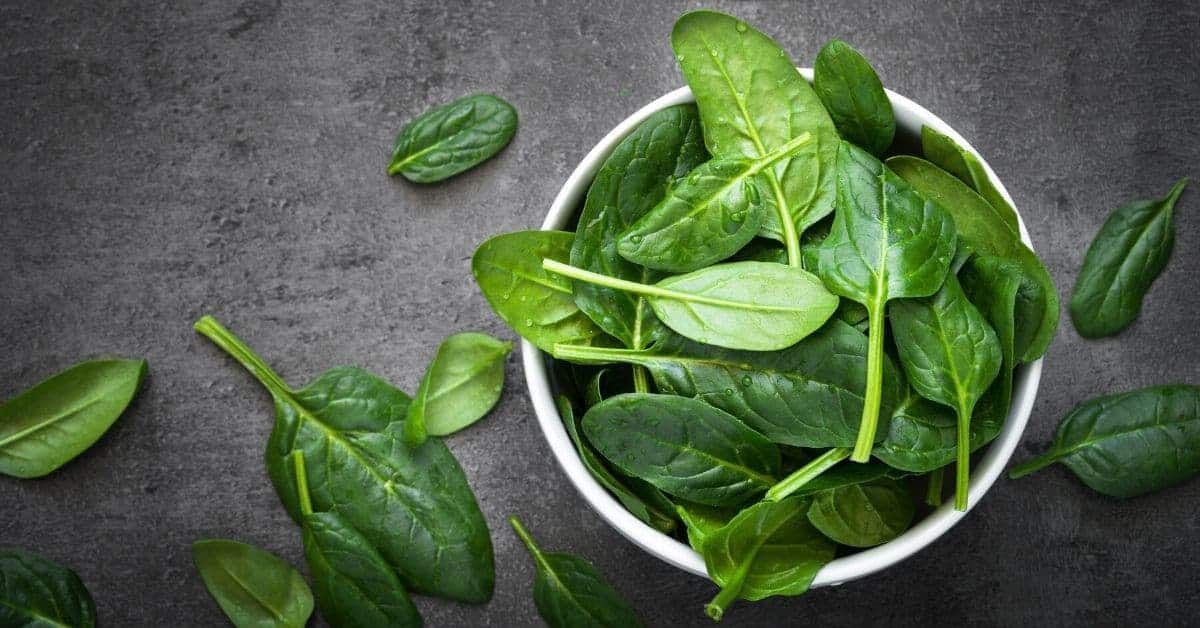
Step 1: Choose Fresh Spinach
The first step in storing spinach in the freezer is to select fresh and high-quality spinach. Look for spinach leaves that are dark green, crisp, and free from any wilting or yellowing. Avoid spinach with slimy or brown spots, as these are signs of spoilage.
If possible, opt for organic spinach to ensure that it is free from pesticides and other chemicals. However, if organic spinach is not available, thoroughly wash conventionally grown spinach to remove any potential contaminants.
When selecting spinach, consider the quantity you need and how you plan to use it. If you want to freeze larger portions for cooking, choose mature spinach leaves that are more substantial and robust. If you prefer to use frozen spinach in salads or smoothies, opt for baby spinach leaves, as they have a milder taste and more tender texture.
Remember, the quality of the spinach you choose will directly impact the quality of the frozen spinach, so take the time to select the freshest and best-looking spinach you can find.
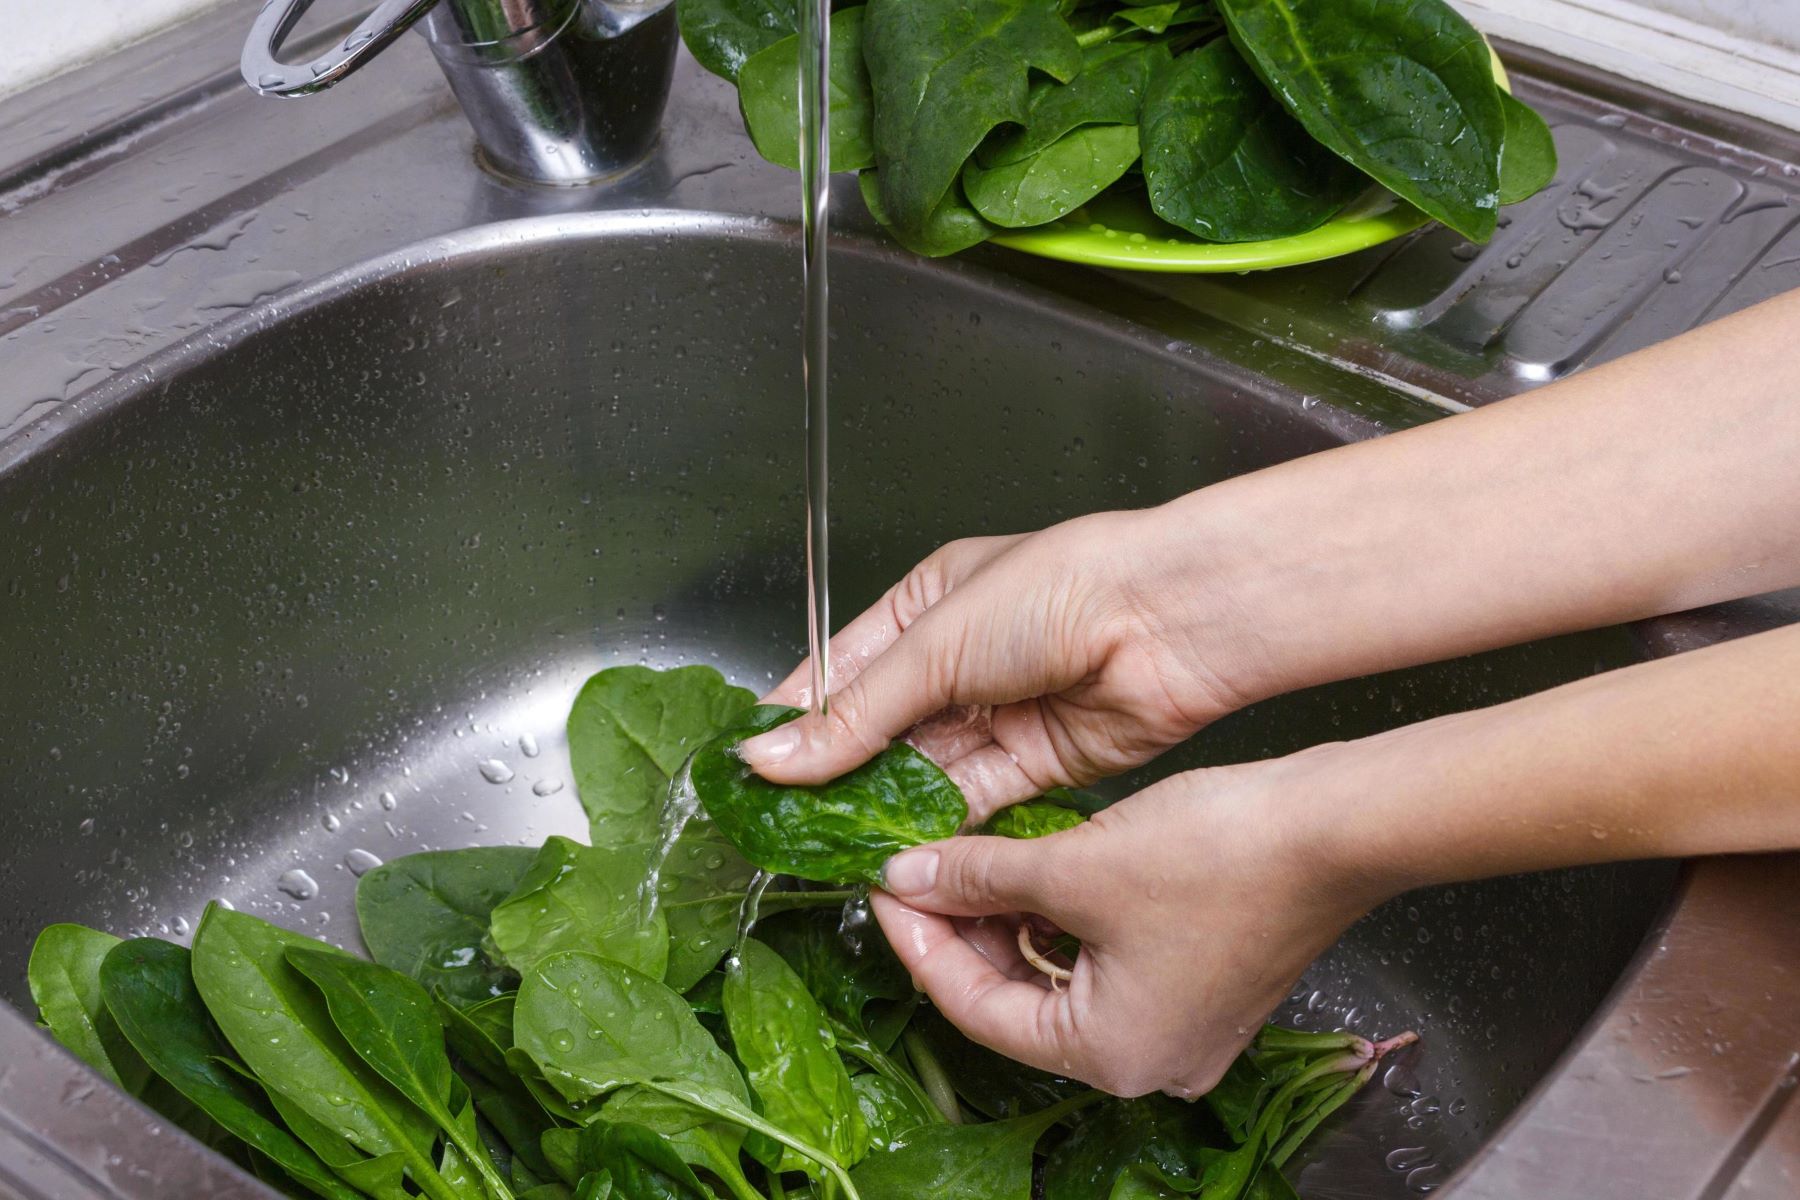
Step 2: Wash and Dry Spinach
Before freezing spinach, it is crucial to wash it thoroughly to remove any dirt, sand, or pesticide residue. Fill a clean sink or a large bowl with cold water and immerse the spinach leaves. Gently swish the leaves around to loosen any debris.
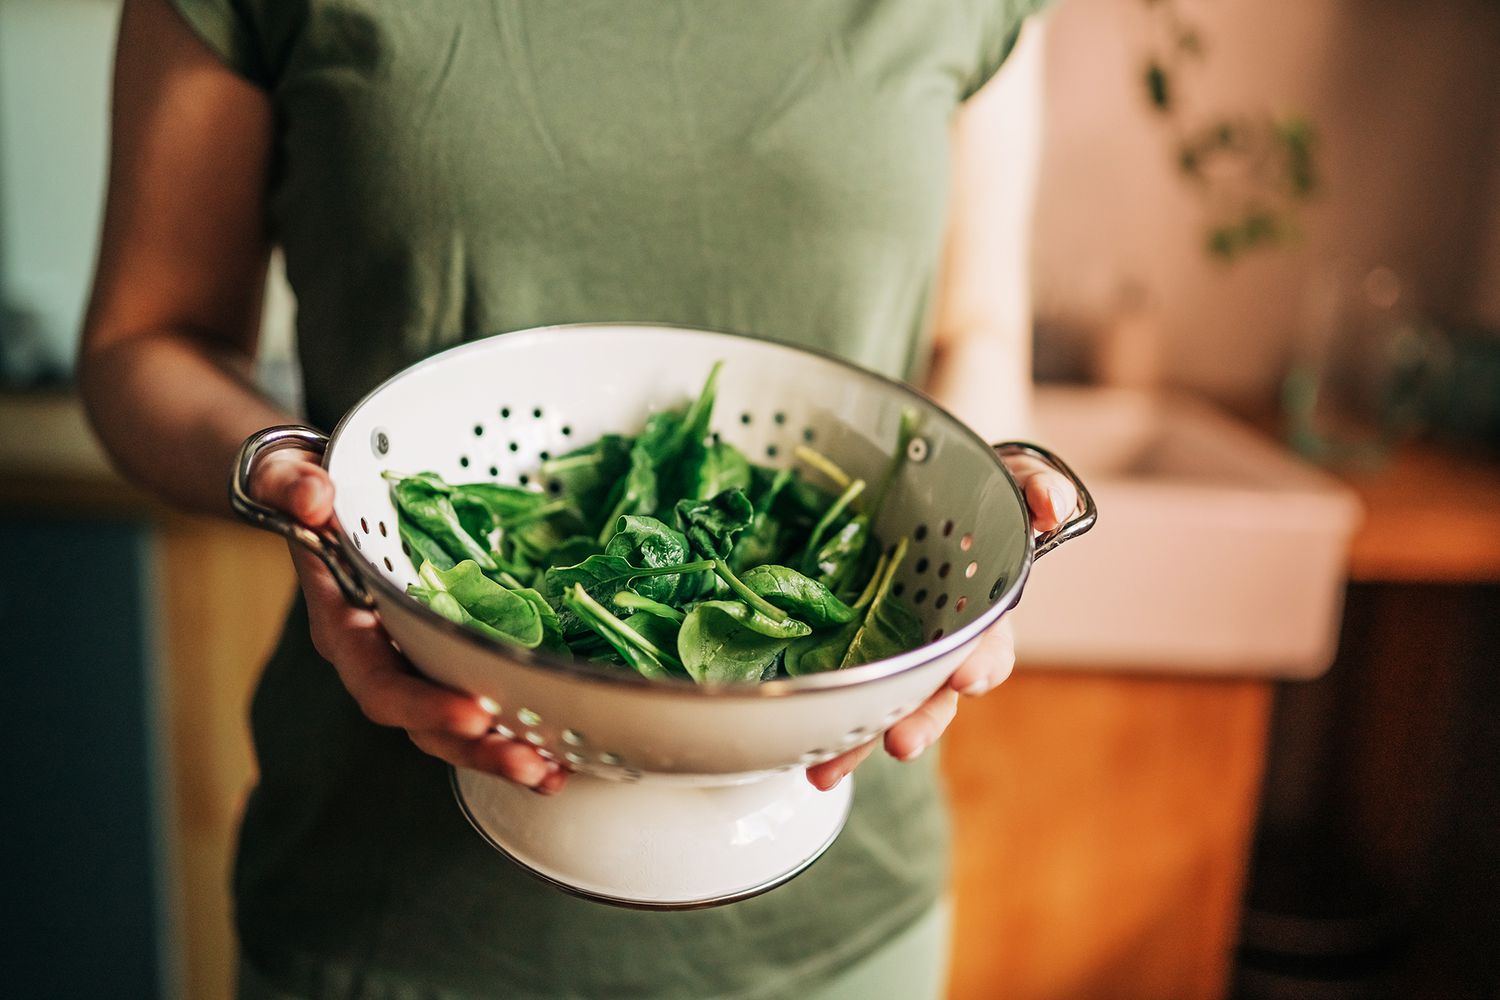
After washing, transfer the spinach to a colander and rinse it again under cool running water. This helps ensure that all traces of dirt and pesticides are eliminated. Take your time and be thorough during this step to ensure the best possible results.
Once the spinach leaves are clean, it is important to dry them completely before freezing. Excess moisture can lead to the formation of ice crystals, which can deteriorate the quality of the spinach during freezing.
Pat the spinach leaves gently with clean kitchen towels or use a salad spinner to remove excess water. Ensure that the leaves are completely dry before proceeding to the next step. This will help maintain the integrity of the spinach and prevent it from getting freezer burn.
If you choose to use a salad spinner, spin the leaves in small batches to ensure thorough drying. Remember that proper drying is essential for successfully freezing spinach.
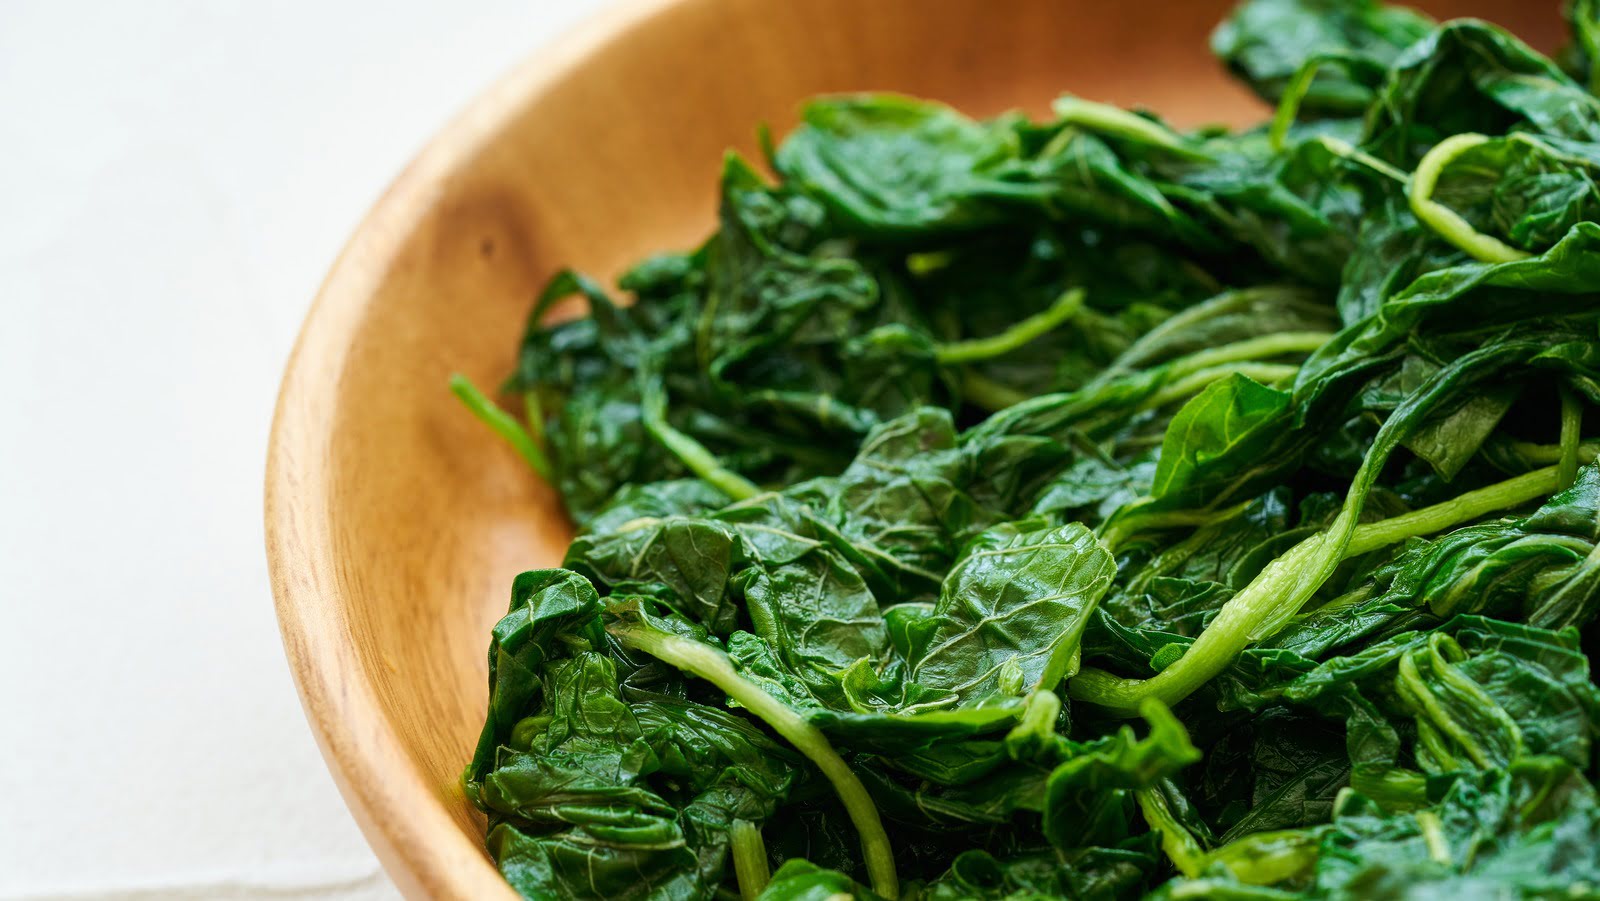
Step 3: Blanch Spinach
Blanching spinach is a vital step in the freezing process as it helps to preserve the color, texture, and flavor of the vegetable. Blanching involves briefly immersing the spinach in boiling water and then transferring it to an ice bath to halt the cooking process.
To blanch spinach, bring a large pot of water to a rolling boil. While waiting for the water to boil, prepare an ice bath in a separate bowl or sink by filling it with cold water and ice cubes.
Once the water is boiling, carefully add the spinach leaves to the pot. Blanch the spinach in small batches to ensure that it cooks evenly. Allow the spinach to cook for about 1-2 minutes, or until it turns bright green.
Blanching times may vary slightly depending on the size and thickness of the spinach leaves. It is essential to avoid overcooking the spinach as this can result in a loss of texture and a decrease in nutritional value.
After blanching, quickly and carefully transfer the spinach to the ice bath using tongs or a slotted spoon. Submerging the spinach in the ice bath stops the cooking process by rapidly lowering its temperature.
Allow the spinach to sit in the ice bath for the same duration as it was blanched, usually around 1-2 minutes. This step helps to cool the spinach quickly and preserves its vibrant green color.
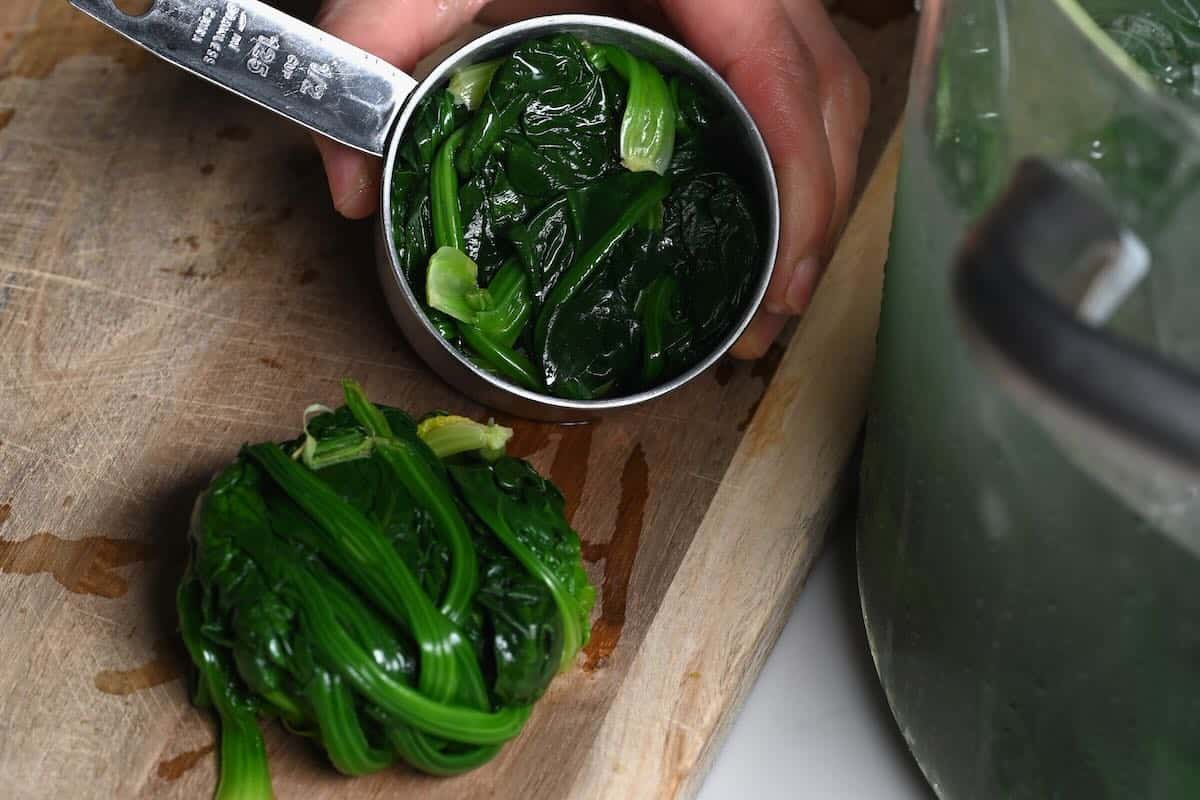
Once the spinach has cooled in the ice bath, drain it well using a colander or by gently squeezing out any excess water. Properly blanching the spinach ensures that it retains its color, flavor, and texture when stored in the freezer.
Step 4: Cool and Drain Spinach
After blanching the spinach and draining it, the next step is to cool it completely. Cooling the spinach before freezing helps to prevent the growth of bacteria and ensures that it maintains its freshness and quality.
To cool the spinach, spread it out in a single layer on a clean kitchen towel or a baking sheet lined with parchment paper. Make sure to arrange the leaves in a way that they are not touching or overlapping.
Allow the spinach to cool at room temperature for about 10-15 minutes. This will help to further remove any excess moisture and prevent the leaves from sticking together when frozen.
During the cooling process, it is important to avoid leaving the spinach out for too long, as it can become susceptible to bacterial growth. Aim to cool the spinach as quickly as possible without compromising its integrity.
Once the spinach has cooled, gently pat it dry using a clean kitchen towel or paper towels. Ensure that all excess moisture is removed, as this can lead to the formation of ice crystals during freezing.
Properly cooling and draining the spinach ensures that it retains its texture and prevents any waterlogged or mushy consistency when thawed and cooked. Take the time to cool and drain the spinach thoroughly for the best freezing results.
To store spinach in the freezer, start by blanching it in boiling water for 2 minutes, then immediately transfer to an ice bath to stop the cooking process. Once cooled, pat dry and store in airtight freezer bags, removing as much air as possible before sealing. This will help preserve the color, flavor, and nutrients of the spinach.
Read more: How To Store Baby Spinach
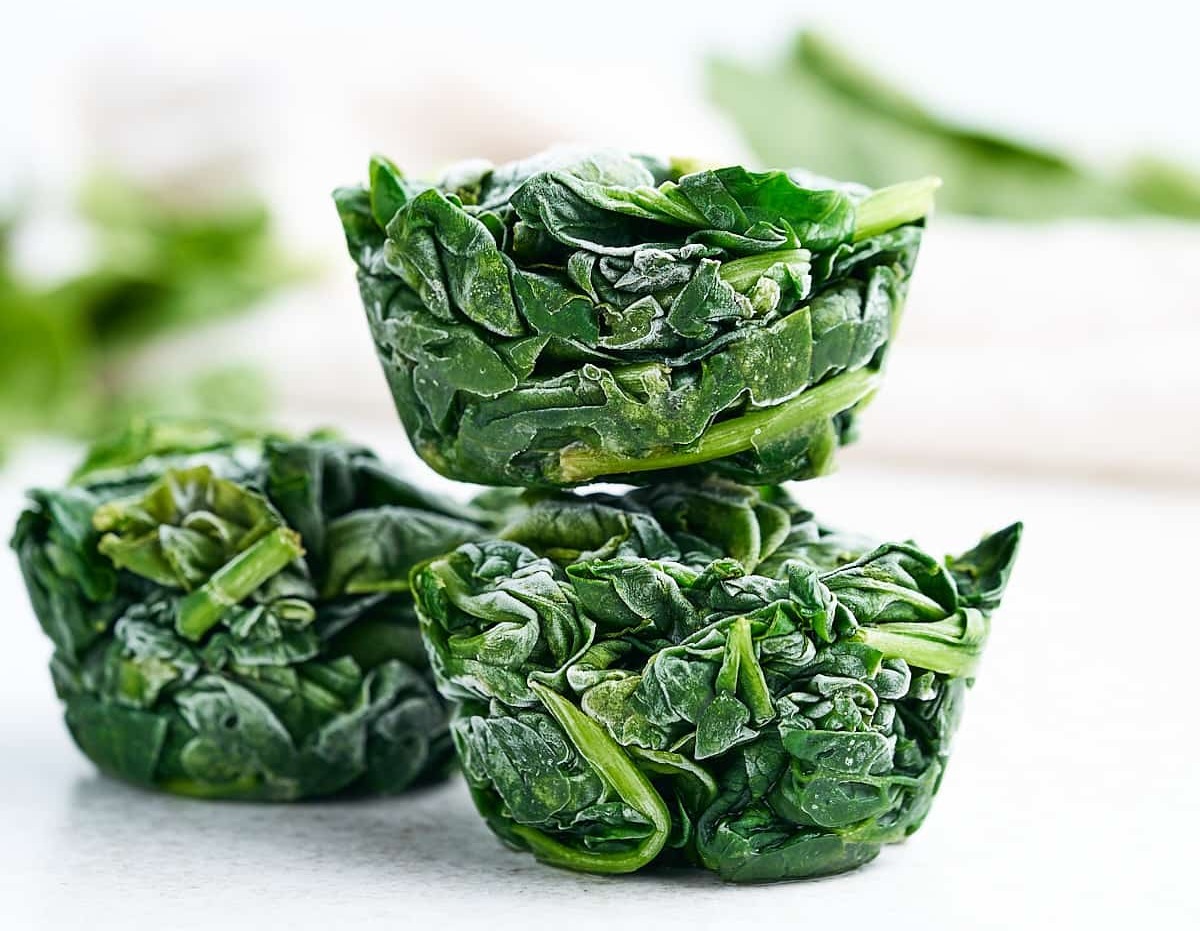
Step 5: Pack Spinach into Freezer Bags
Once the spinach has been blanched, cooled, and drained, it is time to pack it into freezer bags for storage. Freezer bags are ideal for freezing spinach as they are thick, durable, and resistant to moisture and freezer burn.
Start by selecting the appropriate size freezer bags based on the quantity of spinach you have and how you plan to use it. Quart-sized bags are commonly used for small to medium portions, while gallon-sized bags are suitable for larger amounts.
Open the freezer bag and place it in a sturdy container or tall glass, folding the top edges of the bag over the rim. This will help keep the bag open and make it easier to pack the spinach.
Take a handful of spinach leaves and gently place them into the bag, being careful not to overstuff it. Leave enough space in the bag to allow for proper airflow and to minimize the risk of crushing the spinach during freezing.
Continue adding spinach to the bag, separating each layer with a sheet of parchment paper or by using the freezer bag’s built-in divider. This helps prevent the spinach from clumping together and makes it easier to extract a desired portion when thawing.
Once all the spinach is packed into the bag, press any excess air out of the bag before sealing it tightly. To do this, gently squeeze the bag from the bottom up to push out the air. Alternatively, you can use a vacuum sealer to remove the air completely for optimal freezer storage.
Label the freezer bag with the current date to keep track of its storage time. Using a permanent marker, write the date on the bag’s surface or attach a small label with the date.
Repeat these steps for each batch of spinach you plan to freeze. Storing spinach in freezer bags helps to maintain its freshness and makes it easy to portion out the desired amount for future use.
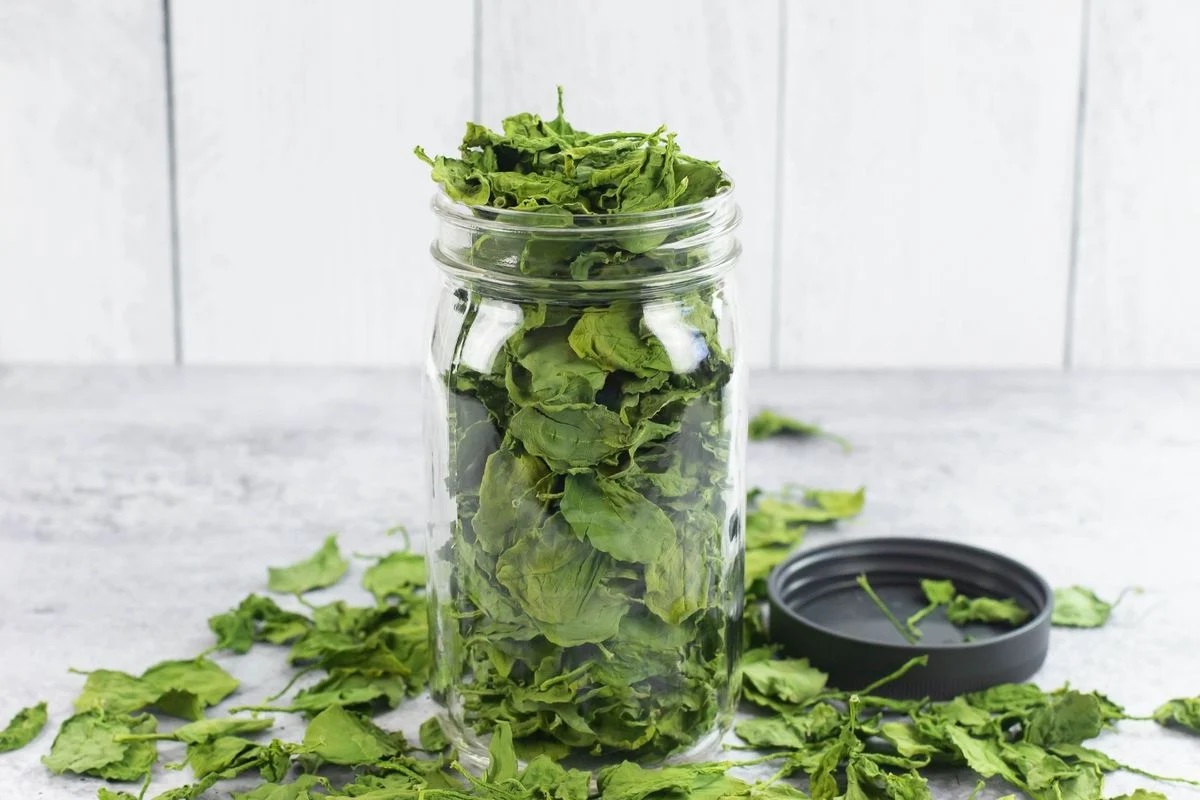
Step 6: Label and Freeze Spinach
After packing the spinach into freezer bags, it is important to properly label them before placing them in the freezer. Labeling helps you keep track of the contents and ensures that you use the oldest spinach first.
Using a permanent marker, write the current date and a short description of the contents on the freezer bag. Include the type of spinach (e.g., baby spinach or mature spinach) and any additional information you find helpful. For example, you can write “blanched and ready to use” or “packed in 1-cup portions.”
Clear and accurate labeling is essential, especially if you have multiple bags of frozen spinach or if you plan to store other vegetables or ingredients alongside it.
Once the freezer bag is labeled, carefully place it in the freezer. Aim to lay the bags flat to optimize storage space and promote even freezing.
Allow the spinach to freeze undisturbed for several hours, or until completely solid. This can take anywhere from 4 to 6 hours, depending on the quantity and thickness of the spinach in the bags.
After the spinach is fully frozen, you can rearrange the bags in the freezer if necessary. Stack them neatly or place them upright to maximize space utilization.
Remember to handle the bags with care to avoid any damage or puncturing that may lead to freezer burn or spoilage. Treat your frozen spinach with care to preserve its quality and flavor.
By properly labeling and freezing the spinach, you can enjoy your frozen greens for up to 12 months. This technique allows you to have a readily accessible stash of spinach for various recipes and meals throughout the year.
Step 7: Thaw and Use Frozen Spinach
When you’re ready to use your frozen spinach, it’s important to thaw it properly to maintain its taste and texture. Here are a few methods for thawing and using frozen spinach:
- Refrigerator Thawing: The recommended method for thawing frozen spinach is to transfer the desired amount from the freezer to the refrigerator. Place the frozen spinach in a bowl or on a plate to catch any liquid as it thaws. Allow it to thaw in the refrigerator overnight or for about 6-8 hours. This slow thawing process helps maintain the spinach’s quality and minimizes nutrient loss.
- Microwave Thawing: If you need to thaw the spinach quickly, you can use the microwave. Place the frozen spinach in a microwave-safe dish and defrost it using the “defrost” or “low” setting. It’s important to check and stir the spinach frequently to ensure even thawing. Be cautious not to overheat or cook the spinach in the process.
- Cooking from Frozen: Alternatively, you can cook frozen spinach directly from its frozen state. Add the frozen spinach to soups, stews, sautés, or other cooked dishes, allowing it to thaw and heat as it cooks. The cooking process will naturally thaw the spinach and incorporate it into the recipe.
Once the spinach is thawed, you can use it in a variety of recipes. Add it to salads, omelets, pasta dishes, stir-fries, or blend it into smoothies for a nutritious boost. The thawed spinach can be used as a substitute for fresh spinach in most recipes, though it may have a slightly different texture due to the freezing process.
If you have any leftover thawed spinach, it’s important to refrigerate it promptly and use it within a couple of days to maintain its freshness.
By following these thawing and usage methods, you can enjoy the convenience and nutritional benefits of your frozen spinach throughout the year.
Conclusion
Freezing spinach is a simple and efficient way to preserve its freshness and nutritional value for an extended period. By following the steps outlined in this article, you can store spinach in the freezer and have it readily available for use in various dishes and recipes.
Choosing fresh spinach, washing and drying it thoroughly, blanching and cooling it, and packing it into freezer bags are crucial steps in the process. Properly labeling the bags and freezing them flat helps maintain the quality of the spinach and allows for easy organization in the freezer.
When it’s time to use the frozen spinach, thawing it properly is key to preserving its taste and texture. The refrigerator thawing method ensures the best results, but the microwave or cooking-from-frozen methods offer quicker alternatives when needed.
Frozen spinach can be incorporated into a wide range of dishes, providing a convenient source of nutrients and an easy way to add greens to your meals. Whether you use it in salads, stir-fries, smoothies, or soups, frozen spinach retains much of its nutritional value and flavor.
By freezing spinach, you can reduce waste, save money, and have a versatile ingredient on hand whenever you need it. With proper storage, frozen spinach can last up to 12 months without losing its quality.
So the next time you find yourself with an abundance of spinach, don’t let it go to waste. Follow these steps to store spinach in the freezer and enjoy the benefits of always having this nutritious green vegetable at your fingertips.
Frequently Asked Questions about How To Store Spinach In Freezer
Was this page helpful?
At Storables.com, we guarantee accurate and reliable information. Our content, validated by Expert Board Contributors, is crafted following stringent Editorial Policies. We're committed to providing you with well-researched, expert-backed insights for all your informational needs.


0 thoughts on “How To Store Spinach In Freezer”