Home>Garden Essentials>How To Plant Spinach Seeds
Garden Essentials
How To Plant Spinach Seeds
Modified: March 15, 2024
Learn how to plant spinach seeds in your garden for a bountiful harvest. Follow these step-by-step instructions and enjoy fresh homegrown spinach all season long.
(Many of the links in this article redirect to a specific reviewed product. Your purchase of these products through affiliate links helps to generate commission for Storables.com, at no extra cost. Learn more)
Introduction
Welcome to the world of gardening, where we will delve into the secrets of planting spinach seeds. Spinach is a versatile and nutritious leafy green that adds a vibrant touch to any garden. Whether you’re a seasoned gardener or just getting started, growing spinach from seeds can be a rewarding and delicious experience.
Spinach is packed with essential vitamins and minerals, making it a powerhouse of nutrients. From salads to smoothies and even sautés, the possibilities are endless when it comes to incorporating this leafy green into your culinary creations. By planting spinach seeds in your garden, you can have a ready supply of fresh, organic spinach right at your fingertips.
In this article, we will guide you through the step-by-step process of planting spinach seeds. From choosing the optimal time to sow the seeds, to providing the right care and harvesting the delicious leaves, we will cover it all. So, let’s get our hands dirty and dive into the wonderful world of growing spinach!
Key Takeaways:
- Plant spinach seeds in early spring or late summer for a bountiful harvest. Remember to prepare the soil, sow the seeds at the right depth, and provide consistent moisture for healthy growth.
- Harvest spinach leaves when they reach 3-6 inches in length and enjoy them in salads, smoothies, or sautés. Thinning the seedlings and proper care are essential for vibrant, homegrown spinach.
Read more: How To Sow Spinach Seeds
Step 1: Choose the right time to plant spinach seeds
The timing of planting spinach seeds is crucial for a successful harvest. Spinach is a cool-season vegetable, which means it thrives in cooler temperatures and can withstand light frost. The key is to plant the seeds during a time when the weather is cool but not freezing.
In most regions, the ideal time to plant spinach seeds is in early spring or late summer. If you live in an area with mild winters, you can also plant spinach seeds in the fall. It’s important to check the average frost dates for your location to determine the best planting time.
When planting spinach seeds in the spring, wait until the soil temperature has reached around 45 to 75 degrees Fahrenheit (7 to 24 degrees Celsius). This usually happens when the air temperature consistently reaches around 50 to 60 degrees Fahrenheit (10 to 15 degrees Celsius).
On the other hand, if you’re planting in the fall, aim to sow the seeds around 6 to 8 weeks before the first expected frost date. This will give the spinach plants enough time to establish before the colder temperatures set in.
Keep in mind that spinach seeds planted in hot weather may fail to germinate or bolt quickly, which means they will start flowering and produce seed prematurely. To avoid this, it’s important to provide the seeds with optimum growing conditions.
Now that you know the best time to plant spinach seeds, let’s move on to preparing the soil to ensure your spinach plants have a healthy start.
Step 2: Prepare the soil for planting
Preparing the soil is a crucial step in creating a favorable environment for your spinach seeds to thrive. Spinach prefers well-draining soil that is rich in organic matter. Here’s how you can prepare the soil for planting:
- Choose a sunny location: Select a spot in your garden that receives at least 6 hours of sunlight per day. Spinach plants enjoy sunlight but can tolerate partial shade as well.
- Clear the area: Remove any weeds, rocks, or debris from the designated planting area. Weeds can compete with spinach plants for nutrients and water, so it’s important to create a clean planting bed.
- Loosen the soil: Use a garden fork or a tiller to loosen the soil to a depth of about 8 to 10 inches (20 to 25 cm). This will improve drainage and allow the roots to penetrate easily.
- Amend the soil: Spinach thrives in fertile soil, so it’s beneficial to enrich the soil with organic matter. Add compost, well-rotted manure, or aged leaf mulch to improve the soil’s nutrient content. Work the organic matter into the top few inches of the soil.
- Level the soil: Rake the soil evenly to create a smooth and level surface for planting. This will ensure that the seeds are sown at a consistent depth.
Prepping the soil before planting spinach seeds sets the foundation for healthy growth and abundant harvest. Once the soil is prepared, it’s time to move on to the exciting step of sowing the spinach seeds!
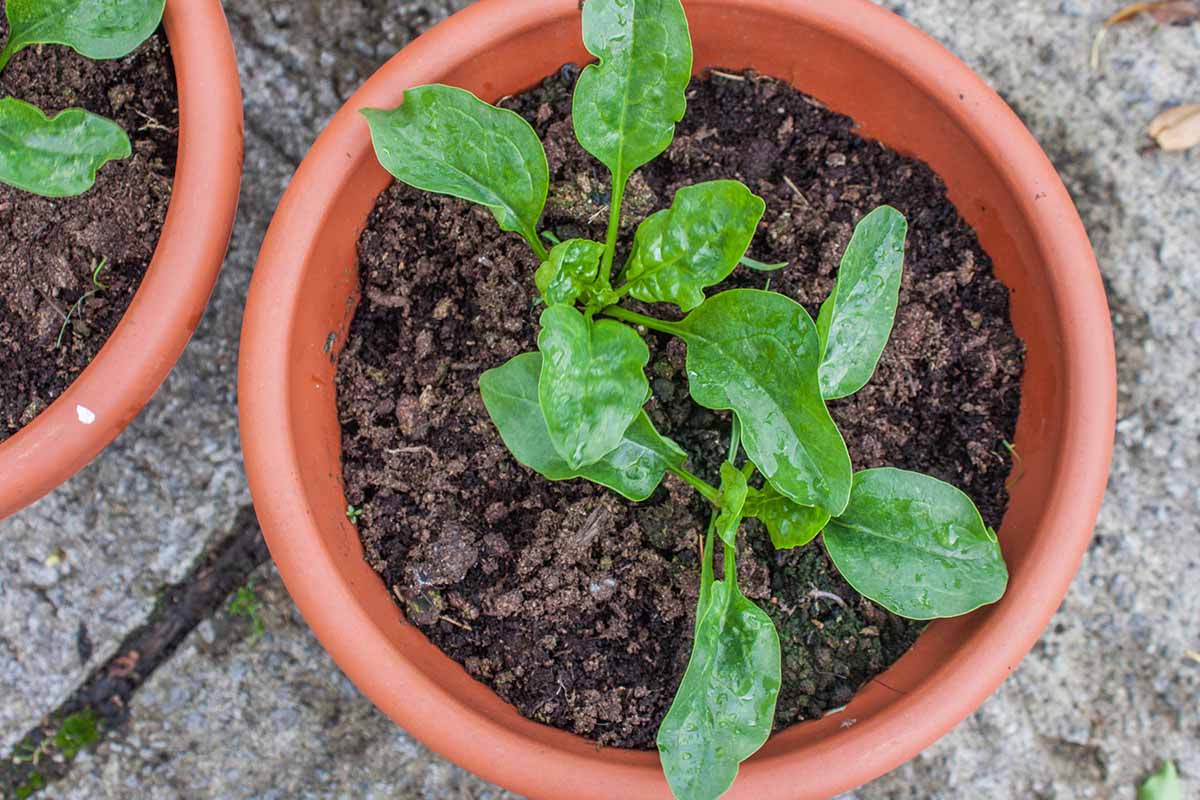
Step 3: Sow the spinach seeds
Now that you have prepared the soil, it’s time to sow the spinach seeds. Follow these steps to ensure successful seed sowing:
- Consider spacing: Spinach plants need enough room to grow and develop fully. Leave about 6 to 8 inches (15 to 20 cm) of space between each seedling to allow for proper airflow and prevent overcrowding.
- Prepare furrows: Use a garden hoe or your finger to create furrows in the soil. The furrows should be about ½ inch (1.3 cm) deep and spaced according to the recommended spacing mentioned above.
- Sow the seeds: Drop the spinach seeds into the furrows, spacing them about 1 inch (2.5 cm) apart. Avoid sowing the seeds too densely as this can lead to poor growth and increased risk of diseases.
- Cover the seeds: Gently cover the seeds with a thin layer of soil or compost. Press the soil down lightly to ensure good seed-to-soil contact.
- Water the seeds: After sowing the seeds, give them a thorough watering. This will help settle the soil and initiate the germination process. Be careful not to overwater, as excessive moisture can lead to rotting.
- Label the rows: To keep track of your spinach plants, it’s helpful to label the rows with the variety and the date of planting. This will make it easier to identify and monitor their growth progress.
Now that your spinach seeds are sown, it’s important to provide proper care to ensure their healthy growth. Let’s move on to the next step: watering the seeds and providing the right care.
Plant spinach seeds in well-draining soil with a pH of 6.5-7.0. Sow seeds ½ inch deep and 2 inches apart. Water regularly and provide 6-8 hours of sunlight daily. Harvest when leaves are 3-4 inches long for best flavor.
Step 4: Water the seeds and provide proper care
Watering the spinach seeds properly and providing the right care is essential for their germination and growth. Follow these guidelines to ensure your spinach seeds receive the necessary moisture and care:
- Keep the soil consistently moist: Spinach seeds require consistently moist soil to germinate and establish healthy roots. Water the soil regularly, keeping it evenly moist but not waterlogged. Avoid letting the soil dry out completely between waterings.
- Water deeply: When watering, aim to moisten the soil to a depth of at least 1 inch (2.5 cm). This encourages the roots to grow deeper, making the plants more resilient and better able to withstand drought conditions.
- Watch out for overwatering: While it’s important to keep the soil moist, be cautious not to overwater. Excessive moisture can lead to root rot and other diseases. Ensure proper drainage in the planting area to prevent waterlogging.
- Mulch the soil: Apply a layer of organic mulch, such as straw or shredded leaves, around the base of the seedlings. Mulch helps retain moisture in the soil, suppresses weed growth, and regulates soil temperature.
- Monitor for pests and diseases: Keep an eye out for common pests that can affect spinach, such as aphids, slugs, and leaf miners. Implement preventive measures like companion planting, using organic pest controls, or regularly inspecting and removing pests by hand.
- Fertilize when needed: Spinach plants benefit from regular fertilization to ensure healthy growth. Apply a balanced organic fertilizer according to the manufacturer’s instructions or perform a soil test to determine specific nutrient needs.
- Thin the seedlings: Once the seedlings have grown their first true leaves, thin them out to provide enough space for each plant to flourish. Remove the weaker seedlings, leaving only the healthiest ones with the recommended spacing between them.
By watering the spinach seeds properly and providing the right care, you are setting the stage for a bountiful spinach harvest. In the next step, we’ll discuss how to thin the seedlings to ensure optimal growth.
Read more: How To Start Spinach Seeds
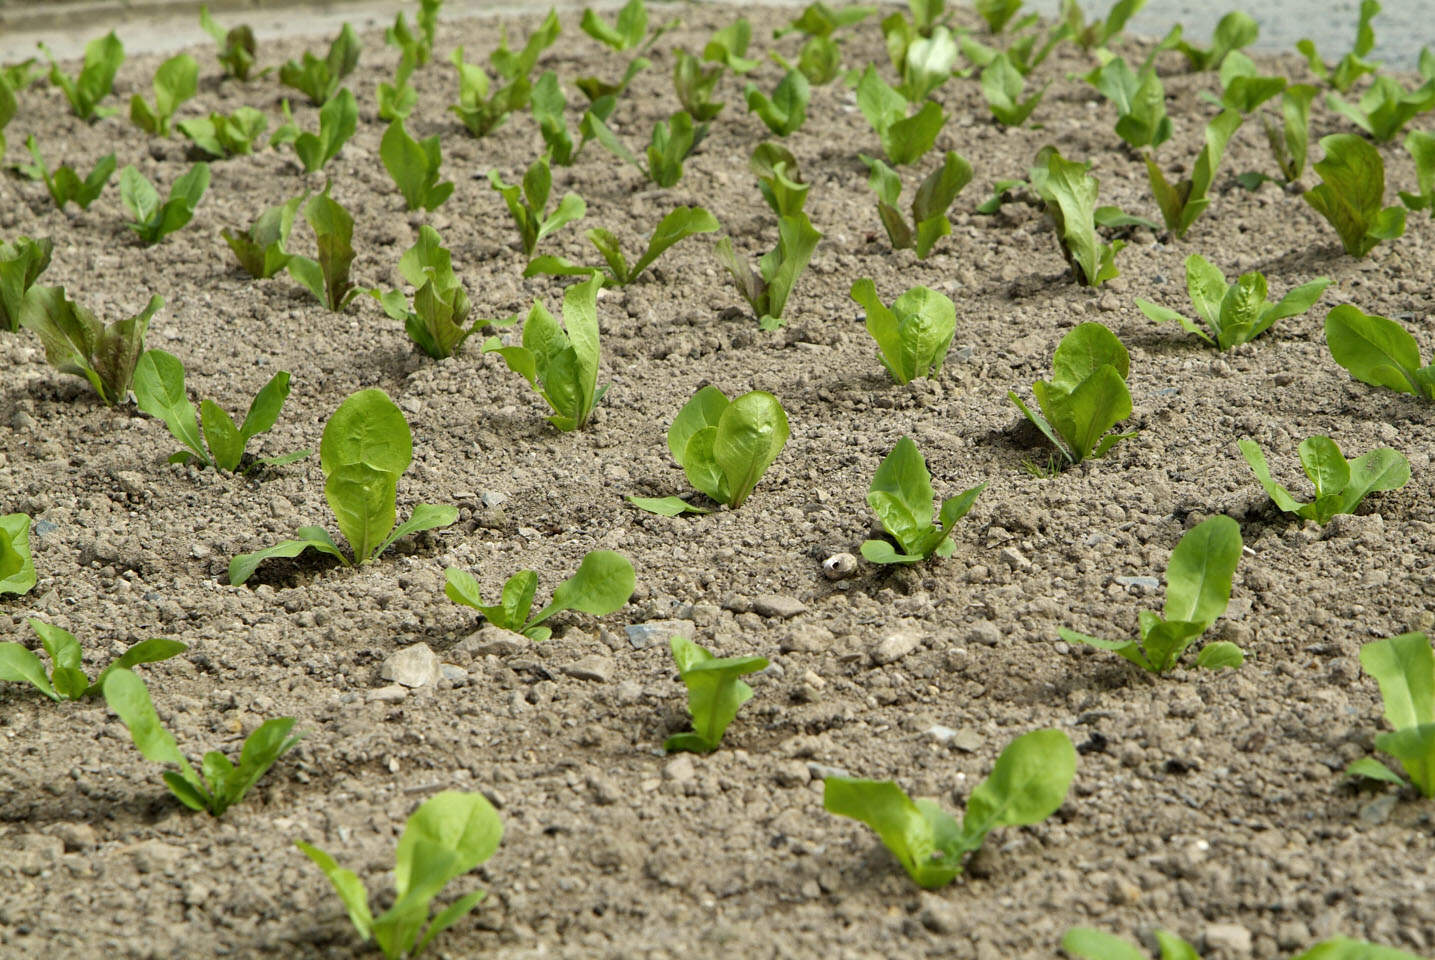
Step 5: Thin the seedlings
Thinning the seedlings is an important step in growing healthy spinach plants. Here’s how you can effectively thin the seedlings:
- Wait for the right time: Allow the spinach seedlings to grow their first set of true leaves before thinning. True leaves are the second set of leaves that appear after the initial seedling leaves.
- Assess the seedlings: Carefully evaluate the seedlings and identify the weaker or overcrowded ones. These are the plants that need to be removed to create adequate space for the remaining spinach plants to thrive.
- Gently pull out the seedlings: Grasp the base of the unwanted seedling near the soil level and gently pull it out. Be careful not to disturb the nearby seedlings that you intend to keep.
- Space the remaining seedlings: Maintain a spacing of about 6 to 8 inches (15 to 20 cm) between the remaining seedlings. This provides enough room for the plants to grow, access sunlight, and absorb nutrients from the soil.
- Water after thinning: Once you have thinned the seedlings, water the remaining plants to help them recover from the disturbance. Be sure to water gently to avoid dislodging the remaining seedlings.
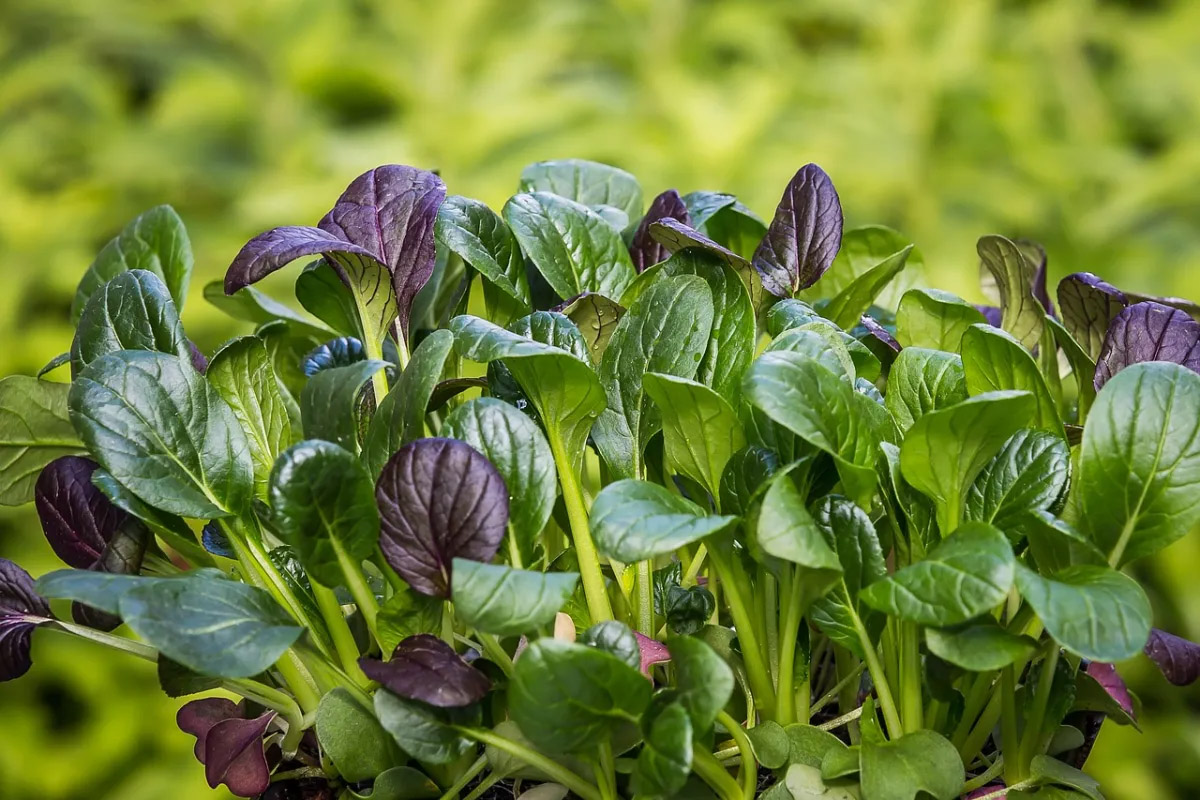
- Use thinnings for microgreens: Rather than discarding the thinned seedlings, consider using them as microgreens. These young spinach plants make a flavorful addition to salads, sandwiches, or garnishes.
Thinning the seedlings ensures that the remaining spinach plants have enough space, nutrients, and sunlight to grow to their full potential. With the seedlings thinned, you are one step closer to enjoying a bountiful harvest of fresh spinach leaves!
Now that you have successfully thinned the seedlings, it’s time to move on to the final step: harvesting the spinach leaves.
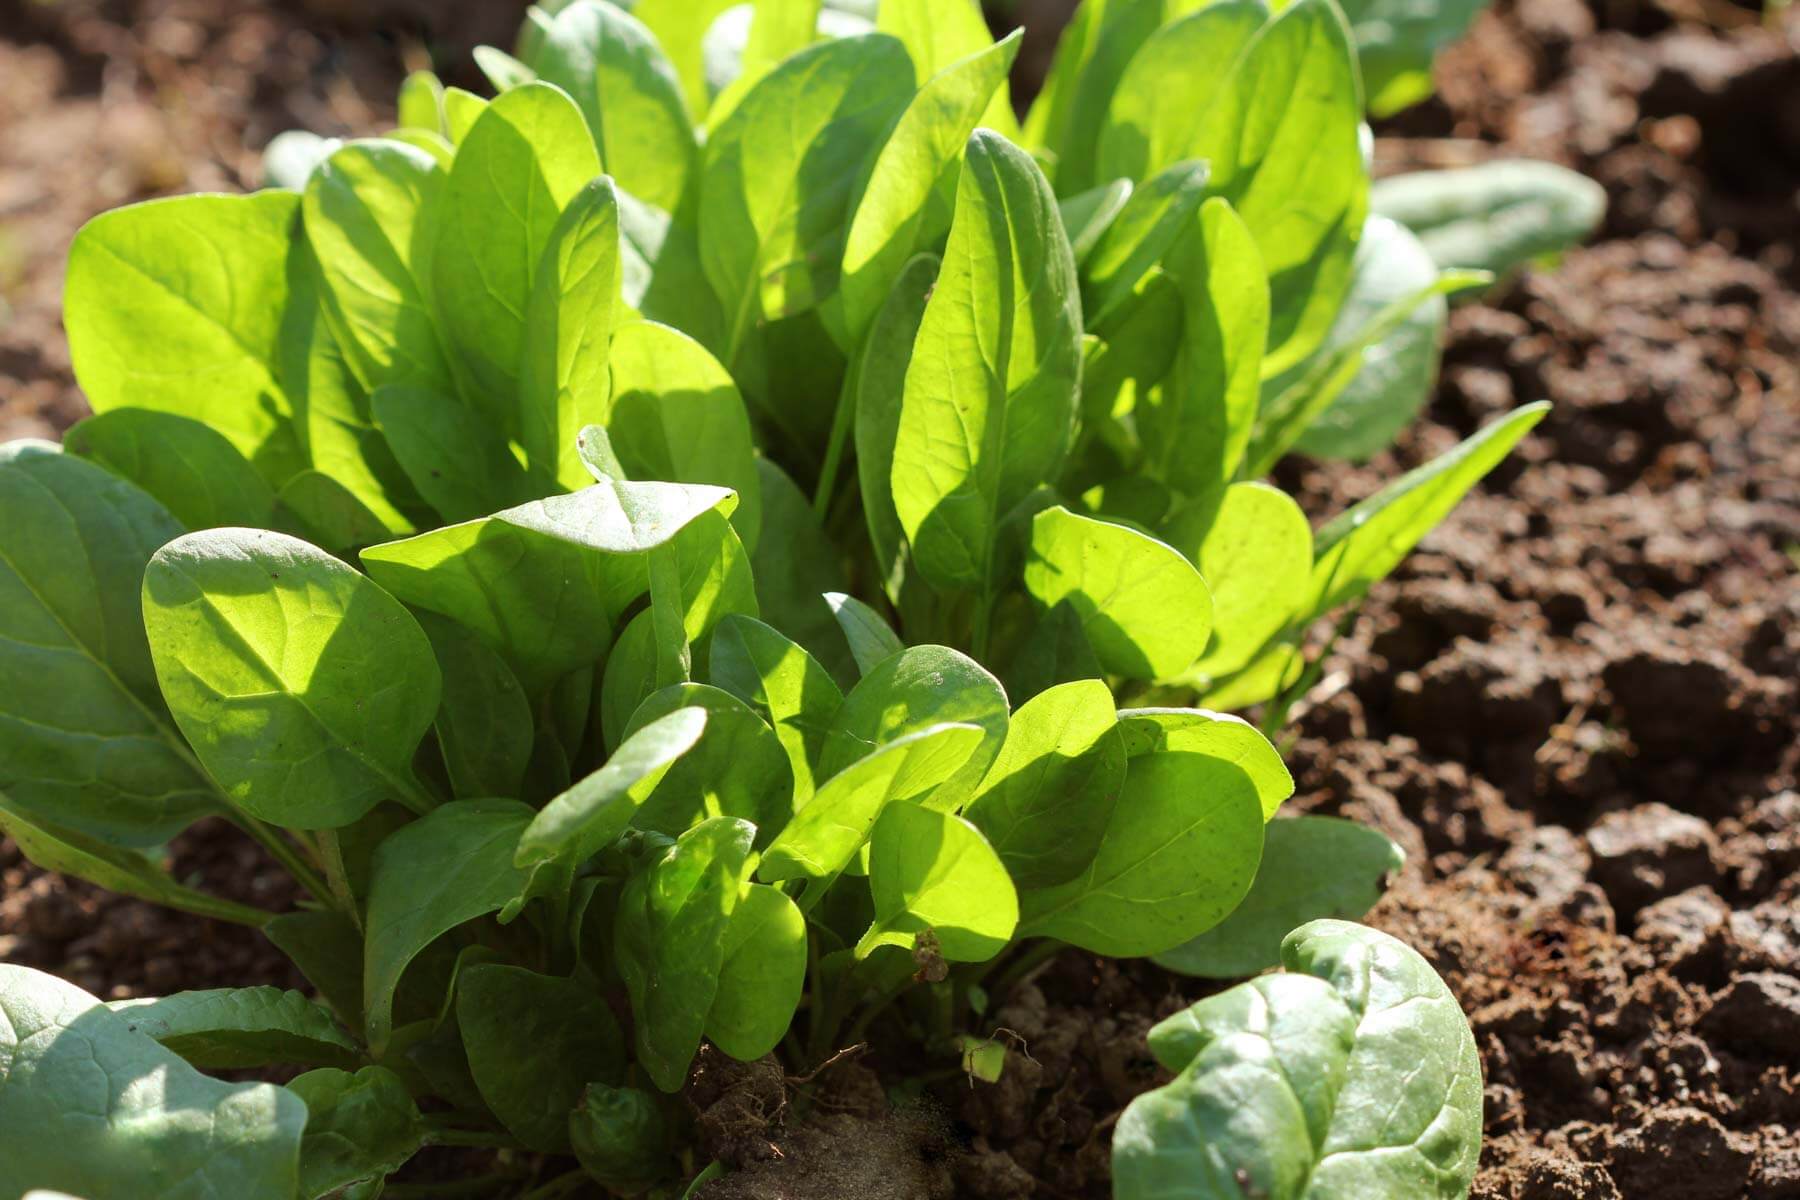
Step 6: Harvesting spinach leaves
The moment you’ve been waiting for has arrived – it’s time to harvest the delicious and nutritious spinach leaves you’ve grown with care. Here’s how you can harvest your spinach:
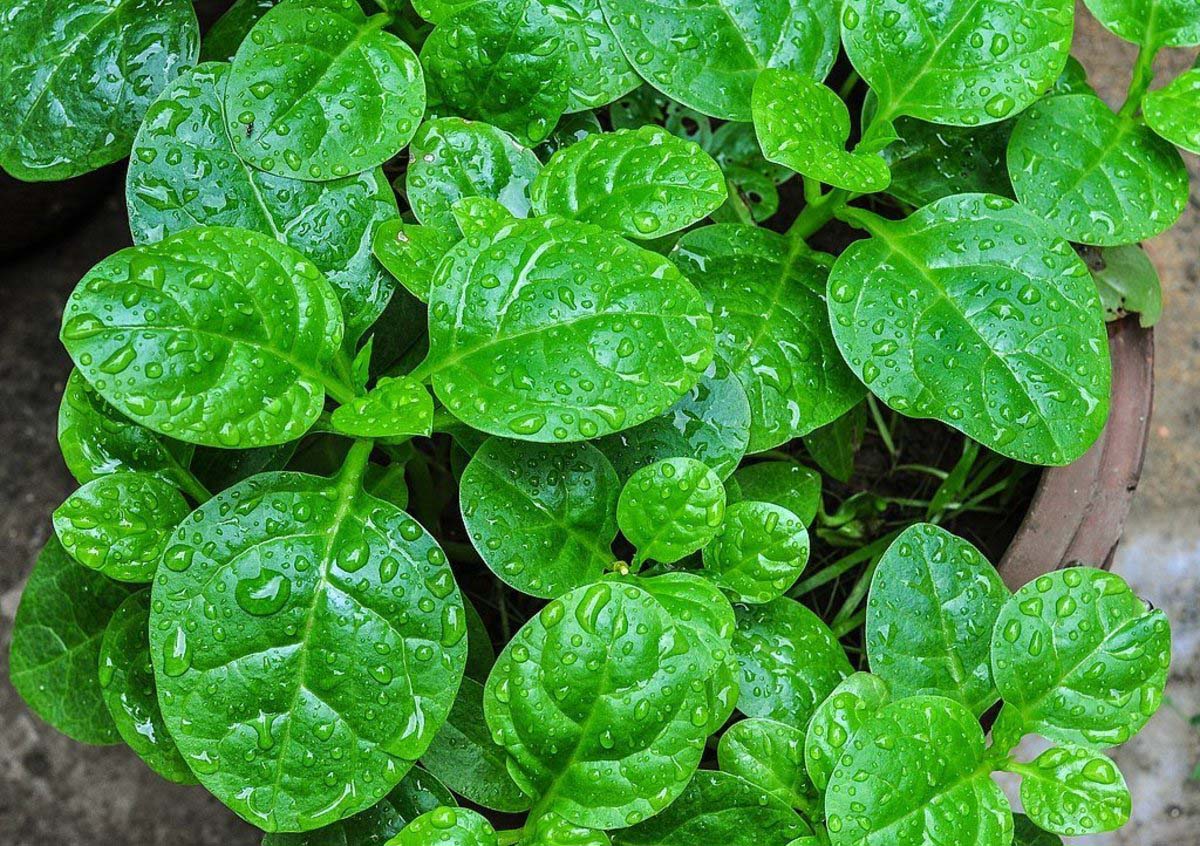
- Wait for the leaves to mature: Spinach leaves can be harvested when they have reached a size of about 3 to 6 inches (7.5 to 15 cm) in length. This typically takes around 35 to 45 days from the time of sowing, depending on the variety.
- Pick the outer leaves: To begin the harvest, start by picking the outer leaves individually. Use your fingers or garden shears to cut the leaves at the base, at the point where they emerge from the main stem. This allows the inner leaves to continue growing.
- Harvest baby spinach: If you prefer baby spinach, you can harvest it by cutting the entire plant just above the soil level. This method allows for regrowth of new leaves, giving you multiple harvests from the same plant.
- Continue harvesting: As the spinach plants continue to grow, repeat the harvesting process regularly. This encourages the plant to produce new growth and extends the harvest period.
- Store properly: After harvest, gently wash the spinach leaves and pat them dry. Store them in a perforated plastic bag or a sealed container in the refrigerator. Fresh spinach can typically be stored for up to a week.
- Enjoy your fresh spinach: Now that you have harvested your spinach leaves, it’s time to savor the delicious flavors in a variety of dishes. Add them to salads, sauté them with garlic and olive oil, or blend them into nutrient-packed smoothies.
Harvesting spinach leaves at their peak ensures maximum flavor and nutritional value. With proper harvesting techniques, you can enjoy the fruits of your labor and indulge in the freshness of homegrown spinach.
Congratulations! You have successfully completed all the steps of planting, caring for, and harvesting spinach. Your efforts have paid off with a garden full of vibrant and healthy spinach plants. Now, it’s time to sit back, relax, and relish the benefits of growing your own spinach!
Conclusion
Congratulations on completing your journey of planting and growing spinach from seeds! With the right timing, soil preparation, sowing techniques, proper care, and harvesting methods, you have successfully grown your own fresh and nutritious spinach right in your backyard.
By planting spinach seeds, you’ve not only added a versatile leafy green to your garden but also reaped the rewards of your efforts. Spinach is a nutrient-dense vegetable that adds vibrant flavor and numerous health benefits to your meals.
Throughout this process, you’ve learned the importance of choosing the right time to plant spinach seeds, preparing the soil, sowing the seeds at the proper spacing, watering and caring for the seedlings, thinning them to allow for optimal growth, and finally, harvesting the lush leaves for your culinary adventures.
Remember, gardening is a continuous learning experience. As you gain more experience, you’ll discover your own personal tricks and techniques for growing the best spinach. Don’t be afraid to experiment and adapt your gardening methods to suit your specific conditions and preferences.
Now, armed with the knowledge and skills you’ve acquired, you’re well-equipped to enjoy the benefits of homegrown spinach. From fresh salads to savory stir-fries and everything in between, your garden-fresh spinach will elevate your culinary creations.
So, continue nurturing your green thumb and explore the endless possibilities with your homegrown spinach. Happy gardening and bon appétit!
Frequently Asked Questions about How To Plant Spinach Seeds
Was this page helpful?
At Storables.com, we guarantee accurate and reliable information. Our content, validated by Expert Board Contributors, is crafted following stringent Editorial Policies. We're committed to providing you with well-researched, expert-backed insights for all your informational needs.


0 thoughts on “How To Plant Spinach Seeds”