Articles
How To Use A Plumb Bob Video
Modified: October 21, 2024
Learn how to correctly use a plumb bob in this step-by-step video guide. Our informative articles provide expert advice and tips for beginners.
(Many of the links in this article redirect to a specific reviewed product. Your purchase of these products through affiliate links helps to generate commission for Storables.com, at no extra cost. Learn more)
Introduction
A plumb bob is a simple yet effective tool used for determining verticality or alignment. It has been used for centuries by various professions, from carpenters and masons to surveyors and architects. In its basic form, a plumb bob consists of a pointed weight attached to a string or line. When suspended, it aligns itself with the force of gravity, allowing for precise vertical measurements.
In this article, we will explore what a plumb bob is, its significance in various industries, and how to use it effectively. Whether you are a DIY enthusiast looking to hang shelves or a professional tradesperson needing accurate alignment, mastering the use of a plumb bob can greatly improve your work.
Using a plumb bob may seem straightforward, but there are essential considerations and techniques that can make a significant difference in achieving accurate results. By following the steps outlined in this article, you will learn how to use a plumb bob effectively and efficiently.
Key Takeaways:
- Master the art of using a plumb bob for precise vertical alignment in construction and DIY projects. Follow simple steps to ensure accurate results and embrace the power of this versatile and cost-effective tool.
- Utilize the simplicity and reliability of a plumb bob to achieve professional-level vertical alignment. From preparation to marking reference points, this timeless tool offers precision and flexibility for various projects.
Read more: How To Use A Plumb Bob
What is a Plumb Bob
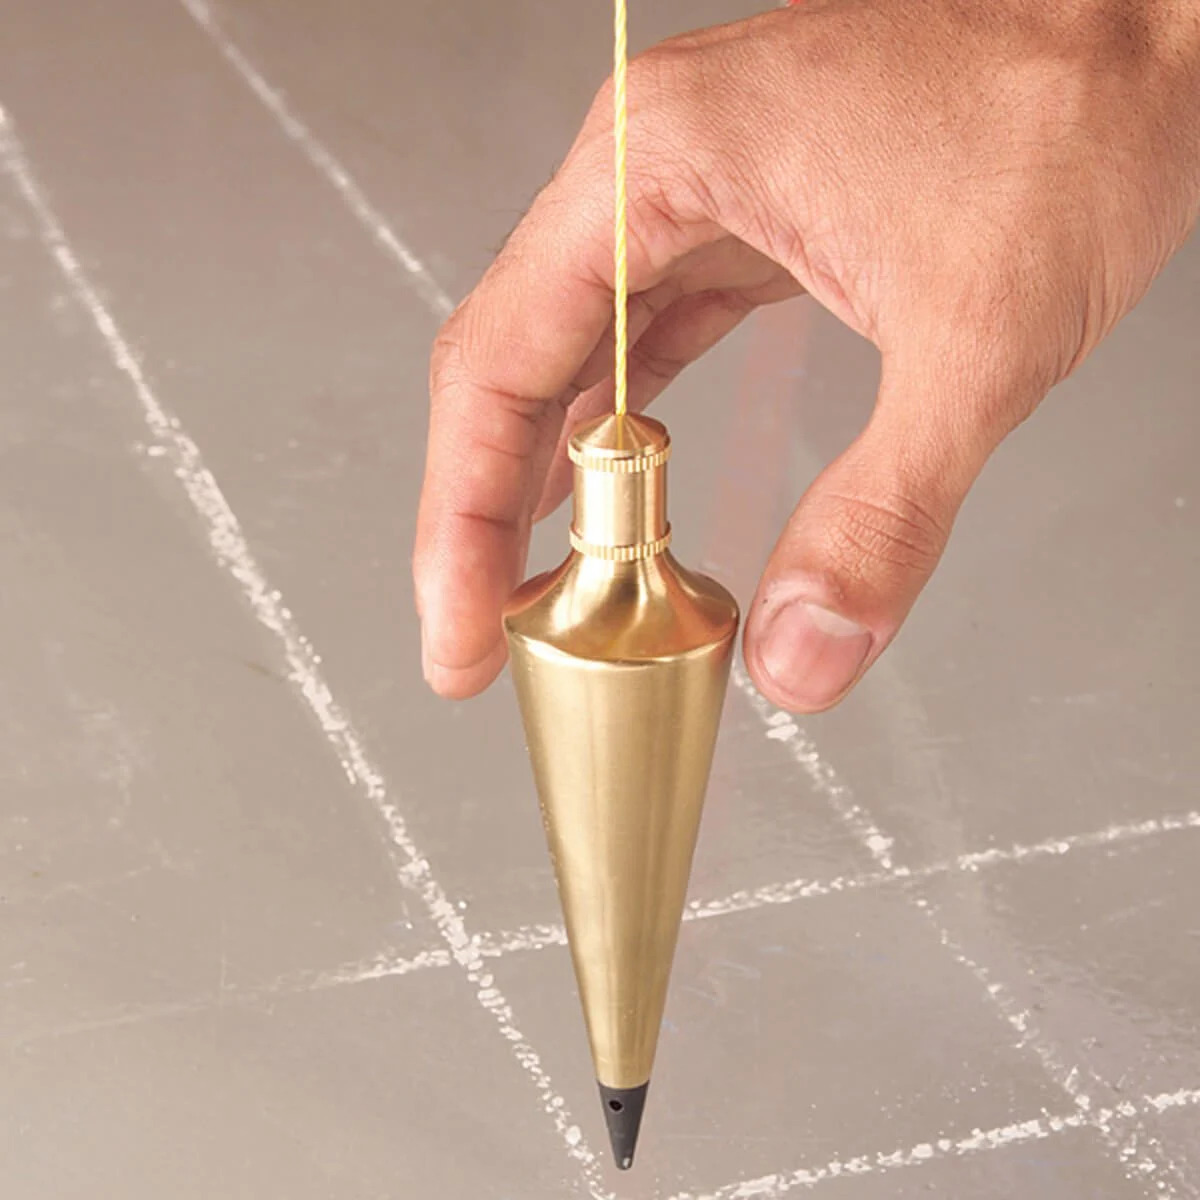
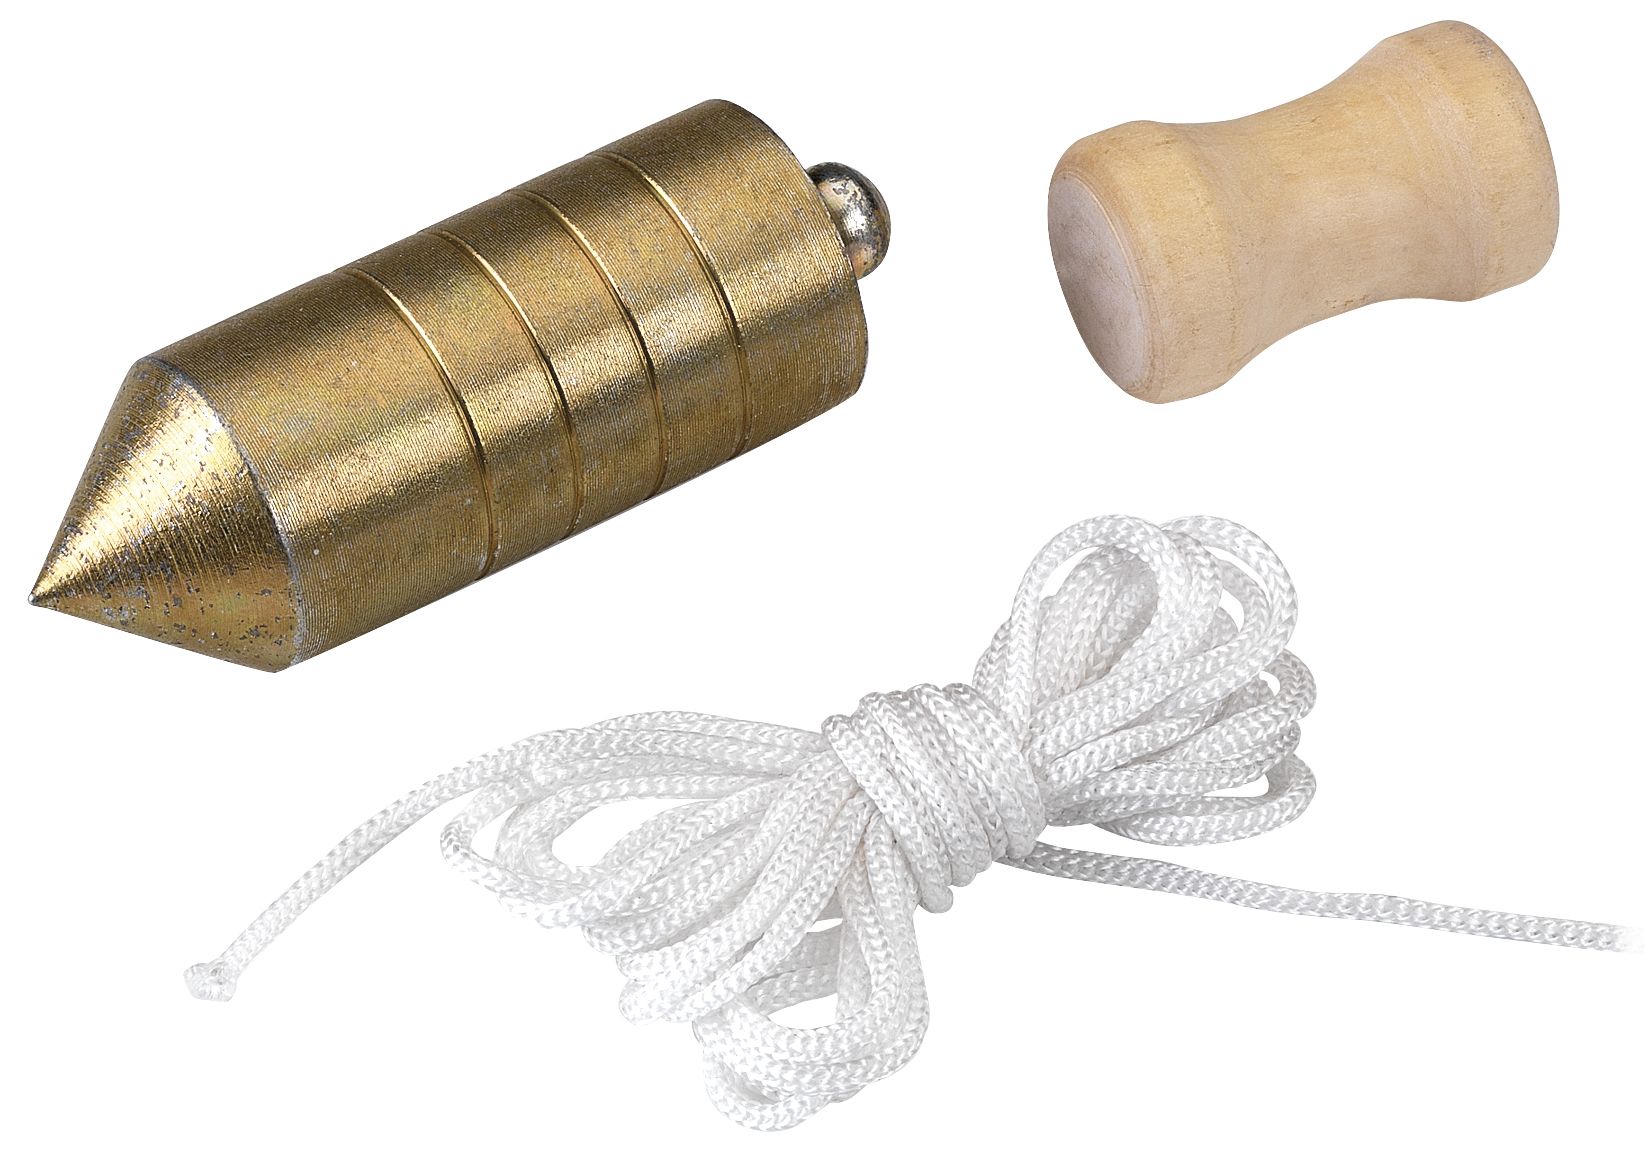
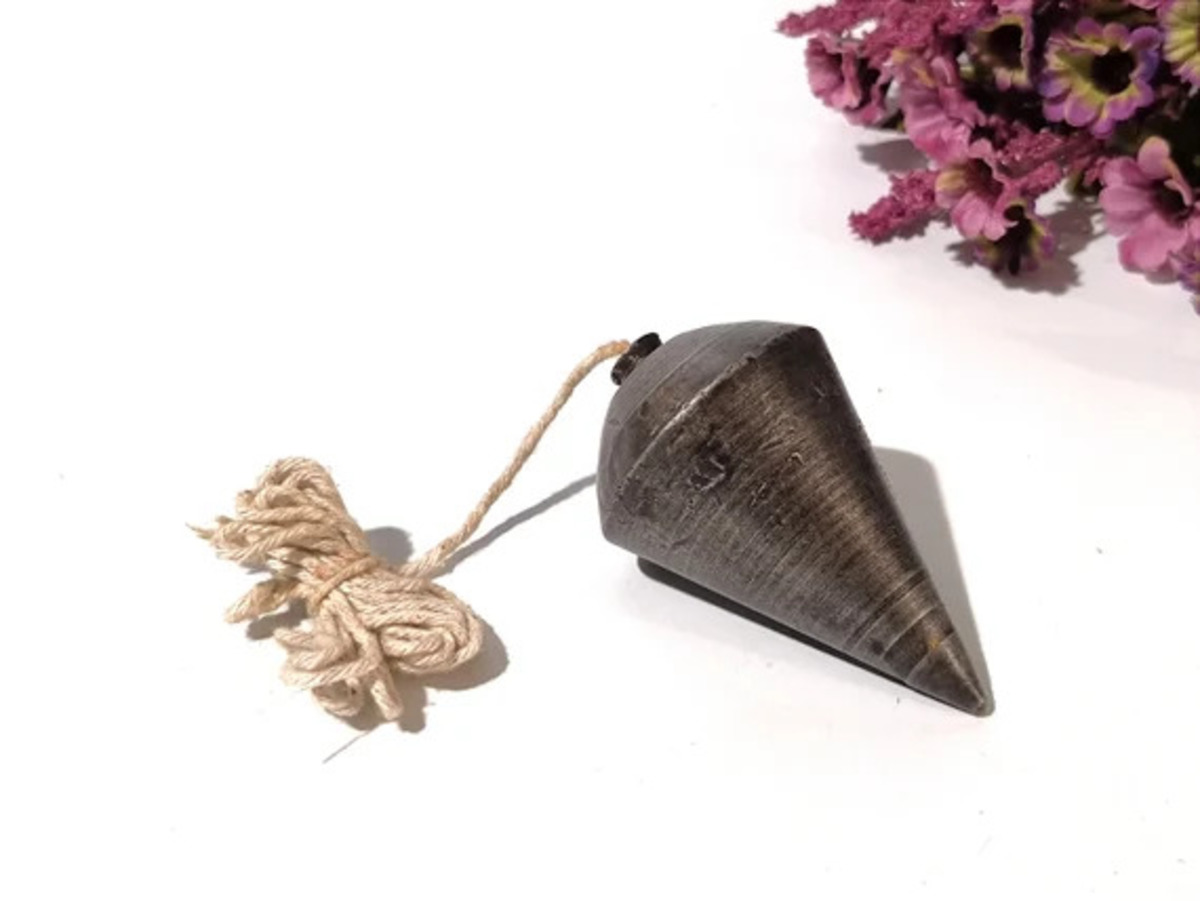
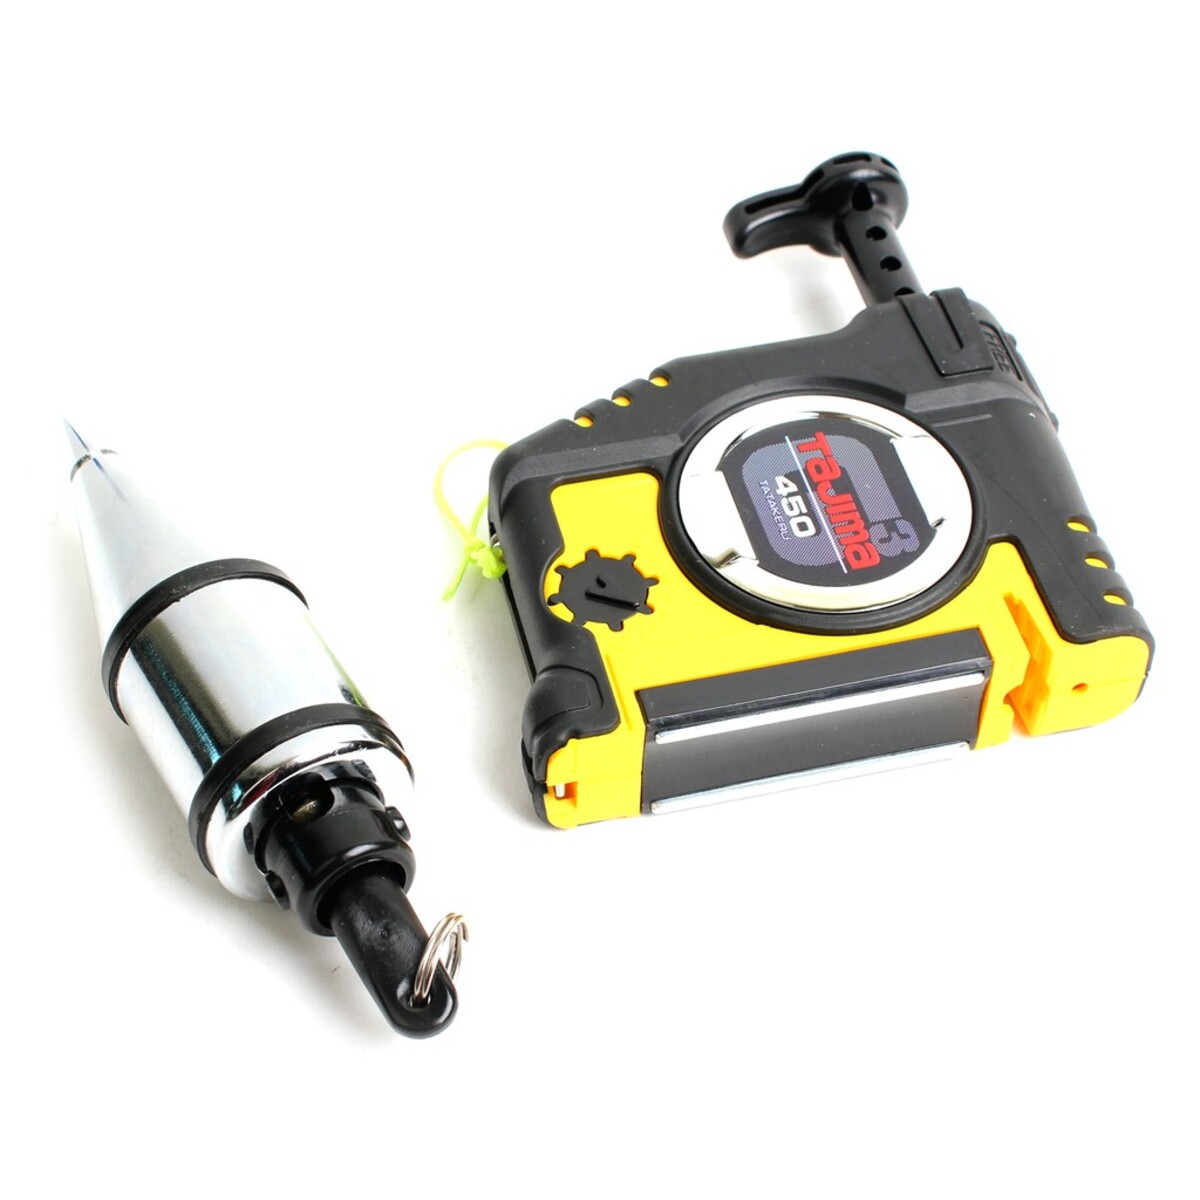
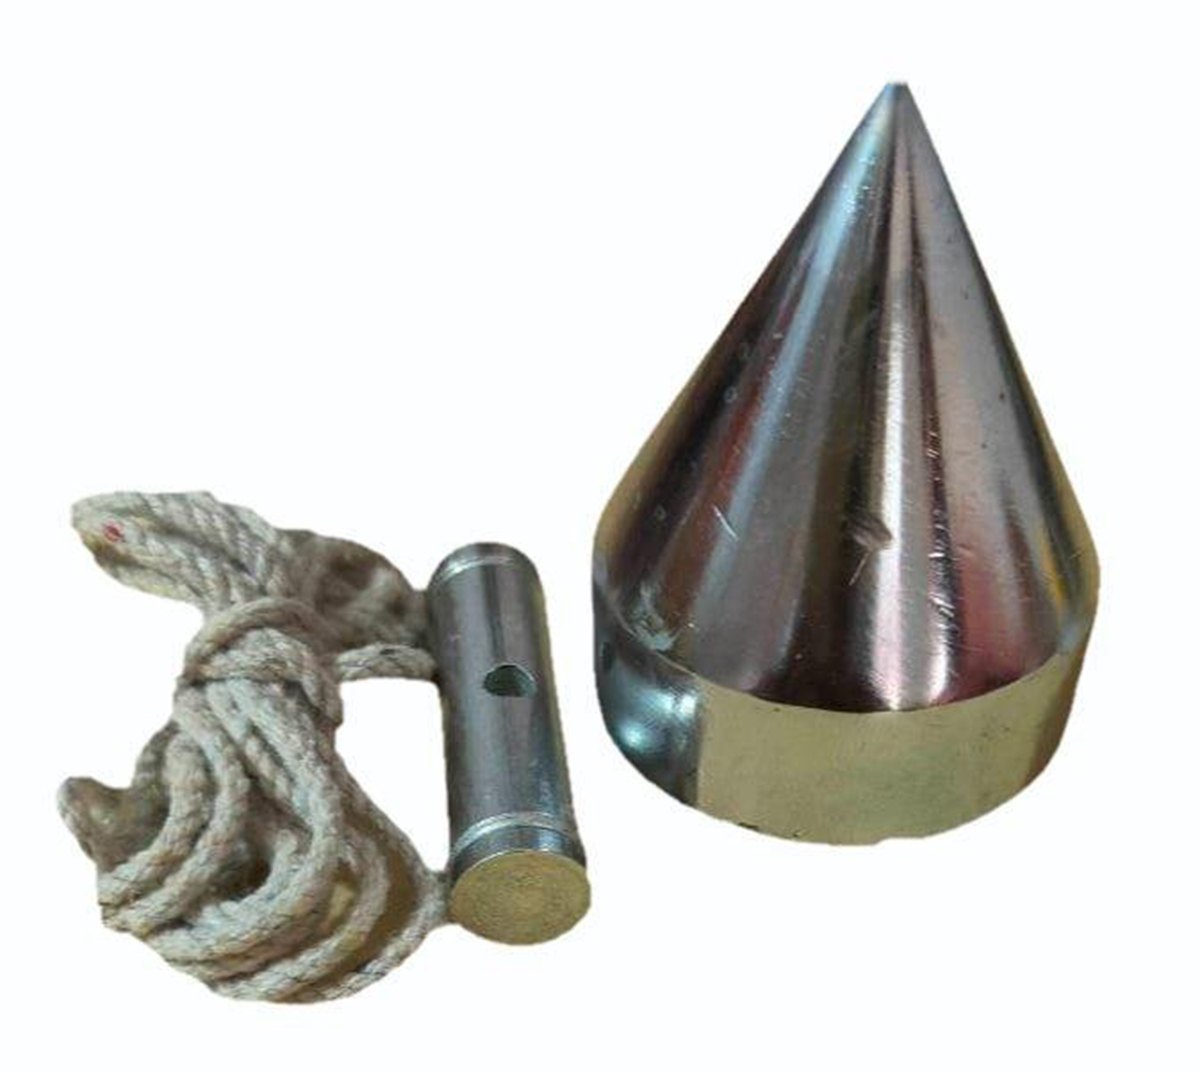
A plumb bob is a simple yet ingenious tool that consists of a weighted object attached to a string or line. It is commonly used in construction, engineering, and other related industries to establish vertical reference lines or determine the true vertical alignment of a surface or structure. The design of a plumb bob allows it to find the exact vertical position by aligning itself with the force of gravity.
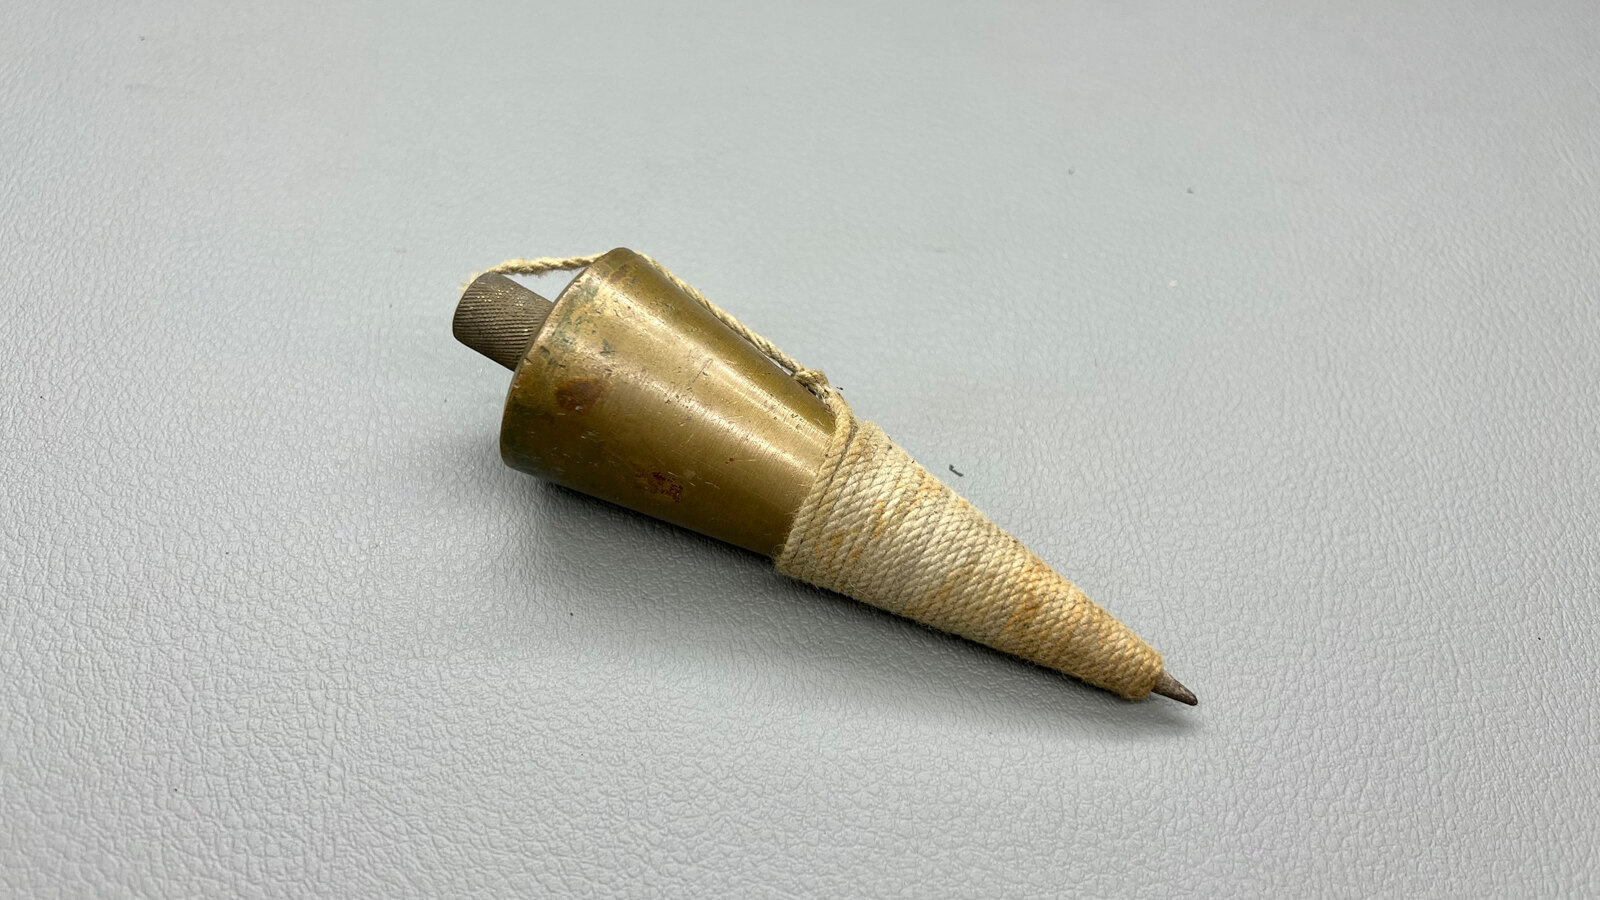
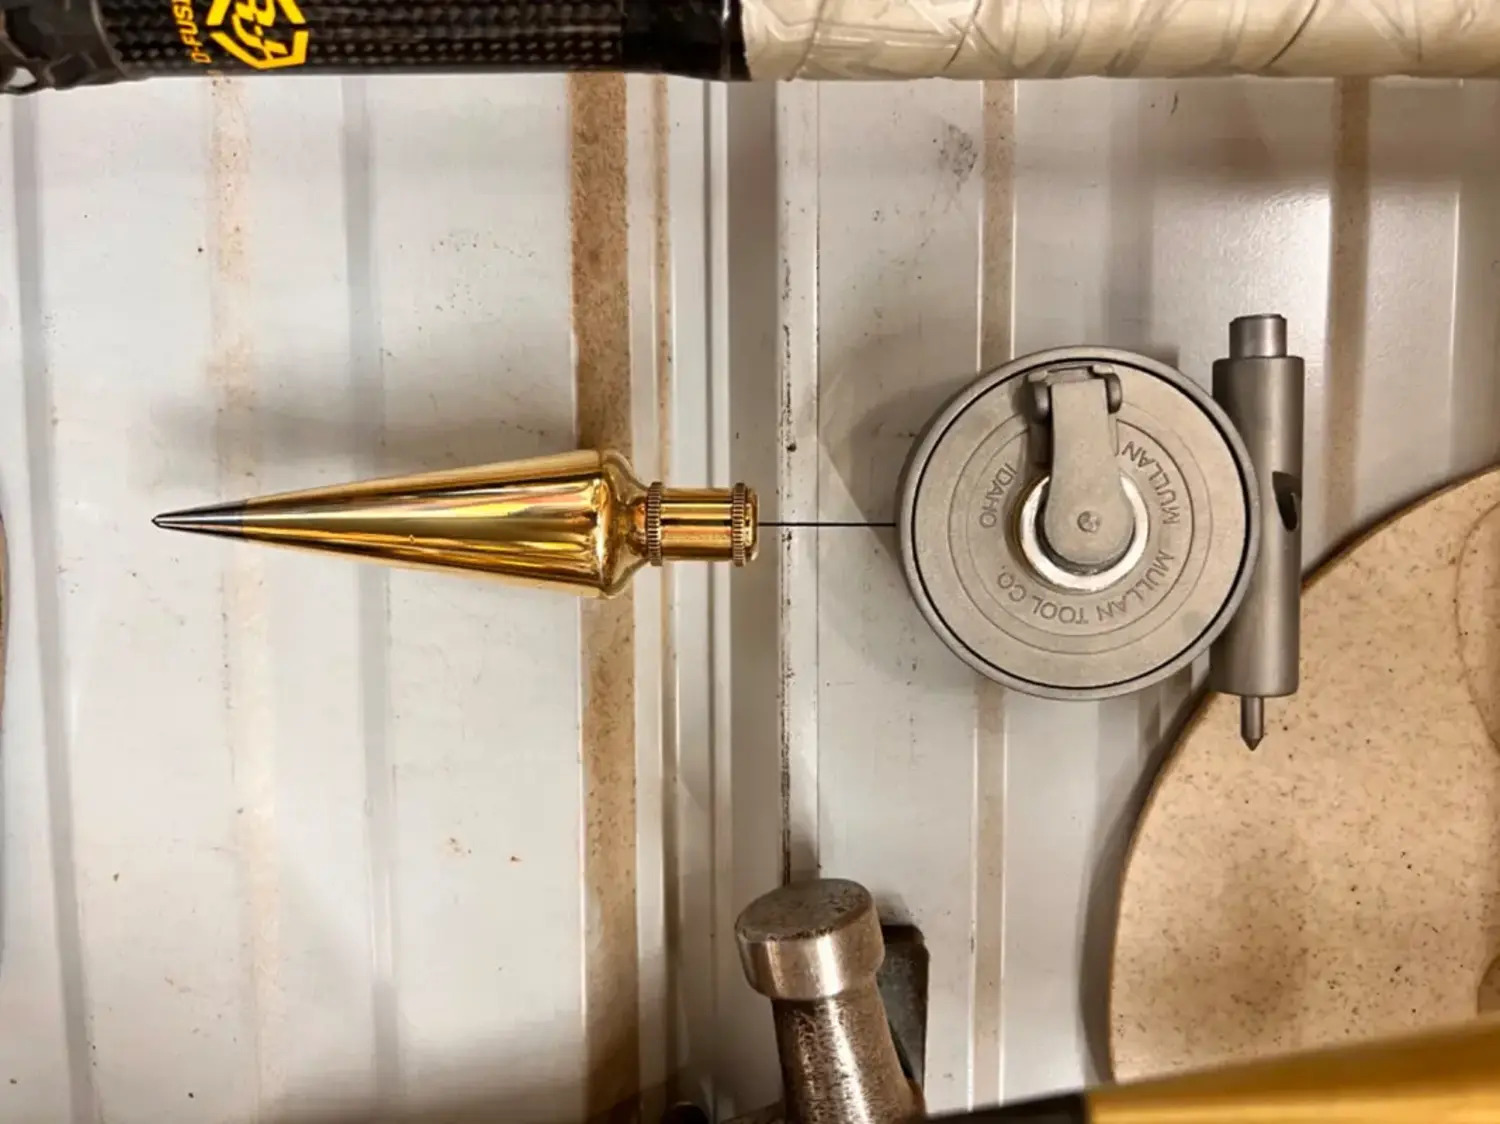
The weighted object at the end of the plumb bob is typically a metal or brass cone-shaped weight. The weight ensures that the plumb bob remains stable and hangs straight down, unaffected by wind or other external factors. The string or line attached to the weight allows for easy maneuverability and precise measurements.
Plumb bobs come in various sizes and weights to accommodate different projects and applications. Some plumb bobs have additional features such as adjustable grips or locking mechanisms to secure the weight in place once the desired alignment is achieved.
The concept of using a plumb bob dates back thousands of years. Ancient Egyptians and Greeks used similar devices to align and construct their monumental structures. Over the centuries, plumb bobs have evolved in design and materials, but their purpose remains the same: to provide an accurate vertical reference.
Plumb bobs are not limited to professional use. Many DIY enthusiasts and homeowners find them useful for tasks such as hanging pictures, installing light fixtures, or even checking if a surface is level. The simplicity and effectiveness of a plumb bob make it an essential tool for anyone seeking precision and accuracy.
Why use a Plumb Bob
Using a plumb bob offers several advantages over other methods of determining vertical alignment. Here are some key reasons why professionals and DIY enthusiasts choose to incorporate a plumb bob into their projects:
- Precision: A plumb bob provides accurate vertical measurements, ensuring that your work is level and aligned. This is crucial in construction and carpentry, where even the slightest deviation can affect the integrity and functionality of a structure.
- Flexibility: Plumb bobs can be used in various situations and environments. They can be employed indoors and outdoors, as well as on different surfaces, including walls, floors, and ceilings. This versatility makes them a valuable tool across a wide range of projects.
- Easy to Use: Using a plumb bob requires no complicated setup or special training. Simply suspend the weighted object from a string or line, and it will automatically align itself vertically. This ease of use makes a plumb bob accessible to professionals and DIY enthusiasts alike.
- Cost-Effective: Plumb bobs are relatively inexpensive compared to other tools or laser alignment systems. They provide a budget-friendly solution for achieving accurate vertical alignment without breaking the bank.
- No Batteries or Technology Required: Unlike modern alignment tools that rely on batteries or sophisticated technology, a plumb bob operates solely on gravity. This eliminates the need for power sources, calibration, or potential technical malfunctions, making it a reliable and accessible option in any situation.
- Visual Alignment: The visual reference provided by a plumb bob allows for immediate and intuitive adjustments. Unlike laser-guided devices that may require additional measurements or calculations, a plumb bob offers a direct and straightforward indication of verticality.
Whether you are constructing a building, renovating a room, or simply hanging a picture frame, using a plumb bob can help you achieve accurate vertical alignment with ease. Its precision, simplicity, and cost-effectiveness make it a go-to tool for professionals and DIY enthusiasts alike.
Tools Needed
Using a plumb bob requires very few tools, making it accessible to nearly anyone. Here are the essential tools you will need:
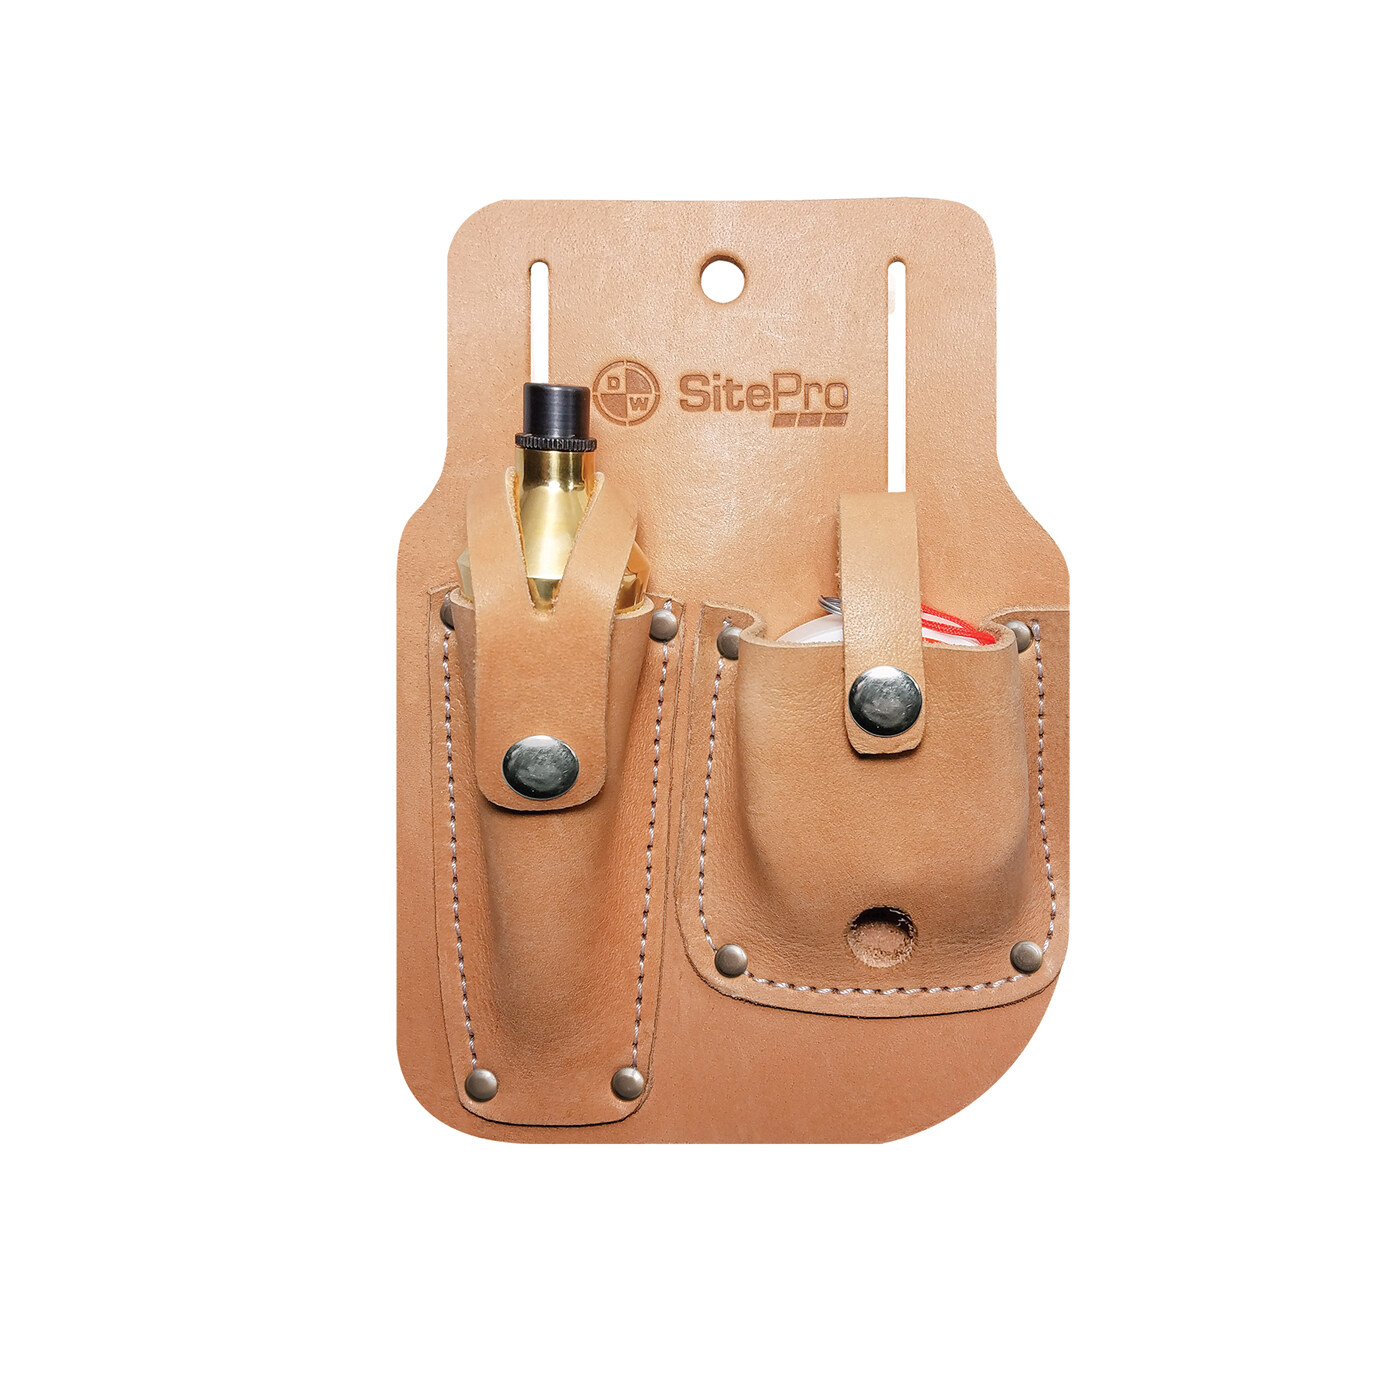
- Plumb Bob: The primary tool needed for this process is, of course, a plumb bob. Choose a plumb bob that suits your project’s needs, considering factors such as weight, size, and durability. Plumb bobs are readily available at hardware stores or online.
- String or Line: The plumb bob is attached to a string or line for ease of use. Select a strong and lightweight string that is long enough to reach the desired height without sagging. Nylon or braided cord are common choices.
- Tape Measure: A tape measure is useful for taking measurements and ensuring accurate positioning of the plumb bob.
- Marker: A marker is used to make reference points or marks on the surface you are working on. Choose a marker that is easily visible and compatible with the material.
- Optional: Spirit Level: While not necessary for using a plumb bob, a spirit level can be helpful for double-checking the vertical alignment of surfaces, especially for larger projects or when precise alignment is crucial.
Ensure that your tools are in good condition and functioning properly before starting your project. Having the necessary tools ready will save you time and make the process smoother.
Remember to always prioritize safety when working with tools. Use protective gear when necessary, and exercise caution to prevent accidents or injuries.
Step 1: Preparing the Plumb Bob
Before you can start using a plumb bob, you need to prepare it properly. Follow these steps to ensure your plumb bob is ready for use:
- Inspect the Plumb Bob: Examine the plumb bob for any signs of damage or wear. Ensure that the weighted object is securely attached to the string or line and that there are no frayed ends or tangles.
- Check the Weight: Verify that the weight of the plumb bob is appropriate for your project. Heavier weights are suitable for outdoor use or when working with larger structures, while lighter weights are ideal for smaller tasks or indoor applications.
- Secure the Line: If the plumb bob comes with a loose line, tightly secure it to the weight. You can use a knot such as a bowline or an adjustable grip mechanism, depending on the type of plumb bob you have. Make sure the line is secure to prevent any slipping or accidental detachment during use.
- Trim the Line (Optional): If the line is excessively long, you may trim it to a more manageable length. Leave enough length to reach the desired height or length without causing any inconvenience or difficulty.
- Test the Plumb Bob: Give the plumb bob a gentle swing and observe its movement. Ensure that it hangs straight and vertically, without any wobbling or swinging from side to side. If the plumb bob does not hang perfectly vertical, adjust the weight or reattach the line until it is aligned correctly.
Taking the time to properly prepare your plumb bob will contribute to accurate and reliable results. Inspecting the plumb bob before each use ensures that it is in optimal working condition, minimizing the chances of error or miscalculation. With the plumb bob prepared, you are now ready to move on to the next step, choosing the right location.
Read more: Why Use A Plumb Bob
Step 2: Choosing the Right Location
Choosing the right location for using a plumb bob is crucial to ensure accurate vertical alignment. Follow these steps to select the appropriate spot:
- Identify the Reference Point: Determine the specific area or surface where you need to establish a vertical line. This could be a wall, post, or any other structure that requires alignment. Visualize where the reference point should be and mark it if necessary.
- Consider Accessibility: Ensure that the chosen location allows for easy access to hang the plumb bob. Consider any obstructions that may interfere with the string or line, such as furniture or other objects. Clear the area as needed to ensure a smooth and unobstructed operation.
- Account for Gravity: Remember that the plumb bob relies on the force of gravity to align itself vertically. Choose a location where gravity will have a minimal effect on the accuracy of the plumb bob. Avoid areas with strong air currents or unstable surfaces that may cause the plumb bob to sway or deviate.
- Lighting Conditions: Adequate lighting can significantly facilitate the use of a plumb bob. Make sure the location has sufficient lighting for you to clearly observe the plumb bob’s alignment. If working in low light conditions, consider using additional lighting sources to improve visibility.
- Stability and Durability: If the reference point is a movable object or has the potential to shift, secure it firmly to prevent any movement during the process. A stable and durable reference point is essential for maintaining accurate alignment.
By carefully selecting the right location and considering these factors, you can ensure that the plumb bob will provide accurate results. Remember that precision and reliability are key when utilizing a plumb bob for vertical alignment. Once you have chosen the location, you can proceed to the next step of setting up the plumb bob.
Step 3: Setting up the Plumb Bob
In this step, we’ll cover the process of setting up the plumb bob in the chosen location. Follow these steps to ensure proper setup:
- Hold the Plumb Bob: Take the plumb bob in your hand, ensuring that the weighted end is free and not touching any surfaces. Hold it by the string or line, allowing it to hang freely without any obstruction.
- Position Yourself: Stand or position yourself in a way that allows you to easily observe the plumb bob and access the reference point. Position yourself in a comfortable stance, and ensure that you have a clear sightline of the plumb bob’s alignment.
- Align the String: Verify that the string or line is straight and taut. If there are any kinks or tangles, gently straighten them out to ensure a smooth operation.
- Hold the Plumb Bob Steady: Steady your hand and allow the plumb bob to come to a complete stop. Minimize any movement or shaking to ensure accurate results.
Setting up the plumb bob correctly is crucial for obtaining precise vertical alignment. By following these steps, you can ensure that the plumb bob is in the optimal position for accurate measurements and alignment.
Once the plumb bob is properly set up, you are ready to move on to the next step – aligning and leveling. This step is crucial for ensuring that the vertical alignment matches your desired reference point. Let’s explore it in the next step of the process.
When using a plumb bob, make sure to hold it steady and allow it to come to a complete stop before taking any measurements. This will ensure accurate results.
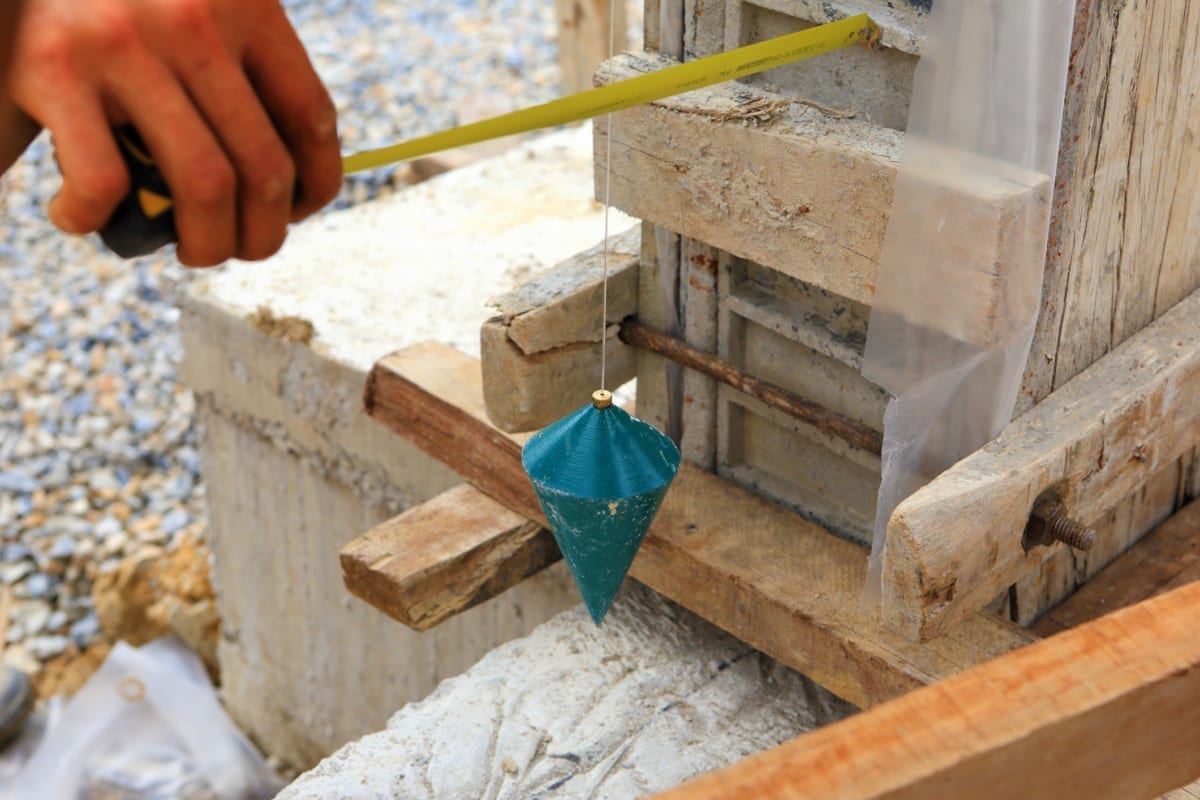
Step 4: Aligning and Leveling
Aligning and leveling the plumb bob is the key step in ensuring accurate vertical alignment. Follow these steps to align and level the plumb bob:
- Observe the Plumb Bob’s Position: Carefully observe the position of the plumb bob. Ensure that it is hanging straight down and aligning with the reference point or surface.
- Adjust the Alignment: If the plumb bob is slightly off-center or deviating from the desired position, gently adjust it by twisting or tilting the string. Make small adjustments until the plumb bob aligns precisely with the reference point.
- Check for Levelness: Although the primary purpose of the plumb bob is vertical alignment, you can also use it to verify horizontal levelness. By observing the string’s position with a spirit level or comparing it to a level surface, you can ensure that the reference point is both vertical and level.
- Verify Multiple Points: If your project requires multiple vertical reference points or a straight line, repeat the alignment process at each point. This will help ensure consistency and accuracy across the entire alignment.
- Take Measurements: Use a tape measure to take measurements and confirm the accuracy of the plumb bob’s alignment. This is especially important when aligning objects or structures that require precise measurements.
By carefully aligning and leveling the plumb bob, you can achieve accurate vertical alignment in your projects. Always double-check the alignment and make any necessary adjustments before proceeding to the next steps.
Now that the plumb bob is properly aligned and leveled, you are ready to mark the reference point. This step will allow you to transfer the vertical alignment onto the desired surface. Let’s move on to the next step!
Step 5: Marking the Reference Point
Marking the reference point is a crucial step in using a plumb bob to transfer the vertical alignment onto the desired surface. Follow these steps to mark the reference point accurately:
- Hold the Plumb Bob Steady: Ensure that the plumb bob is hanging straight and steady, aligned with the reference point.
- Position the Marking Tool: Take a marker or pencil and position it directly beneath the weighted end of the plumb bob. Ensure that it touches the surface at the desired reference point.
- Make the Mark: Gently make a mark on the surface using the marker or pencil. This mark will serve as your reference point for the vertical alignment.
- Double-Check the Marking: Verify that the mark is clear and visible. Check its accuracy against the plumb bob and ensure that it correlates with the desired vertical alignment.
It is essential to make the reference point mark accurately and clearly to ensure that subsequent measurements or installations are aligned with the desired vertical line. Take your time and double-check the mark to minimize any errors.
Now that you have successfully marked the reference point, you are ready to use the plumb bob for its intended purpose. The next step will guide you on how to effectively use the plumb bob to achieve vertical alignment in your project.
Read more: What Is A Plumb Bob Tool Used For?
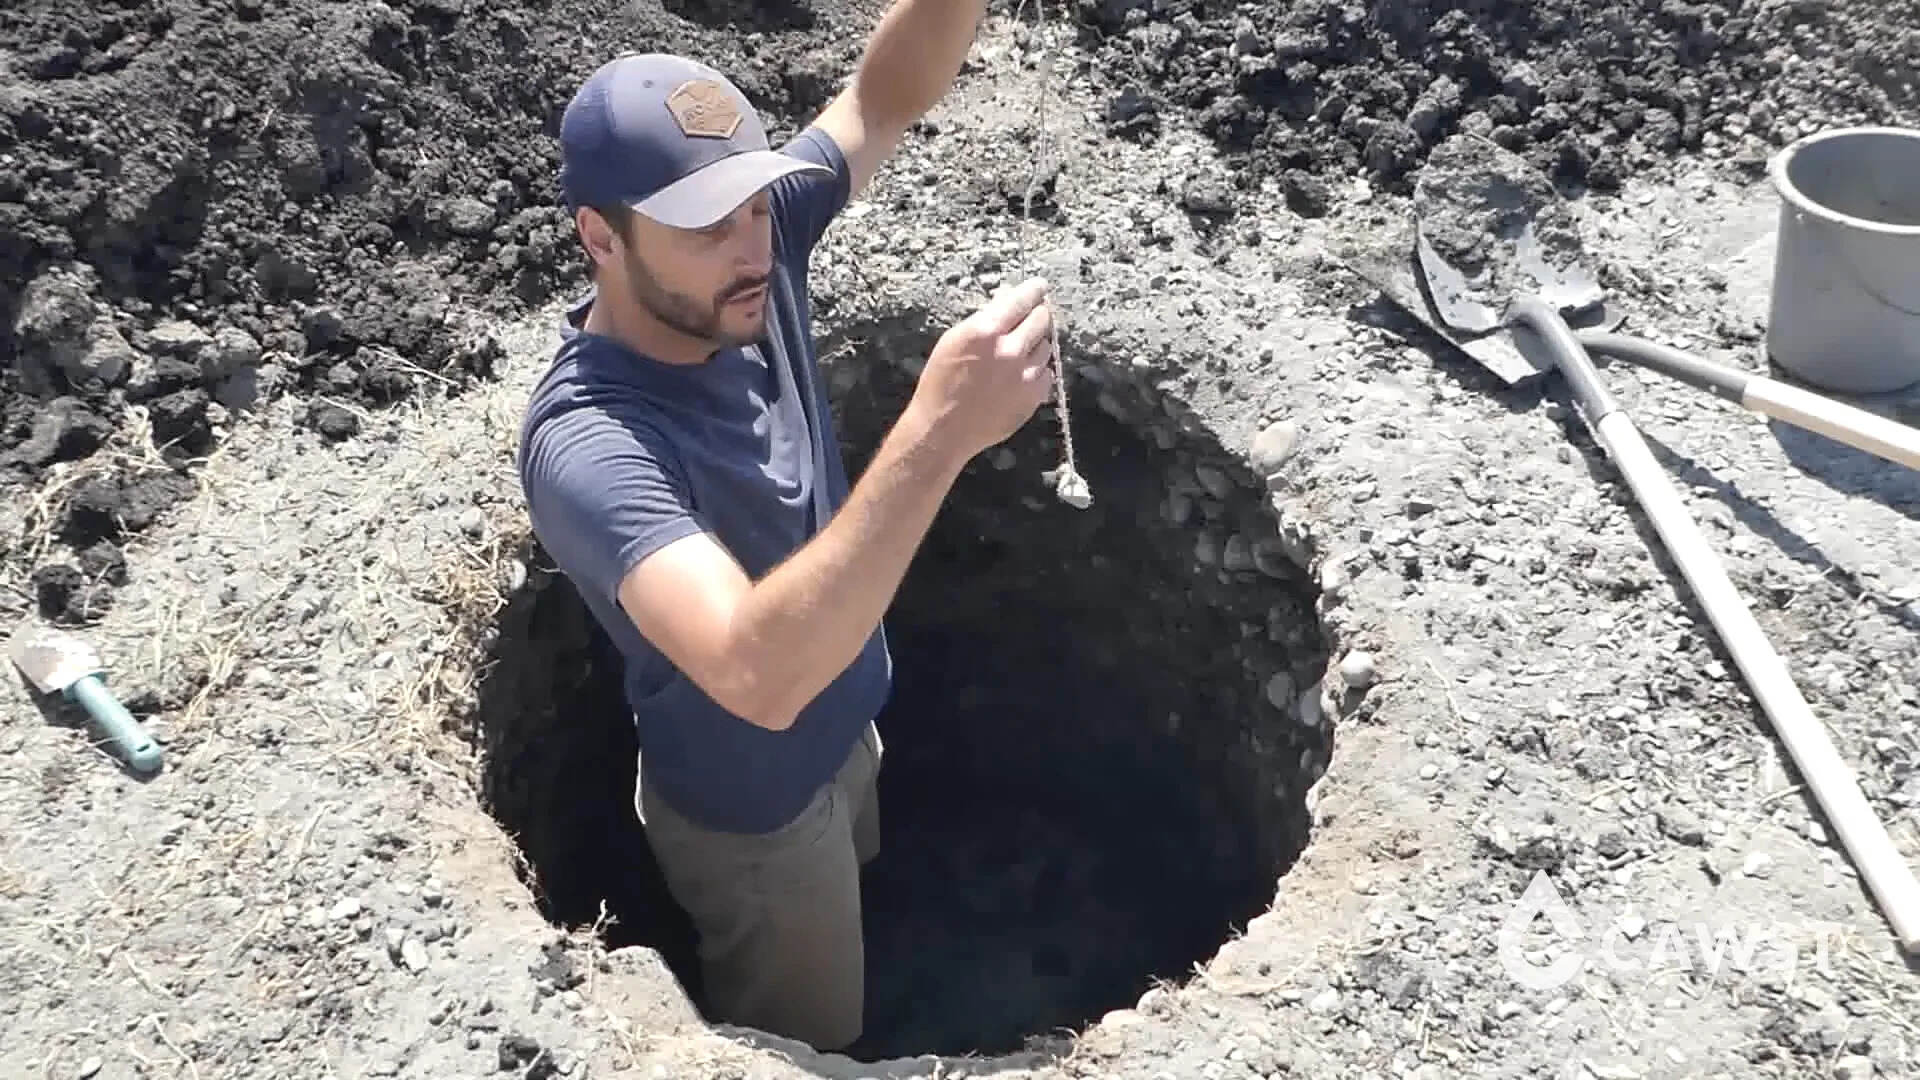
Step 6: Using the Plumb Bob
Now that you have prepared and set up the plumb bob, chosen the right location, aligned and leveled it, and marked the reference point, you are ready to utilize the plumb bob for vertical alignment. Follow these steps to effectively use the plumb bob:
- Position the Plumb Bob: Hold the plumb bob near the reference point or surface you wish to align. Allow the plumb bob to hang freely, ensuring that it is not obstructed by any objects.
- Observe the Alignment: Watch the plumb bob closely as it comes to a rest. Ensure that it aligns perfectly with the reference point or surface. The plumb bob should hang straight and vertically, indicating accurate alignment.
- Transfer the Alignment: Use the plumb bob’s alignment to guide your subsequent actions. Whether you are installing a fixture, marking a layout, or checking the alignment of multiple points, reference the plumb bob’s position for accurate vertical measurements.
- Repeat the Process: If your project requires multiple vertical alignments or reference points, repeat the process for each point. This will help maintain consistency and precision throughout the entire project.
Remember to take measurements and double-check the alignment as needed. The plumb bob provides a reliable and visual method to ensure accurate vertical alignment in various applications.
Once you have completed the alignment using the plumb bob, you can proceed with your project, confident in the precise vertical alignment you have achieved.
Now that you have successfully learned how to use a plumb bob, you can apply this skill to a wide range of projects, from construction and carpentry to interior design and DIY tasks. Embrace the power of the plumb bob and its ability to provide accurate vertical alignment.
Conclusion
The plumb bob is a simple yet powerful tool that provides accurate vertical alignment in various projects and applications. By following the steps outlined in this article, you can effectively use a plumb bob to achieve precise alignment and ensure that your work is level and straight.
From construction professionals to DIY enthusiasts, the plumb bob has been a trusted tool for centuries. Its simplicity, reliability, and cost-effectiveness make it an essential part of any toolbox.
Remember to carefully prepare the plumb bob and choose the right location before setting it up. Align and level the tool with precision, making any necessary adjustments to achieve a perfect vertical alignment. Mark the reference point clearly and accurately, ensuring that subsequent measurements and installations align with the desired vertical line.
By following these steps, you can confidently use a plumb bob for various projects, whether you’re hanging shelves, installing fixtures, or constructing buildings. The plumb bob’s accuracy and versatility make it an invaluable tool for achieving professional-level results.
As you gain experience using a plumb bob, you’ll develop a keen eye for vertical alignment, allowing you to tackle more complex projects with ease. Remember to always prioritize safety when working with tools and take measurements to verify alignment as needed.
So, embrace the power of the plumb bob and enjoy the benefits of accurate vertical alignment in your future projects. Whether you’re a seasoned professional or a DIY enthusiast, the plumb bob will help you achieve impeccable results every time.
Additional Tips and Safety Measures
While using a plumb bob is relatively straightforward, there are some additional tips and safety measures you should keep in mind for a successful and safe experience:
- Double-Check the Plumb Bob: Before each use, inspect the plumb bob to ensure it is in good condition and functioning properly. Check for any damages, loose parts, or frayed lines that may affect its performance.
- Use Protective Gear: Depending on the nature of your project, consider wearing protective gear such as gloves, goggles, or a hard hat. This will help prevent injuries from falling objects or accidental contact.
- Clear the Area: Make sure the area around the plumb bob and reference point is clear of any obstacles or tripping hazards. This will prevent accidents and make it easier to maneuver the tool.
- Secure the Plumb Bob: Take care to securely fasten the plumb bob’s string or line to avoid any accidental detachment during use. This will ensure accurate and reliable results.
- Account for Wind or Drafts: Strong air currents can affect the stability of the plumb bob. If you are working in windy conditions, consider using additional weights or anchoring the plumb bob to prevent unwanted movement.
- Work in Proper Lighting: Adequate lighting is essential to observe the plumb bob’s alignment accurately. Ensure the area is well-lit, or use additional lighting sources to improve visibility, especially in darker or dimly lit environments.
- Practice Patience and Precision: Take your time when aligning and marking the reference point. Rushing can lead to inaccuracies and errors. Remember that precision is key for achieving accurate vertical alignment.
- Seek Assistance if Needed: If you are unsure of any aspect of using a plumb bob or dealing with complex projects, don’t hesitate to seek guidance from experienced professionals or consult instructional materials.
By following these additional tips and safety measures, you can ensure a safer and more successful experience when using a plumb bob. Remember to prioritize safety, take your time, and make any necessary adjustments for accurate vertical alignment.
With practice, confidence, and respect for the tool and safety measures, you will master the art of using a plumb bob to achieve precise vertical alignment in your projects.
Frequently Asked Questions
Q: Can I use a plumb bob for horizontal alignment?
A: The primary purpose of a plumb bob is to establish vertical alignment. However, you can use it as a reference point to ensure horizontal levelness by comparing its position with a spirit level or a level surface.
Q: Can I use a plumb bob outdoors?
A: Yes, you can use a plumb bob outdoors. However, it’s important to consider environmental factors such as wind or drafts, which can affect the stability of the plumb bob. Anchor the plumb bob securely or use additional weights to mitigate any unwanted movement.
Q: How do I choose the right plumb bob for my project?
A: Consider factors such as the weight, size, and durability of the plumb bob. Heavier weights are suitable for larger structures or outdoor use, while lighter weights work well for smaller tasks or indoor applications. Choose a plumb bob that best suits your project’s needs and specifications.
Q: Can I make my own plumb bob?
A: Yes, it is possible to make your own plumb bob. You will need a weighted object, such as a metal cone or a small container filled with a heavy material, and a sturdy string or line. Ensure that the weight is securely attached to the string and that it hangs straight and vertically.
Q: Can I use a plumb bob for DIY home projects?
A: Absolutely! A plumb bob is a versatile and valuable tool for DIY home projects. Whether you’re hanging shelves, installing fixtures, or aligning objects, using a plumb bob can help you achieve accurate vertical alignment.
Q: Are there any alternatives to using a plumb bob for vertical alignment?
A: While a plumb bob is a reliable and straightforward tool for vertical alignment, there are alternative tools available, such as laser levels or digital inclinometers. These devices offer digital measurements and visual alignment aids, but they may be more expensive and require additional setup or power sources.
Q: Can I use a plumb bob to check the vertical alignment of large structures?
A: Yes, a plumb bob can be used to check the vertical alignment of large structures. In such cases, longer strings or lines may be required to reach the desired height. It’s important to ensure that the plumb bob remains stable and straight throughout the process.
Q: How accurate is a plumb bob?
A: When used correctly, a plumb bob provides highly accurate vertical alignment. However, keep in mind that external factors such as wind or slight movements can affect its stability. Double-checking measurements and taking precise observations will help ensure accurate results.
Remember to always exercise caution and prioritize safety when working with tools, including plumb bobs. If you have any further questions or concerns, consult instructional materials or seek guidance from professionals with experience using plumb bobs.
Read more: What Is A Brass Plumb Bob Used For
References
During the creation of this article, the following sources were referenced to gather information and insights:
- “Using a Plumb Bob” – The Family Handyman
- “What is a Plumb Bob and How is it Used in Construction?” – The Constructor
- “Plumb Bob” – Wikipedia
- “Plumb Bob – Historic Surveying Tools” – Atlantic Surveyors
- “Plumb Bob: A Tool with a Rich History” – Mason Contractors Association of America
These references provided valuable information on the history, usage, and techniques associated with using a plumb bob effectively. They have been instrumental in creating a comprehensive and informative guide for readers.
Please note that while every effort has been made to ensure the accuracy of the information presented in this article, it is always recommended to consult reliable sources and exercise caution when using tools and performing any construction or DIY work.
Frequently Asked Questions about How To Use A Plumb Bob Video
Was this page helpful?
At Storables.com, we guarantee accurate and reliable information. Our content, validated by Expert Board Contributors, is crafted following stringent Editorial Policies. We're committed to providing you with well-researched, expert-backed insights for all your informational needs.


0 thoughts on “How To Use A Plumb Bob Video”