Articles
How To Make A Homemade Plumb Bob
Modified: August 26, 2024
Discover step-by-step instructions and helpful tips in our informative articles on how to make a homemade plumb bob for your DIY projects.
(Many of the links in this article redirect to a specific reviewed product. Your purchase of these products through affiliate links helps to generate commission for Storables.com, at no extra cost. Learn more)
Introduction
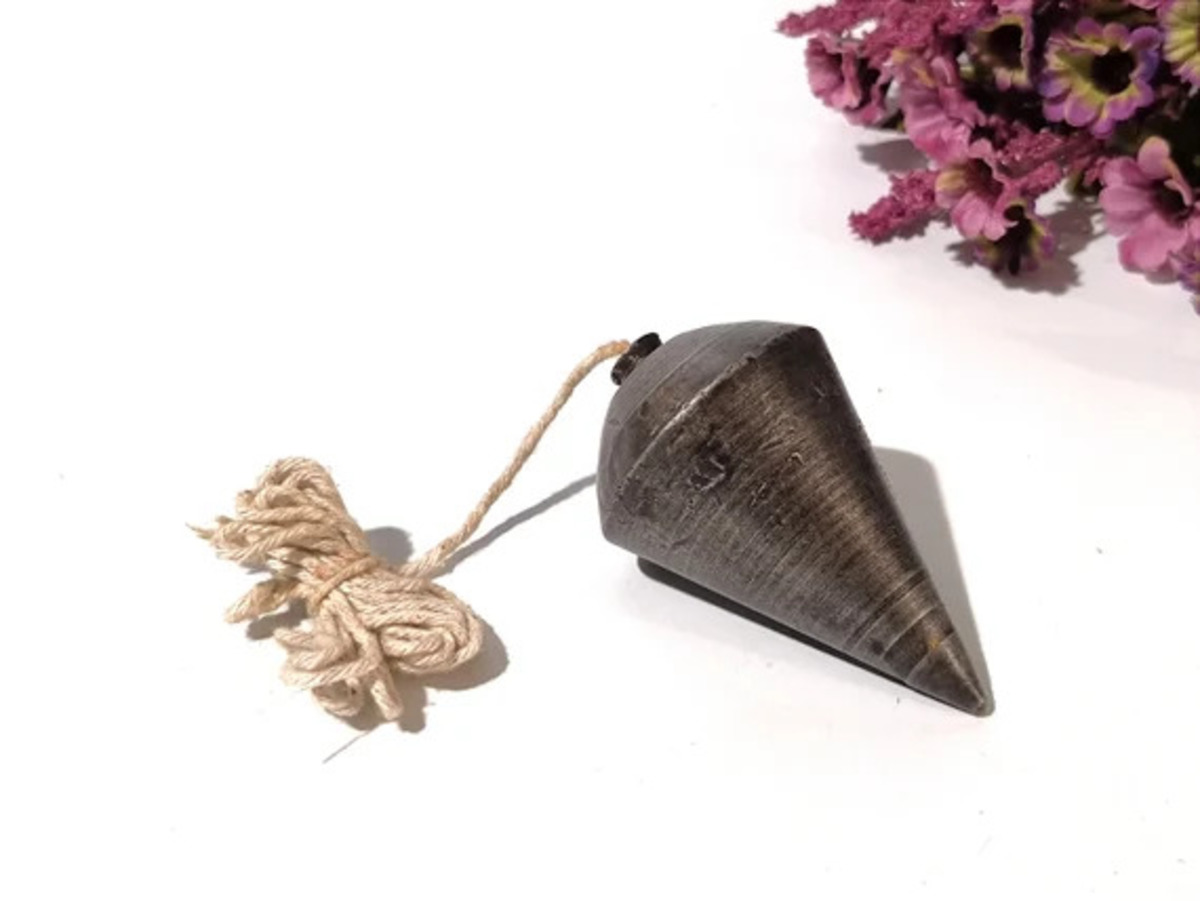
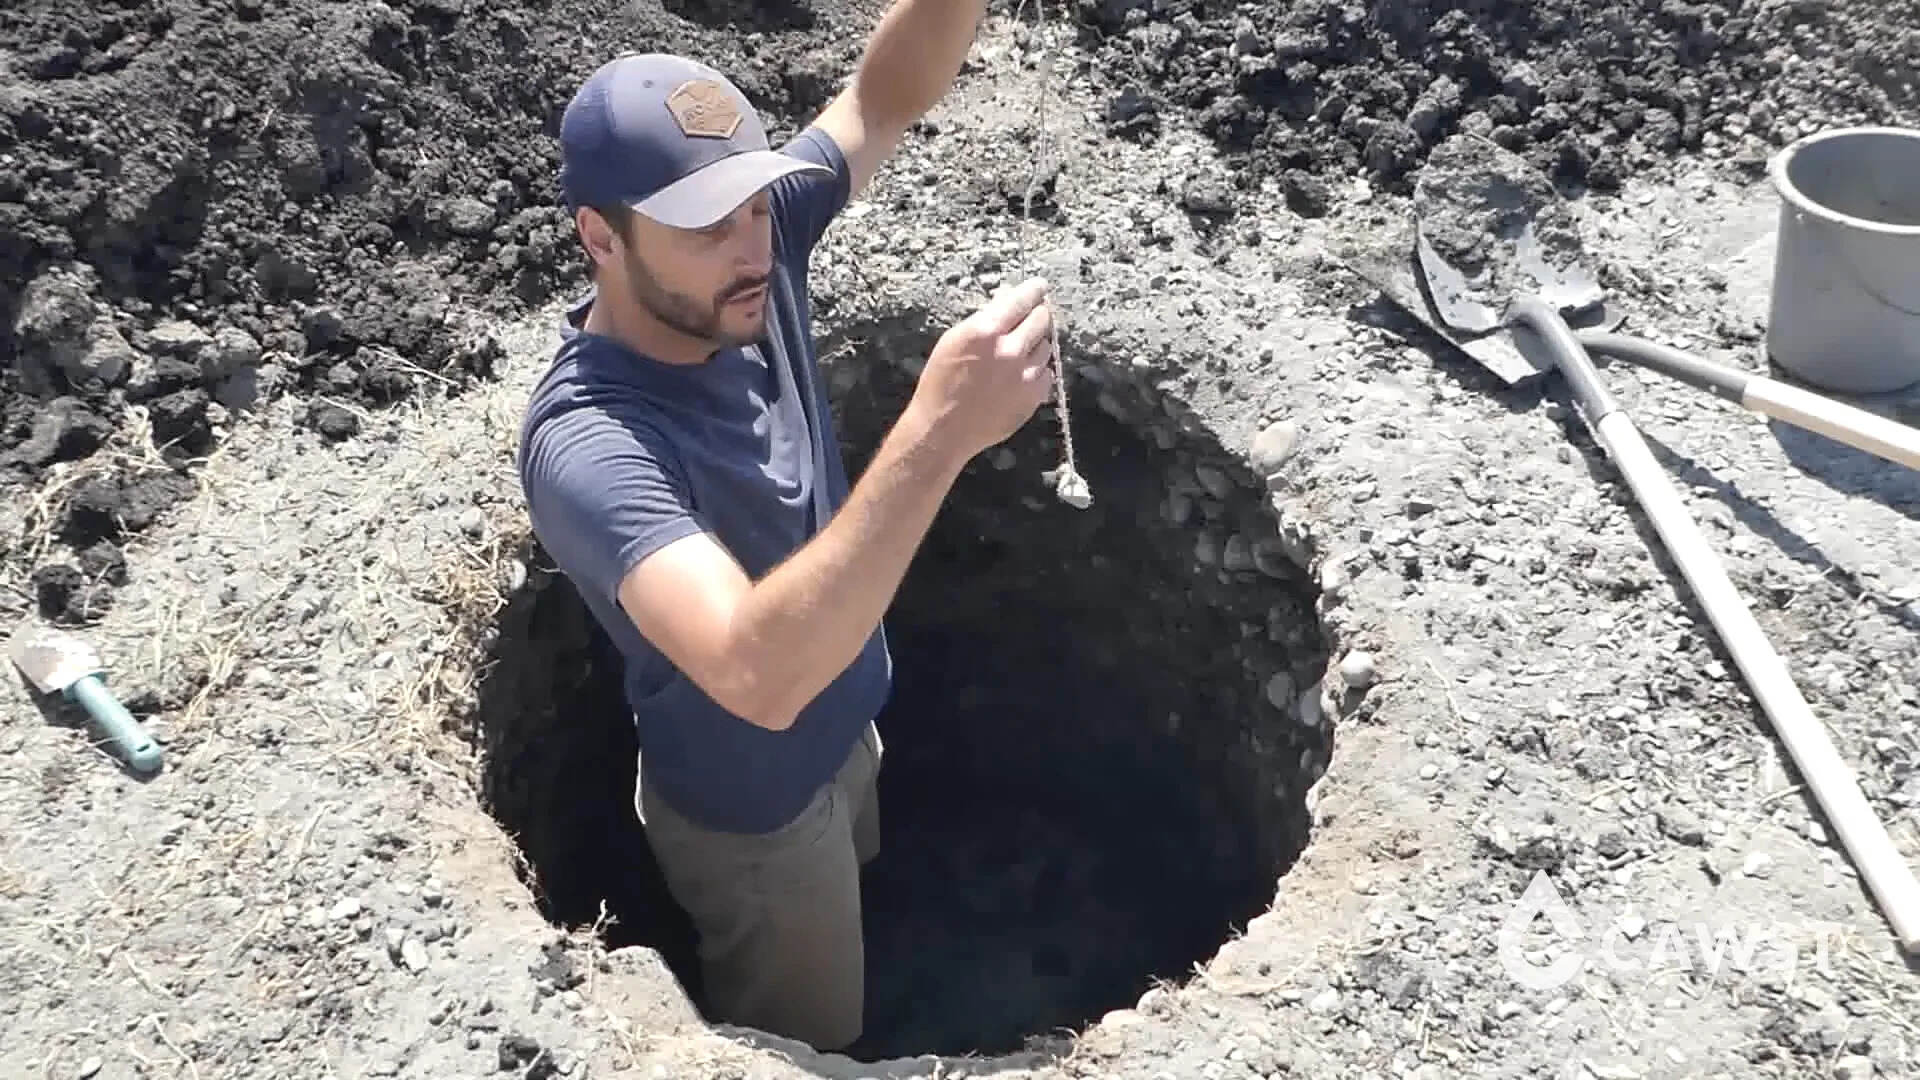
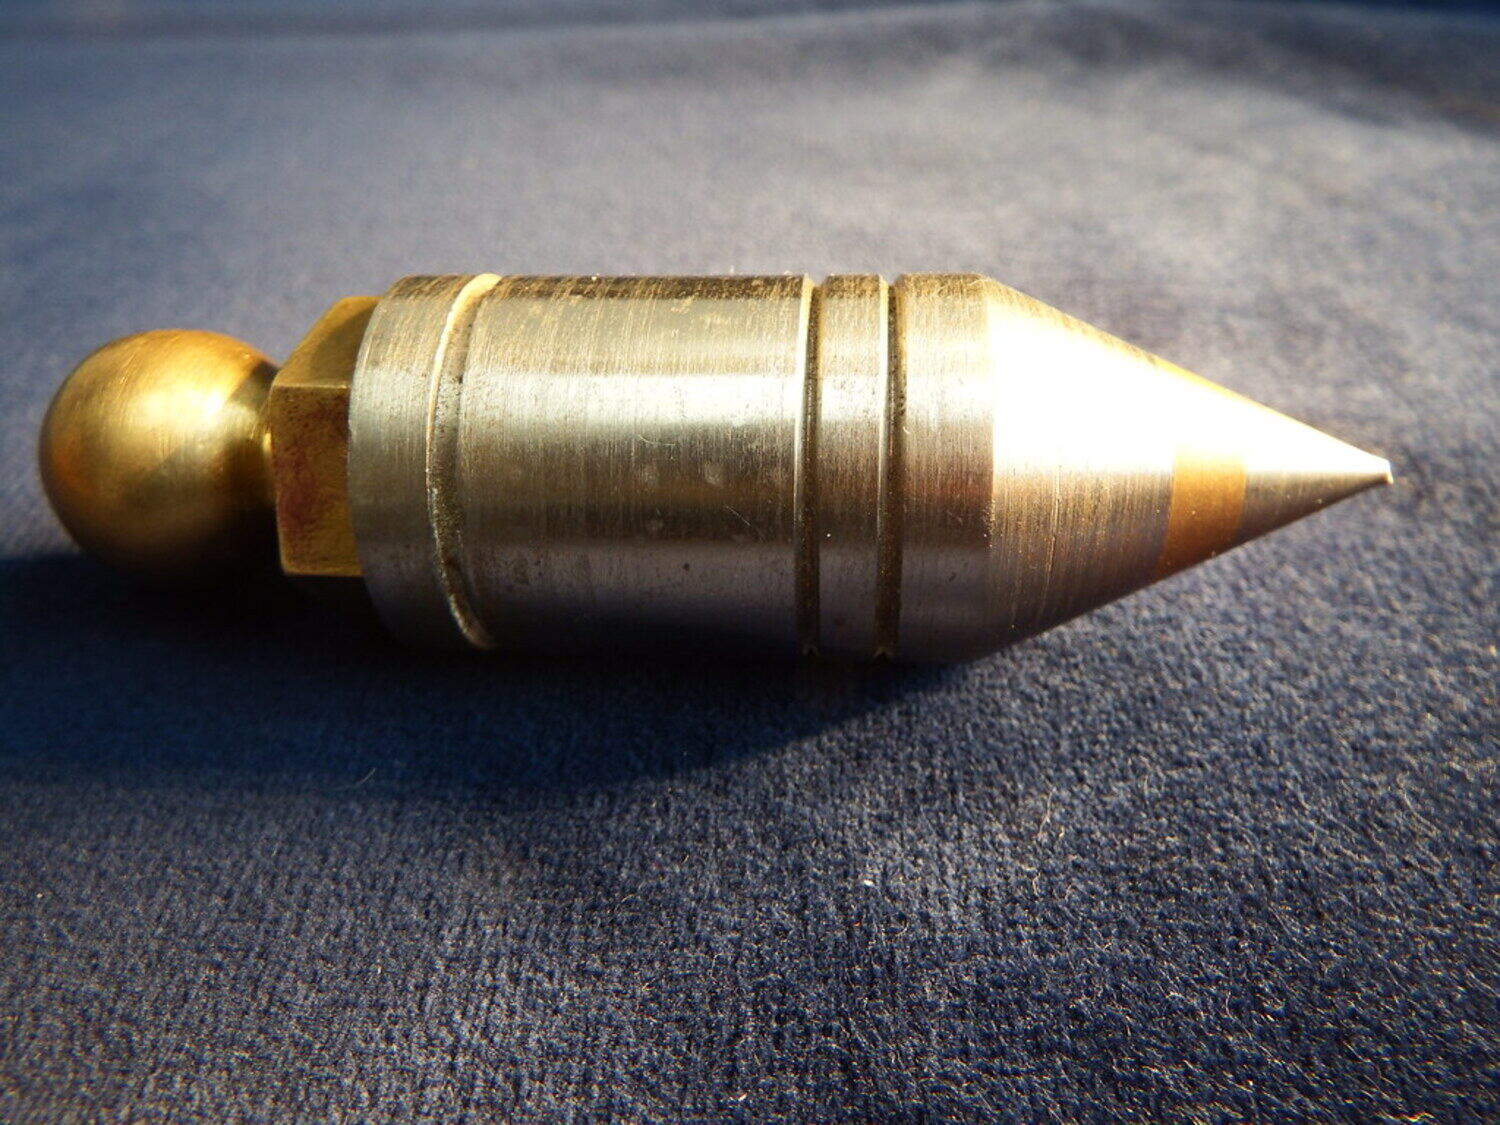
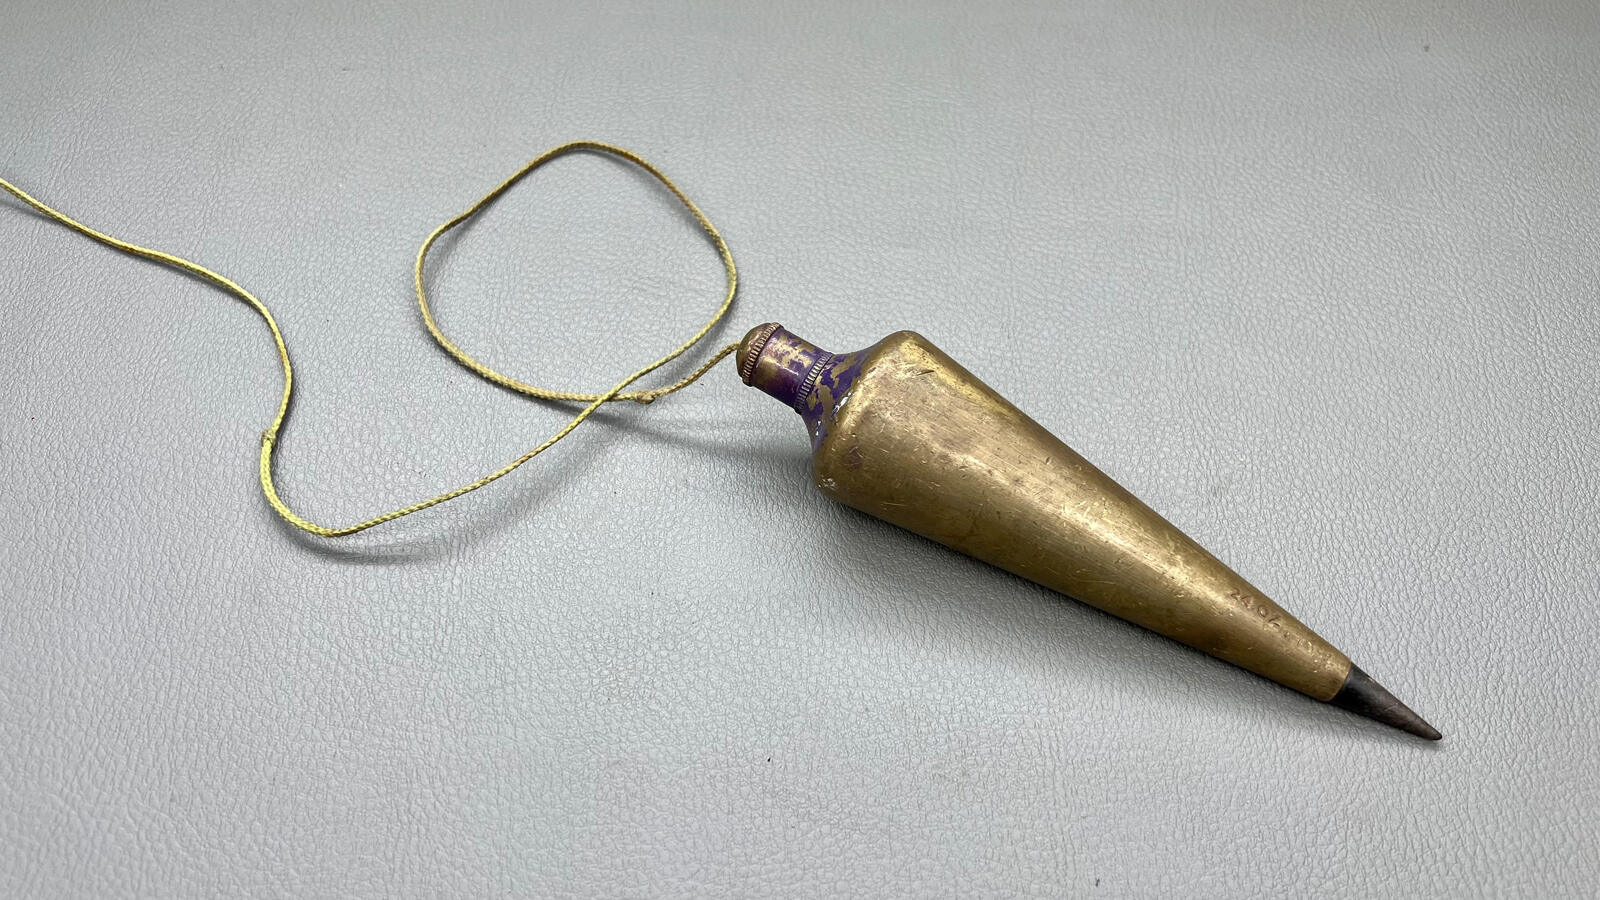
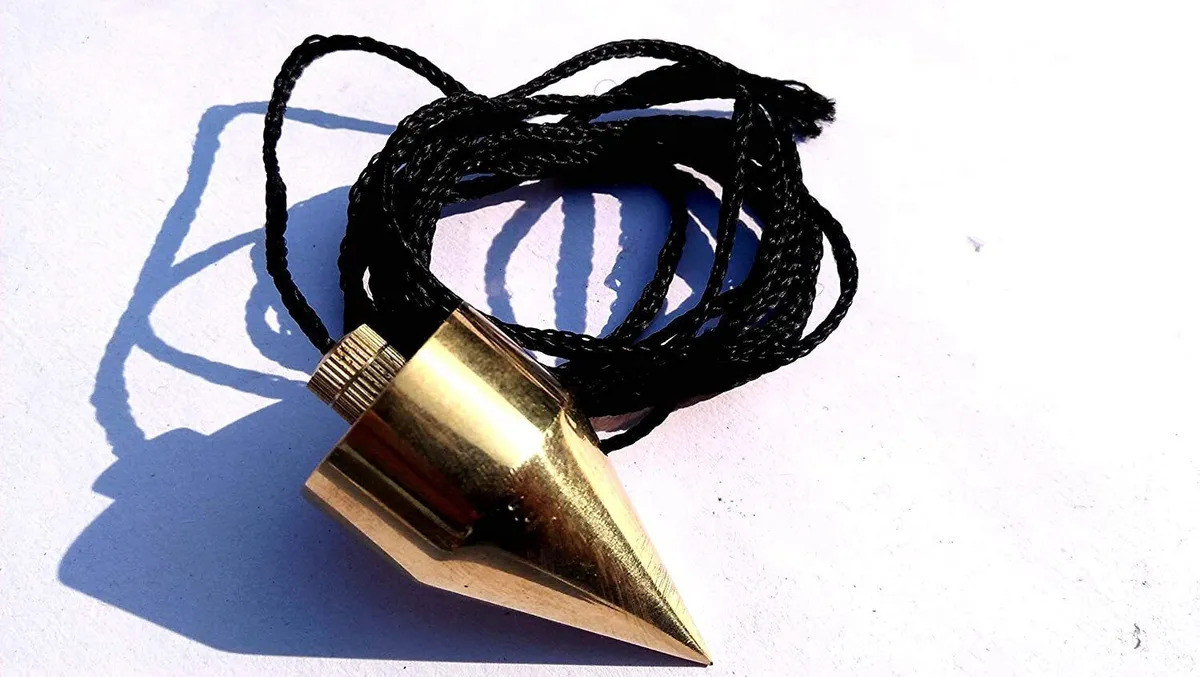
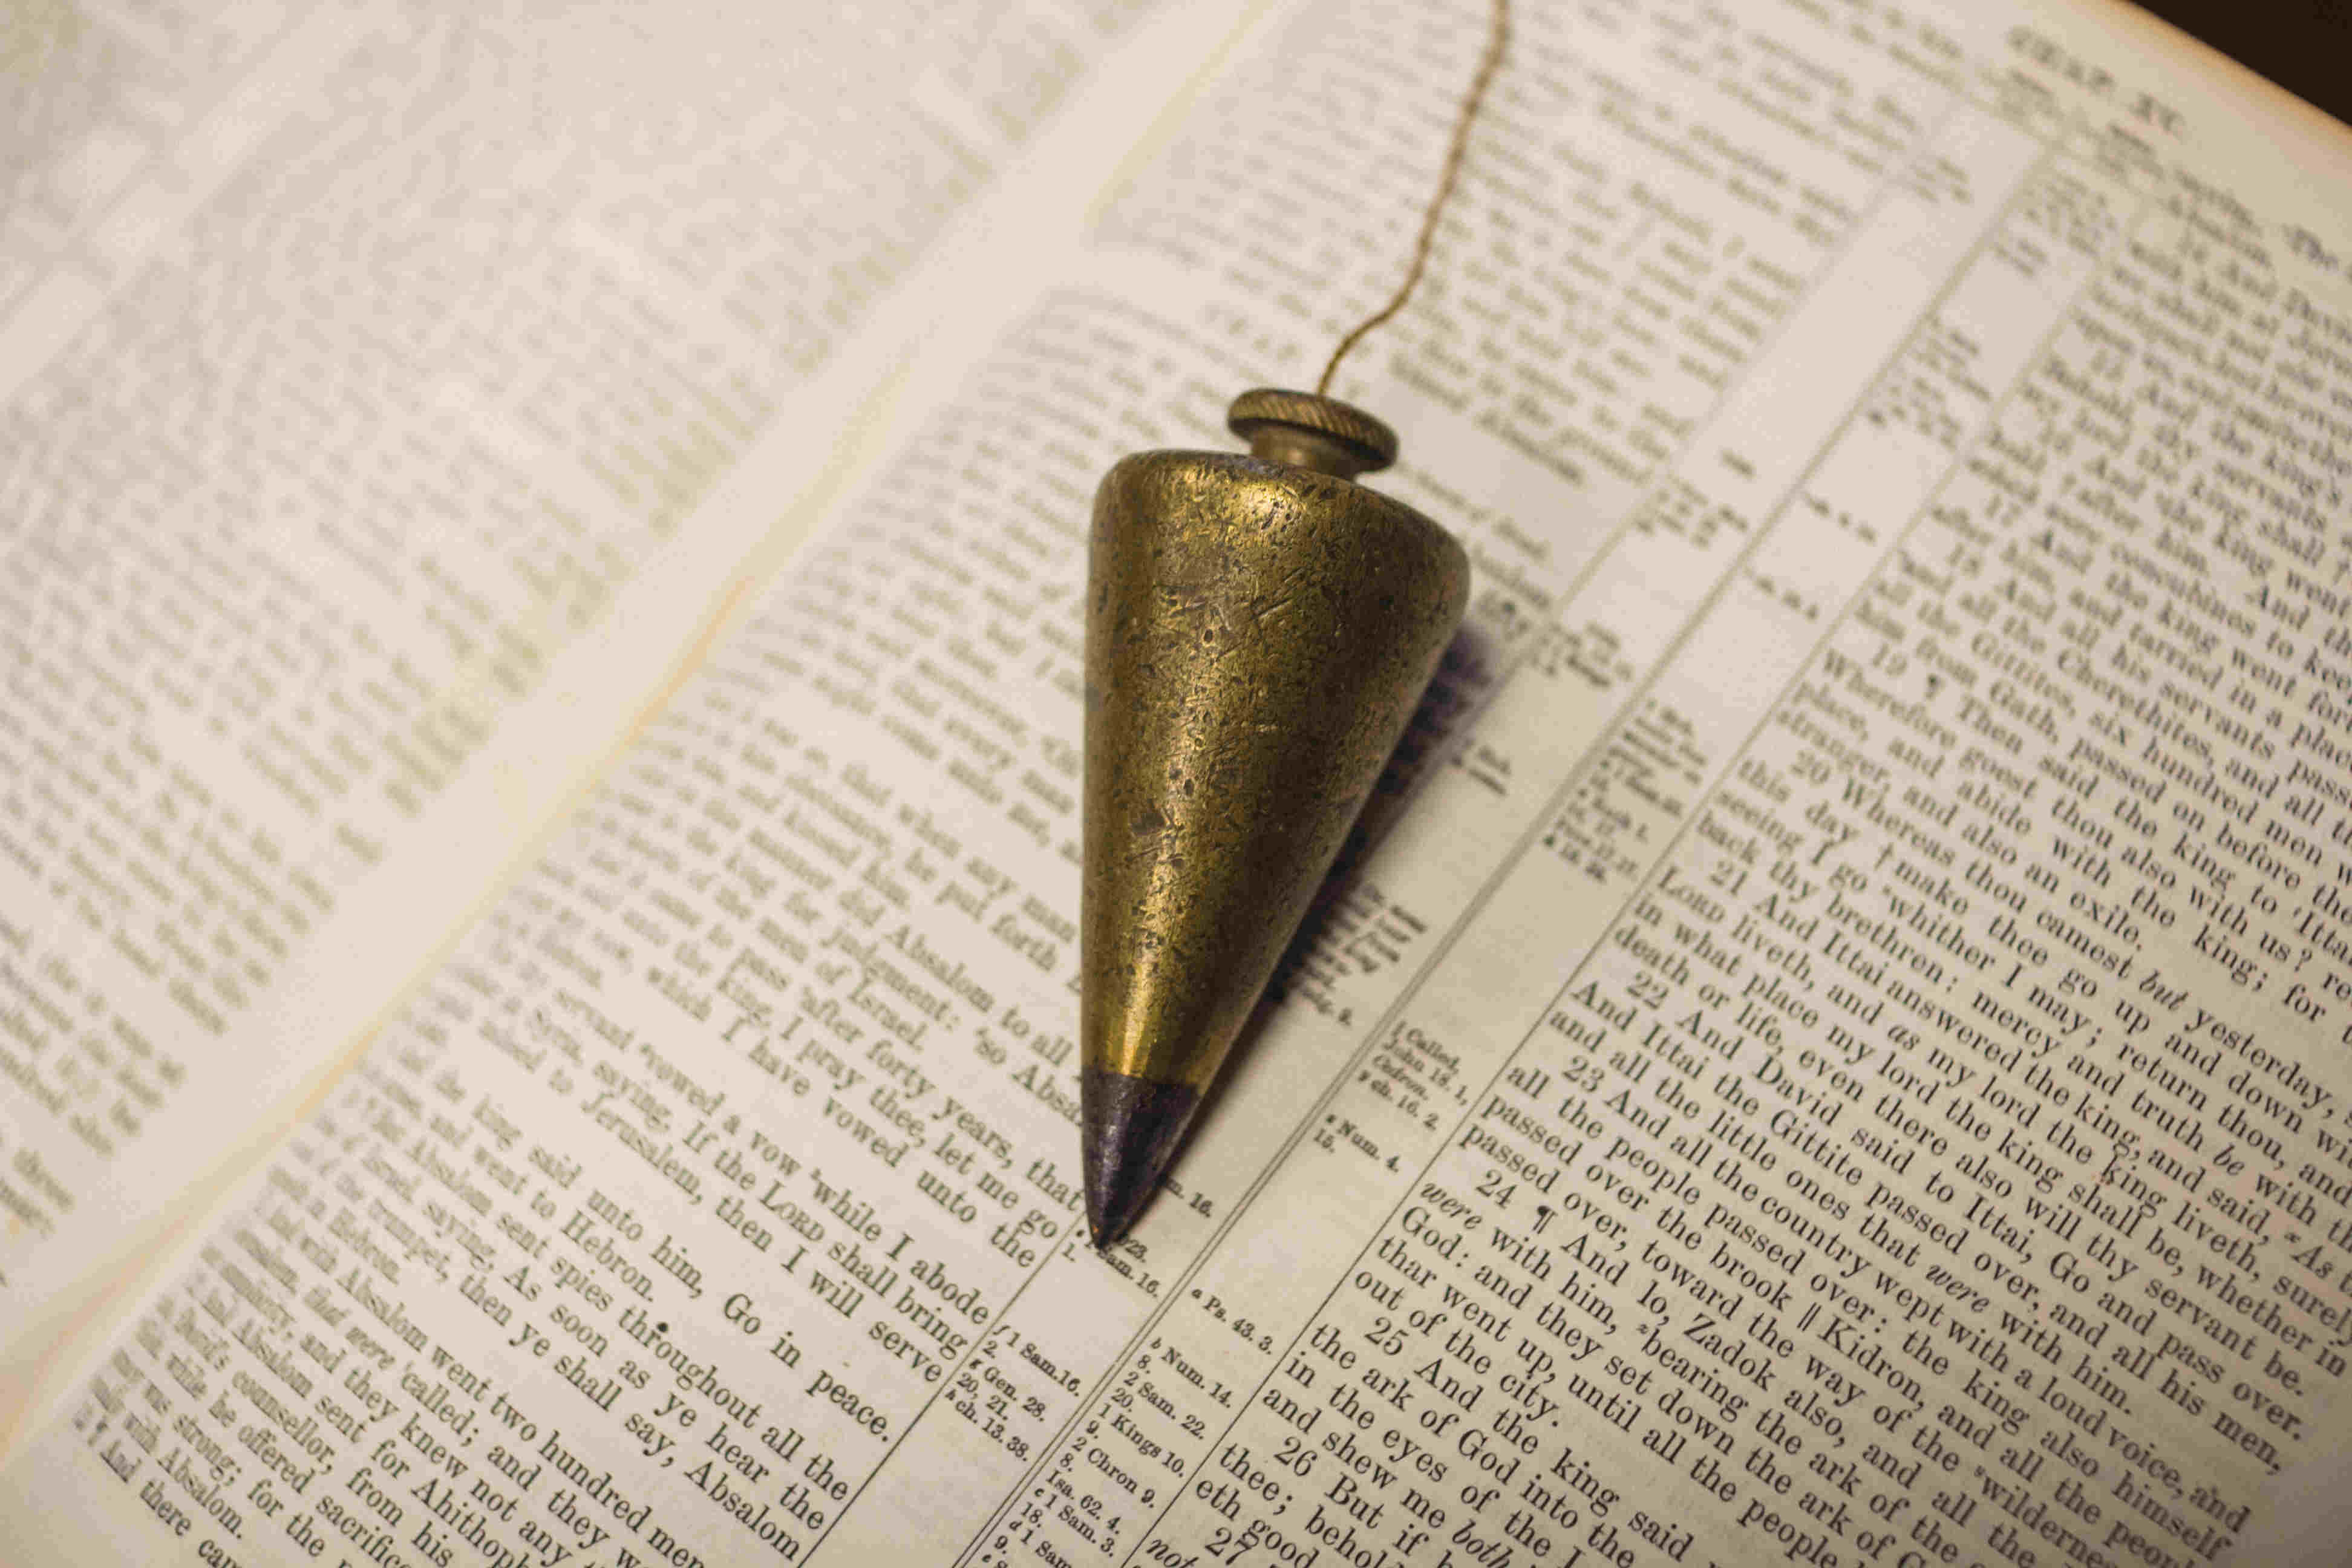
Have you ever found yourself needing to check if something is perfectly vertical or aligning objects in a straight line? If so, a plumb bob is the perfect tool for the job. A plumb bob is a simple but effective device that consists of a weight attached to a string. When suspended, the weight aligns with the gravitational force, indicating a perfectly vertical line.
While you can purchase a plumb bob from a hardware store, making your own homemade plumb bob can be a rewarding and cost-effective project. Not only will you have a functional tool, but you will also have the satisfaction of creating something with your own hands.
In this article, we will guide you through the process of making a homemade plumb bob using readily available materials. With just a few simple steps, you’ll have a tool that can assist you in various tasks, such as installing shelving, framing walls, or even aligning pictures on the wall.
Before we dive into the construction process, let’s take a look at the materials you will need.
Key Takeaways:
- Create your own homemade plumb bob using simple materials like a weight, string, and hook. Enjoy the satisfaction of crafting a useful tool for precise vertical alignments.
- Save money and customize your plumb bob to suit your needs by following easy steps to make a homemade plumb bob. Achieve accurate vertical alignments effortlessly.
Read more: What Is A Plumb Bob
Materials Needed
Before you get started, gather the following materials:
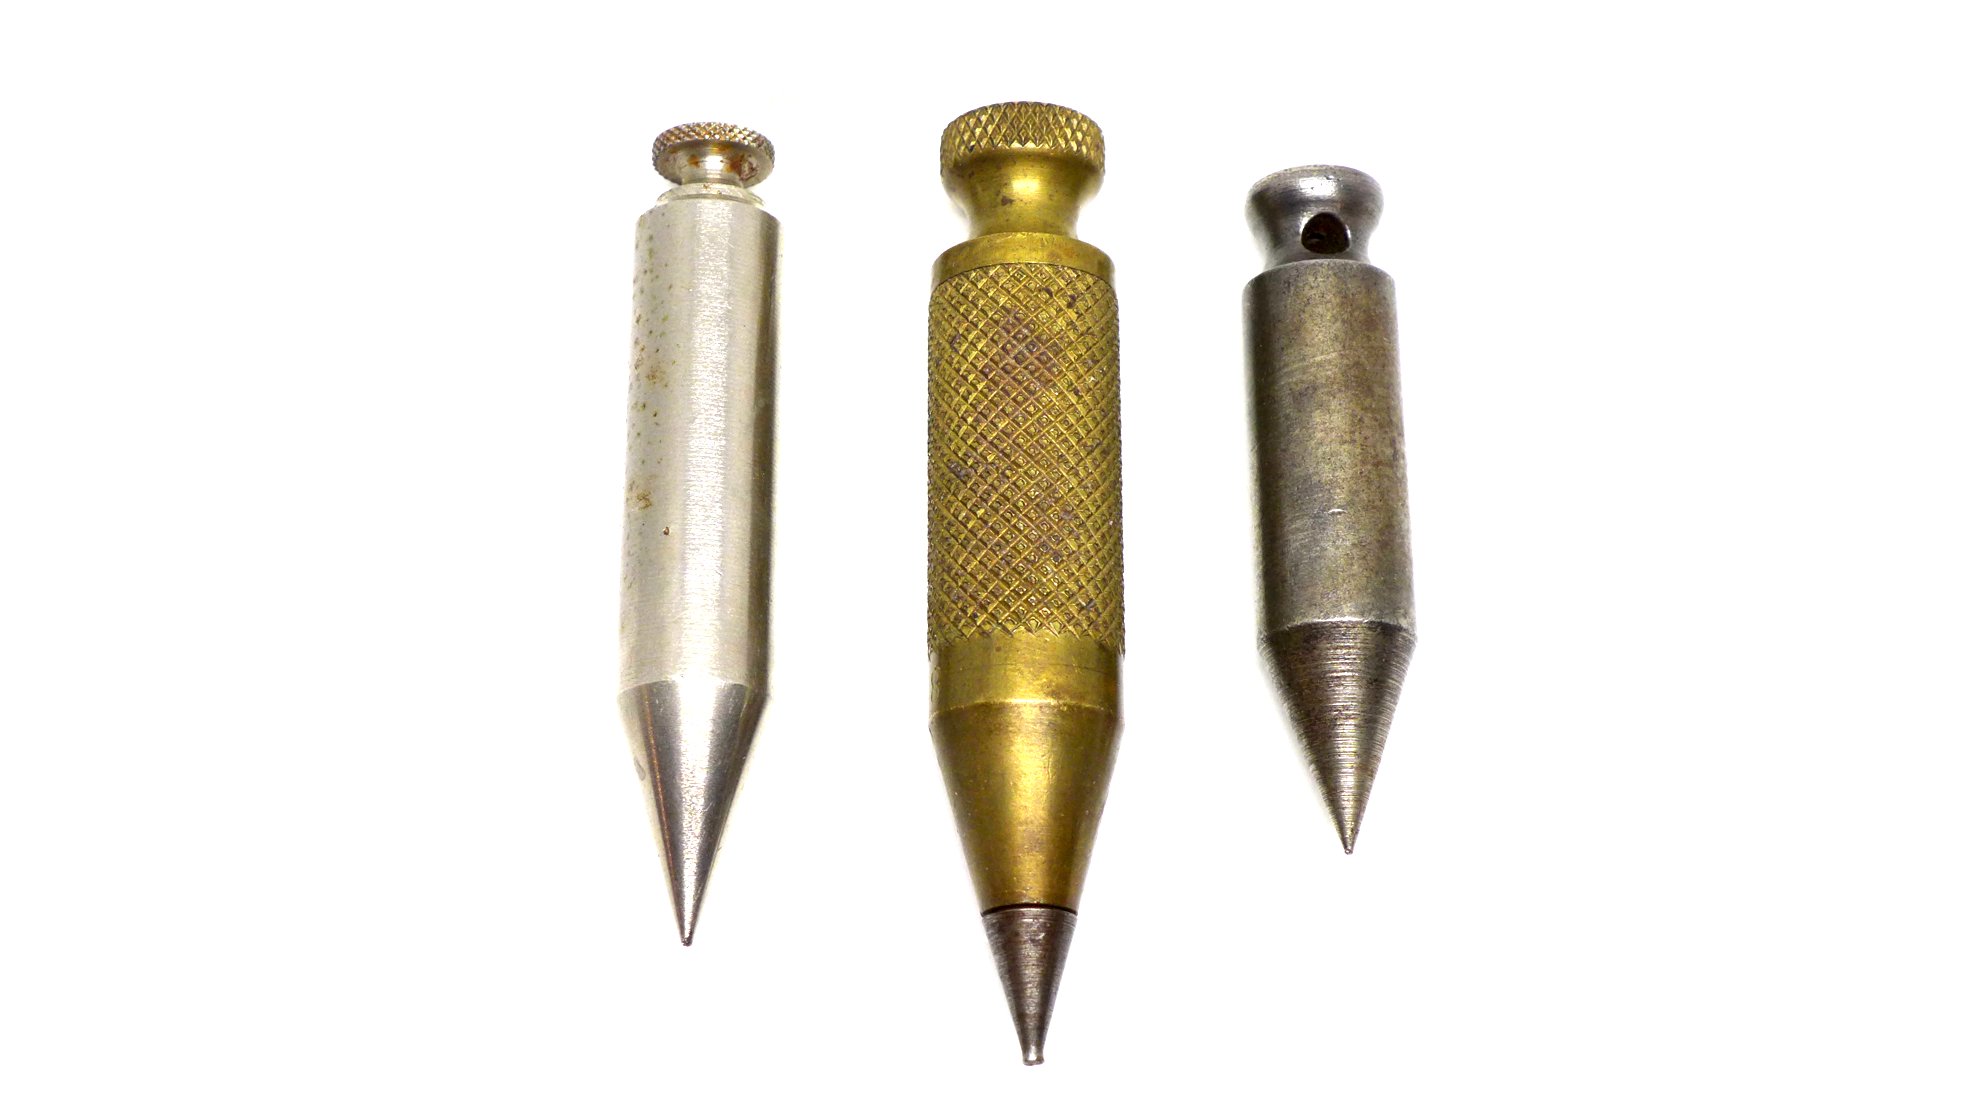
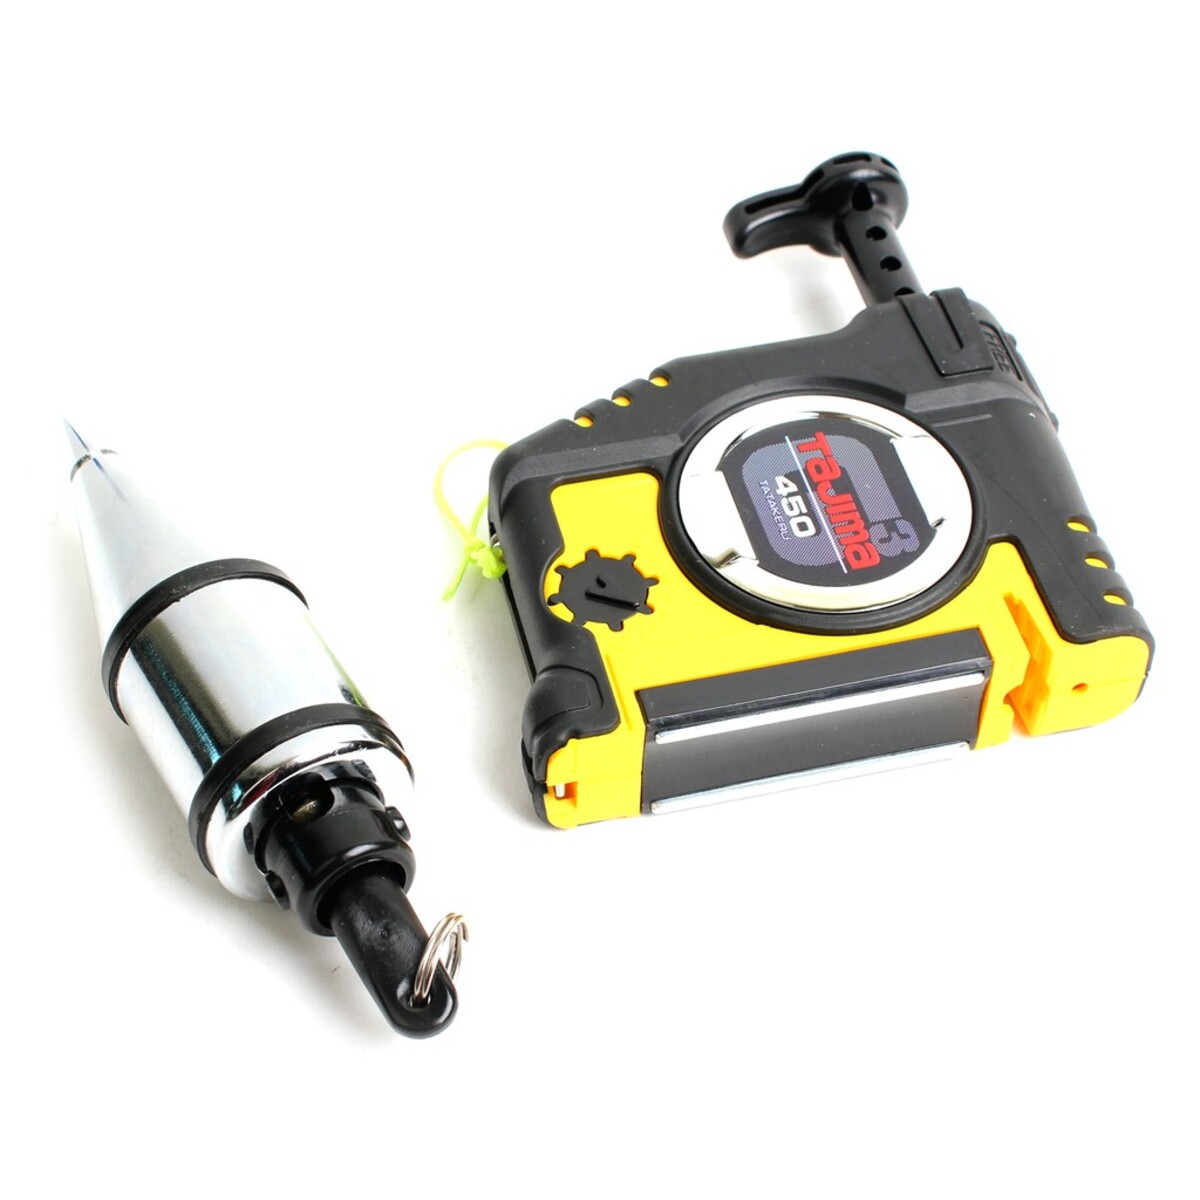
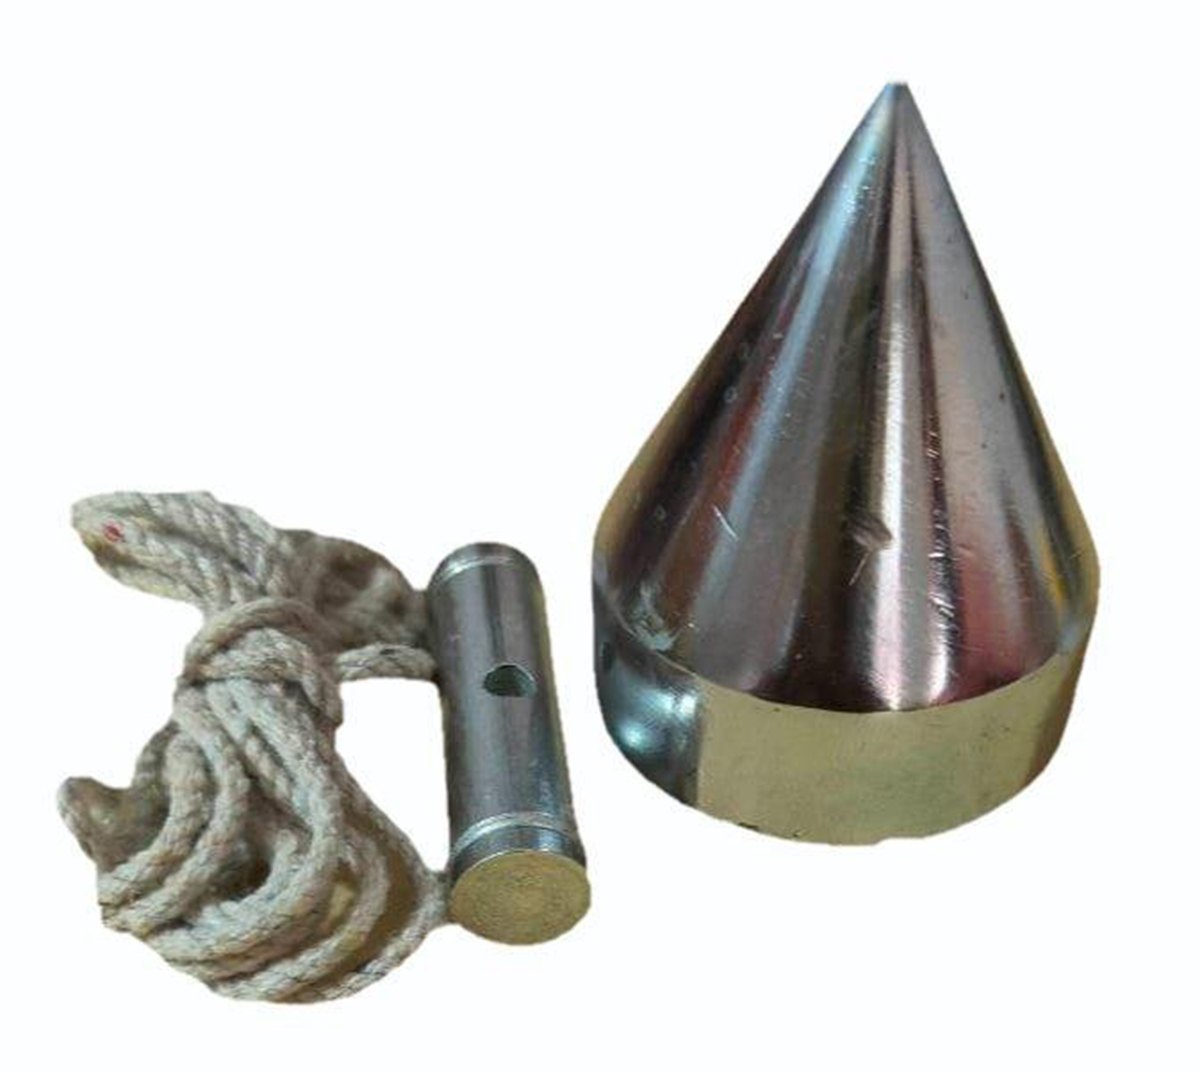
- A small weight: This can be a metal bolt, a fishing sinker, or even a small decorative object that has some weight to it.
- A sturdy string: Choose a string that is strong and durable. Nylon or cotton twine works well for this purpose.
- A small hook or screw eye: This will be used to attach the string to the weight.
Once you have gathered all the necessary materials, you’re ready to move on to the next step: preparing the string.
Step 1: Gathering the Materials
The first step in making your homemade plumb bob is to gather all the necessary materials. As mentioned earlier, you will need a small weight, a sturdy string, a small hook or screw eye, scissors, and a measuring tape or ruler.
Start by selecting a weight for your plumb bob. This can be a metal bolt, a fishing sinker, or even a small decorative object that has some weight to it. Make sure the weight is heavy enough to create a straight vertical line when suspended.
Next, choose a sturdy string that is strong and durable. Nylon or cotton twine works well for this purpose. The length of the string will depend on how long you want your plumb bob to be. Consider the tasks you will be using it for and choose an appropriate length. Most plumb bobs range from 4 to 6 inches (10 to 15 cm) in length.
Once you have the weight and the string, you will need a small hook or screw eye to attach the string to the weight. This will ensure that the string remains securely fastened.
Lastly, have a pair of scissors ready to cut the string to the desired length and a measuring tape or ruler to accurately measure the length of the string.
With all the materials gathered, you’re now ready to move on to the next step: preparing the string.
Step 2: Preparing the String
Now that you have all the materials ready, it’s time to prepare the string for your homemade plumb bob. Follow these steps:
- Measure the desired length of the string: Use a measuring tape or ruler to determine the length of the string. As mentioned earlier, plumb bobs typically range from 4 to 6 inches (10 to 15 cm) in length. Measure and mark the desired length on the string.
- Cut the string: Use a pair of scissors to carefully cut the string at the marked length. Make a clean and straight cut to ensure the string is the desired length.
- Tie a knot at one end: Take one end of the string and tie a secure knot. This will prevent the string from coming off the weight and ensure it stays in place.
- Attach the hook or screw eye: Open the hook or screw eye and insert it into the opposite end of the string. Close the hook or screw eye tightly so that it securely holds the string. This will be the end that is attached to the weight.
Ensure that the string is securely tied or attached to the hook or screw eye and that there is no risk of it coming loose. Once you have prepared the string, it’s time to move on to the next step: preparing the weight.
When making a homemade plumb bob, ensure the weight is heavy enough to provide a steady vertical reference line, and the string is long enough for your specific project needs.
Step 3: Preparing the Weight
In this step, you will prepare the weight for your homemade plumb bob. Follow these steps:
- If you are using a small decorative object as the weight, ensure that it has a hole or a loop that can be used to attach the string. If not, you can use a small drill bit to create a hole in the object.
- If you are using a metal bolt or fishing sinker as the weight, you can attach the string directly to it. You may need to use pliers or a small screwdriver to open up a gap where the string can be inserted.
- Once you have prepared the weight, it’s time to attach the string. If you are using an object with a hole or loop, simply thread the end of the string through the hole or loop and tie a secure knot to hold it in place. If you are attaching the string directly to a metal bolt or fishing sinker, insert the end of the string into the gap and tie a secure knot to ensure it stays in place.
Make sure that the string is securely attached to the weight and that there is no risk of it coming loose. Once you have prepared the weight and attached the string, it’s time to move on to the next step: assembling the plumb bob.
Read more: How To Plumb Bob A Putter
Step 4: Assembling the Plumb Bob
Now that you have prepared the string and weight, it’s time to assemble your homemade plumb bob. Follow these steps:
- Hold the plumb bob by the string and observe how it hangs. Make sure that the weight is aligned directly beneath the string and doesn’t hang at an angle. If the weight is not aligned properly, adjust the string by sliding it through the knot or loop until the weight hangs straight.
- If necessary, trim the string to the desired length. You can use scissors to cut the excess string, making sure to leave enough length for easy handling.
- Once the string is properly adjusted and trimmed, double-check the knot or attachment point to ensure it is secure. You don’t want the string to come loose while you are using the plumb bob.
With these simple steps, you have successfully assembled your homemade plumb bob. Now, it’s time to move on to the final step: testing and adjusting.
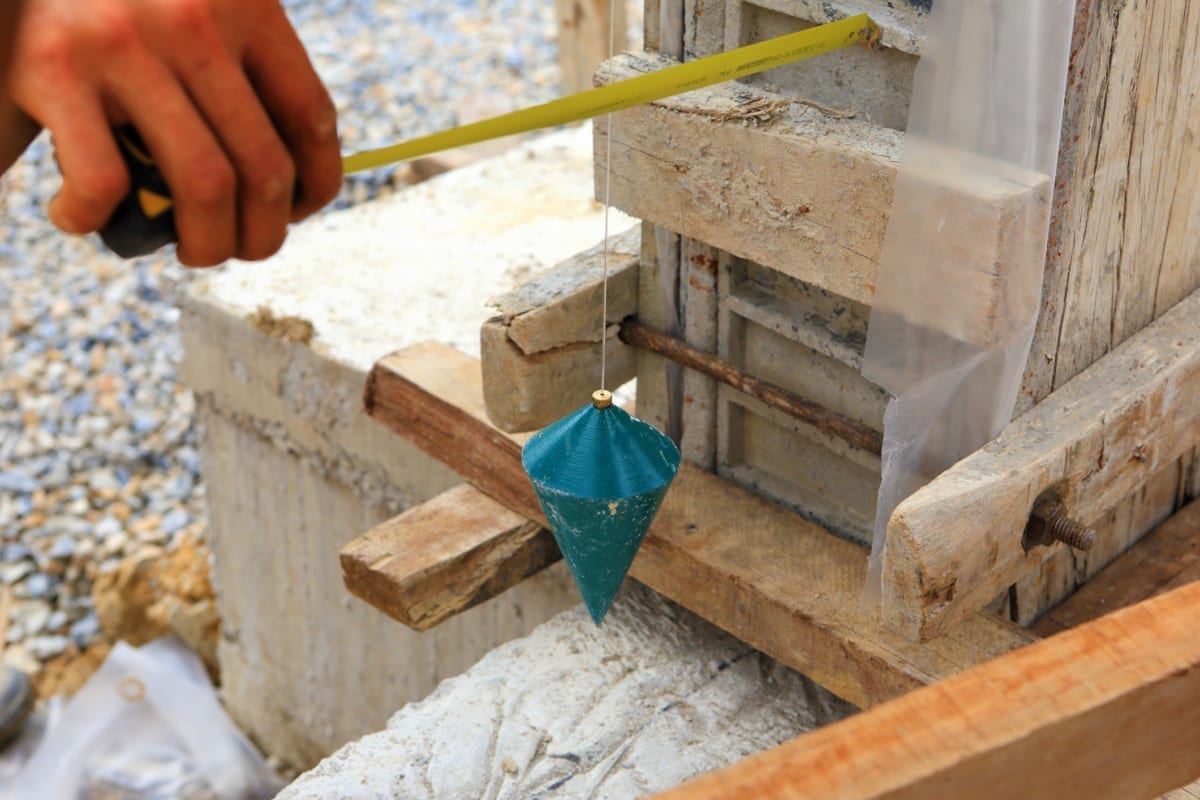
Step 5: Testing and Adjusting
After assembling your homemade plumb bob, it’s important to test its accuracy and make any necessary adjustments. Follow these steps:
- Choose a flat and level surface to conduct your testing. This could be a tabletop, a wall, or any other vertical surface.
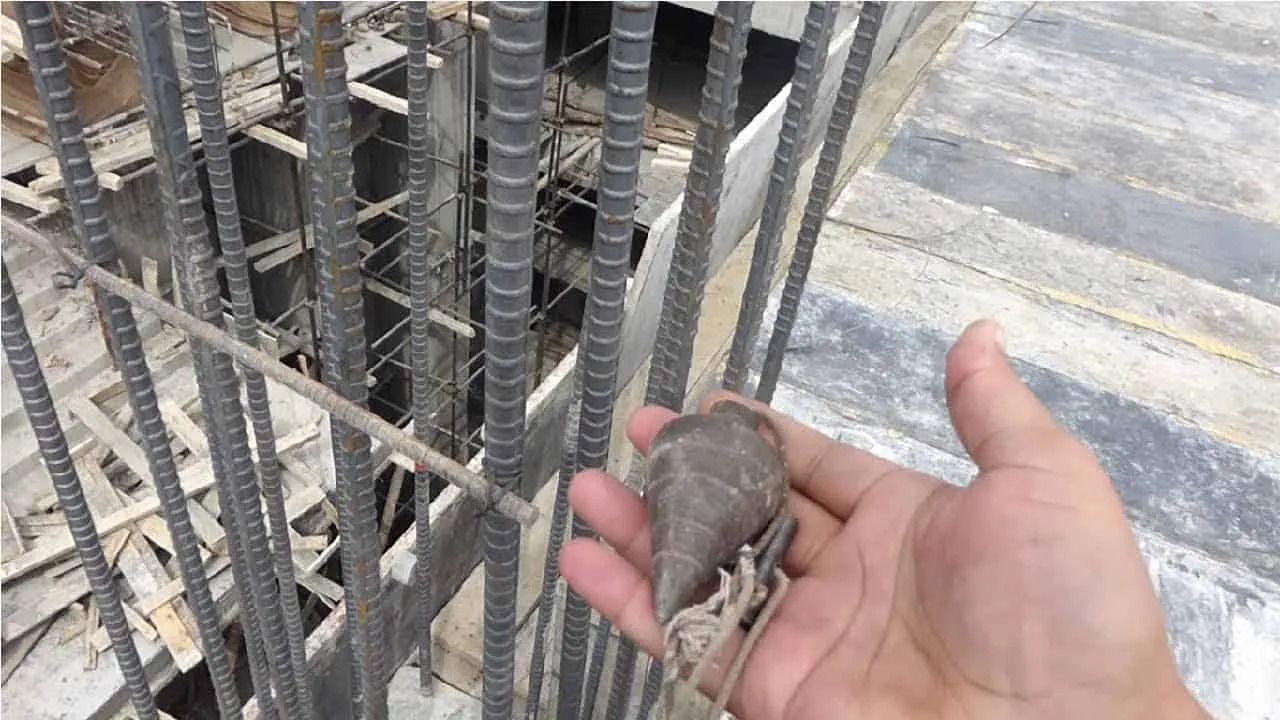
- Hold the plumb bob by the string, making sure that the weight is not touching any surfaces. Allow the weight to hang freely and observe if it aligns with the string.
- If the weight is not perfectly aligned with the string, it means that the plumb bob is not accurate. In this case, adjust the string by sliding it through the knot or attachment point until the weight hangs straight.
- Repeat the testing and adjusting process until you achieve a straight alignment between the weight and the string. This indicates that the plumb bob is accurate and can be used for various vertical alignment tasks.
Remember, it’s essential to ensure the plumb bob is perfectly aligned and accurate before using it for tasks that require precise vertical measurements. Take your time to make adjustments as needed, as the accuracy of your plumb bob will determine the accuracy of your vertical alignments.
With the testing and adjusting complete, your homemade plumb bob is ready to use. Whether you are hanging artwork, aligning shelves, or working on construction projects, your plumb bob will serve as a reliable tool for achieving precise vertical alignments.
Before we conclude, let’s summarize the steps we’ve covered to make a homemade plumb bob.
Conclusion
Congratulations! You have successfully learned how to make a homemade plumb bob. By following the simple steps outlined in this article, you have created a useful tool that can assist you in various tasks requiring precise vertical alignment.
Making your own plumb bob not only saves you money but also allows you to have a customized tool that suits your needs. Whether you’re a DIY enthusiast, a homeowner, or a professional in the construction industry, having a plumb bob can significantly aid you in achieving straight and level alignments.
Remember to gather all the necessary materials before starting the project. Choose a weight, such as a metal bolt or fishing sinker, and a sturdy string like nylon or cotton twine. Knot the string securely and attach it to the weight using a hook or screw eye. Adjust the string until the weight hangs straight, and then test its accuracy on a level surface. Make any necessary adjustments until you achieve a perfectly aligned plumb bob.
Now that you have your homemade plumb bob, you can use it for various tasks, such as hanging pictures, installing shelves, or framing walls. Its simplicity and effectiveness make it a versatile tool that should have a place in any toolkit.
Thank you for following this step-by-step guide. Enjoy using your homemade plumb bob and have fun with your vertical alignments!
Frequently Asked Questions about How To Make A Homemade Plumb Bob
Was this page helpful?
At Storables.com, we guarantee accurate and reliable information. Our content, validated by Expert Board Contributors, is crafted following stringent Editorial Policies. We're committed to providing you with well-researched, expert-backed insights for all your informational needs.

0 thoughts on “How To Make A Homemade Plumb Bob”