Home>Articles>How To Use An Electric Pressure Cooker To Cook A Tri Tip
Articles
How To Use An Electric Pressure Cooker To Cook A Tri Tip
Modified: January 7, 2024
Learn how to cook a delicious tri-tip using an electric pressure cooker with our informative articles. Master the art of pressure cooking and enjoy flavorful meals.
(Many of the links in this article redirect to a specific reviewed product. Your purchase of these products through affiliate links helps to generate commission for Storables.com, at no extra cost. Learn more)
How To Use An Electric Pressure Cooker To Cook A Tri Tip
The electric pressure cooker has become a popular kitchen appliance for its ability to cook meals quickly and efficiently. And one dish that can be easily prepared in an electric pressure cooker is a juicy and tender tri tip. If you’re looking to shorten the cooking time and still achieve excellent results, here’s how you can use an electric pressure cooker to cook a tri tip.
1. Preparing the Tri Tip:
– Start by selecting a high-quality tri tip from your local butcher or grocery store. Look for one that is well-marbled and has a decent amount of fat.
– Before cooking, allow the tri tip to come to room temperature. This will ensure even cooking throughout the meat.
– Season the tri tip generously with your favorite rub or marinade. You can use a combination of salt, pepper, garlic powder, onion powder, and any other spices you enjoy.
2. Setting up the Electric Pressure Cooker:
– Plug in your electric pressure cooker and ensure that the cooking pot is clean and dry.
– Place the cooking rack or trivet inside the pot. This will elevate the tri tip and prevent it from sticking to the bottom.
– Add one cup of water or beef broth to the bottom of the pot. This will create steam and help build pressure.
3. Cooking the Tri Tip:
– Gently place the seasoned tri tip on the cooking rack or trivet inside the pressure cooker.
– Close the lid securely, ensuring that the pressure release valve is in the sealed position.
– Set the cooking timer according to the weight of your tri tip. As a general rule, cook for 15-20 minutes per pound of tri tip at high pressure.
– Press the start button to begin cooking.
4. Releasing the Pressure and Resting the Tri Tip:
– Once the cooking time is complete, carefully release the pressure from the pressure cooker according to the manufacturer’s instructions.
– Allow the pressure to release naturally for at least 10 minutes before using the quick-release method to fully depressurize the cooker.
– Remove the lid and transfer the tri tip to a cutting board.
5. Slicing and Serving the Tri Tip:
– Let the tri tip rest for a few minutes to allow the juices to redistribute. This will ensure the meat stays tender and flavorful.
– Take a sharp knife and slice the tri tip against the grain into thin slices. Cutting against the grain will result in more tender pieces of meat.
– Serve the sliced tri tip with your favorite side dishes, such as roasted vegetables, mashed potatoes, or a fresh salad.
Using an electric pressure cooker to cook a tri tip is a convenient and efficient method that guarantees a flavorful and tender result. With the right seasoning and cooking time, you can enjoy a delicious tri tip in a fraction of the time it would take through traditional cooking methods. So, grab your electric pressure cooker and get ready to impress your family and friends with a perfectly cooked tri tip. Enjoy!
Key Takeaways:
- Cooking tri tip in an electric pressure cooker saves time, tenderizes the meat, and infuses it with flavor, resulting in a succulent and delicious dish in a fraction of the time.
- Proper preparation, seasoning, and setup are crucial for achieving a perfectly cooked tri tip in an electric pressure cooker. Follow the steps to ensure tender, flavorful results every time.
Read more: How To Use An Electric Pressure Cooker
Introduction
Cooking a tender and flavorful tri tip can sometimes be a time-consuming process. However, with the advent of electric pressure cookers, you can now achieve fantastic results in a fraction of the time. In this article, we will explore how to use an electric pressure cooker to cook a tri tip to perfection.
Electric pressure cookers have gained popularity in recent years for their ability to quickly and efficiently cook meals. These versatile kitchen appliances are designed to create a sealed, pressure-controlled environment that significantly reduces cooking time. The intense steam and pressure created inside the cooker result in tender and succulent meats, making it an ideal tool for cooking tri tip.
Tri tip, a triangular-shaped cut of beef from the bottom sirloin, offers a rich and beefy flavor. Traditionally, tri-tip is cooked on a grill or in the oven for an extended period to ensure tenderness. However, an electric pressure cooker allows you to achieve the same tender and juicy result in a fraction of the time. By utilizing the pressure cooking method, the meat becomes infused with flavor and remains moist throughout the cooking process.
Not only does an electric pressure cooker dramatically reduce cooking time, but it also requires minimal effort in terms of monitoring and supervision. Once the tri tip is seasoned and placed inside the pressure cooker with the necessary liquid, the appliance does the rest of the work. The sealed and pressurized environment ensures that the meat cooks evenly and retains its natural juices and flavors.
Using an electric pressure cooker to cook a tri tip offers a host of benefits. First and foremost is the time-saving aspect. Instead of waiting for hours, your tri tip can be ready to serve in a fraction of the time. This makes it perfect for busy weeknight dinners or when you’re craving a delicious meal but don’t have hours to spare.
Additionally, the pressure cooking method helps tenderize the tri tip, resulting in a melt-in-your-mouth texture. The high pressure forces moisture into the meat, breaking down tough fibers and ensuring that every bite is tender and flavorful. The intense heat and steam also help to seal in the natural juices, preventing the meat from drying out.
In the following sections, we will delve into the step-by-step process of using an electric pressure cooker to cook a tri tip. From preparation and seasoning to setting up the pressure cooker and cooking the tri tip, we will guide you through the process to ensure a delicious and stress-free cooking experience.
So, grab your electric pressure cooker and get ready to elevate your tri tip cooking game. With this efficient appliance, you’ll be able to enjoy tender and succulent tri tip without the long cooking times. Get ready to impress your family and friends with perfectly cooked, flavorful tri tip every time!
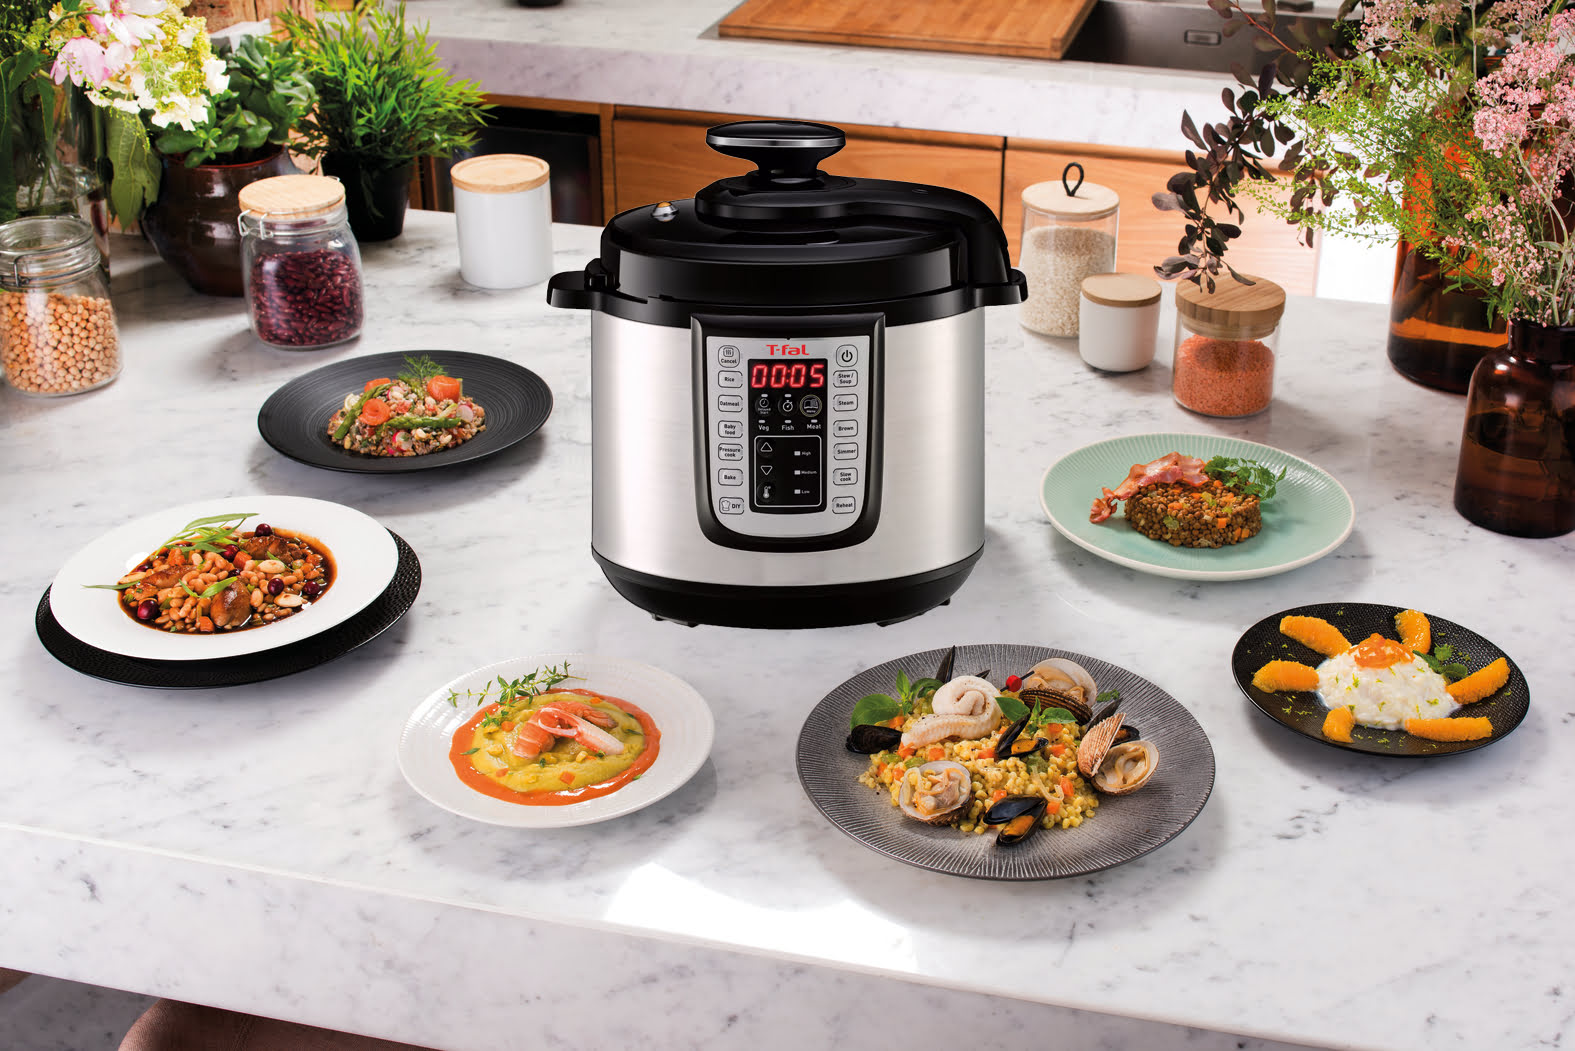
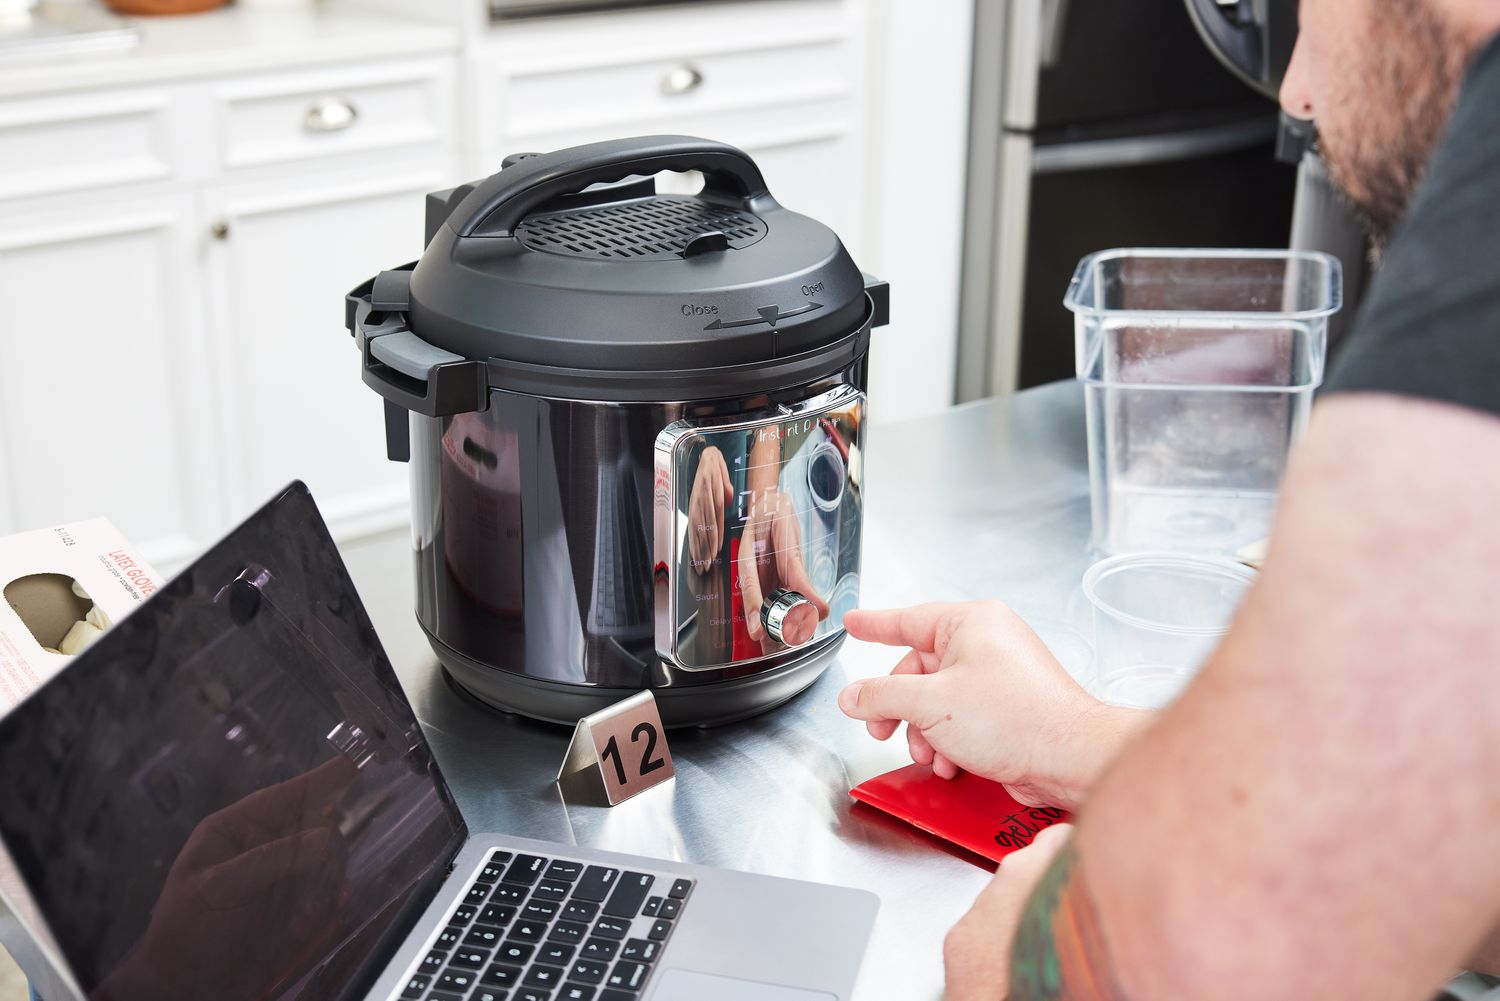
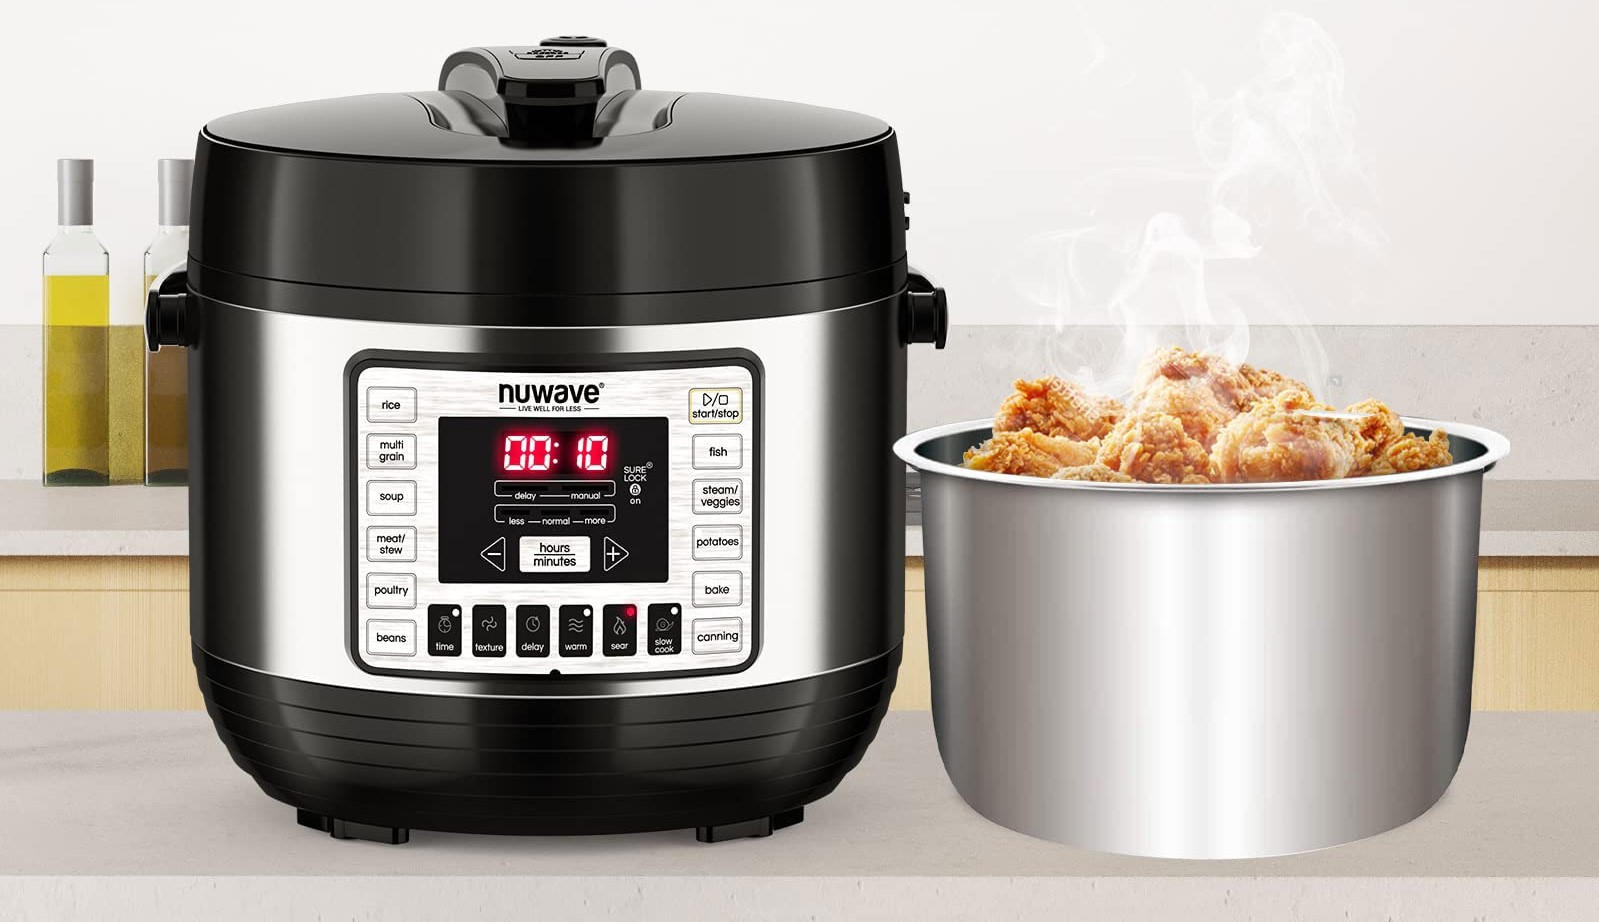
What is an Electric Pressure Cooker?
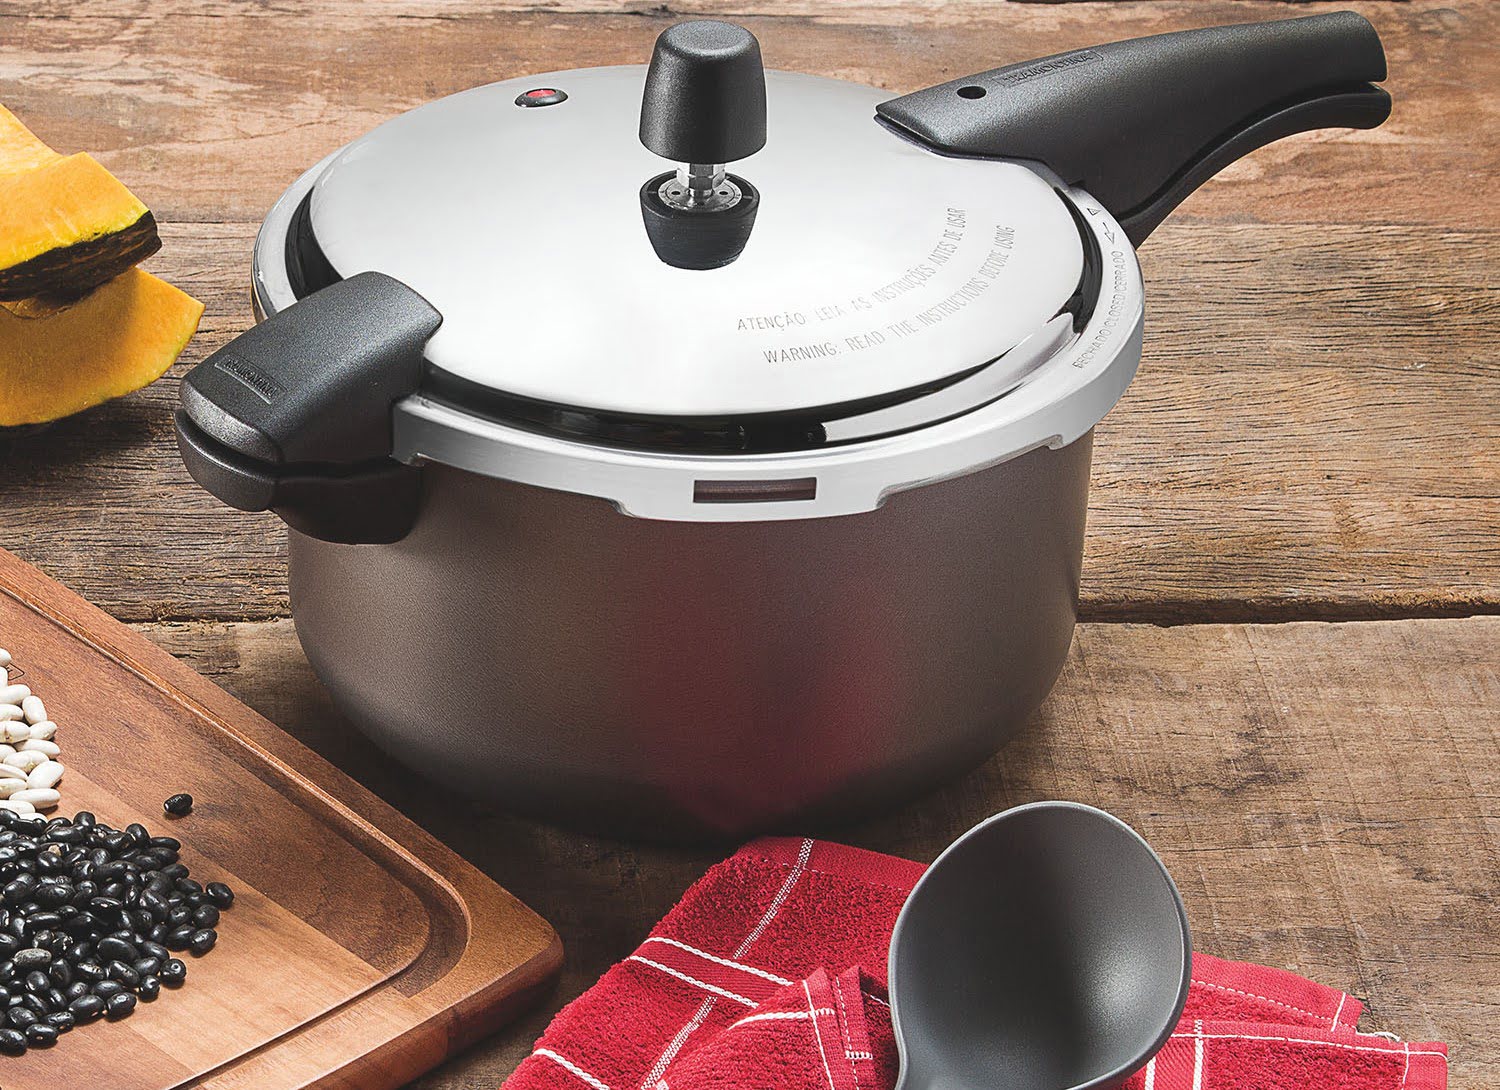
An electric pressure cooker is a convenient and versatile kitchen appliance that allows for efficient and fast cooking using high-pressure steam. It is a modern variation of the traditional stovetop pressure cooker, designed to automate the cooking process and provide additional safety features.
At its core, an electric pressure cooker consists of a sealed cooking pot, a heating element, a control panel, and safety mechanisms. The cooking pot is usually made of stainless steel or aluminum and has a tight-fitting lid that locks into place. This airtight seal prevents steam from escaping during the cooking process, creating a pressurized environment.
One of the primary advantages of an electric pressure cooker is its ability to significantly reduce cooking time. By operating at higher pressures and temperatures than conventional cooking methods, the heat and steam penetrate the ingredients more thoroughly, resulting in faster cooking times. For example, cooking a tough cut of meat that would typically take hours can be done in a fraction of the time in an electric pressure cooker.
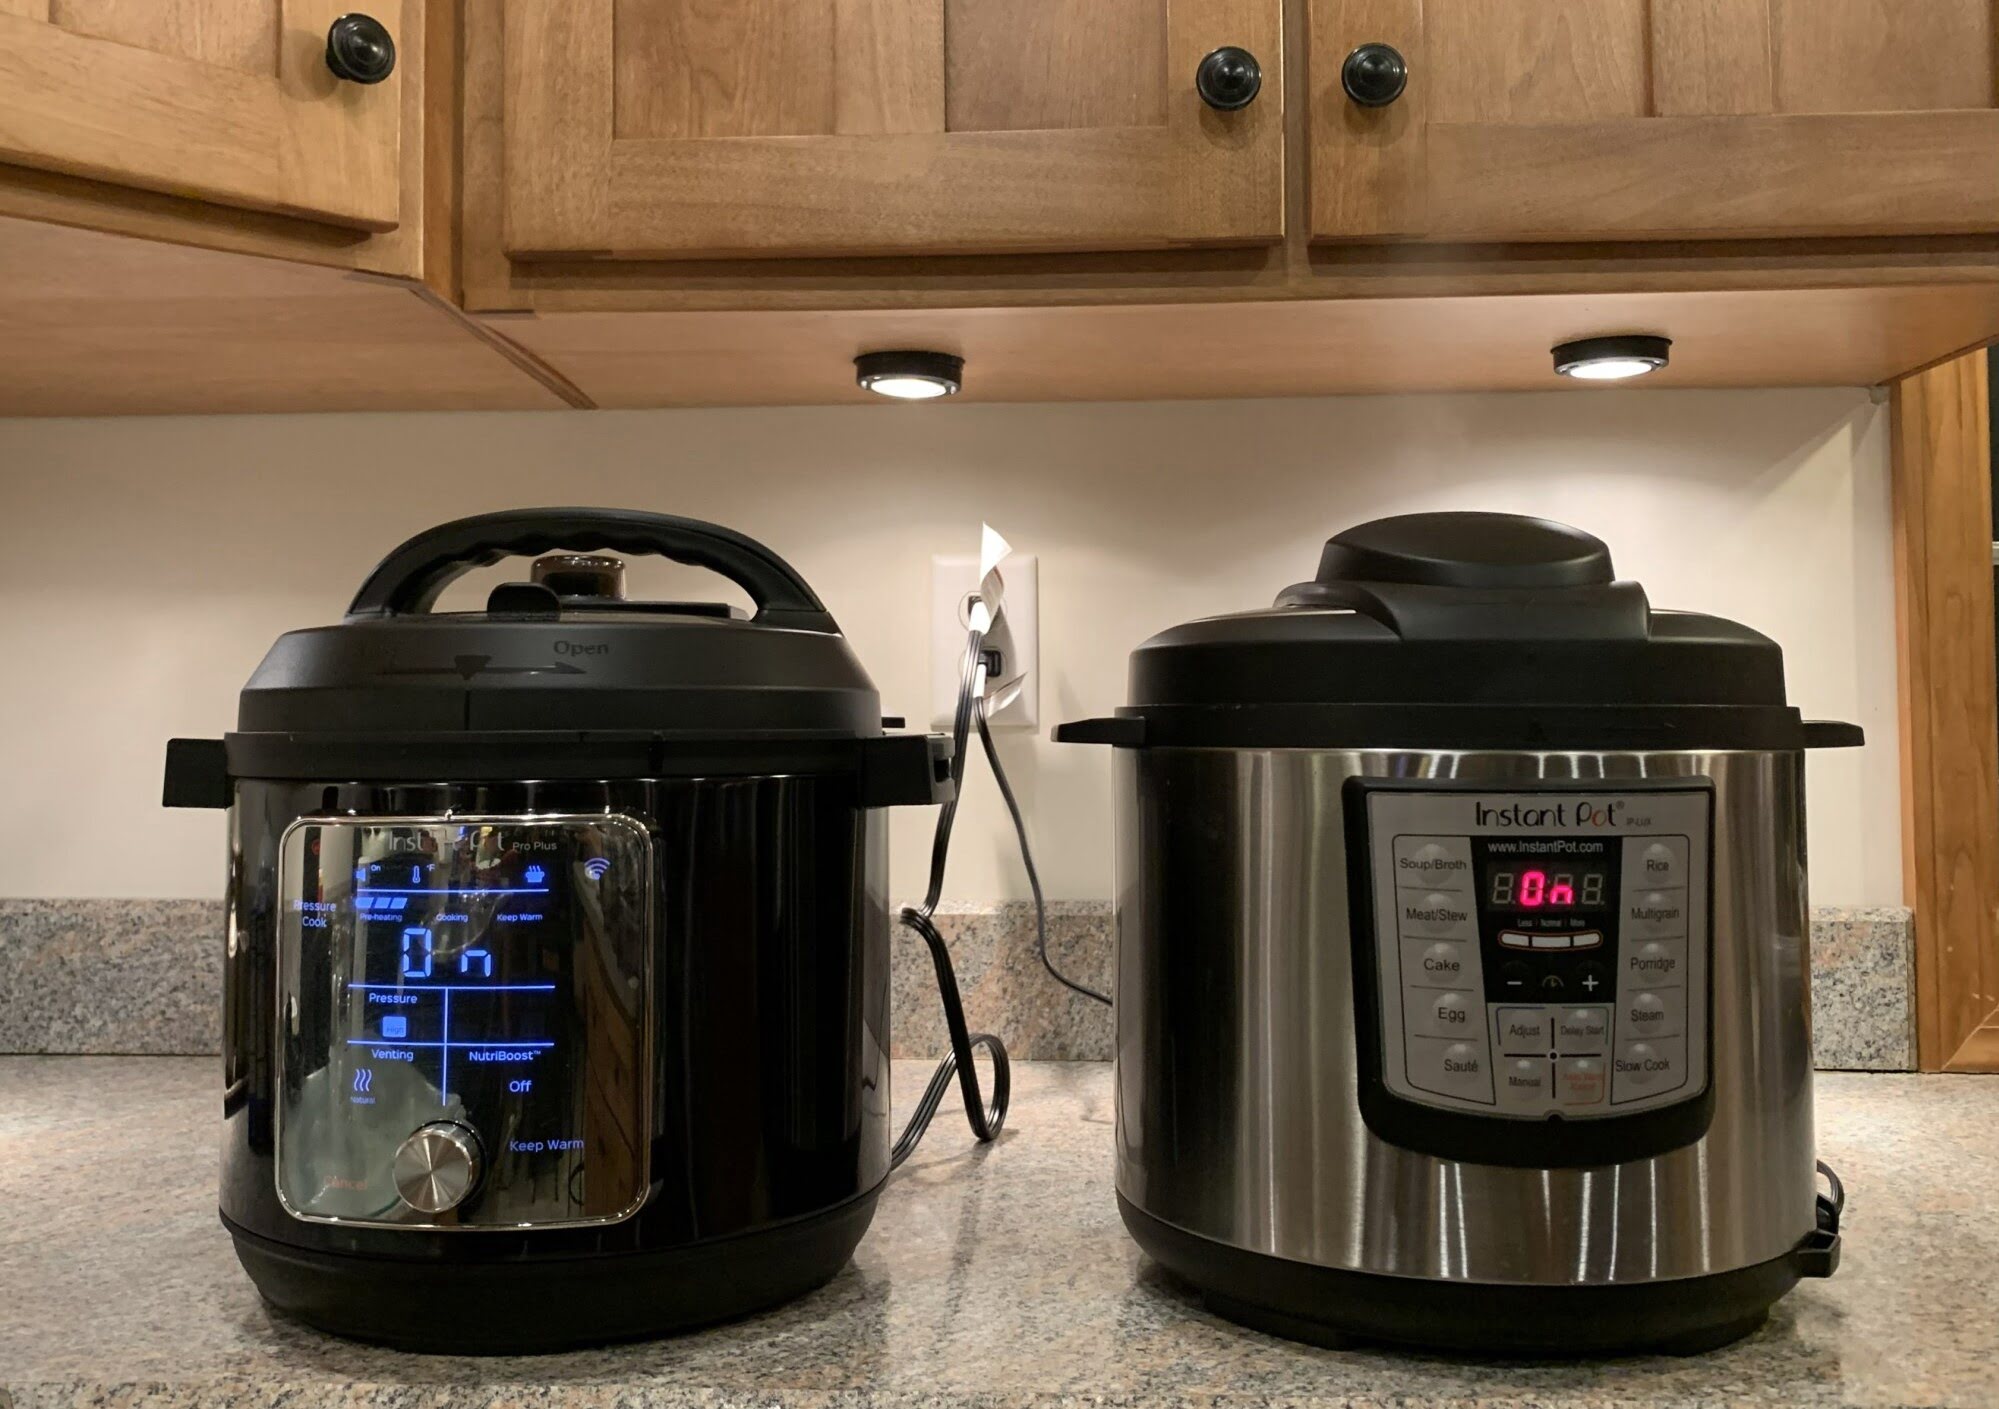
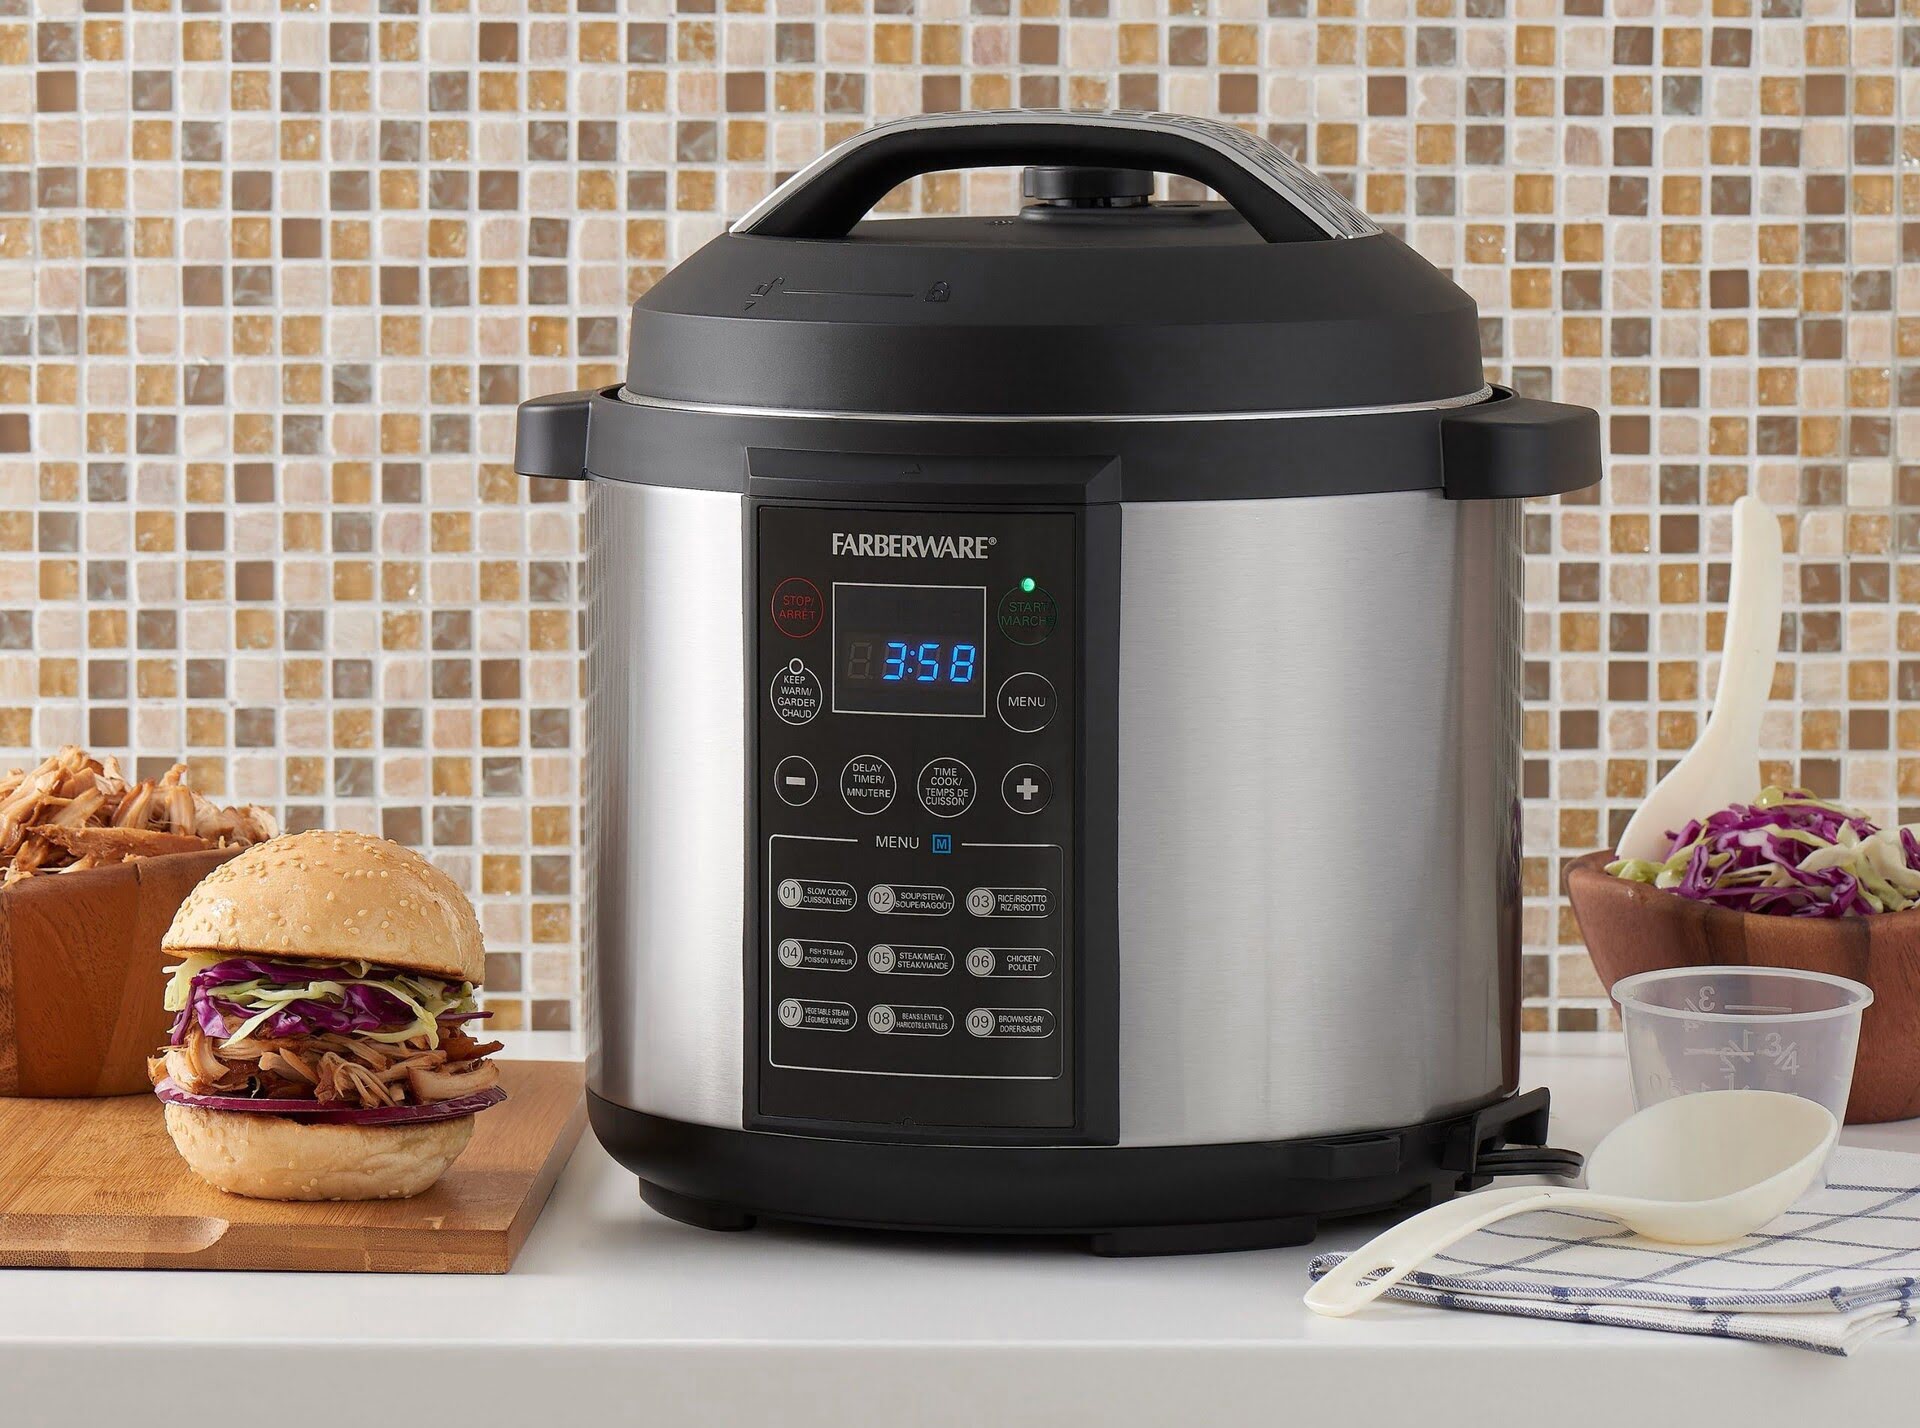
Electric pressure cookers offer a wide range of benefits and features. They typically have multiple cooking modes, including pressure cooking, slow cooking, sautéing, steaming, and even baking. This versatility makes them suitable for a variety of recipes and cooking styles.
Furthermore, most electric pressure cookers come equipped with a digital control panel that allows for easy adjustment of cooking time, pressure levels, and temperature settings. This ensures precise and consistent cooking results, even for those who may be less experienced in the kitchen.
Safety is a major consideration when using any type of pressure cooker. Electric pressure cookers are designed with several safety features to prevent accidents and ensure peace of mind. These features include pressure release valves, locking systems that prevent the lid from being opened while the pressure is still high, and mechanisms that regulate and control the pressure within safe parameters.
Cleaning and maintenance of electric pressure cookers are relatively simple. The cooking pot and removable parts can usually be cleaned in the dishwasher or by hand, while the exterior can be wiped down with a damp cloth. It is important to consult the product’s specific instructions to ensure proper cleaning techniques.
In summary, an electric pressure cooker is a modern kitchen appliance that utilizes high-pressure steam to cook food quickly and efficiently. Its versatility, ease of use, and safety features make it an attractive option for home cooks who want to save time in the kitchen without compromising on flavor or quality. So, whether you’re a busy professional or a cooking enthusiast looking for a convenient cooking tool, an electric pressure cooker can be a valuable addition to your culinary arsenal.
Why Choose an Electric Pressure Cooker for Cooking Tri Tip?
When it comes to cooking tri tip, there are various methods and appliances to choose from. However, using an electric pressure cooker comes with a myriad of benefits that make it an excellent choice for preparing this flavorful cut of beef.
1. Time Efficiency: One of the standout advantages of using an electric pressure cooker for cooking tri tip is the significant reduction in cooking time. With the pressurized environment created inside the cooker, the tri tip cooks faster compared to traditional cooking methods such as grilling or roasting. What would typically take hours can be done in a fraction of the time, making it a perfect option for those seeking a quick and delicious meal.
2. Tender and Juicy Results: Tri tip can sometimes be a challenging cut of meat to cook, as it can become tough if not cooked correctly. The high-pressure steam generated within the electric pressure cooker helps to break down tough connective tissues and collagen, resulting in a tender and succulent tri tip. The sealed environment also helps to retain the natural juices, ensuring that the meat stays moist and flavorful.
3. Flavor Infusion: The intense pressure and steam produced by the electric pressure cooker help to infuse the seasonings and marinades deep into the tri tip, enhancing its overall flavor. The flavors penetrate the meat more effectively compared to traditional cooking methods, resulting in a more flavorful end product.
4. Versatility: Electric pressure cookers come with a variety of cooking modes, making them highly versatile appliances in the kitchen. In addition to pressure cooking, many models offer features such as slow cooking, sautéing, steaming, and even baking. This versatility allows you to explore different cooking techniques with your tri tip, providing you with a range of options to suit your preferences.
5. Convenience and Ease of Use: Electric pressure cookers are designed with user-friendly features that simplify the cooking process. Most models come equipped with intuitive control panels, pre-programmed settings, and timers, making it easy to set and forget while the cooker does the work. This convenience is particularly beneficial for those with busy schedules or limited time for meal preparation.
6. Energy Efficiency: Electric pressure cookers are known for their energy efficiency. The precision control over temperature and cooking time helps to minimize energy consumption compared to conventional cooking methods that require longer periods of heating.
7. Safety Features: Electric pressure cookers are equipped with a range of safety features that ensure safe and worry-free cooking. These features include pressure release valves, lid locking systems, and mechanisms that regulate and control the pressure within safe parameters.
In summary, using an electric pressure cooker for cooking tri tip offers numerous advantages, including time efficiency, tender and juicy results, flavor infusion, versatility, convenience, energy efficiency, and safety. These benefits make it a top choice for home cooks looking for a convenient and efficient way to prepare a delicious tri tip with minimal effort. So, if you’re a tri tip lover or want to impress your family and friends with a mouthwatering meal, consider utilizing an electric pressure cooker for your next cooking adventure.
Preparation
Before you begin cooking your tri tip in an electric pressure cooker, it’s important to properly prepare the meat and gather all the necessary ingredients. A well-prepared tri tip will ensure a delicious and flavorful result. Here’s what you need to do:
1. Selecting the Tri Tip:
– Start by choosing a high-quality tri tip from your local butcher or grocery store. Look for a cut that is well-marbled with fat and has a vibrant red color. The marbling will add flavor and tenderness to the meat.
2. Bringing the Tri Tip to Room Temperature:
– Remove the tri tip from the refrigerator and allow it to come to room temperature, usually around 30 minutes. This will ensure even cooking throughout the meat.
3. Trim Excess Fat:
– Tri tip often comes with a thick layer of fat on one side. While some fat is desirable for flavor, you may want to trim off any excessive fat to your preference. Leaving a thin layer of fat will help keep the meat moist during cooking.
4. Seasoning the Tri Tip:
– The next step is to season the tri tip with your choice of rub or marinade. Prepare a blend of spices that complements the beef flavor and enhances the taste. A basic seasoning mix can include salt, black pepper, garlic powder, onion powder, and any additional spices or herbs you prefer.
– Generously coat both sides of the tri tip with the seasoning mixture, pressing it into the meat to ensure it adheres well. This will help to enhance the flavor profile of the tri tip.
5. Marinating the Tri Tip (Optional):
– If you prefer to marinate the tri tip for added flavor, you can do so at this stage. Place the seasoned tri tip in a sealable plastic bag or a shallow dish, then pour your chosen marinade over it. Ensure that the tri tip is coated evenly, and let it marinate in the refrigerator for at least 2 hours but ideally overnight.
– Popular marinade options for tri tip include a combination of olive oil, soy sauce, Worcestershire sauce, garlic, herbs, and spices. Experiment with different flavors to find your favorite combination.
6. Resting the Tri Tip:
– After the tri tip has been seasoned or marinated, let it rest for about 10 to 15 minutes at room temperature. This allows the flavors to penetrate the meat and allows the moisture to redistribute, resulting in a more flavorful and tender end product.
By properly preparing the tri tip before cooking, you are setting the stage for a delicious and satisfying meal. Ensuring that the tri tip is seasoned, marinated if desired, and brought to room temperature will enhance the flavors and ensure even cooking throughout the meat. So take your time with the preparation process to achieve the best possible result when using the electric pressure cooker for cooking your tri tip.
Seasoning the Tri Tip
Seasoning the tri tip is a crucial step in preparing it for cooking. The right blend of spices and flavors will enhance the natural taste of the meat and create a delicious crust on the outside. Here’s how you can season your tri tip for a mouthwatering result:
1. Selecting the Seasonings:
– When it comes to seasoning tri tip, simplicity is key. It’s best to let the natural flavor of the beef shine through rather than overwhelming it with too many spices. A basic seasoning blend can include kosher salt, freshly ground black pepper, garlic powder, and onion powder.
– If you prefer a bolder flavor, you can add additional spices such as smoked paprika, chili powder, cayenne pepper, dried herbs like thyme or rosemary, or even a touch of brown sugar for a hint of sweetness. Remember to adjust the quantities of spices according to your personal taste preferences.
2. Applying the Seasoning:
– Start by patting the tri tip dry with paper towels. This will help the seasoning adhere to the meat better and create a nice crust when cooked.
– Sprinkle kosher salt evenly over all sides of the tri tip. The coarse texture of kosher salt aids in drawing out moisture from the surface, allowing the seasonings to penetrate the meat.
– Next, sprinkle freshly ground black pepper over the meat to add a pleasant heat and depth of flavor.
– Follow with garlic powder and onion powder, ensuring that the entire surface of the tri tip is evenly coated.
3. Massaging the Seasoning:
– Gently press the seasonings into the meat, ensuring that they adhere well. This will help the flavors penetrate the tri tip and create an even coating.
– Take your time to massage the seasonings into all the nooks and crannies of the meat, ensuring an even distribution of flavor.
4. Resting the Seasoned Tri Tip:
– After seasoning the tri tip, let it rest at room temperature for about 10 to 15 minutes. During this time, the seasonings will begin to work their magic, infusing the meat with flavor and allowing the salt to further tenderize the tri tip.
Remember, the amount of seasoning you use will depend on the size and personal preference. If you’re unsure, it’s always better to start with less seasoning and add more to taste during the cooking process.
By focusing on enhancing the natural flavors of the tri tip with a simple yet well-balanced seasoning blend, you can ensure a delicious and flavorful end result. So, take the time to season your tri tip properly before using the electric pressure cooker, and get ready to enjoy a mouthwatering meal that is sure to impress.
Before cooking a tri-tip in an electric pressure cooker, be sure to sear the meat on all sides to lock in the juices and enhance the flavor. This will result in a more tender and flavorful final dish.
Setting Up the Electric Pressure Cooker
Once you have prepared and seasoned your tri tip, it’s time to set up your electric pressure cooker for cooking. The proper setup ensures that the meat cooks evenly and efficiently, resulting in a tender and flavorful tri tip. Here are the steps to set up your electric pressure cooker:
1. Start with a Clean Pot:
– Before using the electric pressure cooker, ensure that the cooking pot is clean and dry. Wash it with warm, soapy water, or follow the manufacturer’s instructions for proper cleaning.
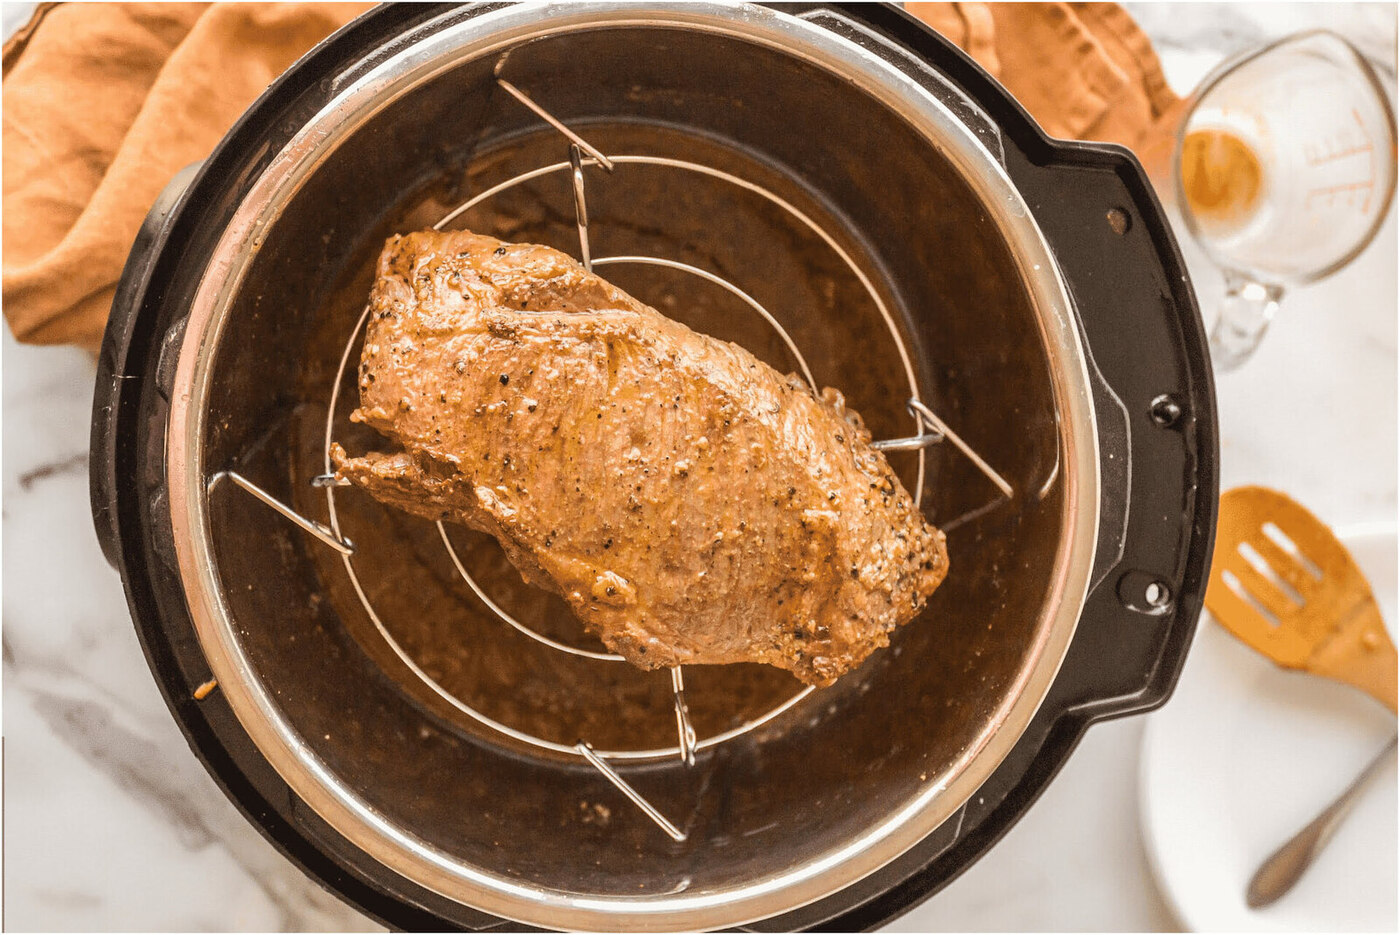
2. Place the Cooking Rack or Trivet:
– Most electric pressure cookers come with a cooking rack or trivet, which elevates the tri tip off the bottom of the pot. This helps prevent the meat from sticking to the surface and allows for even cooking. Place the cooking rack or trivet inside the cooking pot.
3. Add Liquid to the Pot:
– To create the necessary steam and pressure, you’ll need to add a liquid to the pot. While water is commonly used, you can also opt for beef broth, stock, or a combination of water and wine for added flavor.
– Generally, it’s recommended to add about 1 cup of liquid to the pot. However, refer to your specific electric pressure cooker’s instructions to determine the recommended amount.
4. Preheating the Electric Pressure Cooker (Optional):
– Some electric pressure cookers offer a preheating function that allows you to heat the pot before adding the tri tip. Preheating can help achieve a better sear on the outside of the meat and lock in the juices.
– To preheat, close the lid of the electric pressure cooker and set it to a preheating mode or high sauté function. Allow the pot to heat up for a few minutes until it reaches its desired temperature.
5. Adding the Tri Tip:
– Carefully place the seasoned and prepared tri tip onto the cooking rack or trivet, ensuring it is positioned in the center of the pot. Avoid overcrowding the pot, as this can impede the circulation of steam and hinder even cooking.
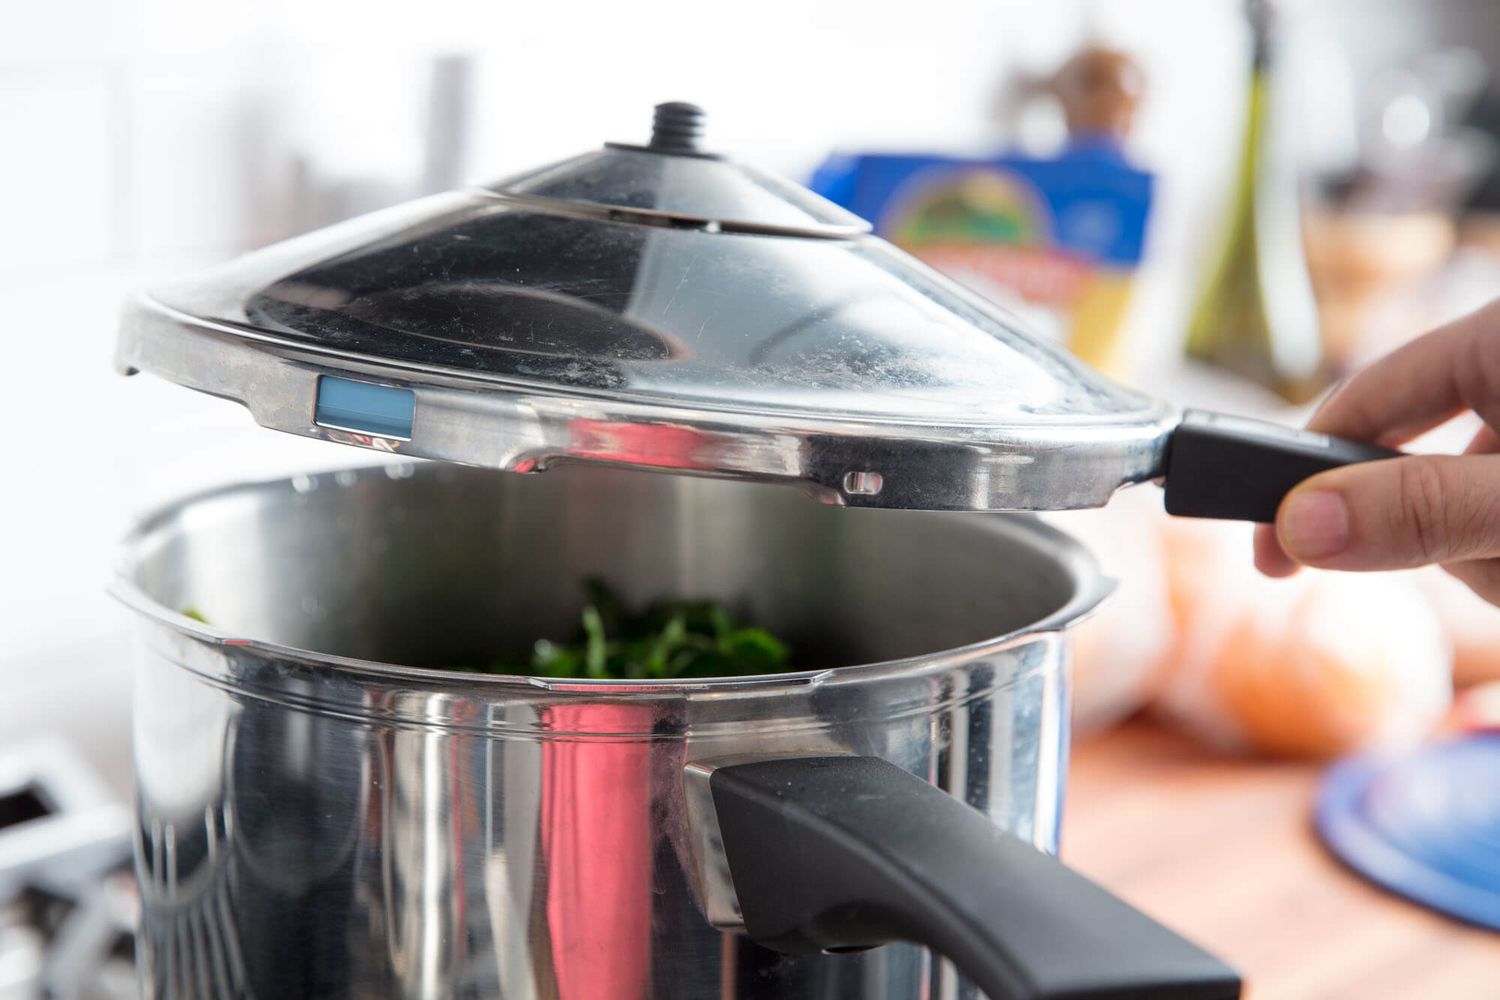
6. Securing the Lid:
– Make sure the lid of the electric pressure cooker is securely locked into place. This is essential to maintain pressure while cooking.
– Some electric pressure cookers have a visual indicator or audible signal to indicate when the lid is properly sealed. Follow the instructions specific to your cooker to ensure a proper seal.
Once you have set up your electric pressure cooker, you’re ready to start cooking the tri tip according to your desired cooking method and recipe. Whether you’re following a specific pressure cooking mode or using manual settings, refer to your electric pressure cooker’s instruction manual for recommended cooking times and pressure levels based on the weight and thickness of your tri tip.
By setting up your electric pressure cooker correctly, you’ll create an ideal environment for cooking your tri tip. This ensures that the meat cooks evenly and retains its moisture, resulting in a tender and delicious end result. So, with the electric pressure cooker ready to go, it’s time to let it work its magic on your tri tip.
Cooking the Tri Tip
With the electric pressure cooker set up and the tri tip prepared, it’s time to cook your tri tip to perfection. Using the appropriate cooking time and pressure levels will help ensure a tender and flavorful result. Here’s how to cook the tri tip in an electric pressure cooker:
1. Select the Cooking Mode:
– Depending on your electric pressure cooker model, select the appropriate cooking mode for your tri tip. Most electric pressure cookers have a dedicated “pressure cook” or “manual” mode. If available, choose the “meat” or “beef” setting.
2. Set the Cooking Time and Pressure Level:
– Follow your specific electric pressure cooker’s instructions to determine the recommended cooking time and pressure level for tri tip. The cooking time will depend on the size and thickness of the tri tip, but as a general guideline, 15-20 minutes per pound of tri tip at high pressure is a good starting point.
– Once you have determined the cooking time and pressure level, set them accordingly using the control panel of your electric pressure cooker.
3. Start the Cooking Process:
– After selecting the desired cooking time and pressure level, start the cooking process by pressing the start button or the designated button on your electric pressure cooker.
– The electric pressure cooker will take some time to build up pressure before the actual cooking time begins. This process can take anywhere from 5 to 15 minutes, depending on your cooker.
– During the cooking process, the cooker will maintain a constant high pressure to rapidly cook the tri tip.
4. Cooking Progress:
– Once the electric pressure cooker reaches the desired pressure level, the cooking time will start counting down. Avoid opening the lid during this cooking phase as it will release the pressure and interrupt the cooking process.
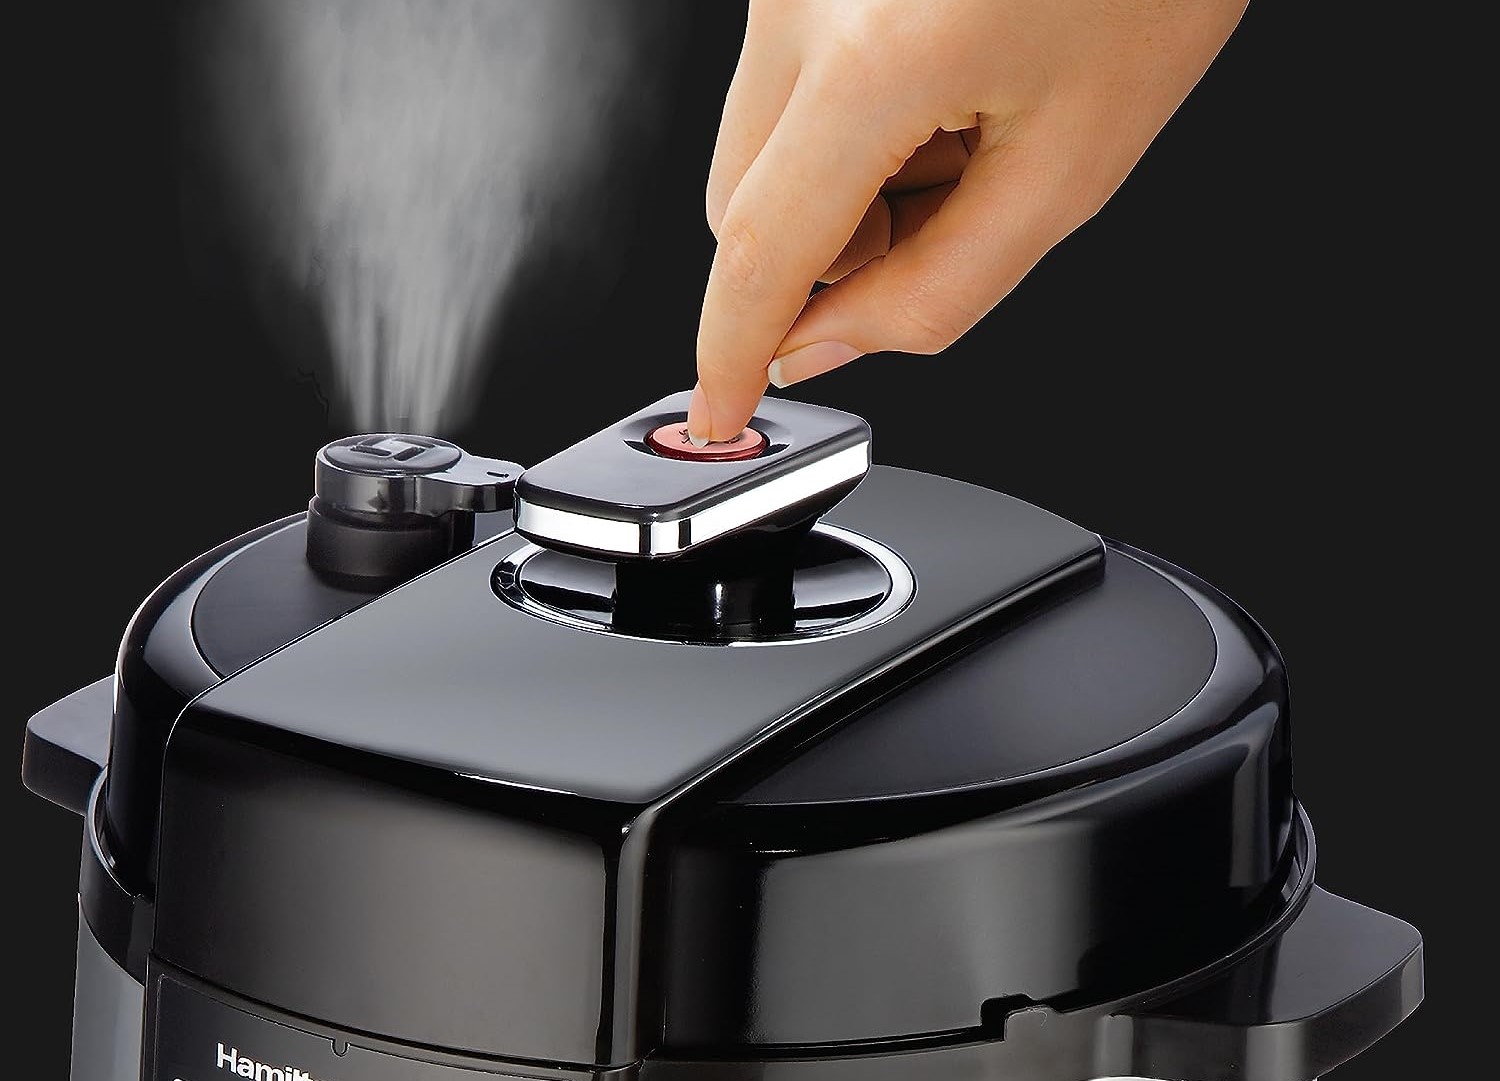
5. Natural Pressure Release:
– When the cooking time is complete, you have two options for releasing the pressure from the electric pressure cooker: natural pressure release (NPR) or quick pressure release (QPR).
– For tri tip, it’s recommended to use the natural pressure release method. This involves allowing the pressure to release naturally over time. Depending on the size of your tri tip, this can take about 10-15 minutes.
– Avoid opening the lid until the pressure valve drops completely, indicating that the pressure has been fully released.
6. Checking the Doneness:
– After the pressure has been released, open the lid and use a meat thermometer to check the internal temperature of the tri tip. For a medium-rare tri tip, aim for a temperature of around 130-135°F (54-57°C).
– If the tri tip is not yet at your desired level of doneness, you can return it to the electric pressure cooker for a few more minutes, using the same pressure level setting.
7. Resting the Tri Tip:
– Once your tri tip has reached the desired temperature, carefully remove it from the electric pressure cooker and transfer it to a cutting board.
– Allow the tri tip to rest for about 5-10 minutes before slicing. This resting period allows the juices to redistribute within the meat, resulting in a more tender and flavorful tri tip.
By following these steps and using the recommended cooking time and pressure levels, you will achieve a perfectly cooked tri tip in the electric pressure cooker. The high pressure and controlled cooking environment infuse the meat with flavor and yield a tender result. So, let the electric pressure cooker work its magic, and get ready to enjoy a mouthwatering tri tip.
Releasing the Pressure and Resting the Tri Tip
After cooking the tri tip in an electric pressure cooker, it’s crucial to release the pressure safely and allow the meat to rest. These steps are essential for achieving optimal tenderness and flavor. Here’s how to release the pressure and properly rest the tri tip:
1. Natural Pressure Release (NPR):
– After the cooking time is complete, it’s recommended to use the natural pressure release method. This involves allowing the pressure inside the electric pressure cooker to naturally dissipate over time.
– Depending on the size and thickness of your tri tip, this natural pressure release can take around 10-15 minutes. Avoid opening the pressure cooker during this time as it may interrupt the cooking process and affect the tenderness of the meat.
2. Quick Pressure Release (QPR) (Optional):
– If you’re short on time or prefer to release the pressure quickly, you can use the quick pressure release method. However, be cautious as this method may cause some liquid and steam to forcefully escape from the pressure cooker.
– To do a quick pressure release, move the pressure release valve to the venting position according to your specific electric pressure cooker’s instructions. The steam will be released, and the pressure will drop rapidly. Exercise caution while doing this as the steam can be hot.
3. Checking the Pressure Indicator:
– Before opening the lid, check the pressure indicator on your electric pressure cooker. Ensure that it is no longer elevated, indicating that the pressure has been fully released. Some electric pressure cookers have a float valve or a pressure indicator that drops when the pressure is released.
4. Opening the Lid:
– Once the pressure has been fully released, it is safe to open the lid of the electric pressure cooker. Open it away from your face to avoid being exposed to any residual steam.
5. Transferring and Resting the Tri Tip:
– Gently remove the cooked tri tip from the electric pressure cooker and transfer it to a clean cutting board.
– Allow the tri tip to rest for approximately 5-10 minutes before slicing. This resting period is essential as it allows the juices to redistribute within the meat, resulting in a tender and moist tri tip. Resting also helps enhance the flavor and ensures a more enjoyable eating experience.
Remember, during the resting period, the internal temperature of the tri tip may still rise a few degrees due to residual heat. Therefore, it’s crucial to monitor the internal temperature and ensure that it reaches your desired level of doneness for optimal flavor and texture.
By properly releasing the pressure and allowing the tri tip to rest, you will achieve a perfectly cooked and tender result. These steps ensure that the meat retains its moisture and flavors, resulting in a delicious dining experience. So, exercise caution when releasing the pressure, be patient during the resting period, and get ready to enjoy your perfectly cooked tri tip.
Read more: How To Use Nesco Electric Pressure Cooker
Slicing and Serving the Tri Tip
The final step in preparing your tri tip cooked in an electric pressure cooker is slicing and serving it. Properly slicing the tri tip ensures that each bite is tender and flavorful. Here’s how to slice and serve your tri tip:
1. Transfer the Tri Tip:
– Carefully transfer the rested tri tip from the cutting board to a clean serving platter. Use tongs or a large meat fork to prevent any juices from spilling.
2. Positioning for Slicing:
– Before you start slicing, take note of the grain of the meat. The grain refers to the direction of the muscle fibers in the tri tip. It’s essential to cut against the grain for optimal tenderness.
– In most tri tips, you’ll notice a visible and distinguishable grain running across the meat. Position the tri tip on the cutting board so that the grain is running horizontally.
3. Cutting Against the Grain:
– Using a sharp chef’s knife or carving knife, slice the tri tip against the grain into thin, even slices. Cutting against the grain breaks down the muscle fibers and results in more tender pieces of meat.
– For the best results, aim for slices that are about ¼ to ½ inch thick. If you prefer your meat thicker or thinner, adjust the thickness to your liking.
4. Plate and Serve:
– Once you have sliced the tri tip, arrange the slices on a serving platter or individual plates. Remember to lay the slices in a way that showcases the beautiful color and marbling of the meat.
– Serve your tri tip with your favorite side dishes, such as roasted vegetables, mashed potatoes, or a fresh salad. Consider offering some additional sauces or condiments like chimichurri, horseradish sauce, or barbecue sauce for extra flavor.
5. Enjoy Your Tri Tip:
– Tri tip is a versatile cut of beef that can be enjoyed in various ways. Whether you’re serving it as a main course, using it for sandwiches, or incorporating it into tacos or salads, the tender and flavorful meat is sure to be a hit.
Remember, as you continue slicing the tri tip, it’s important to maintain a consistent angle and apply minimal pressure. This ensures that each slice remains tender and retains its juiciness.
Properly sliced and served, your tri tip is now ready to be enjoyed. Whether it’s a special occasion or a simple family dinner, take pleasure in the tender and flavorful meat that is the result of cooking it in an electric pressure cooker. So gather your loved ones, savor the moment, and indulge in the deliciousness of your perfectly cooked tri tip.
Conclusion
Using an electric pressure cooker to cook a tri tip is a game-changer in the kitchen. This convenient and efficient kitchen appliance allows you to achieve tender and flavorful results in a fraction of the time compared to traditional cooking methods. By following the steps outlined in this article, you can master the art of cooking tri tip in an electric pressure cooker and impress your family and friends with your culinary skills.
Through the preparation, seasoning, setting up, cooking, releasing the pressure, and resting processes, each step plays a crucial role in ensuring the tri tip turns out perfectly cooked and packed with flavor. Seasoning the meat with a well-balanced blend of spices, selecting the right cooking mode and time, releasing the pressure safely, and allowing the tri tip to rest for optimal tenderness are all key elements in the cooking process.
The electric pressure cooker not only minimizes cooking time but also tenderizes the meat, infuses it with flavors, and retains its natural juices. The controlled environment of the pressure cooker allows for consistent and even cooking, resulting in a tender and succulent tri tip every time.
With the versatility of an electric pressure cooker, the possibilities for preparing tri tip are endless. Whether you prefer a simple seasoning or experimenting with different flavor profiles, the electric pressure cooker provides the convenience and flexibility to achieve your desired taste.
Remember, each tri tip may vary in size and thickness, so it’s important to adjust the cooking time and pressure level accordingly. It’s also crucial to refer to the specific instructions and recommended settings provided by your electric pressure cooker’s manufacturer.
In conclusion, cooking tri tip in an electric pressure cooker is a fantastic way to enjoy a flavorful and tender cut of beef without the lengthy cooking process. The convenience, time efficiency, and incredible results make it a valuable tool in any kitchen. So, grab your electric pressure cooker, follow the steps outlined in this article, and get ready to savor the deliciousness of a perfectly cooked tri tip.
Frequently Asked Questions about How To Use An Electric Pressure Cooker To Cook A Tri Tip
Was this page helpful?
At Storables.com, we guarantee accurate and reliable information. Our content, validated by Expert Board Contributors, is crafted following stringent Editorial Policies. We're committed to providing you with well-researched, expert-backed insights for all your informational needs.


0 thoughts on “How To Use An Electric Pressure Cooker To Cook A Tri Tip”