Home>Articles>How Do You Clean A Gourmia Electric Pressure Cooker
Articles
How Do You Clean A Gourmia Electric Pressure Cooker
Modified: December 6, 2023
Learn how to clean your Gormia electric pressure cooker with these helpful articles. Keep your cooker spotless and functioning at its best.
(Many of the links in this article redirect to a specific reviewed product. Your purchase of these products through affiliate links helps to generate commission for Storables.com, at no extra cost. Learn more)
Introduction
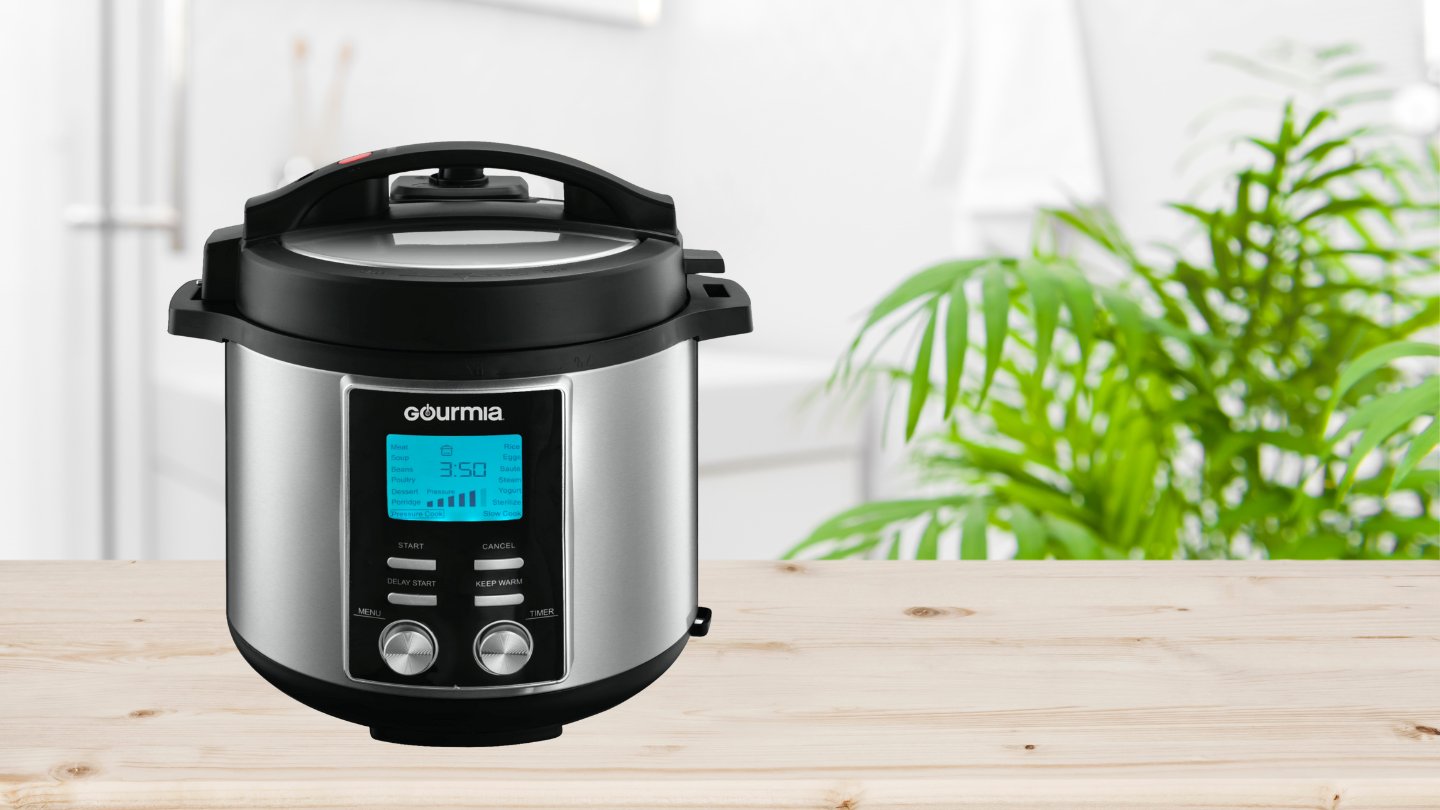
Welcome to this guide on how to clean a Gormia Electric Pressure Cooker. The Gormia Electric Pressure Cooker is a versatile and convenient kitchen appliance that helps you prepare delicious meals in no time. However, like any other appliance, it requires regular maintenance to ensure its longevity and optimal performance.
Cleaning your electric pressure cooker is essential to prevent the buildup of food residue, stains, and odors that may affect the taste and quality of your meals. Additionally, a clean pressure cooker is more hygienic and reduces the risk of bacterial contamination.
In this article, we will walk you through the step-by-step process of cleaning your Gormia Electric Pressure Cooker, focusing on different components such as the inner pot, lid, rubber gasket, pressure release valve, and the exterior.
Before we begin, it’s important to note that you should always consult the manufacturer’s instructions specific to your Gormia Electric Pressure Cooker model. These instructions may provide additional guidance or precautions tailored to your specific appliance.
Now, let’s dive into the details of how to clean your Gormia Electric Pressure Cooker and enjoy a clean and well-maintained appliance!
Key Takeaways:
- Regularly cleaning your Gormia Electric Pressure Cooker ensures hygienic, delicious meals and optimal appliance performance. Follow safety precautions and manufacturer’s instructions for a safe and effective cleaning process.
- From inner pot to exterior surfaces, each step in cleaning your pressure cooker plays a crucial role in maintaining its cleanliness, hygiene, and cooking efficiency. Prioritize safety and enjoy well-maintained, delicious meals.
Safety Precautions
Before starting the cleaning process, it’s crucial to ensure your safety and the protection of the appliance. Here are some important safety precautions to keep in mind:
- Unplug the pressure cooker: Before cleaning, always make sure the appliance is unplugged from the power source. This will prevent any potential electric shocks or accidents.
- Cool down the pressure cooker: Allow the pressure cooker to cool down completely before starting the cleaning process. Hot surfaces can cause burns, so it’s important to handle the appliance with caution.
- Be mindful of steam: Even after cooling, residual steam may still be present in the pressure cooker. Take extra care when handling the lid and other components to avoid potential steam burns.
- Use non-abrasive cleaners: When cleaning the pressure cooker, avoid using abrasive cleaners or scrubbing tools that may scratch or damage the surfaces. Instead, use mild dish soap, warm water, and non-abrasive sponges or cloths.
- Follow manufacturer’s instructions: Different models of Gormia Electric Pressure Cookers may have specific cleaning recommendations provided by the manufacturer. It is important to follow these instructions to ensure safe and proper cleaning.
- Store the pressure cooker properly: After cleaning, ensure the pressure cooker is dried thoroughly before storing it away. Moisture can lead to the growth of bacteria or mold if not properly dried.
By following these safety precautions, you can ensure a safe and effective cleaning process for your Gormia Electric Pressure Cooker.
Step 1: Unplug and Cool Down
The first step in cleaning your Gormia Electric Pressure Cooker is to unplug it from the power source and allow it to cool down completely. This step is essential to avoid any potential accidents or burns during the cleaning process.
Unplugging the pressure cooker ensures that it is completely disconnected from any electrical supply, reducing the risk of electric shocks or malfunctions. Simply locate the power cord and unplug it from the wall socket or power outlet.
Once the pressure cooker is unplugged, it’s important to let it cool down completely. After cooking, the pressure cooker retains heat for some time, so it’s essential to give it enough time to cool off before proceeding with the cleaning process.
During this cooling period, it’s essential to avoid touching the hot surfaces of the pressure cooker, including the lid, inner pot, and exterior. These surfaces can cause burns if they are still hot. Instead, allow the pressure cooker to sit undisturbed until it reaches room temperature.
By ensuring that the pressure cooker is unplugged and completely cooled down, you’re taking important safety precautions before starting the cleaning process. This step sets the foundation for a safe and effective cleaning experience.
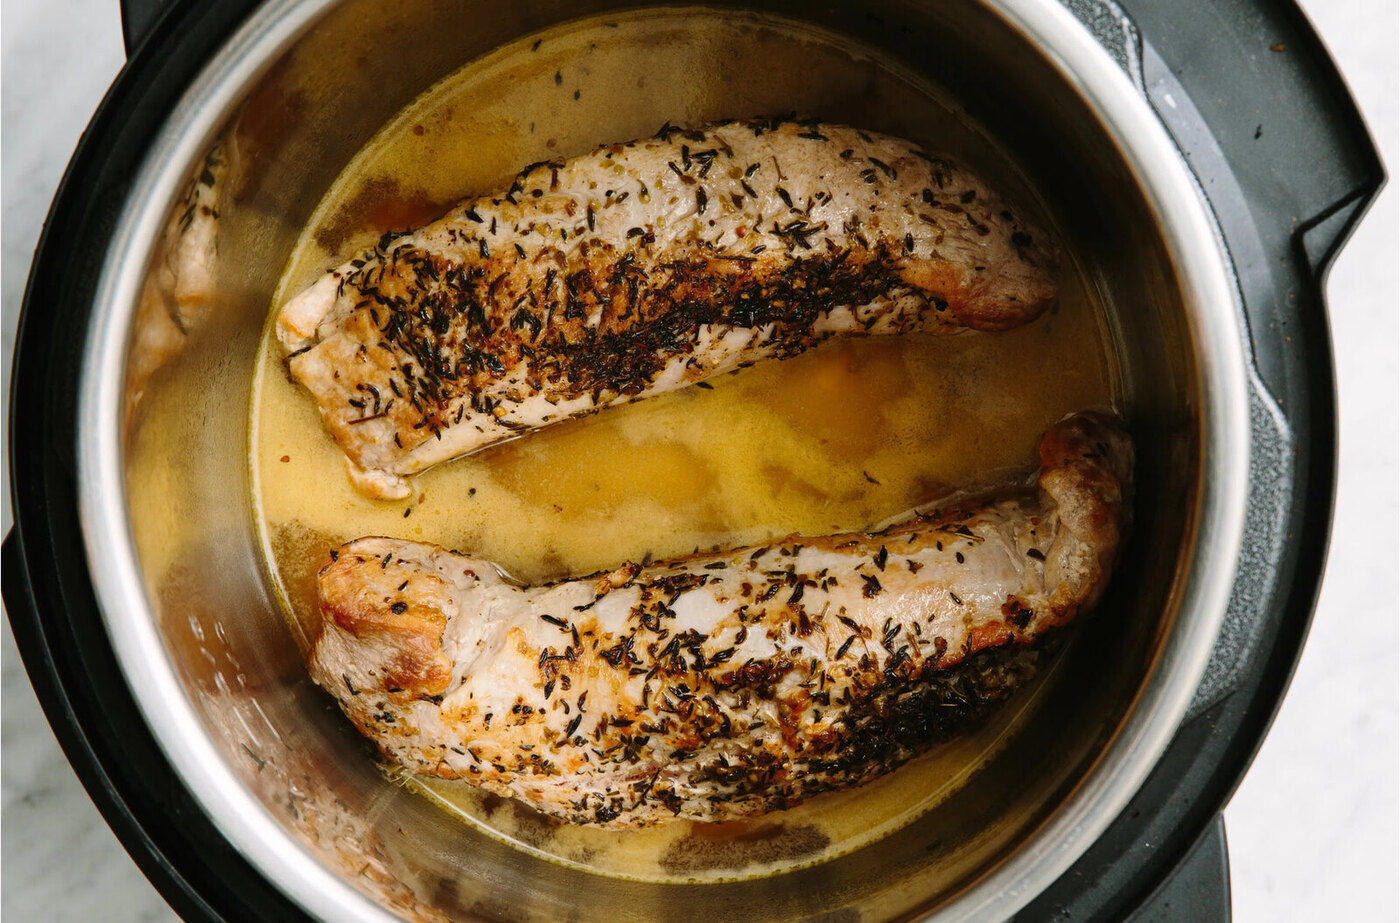
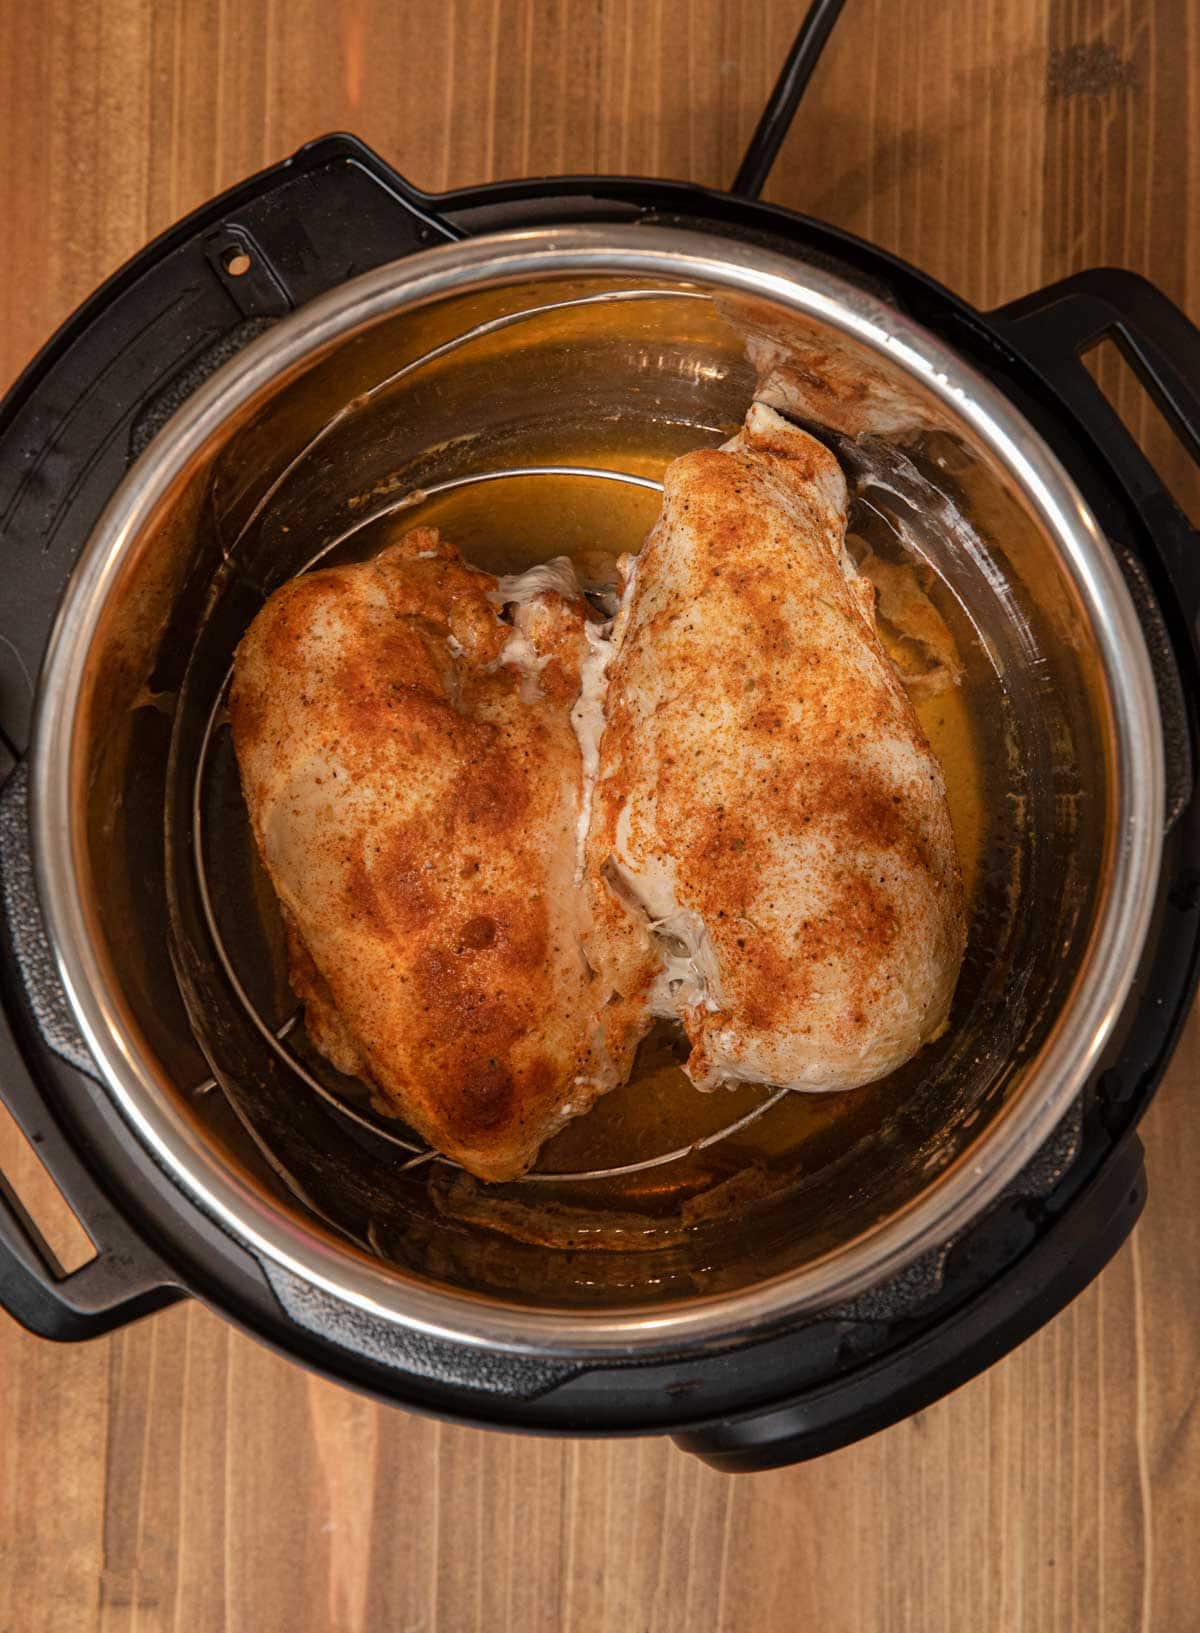
Step 2: Removing and Cleaning the Inner Pot
Now that your Gormia Electric Pressure Cooker is unplugged and cooled down, it’s time to remove and clean the inner pot. The inner pot is where you cook the food, and it can accumulate residue, food particles, and stains over time.
Here’s how you can remove and clean the inner pot:
- Remove the inner pot: Carefully lift the lid of the pressure cooker and locate the handle of the inner pot. Hold the handle firmly and lift it out of the pressure cooker. Place the inner pot on a clean surface.
- Empty any leftover food: Check the inner pot for any leftover food or liquid. Discard any remaining contents into the trash or sink. Avoid pouring food residues down the drain, as they can cause clogs.
- Wash with mild soap and warm water: Fill your sink or a basin with warm water and add a few drops of mild dish soap. Submerge the inner pot in the soapy water and use a non-abrasive sponge or cloth to clean the surface of the pot. Pay attention to any stubborn stains or residue and scrub gently to remove them.
- Rinse thoroughly: Once the inner pot is clean, rinse it thoroughly with warm water to remove any soap residue. Make sure there are no remaining traces of soap on the surface.
- Dry the inner pot: Use a clean towel or allow the inner pot to air dry completely before placing it back into the pressure cooker. Ensure that it is completely dry to prevent any moisture from affecting the performance of the pressure cooker.
By following these steps, you can effectively remove and clean the inner pot of your Gormia Electric Pressure Cooker. A clean inner pot not only ensures the quality of your meals but also prevents the buildup of residue that can affect the performance of the pressure cooker.
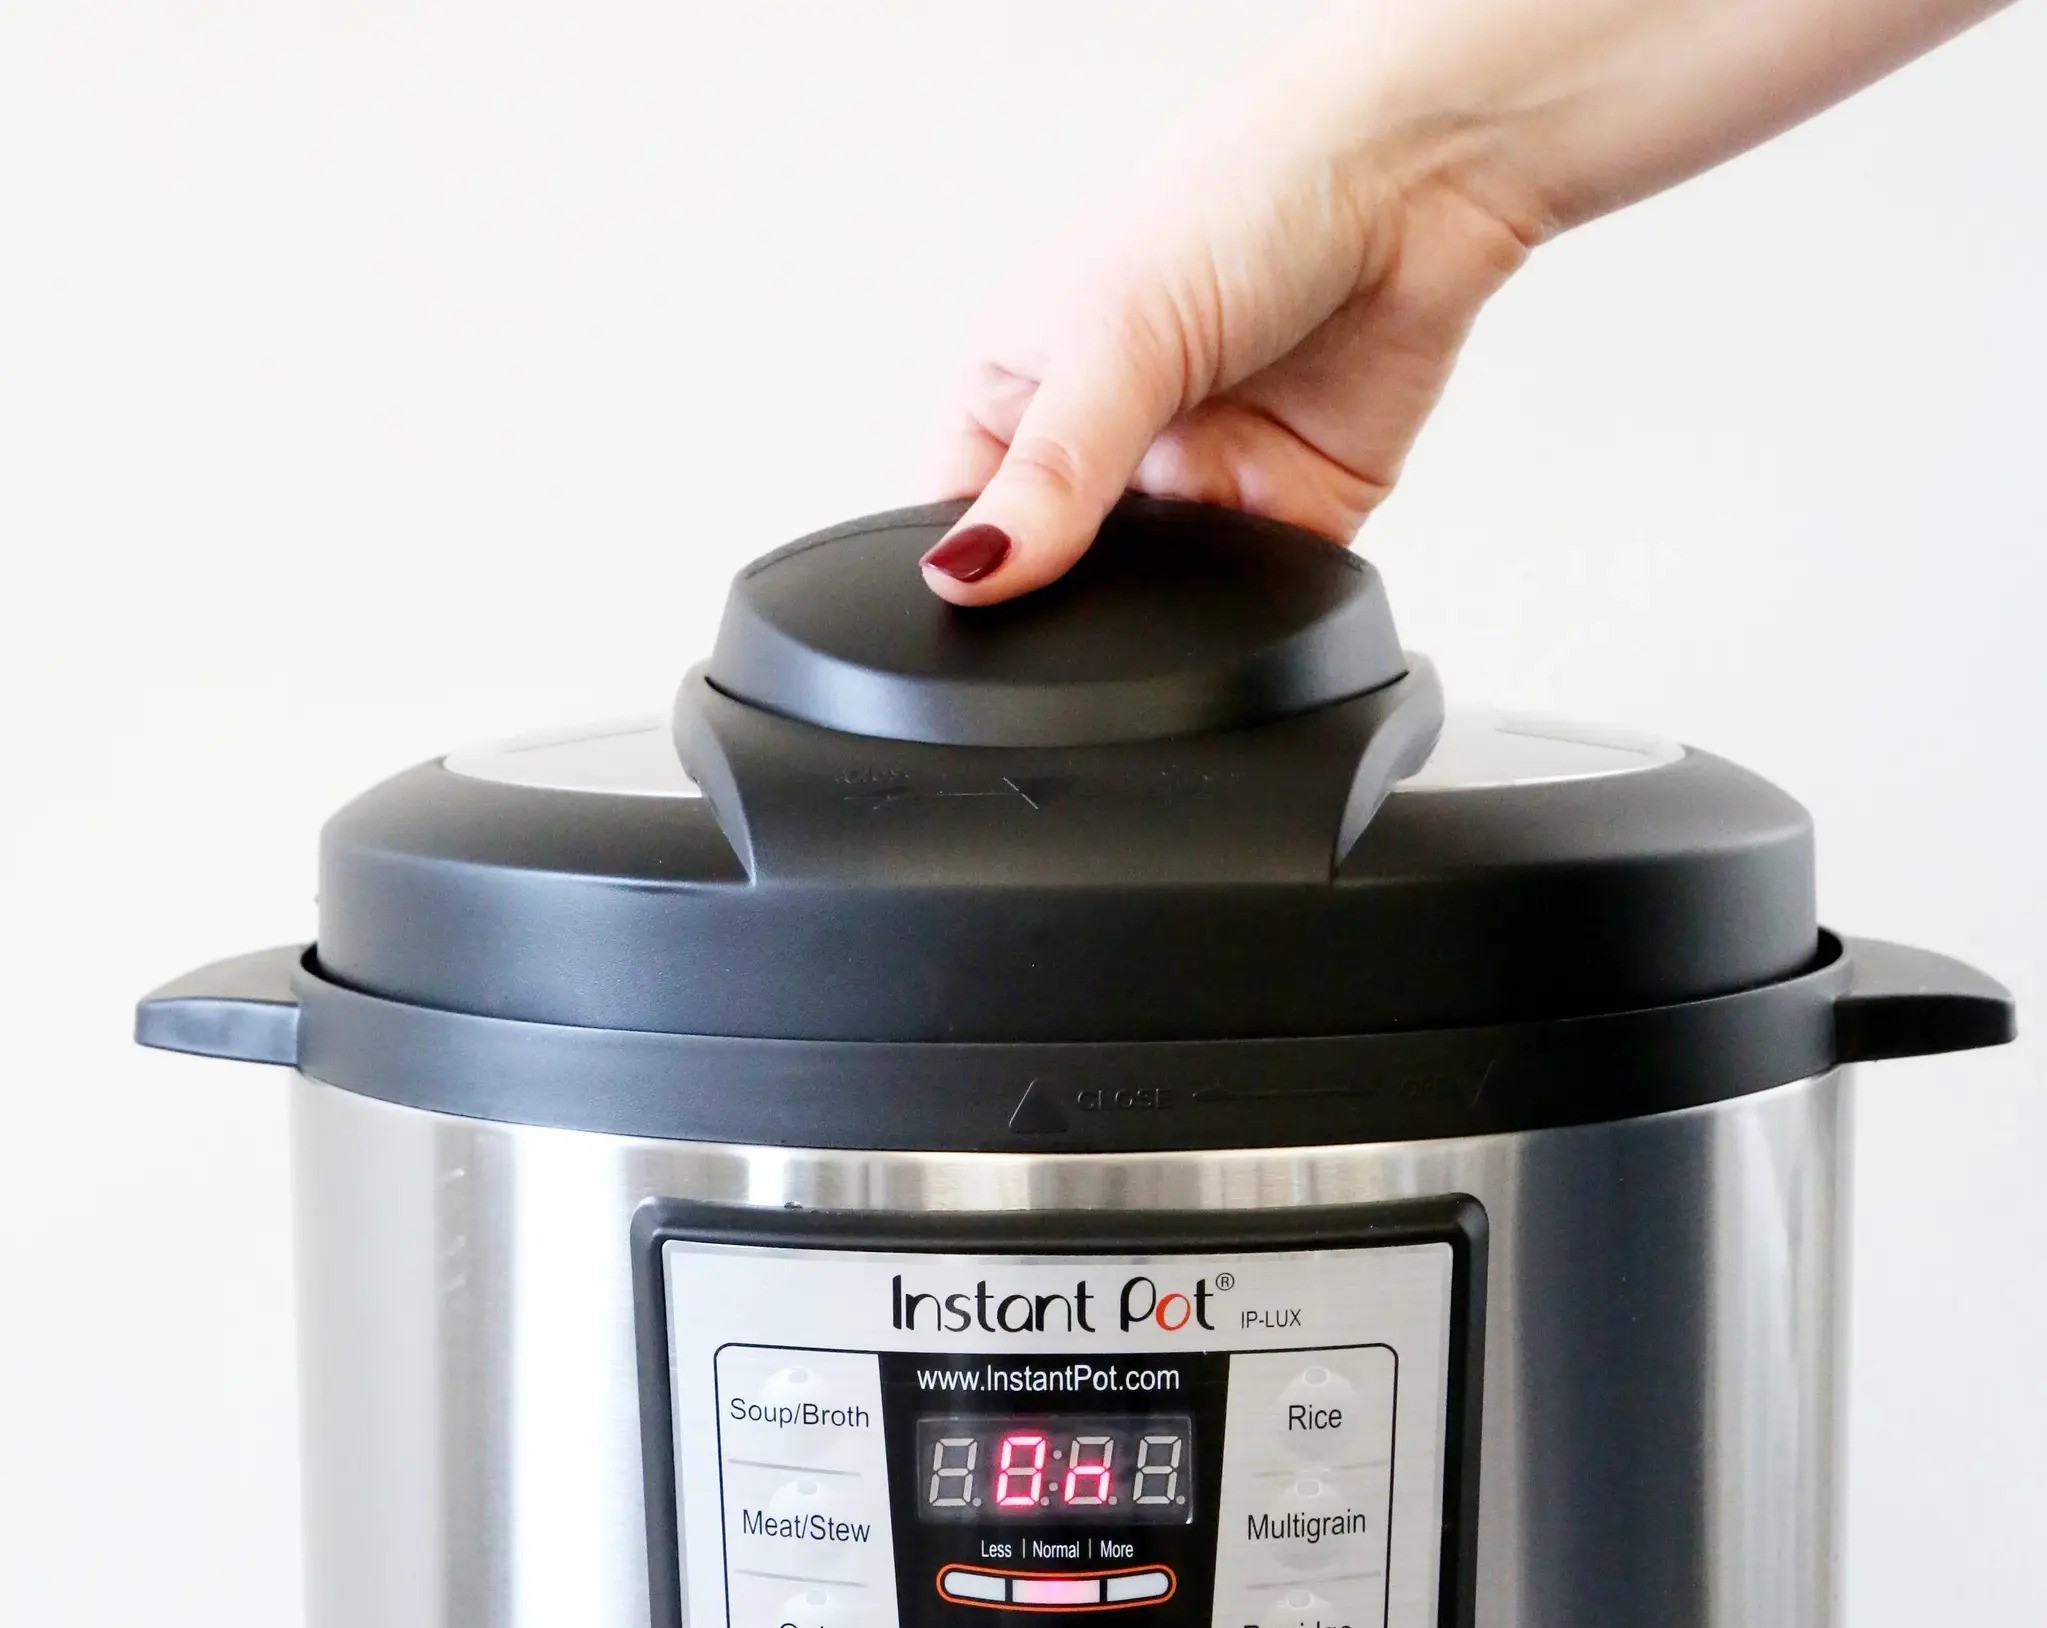
Step 3: Cleaning the Lid and Rubber Gasket
Continuing with the cleaning process, the next step is to clean the lid and rubber gasket of your Gormia Electric Pressure Cooker. The lid and rubber gasket can accumulate food residue, grease, and odors, so it’s important to clean them regularly to maintain optimal performance.
Here’s how you can clean the lid and rubber gasket:
- Separate the lid from the pressure cooker: Carefully detach the lid from the pressure cooker by lifting it upwards. Set the pressure cooker aside, as we will clean the exterior later.
- Remove the rubber gasket: The rubber gasket is a removable silicone seal located along the inside rim of the lid. Gently pull the rubber gasket away from the lid, being careful not to damage it.
- Clean the lid: Using warm water and mild dish soap, wash the lid thoroughly. Pay attention to any food residue or stains and scrub gently to remove them. You can use a non-abrasive sponge or cloth to clean the lid’s surface.
- Clean the rubber gasket: Fill your sink or a basin with warm water and add a few drops of mild dish soap. Submerge the rubber gasket in the soapy water and use your fingers to clean it. Pay attention to any food particles or debris trapped in the gasket. Rinse the gasket thoroughly with warm water to remove any soap residue.
- Dry the lid and rubber gasket: Use a clean towel or allow the lid and rubber gasket to air dry completely before reassembling them. Ensure that there is no moisture left on the surfaces to prevent the growth of mold or bacteria.
Once the lid and rubber gasket are clean and dry, you can proceed to the next step of cleaning your Gormia Electric Pressure Cooker. Cleaning these components ensures that your pressure cooker remains hygienic and odor-free.
To clean a Gormia electric pressure cooker, unplug it and let it cool down. Remove the inner pot and wash it with warm soapy water. Wipe down the exterior with a damp cloth. Do not immerse the base in water.
Step 4: Cleaning the Pressure Release Valve
The pressure release valve is an essential component of your Gormia Electric Pressure Cooker that helps regulate the pressure inside the appliance. Over time, the pressure release valve can become clogged with residue or debris, affecting its functionality. Cleaning the pressure release valve is crucial to maintain efficient pressure release and prevent any issues during cooking.
Here’s how you can clean the pressure release valve:
- Locate the pressure release valve: The pressure release valve is usually located on the lid of the pressure cooker. It may vary in design depending on your Gormia model.
- Inspect for any clogs or debris: Check the pressure release valve for any visible clogs or debris. If you notice any blockages, it may be affecting the pressure release function of the valve.
- Remove the pressure release valve (if applicable): Some pressure release valves can be detached for easy cleaning. Refer to your Gormia Electric Pressure Cooker’s instructions to determine if the valve can be removed.
- Clean the valve: If the pressure release valve can be removed, soak it in warm soapy water for a few minutes. Use a soft brush or cloth to gently scrub away any residue or debris. If the valve is not removable, use a small brush or toothpick to carefully dislodge any clogs.
- Rinse and dry the valve: After cleaning, rinse the pressure release valve with clean water to remove any soap residue. Ensure that it is completely dry before reattaching it to the lid.
- Reattach the pressure release valve (if applicable): If the pressure release valve was detached, carefully reattach it back to its original position on the lid. Make sure it fits securely.
By cleaning the pressure release valve regularly, you ensure that your Gormia Electric Pressure Cooker operates effectively and safely. A clean valve allows for proper pressure regulation and efficient cooking results.
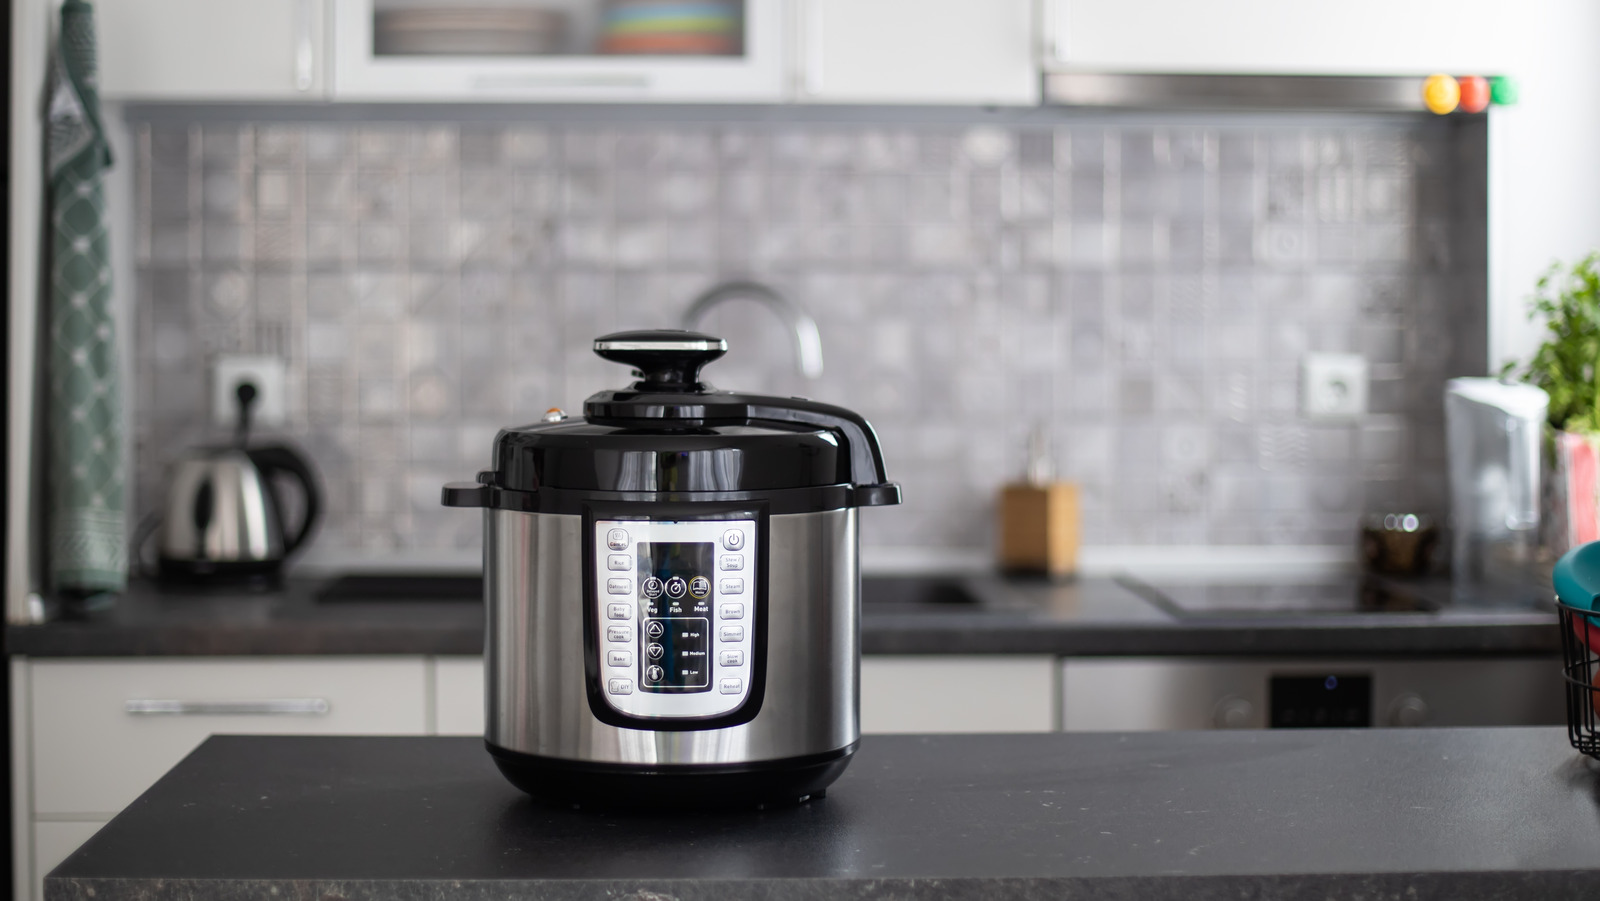
Step 5: Wiping Down the Exterior
Now that you have cleaned the inner pot, lid, rubber gasket, and pressure release valve, it’s time to focus on the exterior of your Gormia Electric Pressure Cooker. The exterior can accumulate fingerprints, grease, and spills, so giving it a wipe down will help maintain its appearance and cleanliness.
Here’s how you can wipe down the exterior of your pressure cooker:
- Prepare a gentle cleaning solution: Fill a bowl or bucket with warm water and add a few drops of mild dish soap. Mix the solution until it forms a soapy mixture.
- Dampen a soft cloth or sponge: Dip a soft cloth or sponge into the soapy water solution. Wring out any excess moisture, ensuring that the cloth or sponge is damp but not dripping.
- Wipe the exterior surfaces: Gently wipe down the exterior surfaces of the pressure cooker, including the sides, front, back, and control panel. Use circular motions or back-and-forth strokes to remove any dirt, stains, or residue. Pay extra attention to areas that are prone to fingerprints or spills.
- Clean stubborn stains: For stubborn stains that do not come off with the soapy water solution, you can apply a small amount of vinegar or a mild all-purpose cleaner onto the cloth or sponge. Use it to spot clean the affected areas, being careful not to use abrasive cleaners that can damage the surface.
- Rinse the cloth or sponge: After wiping down the exterior surfaces, rinse the cloth or sponge with clean water to remove any soap residue or cleaning solution.
- Wipe dry: Finally, use a dry, clean cloth to wipe down the exterior surfaces of the pressure cooker, removing any remaining moisture. Ensure that all surfaces are completely dry before reassembling or storing the appliance.
By regularly wiping down the exterior of your Gormia Electric Pressure Cooker, you can keep it looking clean and well-maintained. This step not only enhances its appearance but also helps in preventing the buildup of grime or stains over time.
Step 6: Reassembling the Pressure Cooker
After cleaning all the components of your Gormia Electric Pressure Cooker, it’s time to reassemble the appliance. Proper reassembly ensures that all the parts are securely in place and ready for future use.
Here’s how you can reassemble your Gormia Electric Pressure Cooker:
- Place the inner pot back into the pressure cooker: Carefully lift the inner pot and place it back into the pressure cooker. Ensure that it is positioned securely and aligned with the cooker’s housing.
- Reattach the lid: Align the lid with the pressure cooker and gently lower it onto the appliance. Ensure that the lid is properly seated and fits snugly. You may need to rotate the lid slightly until it clicks into place.
- Place the rubber gasket back onto the lid (if applicable): If you had removed the rubber gasket, it’s time to place it back onto the lid. Align the gasket with the groove along the inner rim of the lid and press it firmly into place.
- Ensure all components are secure: Check that all the components, including the inner pot, lid, and rubber gasket, are securely in place. Give them a gentle tug or twist to ensure they are properly fitted.
- Plug in the pressure cooker: Once the appliance is fully reassembled, plug it back into a power source. You’re now ready to use your clean and well-maintained Gormia Electric Pressure Cooker for your next delicious meal.
By following these steps to reassemble your pressure cooker, you ensure that all the components are properly aligned and securely in place. This allows for safe and efficient cooking in the future.
Conclusion
Cleaning your Gormia Electric Pressure Cooker is an important part of maintaining its performance, longevity, and hygiene. By following the step-by-step guide outlined in this article, you can easily clean and maintain your pressure cooker, ensuring that it remains in optimal condition for years to come.
Remember to always prioritize safety by unplugging and allowing the appliance to cool down before starting the cleaning process. Take extra care when handling hot components and be mindful of steam to prevent any potential accidents.
From removing and cleaning the inner pot to wiping down the exterior surfaces, each step plays a crucial role in keeping your pressure cooker clean and free from residue, stains, and odors. Regular cleaning not only ensures the quality and taste of your cooked meals but also enhances the overall cooking experience.
Additionally, following the manufacturer’s instructions specific to your Gormia Electric Pressure Cooker model is essential. These instructions may provide additional guidance and precautions tailored to your appliance, ensuring safe and proper cleaning.
By investing a little time and effort into cleaning your Gormia Electric Pressure Cooker, you can enjoy delicious meals that are prepared in a clean, hygienic, and well-maintained appliance. So, go ahead and give your pressure cooker the tender loving care it deserves!
Frequently Asked Questions about How Do You Clean A Gourmia Electric Pressure Cooker
Was this page helpful?
At Storables.com, we guarantee accurate and reliable information. Our content, validated by Expert Board Contributors, is crafted following stringent Editorial Policies. We're committed to providing you with well-researched, expert-backed insights for all your informational needs.


0 thoughts on “How Do You Clean A Gourmia Electric Pressure Cooker”