Articles
How To Use Insulated Lunch Box
Modified: August 17, 2024
Learn how to effectively use insulated lunch boxes with these informative articles. Discover tips, tricks, and ideas for packing healthy meals on the go.
(Many of the links in this article redirect to a specific reviewed product. Your purchase of these products through affiliate links helps to generate commission for Storables.com, at no extra cost. Learn more)
Introduction
In today’s fast-paced world, finding the time to prepare and enjoy a healthy and delicious meal during the workday can be a challenge. It’s all too tempting to resort to fast food or unhealthy snacks when hunger strikes. However, with the help of an insulated lunch box, you can enjoy fresh, homemade meals anytime, anywhere.
An insulated lunch box is a convenient and practical solution for carrying meals while keeping them at the optimal temperature. Whether you work in an office, are a student, or enjoy outdoor activities, an insulated lunch box can be your best ally in maintaining a nutritious diet and saving money.
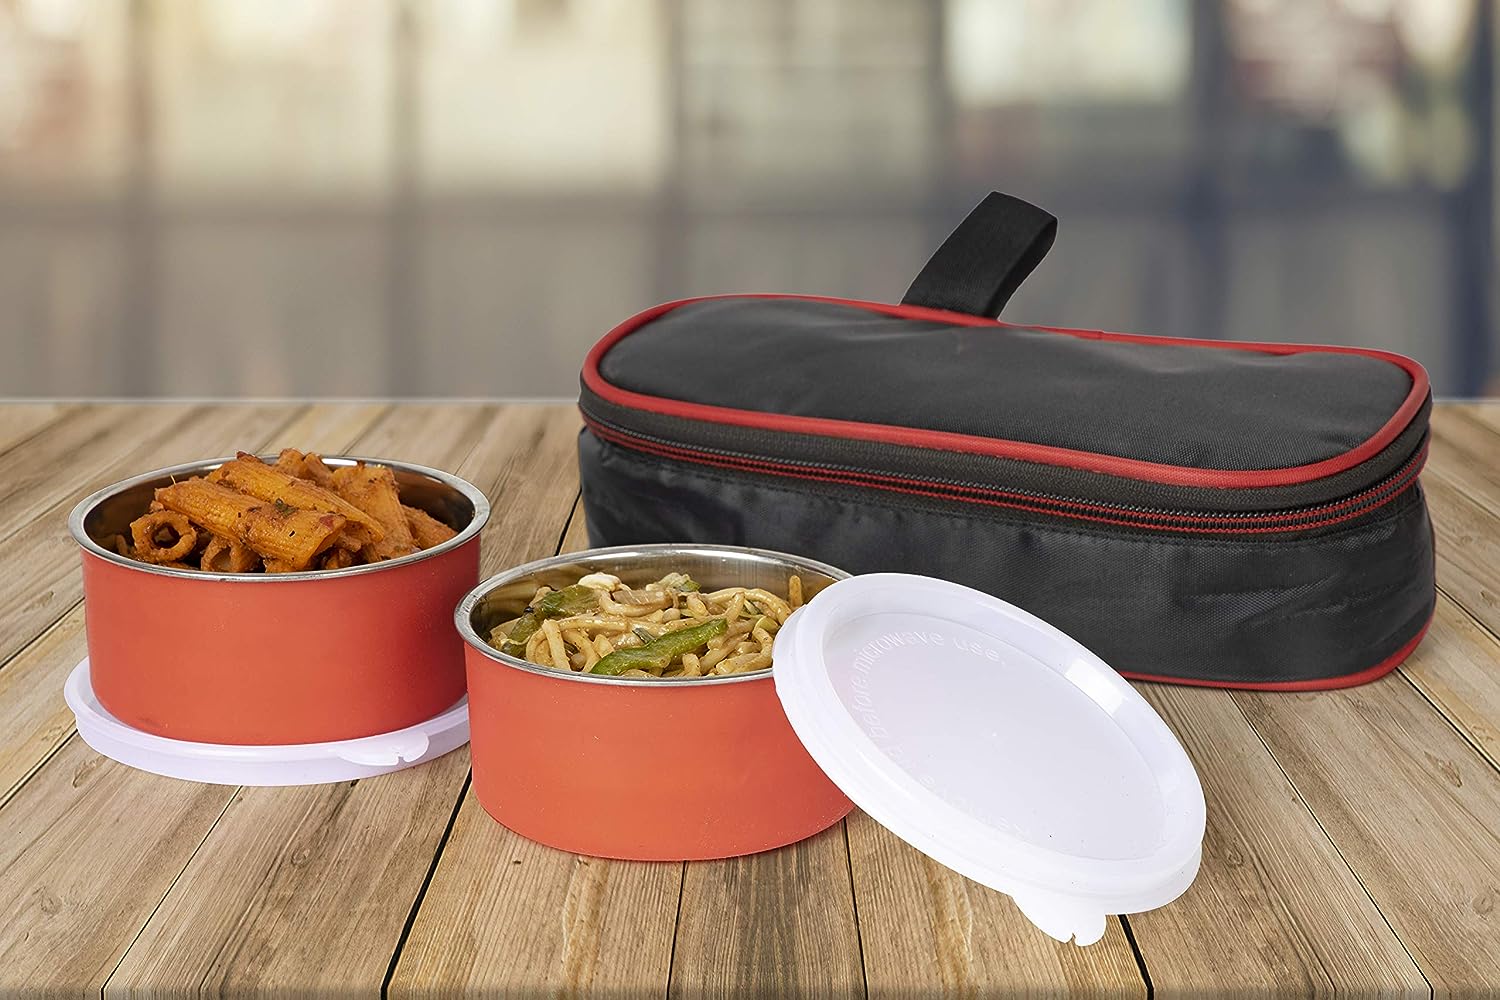
So, what exactly is an insulated lunch box? It is a portable container designed to keep your food hot or cold for an extended period. It is typically made of durable materials, such as high-quality plastic, stainless steel, or canvas, with an insulated lining that acts as a barrier against outside temperature changes.
In this article, we will explore the numerous benefits of using an insulated lunch box, guide you through the process of choosing the right one for your needs, provide tips on packing your lunch effectively, and offer maintenance and cleaning tips to ensure that your insulated lunch box remains in excellent condition.
By the end of this article, you will have a comprehensive understanding of how to make the most out of your insulated lunch box and be ready to enjoy delicious and healthy meals on the go.
Key Takeaways:
- Insulated lunch boxes offer food safety, cost savings, and environmental benefits. They maintain freshness, preserve temperature flexibility, and provide portability and customization, making them a practical and eco-friendly choice for enjoying meals on the go.
- Choosing the right insulated lunch box, effective packing, and proper maintenance are essential for maximizing the benefits of using one. With strategic meal planning, layering foods, and following temperature maintenance tips, individuals can enjoy delicious and nutritious meals anytime, anywhere.
Read also: 14 Amazing Insulated Lunch Box for 2025
Benefits of Using an Insulated Lunch Box
Using an insulated lunch box comes with a myriad of benefits that can greatly enhance your daily meals. Let’s take a look at some of the key advantages:
- Food Safety: One of the most significant benefits of an insulated lunch box is its ability to keep your food at a safe temperature. Whether you’re packing perishable items like dairy products or cooked meals, an insulated lunch box helps maintain the ideal temperature range to prevent bacterial growth and foodborne illnesses.
- Preserves Freshness: Without proper insulation, food can quickly lose its freshness, flavor, and texture. However, with an insulated lunch box, your meals will stay fresh for a longer period. This allows you to enjoy homemade food that tastes just as delicious as when it was prepared.
- Temperature Flexibility: An insulated lunch box not only keeps your food hot but also preserves its coldness. So whether you prefer hot soups, stews, or chilled salads and beverages, the insulation will maintain the desired temperature until it’s time to enjoy your meal.
- Cost Savings: Bringing your own lunch to work or school can help you save a significant amount of money over time. By packing leftovers or prepping meals in advance, you can avoid the high costs of eating out or buying pre-packaged meals on a daily basis. An insulated lunch box allows you to enjoy affordable, home-cooked meals wherever you are.
- Environmentally Friendly: With concerns about the environment on the rise, using an insulated lunch box is an eco-friendly choice. By reducing the need for disposable containers, plastic bags, and packaging, you can actively contribute to reducing waste and minimizing your carbon footprint.
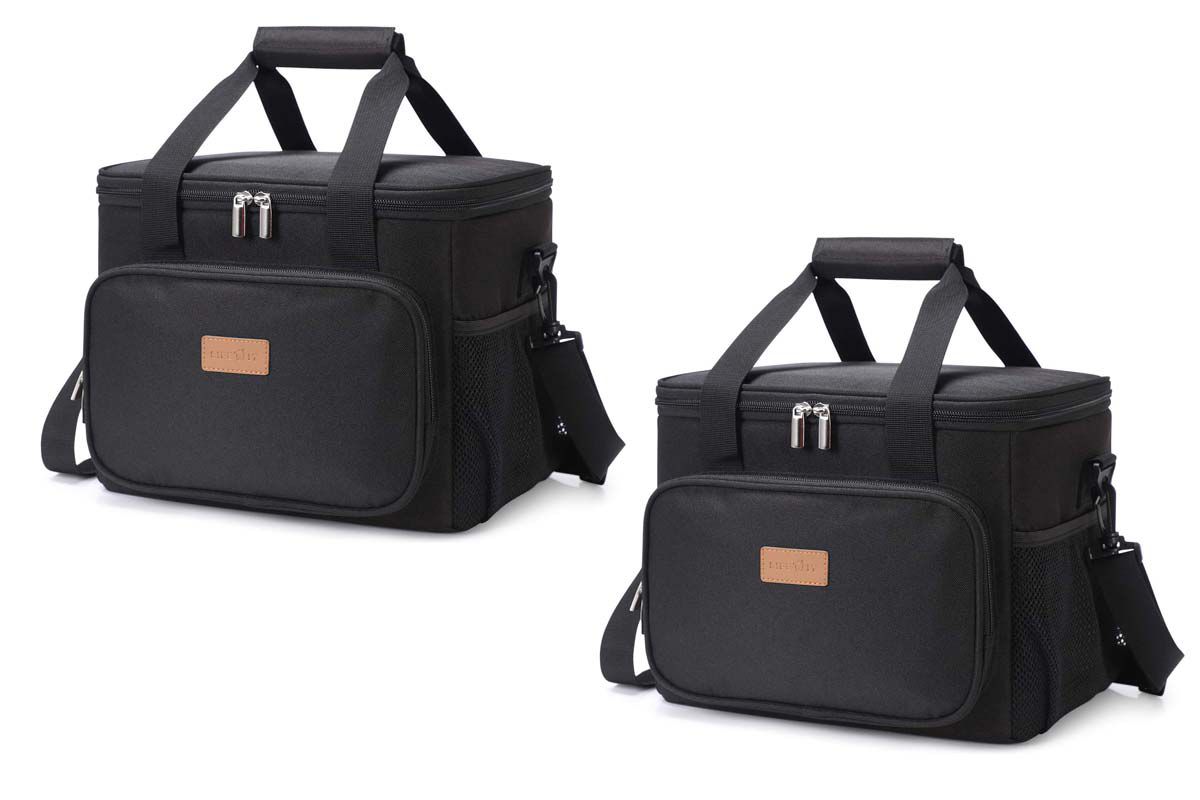
- Portability and Convenience: Insulated lunch boxes are designed to be portable, making them incredibly convenient for people on the go. With their compact size and various compartments, they make it easy to carry your entire meal, including snacks, fruits, and drinks, in one handy container. Plus, they often come with features like carry straps or handles for added convenience.
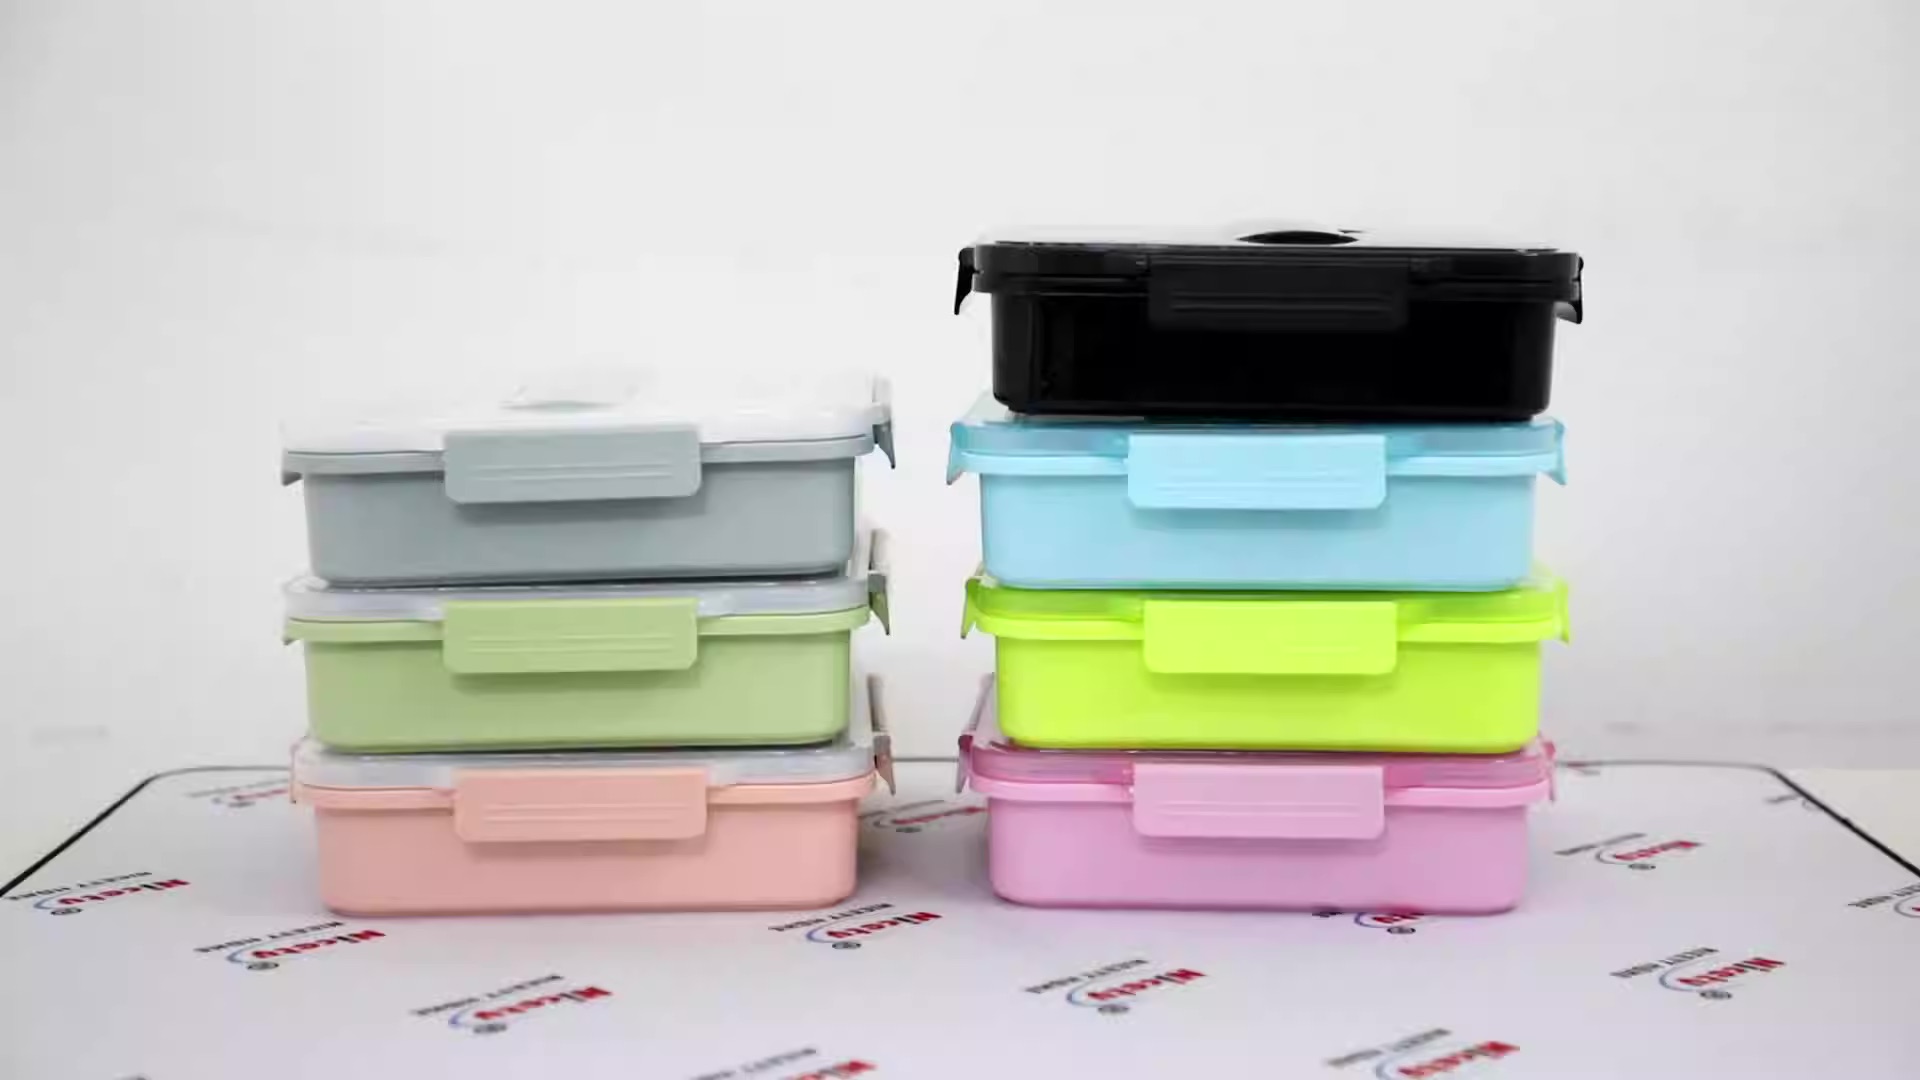
- Customization: Insulated lunch boxes come in a wide range of sizes, designs, and colors, allowing you to choose one that matches your style and personality. Some even come with additional features like built-in utensils or separate compartments for versatile meal options.
Now that we’ve explored the many benefits of using an insulated lunch box, let’s dive into the next section and discover how to choose the right one for your needs.
Choosing the Right Insulated Lunch Box
When it comes to selecting the right insulated lunch box, there are a few factors to consider that can help ensure you find the perfect fit for your needs. Here are some tips to guide you in choosing the right insulated lunch box:
- Size and Capacity: Assess how much food you typically pack for your meals. If you prefer lighter meals or snacks, a smaller lunch box may be sufficient. However, if you often pack larger meals or multiple dishes, opt for a lunch box with a larger capacity. Consider the dimensions and compartments available to accommodate your desired portion sizes.
- Durability: Look for a lunch box made from high-quality materials that can withstand daily use and potential impacts. Insulated lunch boxes made from sturdy plastic or stainless steel are typically more durable and offer better insulation compared to flimsy options.
- Insulation Performance: The primary purpose of an insulated lunch box is to keep food at the desired temperature. Check the product details or reviews for information on its insulation performance. Look for lunch boxes with double-walled insulation or thick insulated linings for optimum temperature retention.
- Sealing and Leak-Proof Features: To prevent spills and leaks, choose a lunch box with a secure sealing mechanism. Look for lunch boxes that come with tight-fitting lids or locking systems to keep your meals contained and avoid any messy situations.
- Easy to Clean: Opt for an insulated lunch box that is easy to clean to maintain proper hygiene. Lunch boxes with smooth surfaces and removable compartments make it easier to wash away any food residue. Check if it is dishwasher-safe or if the design allows for effortless hand-washing.
- Portability: Consider how you will be carrying your lunch box. If you prefer a hands-free option, look for lunch boxes with comfortable carry straps or handles. Additionally, lightweight lunch boxes with compact designs are more convenient for travel or fitting into backpacks and bags.
- Additional Features: Some insulated lunch boxes come with extra features that can enhance your mealtime experience. This can include built-in utensils, separate compartments for storing different food items, or even insulation for beverages. Consider any additional features that could be beneficial to your specific needs.
Take your time to compare different options, read reviews, and consider your personal requirements before making a decision. Choosing the right insulated lunch box will ensure that you have a reliable and functional companion for enjoying your packed meals.
Now that you have chosen the perfect insulated lunch box, it’s time to learn how to pack your lunch effectively. Stay tuned for the next section!
Packing Your Lunch in an Insulated Lunch Box
Now that you have your insulated lunch box ready, it’s time to start packing your delicious meals. Properly packing your lunch will help keep it fresh, maintain the desired temperature, and ensure a satisfying eating experience. Here are some tips to help you pack your lunch effectively:
- Plan Your Meals: Take a few moments each week to plan your meals in advance. This will help you save time and ensure that you have all the necessary ingredients on hand. Consider incorporating a mix of proteins, carbohydrates, healthy fats, and plenty of fruits and vegetables for a well-balanced meal.
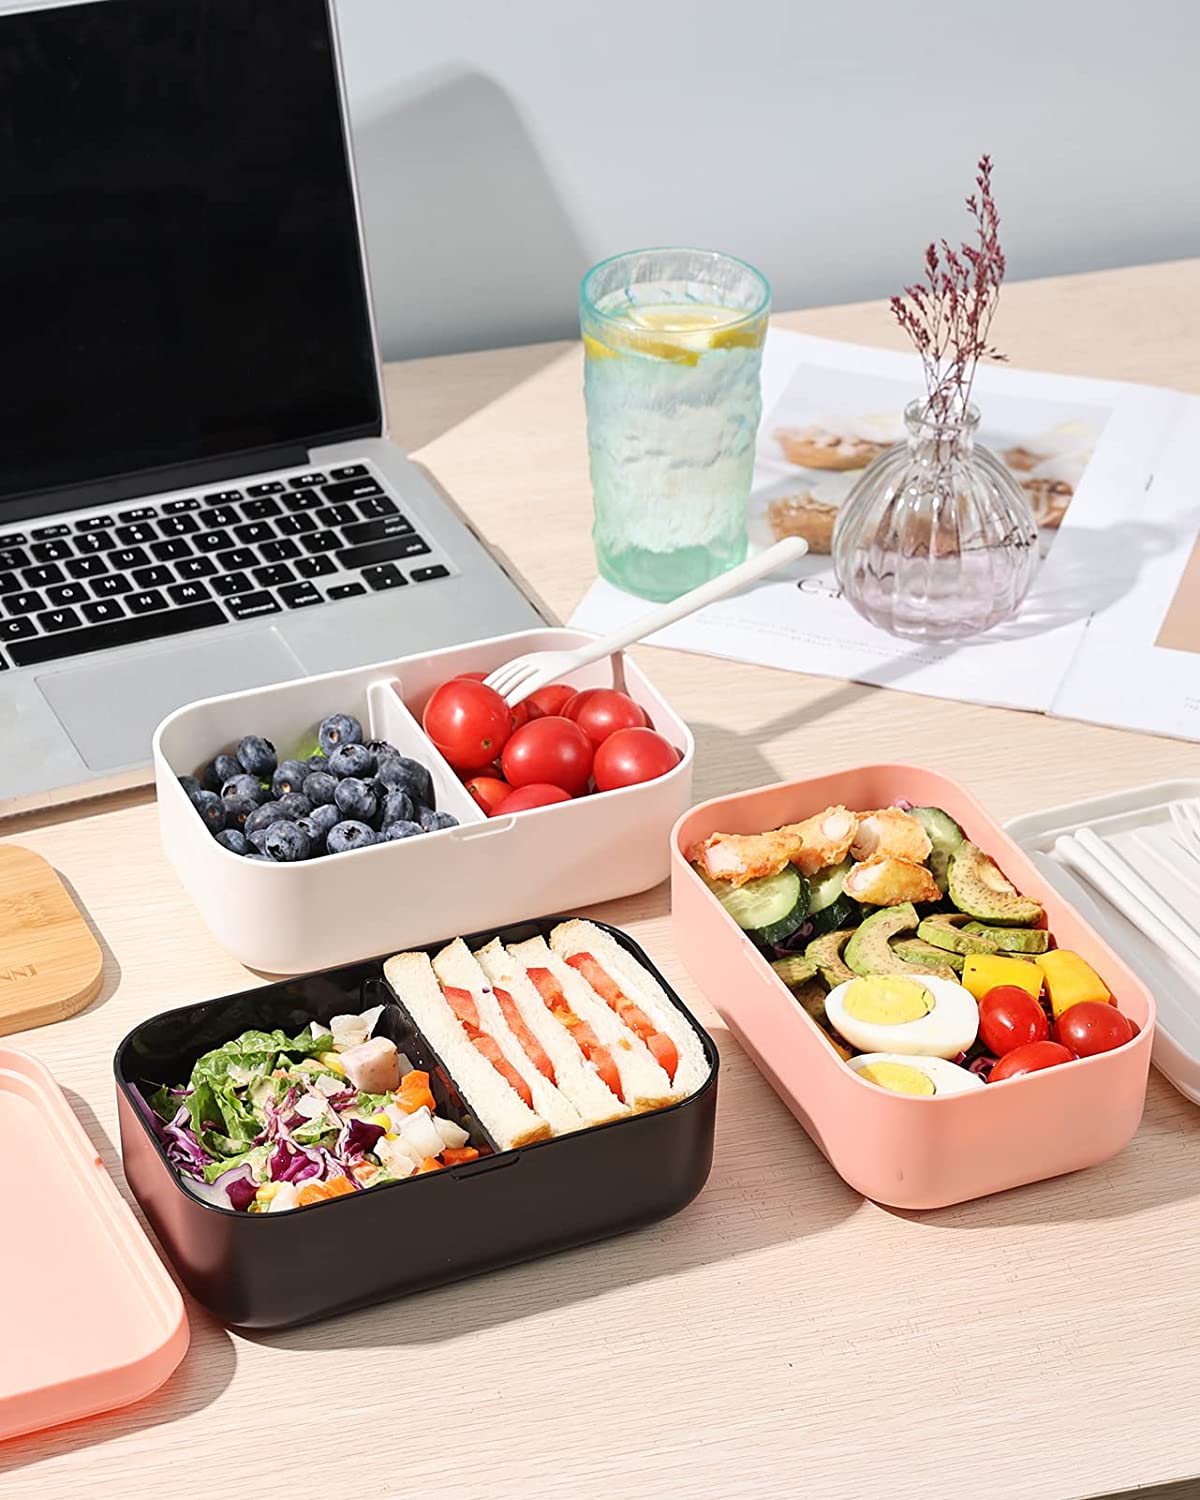
- Use Quality Containers: Invest in sturdy, leak-proof containers that fit well in your lunch box. Separate containers can help keep your food organized and avoid any mixing of flavors. Use small sauce containers for dressings or sauces to prevent them from soaking into other ingredients.
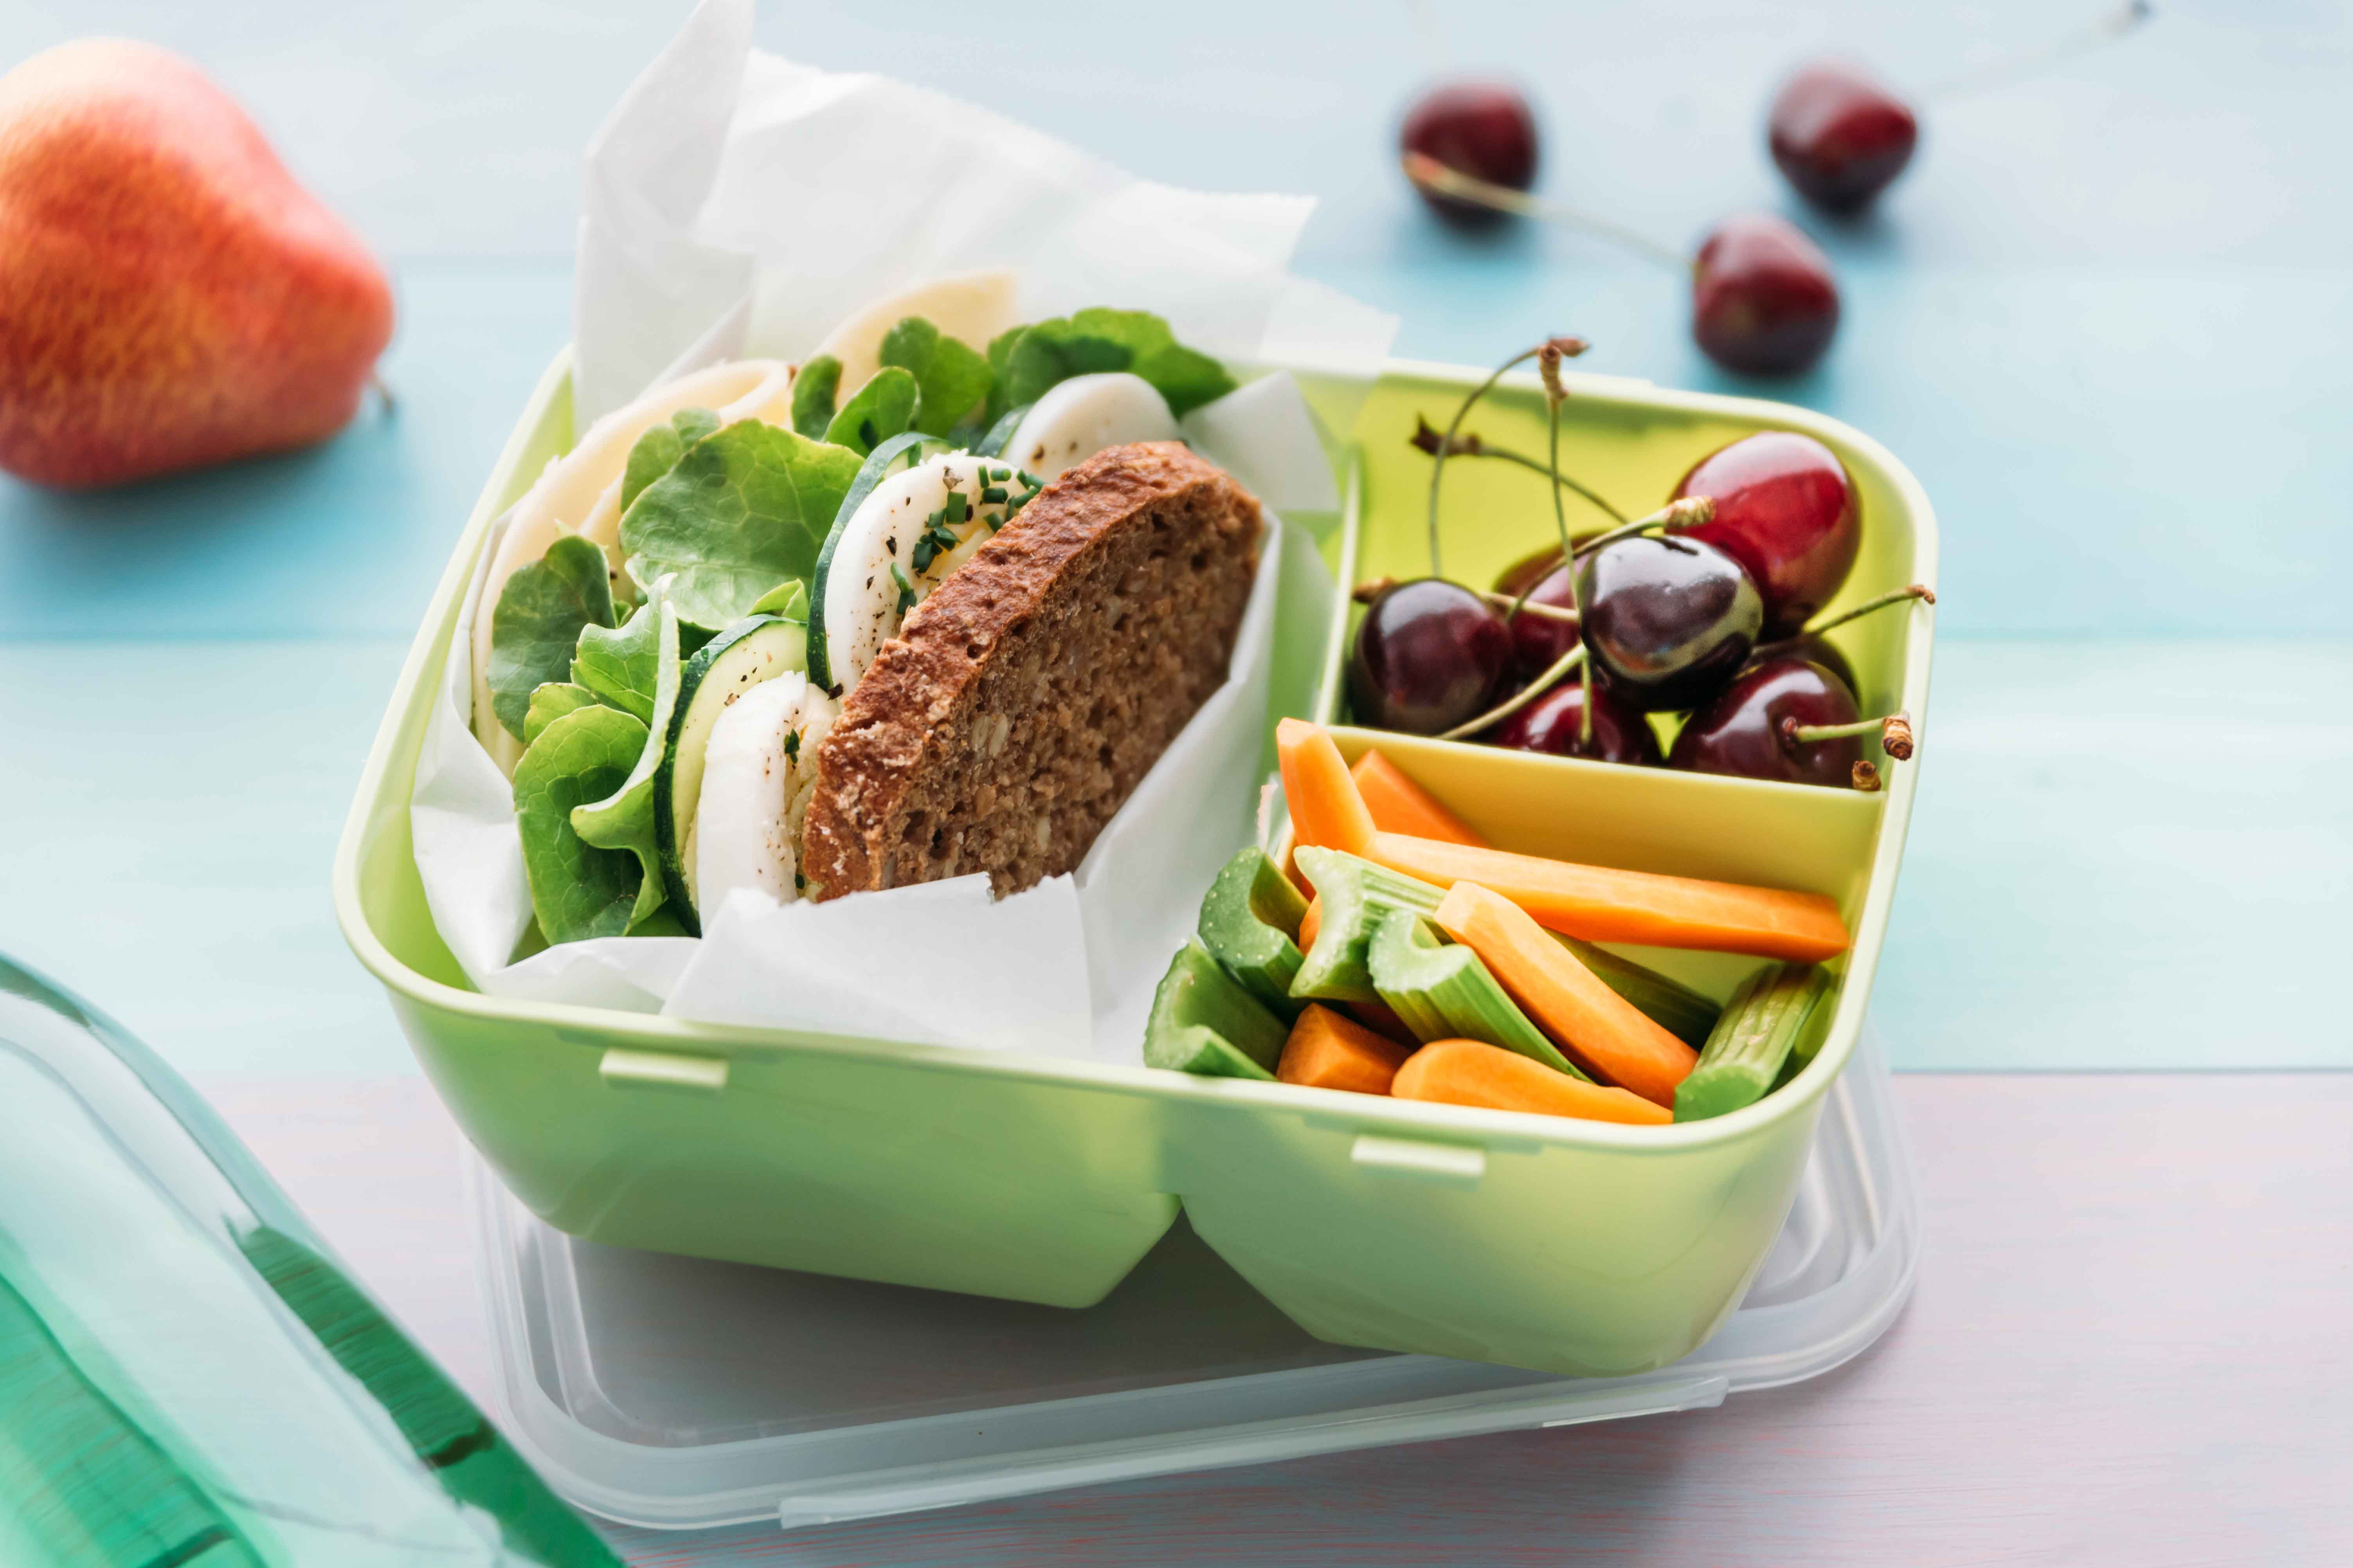
- Layer Foods Strategically: Start by placing heavier, non-perishable items like sandwiches, wraps, or snacks at the bottom of your lunch box. Then, layer on items that need to be kept cold, such as salads or fruits. Make sure to pack any hot foods in a separate container to maintain their temperature.
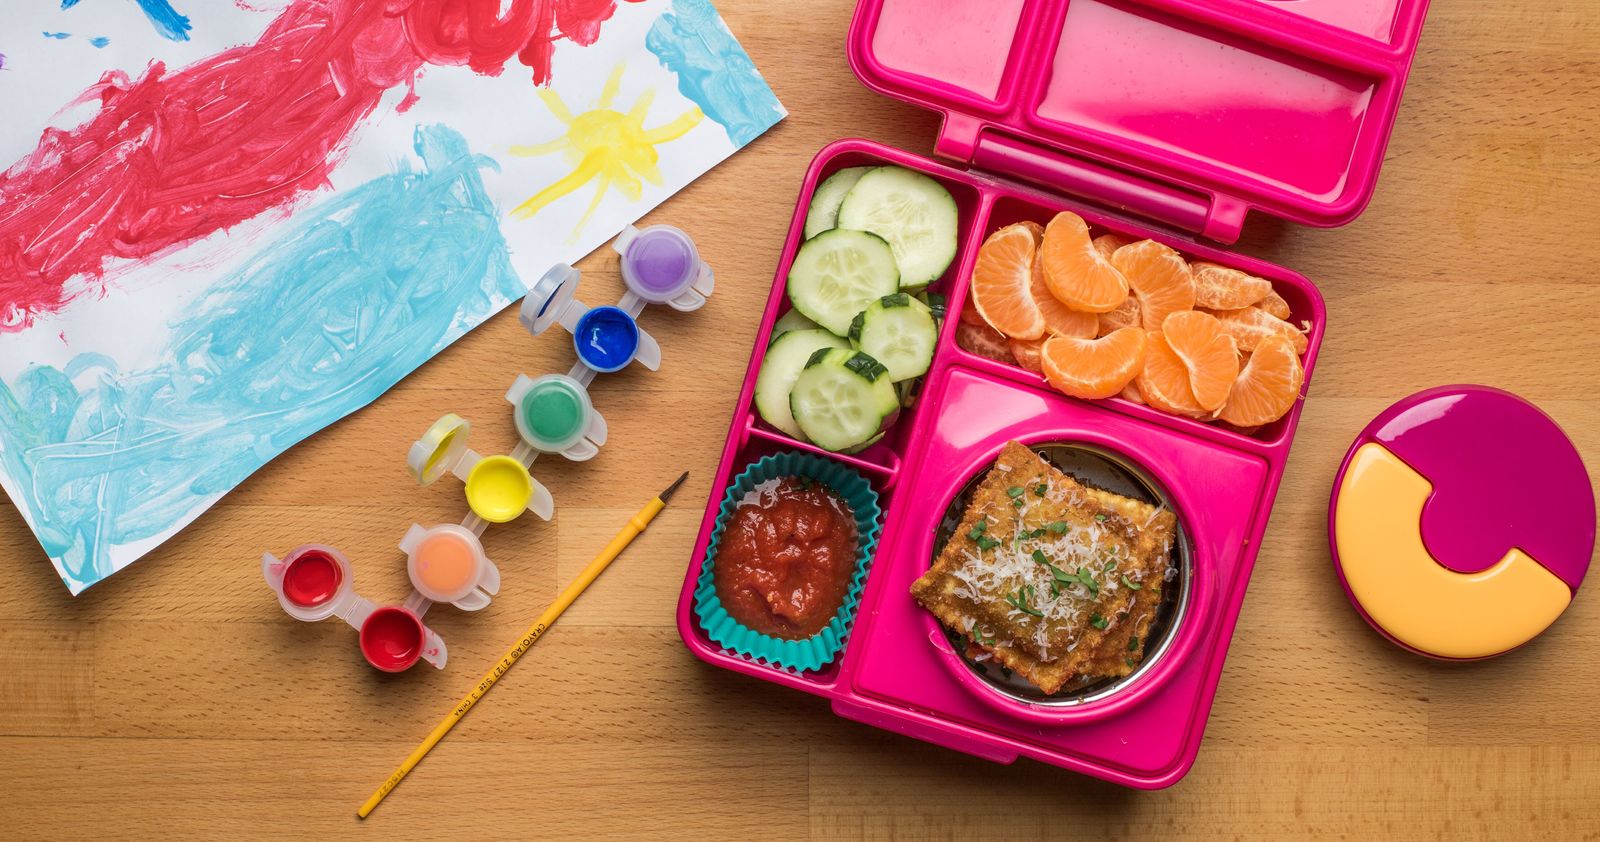
- Utilize Insulated Compartments: If your insulated lunch box has different compartments, utilize them strategically. Keep cold items separate from hot items to prevent temperature mixing. Use smaller compartments for delicate foods or items that need extra protection.
- Add Ice Packs or Freeze Water Bottles: Use ice packs or freeze water bottles overnight and place them in your lunch box to help keep your food at a cool temperature. The frozen water will thaw throughout the day, providing a refreshing drink while ensuring your lunch stays cool.
- Avoid Overpacking: Be mindful of overpacking your lunch box, as this can lead to squished food or difficulty fitting everything in. Pack enough food to keep you satisfied, but leave some room to prevent items from getting crushed or squashed during transportation.
- Consider Assembly on the Go: Keep ingredients separate and assemble your meal just before eating, especially if you have ingredients that may become soggy or lose their texture if assembled too far in advance. This allows you to enjoy a fresh and crispy meal.
- Pay Attention to Temperature-Sensitive Foods: Be cautious when packing temperature-sensitive foods, such as dairy products, seafood, or meats. Make sure they are properly cooked and stored at the correct temperature to prevent any foodborne illnesses.
By following these tips, you can ensure that your lunch stays fresh, appetizing, and at the desired temperature until it’s time to enjoy. Now let’s move on to the next section, where we’ll discuss how to maintain the temperature of your lunch throughout the day.
Maintaining the Temperature of Your Lunch
Keeping your lunch at the ideal temperature is crucial for food safety and the overall enjoyment of your meal. Here are some tips to help you maintain the temperature of your lunch while on the go:
- Preheat or Pre-Chill Your Lunch Box: Before packing your meal, preheat or pre-chill your insulated lunch box by pouring hot or cold water inside, respectively. Let it sit for a few minutes, then empty it out. This will help create a stable temperature environment inside the lunch box.
- Use Insulated Containers: When packing hot foods, use insulated containers to keep the temperature from dissipating quickly. These containers will help maintain the heat of your meal for a longer period. Similarly, use insulated containers for cold foods to prevent them from warming up too quickly.
- Add Extra Insulation: If you need to keep your food hot for an extended period, consider adding extra insulation. Wrap your hot container with a clean tea towel or aluminum foil for added insulation. For cold foods, you can add an extra ice pack or wrap the container in a small towel to keep it cool.
- Avoid Opening the Lunch Box unnecessarily: Each time you open your lunch box, you let in outside air, which can impact the temperature. Avoid unnecessary openings and decide on your meal choices in advance to minimize the need for frequent access.
- Place Hot and Cold Items Together: If you have both hot and cold items in your lunch box, keep them together. The cold items will help insulate the hot ones, and vice versa, maintaining the overall temperature balance inside the lunch box.
- Keep Your Lunch Box in a Cool Place: Store your lunch box in a cool environment, away from direct sunlight or any high-temperature areas. If possible, consider keeping it in a refrigerator or cooler bag to extend the freshness and temperature retention of your meal.
- Consume Your Lunch in a Timely Manner: Try to eat your packed lunch within a reasonable timeframe to ensure it doesn’t sit at an unsafe temperature for too long. Enjoy your meal when it’s still warm or cold as intended to fully savor the flavors and maintain food safety.
By following these tips, you can help maintain the temperature of your lunch and ensure that it remains safe and delicious until you’re ready to enjoy it. Now let’s move on to the next section, where we’ll discuss the cleaning and care of an insulated lunch box.
When using an insulated lunch box, be sure to pre-chill or pre-heat the box before adding your food. This will help maintain the temperature of your meal for longer periods of time.
Read more: How To Use Ice Pack In Lunch Box
Cleaning and Care of an Insulated Lunch Box
Proper cleaning and care is essential to keep your insulated lunch box hygienic, odor-free, and in excellent condition. Follow these steps to maintain the cleanliness and longevity of your lunch box:
- Empty and Rinse Right Away: After each use, empty out any remaining food and rinse the lunch box with warm water. This will prevent leftover residue from becoming stubborn and difficult to clean later on.
- Hand Wash or Use a Dishwasher: Consult the manufacturer’s instructions to determine if your lunch box is dishwasher-safe. If it is, place it on the top rack and run a gentle cycle. If hand washing is recommended, use mild dish soap and a sponge or brush to clean both the interior and exterior of the lunch box.
- Avoid Harsh Cleaners and Abrasives: Do not use bleach, strong detergents, or abrasive cleaners on your insulated lunch box, as they can damage the materials or strip away the insulation. Stick to mild soaps and gentle cleaning agents to ensure the longevity of your lunch box.
- Dry Thoroughly: After washing, make sure to dry your lunch box completely before storing it. This helps prevent the growth of mold or bacteria. Allow it to air dry or use a clean towel to ensure all moisture is removed, paying special attention to any crevices or corners.
- Periodic Deep Cleaning: If your lunch box develops odors or stains over time, perform a deep clean. Mix a solution of warm water and mild dish soap, then use a sponge or cloth to scrub the inside and outside of the lunch box. Rinse thoroughly and dry completely before using again.
- Store with the Lid Open: When not in use, store your lunch box with the lid open to allow air circulation. This helps prevent any lingering odors and allows the lunch box to fully dry, reducing the risk of moisture buildup.
- Inspect for Damage: Regularly inspect your lunch box for any signs of damage, such as cracks, leaks, or broken seals. If you notice any issues, it may be time to replace your lunch box to ensure food safety and insulation effectiveness.
- Separate Containers for Different Foods: To prevent cross-contamination and maintain cleanliness, use separate containers or zip-lock bags for different food items. This helps avoid any mixing of flavors and eliminates potential messes.
By following these cleaning and care tips, you can keep your insulated lunch box clean, fresh, and ready for daily use. Now let’s move on to the next section, where we’ll provide some tips and tricks for maximizing insulation.
Tips and Tricks for Maximizing Insulation
To make the most out of your insulated lunch box and ensure optimal temperature retention, here are some helpful tips and tricks:
- Preheat or Pre-Chill Your Lunch Box: Before packing your meal, preheat or pre-chill your insulated lunch box by adding hot water or ice, respectively. Let it sit for a few minutes, then discard the water/ice. This helps create a stable internal temperature right from the start.
- Use Hot or Cold Foods: Maximize the insulation by packing your lunch box with either hot or cold foods. This reduces the strain on the insulation materials to maintain the desired temperature. If possible, avoid packing items at room temperature.
- Invest in Thermal Bags or Additional Insulation: If you need to keep your food hot or cold for an extended period, consider investing in thermal bags or insulated pouches. These can provide an extra layer of insulation and help maintain the temperature inside your lunch box.
- Wrap Individual Items: Wrap hot items, such as soups or stews, in aluminum foil before placing them in your lunch box. This offers an additional barrier against heat loss and helps retain warmth. Similarly, wrap cold items, like sandwiches or salads, in plastic wrap to help prevent condensation and keep them chilled.
- Preheat or Pre-Chill Containers: If you’re packing food in separate containers, preheat or pre-chill them before adding the hot or cold food items. This ensures that the containers themselves don’t absorb or dissipate heat, helping to maintain the desired temperature for longer.
- Layer Insulation: If your lunch box allows for it, create layers of insulation by placing a cloth napkin, foam pad, or additional insulating material between containers. This helps further insulate the different food items and keeps them at the desired temperature.
- Seal the Lunch Box Properly: Ensure that your lunch box is tightly sealed to prevent any heat transfer. Check that all lids or closures are securely fastened to maintain the internal temperature and avoid any leaks.
- Keep the Lunch Box Closed: Avoid unnecessary openings of your lunch box to minimize temperature fluctuations. Each time you open the lunch box, warm or cold air from the surroundings can affect the internal temperature. Only open it when it’s time to enjoy your meal.
- Add Insulating Drinks: Pack an insulated bottle filled with a hot or cold beverage alongside your lunch. The drink’s temperature will help maintain the overall insulation of the lunch box and provide you with a refreshing and complementary beverage.
- Monitor the Temperature: Invest in a food thermometer to monitor the temperature of your packed meals. This allows you to ensure that hot foods are kept above the recommended safe temperature of 140°F (60°C), and cold foods are kept below 40°F (4°C).
By implementing these tips and tricks, you can maximize the insulation capabilities of your lunch box, keeping your meals at the desired temperature for longer periods. Now, let’s move on to the next section, where we’ll provide some ideas and recipes for packing lunches in an insulated lunch box.
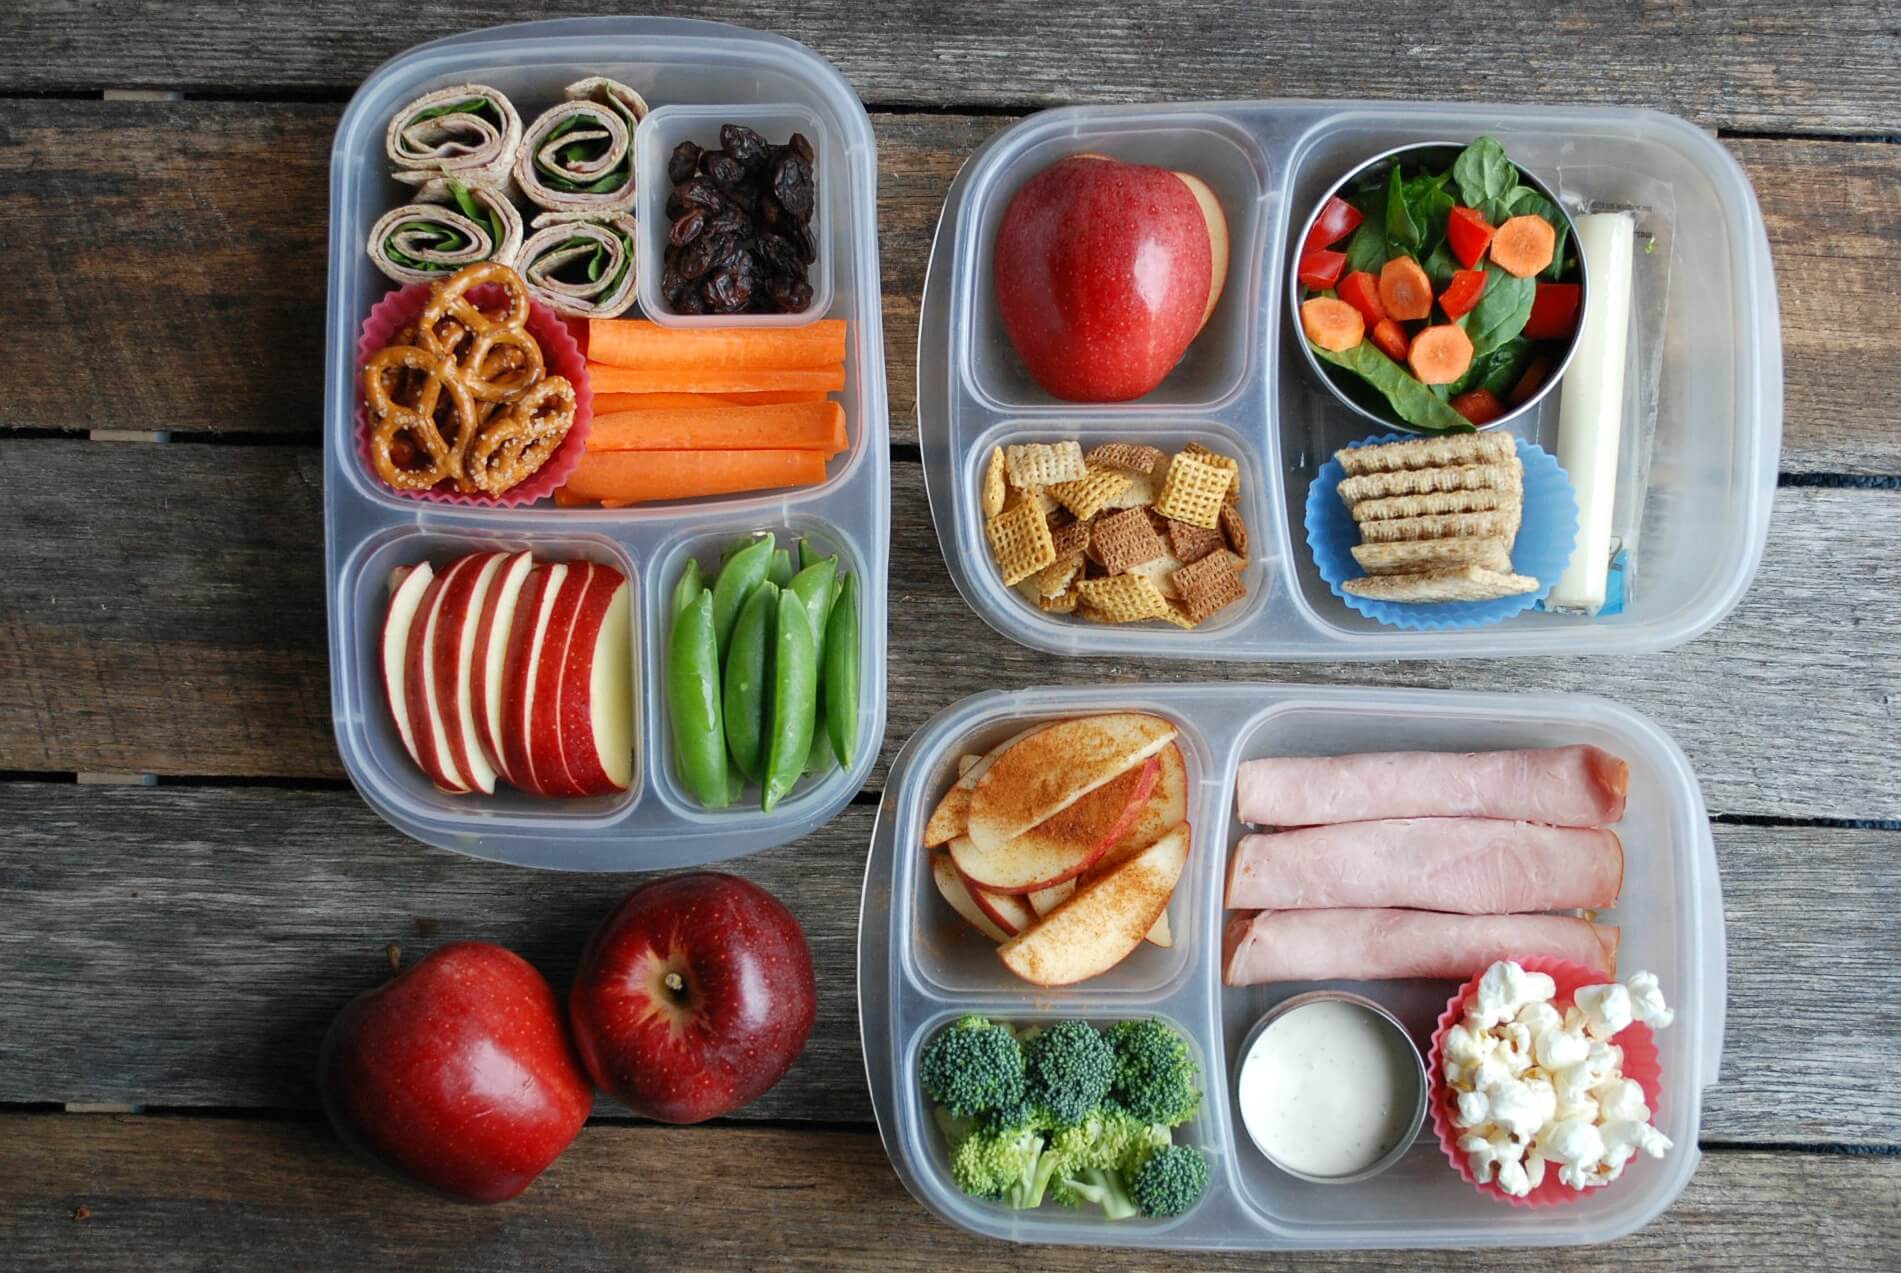
Recipes and Ideas for Packing Lunches in an Insulated Lunch Box
Packing your lunch in an insulated lunch box opens up a world of culinary possibilities. Here are some delicious and easy recipes, as well as ideas, to inspire your packed lunches:
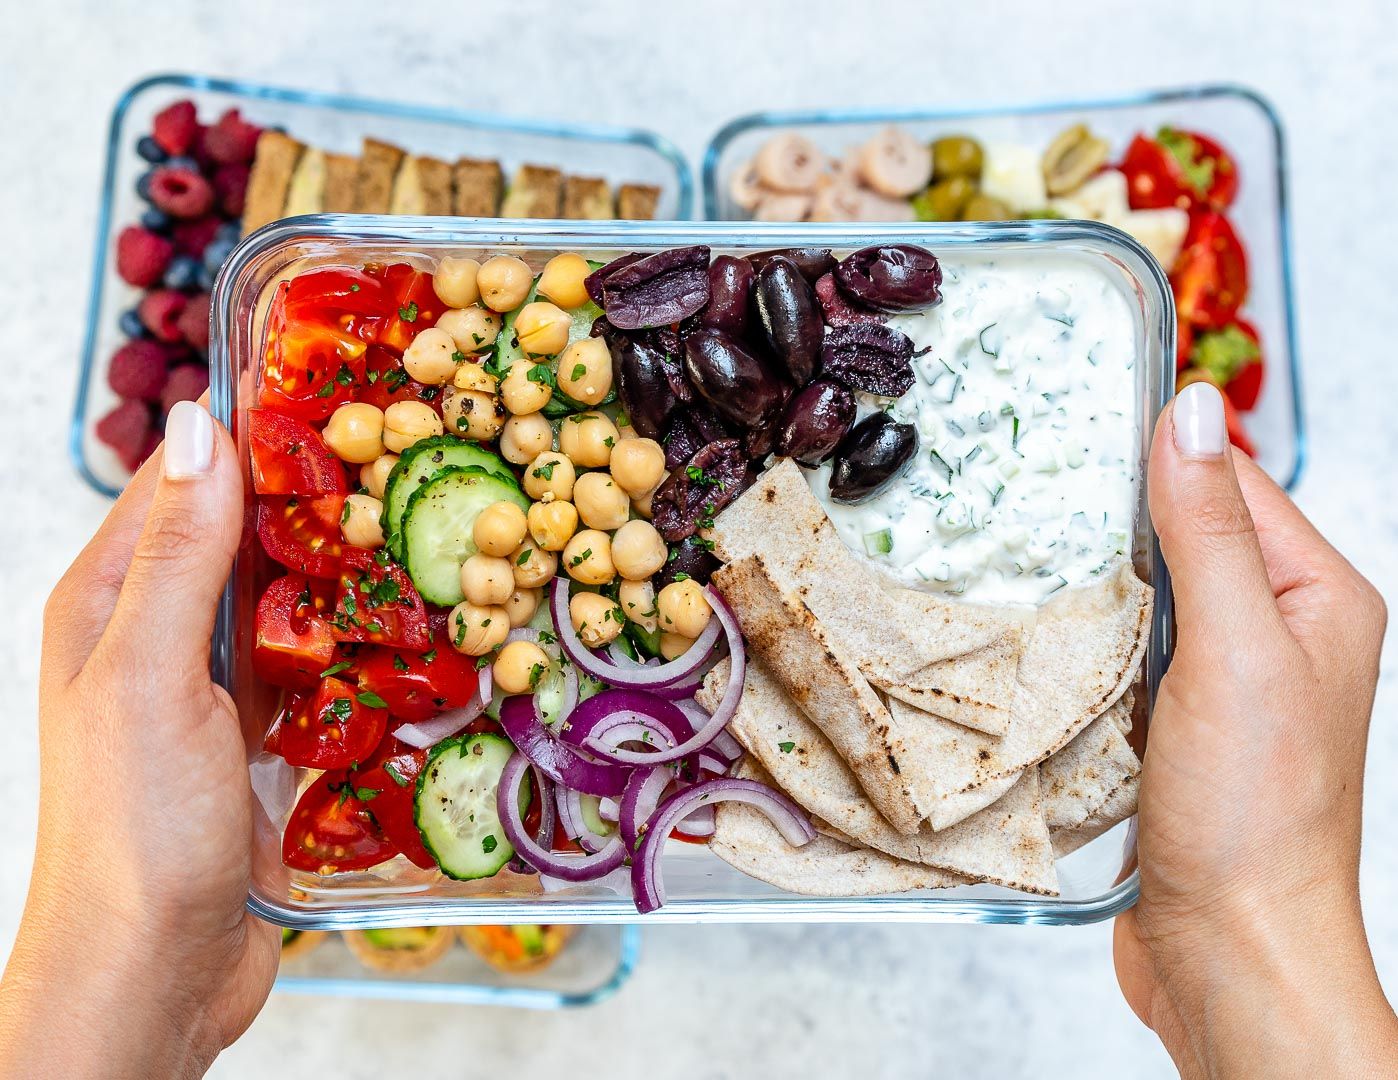
- Mediterranean Salad: In a container, layer mixed greens, cherry tomatoes, cucumber slices, olives, feta cheese, and grilled chicken. Dress it with a tangy vinaigrette. Toss the salad just before eating for a refreshing and flavorful meal.
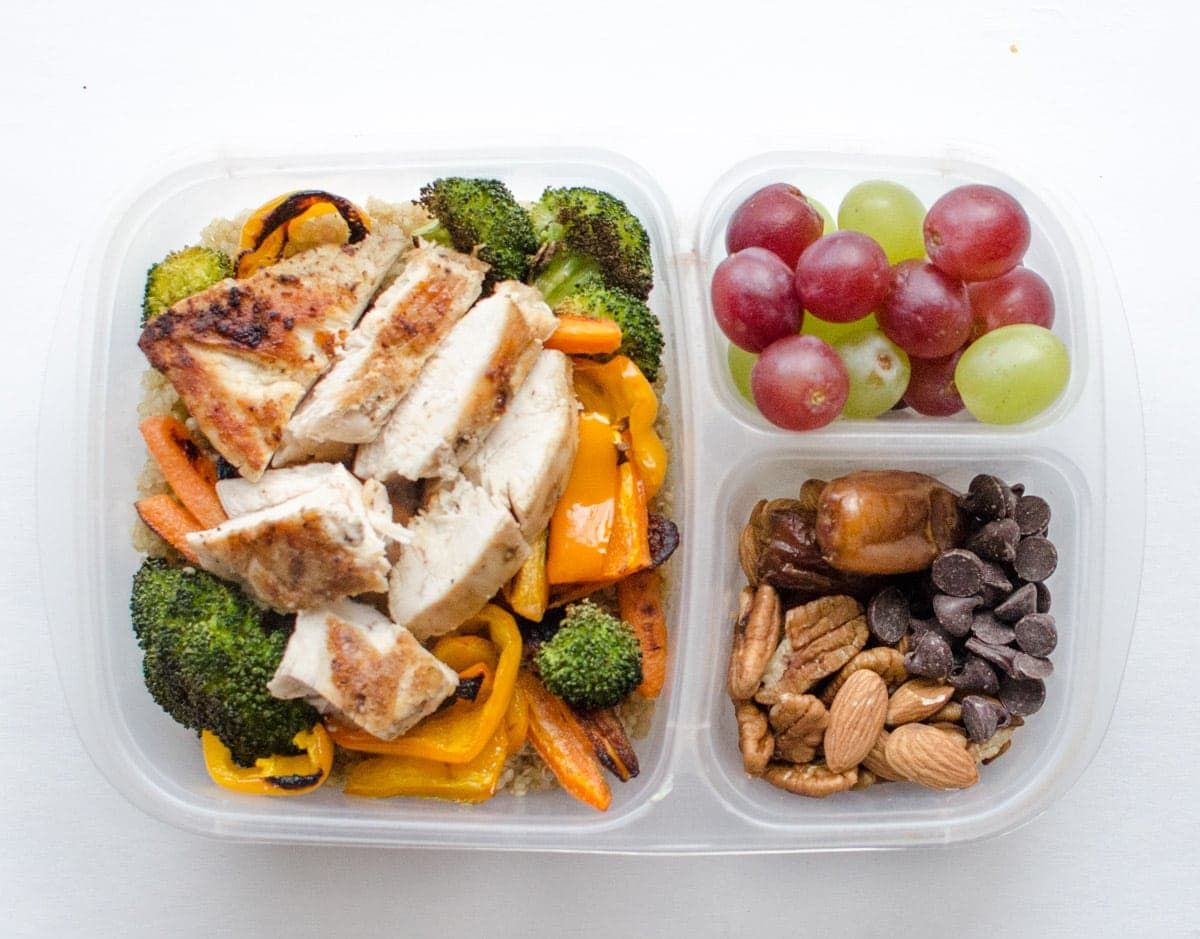
- Grain Bowl: Prepare a grain bowl with cooked quinoa or brown rice as the base. Top it with roasted vegetables, chickpeas, avocado slices, and a sprinkle of feta cheese. Drizzle with a lemon-tahini dressing for added zest.
- Wrap it Up: Roll up a tortilla with your favorite fillings, such as grilled chicken, lettuce, tomatoes, and avocado. Wrap it tightly in foil to keep it fresh, and slice it into bite-sized pinwheels for a convenient and satisfying lunch.
- Hearty Soup: Fill a thermos with a comforting soup like tomato basil, lentil, or chicken noodle. The insulation of the thermos will keep the soup warm until lunchtime. Pair it with a side of crusty bread for a complete and warming meal.
- Asian-inspired Stir-fry: Stir-fry a combination of colorful vegetables and your choice of protein (chicken, beef, tofu) with a delicious sauce. Pack it with a side of steamed rice or noodles in a separate container and combine just before eating for a flavorful Asian-inspired feast.
- Homemade Bento Box: Create a variety of bite-sized portions in a bento-style lunch box. Include a mix of sushi rolls, teriyaki chicken skewers, steamed dumplings, edamame, and fresh fruit for a visually appealing and well-rounded meal.
- Mason Jar Salads: Layer your favorite salad ingredients in a mason jar, starting with the dressing at the bottom, followed by hearty vegetables, grains, proteins, and leafy greens at the top. When ready to eat, shake the jar to combine and enjoy a refreshing and mess-free salad.
- Cold Pasta Salad: Toss cooked pasta with a variety of chopped vegetables, such as bell peppers, cherry tomatoes, and cucumber. Add proteins like grilled chicken or shrimp and dress it with a zesty vinaigrette. Pack it chilled and savor a delicious and filling pasta salad.
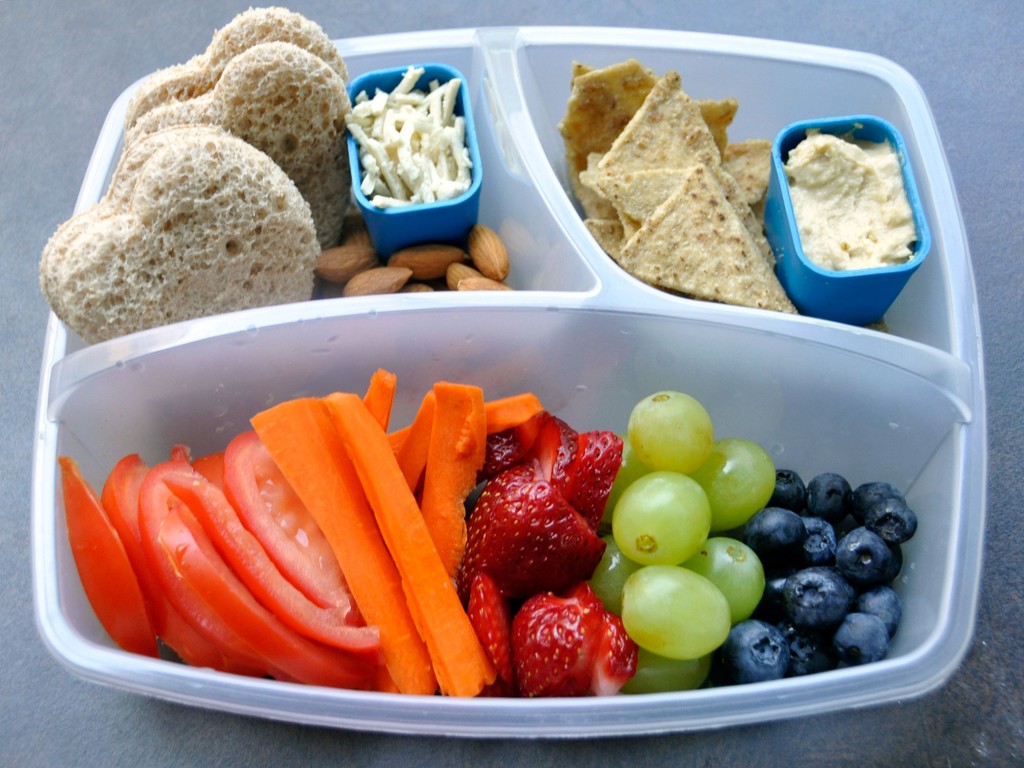
- Mini Sandwiches: Create a selection of mini sandwiches using different fillings and bread choices. Try combinations like turkey and cranberry, ham and cheese, or roasted veggies with hummus. They are perfect for variety and easy to pack.
- Fruit Parfait: Layer Greek yogurt, fresh berries, and granola in a small container or jar. The insulation of the lunch box will keep it cool and refreshing until you’re ready to enjoy it as a healthy and satisfying snack or dessert.
Feel free to customize these recipes and ideas based on your personal preferences and dietary requirements. The key is to incorporate a balance of flavors, textures, and nutrients into your packed lunches to keep you energized throughout the day.
Now that you’re equipped with delicious recipes and ideas, you can elevate your packed lunches to a whole new level. In the final section, we’ll conclude our article and summarize the benefits of using an insulated lunch box.
Conclusion
Using an insulated lunch box not only allows you to enjoy fresh and delicious meals on the go but also offers a range of benefits that make it a worthwhile investment. With proper planning, packing, and care, you can optimize the performance of your insulated lunch box and elevate your lunchtime experience.
By utilizing an insulated lunch box, you can ensure food safety by keeping your meals at the optimal temperature, preserving their freshness, flavor, and texture. It offers you the flexibility to enjoy warm or cold meals, depending on your preferences, and helps you save money by avoiding pricey restaurant meals or take-out options.
Not only is using an insulated lunch box environmentally friendly, but it also provides the convenience of portability, allowing you to take your meals anywhere you go. Its customization options, durability, and additional features make it a versatile and practical choice for individuals of all lifestyles.
Throughout this article, we’ve explored the benefits of using an insulated lunch box, discussed the process of choosing the right one, and provided tips on effective packing, temperature maintenance, cleaning, and care. We’ve also shared recipes and ideas to inspire your packed lunches and ensure a satisfying and nutritious meal.
Remember to plan your meals, utilize quality containers, and layer your food strategically. Preheat or pre-chill your lunch box, seal it tightly, and store it correctly. Clean your lunch box properly, inspect it regularly for any damage, and dry it thoroughly.
With these guidelines in mind, you are now equipped to enjoy the convenience, freshness, and deliciousness of packed meals with your insulated lunch box. So, say goodbye to expensive takeout meals and unhealthy snacks – embrace the power of an insulated lunch box and take control of your lunchtime experience.
Happy packing and bon appétit!
Frequently Asked Questions about How To Use Insulated Lunch Box
Was this page helpful?
At Storables.com, we guarantee accurate and reliable information. Our content, validated by Expert Board Contributors, is crafted following stringent Editorial Policies. We're committed to providing you with well-researched, expert-backed insights for all your informational needs.


0 thoughts on “How To Use Insulated Lunch Box”