Articles
How To Vacuum Carpet Properly
Modified: February 25, 2024
Learn how to properly vacuum your carpet with our informative articles, packed with practical tips and advice to keep your carpets clean and fresh.
(Many of the links in this article redirect to a specific reviewed product. Your purchase of these products through affiliate links helps to generate commission for Storables.com, at no extra cost. Learn more)
Introduction
Vacuuming your carpet is an essential task to keep it clean, fresh, and free from dust, debris, and allergens. However, simply running a vacuum cleaner over your carpet may not yield the best results. To effectively and properly vacuum your carpet, there are certain steps you need to follow. In this article, we will guide you through the process of vacuuming your carpet, ensuring that you achieve optimal cleaning results.
Vacuuming your carpet regularly not only helps in maintaining its appearance, but it also extends its lifespan. It removes dirt and dust particles that can gradually degrade the carpet fibers, leading to a worn-out and dull-looking carpet. By incorporating proper vacuuming techniques into your cleaning routine, you can significantly improve the cleanliness and longevity of your carpet.
In the following sections, we will go through each step of correctly vacuuming your carpet, including preparation, choosing the right attachments, adjusting the vacuum height, and properly using the vacuum cleaner to achieve excellent results.
So, let’s dive in and learn how to properly vacuum your carpet to ensure a clean and fresh living environment.
Key Takeaways:
- Proper vacuuming includes preparing the vacuum, clearing the area, choosing the right attachment, adjusting the height, and overlapping strokes for thorough cleaning.
- Vacuuming in different directions, along edges, and emptying the bag regularly ensures optimal carpet cleanliness and longevity.
Read more: How To Vacuum Carpeted Stairs
Step 1: Prepare the Vacuum
Before you start vacuuming your carpet, it’s important to ensure that your vacuum is prepared and ready for use. Here are some essential preparation steps:
- Check the vacuum bag or canister: Make sure that your vacuum bag or canister is empty or has enough room to collect the dirt and debris during the vacuuming process. An overfilled bag or canister can reduce the vacuum’s suction power and effectiveness.
- Clean or replace filters: Check the filters of your vacuum cleaner and clean or replace them if necessary. Dirty or clogged filters can restrict airflow and hinder the performance of the vacuum.
- Inspect the vacuum’s brushes: Take a look at the brushes or beater bars of the vacuum cleaner. Ensure that they are clean and free from any tangled hair, threads, or debris. Clean or remove any obstructions to prevent damage to your carpet and optimize the vacuuming process.
- Ensure proper attachment connections: If you plan to use specific attachments for different areas or surfaces, make sure they are securely attached to the vacuum hose or wand. Loose attachments can reduce suction power and make cleaning less effective.
- Check the vacuum’s cord and plug: Inspect the power cord for any signs of damage or wear. Make sure the plug is intact and firmly inserted into the electrical outlet to avoid any accidents or interruptions during vacuuming.
By taking the time to properly prepare your vacuum cleaner, you can ensure that it functions efficiently and effectively, allowing you to achieve the best results when vacuuming your carpet.
Step 2: Clear the Area
Before you begin vacuuming your carpet, it’s essential to clear the area of any obstacles or items that could impede the vacuuming process. Here are some steps to follow:
- Remove small items: Pick up any small objects, such as toys, coins, or paper clips, from the carpeted area. These items can get stuck in the vacuum or cause damage to the machine or the carpet fibers.
- Clear away larger objects: If there are larger objects, such as furniture or decorative items, in the way, move them to another area to have a clear path for vacuuming. You can also use furniture glides or sliders to easily move heavy items without scratching or damaging the floor or carpet.
- Tie back drapes or curtains: If there are drapes or curtains that hang close to the floor, tie them back or secure them away from the carpeted area. This will prevent them from getting tangled in the vacuum cleaner or hindering your movement while vacuuming.
- Secure loose cables or cords: Check for any loose cables or cords that may be lying on the floor. These can cause tripping hazards and can also get entangled in the vacuum cleaner. Use cord organizers or tape them down to keep them safely out of the way.
- Remove fragile or delicate items: If you have delicate or fragile items on display, such as vases or figurines, it’s best to remove them from the area you’ll be vacuuming. Accidental bumps or movements can lead to breakage or damage.
By clearing the area of any obstacles or items beforehand, you can ensure a smooth and uninterrupted vacuuming process. This will allow you to cover a larger area efficiently and prevent any damage to your vacuum cleaner or the items in your space.
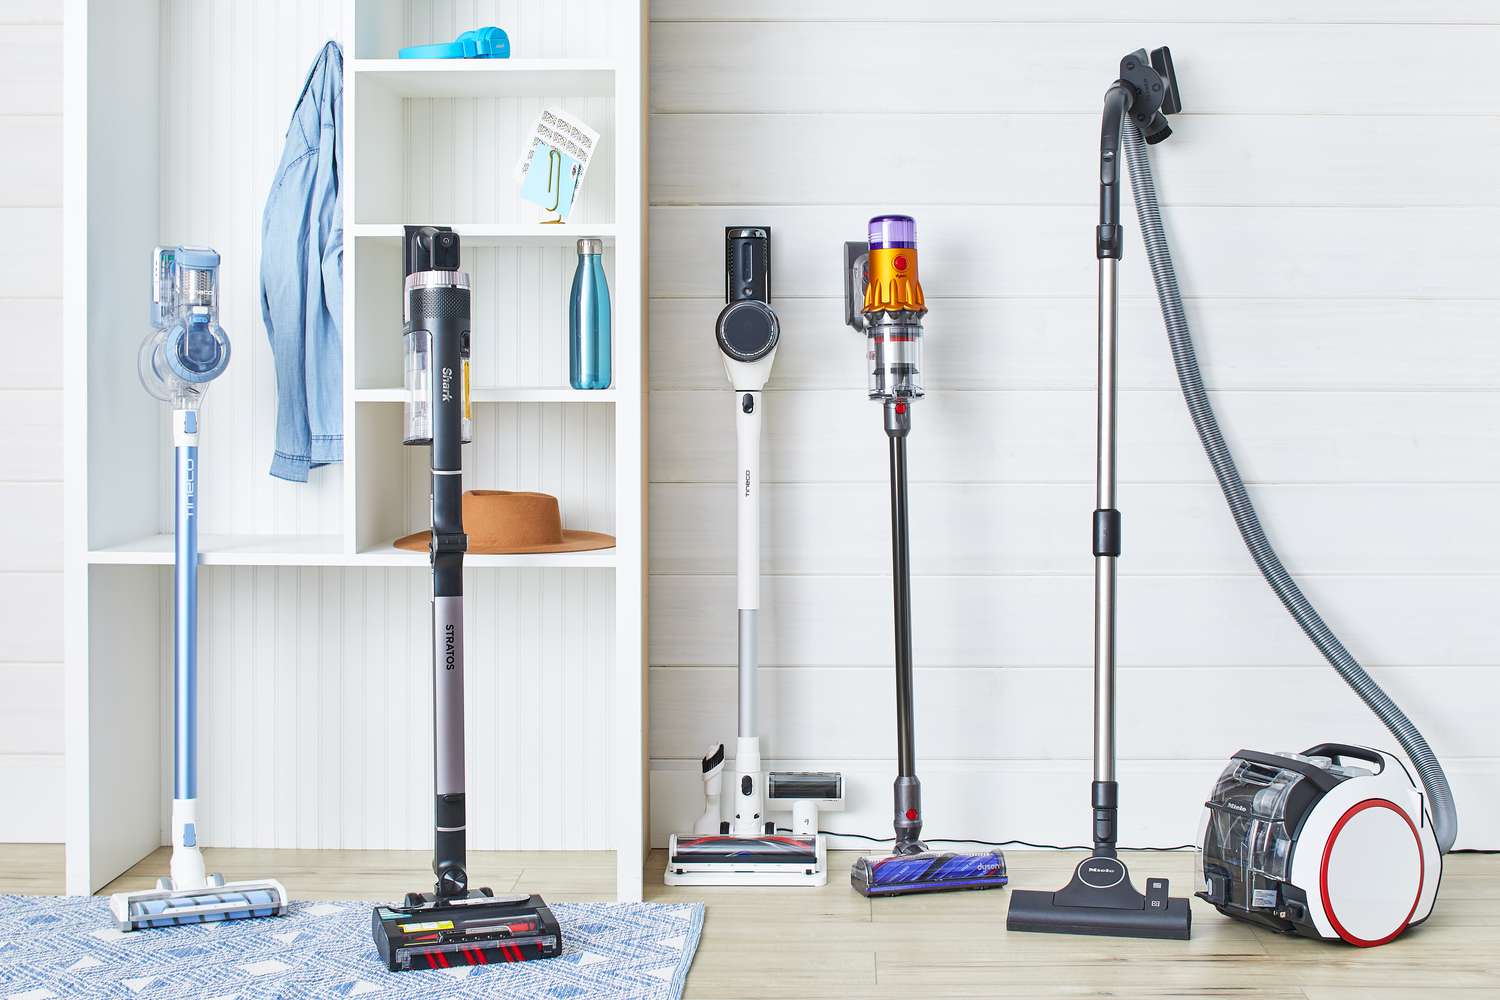
Step 3: Choose the Right Vacuum Attachment
When it comes to effectively vacuuming your carpet, using the right attachment for the job can make a significant difference. Different vacuum attachments are designed to tackle specific surfaces and areas, ensuring efficient and thorough cleaning. Here are some key attachments to consider:
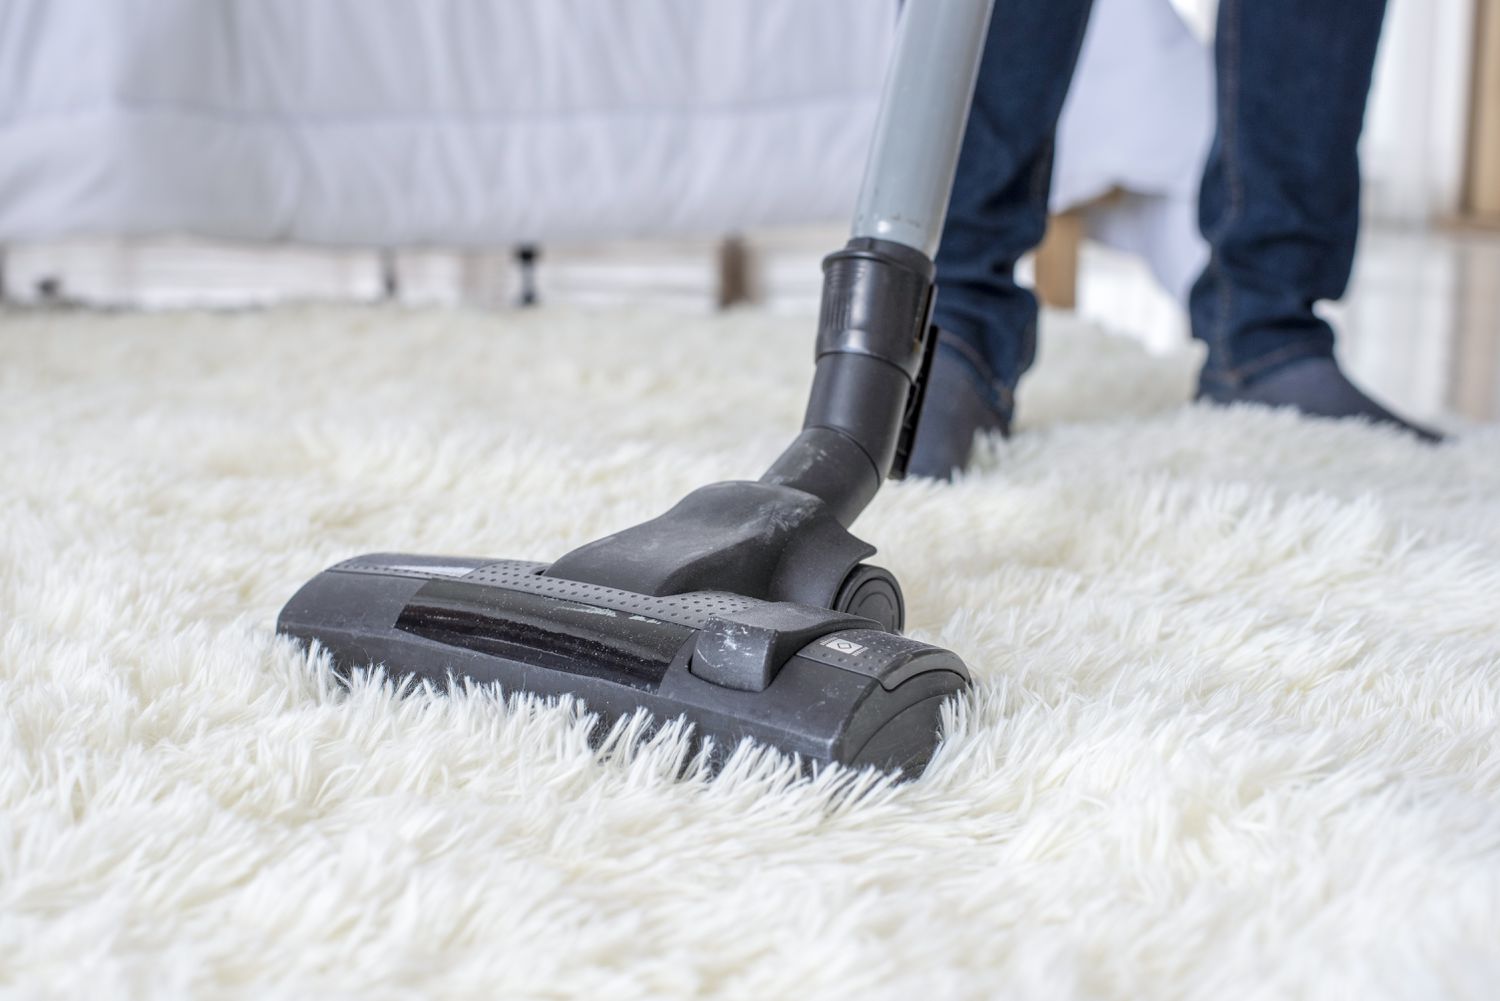
- Carpet Brush: This attachment typically features stiff bristles or beater bars, specifically designed for deep cleaning carpets. It agitates the carpet fibers, dislodging dirt and debris, and helps to remove embedded pet hair or stubborn particles.
- Crevice Tool: A crevice tool is a long and narrow attachment used for cleaning tight and hard-to-reach areas, such as along baseboards, corners, or between furniture cushions. It’s great for picking up crumbs, dust, and pet hair in narrow spaces.
- Upholstery Tool: This attachment has a wide and flat head with soft bristles, making it ideal for cleaning upholstered furniture, mattresses, and curtains. It gently removes surface debris and captures dust and allergens without damaging the fabric.
- Hard Floor Attachment: If you have a combination carpet and hard floor surfaces, consider using a separate attachment specifically designed for hard floors. It usually has soft brushes or rubber strips to avoid scratches while effectively collecting dirt and debris from hard surfaces.
- Pet Hair Attachment: If you have pets that shed, a pet hair attachment with rubber or silicone bristles can be a game-changer. It helps to lift and remove stubborn pet hair from both carpets and upholstery, leaving your surfaces fur-free.
Choosing the right attachment based on your specific cleaning needs will ensure that you achieve optimal results. Consider the surfaces you’ll be vacuuming and select the appropriate attachment to effectively tackle each area, making your vacuuming experience more efficient and productive.
Step 4: Adjust the Vacuum Height
Adjusting the height of your vacuum cleaner is an important step to ensure proper cleaning and prevent any damage to your carpet fibers. Here’s how to adjust the vacuum height:
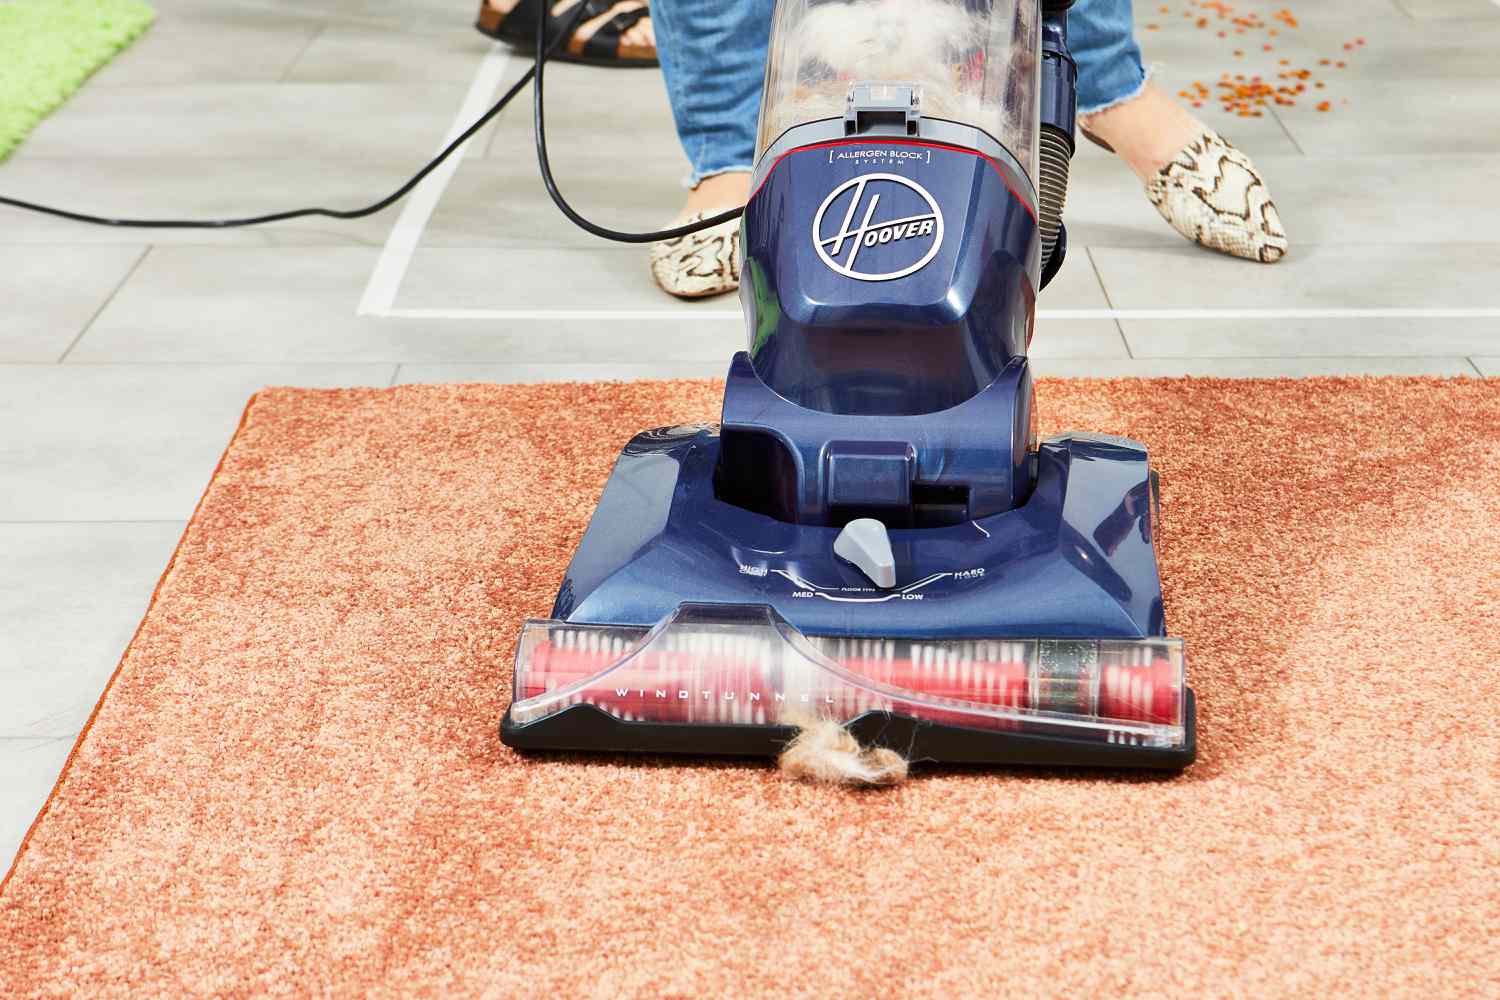
- Start with the highest setting: If you’re unsure of the optimal height setting for your carpet, it’s recommended to start with the highest setting. This will prevent the vacuum from digging too deeply into the carpet fibers and potentially causing damage.
- Test the suction power: Turn on the vacuum and place it over a small area of your carpet. Move it back and forth while listening and feeling for the suction power. If the vacuum is difficult to push or the suction is weak, it may be set too low. If the vacuum glides too easily or you don’t feel much suction, it may be set too high.
- Adjust accordingly: Based on the test, begin adjusting the vacuum height incrementally until you find the sweet spot. The ideal height should allow the vacuum cleaner to glide smoothly over the carpet while picking up dirt and debris effectively.
- Consider carpet types: Keep in mind that different carpet types may require different height settings. For example, thick pile carpets may require a higher setting, while low pile carpets or rugs may need a lower setting for optimal cleaning.
- Refer to the manufacturer’s guidelines: Consult your vacuum cleaner’s user manual for any specific recommendations on adjusting the height settings for different carpet types. The manufacturer’s guidelines will provide you with valuable information to ensure proper cleaning and maintenance of your vacuum cleaner.
By adjusting the vacuum height correctly, you can ensure efficient cleaning and prolong the life of your carpet. It allows the vacuum to effectively lift dirt, dust, and debris from the carpet fibers, improving the overall cleanliness and appearance of your carpeted areas.
Read more: What Is The Best Vacuum For A Carpet?
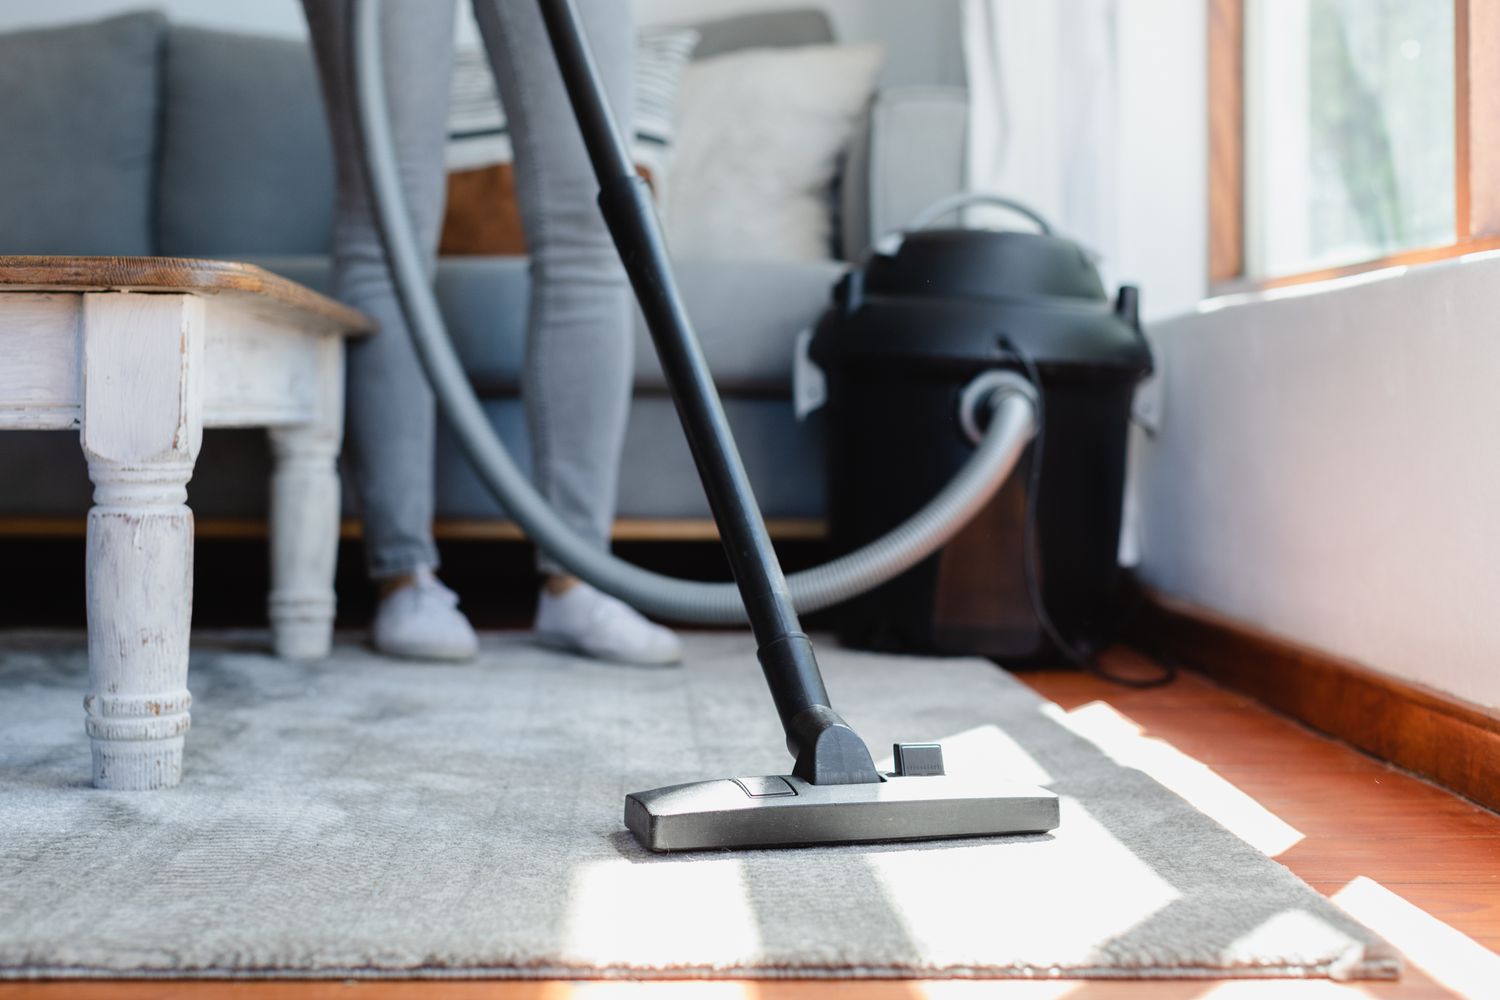
Step 5: Start from the Farthest Corner
When it’s time to start vacuuming your carpet, it’s best to begin from the farthest corner of the room and work your way towards the exit. This method ensures that you cover the entire area without stepping on already vacuumed sections. Here’s how to start from the farthest corner:
- Clear the path: Before you begin, make sure the path from the farthest corner to the exit is clear of obstructions, furniture, or any other items. This will ensure smooth movement and thorough cleaning without any interruptions.
- Plug in the vacuum: Locate the nearest electrical outlet and plug in your vacuum cleaner. Ensure that the power cord is long enough to reach the starting point of your cleaning process.
- Position the vacuum: Position the vacuum at the farthest corner of the room, facing the direction you’ll be moving. Stand in a comfortable position with a firm grip on the vacuum handle.
- Switch on the vacuum: Turn on the vacuum cleaner and adjust the settings according to your needs, such as suction power or brush rotation.
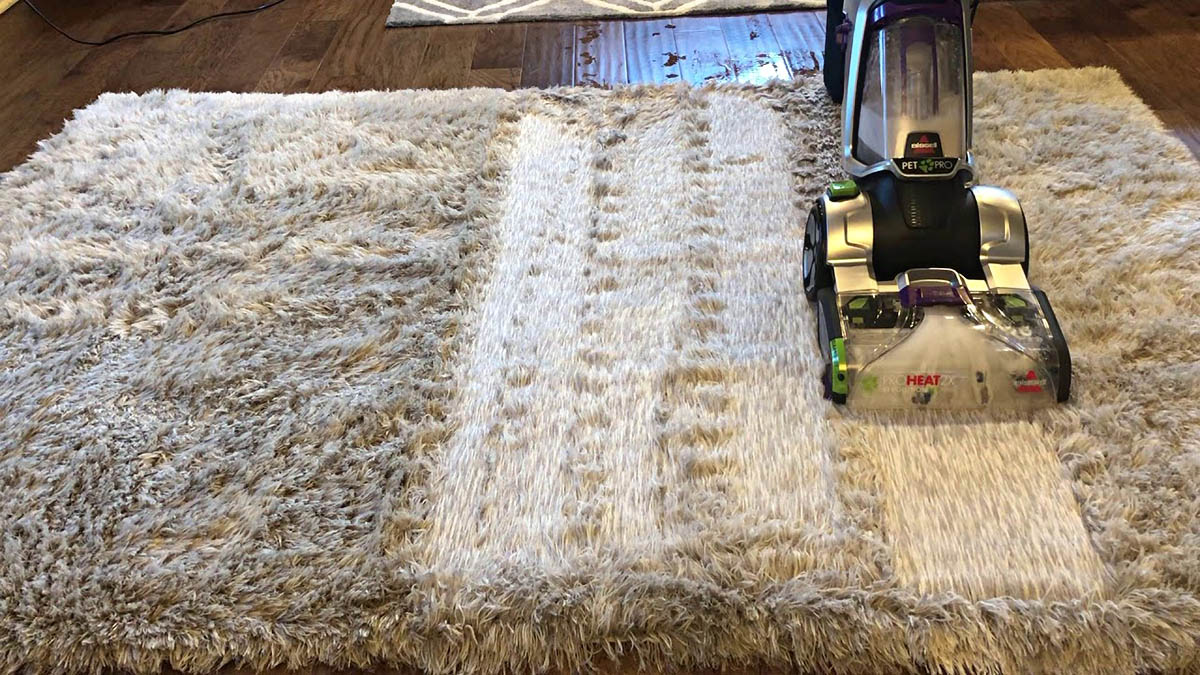
- Move in straight lines: Start moving the vacuum cleaner slowly and steadily in straight lines parallel to the walls. Push the vacuum forward and then slightly pull it back towards you. Repeat this motion as you progress across the room.
- Overlap the strokes: To ensure thorough cleaning, overlap each forward and backward stroke slightly. This helps pick up any remaining dirt or debris that may have been missed in the previous pass.
By starting from the farthest corner and working your way towards the exit, you can effectively cover the entire carpeted area without needing to step on already cleaned sections. This method maximizes your efficiency and ensures that no spot is missed during the vacuuming process.
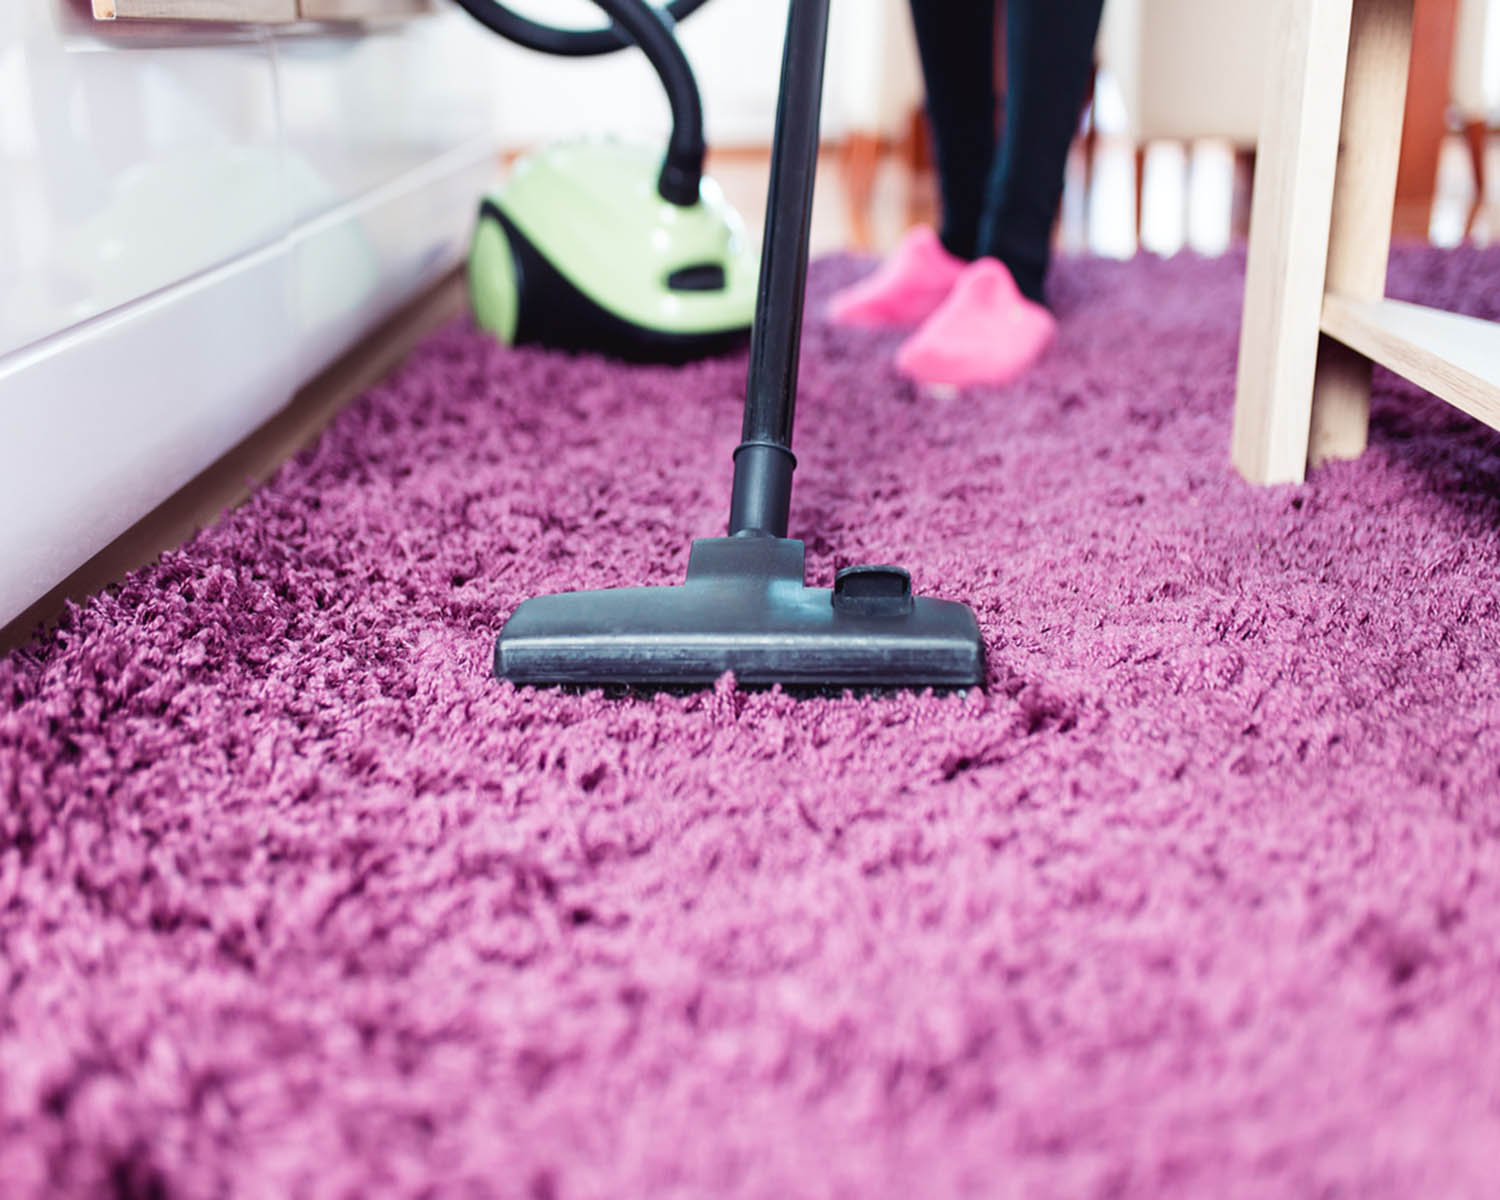
When vacuuming carpet, be sure to overlap each pass to ensure thorough cleaning. Start from the farthest corner and work your way towards the door for efficient coverage.
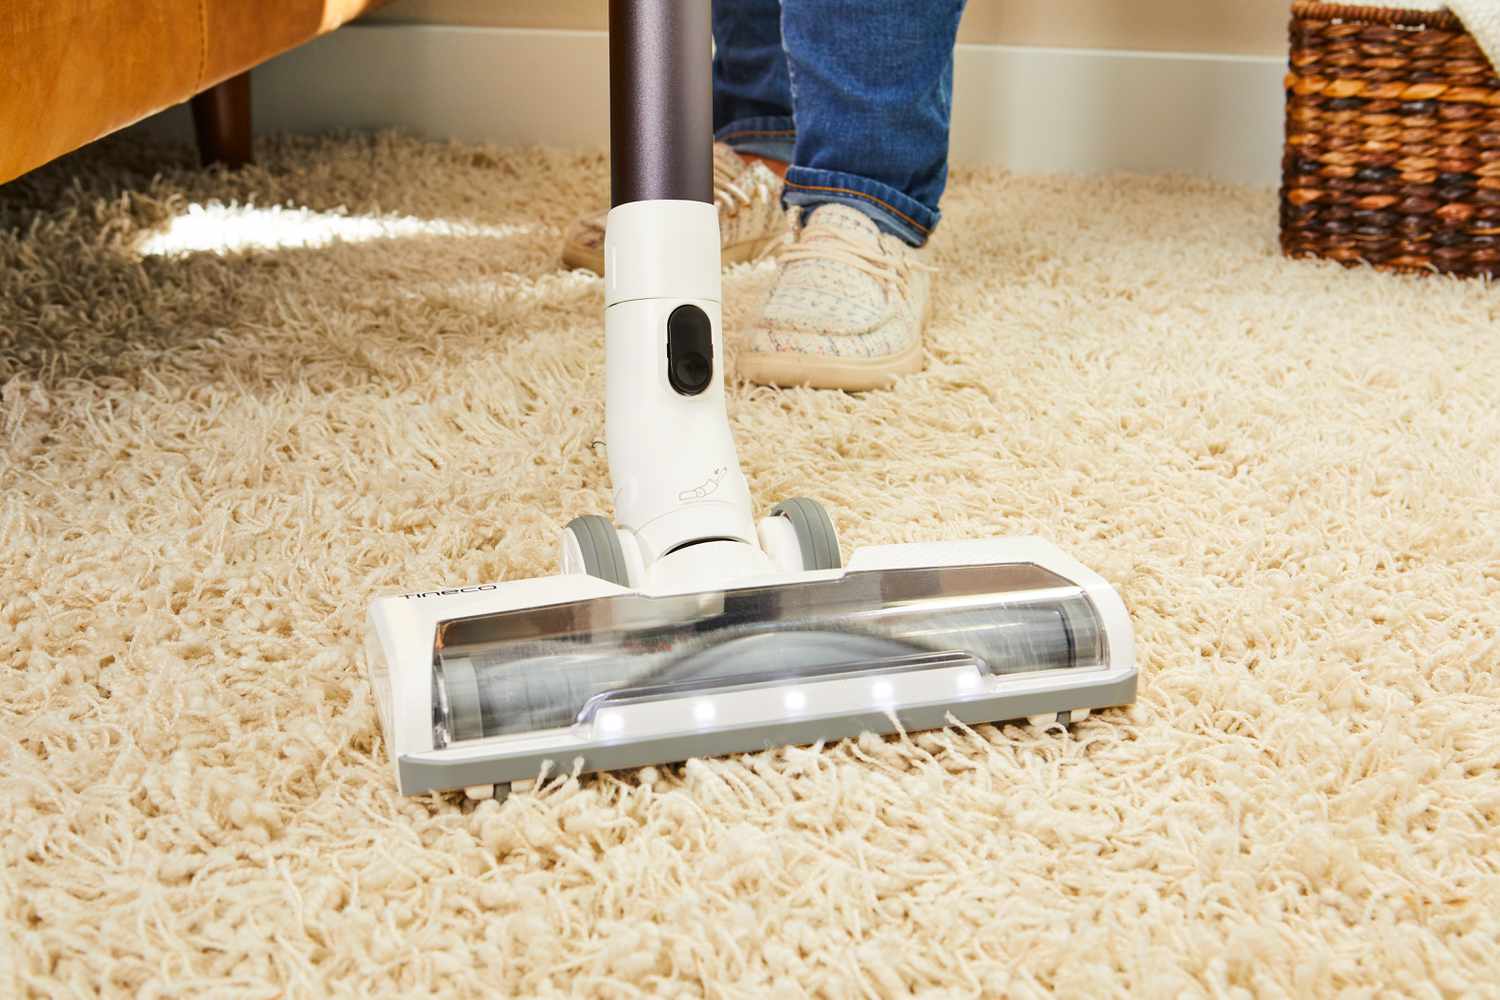
Step 6: Slowly Push Forward and Pull Back
When vacuuming your carpet, it’s important to maintain a steady and controlled pace as you push the vacuum cleaner forward and pull it back. This technique allows the vacuum to effectively lift dirt and debris from the carpet fibers. Here’s how to properly push forward and pull back:
- Maintain a slow and steady pace: Avoid rushing and instead, move the vacuum cleaner at a moderate speed. This allows the suction and brushes of the vacuum to work more effectively by loosening and capturing dirt and debris.
- Use consistent, smooth motions: Keep your movements smooth and consistent as you push the vacuum forward and pull it back. Avoid jerky or uneven motions that may prevent the vacuum from properly engaging with the carpet.
- Apply light pressure: While pushing the vacuum forward, apply a gentle downward pressure to allow the brushes or beater bars to make full contact with the carpet surface. This helps to dislodge and lift dirt and debris effectively.
- Overlap each stroke: To ensure thorough cleaning, slightly overlap each forward and backward stroke. This helps to cover the entire carpeted area and prevents any missed spots.
- Take your time: Don’t rush through the vacuuming process. Take your time in each section, especially in areas with high foot traffic or heavy soiling. Multiple passes may be needed to effectively remove embedded dirt and debris.
- Keep a steady grip: Hold onto the vacuum handle firmly and maintain a comfortable grip throughout the process. This helps maintain control and maneuverability as you navigate across the carpeted area.
By cautiously pushing forward and pulling back the vacuum cleaner, you ensure that the carpet fibers are thoroughly cleaned without causing any damage. This technique, combined with a consistent and steady pace, will help you achieve optimal cleaning results.
Step 7: Overlap the Strokes
When vacuuming your carpet, it’s important to overlap your strokes to ensure thorough cleaning. This technique helps to capture any dirt or debris that may have been missed during the initial pass. Here’s how to properly overlap your vacuuming strokes:
- Start with a clean section: Begin the vacuuming process by starting with a clean section of the carpet. This ensures that you’re not spreading dirt or debris from one area to another.
- Make slight overlaps: As you move the vacuum cleaner forward, slightly overlap each stroke with the previous one. This means that the next stroke should cover a small portion of the already vacuumed area.
- Pay attention to the direction: If you predominantly move from left to right, overlap each stroke by moving the vacuum slightly to the left on the next pass. Vice versa, if you prefer a right-to-left motion, overlap the strokes by moving the vacuum slightly to the right.
- Focus on high-traffic areas: Pay extra attention to areas with high foot traffic, such as entryways, hallways, or living room paths. These areas tend to accumulate more dirt and debris, so overlapping the strokes ensures thorough cleaning.
- Vary the angles: To ensure complete coverage, vary the angles at which you approach each section. This helps remove dirt and debris from different directions and angles, leaving your carpet looking cleaner and more refreshed.
- Check for missed spots: After completing a section, take a quick look to check if any spots were missed. If you notice any areas that still appear dirty, go back and give them extra attention by overlapping the strokes again.
By overlapping your vacuuming strokes, you ensure that you don’t leave any dirt or debris behind. This technique helps to achieve a more thorough and effective cleaning, leaving your carpet cleaner, fresher, and free from particles that can affect its appearance and lifespan.
Step 8: Vacuum Along the Edges
When vacuuming your carpet, it’s important to pay special attention to the edges and baseboards of the room. This area tends to accumulate more dust, dirt, and pet hair, which often gets pushed towards the edges during regular cleaning. Here’s how to properly vacuum along the edges:
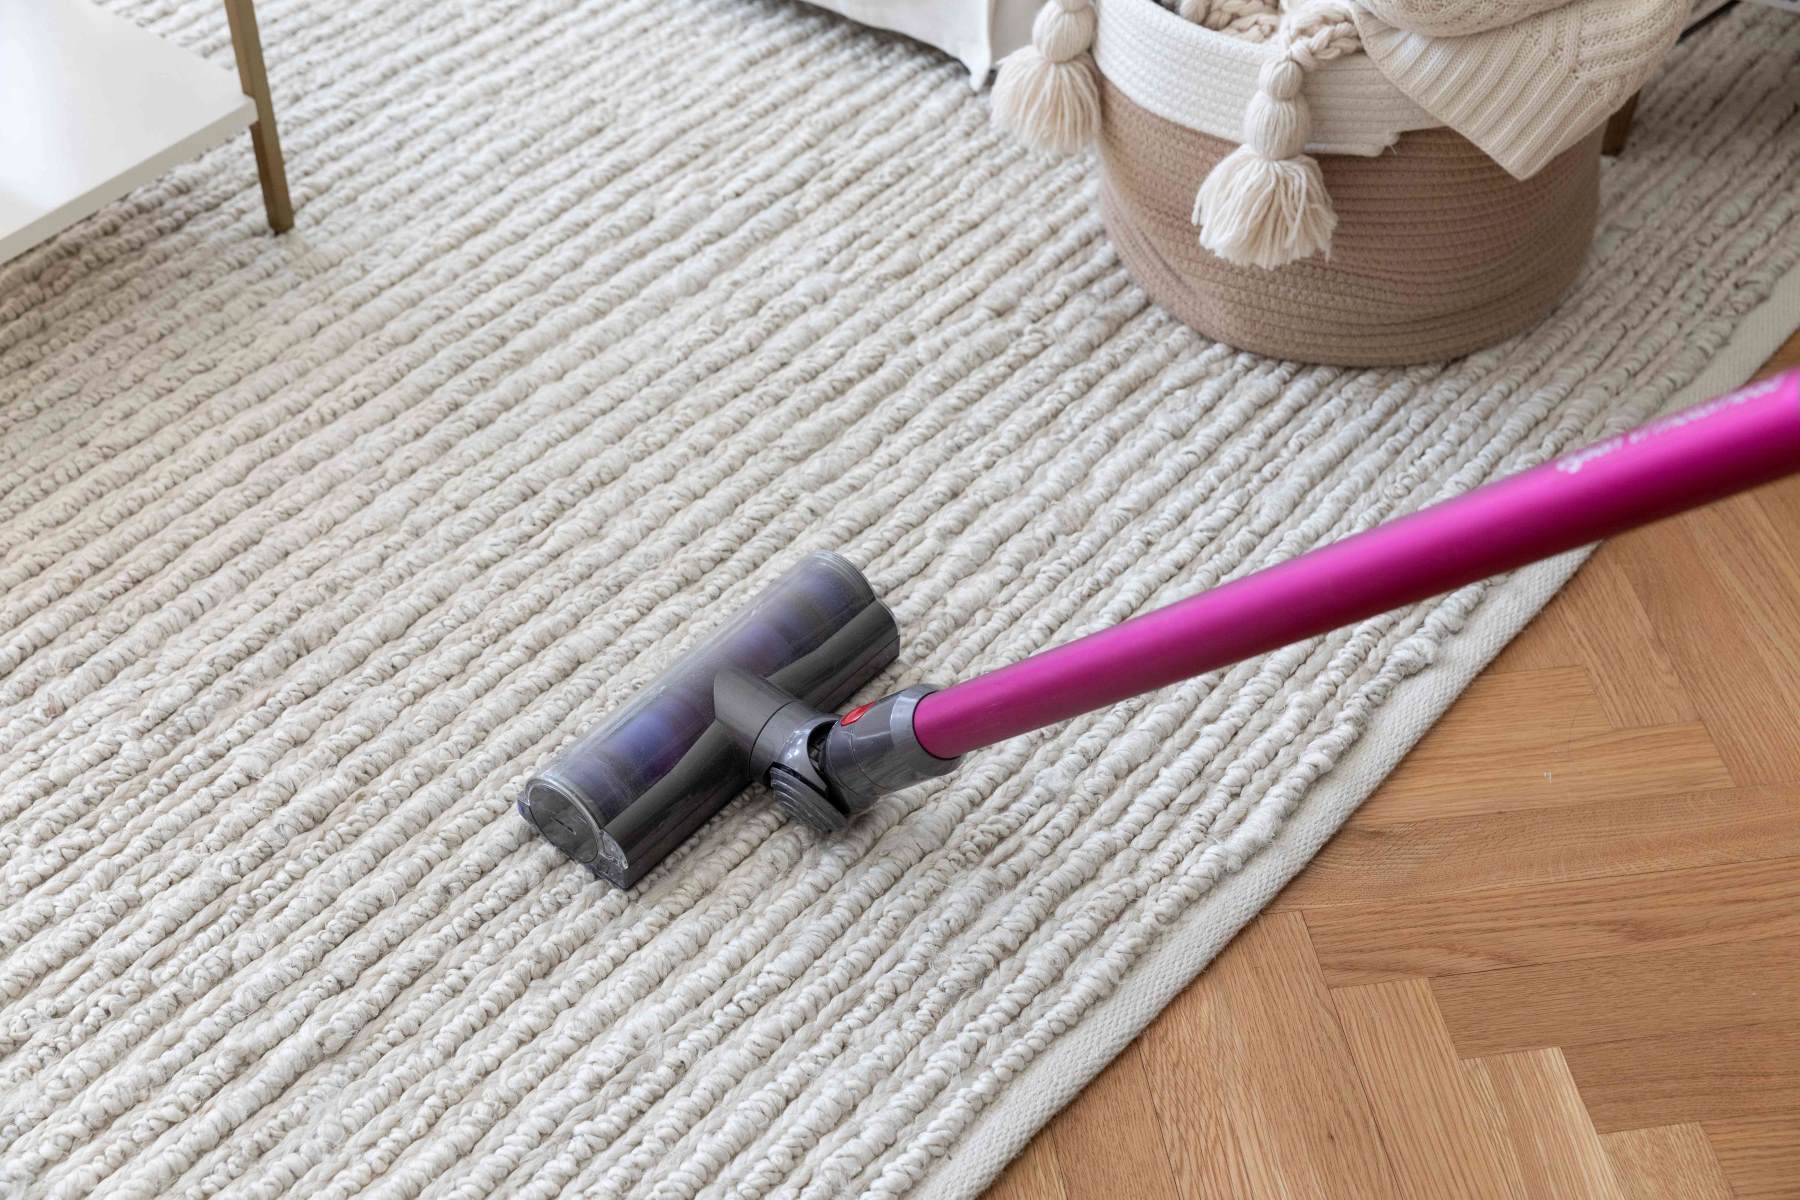
- Switch to a narrow attachment: Attach a crevice tool or a specialized edge cleaning attachment to your vacuum cleaner. These attachments are designed to reach tight spaces and effectively clean along the edges.
- Position the attachment: Angle the attachment parallel to the baseboard or edge, ensuring that it makes full contact with the carpet and the adjacent wall.
- Run the attachment along the edge: Slowly run the attachment along the edge of the carpet, moving in a straight line. The bristles or suction power of the attachment will help dislodge and capture any dirt or debris accumulated along the edges.
- Overlap the strokes: Similar to the main vacuuming process, slightly overlap each stroke along the edge to ensure comprehensive cleaning.
- Pay attention to corners and crevices: Use the tip of the attachment to clean any corners or crevices where debris may accumulate. These areas often require extra attention, as they can easily collect dust and dirt.
- Repeat on all edges: Move around the room, following the perimeter, and repeat the process of vacuuming along all the edges and baseboards. Pay attention to areas near furniture or objects that may obstruct the attachment’s reach.
- Inspect for missed spots: After vacuuming along the edges, inspect the area to check for any missed spots. If you notice any remaining dirt or debris, go back and give those areas another pass.
By dedicating time to vacuum along the edges, you ensure a thorough cleaning and prevent the accumulation of dust and dirt in these often overlooked areas. This step will help maintain a cleaner and tidier appearance in your room, allowing your carpet to shine in every corner.
Read more: How To Clean A Carpet Without A Vacuum
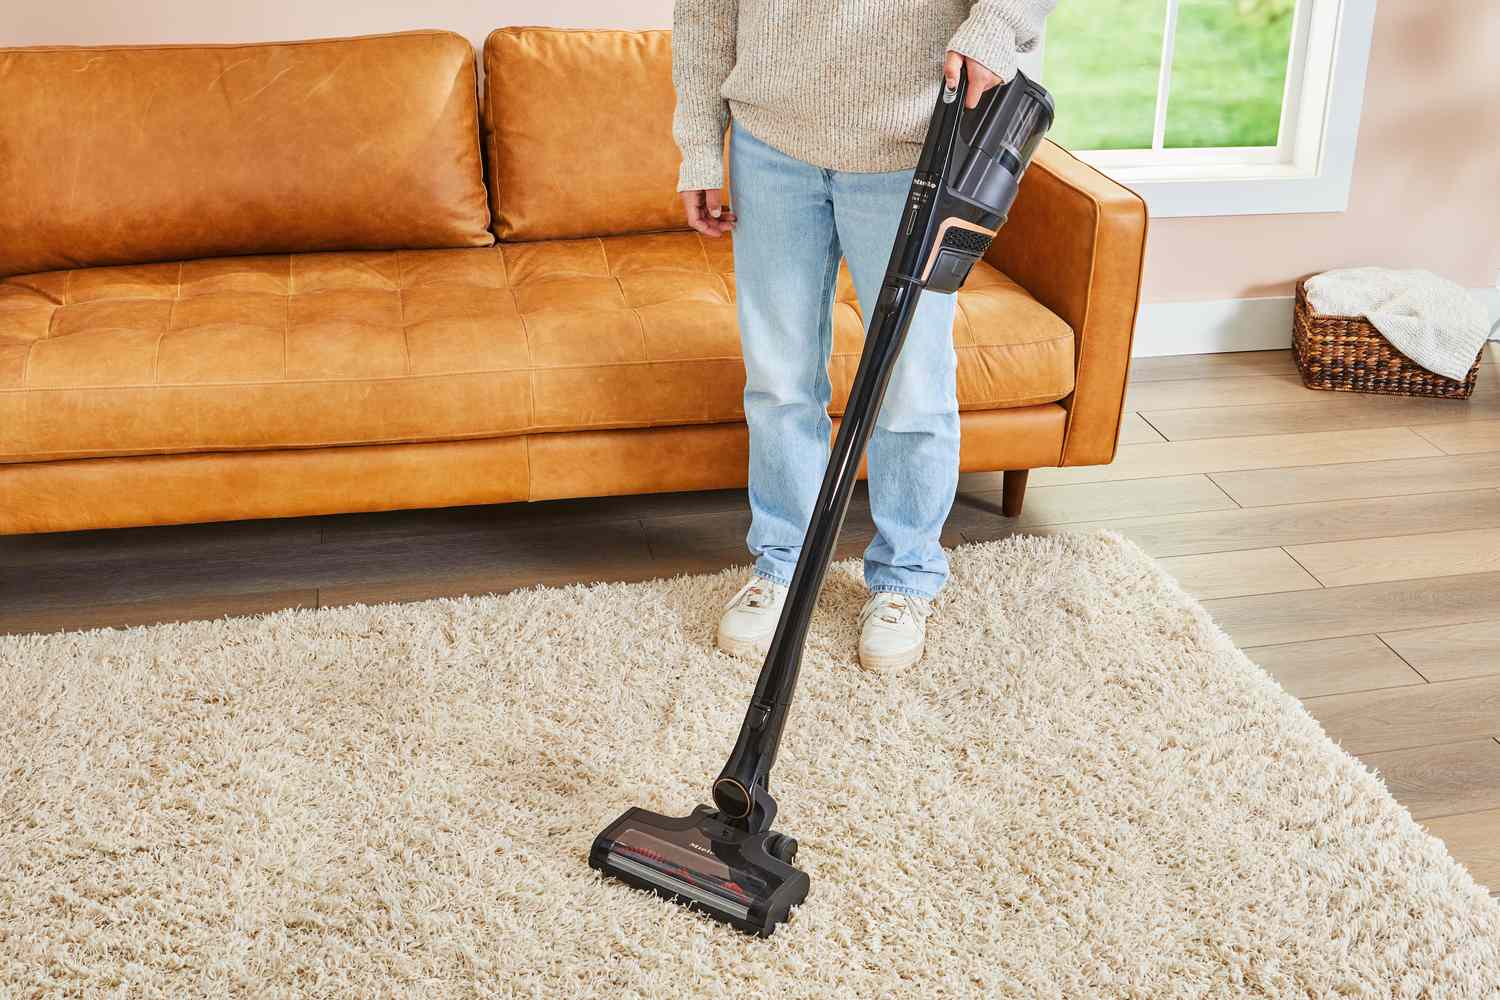
Step 9: Vacuum in Different Directions
Vacuuming your carpet in different directions helps to ensure that you capture as much dirt and debris as possible. It also helps to prevent matting and flattening of carpet fibers, ensuring that your carpet maintains its original appearance and texture. Here’s how to properly vacuum in different directions:
- Choose a starting direction: Decide on the initial direction in which you will be vacuuming, such as horizontally or vertically.
- Vacuum in straight lines: Begin vacuuming in the chosen direction, moving the vacuum cleaner in straight lines. Push the vacuum forward and then pull it back towards you.
- Vary the direction: After completing a section in one direction, switch to a different direction for the next pass. For example, if you started vacuuming horizontally, switch to vacuuming vertically for the next pass.
- Overlap each stroke: To ensure thorough cleaning, slightly overlap each forward and backward stroke with the previous ones, irrespective of the direction you are vacuuming.
- Continue alternating directions: Keep alternating the direction of your vacuuming pattern as you move across the carpeted area. This method ensures that you cover the area from different angles, capturing dirt and debris that may have been missed in the previous passes.
- Pay attention to high-traffic areas: High-traffic areas tend to accumulate more dirt and debris. Use extra passes and switch directions frequently in these areas to ensure a deeper and more thorough clean.
- Take your time: Don’t rush when vacuuming in different directions. Move at a steady pace, ensuring that the vacuum has enough time to effectively agitate and capture dirt and debris from all angles.
- Inspect for missed spots: After vacuuming in different directions, inspect the carpeted area to check for any missed spots. If you notice any remaining dirt or debris, go back and give those areas extra attention.
Vacuuming in different directions helps to dislodge and remove dirt and debris that may be embedded deep within the carpet fibers. This technique leaves your carpet cleaner, fresher, and more rejuvenated, ensuring that it maintains its original beauty and plushness.
Step 10: Empty the Vacuum Bag or Canister
One often overlooked step in the vacuuming process is emptying the vacuum bag or canister. Neglecting to empty it regularly can impact the performance of the vacuum cleaner and hinder its ability to effectively pick up dirt and debris. Here’s how to properly empty the vacuum bag or canister:
- Power off and unplug the vacuum: Before emptying the bag or canister, ensure that the vacuum cleaner is turned off and unplugged from the electrical outlet. This is crucial for your safety.
- Remove the bag or canister: Depending on your vacuum cleaner model, locate the bag or canister and remove it from the machine. Follow the instructions provided by the manufacturer, as the process may vary.
- Dispose of the contents: If you have a bagged vacuum, carefully dispose of the contents by sealing the bag and placing it in the trash. If you have a bagless vacuum with a canister, empty the contents into a garbage bag or trash bin.
- Clean the bag or canister: If you have a reusable bag or canister, take the opportunity to clean it thoroughly using soap and water. Ensure it is completely dry before reassembling it.
- Check and clean the filters: While the bag or canister is removed, it’s a good idea to check and clean the filters according to the manufacturer’s instructions. Dirty or clogged filters can hamper the performance of your vacuum cleaner.
- Reassemble and replace: Once the bag or canister is empty and clean, reassemble it and securely place it back into the vacuum cleaner. Follow the manufacturer’s instructions for proper reattachment.
- Store or continue vacuuming: Store your vacuum cleaner in a suitable place, or if you still have more vacuuming to do, plug it back in and resume your cleaning process with a fresh bag or canister.
Regularly emptying the vacuum bag or canister keeps your vacuum cleaner working at optimal performance. It ensures that your vacuum can effectively pick up dirt and debris, maintaining the cleanliness of your carpets and improving the longevity of your machine.
Remember, for bagged vacuums, it’s important to replace the bag when it is full or at regular intervals as recommended by the manufacturer. For bagless vacuums, empty the canister when it is around two-thirds full to prevent loss of suction power.
Conclusion
Vacuuming your carpet properly is crucial for maintaining a clean and healthy living environment. By following the steps outlined in this guide, you can ensure that your carpet is thoroughly cleaned, free from dust, debris, and allergens, and maintains its appearance and longevity. Let’s recap the steps:
- Prepare the vacuum by checking the bag or canister, cleaning or replacing filters, and ensuring proper attachment connections.
- Clear the area of any obstacles or items that could hinder the vacuuming process.
- Choose the right vacuum attachment based on the area or surface you are cleaning.
- Adjust the vacuum height to match the carpet type for optimal cleaning.
- Start vacuuming from the farthest corner and work your way towards the exit.
- Slowly push forward and pull back the vacuum in controlled motions.
- Overlap the strokes to ensure thorough cleaning.
- Pay attention to vacuuming along the edges and baseboards where dirt tends to accumulate.
- Vacuum in different directions to capture dirt and prevent fiber matting.
- Empty the vacuum bag or canister regularly to maintain performance and cleanliness.
By incorporating these techniques into your regular cleaning routine, you can keep your carpet looking fresh and extend its lifespan. Remember to also refer to your vacuum cleaner’s user manual for specific instructions and recommendations. Happy vacuuming!
Frequently Asked Questions about How To Vacuum Carpet Properly
Was this page helpful?
At Storables.com, we guarantee accurate and reliable information. Our content, validated by Expert Board Contributors, is crafted following stringent Editorial Policies. We're committed to providing you with well-researched, expert-backed insights for all your informational needs.