Home>Home Appliances>Cleaning Appliances>How To Turn On A Vacuum Cleaner
Cleaning Appliances
How To Turn On A Vacuum Cleaner
Modified: August 16, 2024
Discover the best way to turn on a vacuum cleaner and keep your cleaning appliances in top condition with our expert tips and advice. Simplify your cleaning routine today!
(Many of the links in this article redirect to a specific reviewed product. Your purchase of these products through affiliate links helps to generate commission for Storables.com, at no extra cost. Learn more)
Introduction
Welcome to the ultimate guide on how to turn on a vacuum cleaner. Whether you’re a cleaning novice or a seasoned pro, knowing the correct steps to start your vacuum cleaner is essential for maintaining a clean and healthy home. In this comprehensive guide, we will walk you through the process, from preparation to the final push of the power button. By the end of this article, you will have the confidence and knowledge to power up your vacuum cleaner and tackle even the toughest messes with ease.
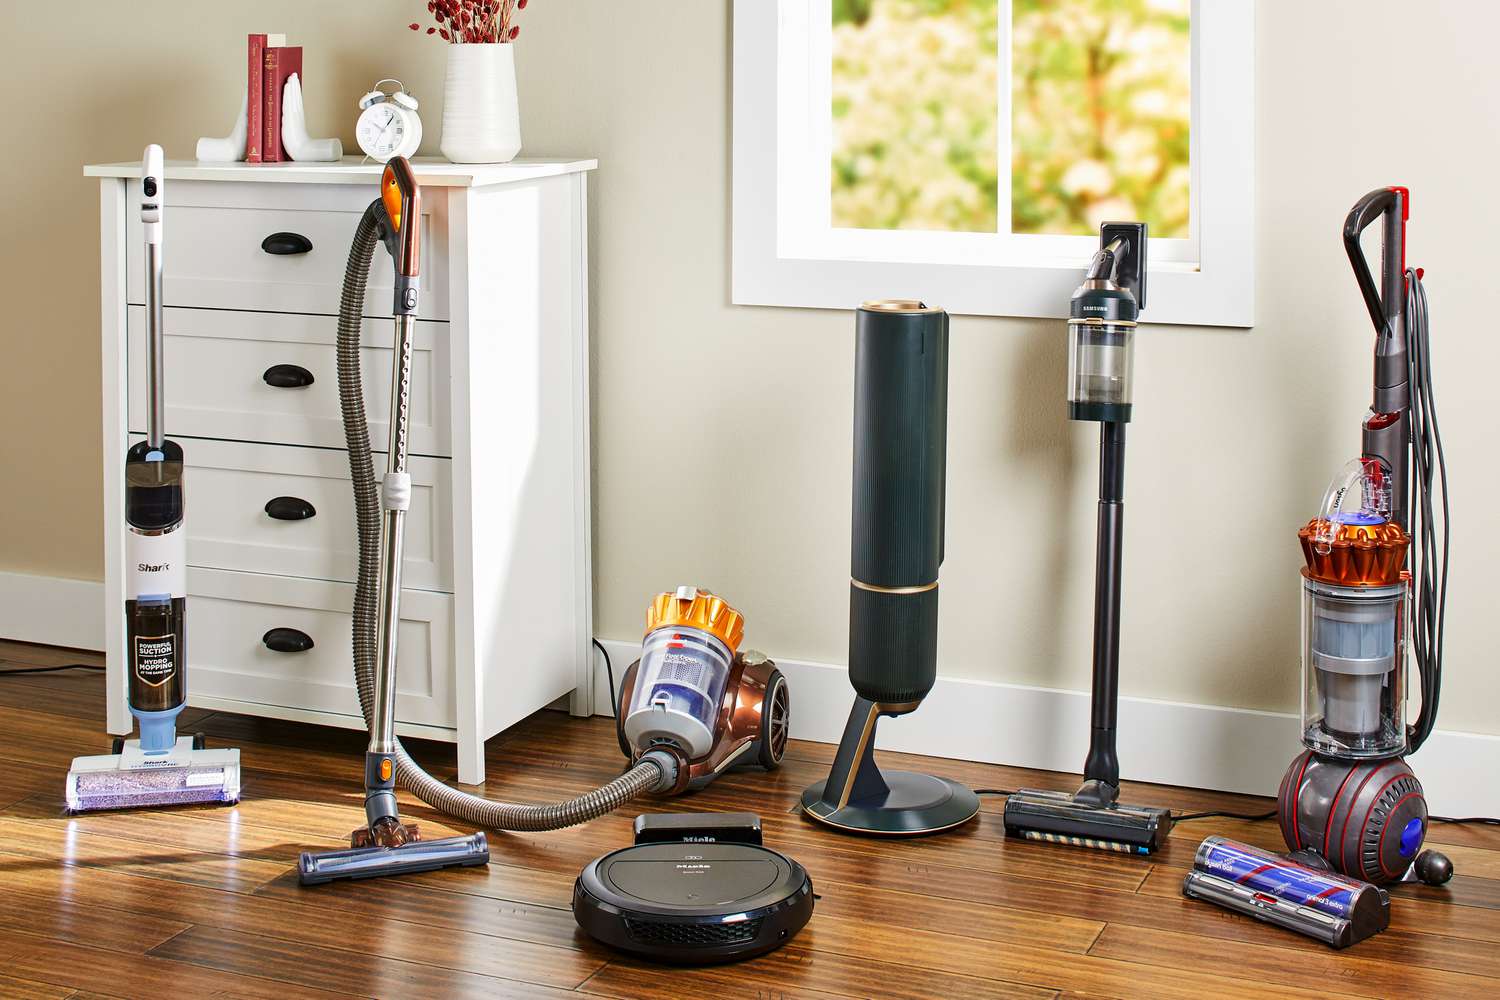
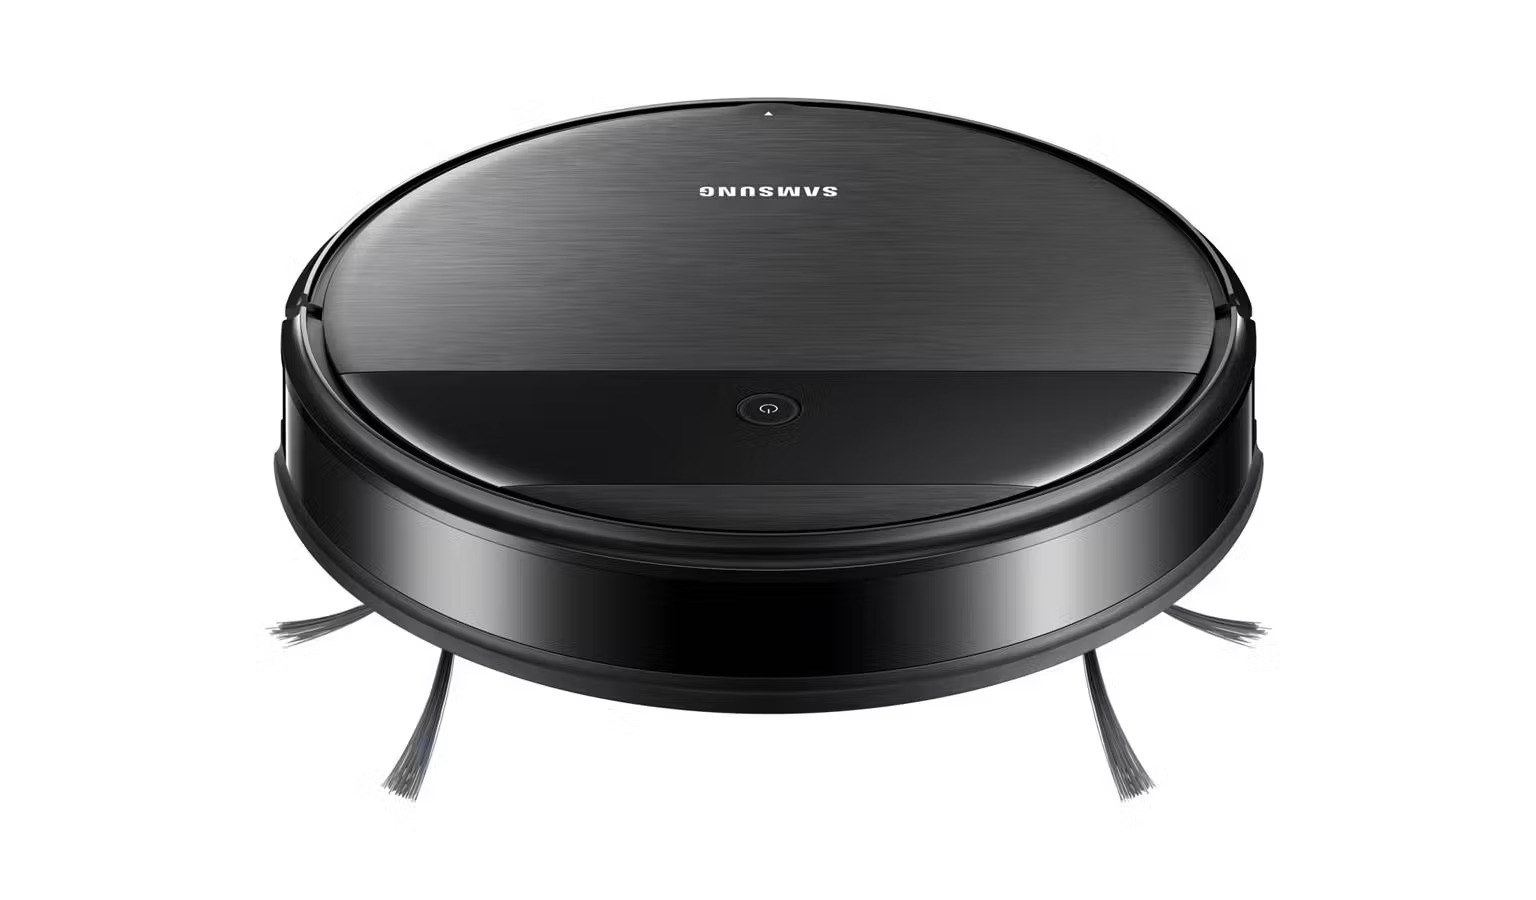
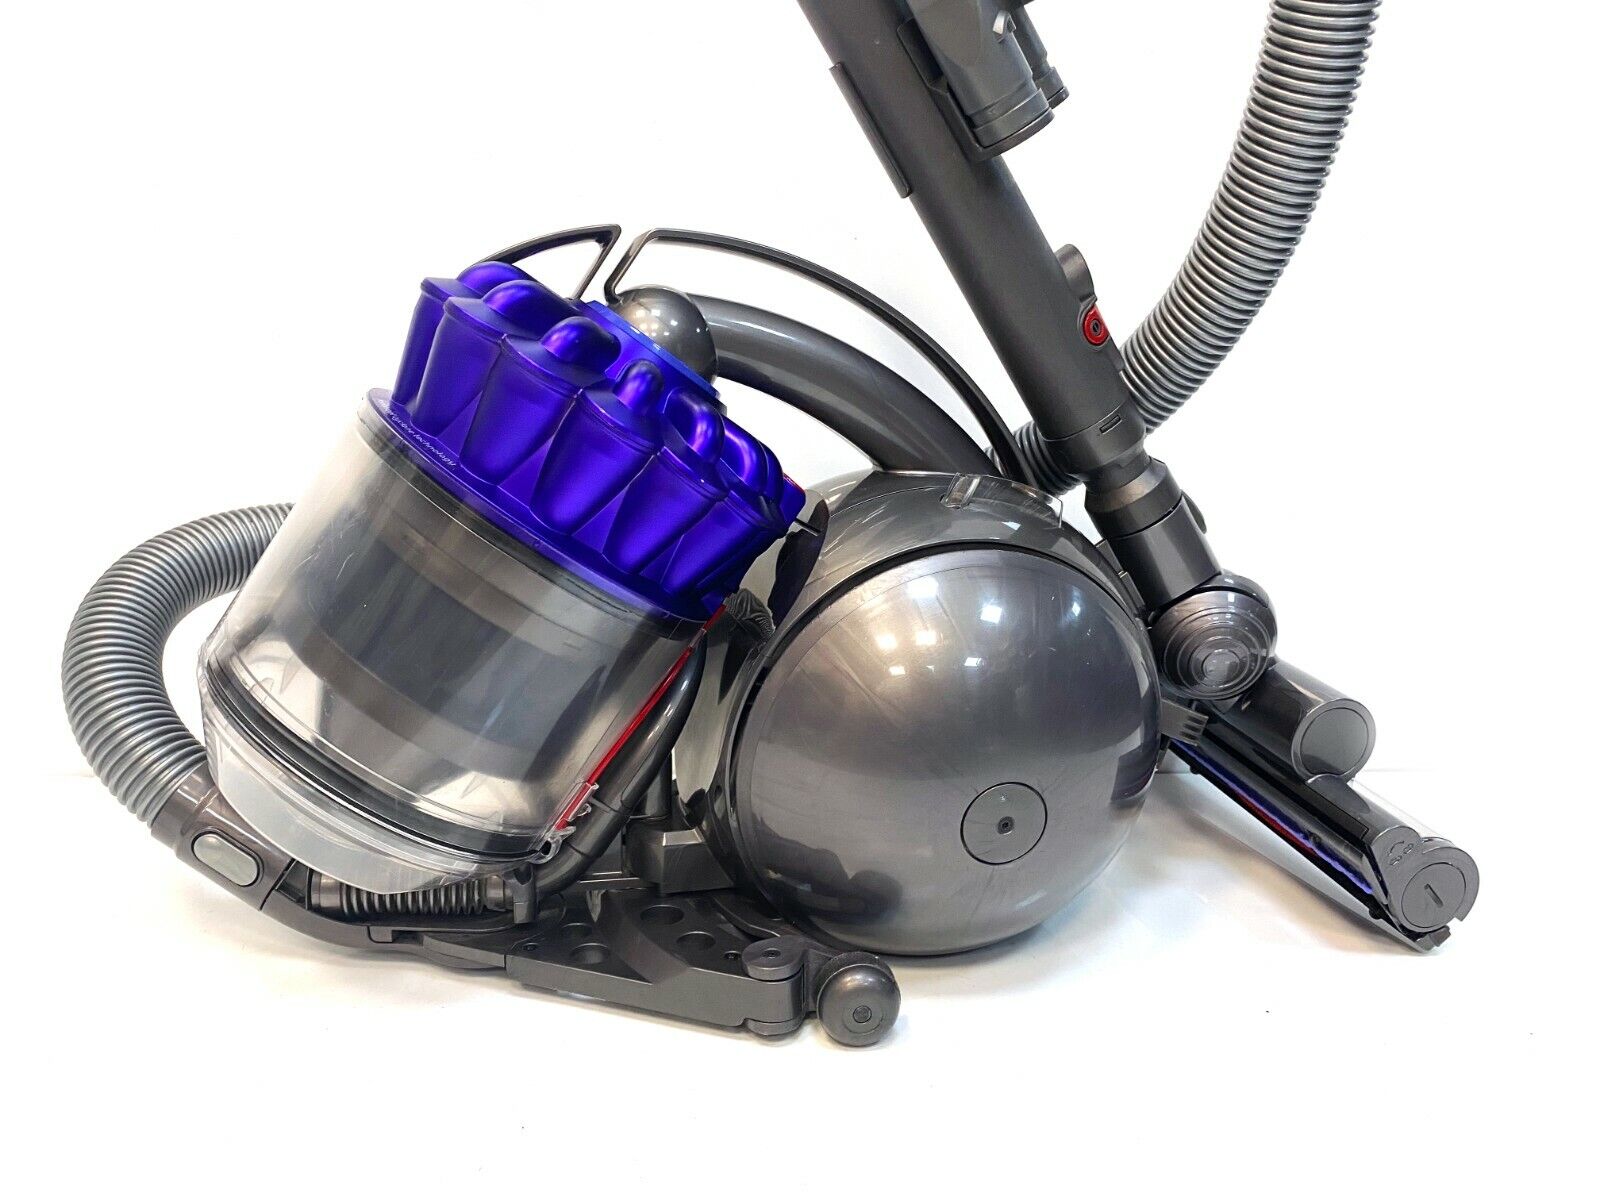
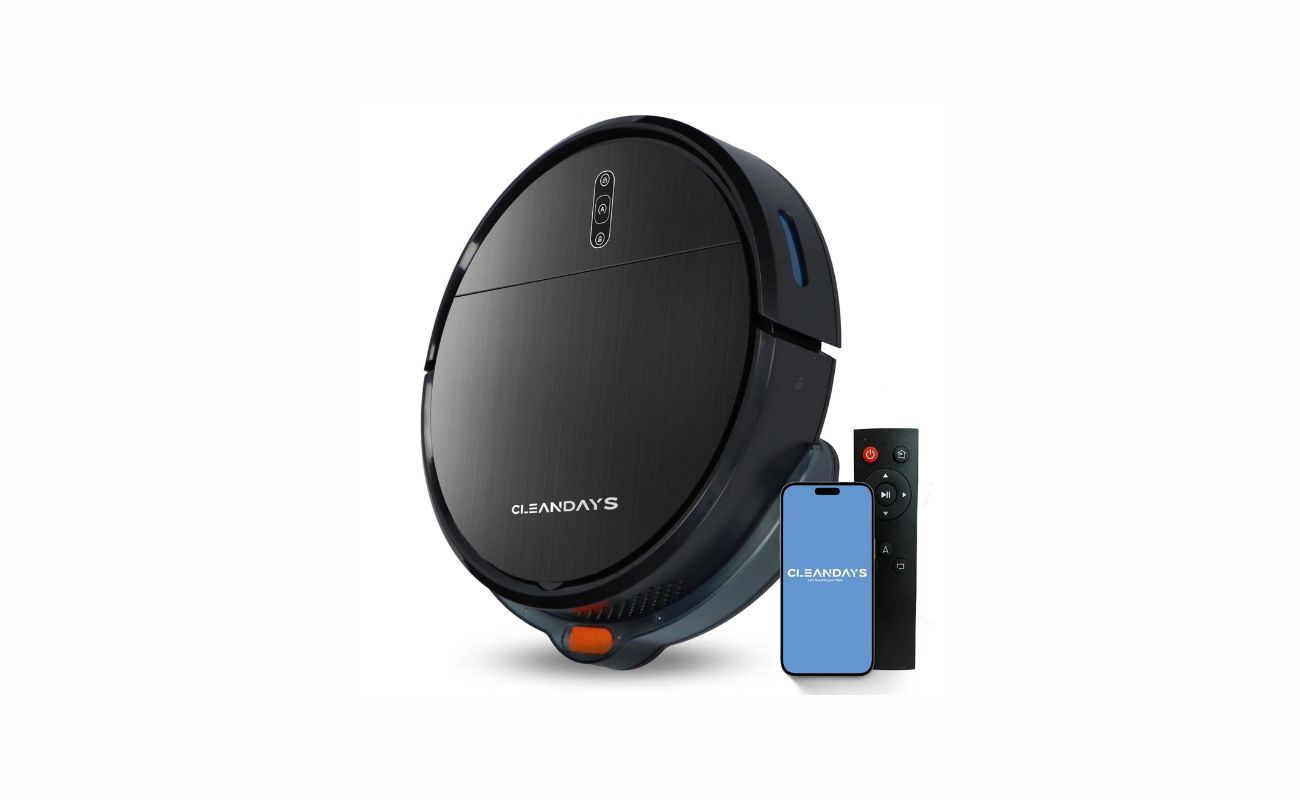
So, let’s dive in and uncover the secrets to effectively turning on your vacuum cleaner. Whether you have a traditional upright vacuum, a sleek canister vacuum, or a futuristic robotic vacuum, the following steps will ensure that you are ready to banish dust, dirt, and debris from your floors and carpets.
Key Takeaways:
- Prepare your vacuum by clearing the area, inspecting the vacuum, untangling the cord, checking attachments, and securing pets for a seamless cleaning experience.
- Adjust settings for surface type, height, suction, and specialized modes to optimize your vacuum’s performance before turning it on.
Read more: How To Use A Vacuum Cleaner
Step 1: Preparation
Before you begin the process of turning on your vacuum cleaner, it’s important to make sure that you have everything in place for a successful cleaning session. Here are the key preparatory steps to take:
- Clear the Area: Start by removing any large objects, toys, or obstacles from the floor. This will not only make vacuuming easier but also prevent potential damage to both the vacuum cleaner and the items on the floor.
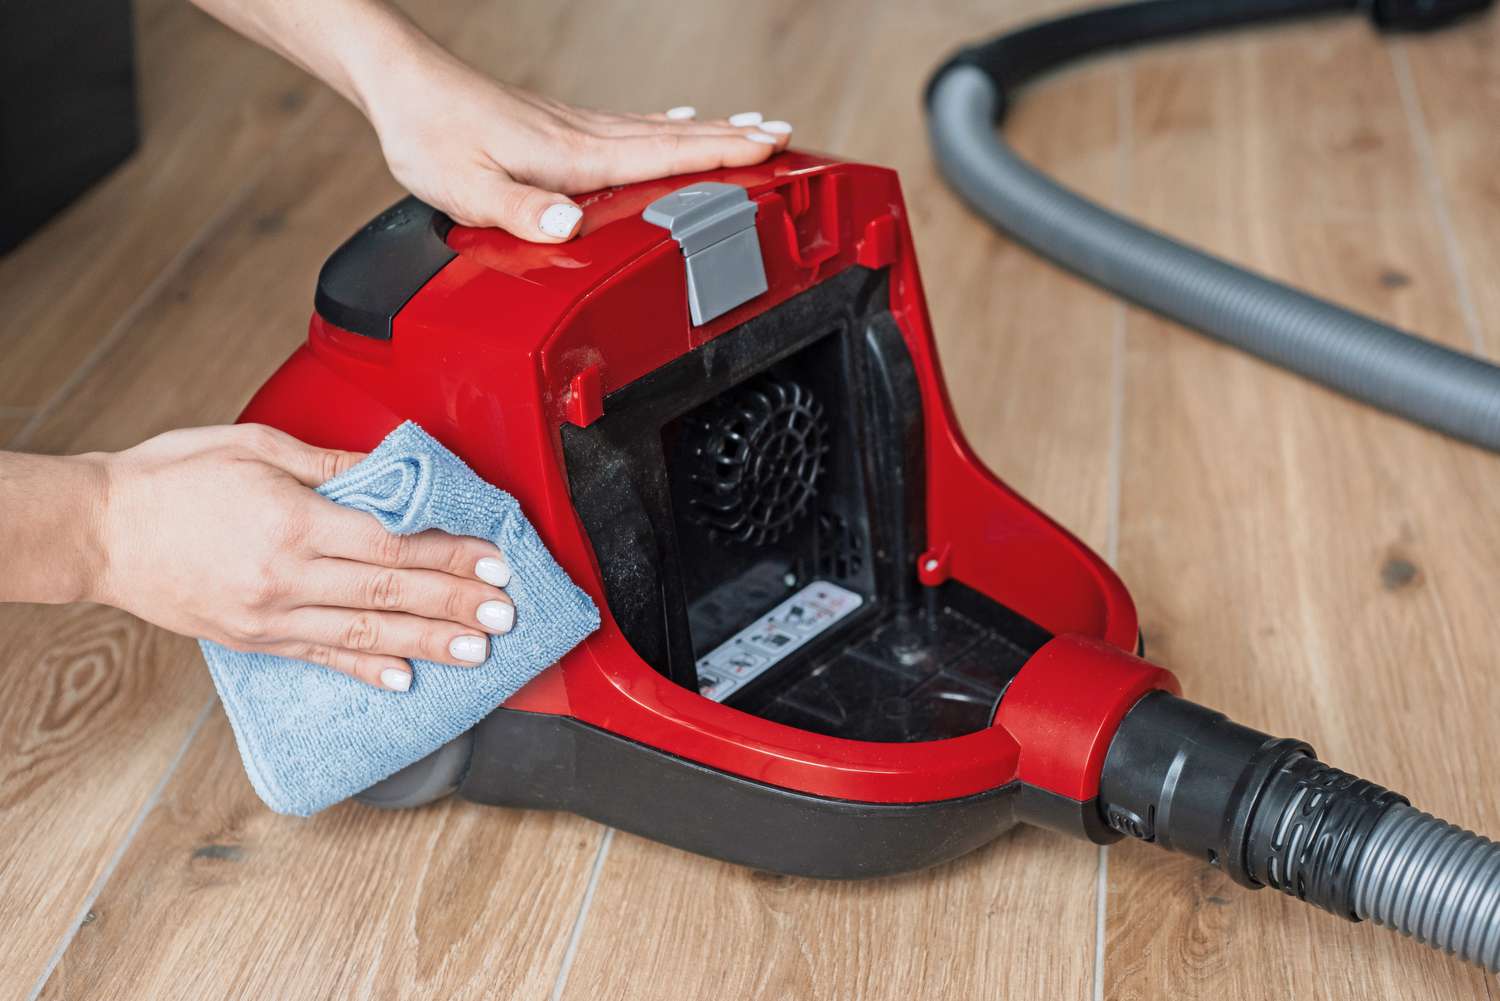
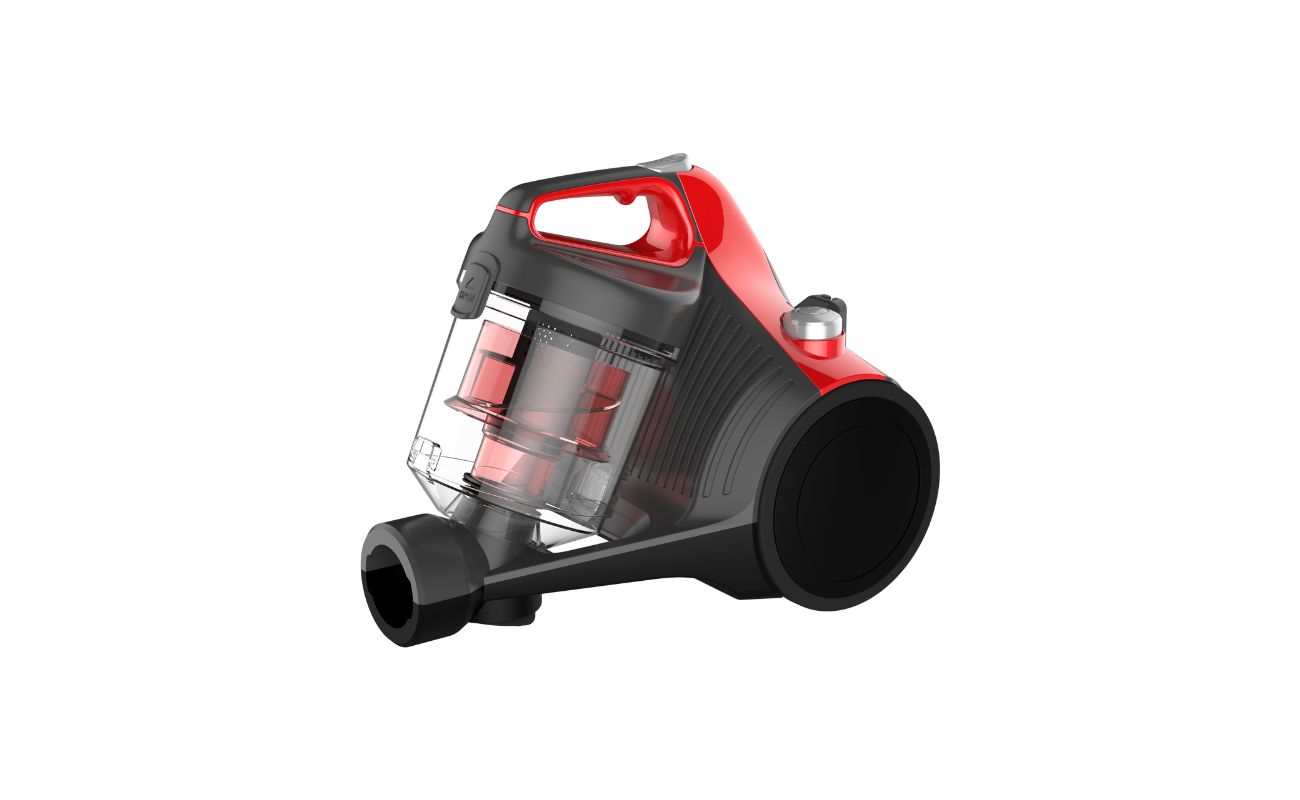
- Inspect the Vacuum: Take a quick look at your vacuum cleaner to ensure that the dustbin or vacuum bag is empty and that the filters are clean. This will optimize the performance of the vacuum and prevent any potential issues during operation.
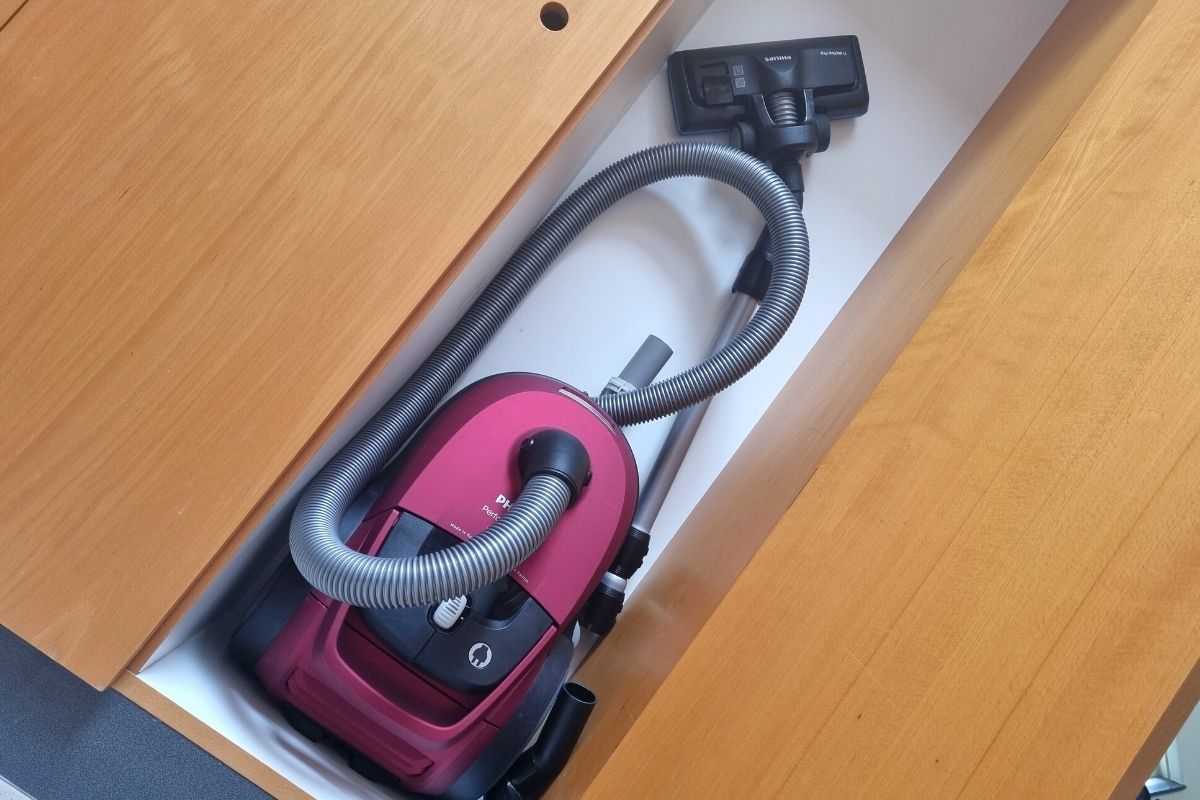
- Untangle the Cord: If you’re using a corded vacuum cleaner, make sure the power cord is untangled and free from any knots or kinks. This will prevent interruptions during the cleaning process and ensure that you have full range of motion.
- Check the Attachments: If your vacuum cleaner comes with various attachments, such as a crevice tool or a brush head, ensure that they are securely attached and ready for use. Different cleaning tasks may require different attachments, so having them ready can save you time and effort.
- Secure Pets: If you have pets in the household, it’s a good idea to secure them in a different room or area while you vacuum. This will prevent them from getting underfoot and ensure a smooth and uninterrupted cleaning process.
By taking these preparatory steps, you’ll set the stage for a seamless and effective vacuuming experience. With the area cleared, the vacuum in prime condition, and any necessary attachments at the ready, you’re now ready to move on to the next step in the process of turning on your vacuum cleaner.
Step 2: Plugging In
Once you’ve completed the preparatory steps, the next crucial step is to plug in your vacuum cleaner. Here’s how to do it:
- Locate the Power Outlet: Identify the nearest power outlet to the area you intend to clean. Ensure that it is easily accessible and not obstructed by furniture or other objects.
- Unwind the Cord: If your vacuum cleaner has a power cord, gently unwind it and extend it to reach the power outlet. Be mindful of any obstacles or delicate items in your path to avoid accidental damage.
- Insert the Plug: Carefully insert the plug into the power outlet, ensuring a secure connection. If the outlet has a switch, make sure it is in the “on” position to provide power to the vacuum cleaner.
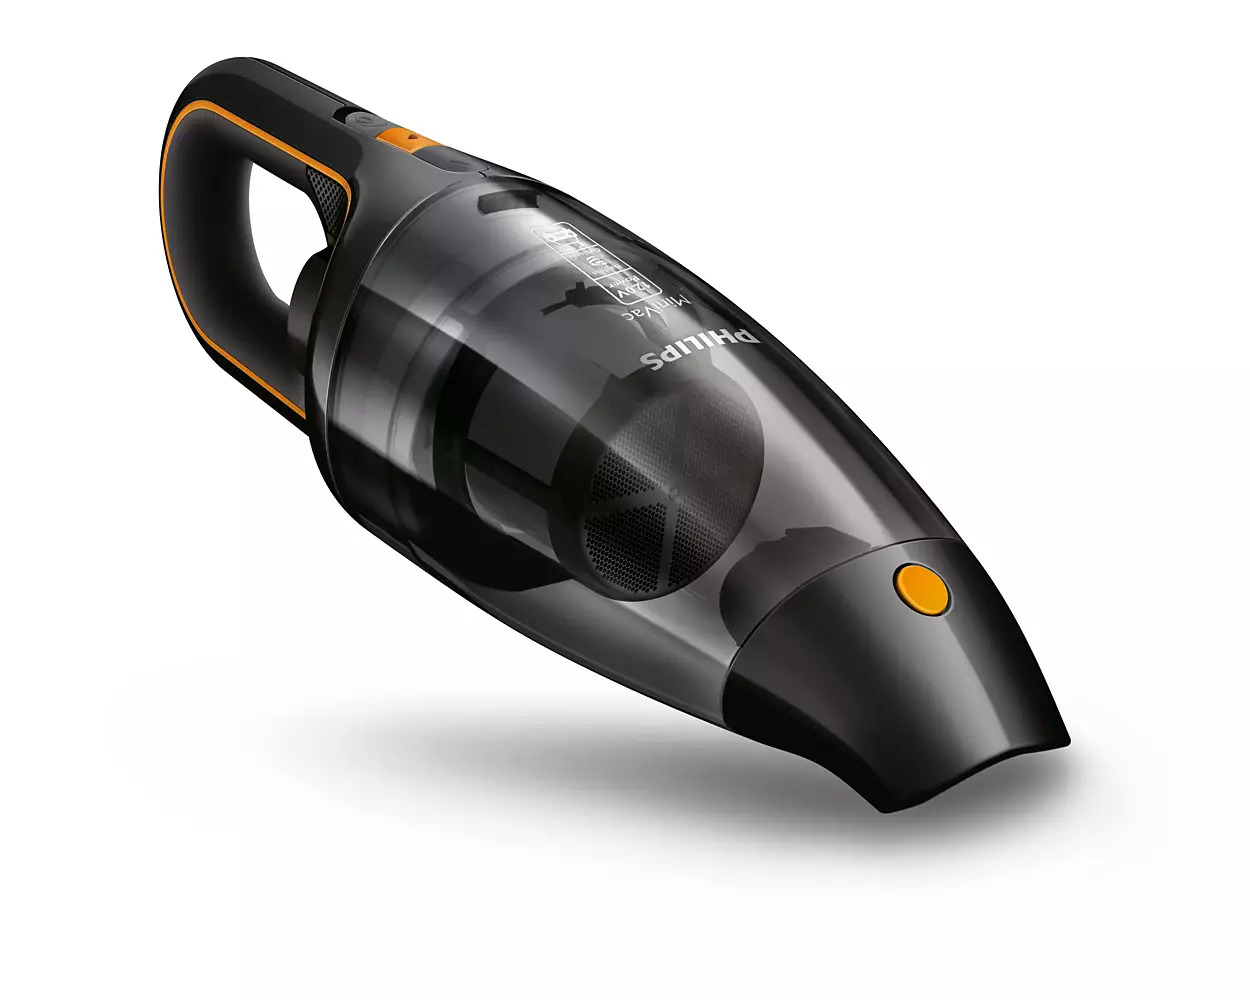
- Cordless Vacuums: If you’re using a cordless vacuum cleaner, ensure that the battery is fully charged before you begin. Most cordless models have a charging dock where the vacuum can be stored between uses, ensuring that it’s always ready to go when you need it.
Once your vacuum cleaner is securely plugged in and powered up, you’re one step closer to starting the cleaning process. With the necessary power supply in place, you’re now ready to move on to the next step of adjusting the settings for optimal cleaning performance.
Step 3: Adjusting Settings
Before you turn on your vacuum cleaner, it’s important to ensure that the settings are adjusted to suit the specific cleaning task at hand. Different surfaces and debris types may require different settings for optimal performance. Here’s how to adjust the settings:
- Surface Selection: If your vacuum cleaner has adjustable settings for different floor types, such as carpet and hard floors, make sure to select the appropriate setting for the surface you are cleaning. This will ensure that the vacuum’s brush roll or suction power is optimized for the specific floor type, delivering the best cleaning results.
- Height Adjustment: Some vacuum cleaners feature height adjustment settings to accommodate varying carpet pile heights or bare floor surfaces. Adjust the height setting as needed to ensure that the vacuum cleaner glides smoothly across the floor without causing any damage or inefficiency.
- Suction Control: Certain vacuum models offer suction control options to adjust the strength of the suction based on the cleaning task. For example, you may want higher suction power for deep cleaning carpets and lower suction for delicate area rugs or drapes.
- Specialized Modes: If your vacuum cleaner has specialized cleaning modes, such as a “turbo” mode for tackling stubborn pet hair or an “eco” mode for energy-efficient cleaning, consider activating these modes based on your specific cleaning needs.
By taking the time to adjust the settings according to the surface and debris type you’re dealing with, you can maximize the effectiveness of your vacuum cleaner and achieve superior cleaning results. With the settings optimized, you’re now ready to proceed to the next step of actually turning on the vacuum cleaner.
Make sure the vacuum is plugged in and the power switch is turned on. Then, adjust the settings for the type of floor you are cleaning. Finally, press the power button to start vacuuming.
Step 4: Turning On
With the preparations complete and the settings adjusted, it’s time to power up your vacuum cleaner and get ready to tackle the cleaning task at hand. Here’s how to turn on your vacuum cleaner:
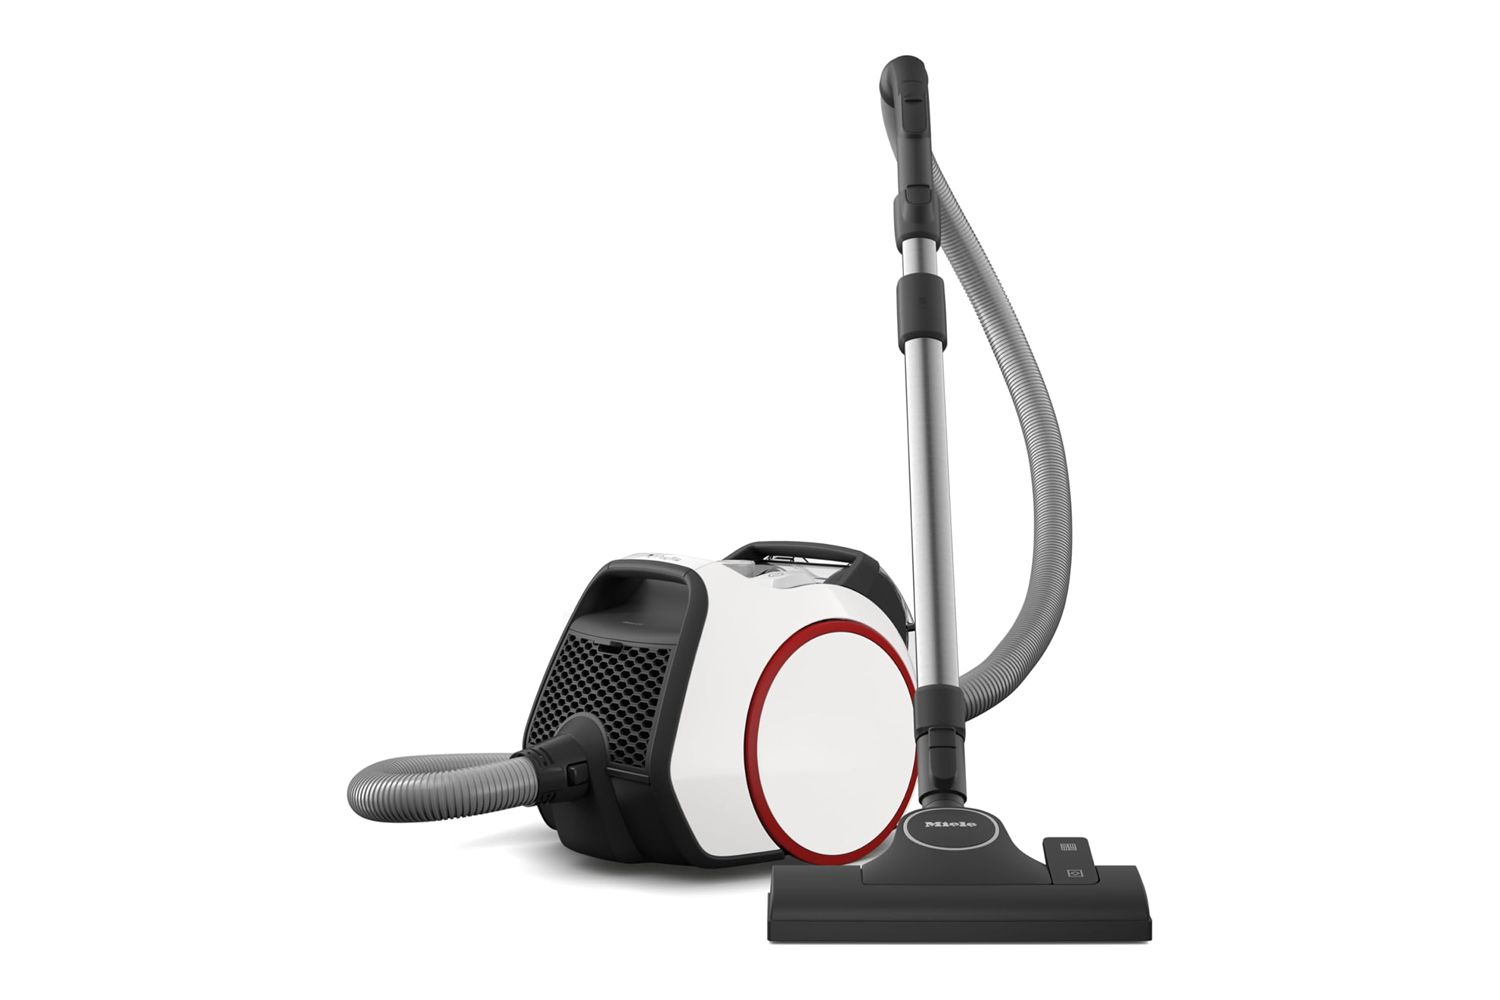
- Power Switch: Locate the power switch or button on your vacuum cleaner. Depending on the model, the power switch may be a simple on/off button or a more elaborate control panel with multiple options.
- Press the Button: If your vacuum cleaner has a traditional power switch, simply press the designated button to turn on the appliance. For models with a control panel, follow the manufacturer’s instructions to activate the power and any additional features you may need.
- Indicator Lights: Some vacuum cleaners have indicator lights that illuminate when the appliance is powered on. These lights may also indicate the status of other functions, such as brush roll rotation or filter maintenance.
- Wait for Initialization: In the case of certain advanced vacuum cleaners, there may be a brief initialization period after powering on. This is normal and allows the appliance to prepare for optimal performance.
Once your vacuum cleaner is powered on and ready for action, you’re just moments away from embarking on a cleaning adventure. With the push of a button, you’ll unleash the cleaning prowess of your vacuum cleaner and set the stage for a spotless living space. Now that your vacuum cleaner is up and running, it’s time to dive into the final step of the process: the actual vacuuming.
Read more: How To Draw A Vacuum Cleaner
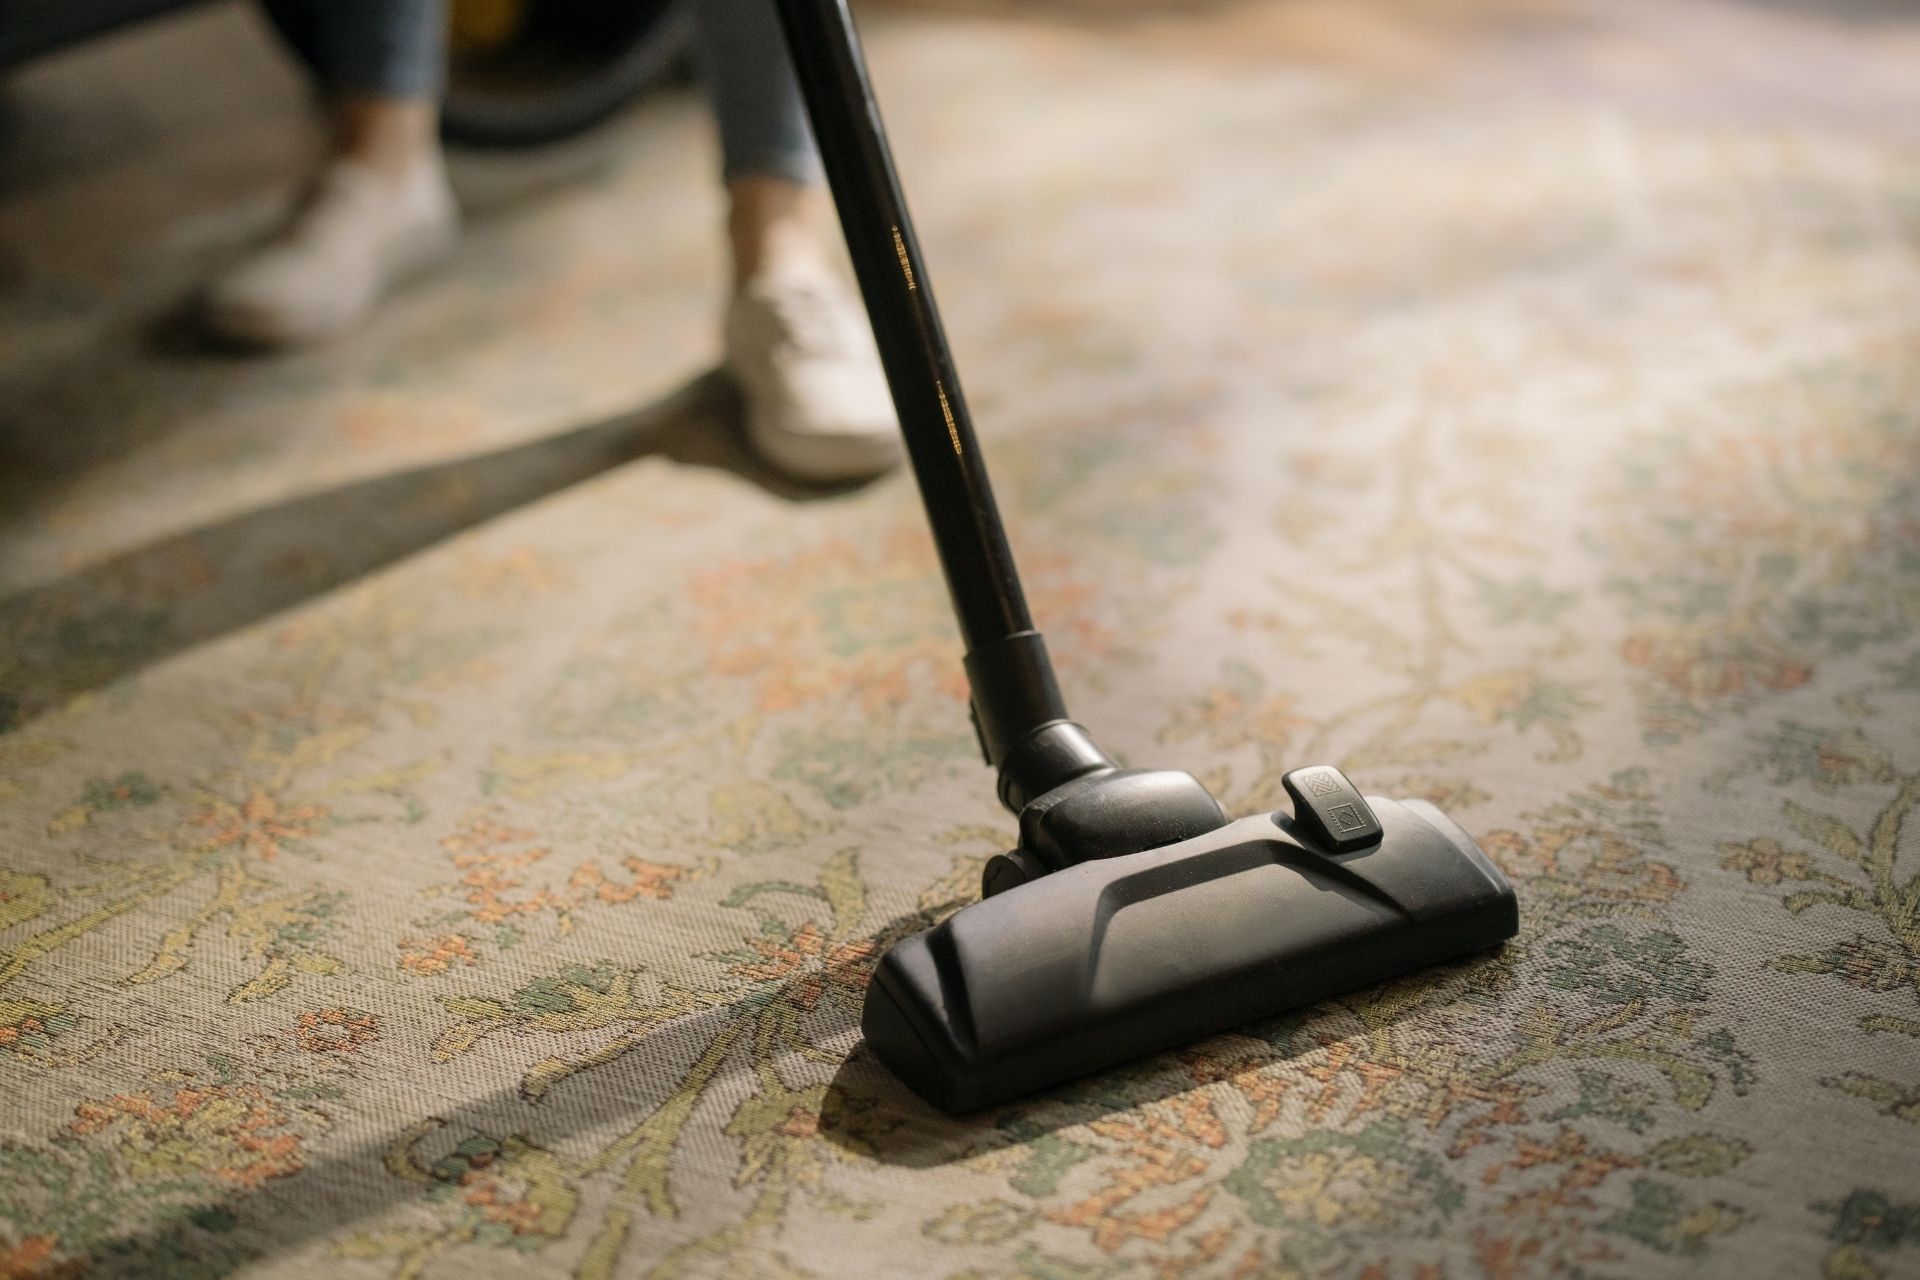
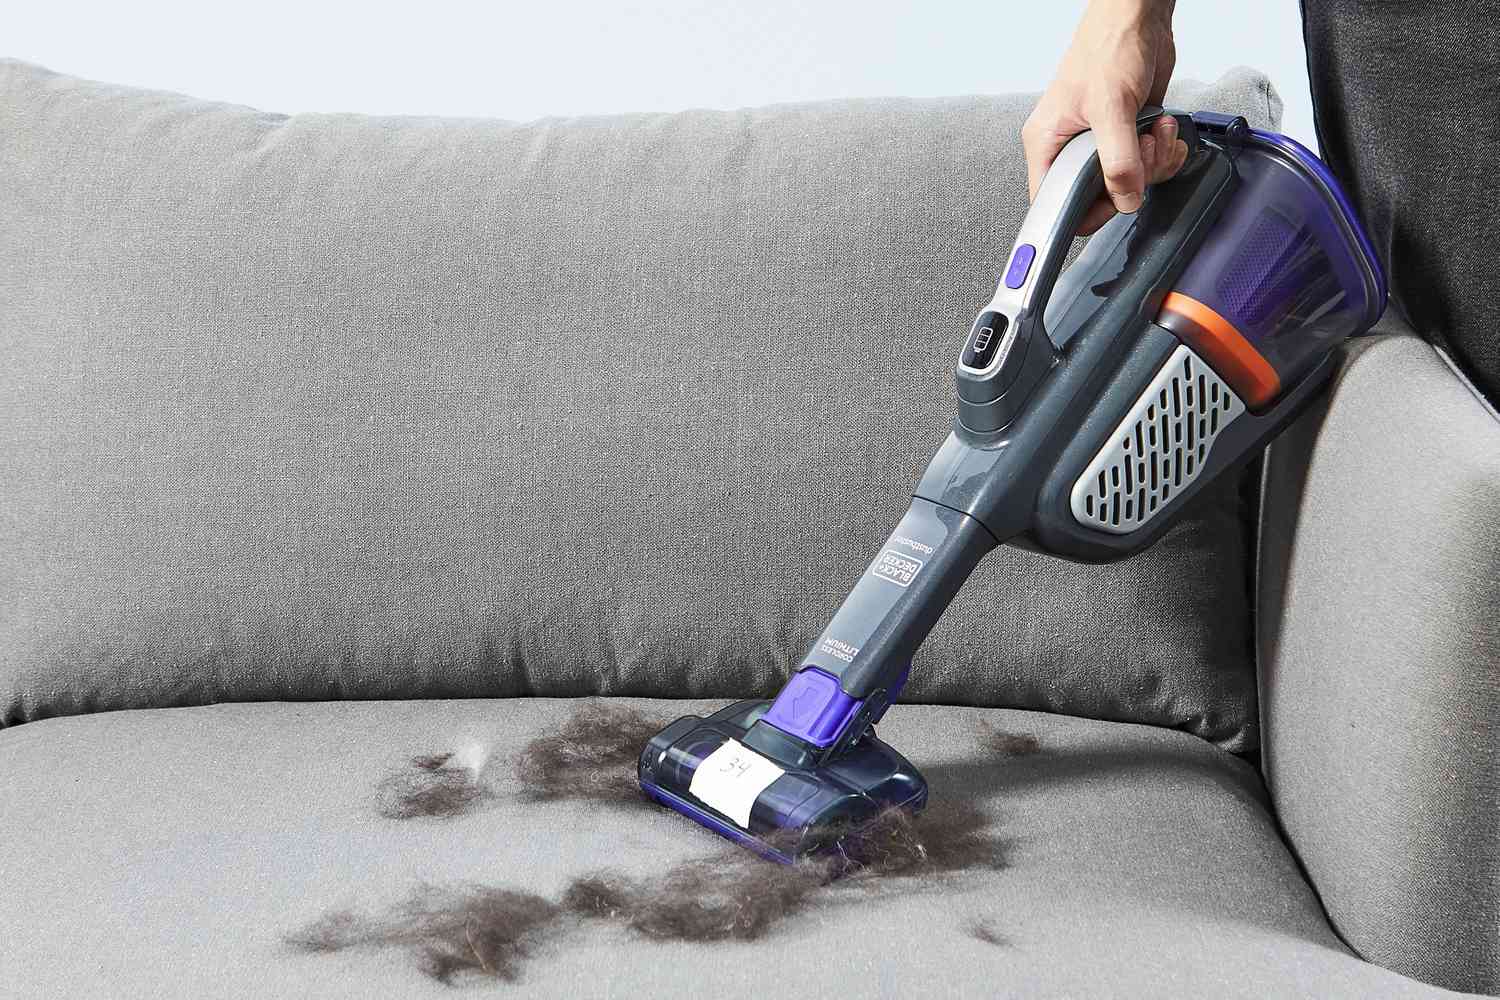
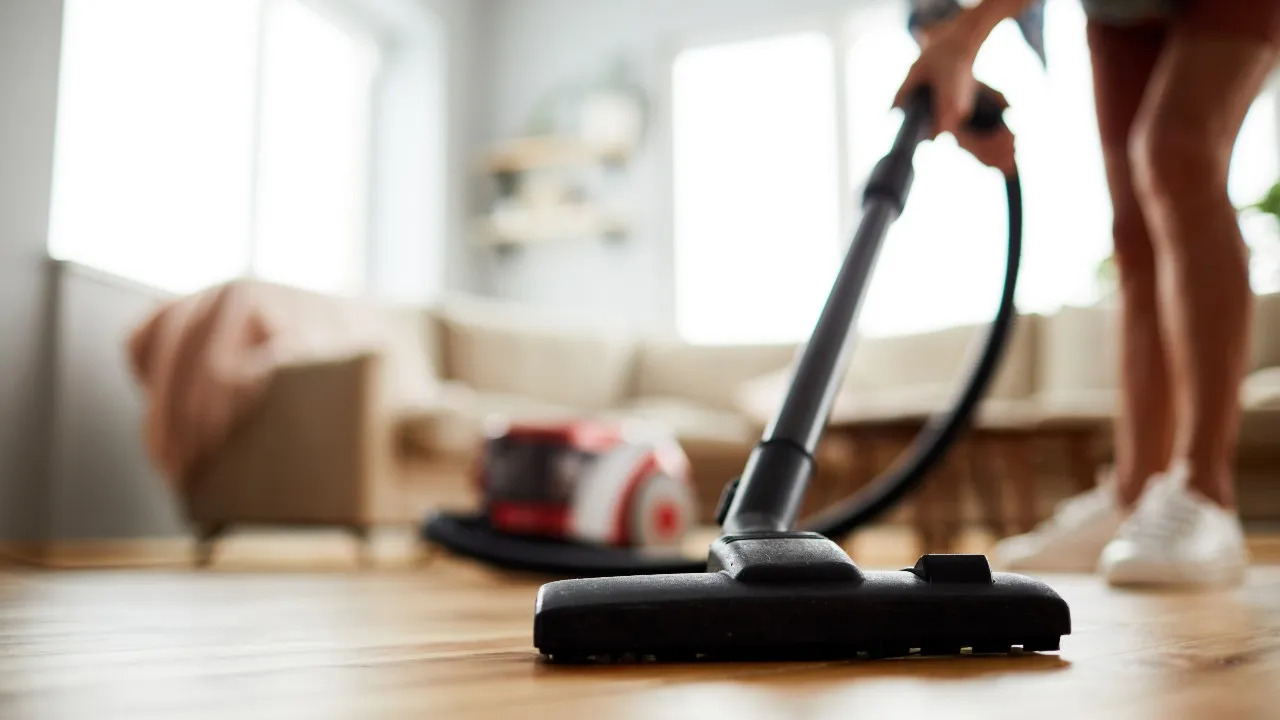
Step 5: Vacuuming
Now that your vacuum cleaner is powered on and ready to go, it’s time to put it to work and start vacuuming. Follow these steps to ensure an efficient and thorough cleaning process:
- Start in a Central Location: Begin vacuuming from a central point in the room, working your way outward. This ensures that you cover the entire area without missing any spots.
- Use Smooth, Overlapping Strokes: Push the vacuum cleaner in smooth, overlapping strokes to effectively lift dirt and debris from the floor. Avoid rapid or jerky movements, as these can reduce the vacuum’s cleaning efficiency.
- Pay Attention to Edges and Corners: Use the vacuum cleaner’s attachments or specialized features to clean along baseboards, in corners, and around furniture legs. These areas often accumulate dust and debris and require extra attention.
- Adjust Speed and Technique: Depending on the type of flooring and the amount of dirt present, you may need to adjust your vacuuming speed and technique. Slow and deliberate movements are often more effective than rushed cleaning.
- Overlap for Complete Coverage: To ensure thorough cleaning, overlap each pass of the vacuum cleaner with the previous one. This helps capture any remaining dirt and ensures that no areas are missed.
- Empty the Dustbin or Replace the Bag: If your vacuum cleaner has a dustbin, empty it as needed to maintain optimal suction power. For models with disposable bags, replace the bag when it becomes full to prevent loss of suction and maintain cleaning efficiency.
By following these steps and techniques, you can make the most of your vacuuming session and achieve a truly clean and refreshed living space. With the power of your vacuum cleaner unleashed, you’ll banish dust, dirt, and debris, leaving behind a spotless environment that you can be proud of.
Conclusion
Congratulations! You’ve successfully navigated the process of turning on a vacuum cleaner and embarking on a cleaning journey that will leave your home looking and feeling fresh. By following the steps outlined in this guide, you’ve gained the knowledge and confidence to power up your vacuum cleaner and tackle dust, dirt, and debris with ease.
Remember, proper preparation, adjustment of settings, and a systematic approach to vacuuming are key elements in achieving optimal cleaning results. Whether you have a traditional upright vacuum, a versatile canister vacuum, or a cutting-edge robotic vacuum, the principles outlined in this guide apply to a wide range of models, ensuring that you’re well-equipped to make the most of your cleaning appliance.
As you continue to use your vacuum cleaner, consider incorporating regular maintenance practices, such as filter cleaning and brush roll maintenance, to keep your appliance in top condition and ensure long-term performance. Additionally, stay attuned to any manufacturer recommendations for care and maintenance to prolong the life of your vacuum cleaner.
With your vacuum cleaner at the ready and your newfound expertise in turning it on and utilizing it effectively, you’re poised to maintain a clean, healthy, and inviting living environment for yourself and your loved ones. Embrace the power of your vacuum cleaner, and let it be your trusted ally in the ongoing battle against dirt and dust.
Now, armed with the knowledge and skills to power on your vacuum cleaner and dive into a successful cleaning session, you’re ready to conquer even the most challenging messes and keep your home looking its best. So, go ahead, power up that vacuum cleaner, and let the cleaning adventure begin!
Frequently Asked Questions about How To Turn On A Vacuum Cleaner
Was this page helpful?
At Storables.com, we guarantee accurate and reliable information. Our content, validated by Expert Board Contributors, is crafted following stringent Editorial Policies. We're committed to providing you with well-researched, expert-backed insights for all your informational needs.
0 thoughts on “How To Turn On A Vacuum Cleaner”