Articles
How To Wash Lunch Box
Modified: March 21, 2024
Learn how to wash lunch boxes effectively with our informative articles. Discover useful tips and tricks to keep your lunch box clean and hygienic.
(Many of the links in this article redirect to a specific reviewed product. Your purchase of these products through affiliate links helps to generate commission for Storables.com, at no extra cost. Learn more)
Introduction
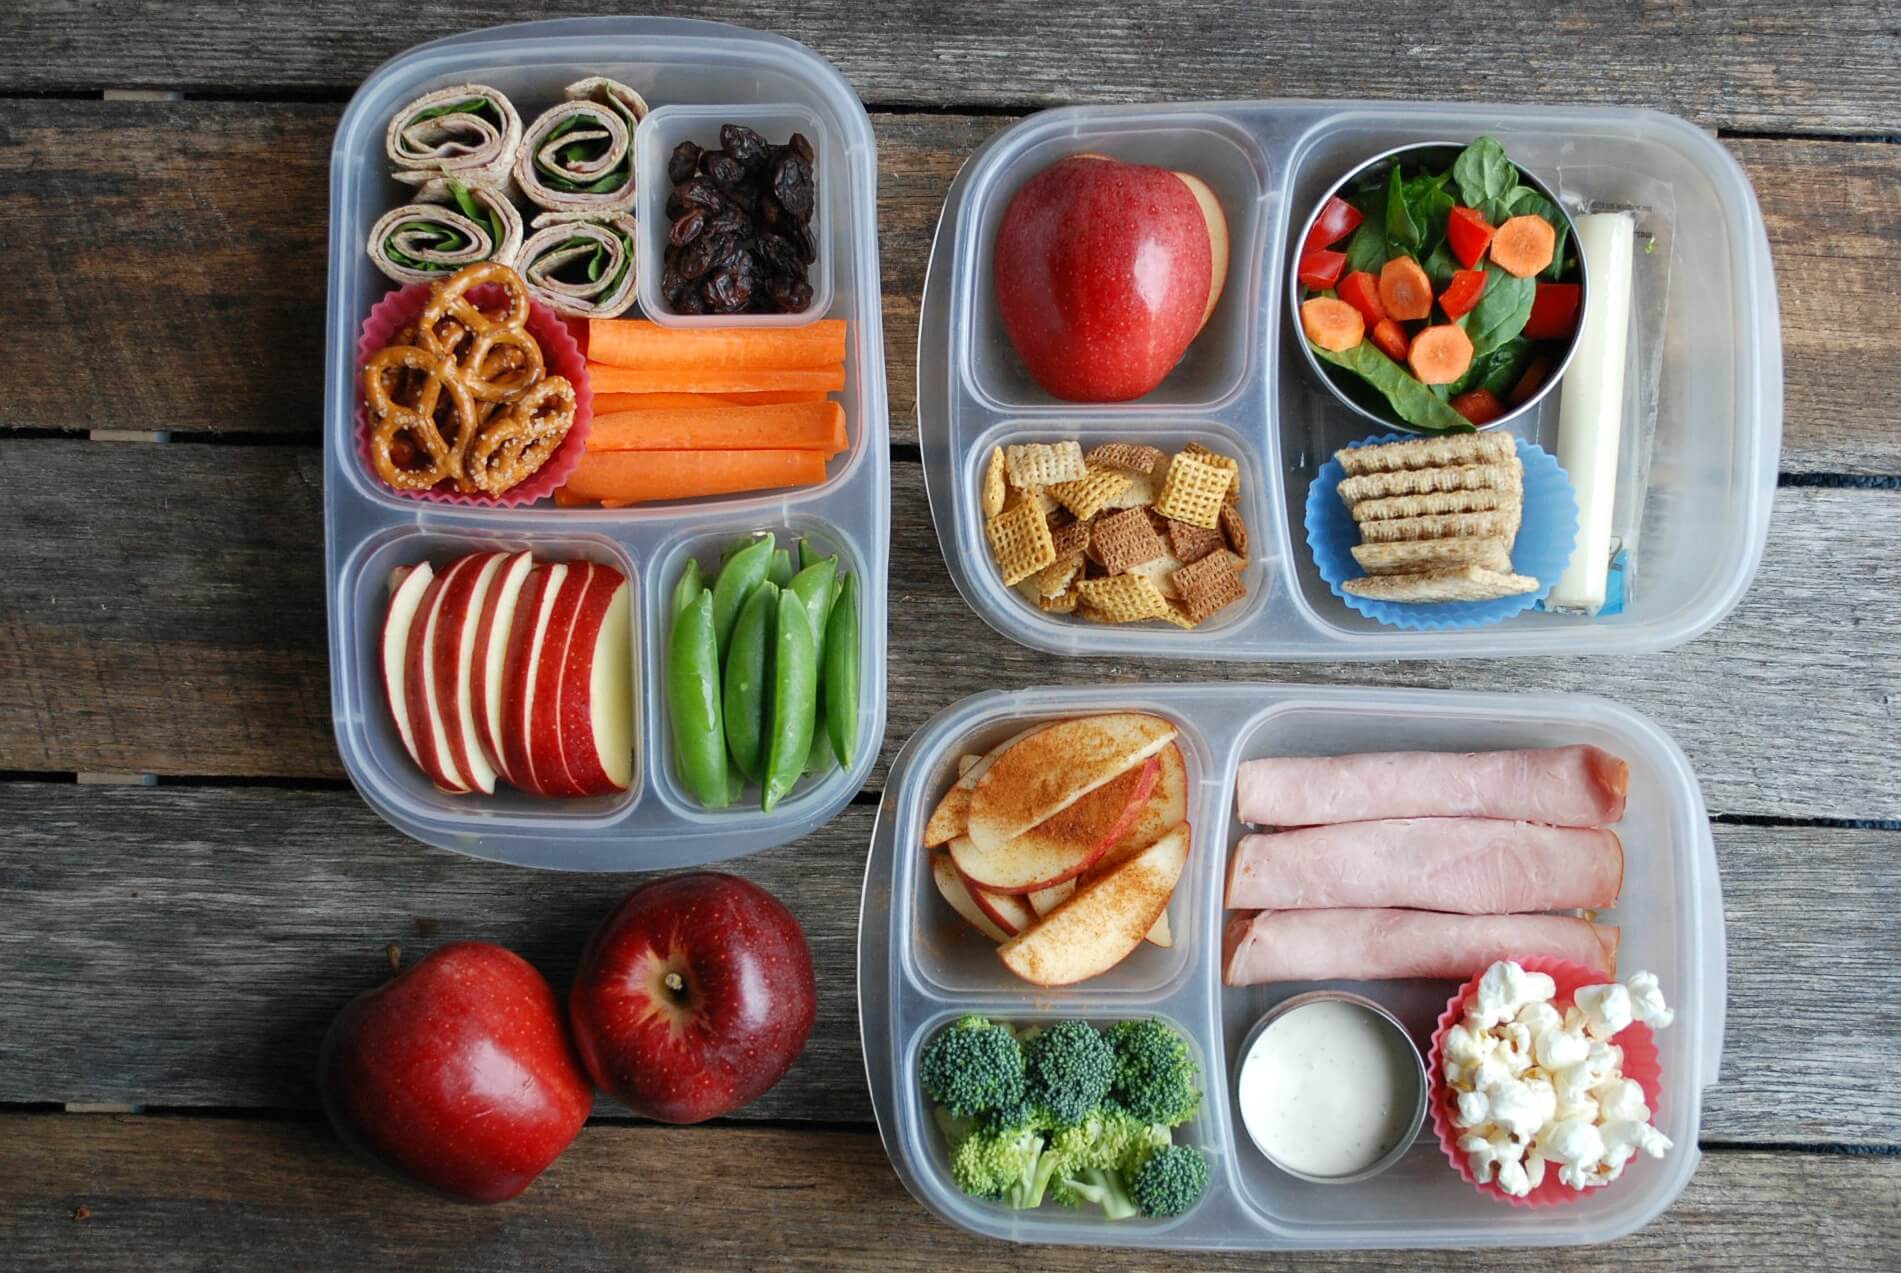
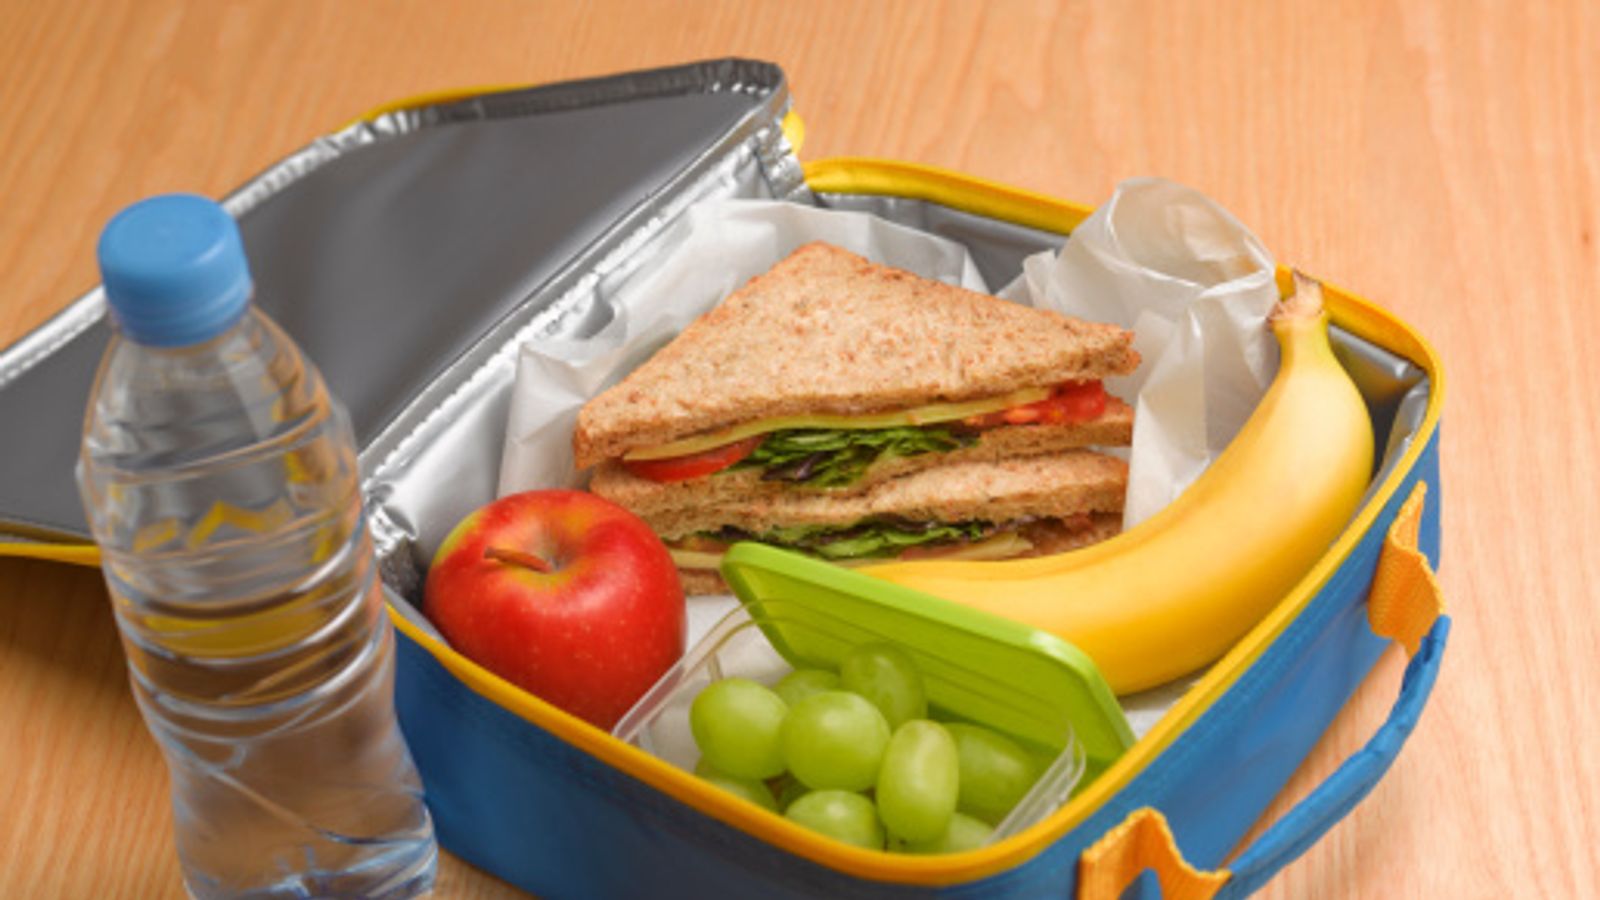
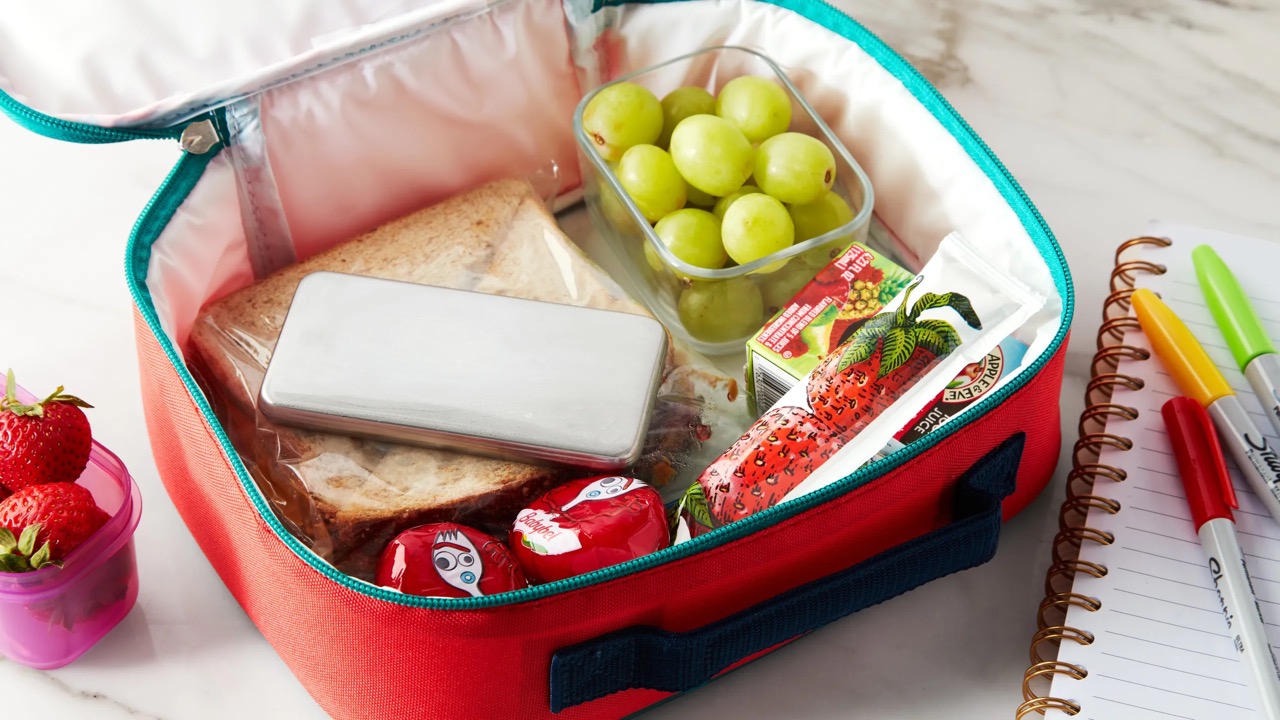
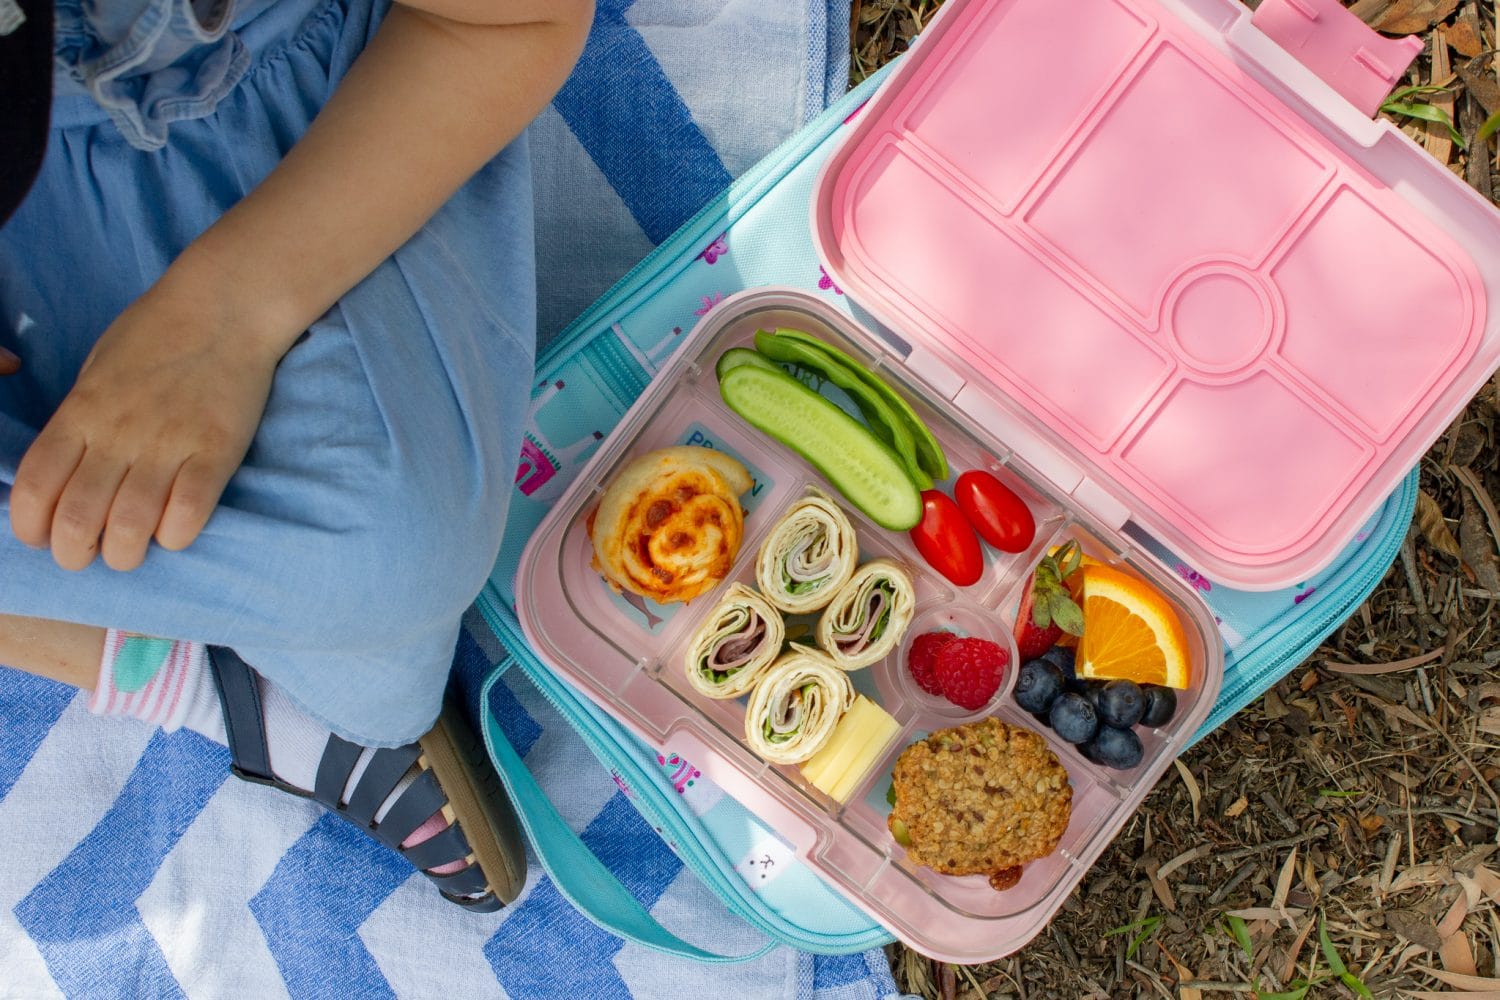
A lunch box is an essential item for anyone who prefers to bring their own meals or snacks to work, school, or any other outing. It helps to keep food fresh, organized, and easily transportable. However, with regular use, lunch boxes can become dirty and harbor bacteria if not properly cleaned.
In this article, we will guide you through the step-by-step process of washing a lunch box to ensure it remains clean, hygienic, and ready for use. By following these simple cleaning instructions, you can maintain the longevity of your lunch box and keep it looking and smelling fresh.
Before we begin, let’s gather the necessary supplies to clean your lunch box effectively.
Key Takeaways:
- Keep your lunch box clean and hygienic by following a step-by-step washing process using mild dish soap, warm water, and optional baking soda or vinegar for a thorough and effective cleaning.
- Properly dry and store your lunch box to prevent mold and bacteria growth, ensuring it remains fresh, hygienic, and ready for use for your next delicious meal or snack.
Read more: How To Make Lunch Box
Supplies Needed
Before starting the lunch box cleaning process, gather the following supplies:
- Mild dish soap
- Warm water
- Soft sponge or cloth
- Small cleaning brush
- Baking soda (optional)
- Vinegar (optional)
- Paper towels or dish towel
Having these supplies readily available will make the cleaning process efficient and effective. Now that we have the necessary tools, let’s move on to the step-by-step guide for washing your lunch box.
Step 1: Empty the Lunch Box
Before you can properly clean your lunch box, it’s important to empty it completely. Remove any remaining food, wrappers, napkins, or utensils. Discard any perishable food items and make sure to properly store any leftovers in the refrigerator.
By emptying the lunch box, you prevent any lingering food smells or potential contamination during the cleaning process. It also allows for easier access to all areas of the lunch box for thorough cleaning.
If there are any removable compartments or containers in your lunch box, take them out as well. This will ensure that you can clean each part separately for a more thorough and effective washing process.
Once your lunch box is empty and all components have been removed, you’re ready to move on to the next step.
Step 2: Pre-Wash the Lunch Box
Before diving into the deep cleaning process, it’s important to give your lunch box a quick pre-wash. This step will help remove any loose debris or food particles, making the subsequent cleaning steps more effective.
Start by filling your sink or a basin with warm water. Add a few drops of mild dish soap and mix it to create a soapy solution.
Take your soft sponge or cloth and dip it into the soapy water. Gently scrub the interior and exterior surfaces of the lunch box, paying attention to any stains or stubborn residue.
If there are any lingering odors inside the lunch box, you can add a teaspoon of baking soda to the soapy water. Baking soda is an excellent natural deodorizer that will help neutralize any unpleasant smells.
After pre-washing the lunch box, rinse it thoroughly with warm water to remove any soap residue. Inspect the lunch box to ensure all visible debris and stains have been removed.
Now that your lunch box has been pre-washed, it’s time to move on to the main cleaning process.
Step 3: Wash the Lunch Box
Now that you have pre-washed your lunch box, it’s time to give it a thorough cleaning. This step will help remove any stubborn stains, bacteria, or odors.
Fill your sink or a basin with warm water and add a few drops of mild dish soap. Mix it to create a soapy solution.
Take your soft sponge or cloth and dip it into the soapy water. Start by scrubbing the interior of the lunch box, paying special attention to areas where food may have stuck, such as corners and crevices.
If there are any tough stains that won’t come off with just soap and water, you can use a small cleaning brush to gently scrub the affected areas. Be careful not to scrub too hard, as it may damage the lunch box’s surface.
Once you are satisfied with the interior cleaning, move on to the exterior of the lunch box. Scrub the outside surfaces using the soapy water and sponge. Pay attention to any visible dirt or stains.
If your lunch box has a removable lid or compartments, clean them separately using the same soapy water and sponge. This ensures thorough cleaning of all parts.
Once you have finished scrubbing and cleaning all areas of the lunch box, rinse it thoroughly with warm water to remove any soap residue.
It’s important to note that some lunch boxes are labeled as dishwasher-safe. If your lunch box is dishwasher-safe, you can opt to place it in the dishwasher for a convenient and thorough cleaning.
Now that your lunch box is clean, let’s move on to the next step: drying it properly.
After each use, wash your lunch box with warm soapy water and a sponge or brush to remove any food residue. Make sure to dry it thoroughly before storing to prevent mold and bacteria growth.
Read more: Doctor Who Lunch Box
Step 4: Dry the Lunch Box
After washing your lunch box, it’s crucial to ensure that it is thoroughly dried before storing or using it again. Proper drying prevents the growth of mold and bacteria that thrive in damp environments.
Start by using paper towels or a clean dish towel to wipe away any excess water on the interior and exterior surfaces of the lunch box. Pay special attention to areas that tend to hold water, such as seams or crevices.
Next, open all compartments and lids of the lunch box to allow for adequate air circulation. This will help speed up the drying process.
If you have the time and want to ensure thorough drying, you can let the lunch box air-dry naturally for a few hours. Place it in a well-ventilated area, away from direct sunlight.
It’s important to note that if you are in a rush or prefer a quicker drying method, you can use a clean dish towel or a hairdryer on a cool setting to dry the lunch box.
Make sure that the lunch box is completely dry before moving on to the next step. Moisture left behind can lead to unpleasant odors and potential bacterial growth.
Now that your lunch box is clean and dry, it’s time to focus on the inside of the lunch box for an extra layer of cleanliness. Let’s move on to the next step.
Step 5: Clean the Inside of the Lunch Box
Now that your lunch box is clean and dry, it’s time to give the inside a thorough cleaning to ensure maximum hygiene.
Start by inspecting the inside of the lunch box for any remaining stains or residues. If you notice any, create a paste using baking soda and water. Apply the paste to the stained areas and let it sit for a few minutes to break down the stains.
Next, use a soft sponge or cloth to scrub the interior surfaces, including the walls, bottom, and any compartments. Pay extra attention to corners, crevices, and any areas where food may have accumulated.
Rinse the inside of the lunch box with warm water to remove the baking soda residue and any loosened stains. Inspect the interior again to ensure it’s free from any remaining dirt or residue.
If you are concerned about bacteria or odors inside the lunch box, you can use a vinegar solution for an extra level of disinfection. Mix equal parts white vinegar and warm water in a spray bottle.
Spray the vinegar solution onto the interior surfaces of the lunch box and let it sit for a few minutes. Then, use a clean cloth or sponge to wipe away the solution. The acidity of vinegar helps to kill bacteria and eliminate odors.
Once you have finished cleaning and disinfecting the inside of the lunch box, rinse it thoroughly with warm water to remove any vinegar residue. Make sure to remove all cleaning solutions and thoroughly inspect the inside for cleanliness.
Now that the inside of your lunch box is clean and fresh, it’s time to move on to the next step: cleaning the outside of the lunch box.
Step 6: Clean the Outside of the Lunch Box
After giving the inside of your lunch box a thorough cleaning, it’s time to focus on the outside to ensure it looks fresh and presentable.
Start by dampening a clean cloth or sponge with warm water. Gently wipe down the exterior surfaces of the lunch box, including the lid, sides, and bottom, to remove any dirt or residue.
If you encounter any stubborn stains or marks, you can create a paste using baking soda and water. Apply the paste to the stains, and gently scrub the affected areas using a soft cloth or sponge. Rinse off the baking soda paste with warm water and inspect the outside of the lunch box.
For stainless steel or metal lunch boxes, you can use a stainless steel cleaner or a mixture of vinegar and water for added shine and to remove any fingerprints or smudges. Apply the cleaner or the vinegar solution to a clean cloth or sponge and wipe down the metal surfaces. Rinse off any cleaning residue with warm water.
For lunch boxes with plastic or fabric exteriors, you can gently scrub them with a mild soap and warm water using a soft cloth or sponge. Rinse off any soap residue thoroughly.
Once you have cleaned the outside of the lunch box, take a dry cloth or towel and gently pat it dry to remove any excess moisture.
If you prefer, you can also leave the lunch box open to air-dry naturally. This will allow any remaining moisture to evaporate completely.
Now that your lunch box is clean both inside and outside, it’s time to move on to the final step: storing the lunch box properly.
Step 7: Store the Lunch Box Properly
After going through all the steps to clean your lunch box, it’s important to store it properly to maintain its cleanliness and hygiene.
Start by ensuring that the lunch box is completely dry before storing it. Moisture can lead to the growth of mold and bacteria, so it’s crucial to make sure it’s fully dried.
Store the lunch box in a cool, dry place. Avoid placing it in areas with high humidity, as this can encourage mold or bacterial growth.
If your lunch box has compartments or lids, make sure they are completely dry and free from any moisture or food particles. Store them separately if possible to prevent any cross-contamination.
Consider using a lunch box organizer or dividers to keep your lunch box tidy and organized. This will not only make it easier to pack your meals but also help maintain cleanliness.
Keep the lunch box in a location where it’s easily accessible and visible. This will remind you to clean it regularly and prevent it from getting forgotten or neglected.
It’s a good idea to periodically inspect and clean your lunch box even when you’re not using it daily. This will help prevent any buildup of dirt, stains, or odors.
Finally, always follow the manufacturer’s instructions for cleaning and storing your specific lunch box model. They may have additional recommendations or specific care instructions that can help you maintain its longevity.
By following these steps and storing your lunch box properly, you can ensure that it remains clean, hygienic, and ready to use for your next meal or snack.
Final thoughts
Regularly cleaning and maintaining your lunch box not only helps to keep it looking fresh but also ensures the safety and hygiene of your meals. By following these step-by-step instructions and using the right cleaning supplies, you can keep your lunch box clean and ready for use. Remember, a clean lunch box leads to healthier, tastier meals!
By thoroughly washing, drying, and storing your lunch box properly, you can maintain its cleanliness, extend its lifespan, and enjoy fresh meals day after day. Happy lunching!
Read more: Where To Buy Lunch Box
Conclusion
Keeping your lunch box clean and hygienic is essential for enjoying fresh and healthy meals. By following the step-by-step guide outlined in this article, you can ensure that your lunch box remains in excellent condition and free from bacteria, stains, and unpleasant odors.
Remember to gather the necessary supplies, including mild dish soap, warm water, a soft sponge or cloth, and a small cleaning brush. Empty the lunch box before starting the cleaning process, pre-wash it to remove loose debris, and then proceed to wash the lunch box thoroughly inside and out.
After washing, take the time to properly dry your lunch box to prevent the growth of mold and bacteria. Clean the inside of the lunch box to ensure maximum hygiene, and then move on to cleaning the outside surfaces. Finally, store your lunch box properly in a cool, dry place to maintain its cleanliness and longevity.
Regularly cleaning and maintaining your lunch box not only keeps it looking fresh but also ensures the safety and hygiene of your meals. By following these steps and taking care of your lunch box, you can enjoy delicious and healthy meals every day without any concerns about cleanliness or health risks.
So, take the time to clean and care for your lunch box regularly, and remember to follow any specific care instructions provided by the manufacturer. By doing so, you will extend the life of your lunch box and continue to enjoy convenient and satisfying meals wherever you go.
With a clean and well-maintained lunch box, you can confidently carry your meals and snacks with you, knowing that you’re practicing good hygiene and ensuring the quality of your food. So, embrace the cleaning process and make it a part of your routine to keep your lunch box fresh, safe, and ready to use for your next delicious meal.
Frequently Asked Questions about How To Wash Lunch Box
Was this page helpful?
At Storables.com, we guarantee accurate and reliable information. Our content, validated by Expert Board Contributors, is crafted following stringent Editorial Policies. We're committed to providing you with well-researched, expert-backed insights for all your informational needs.


0 thoughts on “How To Wash Lunch Box”