Articles
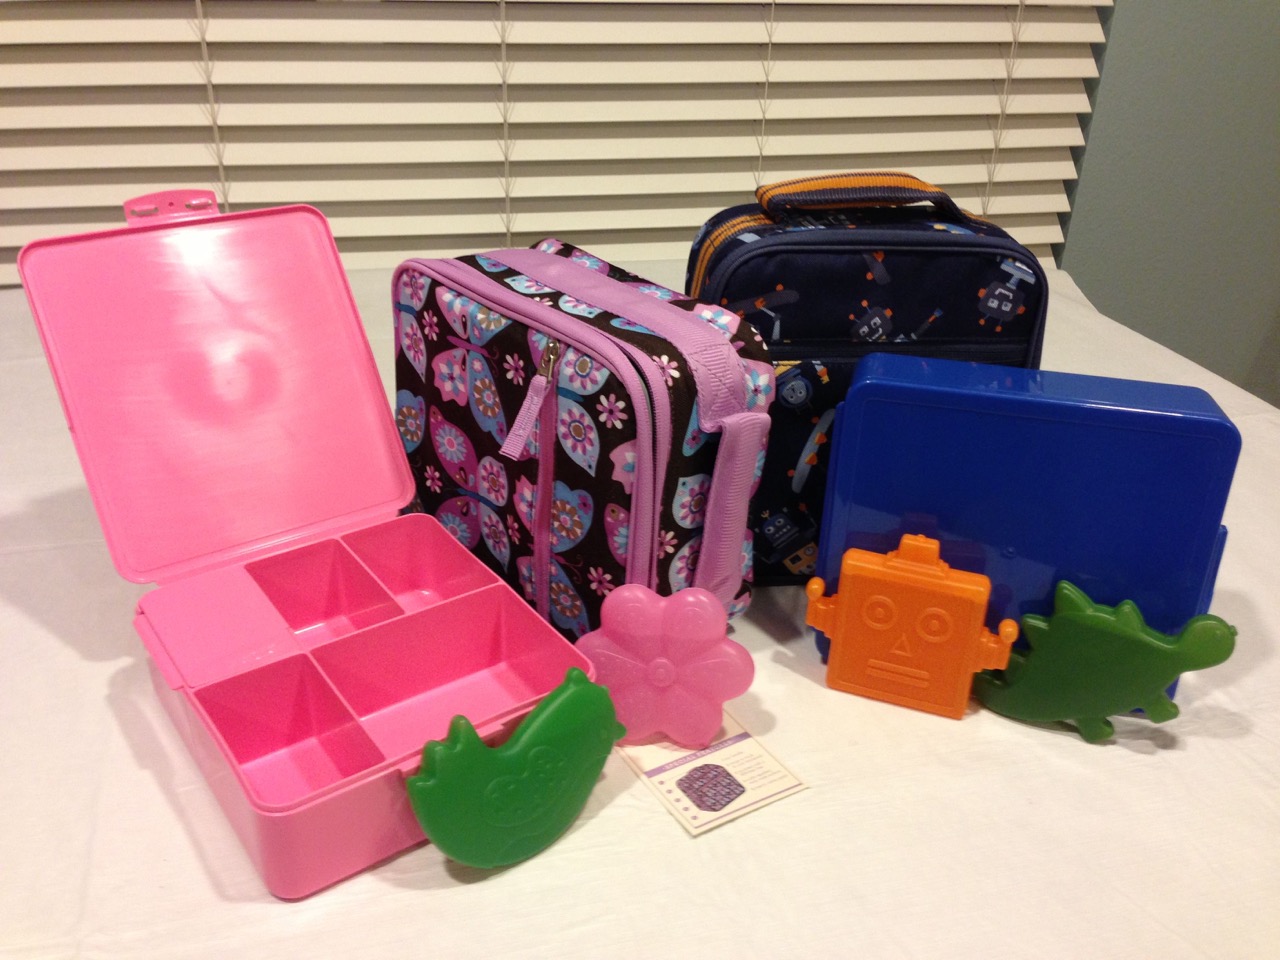
How To Wash A Pottery Barn Lunch Box
Modified: May 6, 2024
Learn how to wash a Pottery Barn lunch box with these helpful articles. Find tips and tricks to keep your lunch box clean and fresh.
(Many of the links in this article redirect to a specific reviewed product. Your purchase of these products through affiliate links helps to generate commission for Storables.com, at no extra cost. Learn more)
Introduction
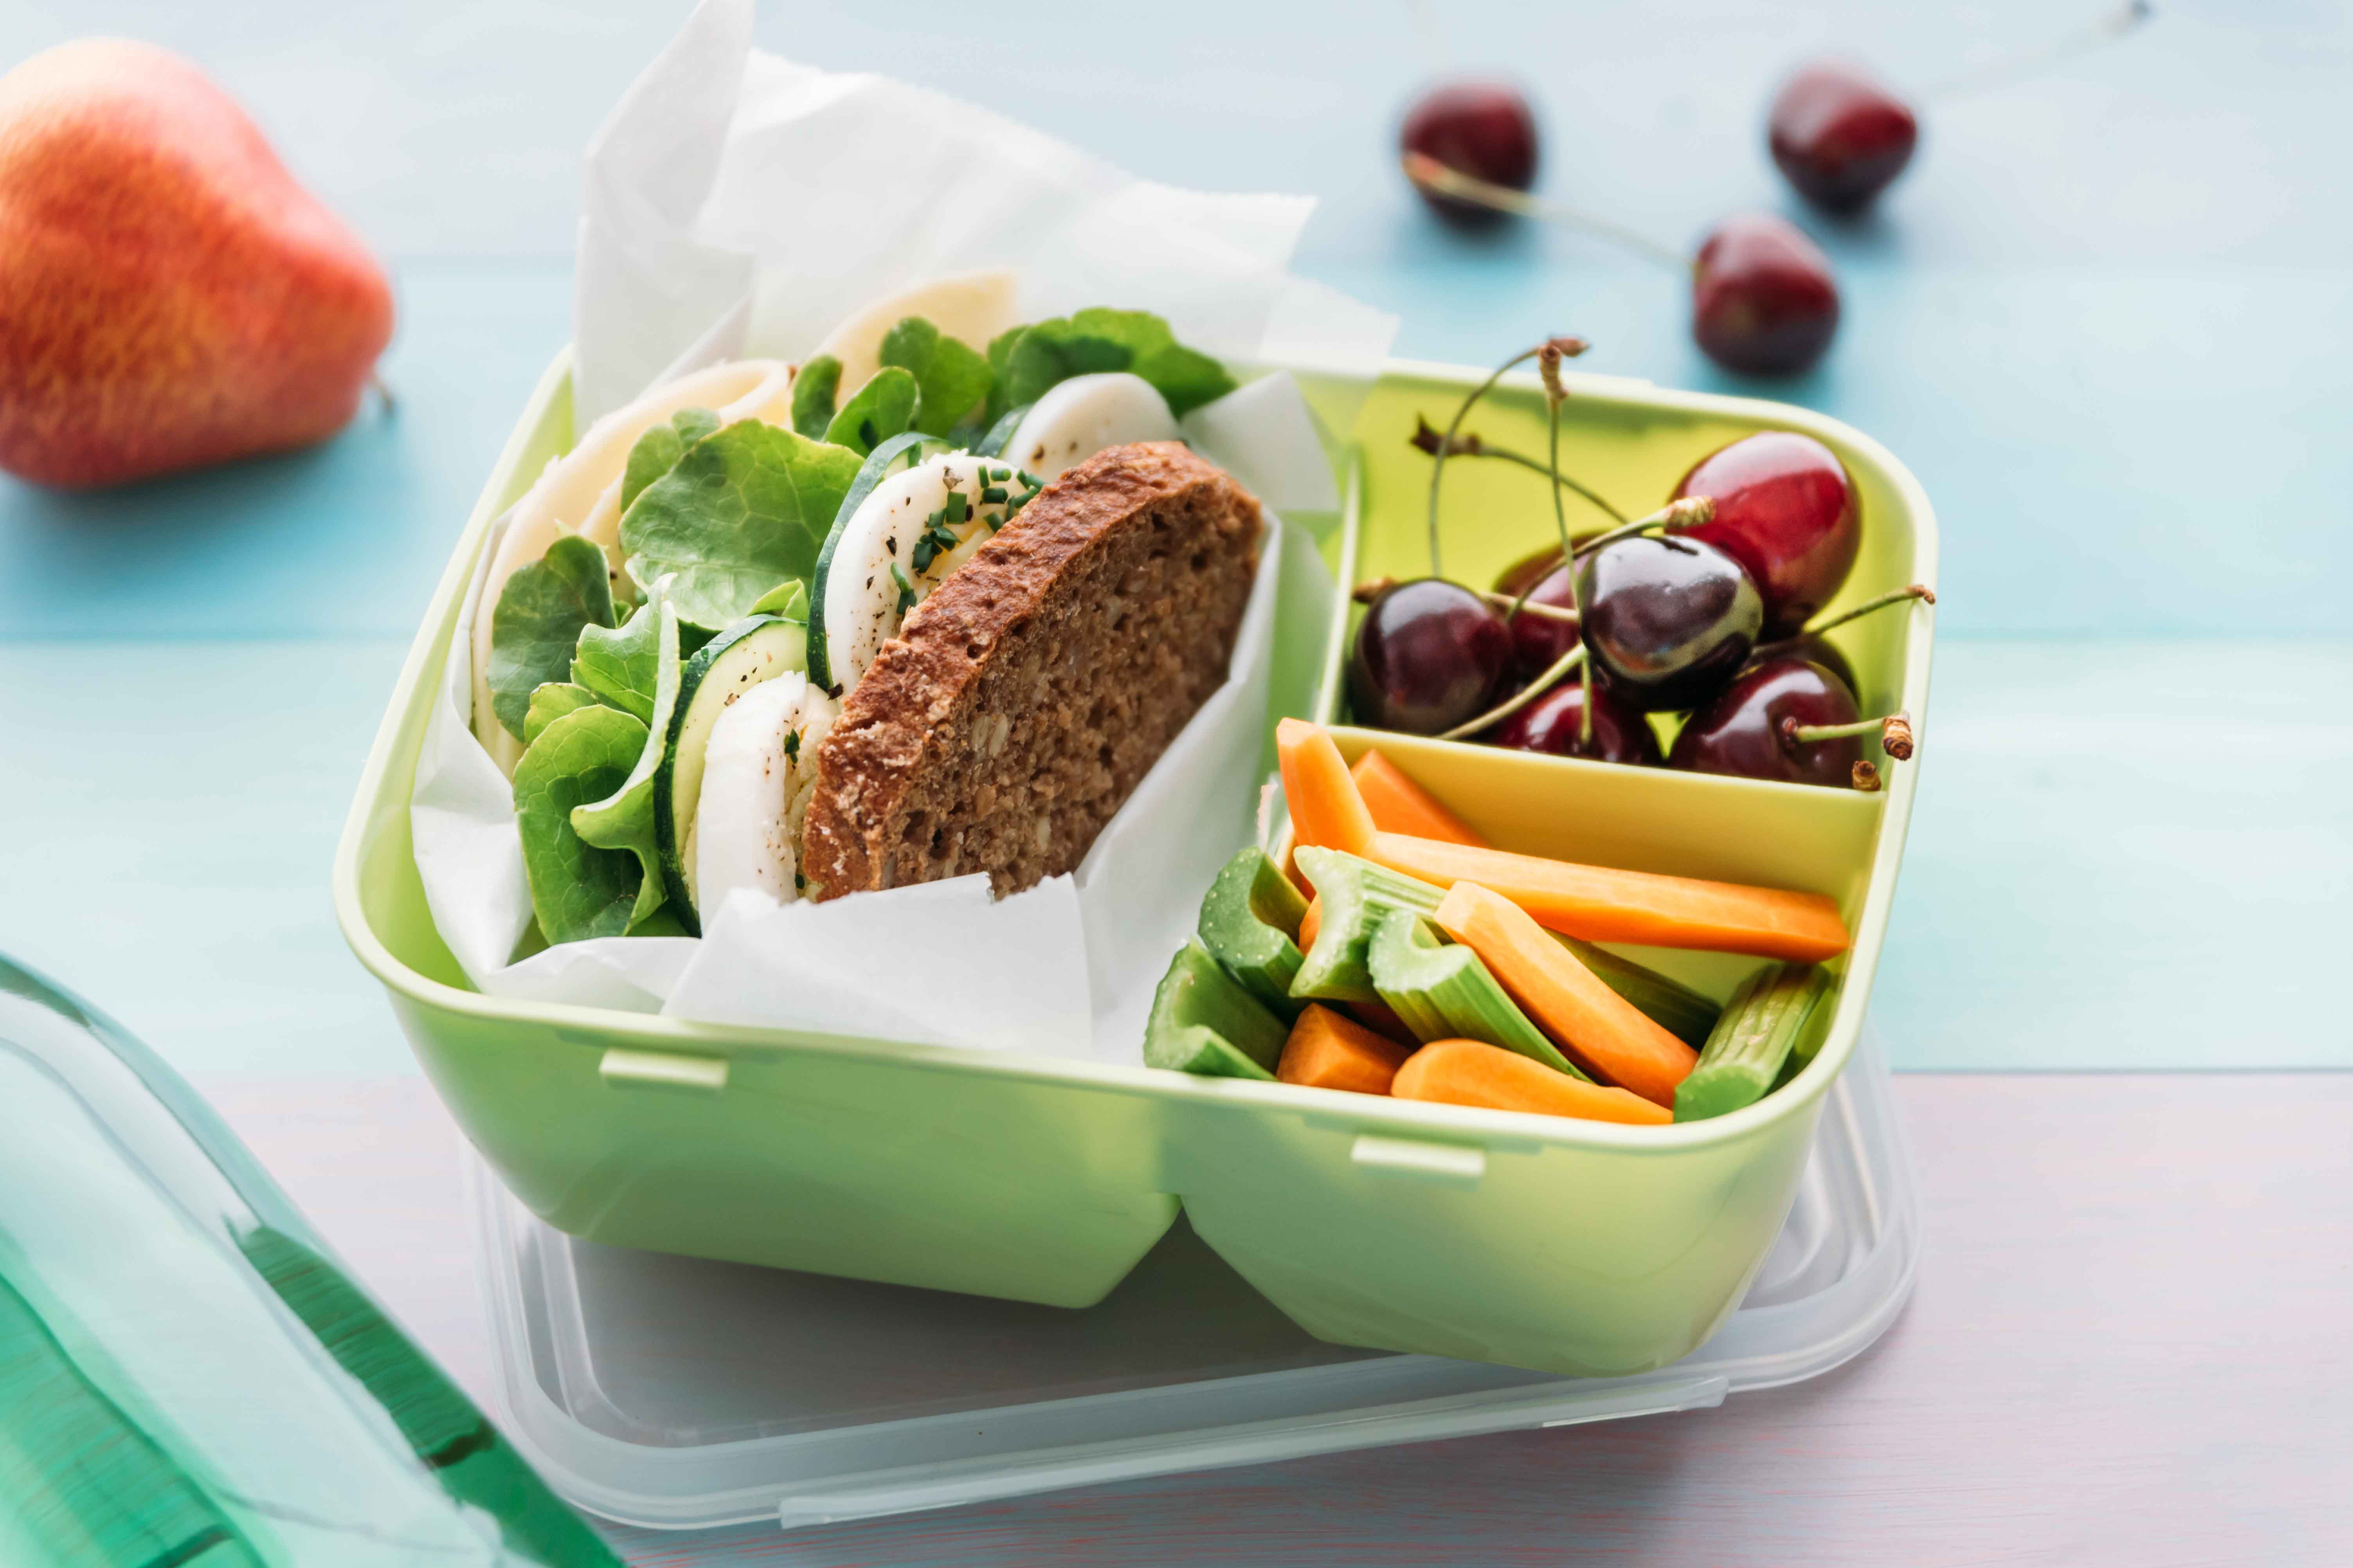
Having a Pottery Barn lunch box is not only stylish but also a convenient way to bring your meals to work or school. However, with regular use, it’s essential to maintain the cleanliness and hygiene of your lunch box. Proper washing and care will not only ensure that your lunch box remains in good condition but also keep your food safe to consume.
In this article, we will guide you on how to wash your Pottery Barn lunch box effectively. Whether it’s a stainless steel, plastic, or insulated lunch box, the steps provided will help you keep it clean and in great shape for years to come.
Before we dive into the step-by-step process, let’s quickly go over the materials you will need for the cleaning process:
Key Takeaways:
- Properly washing and maintaining your Pottery Barn lunch box is crucial for hygiene and longevity. Follow the step-by-step guide to ensure effective cleaning and safe, enjoyable meals.
- Whether washing by hand or using the dishwasher, gentle scrubbing and thorough drying are essential for preserving the condition of your Pottery Barn lunch box. Regular inspection and proper storage will help maintain its cleanliness and functionality.
Requirements for Washing a Pottery Barn Lunch Box
- Dish soap or mild detergent
- Warm water
- Sponge or soft cloth
- Dish brush
- Dishwashing gloves (optional)
- Dish rack or clean towel for drying
Now that you have gathered all the necessary items, let’s begin the process of washing your Pottery Barn lunch box.
Step 1: Preparing the Lunch Box for Washing
Key Takeaways:
- Properly washing and maintaining your Pottery Barn lunch box is crucial for hygiene and longevity. Follow the step-by-step guide to ensure effective cleaning and safe, enjoyable meals.
- Whether washing by hand or using the dishwasher, gentle scrubbing and thorough drying are essential for preserving the condition of your Pottery Barn lunch box. Regular inspection and proper storage will help maintain its cleanliness and functionality.
Requirements for Washing a Pottery Barn Lunch Box
Before you start washing your Pottery Barn lunch box, gather the following materials:
- Dish soap or mild detergent: You will need a gentle detergent to effectively clean the lunch box without causing any damage to the material.
- Warm water: Fill a sink or basin with warm water. This will help to loosen any food particles and make it easier to clean the lunch box.
- Sponge or soft cloth: Choose a non-abrasive sponge or cloth to avoid scratching the surface of your lunch box.
- Dish brush: A dish brush can be used to scrub away stubborn stains or residue from the lunch box.
- Dishwashing gloves (optional): If you have sensitive skin or prefer to protect your hands from hot water and chemicals, consider using dishwashing gloves.
- Dish rack or clean towel for drying: After washing, you will need a place to dry the lunch box. A dish rack or clean towel will work well for this purpose.
Having these materials ready will ensure that you have everything you need to clean your Pottery Barn lunch box effectively. With the right tools at hand, you can proceed to the step-by-step process of washing your lunch box.
Step 1: Preparing the Lunch Box for Washing
Before you begin washing your Pottery Barn lunch box, it is important to properly prepare it. Follow these steps to ensure the best cleaning results:
- Empty the contents: Remove any leftover food, wrappers, or utensils from the lunch box. Dispose of any perishable items properly. This will prevent food remnants from contaminating the water or causing odors during the cleaning process.
- Disassemble if necessary: If your lunch box is comprised of multiple parts, such as a removable lid or compartments, take them apart for thorough cleaning. Check the manufacturer’s instructions to ensure that it is safe to disassemble your lunch box.
- Rinse with hot water: Run hot water into the sink or basin. Rinse the lunch box and its parts under the hot water to remove any loose dirt or debris.
- Inspect for stains or build-up: Take a close look at your lunch box for any stains, residue, or build-up. Pay attention to areas that commonly come into contact with food, such as the interior or the sealing edges. This step will help you identify areas that may require extra attention during the cleaning process.
By properly preparing your Pottery Barn lunch box, you ensure that it is ready for a thorough cleaning. With these steps completed, we can now move on to the actual process of washing the lunch box by hand.
Step 2: Washing the Lunch Box by Hand
Now that you have prepared your Pottery Barn lunch box, it’s time to start the actual cleaning process. Follow these steps to wash your lunch box by hand:
- Create a soapy solution: Fill the sink or basin with warm water and add a few drops of dish soap or mild detergent. Swirl the water gently to create a soapy solution.
- Submerge the lunch box: Place the lunch box and its disassembled parts, if applicable, into the soapy water. Ensure that the water fully covers the surfaces that need to be cleaned.
- Scrub gently: Using a non-abrasive sponge or soft cloth, gently scrub the surfaces of the lunch box. Pay extra attention to any stained or built-up areas. Use a dish brush to scrub away stubborn stains or residue.
- Rinse thoroughly: Once you are satisfied with the cleaning, rinse the lunch box and its parts under running water to remove any soap residue. Ensure that all traces of soap are rinsed away to prevent any lingering taste or odors.
- Dry completely: Use a clean towel or allow the lunch box to air dry fully before reassembling or storing it. Make sure there is no moisture left to prevent the growth of bacteria or mold.
Washing your Pottery Barn lunch box by hand allows you to pay close attention to every nook and cranny, ensuring a thorough clean. However, if you prefer to use a dishwasher for convenience, you can proceed to the next step.
To wash a Pottery Barn lunch box, use a mild dish soap and warm water to gently clean the interior and exterior. Allow it to air dry completely before using it again to prevent mold and mildew.
Read also: 10 Amazing Pottery Barn Lunch Box for 2025
Step 3: Washing the Lunch Box in the Dishwasher
If your Pottery Barn lunch box is dishwasher-safe, you can opt to clean it using a dishwasher for added convenience. Follow these steps to wash your lunch box in the dishwasher:
- Refer to the manufacturer’s instructions: Before placing your lunch box in the dishwasher, ensure that it is indeed dishwasher-safe. Refer to the manufacturer’s instructions or check the label on the lunch box for any specific guidelines or cautions.
- Disassemble if necessary: If your lunch box has removable parts, such as lids or compartments, separate them for optimal cleaning. Check the manufacturer’s instructions for any specific recommendations on how to disassemble the lunch box.
- Secure loose items: If there are any loose parts that may move around during the dishwasher’s cycle, make sure to secure them, so they don’t get dislodged or damaged.
- Place in the dishwasher: Position your lunch box and its disassembled parts securely in the dishwasher’s designated racks, ensuring that they are not overcrowded. Avoid placing them near the dishwasher’s heating element, which can cause damage.
- Select appropriate cycle and settings: Choose a cycle and settings on your dishwasher that are suitable for washing plastic or other materials that your lunch box is made of. Use a gentle or delicate cycle to prevent any potential damage.
- Run the dishwasher: Start the dishwasher and allow it to complete the washing cycle. Once finished, open the dishwasher door and let the lunch box and its parts cool down before handling.
- Inspect and dry: After the dishwasher cycle is complete, carefully remove the lunch box from the dishwasher. Inspect the box and its parts for any remaining residue or spots. If necessary, hand wash these areas using a sponge, cloth, or brush. Allow the lunch box to air dry completely before reassembling or using.
Washing your Pottery Barn lunch box in the dishwasher can save you time and effort. However, for certain materials or special finishes, it is always recommended to hand wash to prevent any potential damage. Now, let’s move on to the final step of the cleaning process.
Step 4: Drying and Storing the Pottery Barn Lunch Box
After washing your Pottery Barn lunch box, it’s crucial to ensure that it is thoroughly dried and properly stored to maintain its cleanliness and condition. Follow these steps for drying and storing your lunch box:
- Air dry: Whether you washed your lunch box by hand or in the dishwasher, allow it to air dry completely. Place the lunch box and its disassembled parts on a dish rack or a clean towel, ensuring that all surfaces are exposed to air for optimal drying.
- Prevent moisture build-up: Ensure that there is no moisture left inside the lunch box or its compartments. Wipe any excess moisture with a clean cloth or paper towel. If needed, leave the lunch box open for a few more minutes to ensure complete dryness.
- Reassemble if necessary: Once the lunch box and its parts are completely dry, reassemble them if you had disassembled them for cleaning. Double-check that everything fits securely and correctly.
- Choose a suitable storage location: Find a clean and dry place to store your Pottery Barn lunch box. It’s best to keep it in a well-ventilated area away from direct sunlight and extreme temperature changes.
- Keep it separate from other items: To prevent potential contamination, avoid storing your lunch box alongside other items that may have strong odors or materials that could transfer onto it.
- Regularly clean and inspect: Make it a habit to regularly clean and inspect your Pottery Barn lunch box to ensure its longevity and hygiene. Regular cleaning will prevent any build-up and maintain a fresh, odor-free container for your meals.
By properly drying and storing your Pottery Barn lunch box, you can ensure that it remains in good condition and ready for future use.
With these four steps completed, you have successfully washed and cared for your Pottery Barn lunch box. By following these guidelines, you can prolong the lifespan of your lunch box and keep it clean and appealing. Now you’re ready to enjoy your meals while maintaining hygiene and style!
Additional Tips and Precautions for Washing a Pottery Barn Lunch Box
When it comes to washing your Pottery Barn lunch box, here are some additional tips and precautions to keep in mind:
- Avoid using abrasive cleaners: Harsh or abrasive cleaners can damage the surface of your lunch box. Stick to mild dish soap or detergent for gentle and effective cleaning.
- Inspect for damage: Before each use and after washing, inspect your lunch box for any signs of damage, such as cracks, chips, or broken seals. If you notice any damage, it’s best to replace the lunch box to ensure food safety.
- Do not microwave: Pottery Barn lunch boxes are not usually microwave-safe. To heat your food, transfer it to a microwave-safe container before reheating.
- Avoid leaving food residue: After each use, don’t let food residue sit in your lunch box for an extended period. Promptly rinse or wash it to prevent staining and odors.
- Consider using baking soda: If your lunch box has lingering odors, sprinkle some baking soda inside and leave it overnight. The baking soda will help absorb and neutralize the odors.
- Separate components during washing: If your lunch box has various compartments or removable parts, separate them during washing to ensure that all surfaces are thoroughly cleaned.
- Avoid immersing insulated lunch boxes in water: Insulated lunch boxes typically contain a thermal lining that should not be immersed in water. Use a damp cloth to wipe the interior instead.
- Follow manufacturer’s instructions: It is essential to carefully read and follow the manufacturer’s instructions provided with your specific Pottery Barn lunch box. They may contain specific guidelines or precautions for cleaning and maintenance.
By following these additional tips and precautions, you can ensure that your Pottery Barn lunch box remains clean, safe, and in excellent condition for years to come. Remember, regular cleaning and proper maintenance are key to enjoying your meals in a hygienic and stylish way.
Now that you are equipped with the knowledge and steps to wash your Pottery Barn lunch box, you can confidently maintain its cleanliness and keep your meals fresh and enjoyable. Happy cleaning!
Conclusion
Properly washing and maintaining your Pottery Barn lunch box is essential for both hygiene and longevity. By following the steps and tips outlined in this guide, you can ensure that your lunch box remains clean, safe, and in excellent condition for years to come.
Starting with the preparation stage, emptying and rinsing the lunch box sets the foundation for a thorough cleaning. Whether you choose to wash by hand or use the dishwasher, using mild detergent and warm water is crucial for effective cleaning without causing any damage.
When washing your lunch box by hand, gentle scrubbing with a soft cloth or sponge is recommended to avoid any scratches. For stubborn stains or residue, a dish brush can be used. Similarly, when using the dishwasher, make sure to secure loose parts and select appropriate settings to prevent any potential damage.
After washing, thorough drying is necessary to prevent moisture build-up and the growth of bacteria or mold. Once dry, reassemble the lunch box if necessary and find a suitable storage location that is dry, clean, and away from strong odors or materials that could transfer onto it.
Additionally, it is important to regularly inspect your lunch box for any damage and clean it after each use to prevent the build-up of food residue, stains, and odors.
By following these guidelines, you can maintain the cleanliness, hygiene, and functionality of your Pottery Barn lunch box. Remember to always refer to the manufacturer’s instructions and follow any specific guidelines they provide.
Now you’re equipped with the knowledge to keep your Pottery Barn lunch box in great shape. Enjoy your meals in style, knowing that your lunch box is clean and ready for use!
Now that you've mastered cleaning your Pottery Barn lunch box, why not tackle another often overlooked chore? Keeping your refrigerator spotless is not only satisfying but essential for health and efficiency. Our next guide offers practical advice on scrubbing every nook and cranny, ensuring your fridge stays fresh and hygienic. Don't miss out on valuable strategies that can simplify your cleaning routine and leave your appliance gleaming.
Frequently Asked Questions about How To Wash A Pottery Barn Lunch Box
Was this page helpful?
At Storables.com, we guarantee accurate and reliable information. Our content, validated by Expert Board Contributors, is crafted following stringent Editorial Policies. We're committed to providing you with well-researched, expert-backed insights for all your informational needs.


0 thoughts on “How To Wash A Pottery Barn Lunch Box”