Home>Articles>What To Use In Electric Pressure Cooker For A Brisket

Articles
What To Use In Electric Pressure Cooker For A Brisket
Modified: August 27, 2024
Discover the best articles on what to use in an electric pressure cooker for a flavorful and tender brisket. Learn expert tips and tricks for perfect results every time!
(Many of the links in this article redirect to a specific reviewed product. Your purchase of these products through affiliate links helps to generate commission for Storables.com, at no extra cost. Learn more)
Introduction
Welcome to the world of electric pressure cooking! If you’re a fan of succulent and tender brisket, then you’re in for a treat. Electric pressure cookers have revolutionized home cooking by making it faster and more convenient to prepare delicious meals. And when it comes to cooking brisket, these versatile appliances truly shine.
Whether you’re a seasoned pitmaster or a novice in the kitchen, using an electric pressure cooker to cook brisket can yield impressive results. Gone are the days of waiting hours for your brisket to slowly cook in the oven or on a barbecue. With an electric pressure cooker, you can achieve the same fall-apart tenderness and rich flavors of a low-and-slow cook in a fraction of the time.
In this article, we’ll guide you through the process of cooking brisket in an electric pressure cooker, from choosing the right cut of meat to adding flavorful ingredients and achieving the perfect cooking time. So grab your apron, fire up your electric pressure cooker, and let’s get started on making a mouthwatering brisket that will impress your family and friends!
Key Takeaways:
- Electric pressure cookers offer a convenient and speedy way to achieve tender, flavorful brisket in a fraction of the time compared to traditional cooking methods. With the right cuts, preparation, and flavorful ingredients, you can impress even the most discerning palates.
- Mastering the cooking time and temperature, along with the choice between natural release and quick release, is crucial for achieving perfectly tender brisket. Finish off your perfectly cooked brisket with some extra love and attention, and get creative with serving suggestions to elevate the flavors.
Read more: How To Use An Electric Pressure Cooker
Choosing the Right Cut of Brisket
When it comes to selecting the perfect cut of brisket for your electric pressure cooker, there are a few key factors to consider. The two main cuts of brisket you’ll come across are the flat cut, also known as the “first cut,” and the point cut, also known as the “second cut.”
The flat cut is leaner, with less marbling, making it a good choice for those looking for a healthier option. It tends to have a more uniform shape and is easier to slice. On the other hand, the point cut has more marbling, which gives it a richer flavor and more tender texture. It also tends to be juicier and more forgiving when cooked.
Ultimately, the choice between the flat cut and the point cut comes down to personal preference. If you prefer a leaner cut with a more uniform appearance, go for the flat cut. If you’re a fan of juicy, flavorful brisket with more marbling throughout, opt for the point cut.
Keep in mind that the size of the brisket will also affect cooking times. Larger cuts will require longer cooking times to ensure that they are fully tender and cooked through. It’s important to take note of the weight and dimensions of the brisket when selecting the right cut for your electric pressure cooker.
Regardless of the cut you choose, make sure to look for brisket with a good amount of fat cap on one side. The layer of fat not only adds flavor but also helps keep the meat moist during the cooking process. The fat will render down during cooking, infusing the meat with its rich flavors.
Now that you have a better understanding of the different cuts of brisket, it’s time to prepare the meat for cooking in your electric pressure cooker.
Preparing the Brisket
Before you can load your brisket into the electric pressure cooker, a little bit of prep work is required to ensure the best possible results. Properly preparing the brisket will help maximize its tenderness and flavor.
Start by trimming any excess fat from the brisket. While you want to leave a thin layer of fat on one side to add flavor during cooking, removing any large chunks of fat will prevent your dish from becoming overly greasy. Use a sharp knife and trim away any tough or sinewy parts as well.
Next, season the brisket generously with kosher salt and freshly ground black pepper. You can also add your favorite dry rub or seasoning blend to enhance the flavor profile. Massage the seasoning into the meat, ensuring that it coats both sides and penetrates the surface.
Allow the seasoned brisket to rest at room temperature for about 30 minutes. This will give the salt a chance to penetrate the meat, enhancing the flavor and promoting tenderness. If you’re short on time, you can skip this step, but the flavor won’t be as deeply infused into the meat.
While the brisket is resting, prepare any additional ingredients you plan to add to the electric pressure cooker. This can include vegetables, spices, aromatics, or barbecue sauce. These ingredients will infuse the brisket with even more flavor as it cooks.
Once the brisket has rested, it’s time to move onto the next step – adding flavorful ingredients to the electric pressure cooker. We’ll explore this in more detail in the next section.
Adding Flavorful Ingredients
Now that your brisket is trimmed, seasoned, and ready to go, it’s time to amp up the flavor by adding some delicious ingredients to your electric pressure cooker. The beauty of cooking brisket in a pressure cooker is that it allows flavors to meld together quickly, resulting in a rich and robust dish.
One popular method is to create a flavorful liquid or marinade to cook the brisket in. This can be a combination of broth, wine, beer, or even cola. The choice of liquid depends on your personal preference and the flavor profile you want to achieve. Consider using beef broth for a savory base, or red wine for a deeper, more complex flavor. Beer can add a unique depth to the dish, while cola can add a touch of sweetness.
In addition to the liquid, you can also add ingredients such as onions, garlic, herbs, spices, or even barbecue sauce to enhance the taste. Sautéing the onions and garlic before adding the brisket can help deepen flavors and add complexity to the dish. Experiment with your favorite herbs and spices to create a unique flavor profile that suits your taste buds.
If you’re a fan of smoky flavors, consider adding smoked paprika or chipotle peppers in adobo sauce to the mix. These ingredients will infuse the brisket with a delicious smoky undertone that will leave your taste buds wanting more.
Remember to save some of the flavorful liquid or sauce to serve with the cooked brisket. This will provide an extra layer of moisture and flavor to your final dish.
Now that you’ve added the flavorful ingredients to your electric pressure cooker, it’s time to move on to the cooking process. We’ll explore the ideal cooking time and temperature in the next section.
Liquids to Use in Electric Pressure Cooker
When cooking brisket in an electric pressure cooker, it’s important to use enough liquid to create steam and build pressure. The liquid not only helps the pressure cooker reach the desired pressure level but also contributes to the overall flavor and tenderness of the brisket.
One of the most common liquids used in electric pressure cooking is broth or stock. Beef broth or stock is a popular choice as it adds a rich savory flavor to the brisket. You can also use vegetable broth or chicken broth if you prefer a milder taste. Make sure to choose low-sodium options if you’re watching your salt intake.
In addition to broth, you can also use wine, beer, or other flavorful liquids to add depth to your brisket. Red wine can bring a robust and complex flavor, while beer can add a unique twist. Experiment with different types of wine or beer to find the flavor profiles that you enjoy the most.
If you prefer a sweeter flavor profile, you can even use fruit juices or cola as the cooking liquid. Pineapple juice or apple cider can add a subtle sweetness to balance out the savory flavors of the brisket.
When adding the cooking liquid to your electric pressure cooker, make sure to follow the manufacturer’s guidelines for minimum and maximum liquid levels. It’s always better to err on the side of caution and use enough liquid to prevent the brisket from drying out.
Remember that the liquid will reduce and intensify in flavor as the brisket cooks under pressure. So, make sure to taste and adjust the seasonings of the liquid before adding the brisket to ensure a well-balanced and flavorful outcome.
Now that you’ve selected the right liquids for your electric pressure cooker, it’s time to dive into the cooking time and temperature required to achieve a perfectly tender and juicy brisket.
For a brisket in an electric pressure cooker, use a flavorful liquid like beef broth or red wine, along with aromatics like onions, garlic, and herbs to enhance the flavor.
Cooking Time and Temperature
When it comes to cooking brisket in an electric pressure cooker, the right cooking time and temperature are crucial for achieving tender and flavorful results. The high pressure and steam created inside the cooker work together to break down the tough connective tissues in the meat, resulting in a melt-in-your-mouth texture.
The recommended cooking time for brisket in an electric pressure cooker can vary depending on factors such as the size and cut of the brisket, as well as the desired level of tenderness. As a general guideline, you can start with cooking the brisket for 20-30 minutes per pound of meat.
For example, if you have a 4-pound brisket, you would cook it for approximately 80-120 minutes under pressure. Keep in mind that this is just a starting point, and you may need to adjust the cooking time based on your specific electric pressure cooker and desired level of tenderness.
As for the cooking temperature, most electric pressure cookers have standard temperature settings such as high, low, or specific meat settings. For brisket, using the high-pressure setting is recommended. This will allow the cooker to reach the necessary pressure level to tenderize the meat effectively.
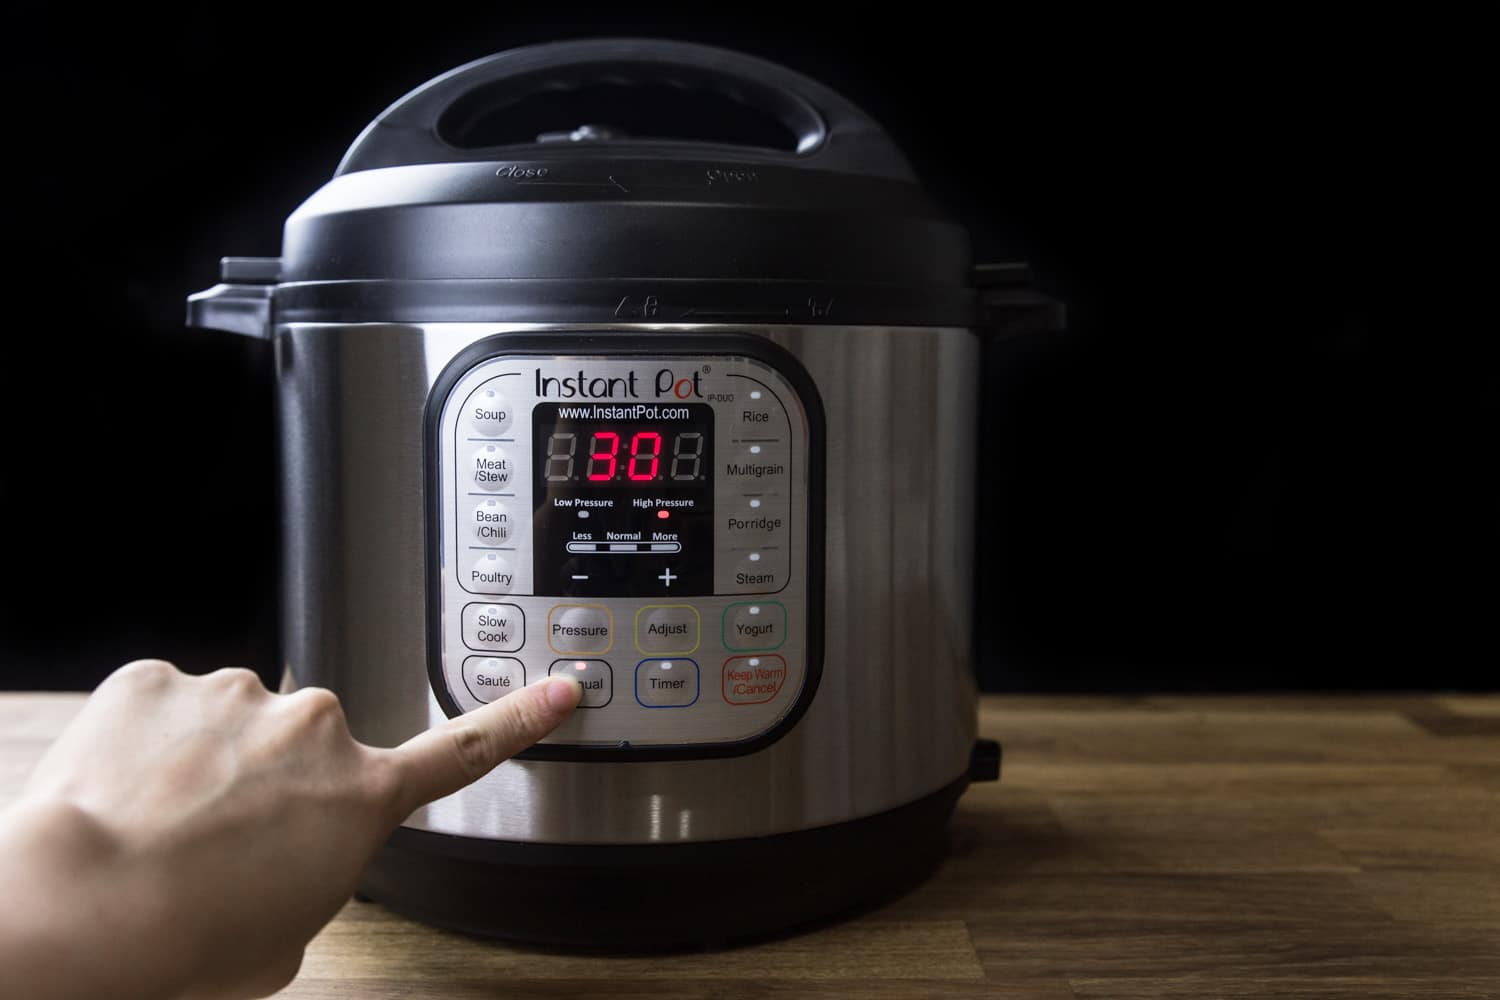
Once the brisket is in the cooker and the lid is secured, set the cooking time and temperature according to the manufacturer’s instructions. Make sure the pressure release valve is closed to allow the pressure to build up inside the cooker.
It’s important to note that the actual cooking time may vary based on factors such as altitude and the specific electric pressure cooker model you’re using. It’s always a good idea to consult the instruction manual that came with your cooker for more precise guidelines.
After the cooking time has elapsed, let the pressure naturally release for about 10-15 minutes. This means allowing the pressure to decrease on its own without manually releasing it. This step helps to keep the brisket juicy and allows the flavors to settle.
If you’re short on time, you can opt for a quick release of the pressure. However, keep in mind that this may result in a slightly firmer texture and could cause some moisture loss. To quick release the pressure, carefully open the pressure release valve using a long utensil while wearing oven mitts to protect your hands from the steam.
Once the pressure has been released, it’s time to open the lid and check on your perfectly cooked brisket. The next section will cover the finishing touches and serving suggestions to elevate your brisket to the next level.
Natural Release vs. Quick Release
When cooking brisket in an electric pressure cooker, the method of pressure release can have an impact on the final texture and flavor of the meat. Understanding the difference between natural release and quick release can help you choose the best option for your desired outcome.
Natural release is the process of allowing the pressure inside the cooker to decrease naturally after the cooking time has elapsed. This involves simply turning off the heat and letting the pressure release on its own, without any intervention. Depending on the size and thickness of the brisket, natural release can take anywhere from 10 to 15 minutes or more.
There are a few benefits to using the natural release method. Firstly, it helps to keep the meat moist and tender. As the pressure slowly decreases, the brisket continues to cook a bit longer in its own heat, allowing it to further break down the tough connective tissues and become more tender. This results in a melt-in-your-mouth texture that is sure to impress.
Additionally, natural release allows the flavors in the electric pressure cooker to settle and meld with the brisket. This extra time allows the meat to absorb the aromatics and spices, resulting in a more flavorful dish. It also helps to prevent any abrupt changes in pressure, which could lead to a loss of moisture or uneven cooking.
On the other hand, quick release (also known as manual release) is the process of manually releasing the pressure inside the cooker using the pressure release valve. This can be done by carefully opening the valve using a long utensil while wearing oven mitts to protect your hands from the steam.
Quick release is a faster method that can help save time when you’re in a hurry. By releasing the pressure quickly, you can open the electric pressure cooker and check on the brisket sooner. However, it’s important to note that this method can result in a slightly firmer texture and may lead to some moisture loss.
It’s recommended to use quick release only when necessary or if the recipe specifically calls for it. For dishes like brisket that benefit from tenderizing and flavor development, natural release is generally the preferred method. However, every electric pressure cooker is different, so it’s essential to consult the manufacturer’s instructions for specific guidelines on pressure release methods.
Now that you’ve learned about natural release and quick release, it’s time to put the finishing touches on your perfectly cooked brisket and serve it up to your eager guests.
Finishing Touches and Serving Suggestions
Congratulations! Your brisket is perfectly cooked and ready to be enjoyed. But before you dig in, let’s add some finishing touches to elevate the flavors and make it even more delicious.
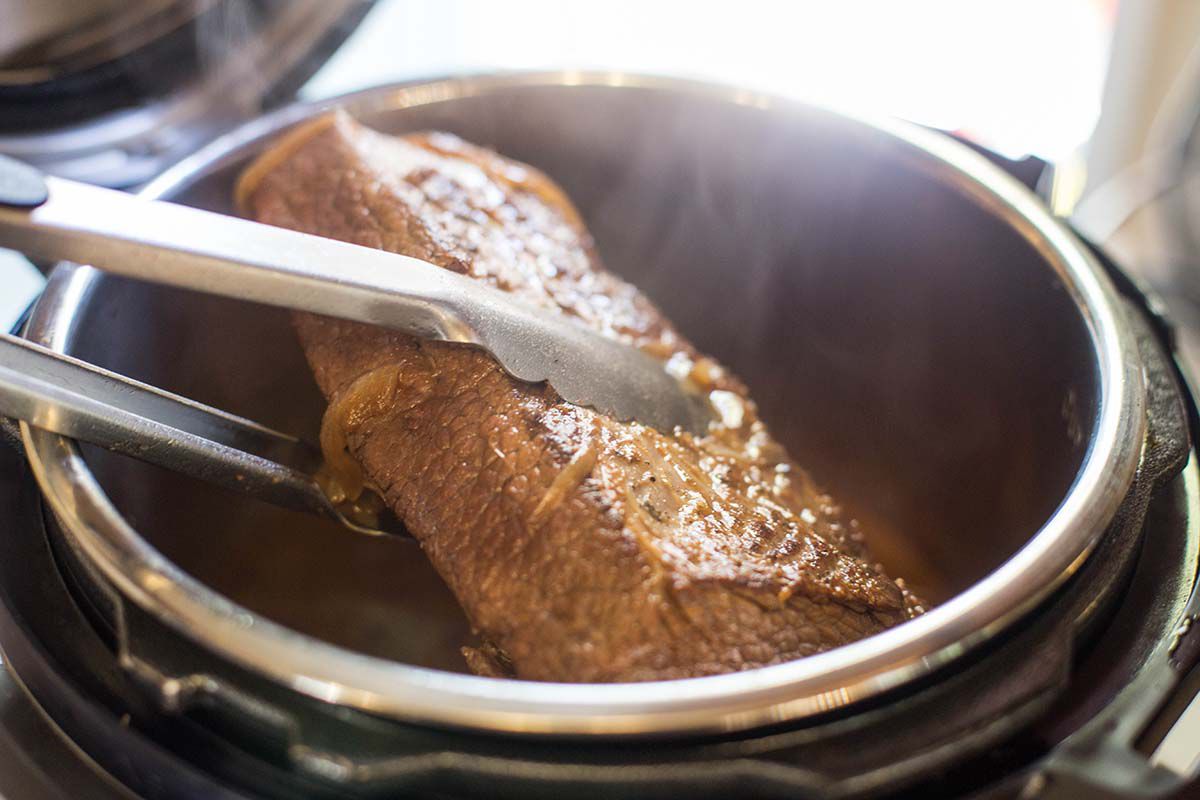
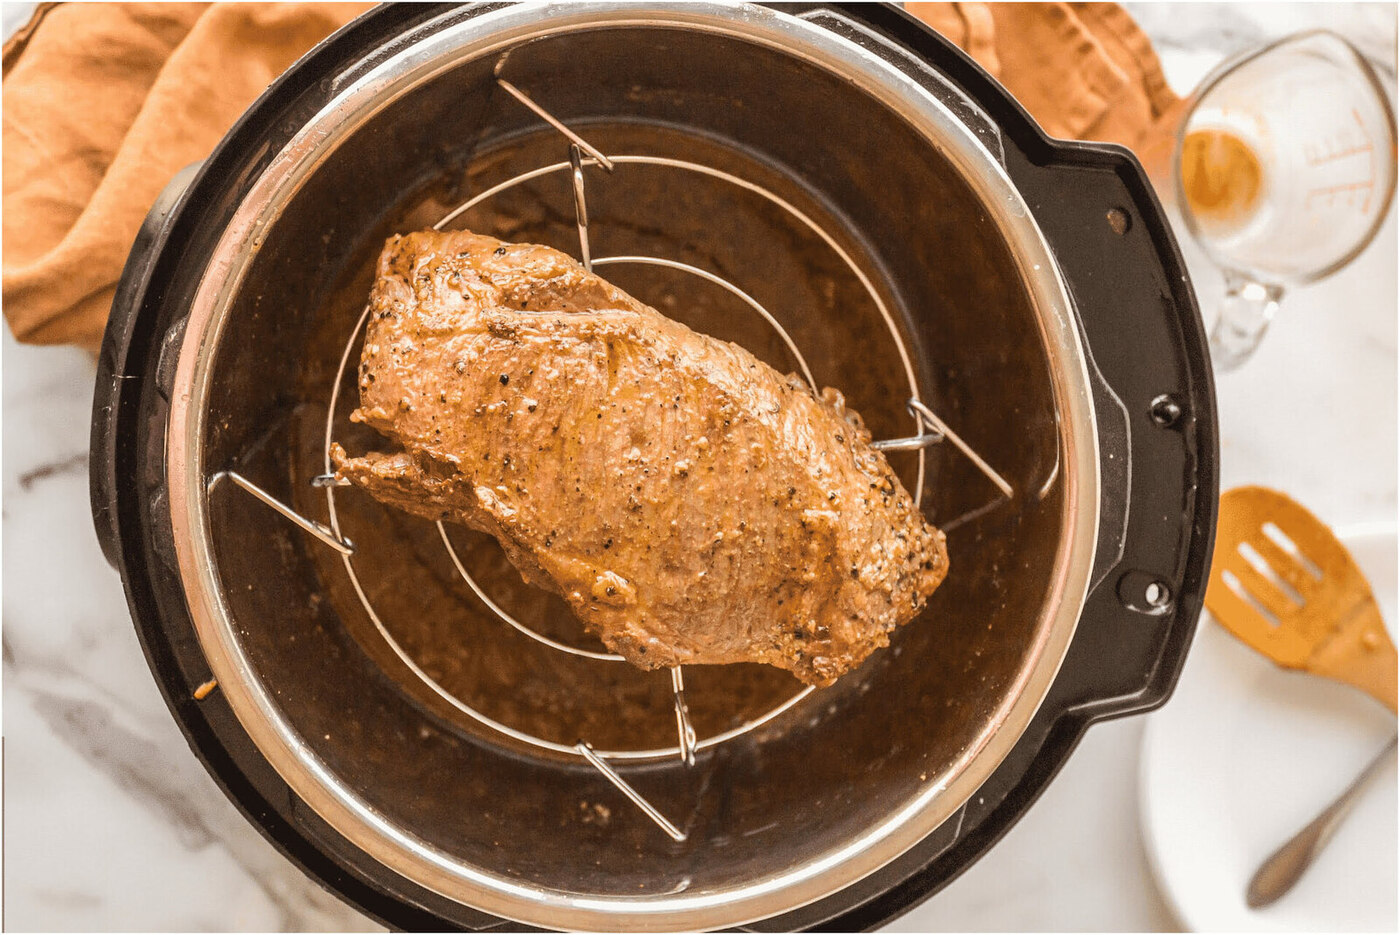
After the brisket is cooked, carefully remove it from the electric pressure cooker and transfer it to a cutting board. Allow it to rest for a few minutes, giving the juices a chance to redistribute throughout the meat. This will help ensure that every bite is juicy and flavorful.
While the brisket is resting, strain the liquid left in the electric pressure cooker and skim off any excess fat. This flavorful cooking liquid can be used as a sauce or gravy to serve with the brisket. If desired, you can also reduce the cooking liquid on the stovetop to thicken it and intensify the flavors.
To serve the brisket, use a sharp knife to slice it against the grain. This will result in tender and easy-to-eat slices. The grain of the brisket refers to the direction of the muscle fibers. Slicing against the grain helps break down those fibers and makes the meat more tender.
When it comes to serving suggestions, you have a variety of options. You can serve the brisket as the centerpiece of a hearty main course alongside mashed potatoes, roasted vegetables, or buttery cornbread. Alternatively, you can slice the brisket and use it to make mouth-watering sandwiches or tacos.
For a true barbecue experience, brush the sliced brisket with your favorite barbecue sauce and place it under the broiler or on the grill for a few minutes to caramelize the sauce and add a smoky flavor. Serve it with coleslaw, pickles, and cornbread for a complete barbecue feast.
If you want to get creative, use the cooked brisket in a stir-fry, hash, or even as a topping for loaded baked potatoes. The tender meat will add a burst of flavor and richness to any dish it’s added to.
Don’t forget to garnish your brisket with some fresh herbs, such as parsley or cilantro, to add a pop of color and freshness. And if you’re feeling adventurous, drizzle a squeeze of lime juice or sprinkle some shredded cheese on top for an extra kick.
Now that you’ve added the finishing touches to your perfectly cooked brisket, it’s time to gather your friends and family and enjoy the fruits of your labor. The tender, flavorful meat will surely be a crowd-pleaser and leave everyone asking for seconds!
Conclusion
Brisket is a delicious and hearty cut of meat that can be transformed into a mouthwatering dish when cooked in an electric pressure cooker. The convenience and speed of pressure cooking allow you to achieve tender, flavorful results in a fraction of the time compared to traditional cooking methods.
By choosing the right cut of brisket, properly preparing the meat, and adding flavorful ingredients to your electric pressure cooker, you can create a dish that will impress even the most discerning palates. The selection of liquids, such as broth, wine, or even fruit juices, adds depth and richness to the brisket, while onions, garlic, herbs, and spices infuse it with additional flavor.
Mastering the cooking time and temperature is key to achieving perfectly tender brisket. Following the recommended guidelines and allowing for natural release or using quick release, depending on your preferences, will yield outstanding results. The natural release method helps keep the meat moist and allows flavors to meld, while quick release saves time when needed.
Finish off your perfectly cooked brisket with some extra love and attention. Let the brisket rest before slicing to ensure juiciness. Strain the cooking liquid and use it as a sauce or gravy to accompany the brisket. Consider caramelizing the sauce or adding your favorite barbecue sauce for added flavor. Serve with classic sides, use in sandwiches, or get creative with other dishes like stir-fries or loaded baked potatoes.
Whether you’re cooking brisket for a special occasion or simply craving a delicious meal, using an electric pressure cooker will take your culinary skills to new heights. The tender, flavorful, and convenient outcome will leave your taste buds satisfied and your guests impressed.
So, fire up your electric pressure cooker, grab your favorite cuts of brisket, and embark on a flavorful cooking journey. With the techniques and tips you’ve learned, you’re now equipped to create a tender and delicious brisket that will have everyone coming back for seconds!
Frequently Asked Questions about What To Use In Electric Pressure Cooker For A Brisket
Was this page helpful?
At Storables.com, we guarantee accurate and reliable information. Our content, validated by Expert Board Contributors, is crafted following stringent Editorial Policies. We're committed to providing you with well-researched, expert-backed insights for all your informational needs.

0 thoughts on “What To Use In Electric Pressure Cooker For A Brisket”