Home>Construction & Tools>Building Materials>How To Clean Dirty Brick

Building Materials
How To Clean Dirty Brick
Modified: October 19, 2024
Learn effective techniques for cleaning dirty brick surfaces using safe and efficient methods. Discover the best cleaning solutions for building materials.
(Many of the links in this article redirect to a specific reviewed product. Your purchase of these products through affiliate links helps to generate commission for Storables.com, at no extra cost. Learn more)
Introduction
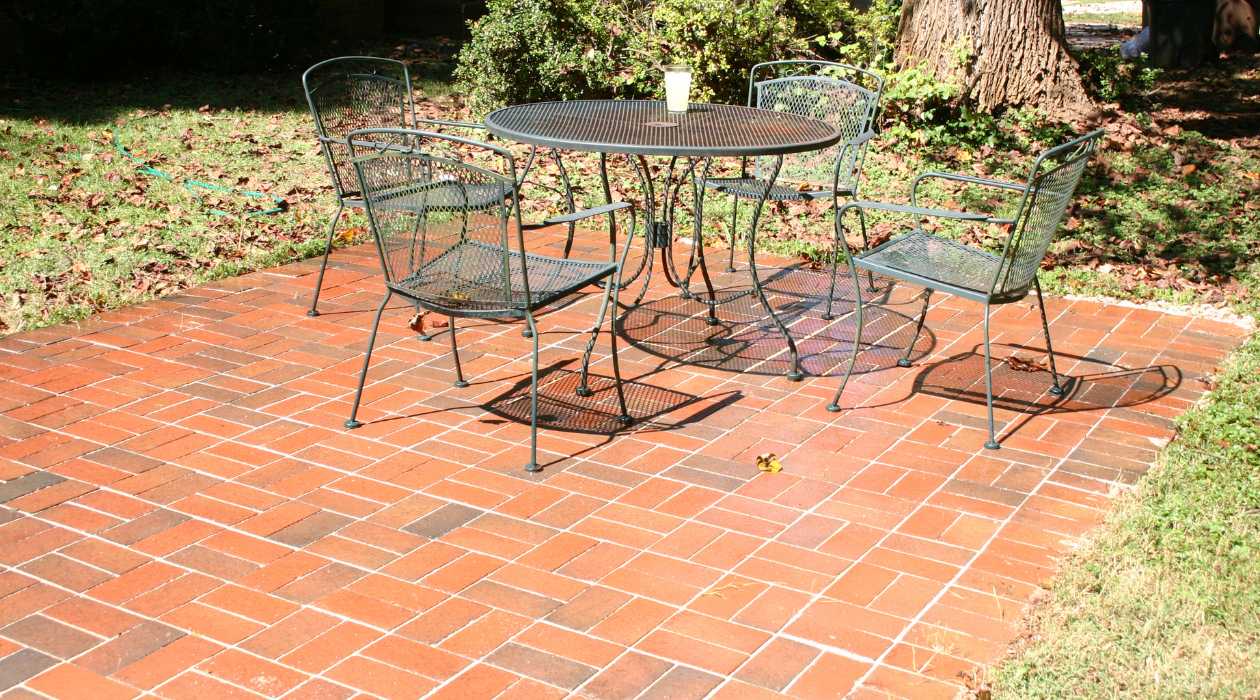
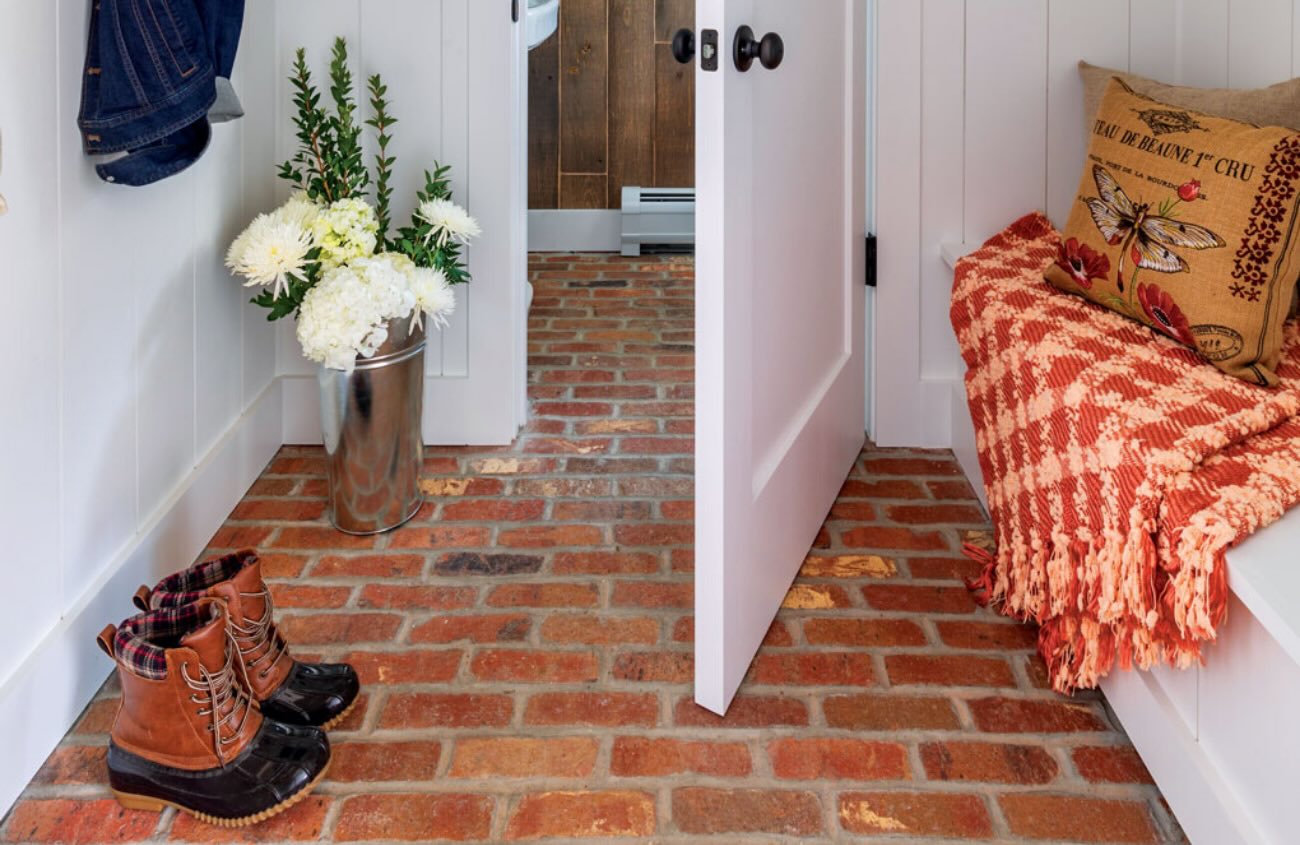
Brick, a timeless and enduring building material, adds character and charm to any structure. Whether it’s a majestic fireplace, a rustic exterior, or a cozy patio, the allure of brick is undeniable. However, over time, exposure to the elements and environmental factors can leave brick surfaces looking tired and dirty. Fortunately, with the right techniques and a bit of elbow grease, restoring the luster of your brick surfaces is entirely achievable. In this comprehensive guide, we’ll explore the step-by-step process of cleaning dirty brick, ensuring that your brick elements regain their original splendor.
From understanding the materials required to preparing the area and executing the cleaning process, we’ll cover every aspect in detail, empowering you to revitalize your brick surfaces with confidence. Whether you’re a seasoned DIY enthusiast or a novice homeowner, this guide is designed to equip you with the knowledge and skills needed to breathe new life into your beloved brick features.
So, roll up your sleeves, gather your supplies, and let’s embark on this transformative journey to restore the timeless beauty of your brick surfaces.
Key Takeaways:
- Revive the timeless beauty of brick surfaces by following a step-by-step cleaning process using simple materials like a brush, mild detergent, and water. Prepare the area, scrub thoroughly, and address stubborn stains for a transformative result.
- Transform dirty brick surfaces into vibrant architectural elements with targeted cleaning techniques. From pre-rinsing to natural drying, restore the allure of brick using gentle methods and specialized solutions for stubborn stains.
Read more: How To Clean A Dirty Toilet Bowl
Materials Needed
Before diving into the process of cleaning dirty brick, it’s essential to gather the necessary materials to ensure a thorough and effective restoration. Here’s a comprehensive list of items you’ll need:
- Stiff-bristled brush or broom
- Mild detergent or brick cleaner
- Bucket
- Water
- Rubber gloves
- Protective eyewear
- Protective tarp or drop cloth
- Garden hose with spray nozzle
- Soft cloths or sponges
- Old towels or rags
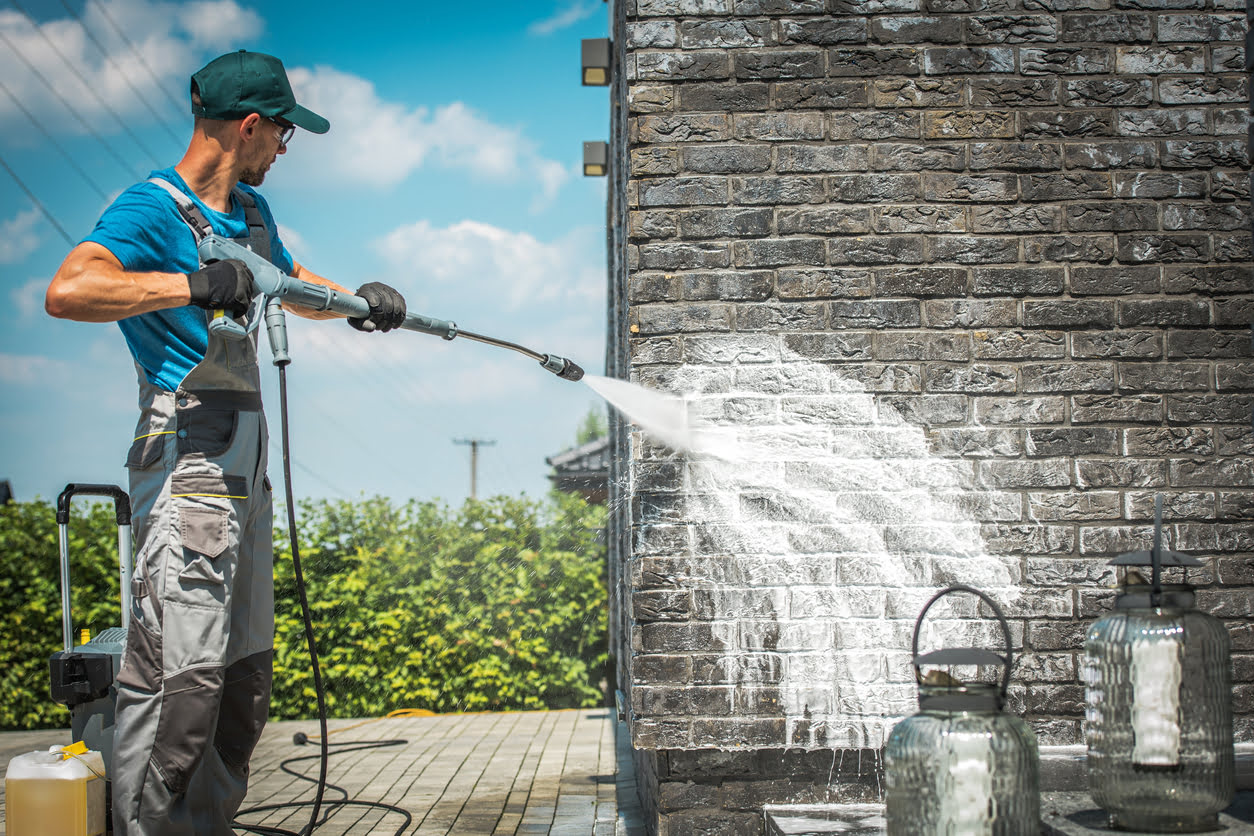
- Optional: Pressure washer (for stubborn stains)
These materials are essential for effectively cleaning and rejuvenating your brick surfaces. The combination of a stiff-bristled brush, mild detergent, and water forms the foundation of the cleaning process, while protective gear such as rubber gloves and eyewear ensures your safety during the restoration endeavor. Additionally, the use of a protective tarp or drop cloth helps safeguard surrounding areas from potential splashes and runoff.
With these materials at your disposal, you’ll be well-equipped to embark on the journey of reviving your brick surfaces, bidding farewell to dirt, grime, and stains, and welcoming back the timeless allure of clean, vibrant brick.
Preparing the Area
Before initiating the cleaning process, it’s crucial to prepare the surrounding area to ensure a smooth and efficient restoration experience. Here are the essential steps to prepare the space for cleaning dirty brick:
- Clear the Surrounding Area: Remove any furniture, decorations, or objects near the brick surface to create unobstructed access. This step prevents potential damage to items and allows for thorough cleaning.
- Protect Adjacent Surfaces: Cover nearby plants, landscaping features, and non-brick surfaces with a protective tarp or drop cloth. Shielding these elements from cleaning solutions and water runoff helps prevent unintended damage.
- Inspect for Damage: Take a moment to inspect the brick for any signs of damage or deterioration. Look for cracks, loose mortar, or other structural issues that may require attention. Addressing these concerns before cleaning can prevent further damage during the restoration process.
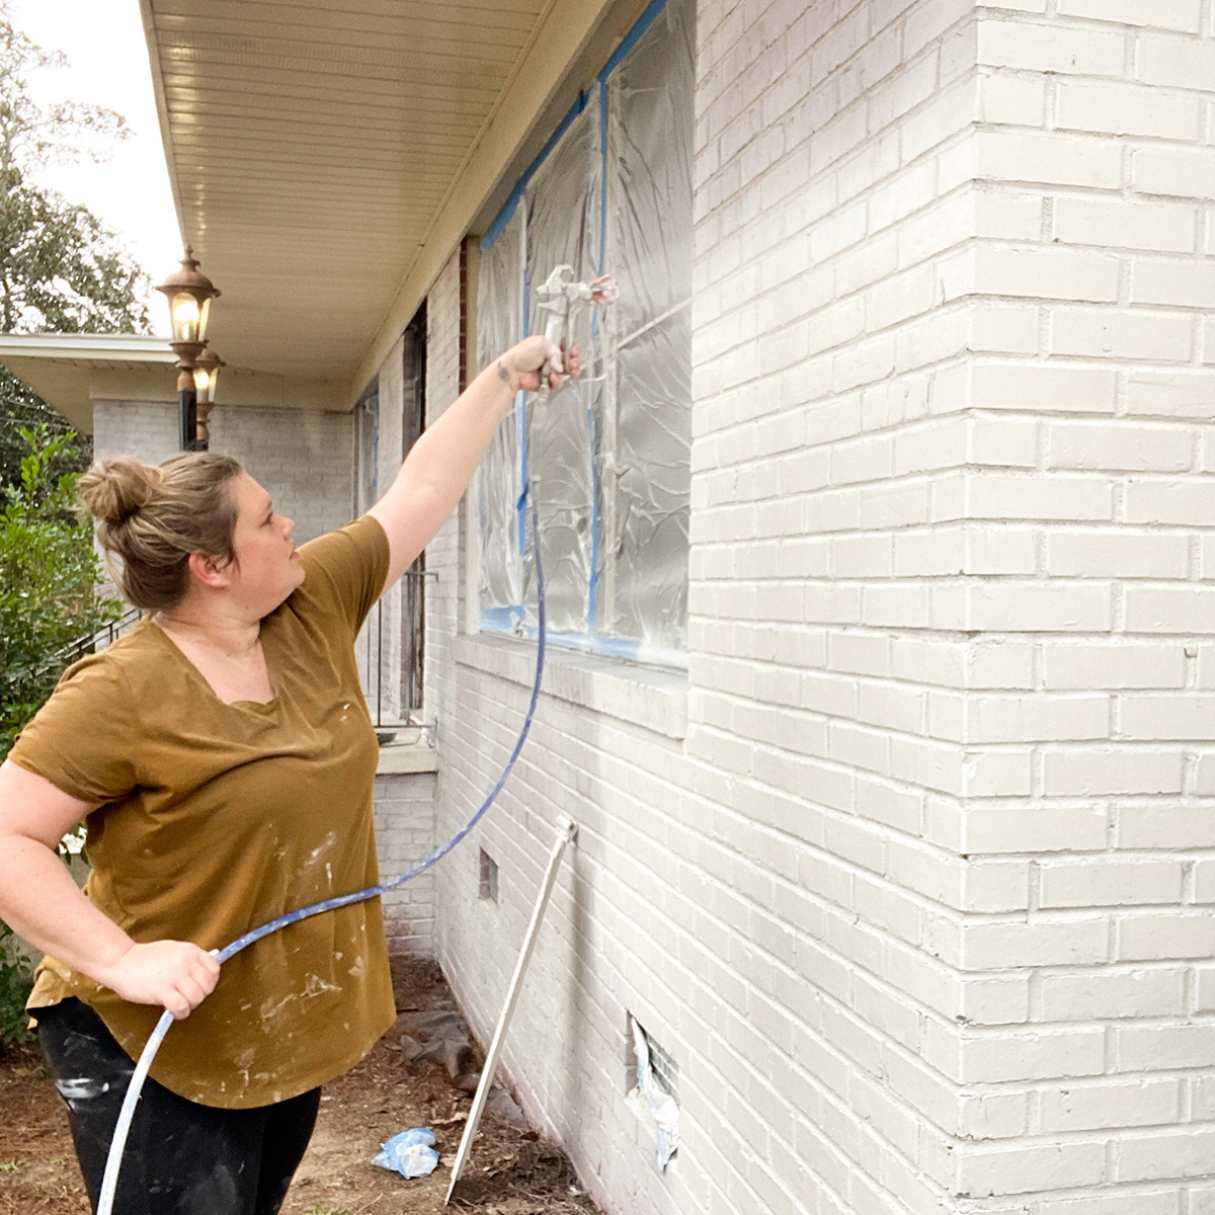
- Prepare Cleaning Solution: If using a mild detergent or brick cleaner, follow the manufacturer’s instructions to prepare the cleaning solution. Ensure that the solution is mixed in a well-ventilated area and in accordance with safety guidelines.
By diligently preparing the area before commencing the cleaning process, you’ll create a safe, organized, and conducive environment for restoring your brick surfaces. These proactive measures not only facilitate a more efficient cleaning experience but also contribute to the overall success of the restoration endeavor.
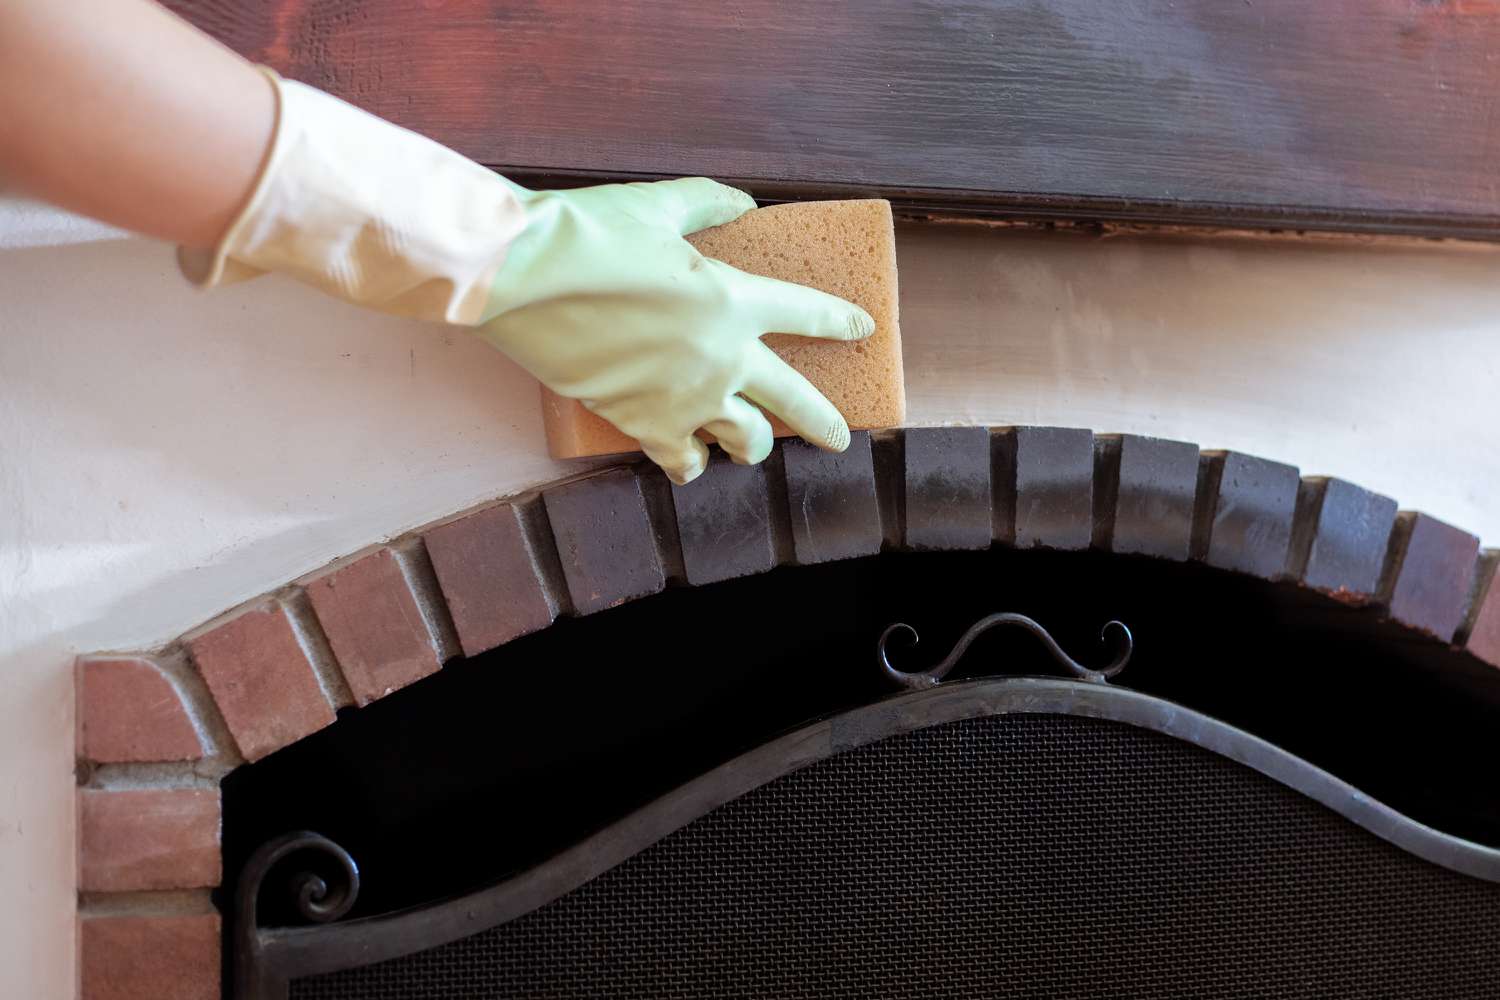
Cleaning the Brick
With the area prepared and the necessary materials at hand, it’s time to embark on the transformative process of cleaning the dirty brick. Follow these step-by-step instructions to effectively revitalize your brick surfaces:
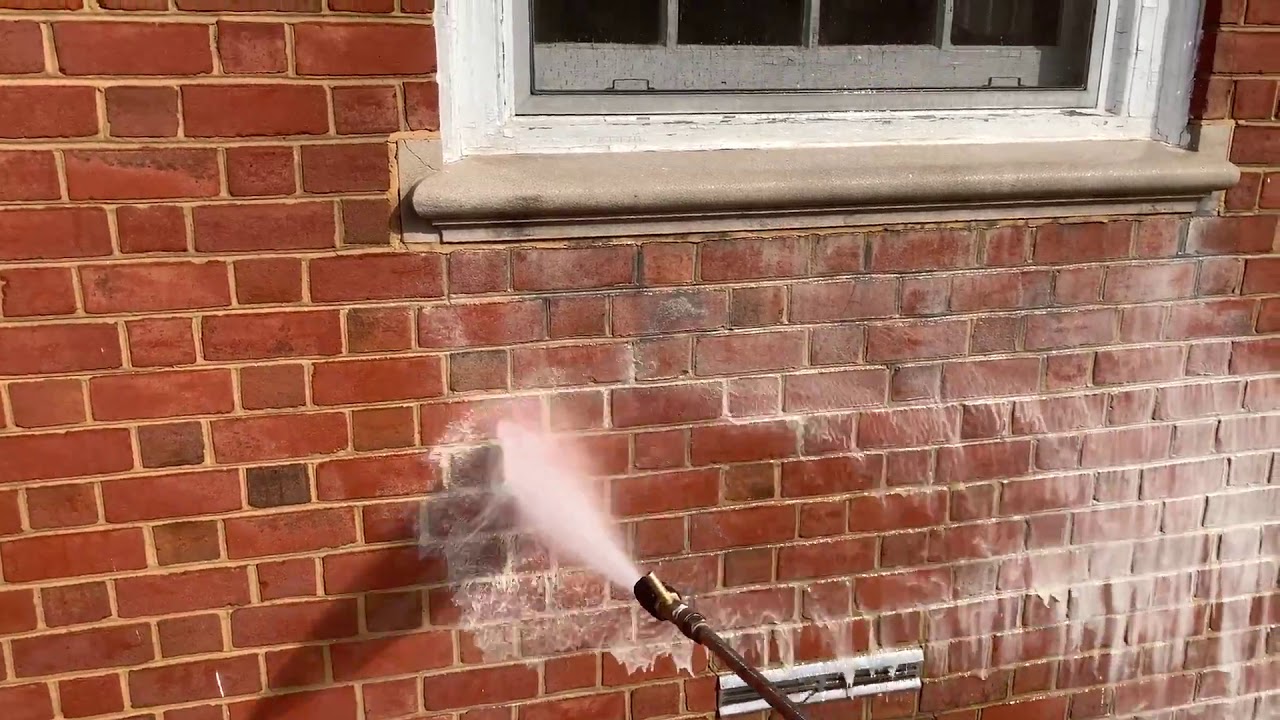
- Pre-Rinse: Begin by rinsing the brick surface with water using a garden hose equipped with a spray nozzle. This initial rinse helps remove loose debris, dirt, and surface grime, preparing the brick for the deep cleaning process.
- Apply Cleaning Solution: If using a mild detergent or brick cleaner, apply the solution to the wet brick surface. Use a stiff-bristled brush or broom to work the cleaning solution into the brick, focusing on areas with noticeable stains or discoloration.
- Scrub Thoroughly: With the cleaning solution applied, vigorously scrub the brick surface using the stiff-bristled brush. Employ circular motions and targeted scrubbing to dislodge embedded dirt and grime, ensuring comprehensive coverage of the entire area.
- Address Grout and Crevices: Pay special attention to the grout between the bricks and any crevices or textured areas. Use a smaller brush or an old toothbrush to effectively clean these hard-to-reach spaces, ensuring a thorough and uniform cleaning result.
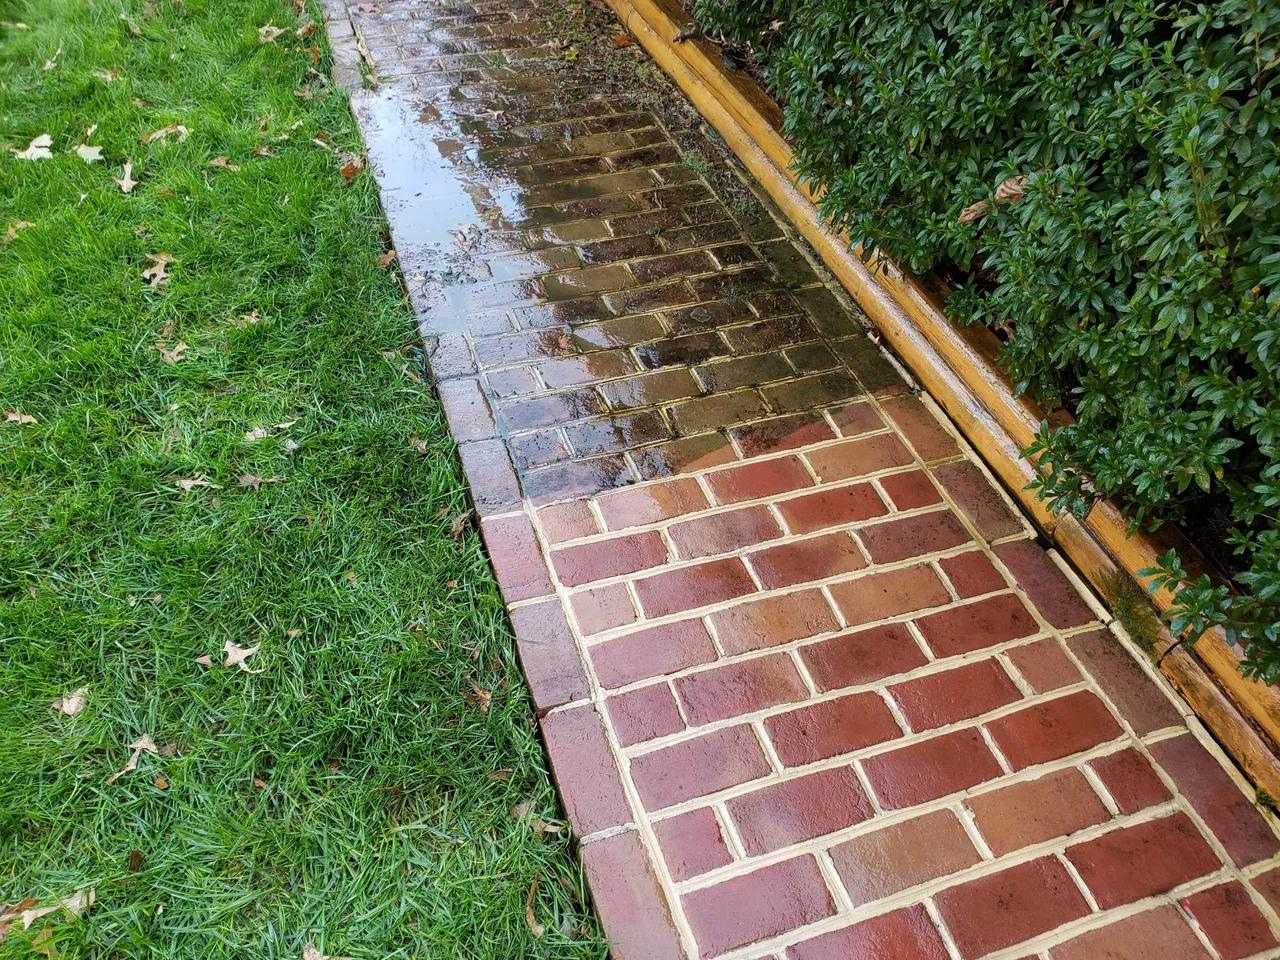
- Rinse with Water: Once the brick has been diligently scrubbed and the cleaning solution has had time to work its magic, thoroughly rinse the entire surface with clean water. The use of a garden hose with a spray nozzle is ideal for this rinsing process, ensuring complete removal of the cleaning solution and loosened debris.
By following these meticulous steps, you’ll effectively cleanse the brick surface, bidding farewell to accumulated dirt, grime, and unsightly stains. This dedicated cleaning process sets the stage for the next crucial step: addressing stubborn stains that may require additional attention.
Mix warm water with mild dish soap and use a stiff brush to scrub the dirty brick. Rinse with clean water and let it air dry. Avoid using harsh chemicals or pressure washers to prevent damage to the brick.
Removing Stubborn Stains
While the initial cleaning process effectively addresses general dirt and grime, stubborn stains may require targeted treatment to achieve complete revitalization. To tackle persistent discoloration and blemishes on your brick surfaces, follow these strategic steps:
- Identify Stubborn Stains: Carefully assess the brick surface to pinpoint areas with lingering stains, such as oil spots, rust marks, or deeply ingrained dirt. Understanding the nature of the stains will guide the selection of appropriate stain-removal techniques.
- Utilize Stain-Specific Solutions: Depending on the type of stain, employ specialized cleaning agents or remedies tailored to the specific discoloration. For oil-based stains, consider using a degreasing agent or a poultice formulated for oil removal. Rust stains may necessitate the application of a rust remover designed for masonry surfaces.
- Spot Treatment: Apply the stain-specific solution directly to the affected areas, ensuring precise and targeted coverage. Allow the solution to penetrate the stains, following the manufacturer’s recommended dwell time for optimal effectiveness.
- Gentle Scrubbing: Using a soft cloth, sponge, or gentle brush, delicately scrub the treated areas to aid in lifting and loosening the stubborn stains. Exercise caution to avoid abrasive scrubbing, particularly on delicate or aged brick surfaces, to prevent unintended damage.
- Rinse and Assess: Thoroughly rinse the treated areas with clean water to remove the stain-specific solution and evaluate the results. Repeat the spot treatment process if necessary, persisting until the stubborn stains have been satisfactorily diminished or eliminated.
By methodically addressing stubborn stains with tailored solutions and diligent spot treatment, you’ll effectively combat persistent discoloration, ensuring a comprehensive and uniform rejuvenation of your brick surfaces. With these targeted efforts, your brick elements will soon showcase their inherent beauty, free from the remnants of stubborn stains.
Read more: How To Clean A Really Dirty Carpet
Rinsing and Drying
Following the meticulous cleaning and stain-removal processes, thorough rinsing and proper drying are crucial to completing the brick restoration journey. The final steps of rinsing and drying ensure the removal of cleaning agents, residues, and moisture, ultimately unveiling the renewed splendor of your brick surfaces. Here’s a comprehensive guide to the essential rinsing and drying procedures:
- Comprehensive Rinsing: Utilize a garden hose with a gentle spray nozzle to thoroughly rinse the entire brick surface. Ensure that all cleaning solutions, residues, and dislodged debris are effectively washed away, leaving the brick clean and free of any lingering remnants.
- Inspect for Residual Stains: After rinsing, carefully inspect the brick surface for any residual stains or areas requiring additional attention. Address any remaining stains with targeted spot treatment as necessary, ensuring a uniform and pristine result.
- Allow for Natural Drying: Once the brick has been thoroughly rinsed, allow it to air dry naturally. Avoid introducing heat sources or accelerants for drying, as excessive heat can potentially cause rapid evaporation, leading to streaking or water spots on the brick surface.
- Patience and Observation: Exercise patience as the brick surfaces dry, and observe the gradual restoration of their natural vibrancy. As the moisture dissipates, the renewed cleanliness and radiance of the brick will become increasingly evident, marking the successful culmination of the cleaning and rejuvenation process.
- Final Assessment: Upon complete drying, conduct a final assessment of the brick surfaces to ensure that the cleaning and stain-removal efforts have yielded the desired outcome. Revel in the revitalized appearance of your brick elements, celebrating the successful transformation from dirty and worn to fresh and rejuvenated.
With the meticulous completion of the rinsing and drying procedures, your brick surfaces are primed to showcase their renewed allure, exuding a timeless charm that captures the essence of meticulous care and restoration.
Conclusion
Embarking on the journey to clean dirty brick surfaces is a transformative endeavor that breathes new life into your cherished architectural elements. By following the comprehensive steps outlined in this guide, you have harnessed the power to revitalize and rejuvenate your brick surfaces, restoring their inherent beauty and timeless appeal.
From meticulously preparing the area and diligently cleaning the brick to addressing stubborn stains and ensuring thorough rinsing and drying, each step in the restoration process has contributed to the remarkable transformation of your brick elements. The dedication and care invested in this endeavor have not only cleansed the surfaces but have also renewed their visual impact, allowing the character and charm of the brick to shine through once more.
As you stand back and admire the revitalized brick surfaces, take pride in the accomplishment of restoring these foundational elements to their former glory. The renewed vibrancy and cleanliness of the brick serve as a testament to your commitment to preserving and enhancing the aesthetic and structural integrity of your living spaces.
Furthermore, the knowledge and skills acquired through this transformative process empower you to maintain the beauty of your brick surfaces for years to come, ensuring that they continue to exude their timeless allure and enduring appeal. Whether it’s a welcoming fireplace, an inviting patio, or a striking exterior facade, the cleaned and rejuvenated brick surfaces stand as a testament to the artistry of restoration and the enduring elegance of this beloved building material.
With your brick surfaces now revitalized and radiant, you have not only cleaned dirty brick but have also unveiled the timeless beauty and allure that make brick a cherished and enduring architectural treasure.
Frequently Asked Questions about How To Clean Dirty Brick
Was this page helpful?
At Storables.com, we guarantee accurate and reliable information. Our content, validated by Expert Board Contributors, is crafted following stringent Editorial Policies. We're committed to providing you with well-researched, expert-backed insights for all your informational needs.


0 thoughts on “How To Clean Dirty Brick”