Home>Furniture & Design>Bathroom Accessories>How To Clean A Toilet Brush

Bathroom Accessories
How To Clean A Toilet Brush
Modified: August 30, 2024
Learn the best way to clean your bathroom accessories, including the toilet brush, with our simple and effective tips. Keep your bathroom clean and hygienic.
(Many of the links in this article redirect to a specific reviewed product. Your purchase of these products through affiliate links helps to generate commission for Storables.com, at no extra cost. Learn more)
Introduction
Cleaning the bathroom is a chore that most people would rather avoid, but it's an essential task for maintaining a hygienic and pleasant living environment. While many individuals diligently scrub the toilet bowl and wipe down the sink and countertops, the toilet brush often gets overlooked. However, neglecting the cleanliness of the toilet brush can lead to the spread of germs and unpleasant odors in the bathroom. Therefore, it's crucial to understand the importance of regularly cleaning and maintaining this often-forgotten bathroom accessory.
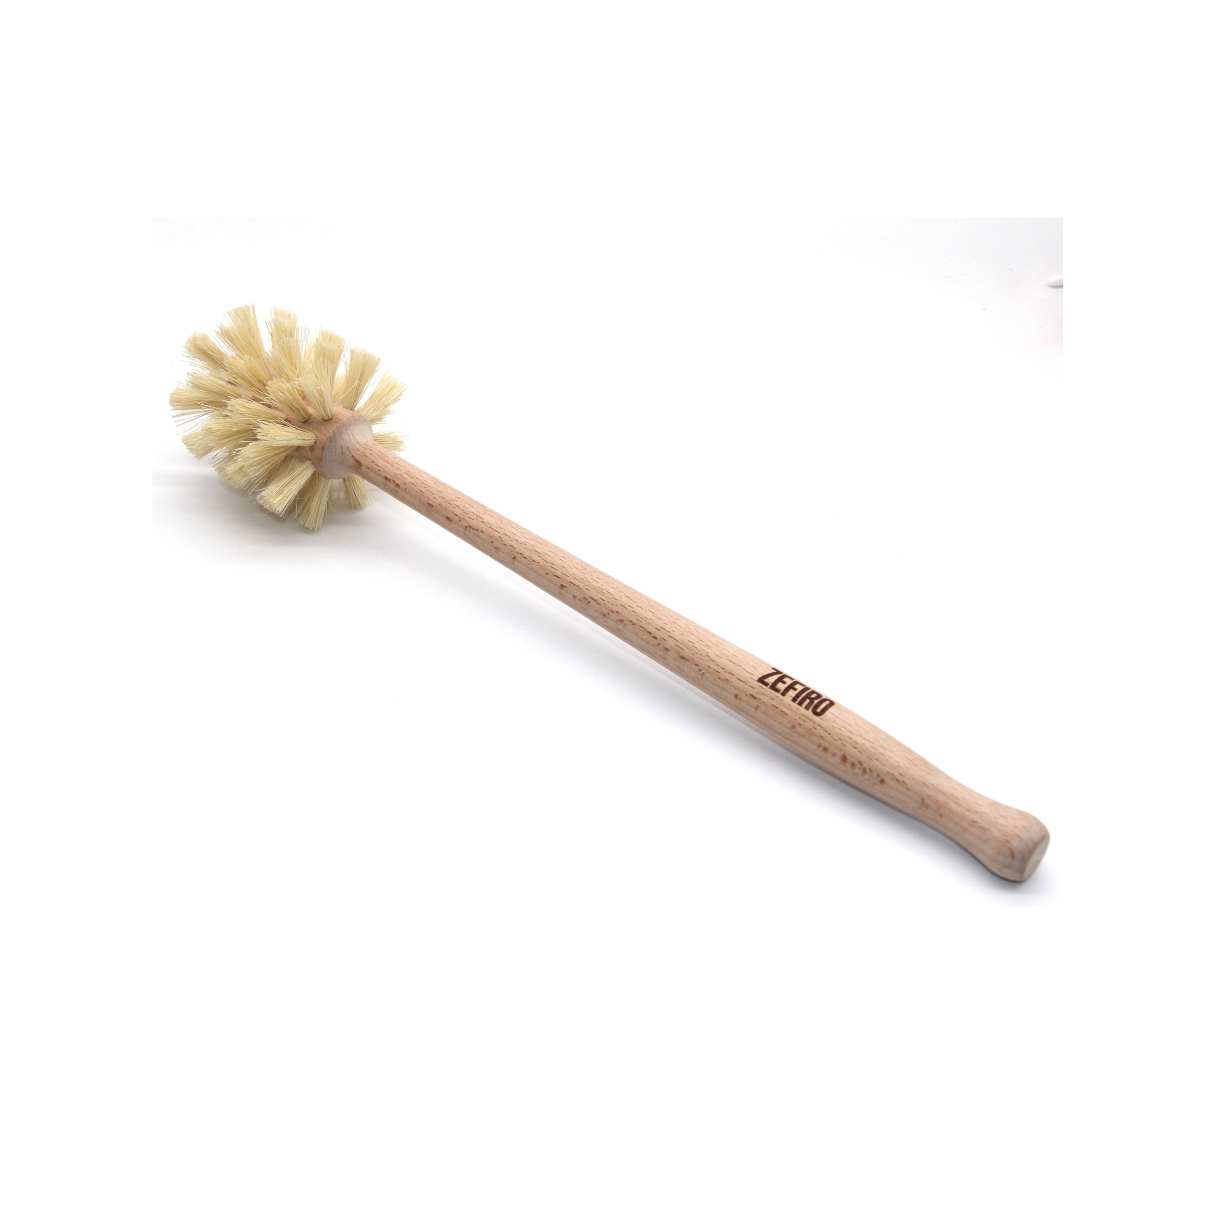
A toilet brush is a tool designed to aid in the cleaning of the toilet bowl, but it also requires cleaning itself to prevent the buildup of bacteria and mold. Over time, the bristles of the brush can become caked with residue and grime, and the holder can accumulate dirt and water stains. Failing to address these issues can result in an unhygienic bathroom environment and an ineffective cleaning tool.
In this comprehensive guide, we will walk you through the step-by-step process of properly cleaning a toilet brush and its holder. By following these simple yet effective cleaning techniques, you can ensure that your toilet brush remains sanitary and odor-free, contributing to a cleaner and more inviting bathroom space. So, let's roll up our sleeves and delve into the essential steps for maintaining a fresh and hygienic toilet brush and holder.
Key Takeaways:
- Regularly cleaning and disinfecting your toilet brush and holder is crucial for a fresh and hygienic bathroom. It helps eliminate germs, prevent odors, and maintain a clean environment for your family’s health and well-being.
- Properly drying the toilet brush after cleaning is essential to prevent mold and bacteria growth. Ensure thorough drying to maintain a sanitary and odor-free bathroom space.
Read more: How To Clean Toilet Without Brush
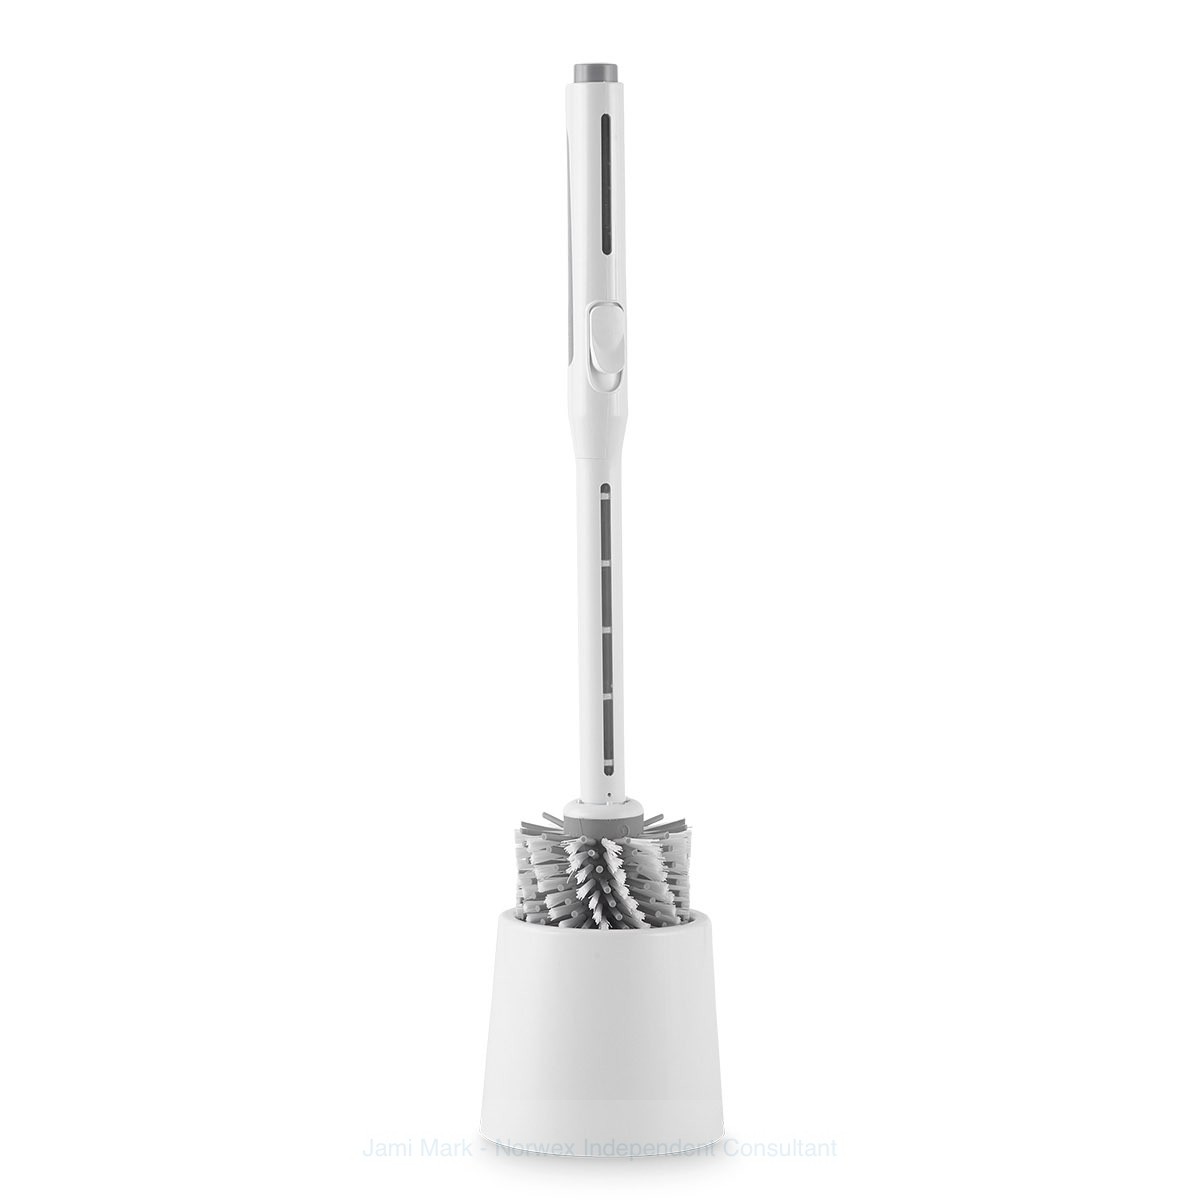
Step 1: Gather the necessary supplies
Before embarking on the task of cleaning your toilet brush and its holder, it's essential to gather the necessary supplies to ensure a thorough and effective cleaning process. Having the right tools at your disposal will streamline the task and help you achieve optimal results. Here's a list of supplies you'll need:
-
Rubber Gloves: To protect your hands from coming into direct contact with germs and bacteria, it's advisable to wear rubber gloves throughout the cleaning process.
-
Cleaning Solution: Choose a disinfectant or cleaning solution suitable for eliminating germs and grime. You can opt for a commercial bathroom cleaner, bleach, or a natural cleaning solution such as vinegar or baking soda.
-
Toilet Brush: While this may seem obvious, it's important to have a spare toilet brush on hand for scrubbing the holder and ensuring that the cleaning process is thorough.
-
Bucket or Basin: Use a bucket or basin to mix the cleaning solution and to rinse the toilet brush and holder.
-
Scrubbing Brush or Sponge: A scrubbing brush or sponge will come in handy for scrubbing the holder and reaching into crevices that may be difficult to clean with the toilet brush alone.
-
Old Towels or Rags: Keep a few old towels or rags nearby to wipe down surfaces and to absorb excess water during the cleaning process.
-
Ventilation: Ensure that the bathroom is well-ventilated by opening a window or turning on the exhaust fan to prevent the buildup of fumes from the cleaning solution.
By gathering these essential supplies, you'll be well-prepared to tackle the task of cleaning your toilet brush and holder effectively. With the right tools at your disposal, you can proceed to the next steps with confidence, knowing that you have everything you need to maintain a clean and hygienic bathroom environment.
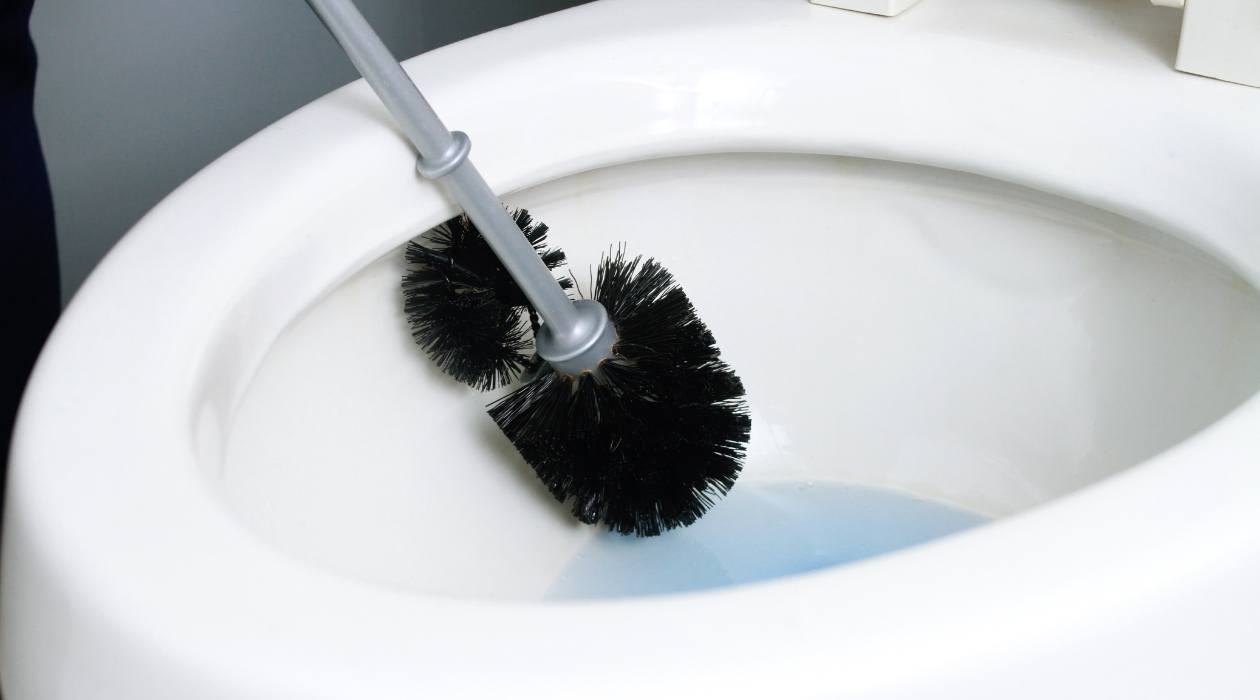
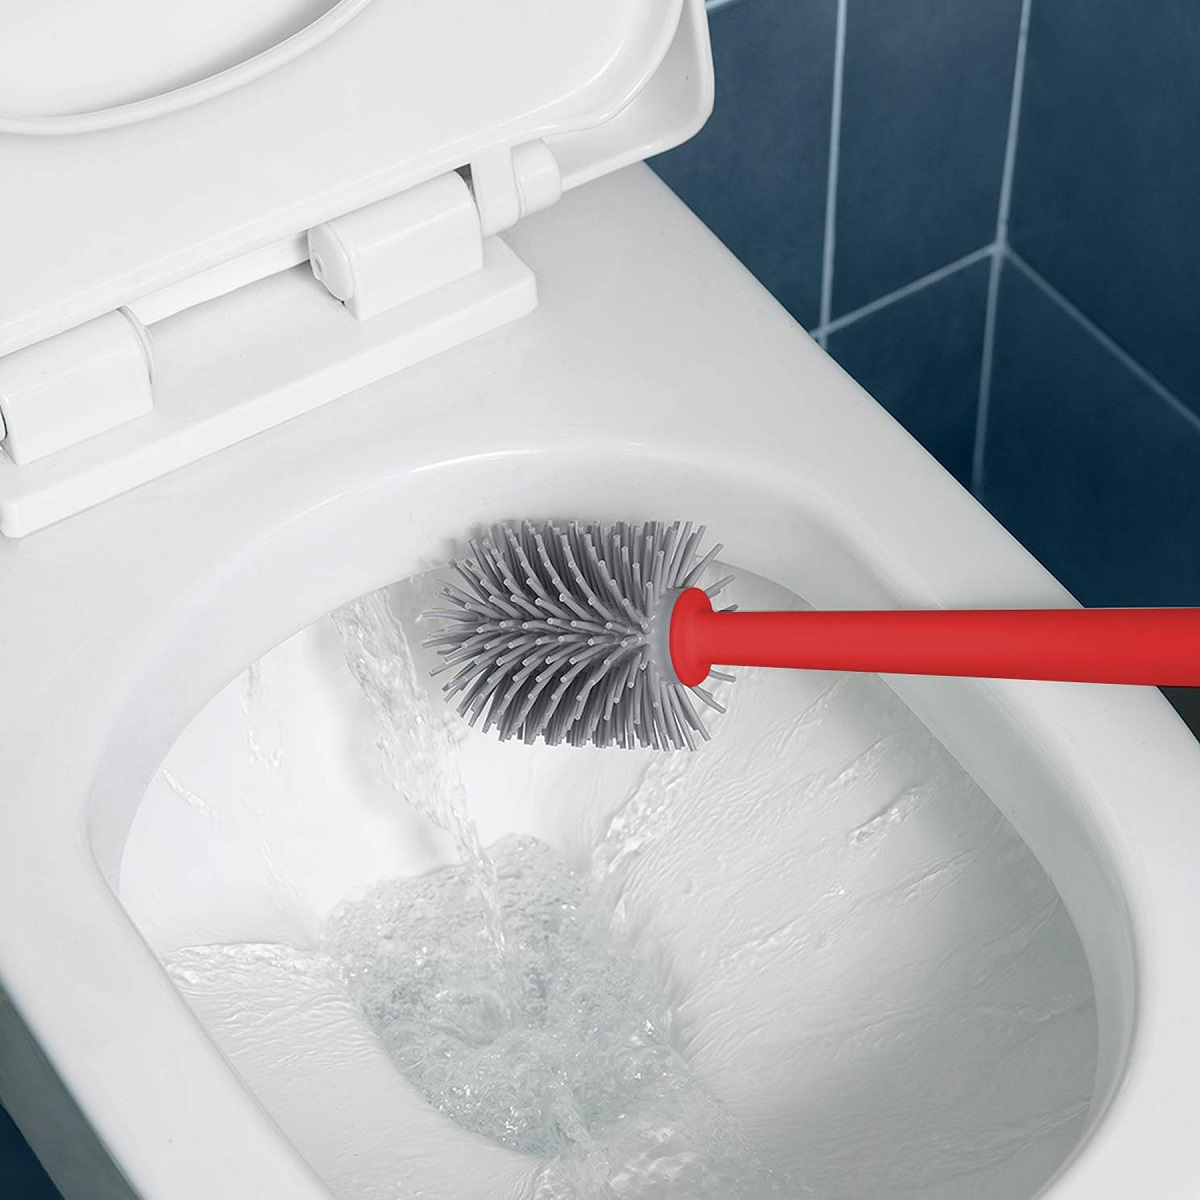
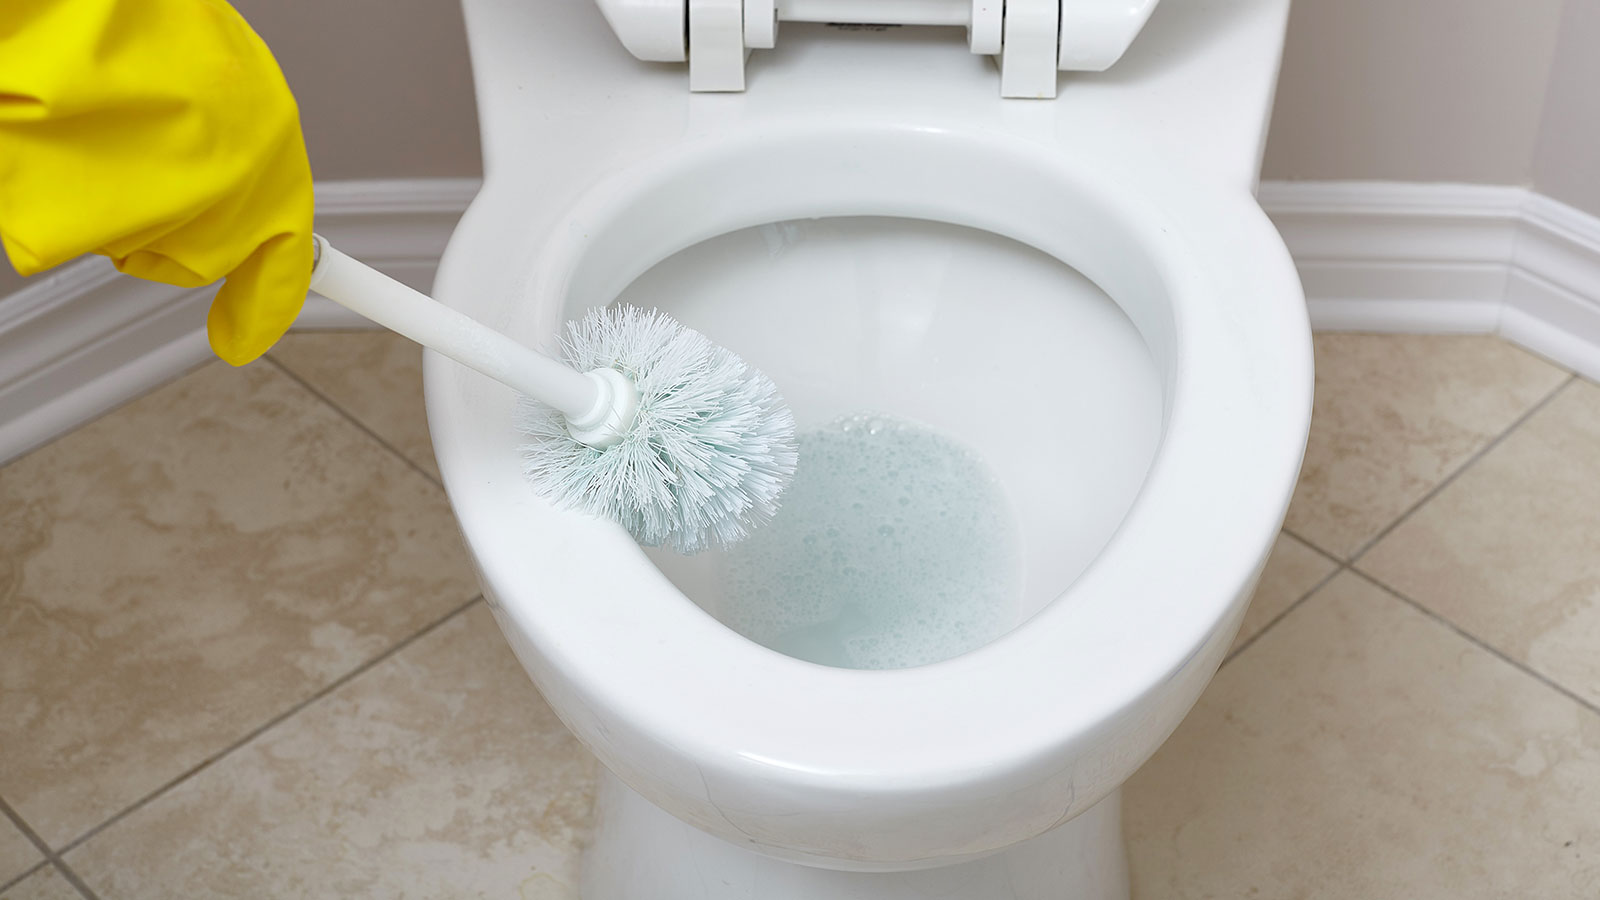
Step 2: Rinse the toilet brush
After gathering the necessary supplies, the first step in cleaning a toilet brush is to thoroughly rinse it to remove any loose debris and residual cleaning agents. This initial rinsing process sets the stage for the subsequent cleaning and disinfection steps, ensuring that the brush is free of surface grime and ready for a deeper cleanse.
To begin, put on your rubber gloves to protect your hands from coming into direct contact with any lingering germs or bacteria on the brush. Then, take the toilet brush and holder to the bathroom sink or bathtub for rinsing. Hold the brush over the basin and run hot water over the bristles, using your hand or a scrubbing brush to gently agitate the bristles and dislodge any trapped particles. If necessary, you can add a small amount of mild liquid soap to the bristles and continue to agitate them to help remove stubborn residue.
Once the bristles have been thoroughly rinsed, it's important to pay attention to the handle and base of the brush. These areas can also harbor dirt and grime, so use a sponge or scrubbing brush to clean them with soapy water. Ensure that all surfaces of the brush, including the handle and base, are free of visible residue before proceeding to the next step.
After rinsing the brush, it's equally important to address the holder. Empty any residual water from the holder and rinse it thoroughly with hot water. Use a cleaning solution and a scrubbing brush to remove any buildup or stains from the holder, ensuring that it is clean and free of any lingering odors.
By taking the time to thoroughly rinse the toilet brush and its holder, you are laying the foundation for a more effective and hygienic cleaning process. This step removes surface debris and prepares the brush for the subsequent cleaning and disinfection steps, ultimately contributing to a cleaner and more sanitary bathroom environment.
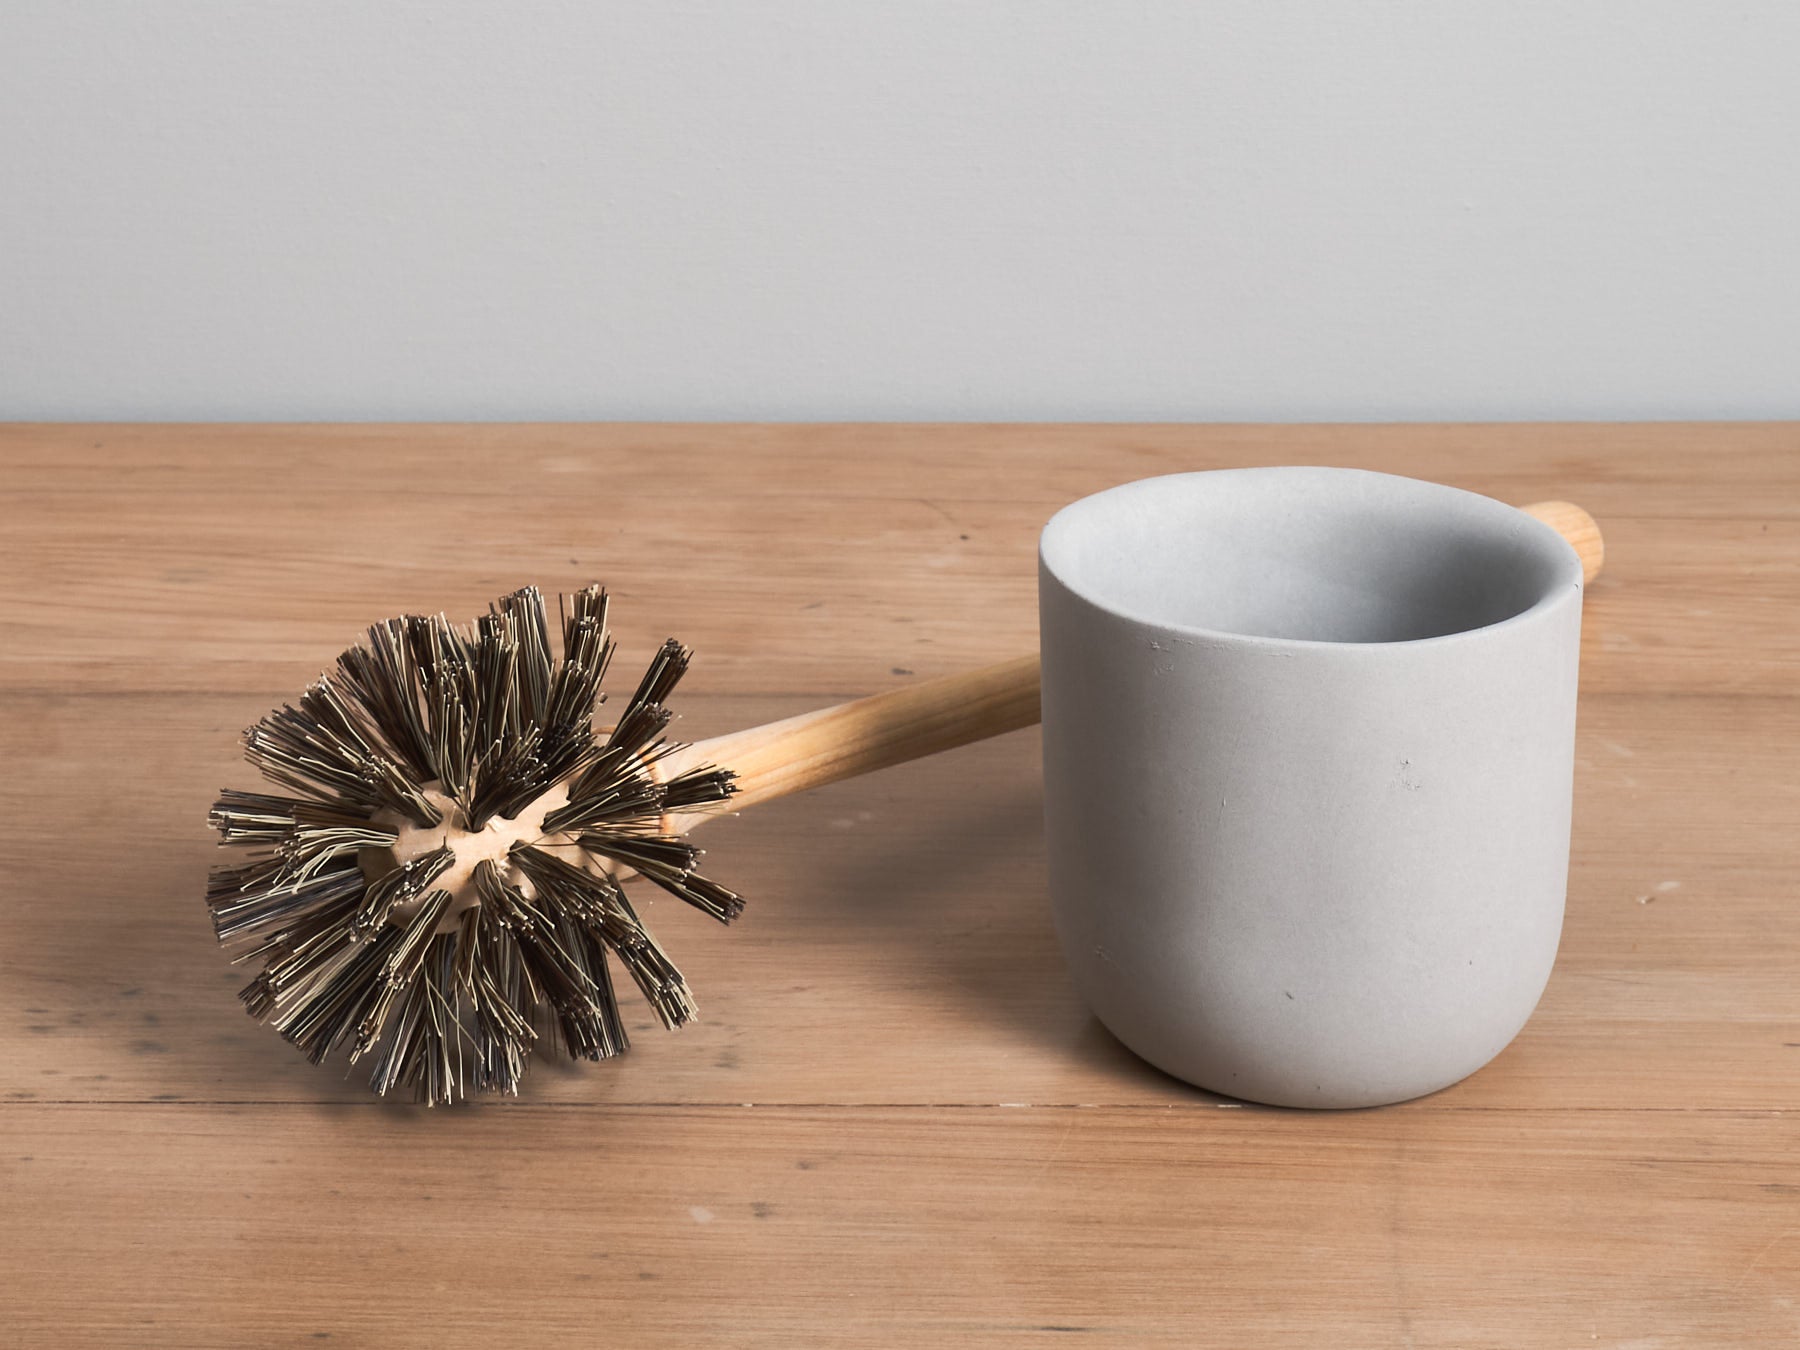
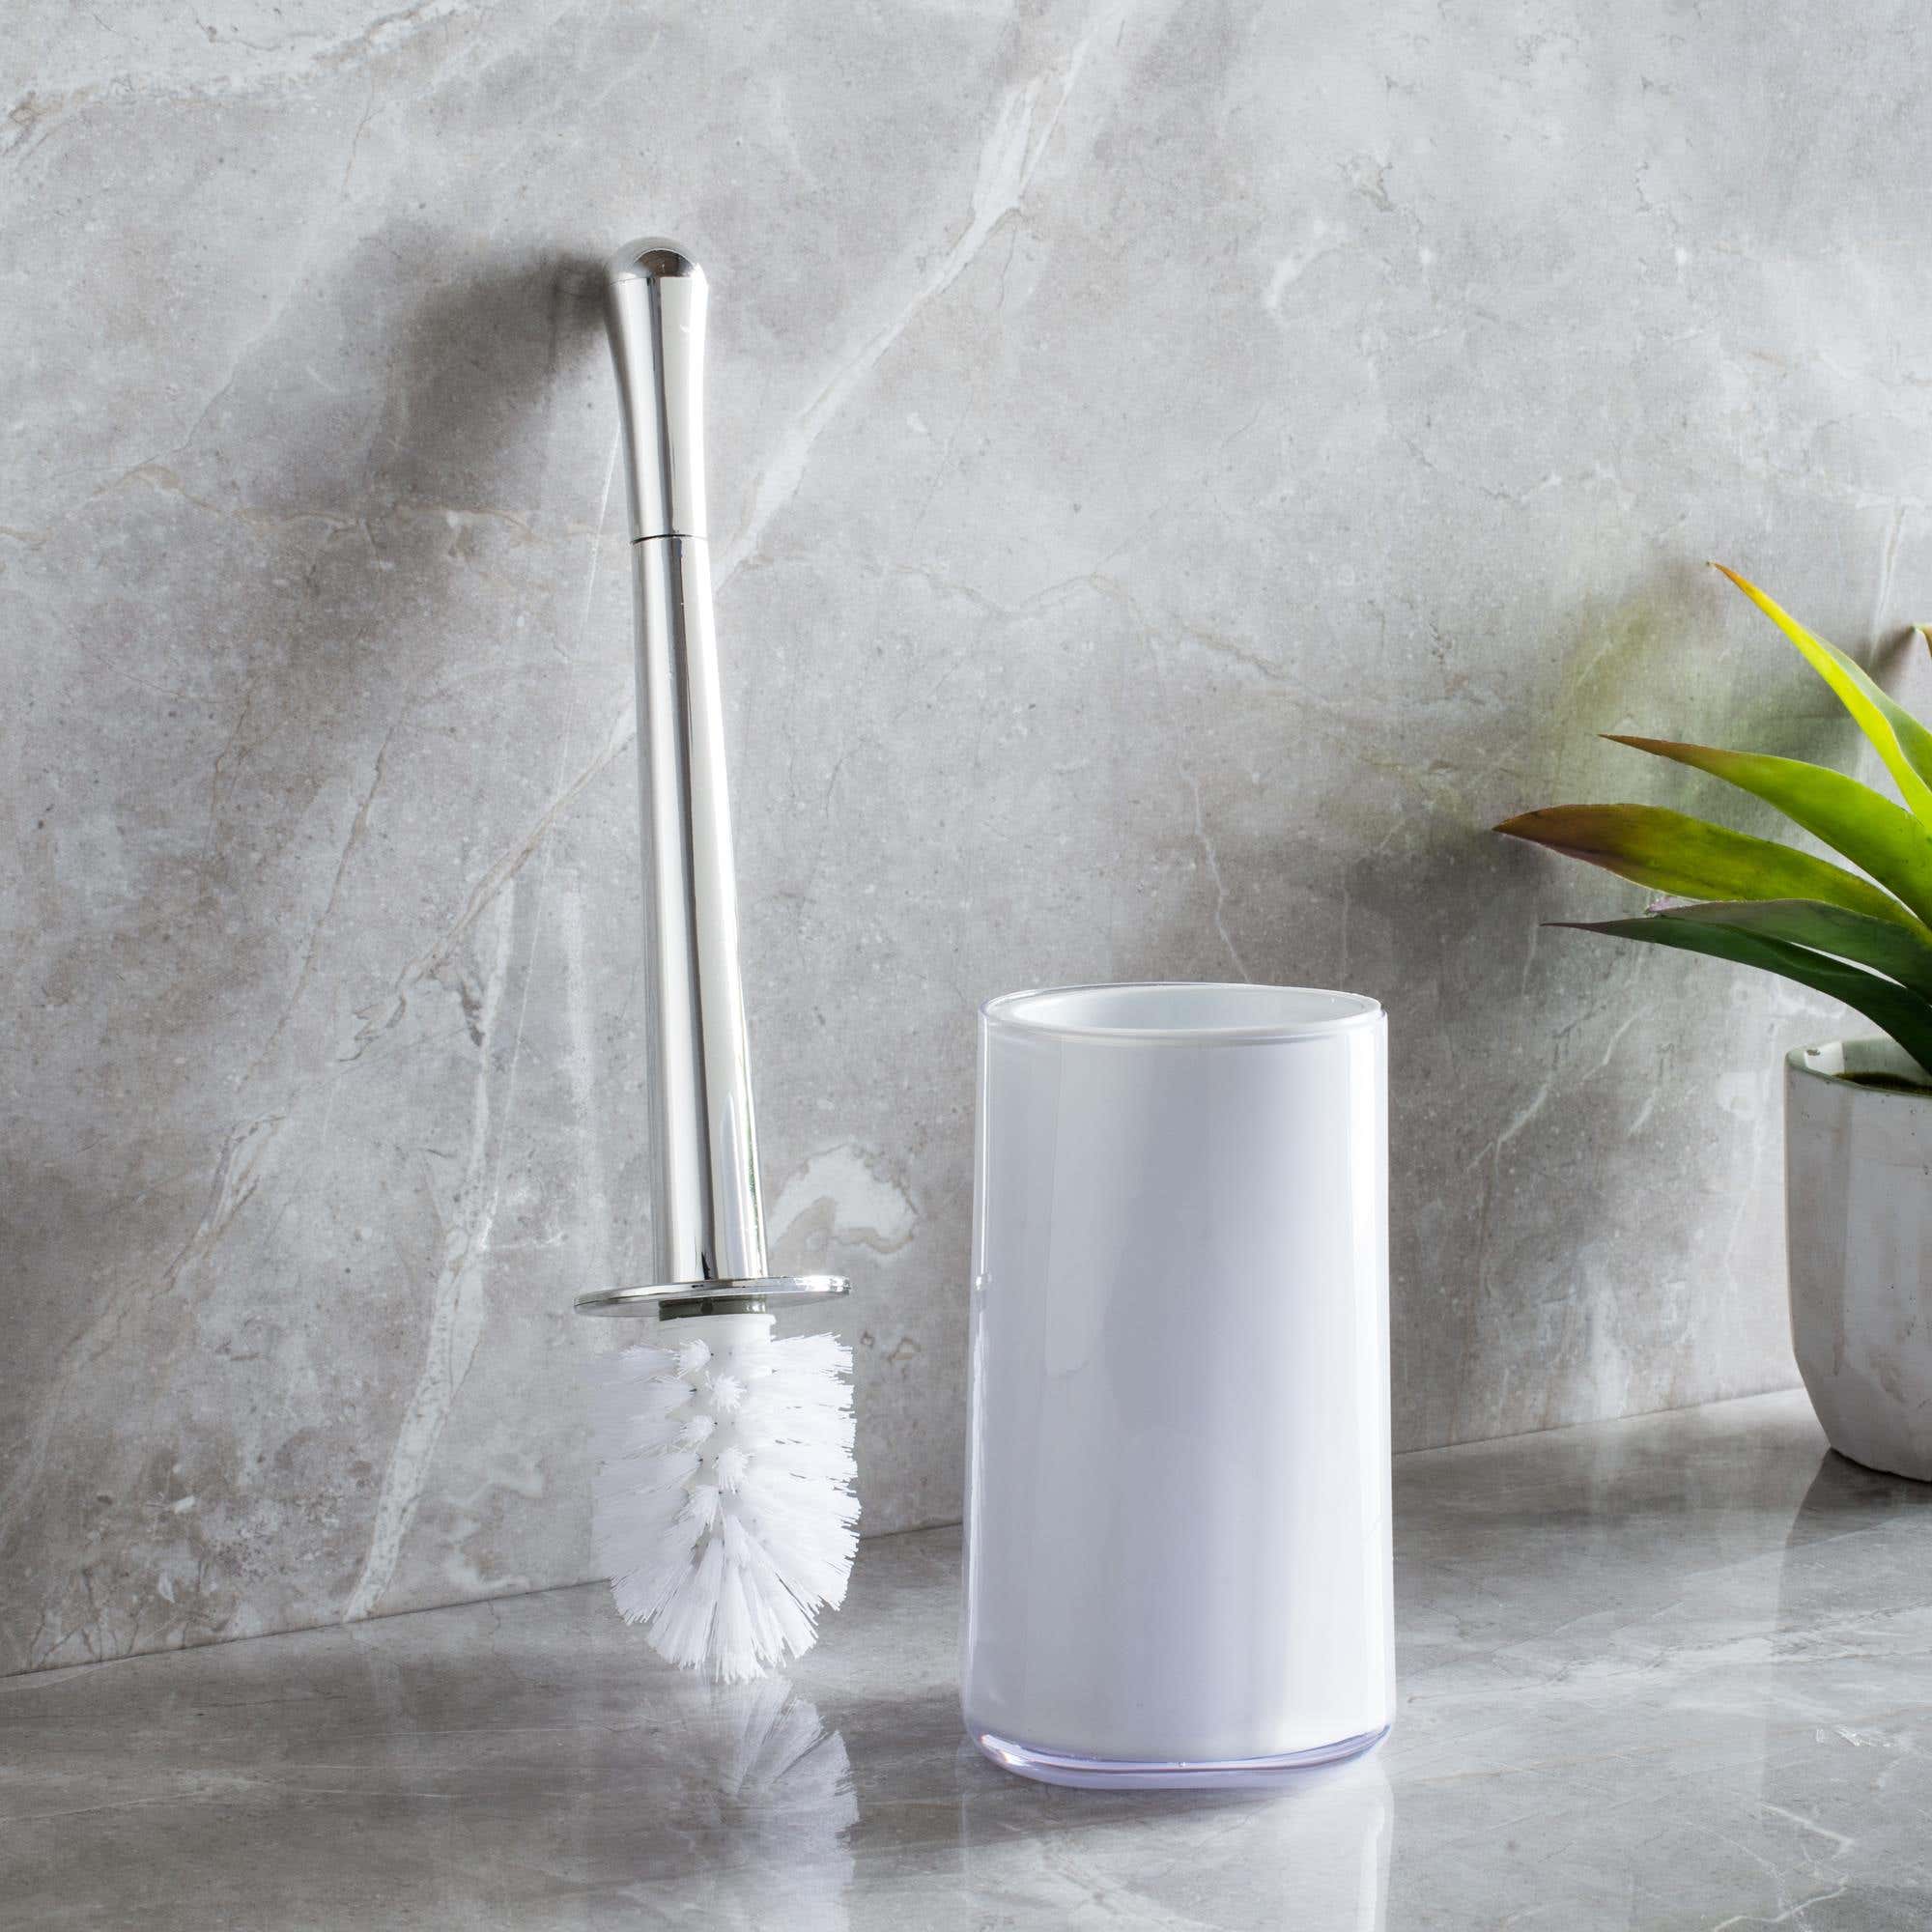
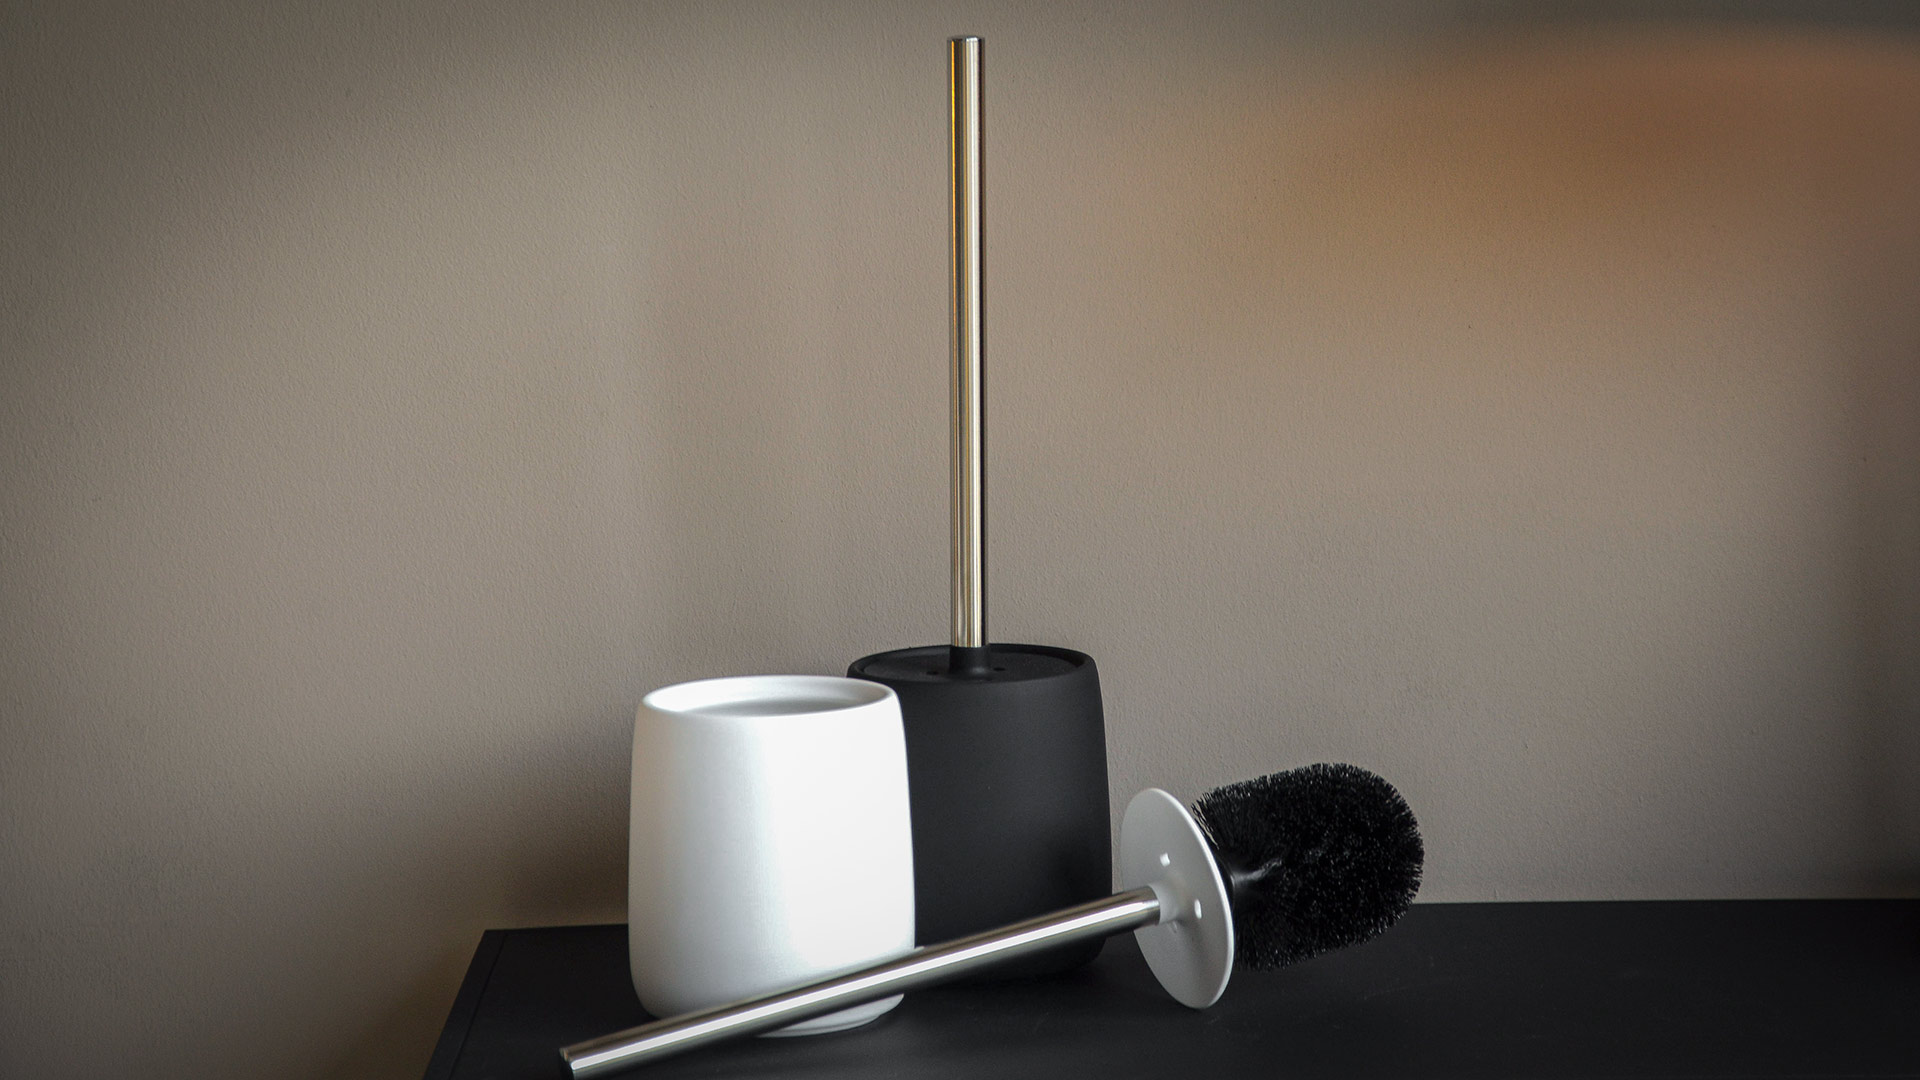
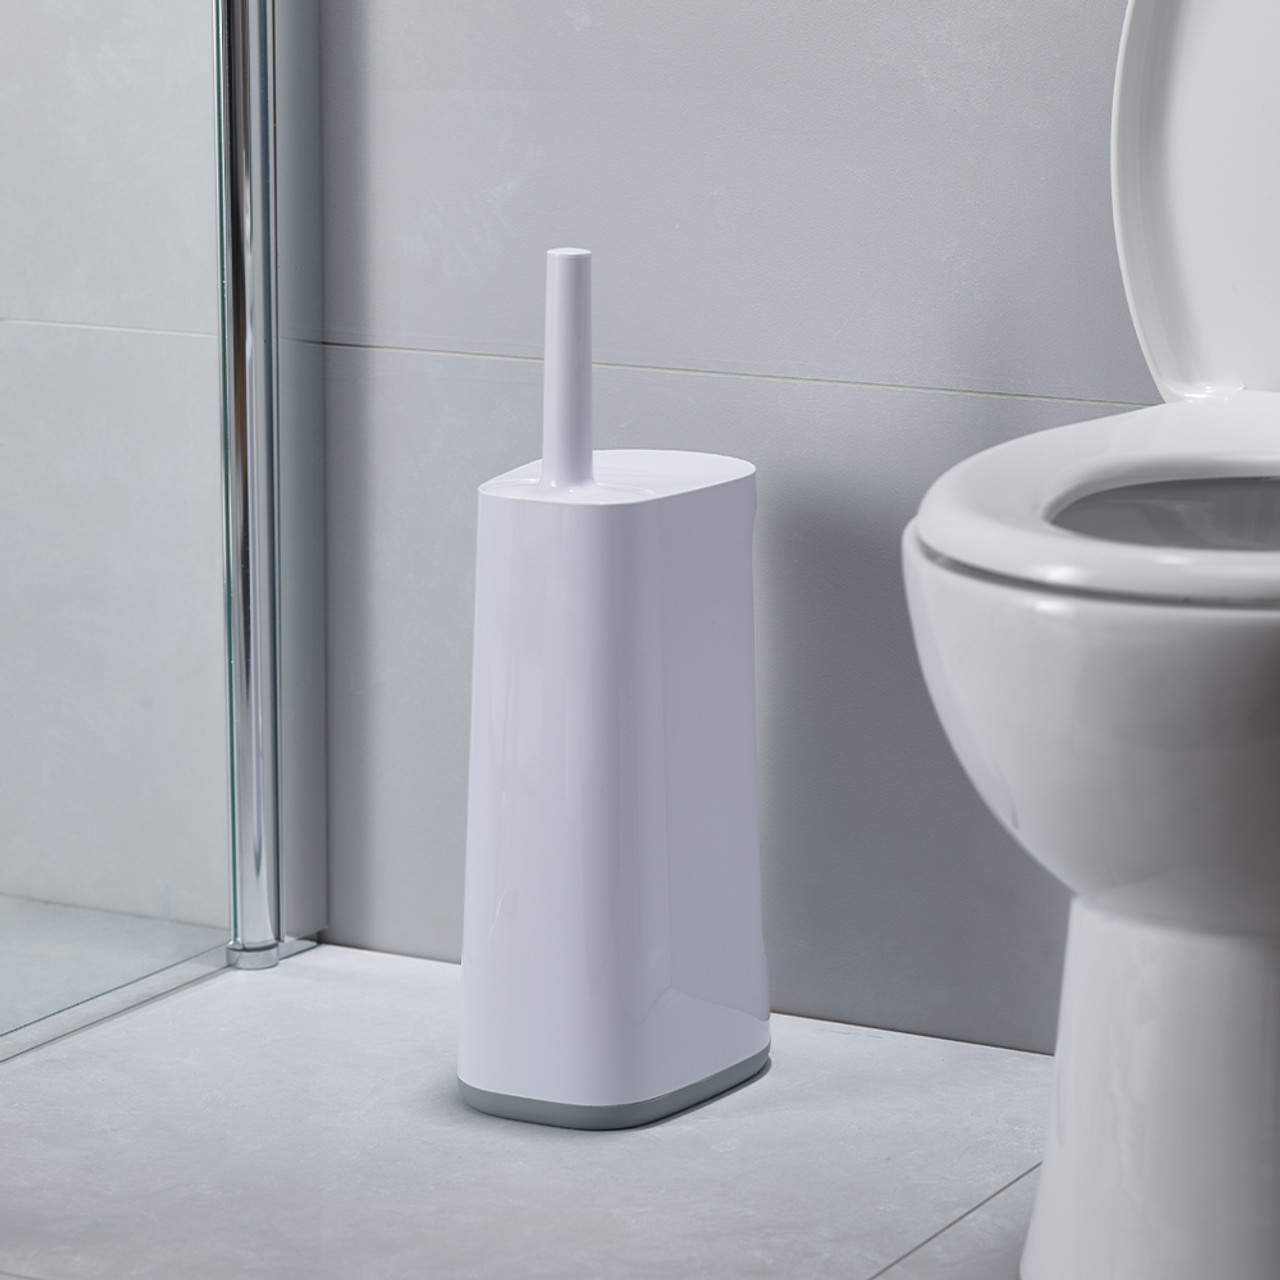
Step 3: Clean the toilet brush holder
Cleaning the toilet brush holder is an essential part of maintaining a hygienic bathroom environment. Over time, the holder can accumulate dirt, grime, and water stains, leading to the growth of bacteria and unpleasant odors. Therefore, it's crucial to thoroughly clean and disinfect the holder to ensure that it remains a sanitary and functional accessory in your bathroom.
To begin the cleaning process, start by emptying any residual water from the holder and disassembling any removable parts, such as the drip tray or inner container, if applicable. This will allow you to access all areas of the holder and ensure a more thorough cleaning. Next, prepare a cleaning solution by mixing warm water with a mild liquid soap or a commercial bathroom cleaner. For stubborn stains or mineral deposits, you can also use a solution of equal parts water and white vinegar.
Using a sponge or scrubbing brush, thoroughly clean the interior and exterior surfaces of the holder with the prepared cleaning solution. Pay close attention to any crevices or grooves where dirt and grime may be trapped. For hard-to-reach areas, such as the bottom of the holder or around the drainage holes, use a small cleaning brush or an old toothbrush to scrub away any buildup.
After scrubbing the holder, rinse it thoroughly with hot water to remove any soapy residue and loosened debris. Inspect the holder to ensure that all stains and residue have been effectively removed. If any stubborn stains persist, you can apply a paste of baking soda and water to the affected areas and scrub gently to lift the stains.
Once the holder is clean, disinfect it by spraying or wiping the surfaces with a disinfectant spray or solution. Allow the disinfectant to sit for the recommended amount of time as per the product instructions to effectively kill germs and bacteria. After disinfecting, rinse the holder once more with hot water to remove any remaining disinfectant residue.
Finally, use a clean towel or rag to dry the holder thoroughly, inside and out. Ensure that all components are completely dry before reassembling the holder and returning the toilet brush to its place. By following these steps, you can effectively clean and disinfect the toilet brush holder, contributing to a cleaner, fresher, and more hygienic bathroom environment.
After using the toilet brush, rinse it thoroughly with hot water and then soak it in a mixture of water and bleach for a few hours to disinfect it. Rinse again and let it air dry before storing.
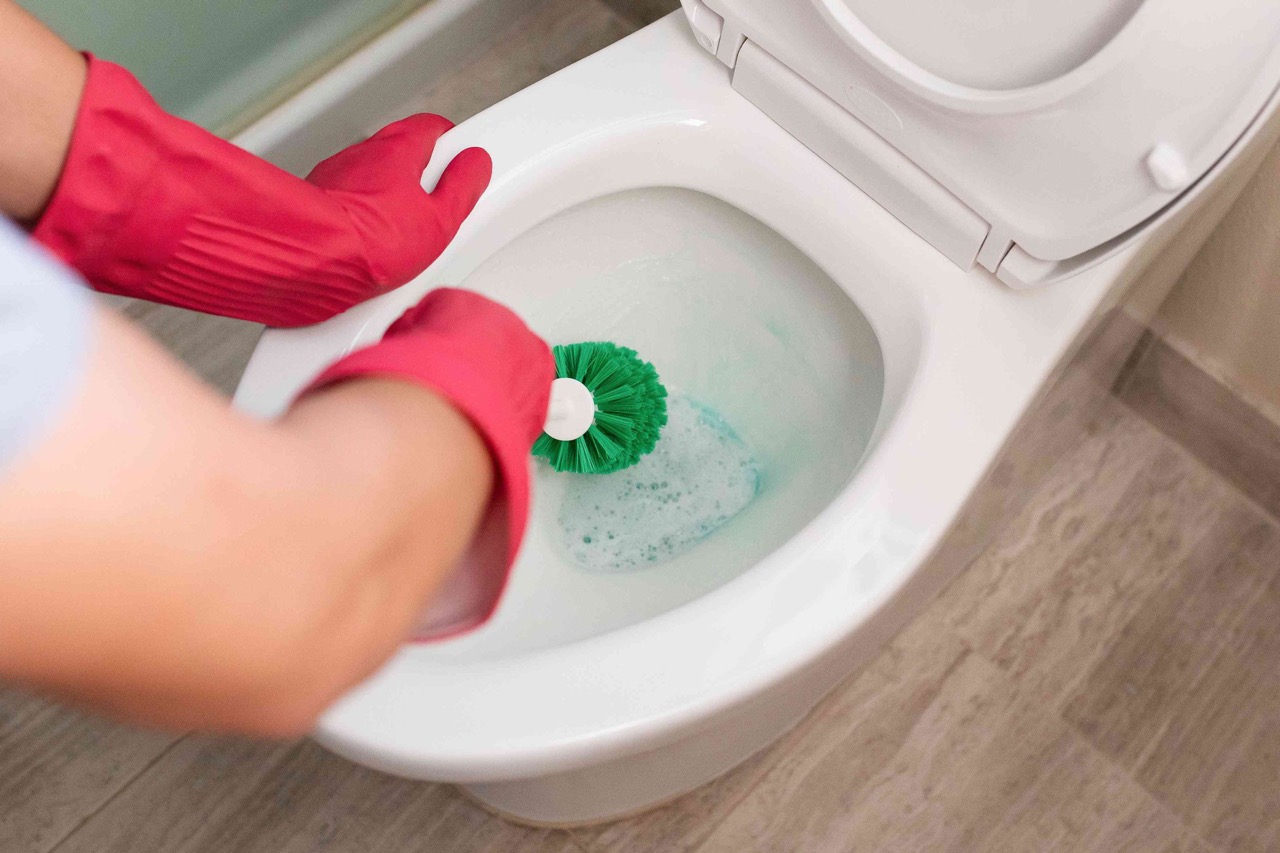
Step 4: Disinfect the toilet brush
Disinfecting the toilet brush is a crucial step in ensuring that it remains free of harmful bacteria and germs, thereby contributing to a hygienic bathroom environment. Over time, the bristles of the brush can harbor a multitude of bacteria and microbes, making it essential to thoroughly disinfect the brush after cleaning. By following the steps outlined below, you can effectively eliminate germs and odors, ensuring that your toilet brush is ready for future use.
To begin the disinfection process, prepare a disinfectant solution by mixing equal parts water and bleach in a bucket or basin. Alternatively, you can use a commercial disinfectant spray or solution specifically designed for killing germs and bacteria. It's important to ensure that the disinfectant is suitable for use on bathroom surfaces and that it is safe for the materials of the toilet brush.
Next, submerge the bristles of the toilet brush in the prepared disinfectant solution, ensuring that they are fully immersed. Use a pair of rubber gloves to protect your hands during this process, as bleach and other disinfectants can be harsh on the skin. Allow the brush to soak in the disinfectant solution for at least 10-15 minutes to ensure that all bacteria and germs are effectively killed.
While the brush is soaking, take this opportunity to disinfect the handle and base of the brush. Use a cloth or sponge soaked in the disinfectant solution to thoroughly wipe down all surfaces of the handle and base, ensuring that they are fully coated with the disinfectant. Pay special attention to any grooves or crevices where bacteria may be lurking, and ensure that all surfaces are adequately disinfected.
After the soaking period, remove the toilet brush from the disinfectant solution and rinse it thoroughly under hot running water to remove any residual bleach or disinfectant. It's important to ensure that all traces of the disinfectant are removed to prevent any potential skin irritation or damage to the toilet bowl during future use.
Once the brush has been rinsed, shake off any excess water and allow it to air dry completely. Choose a well-ventilated area for drying to expedite the process and prevent the growth of mold or mildew on the bristles. Additionally, ensure that the brush is completely dry before returning it to its holder to prevent the accumulation of moisture, which can lead to bacterial growth.
By following these steps to disinfect the toilet brush, you can effectively eliminate germs and bacteria, ensuring that your toilet brush remains a hygienic and functional tool for maintaining a clean and fresh bathroom.
Read more: How To Clean Poop Off A Toilet Brush
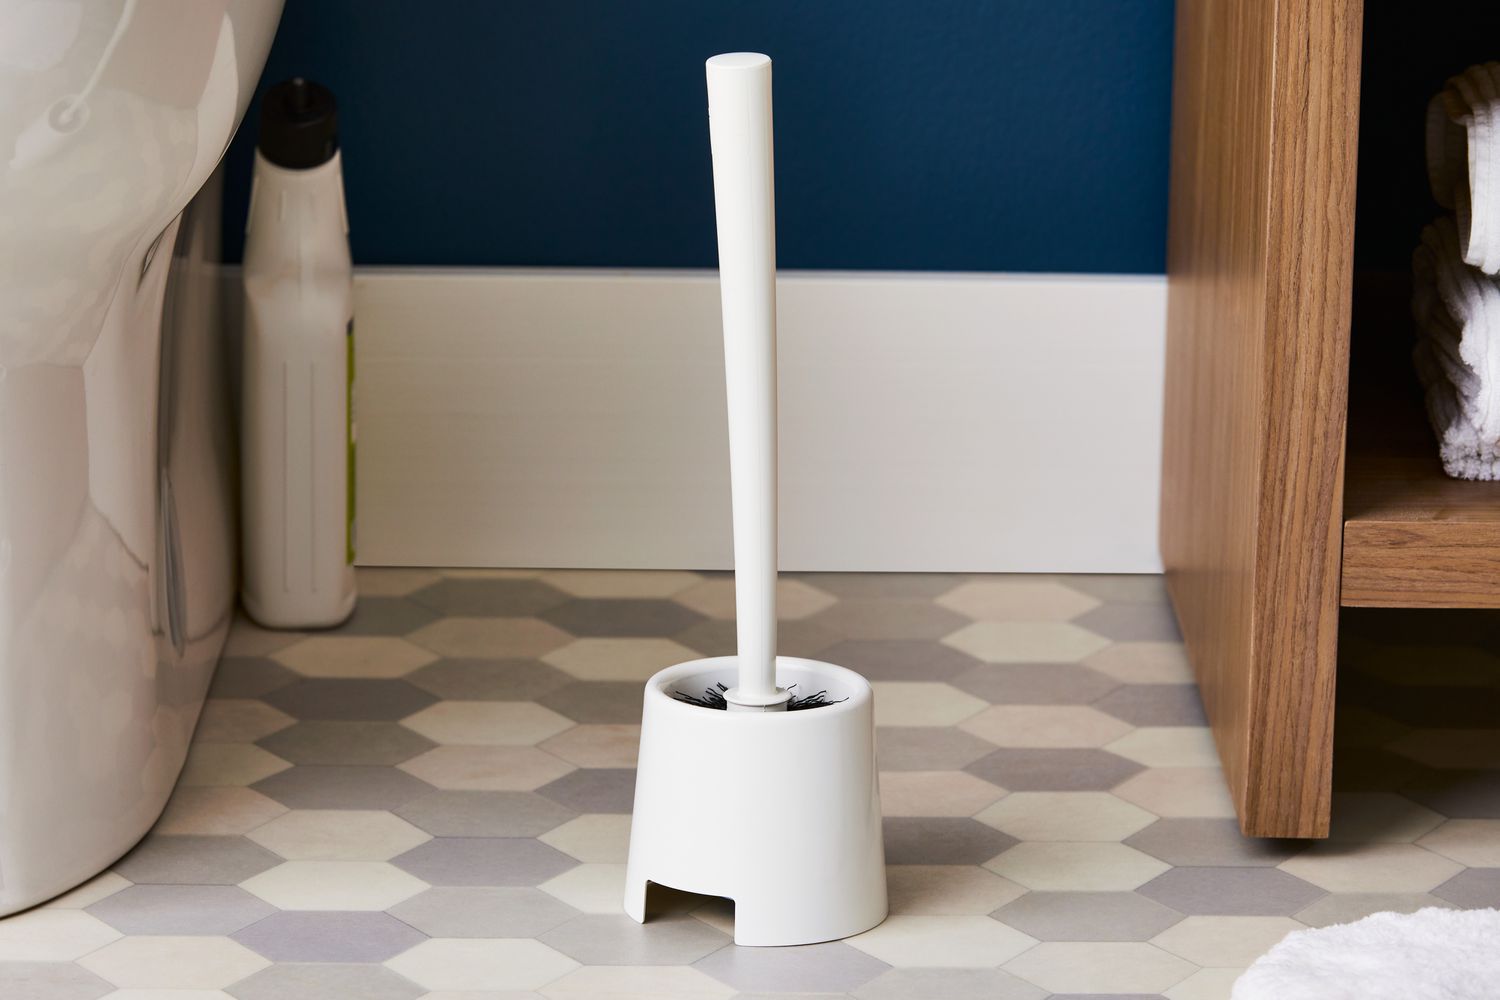
Step 5: Dry the toilet brush
After completing the cleaning and disinfection process, it's crucial to ensure that the toilet brush is thoroughly dried before returning it to its holder. Proper drying not only prevents the growth of mold and mildew but also helps maintain the effectiveness of the bristles for future use. Here's how to effectively dry the toilet brush:
-
Shake off Excess Water: Once the toilet brush has been rinsed and disinfected, give it a vigorous shake to remove as much excess water as possible. This initial step helps expedite the drying process and prevents water from pooling at the base of the bristles.
-
Air Dry in a Well-Ventilated Area: Choose a well-ventilated area, such as near an open window or under a bathroom exhaust fan, to air dry the toilet brush. Proper air circulation facilitates faster drying and reduces the risk of moisture accumulation, which can lead to bacterial growth and unpleasant odors.
-
Position the Brush Properly: To ensure thorough drying, position the toilet brush with the bristles facing downward. This allows any remaining water to drip away from the bristles and prevents it from collecting at the base of the brush. Additionally, consider placing the brush over a towel or in a designated drying area to catch any drips and protect the surrounding surfaces.
-
Allow Sufficient Drying Time: Depending on the humidity levels in the bathroom, the toilet brush may take several hours to dry completely. It's essential to allow sufficient drying time to ensure that the bristles, handle, and base are all free of moisture before returning the brush to its holder.
-
Check for Complete Dryness: Before returning the toilet brush to its holder, perform a visual and tactile check to ensure that it is completely dry. The bristles should feel dry to the touch, and there should be no visible signs of moisture on the handle or base of the brush. Taking the time to verify the dryness of the brush helps prevent the onset of mold and bacteria due to residual moisture.
By following these steps to effectively dry the toilet brush, you can maintain a hygienic and odor-free bathroom environment. Proper drying not only preserves the cleanliness of the brush but also ensures that it is ready for future use, contributing to a fresh and inviting bathroom space.
Conclusion
In conclusion, maintaining a clean and hygienic bathroom environment involves paying attention to often-overlooked elements such as the toilet brush and its holder. By following the step-by-step cleaning and disinfection process outlined in this guide, you can ensure that your toilet brush remains a functional and sanitary tool for keeping your bathroom fresh and inviting.
Regularly cleaning the toilet brush and its holder not only eliminates germs and bacteria but also contributes to a more pleasant bathroom experience. The accumulation of grime and residue on the brush and holder can lead to unpleasant odors and the spread of harmful bacteria, posing a potential health risk. By incorporating the recommended cleaning techniques into your regular bathroom maintenance routine, you can effectively mitigate these concerns and maintain a clean and hygienic environment.
Furthermore, the use of appropriate cleaning solutions, disinfectants, and proper drying methods ensures that the toilet brush and holder are free of harmful pathogens and ready for future use. This proactive approach to maintaining bathroom cleanliness not only enhances the overall hygiene of the space but also prolongs the lifespan of the toilet brush and its accessories.
By taking the time to clean and disinfect the toilet brush and its holder, you are investing in the health and well-being of your household. A clean and odor-free bathroom not only promotes a sense of comfort and well-being but also reflects positively on the overall cleanliness standards of your home.
Incorporating these cleaning practices into your regular household routine can contribute to a healthier and more inviting bathroom environment for you and your family. By following the guidelines outlined in this comprehensive guide, you can ensure that your toilet brush and holder remain essential tools for maintaining a fresh, clean, and hygienic bathroom space.
Frequently Asked Questions about How To Clean A Toilet Brush
Was this page helpful?
At Storables.com, we guarantee accurate and reliable information. Our content, validated by Expert Board Contributors, is crafted following stringent Editorial Policies. We're committed to providing you with well-researched, expert-backed insights for all your informational needs.
0 thoughts on “How To Clean A Toilet Brush”