Home>Furniture & Design>Bathroom Accessories>How To Flush A Bidet

Bathroom Accessories
How To Flush A Bidet
Modified: October 19, 2024
Learn how to properly flush a bidet and keep your bathroom accessories clean and hygienic with our step-by-step guide. Improve your bathroom routine today!
(Many of the links in this article redirect to a specific reviewed product. Your purchase of these products through affiliate links helps to generate commission for Storables.com, at no extra cost. Learn more)
Introduction
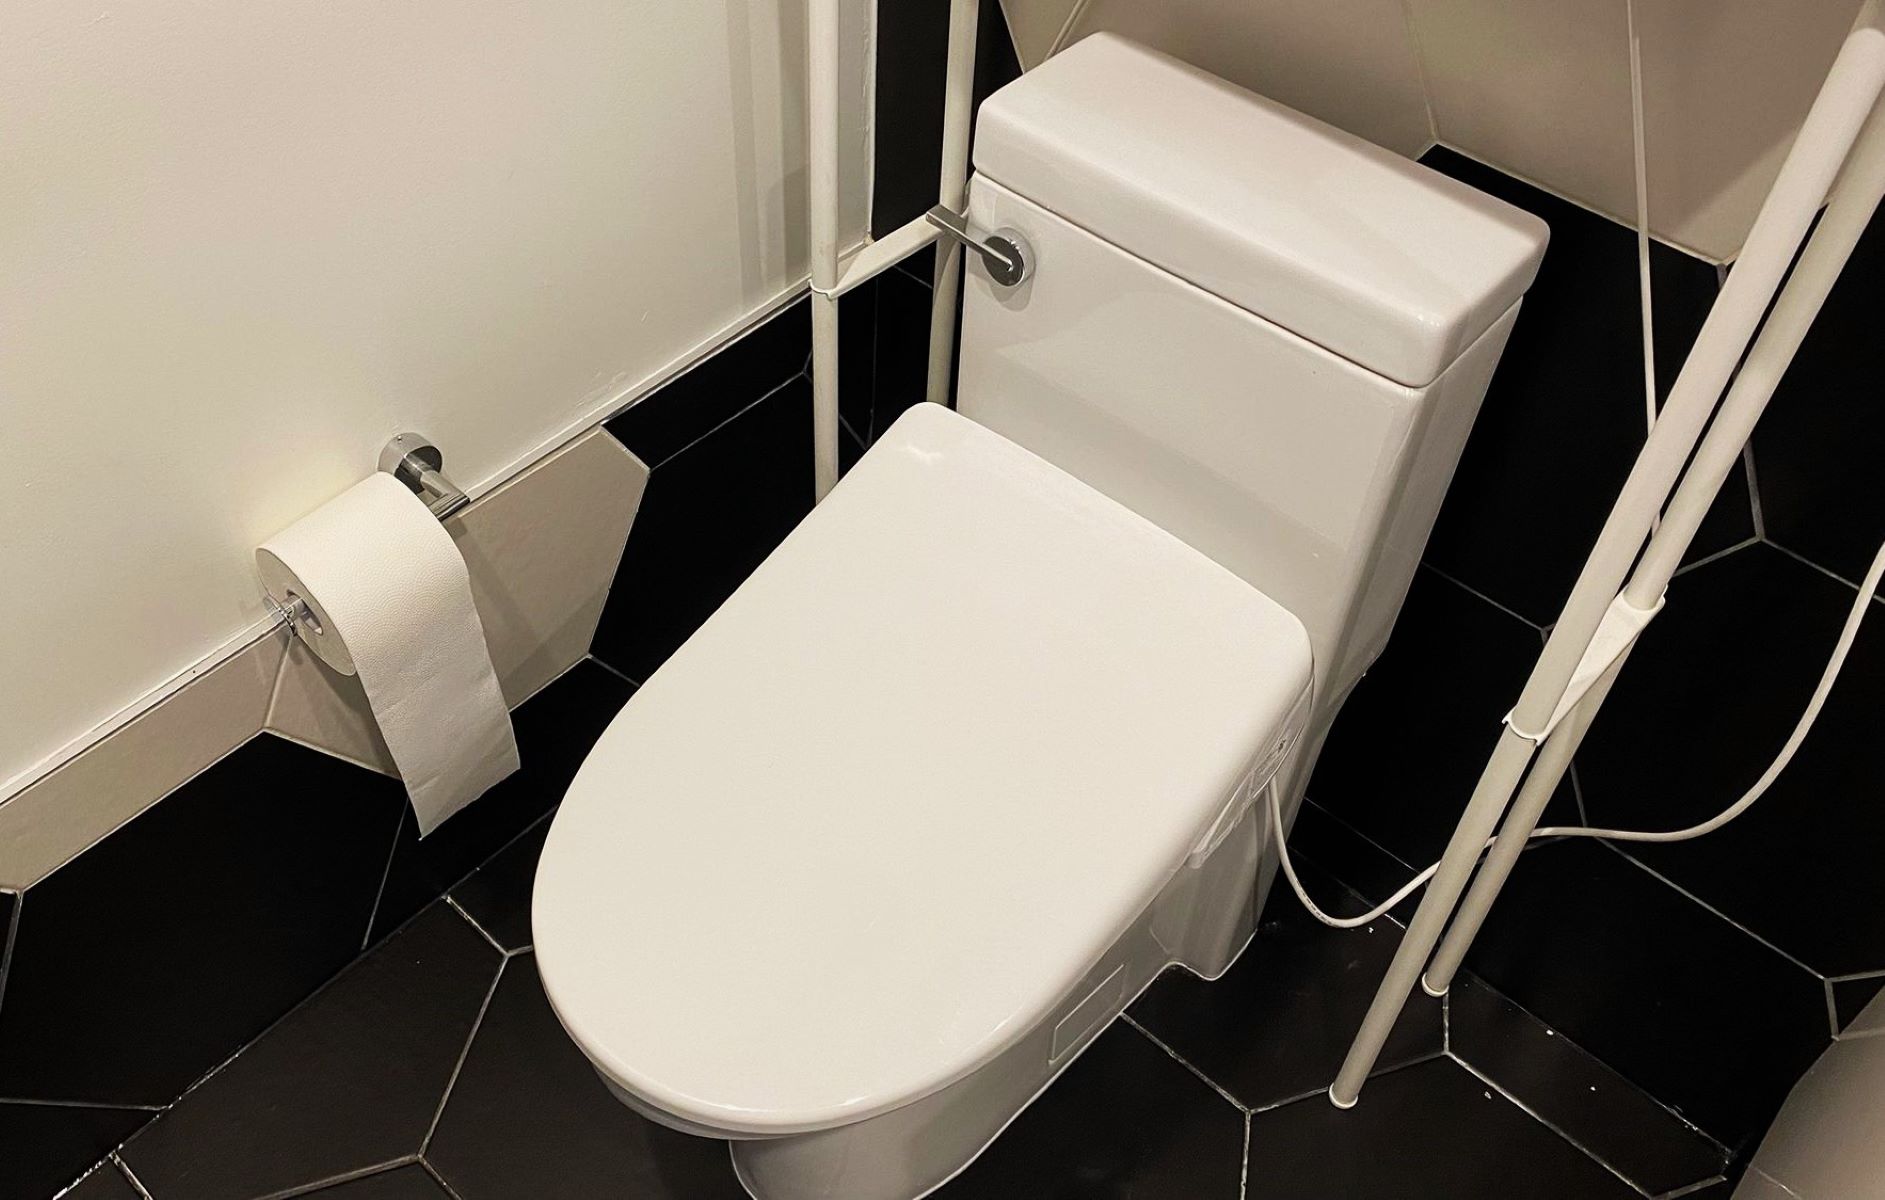
Flushing a bidet is an essential aspect of maintaining proper hygiene and ensuring the bidet functions effectively. Whether you have a standalone bidet or a bidet attachment, knowing how to flush it properly is crucial for a clean and refreshing experience. By following a few simple steps, you can keep your bidet in optimal condition and enjoy its benefits for years to come.
Flushing a bidet involves more than just rinsing the bowl; it also includes turning off the water supply, cleaning the bidet, and ensuring that all attachments are properly maintained. This process not only promotes cleanliness but also contributes to the longevity of the bidet system.
In the following sections, we will explore the step-by-step process of flushing a bidet, providing clear instructions and valuable tips to help you maintain a pristine and functional bidet. From turning off the water supply to reattaching any components, each step is crucial in ensuring that your bidet remains in top-notch condition.
Now, let's delve into the detailed steps for flushing a bidet, empowering you with the knowledge and confidence to keep this essential bathroom fixture clean and well-maintained.
Key Takeaways:
- Proper bidet maintenance involves turning off the water supply, removing attachments, cleaning thoroughly, flushing, and restoring the water supply. This ensures a hygienic and functional bidet experience.
- By following the step-by-step process of bidet maintenance, you can keep your bidet clean, functional, and ready to provide a refreshing and hygienic experience with each use.
Read more: How To Sit On A Bidet
Step 1: Turn off the water supply
Before flushing a bidet, it is crucial to turn off the water supply to prevent any potential mishaps and ensure a safe and controlled maintenance process. This step is essential for both standalone bidets and bidet attachments, as it minimizes the risk of water leakage and allows for thorough cleaning without any interruptions.
To begin, locate the water shut-off valve connected to your bidet. This valve is typically situated near the toilet or behind the bidet fixture. Once you have identified the shut-off valve, turn it clockwise to shut off the water supply. It is important to ensure that the valve is fully closed to prevent any water from flowing into the bidet during the flushing and cleaning process.
Turning off the water supply serves as a precautionary measure, preventing any unexpected water flow that could lead to a messy or inconvenient situation. By taking this proactive step, you can proceed with the subsequent cleaning and flushing tasks with confidence, knowing that the water supply is securely turned off.
For bidet attachments, such as electronic or mechanical bidet seats, it is essential to follow the manufacturer's instructions for turning off the water supply. Some bidet attachments may have specific shut-off mechanisms or additional steps to deactivate the water flow effectively.
By turning off the water supply before flushing the bidet, you not only ensure a hassle-free maintenance process but also prioritize safety and proper care for your bidet system. This initial step sets the stage for a thorough and efficient cleaning routine, laying the foundation for a hygienic and well-maintained bidet experience.
With the water supply securely turned off, you are now ready to proceed to the next steps of removing any attachments, cleaning the bidet, and ultimately flushing the bidet to maintain its optimal functionality and cleanliness.
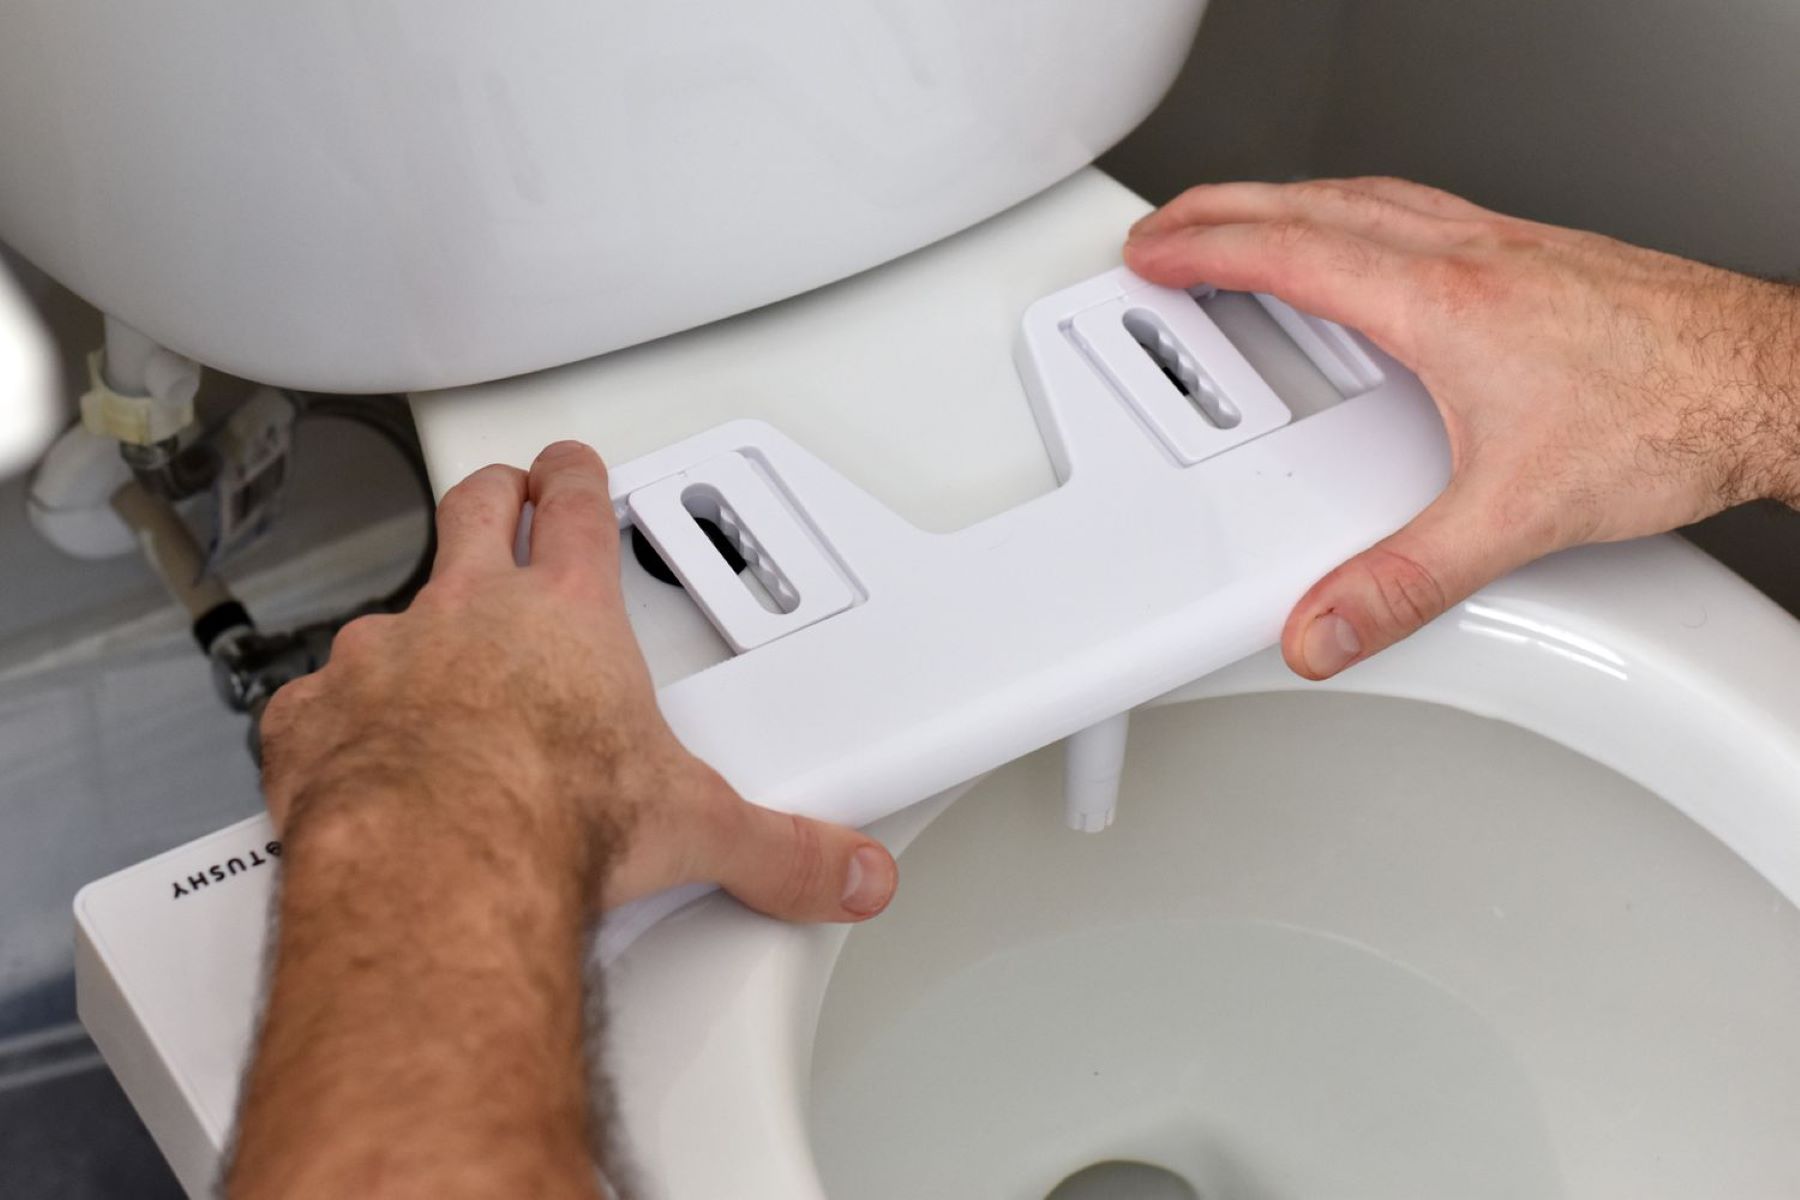
Step 2: Remove any attachments
When it comes to maintaining a bidet, removing any attachments is a crucial step in the flushing process. Bidet attachments, such as nozzles, sprayers, or additional features, may require periodic removal for thorough cleaning and maintenance. By carefully detaching these components, you can ensure that every part of the bidet system is properly cleaned and free from any debris or buildup.
To begin, refer to the manufacturer's instructions for your specific bidet model to understand the proper method for removing attachments. These instructions may include details on the tools or techniques required for safe detachment. It is important to follow the manufacturer's guidelines to avoid any damage to the bidet or its components.
Once you have familiarized yourself with the removal process, gather any necessary tools or equipment, such as screwdrivers or wrenches, as recommended by the manufacturer. These tools will aid in the safe and efficient removal of attachments, allowing you to proceed with the cleaning and flushing process effectively.
Carefully inspect the attachments to identify any screws, bolts, or fasteners that secure them to the bidet. Using the appropriate tools, gently loosen and remove these fasteners, taking care to keep track of each component and its corresponding hardware. As you detach the attachments, place the fasteners in a secure location to prevent misplacement and facilitate reassembly later on.
Once the fasteners are removed, carefully detach the attachments from the bidet, ensuring a steady and controlled process to avoid any accidental damage. As you handle the components, be mindful of any electrical connections or delicate parts that require special attention during removal.
With the attachments successfully removed, place them on a clean and stable surface, ready for the next phase of the maintenance process. This step sets the stage for thorough cleaning and inspection of the detached components, ensuring that they are free from any residue or blockages that could affect the bidet's performance.
By removing attachments with precision and care, you pave the way for a comprehensive maintenance routine that addresses every aspect of the bidet system. This proactive approach to detachment and cleaning ensures that your bidet remains in optimal condition, ready to deliver a refreshing and hygienic experience with each use.
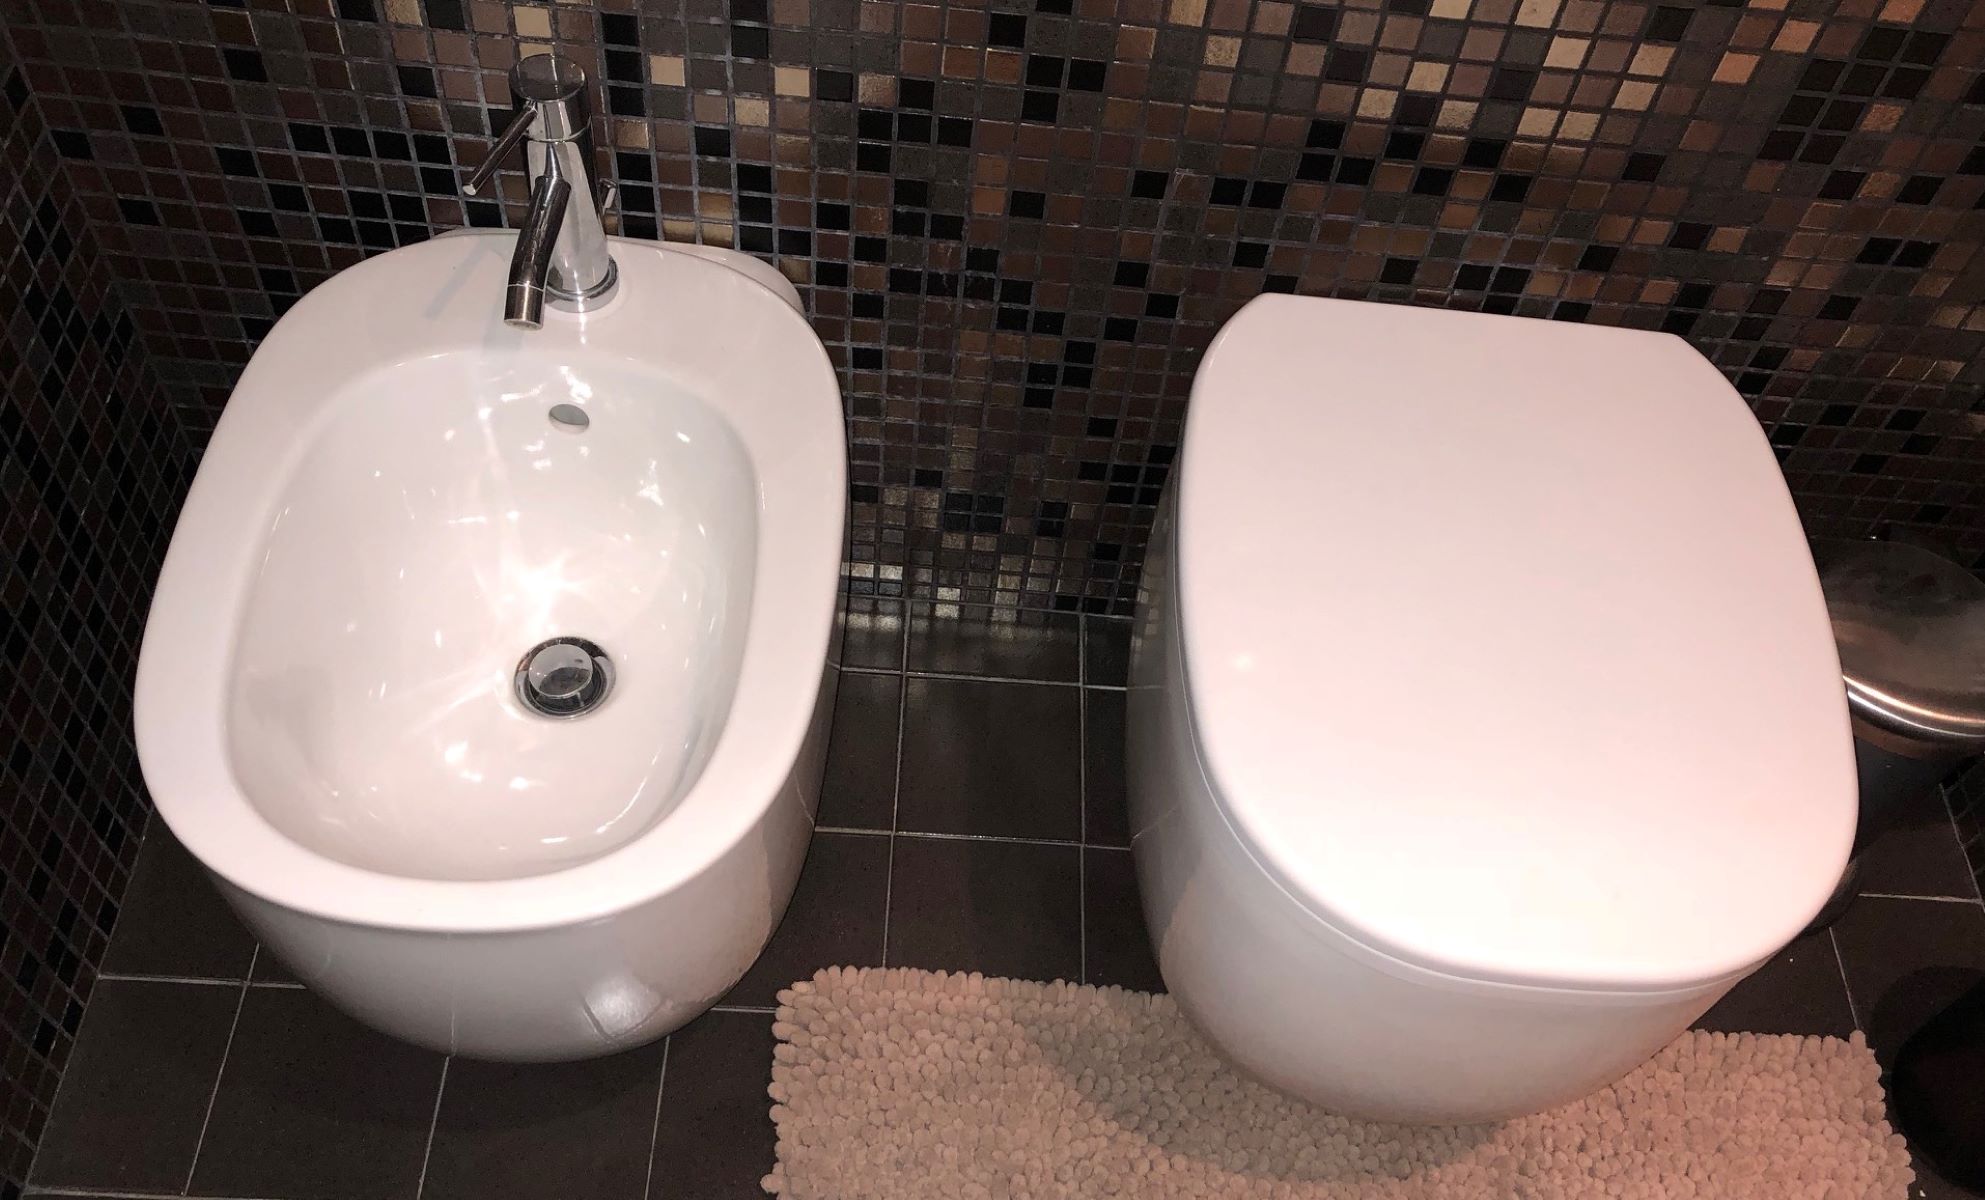
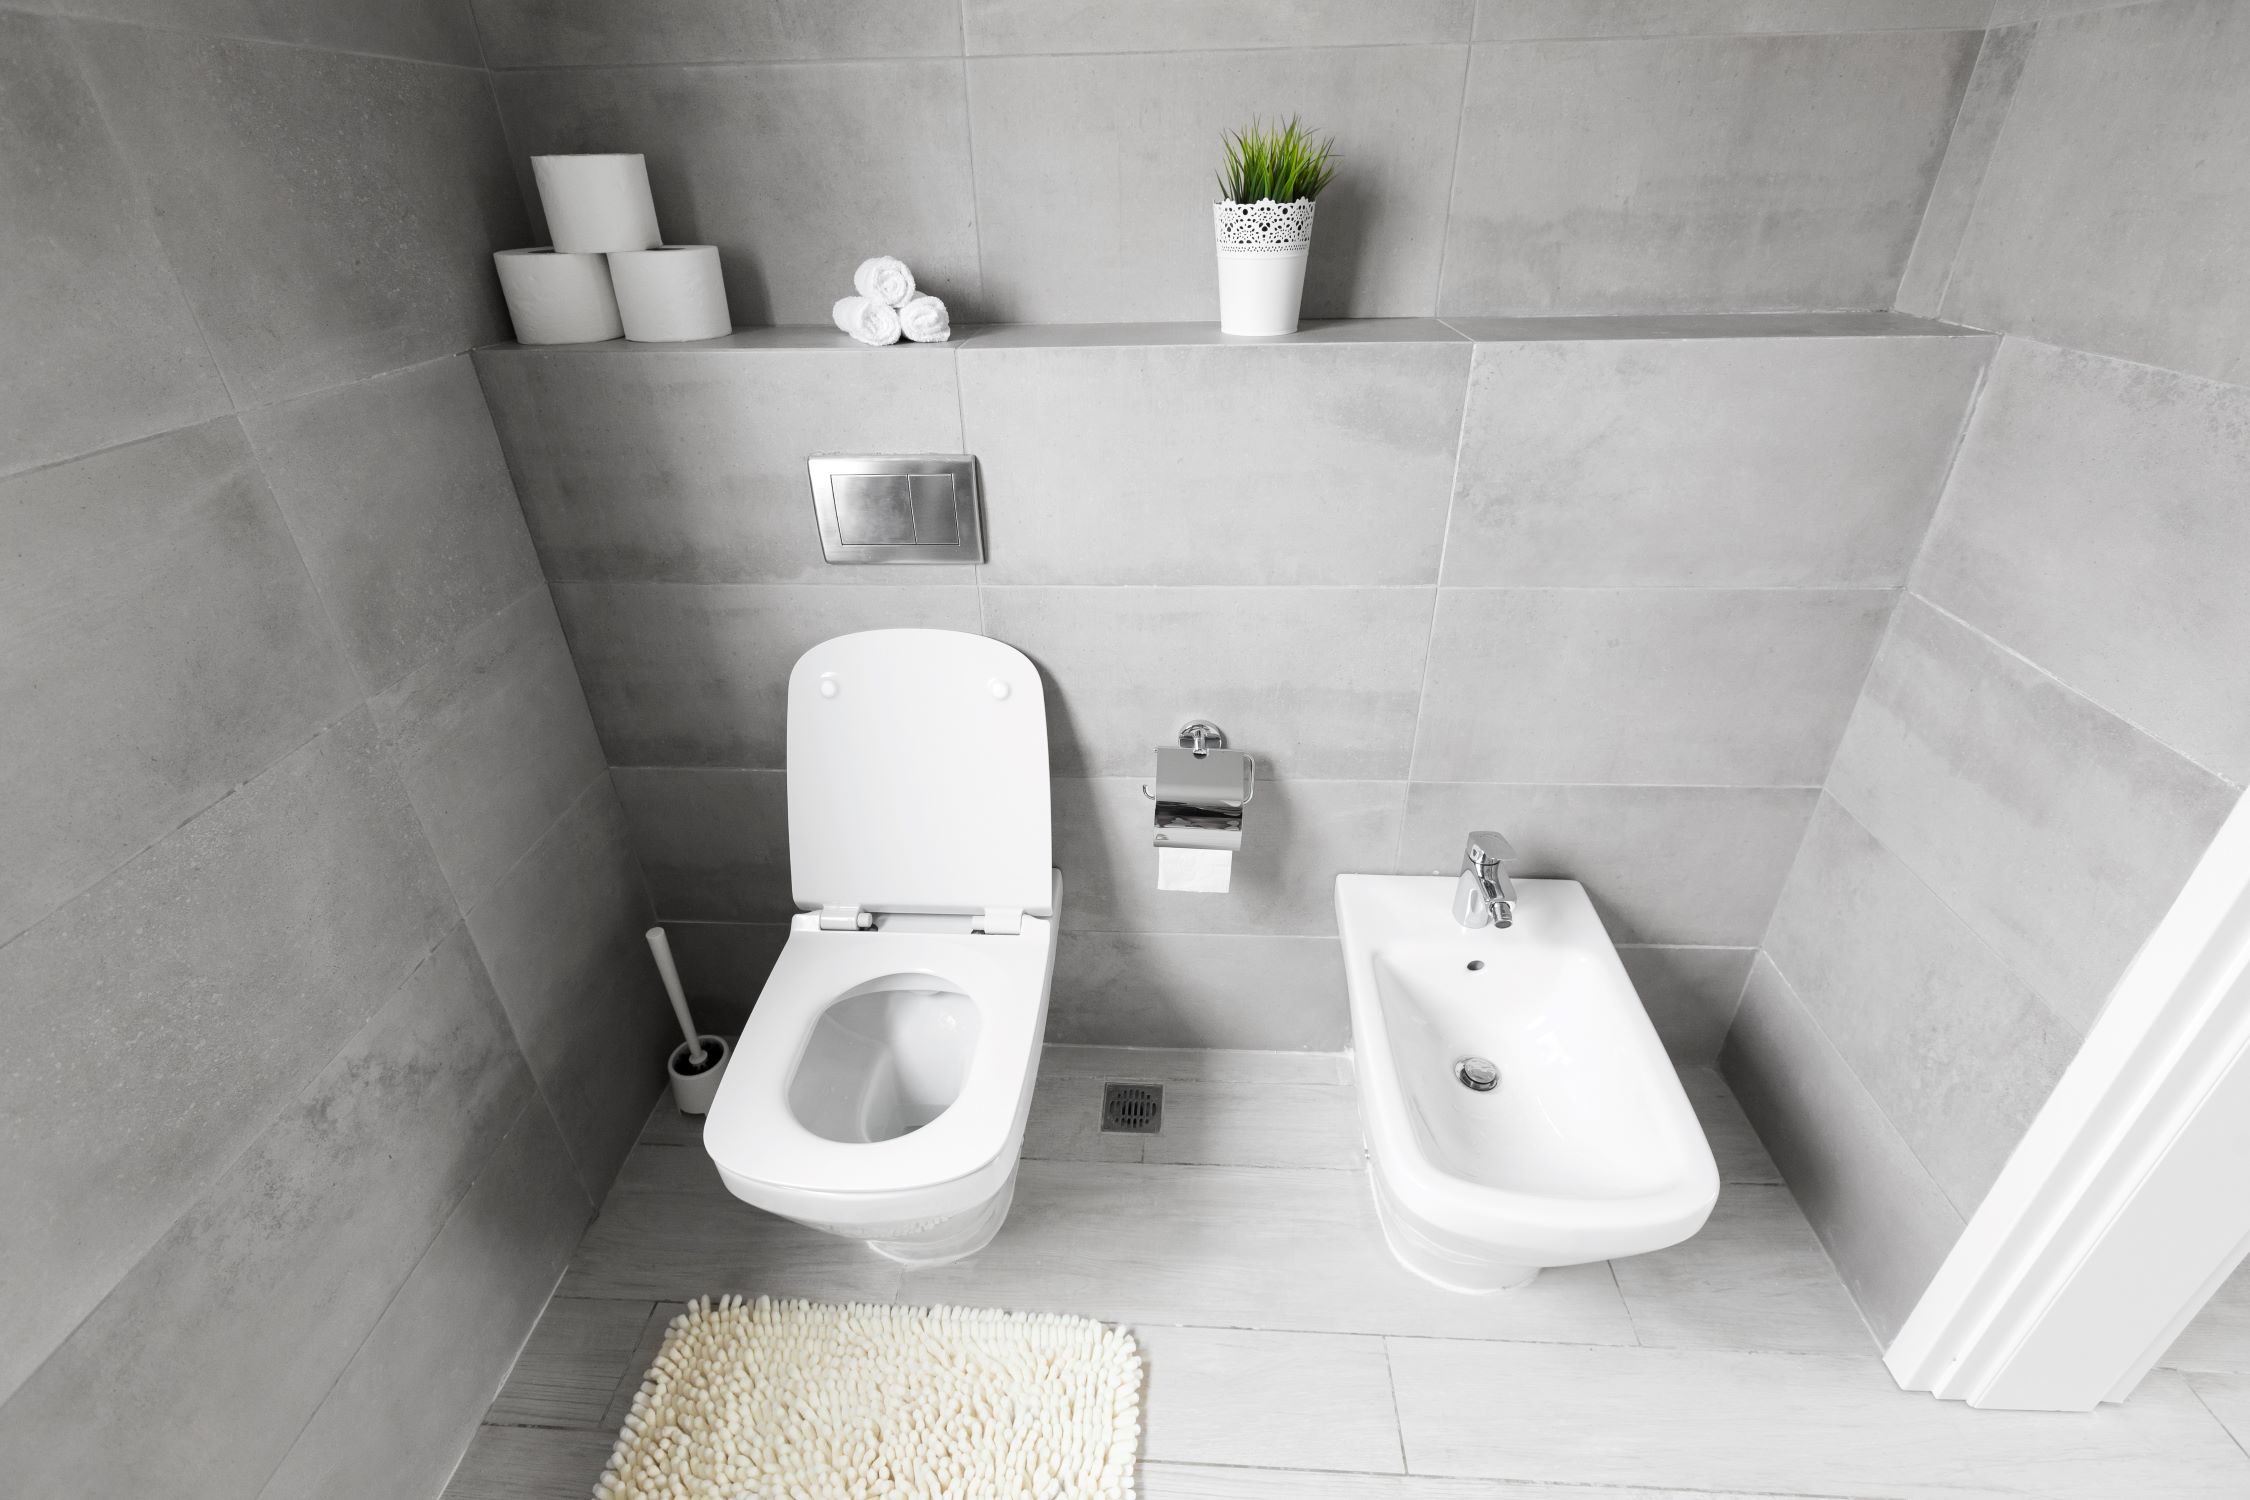
Step 3: Clean the bidet
Cleaning the bidet is a pivotal step in the maintenance process, ensuring that the fixture remains hygienic, free from residue, and fully functional. Proper cleaning not only promotes a pristine appearance but also contributes to the longevity and performance of the bidet. By following a systematic approach to cleaning, you can effectively remove any buildup, sanitize the surfaces, and maintain a refreshing environment in your bathroom.
To initiate the cleaning process, gather the necessary cleaning supplies, including mild soap or detergent, a non-abrasive sponge or cloth, and a gentle disinfectant suitable for use on bidet surfaces. It is important to avoid harsh chemicals or abrasive materials that could damage the bidet's finish or components. Additionally, consider using disposable gloves to protect your hands during the cleaning process.
Begin by dampening the non-abrasive sponge or cloth with water and applying a small amount of mild soap or detergent. Gently wipe down the surfaces of the bidet, including the bowl, nozzles, and any accessible components. Pay close attention to areas where residue or buildup may accumulate, ensuring thorough coverage and gentle agitation to dislodge any debris.
For areas that require additional attention, such as nozzles or intricate crevices, utilize a soft-bristled brush or a specialized cleaning tool recommended for bidet maintenance. Carefully maneuver the brush to dislodge any stubborn residue, taking care to avoid excessive force that could potentially damage delicate components.
Once the surfaces have been effectively cleaned, rinse the bidet thoroughly with clean water to remove any soap or detergent residue. This step is crucial for ensuring that the bidet remains free from any cleaning agents that could compromise its functionality or cause irritation during use.
After rinsing, apply a gentle disinfectant to the surfaces of the bidet, following the manufacturer's recommendations for proper application and contact time. This disinfection step helps eliminate any lingering bacteria or germs, contributing to a hygienic and sanitized environment in your bathroom.
As a final touch, carefully dry the bidet surfaces with a clean, lint-free cloth to prevent water spots and maintain a polished appearance. Ensure that all components are completely dry before proceeding to the next step of flushing the bidet and reattaching any components.
By meticulously cleaning the bidet with the appropriate supplies and techniques, you uphold a standard of cleanliness that enhances the functionality and aesthetic appeal of the fixture. This proactive approach to cleaning ensures that your bidet remains a reliable and refreshing addition to your bathroom, promoting hygiene and comfort with each use.
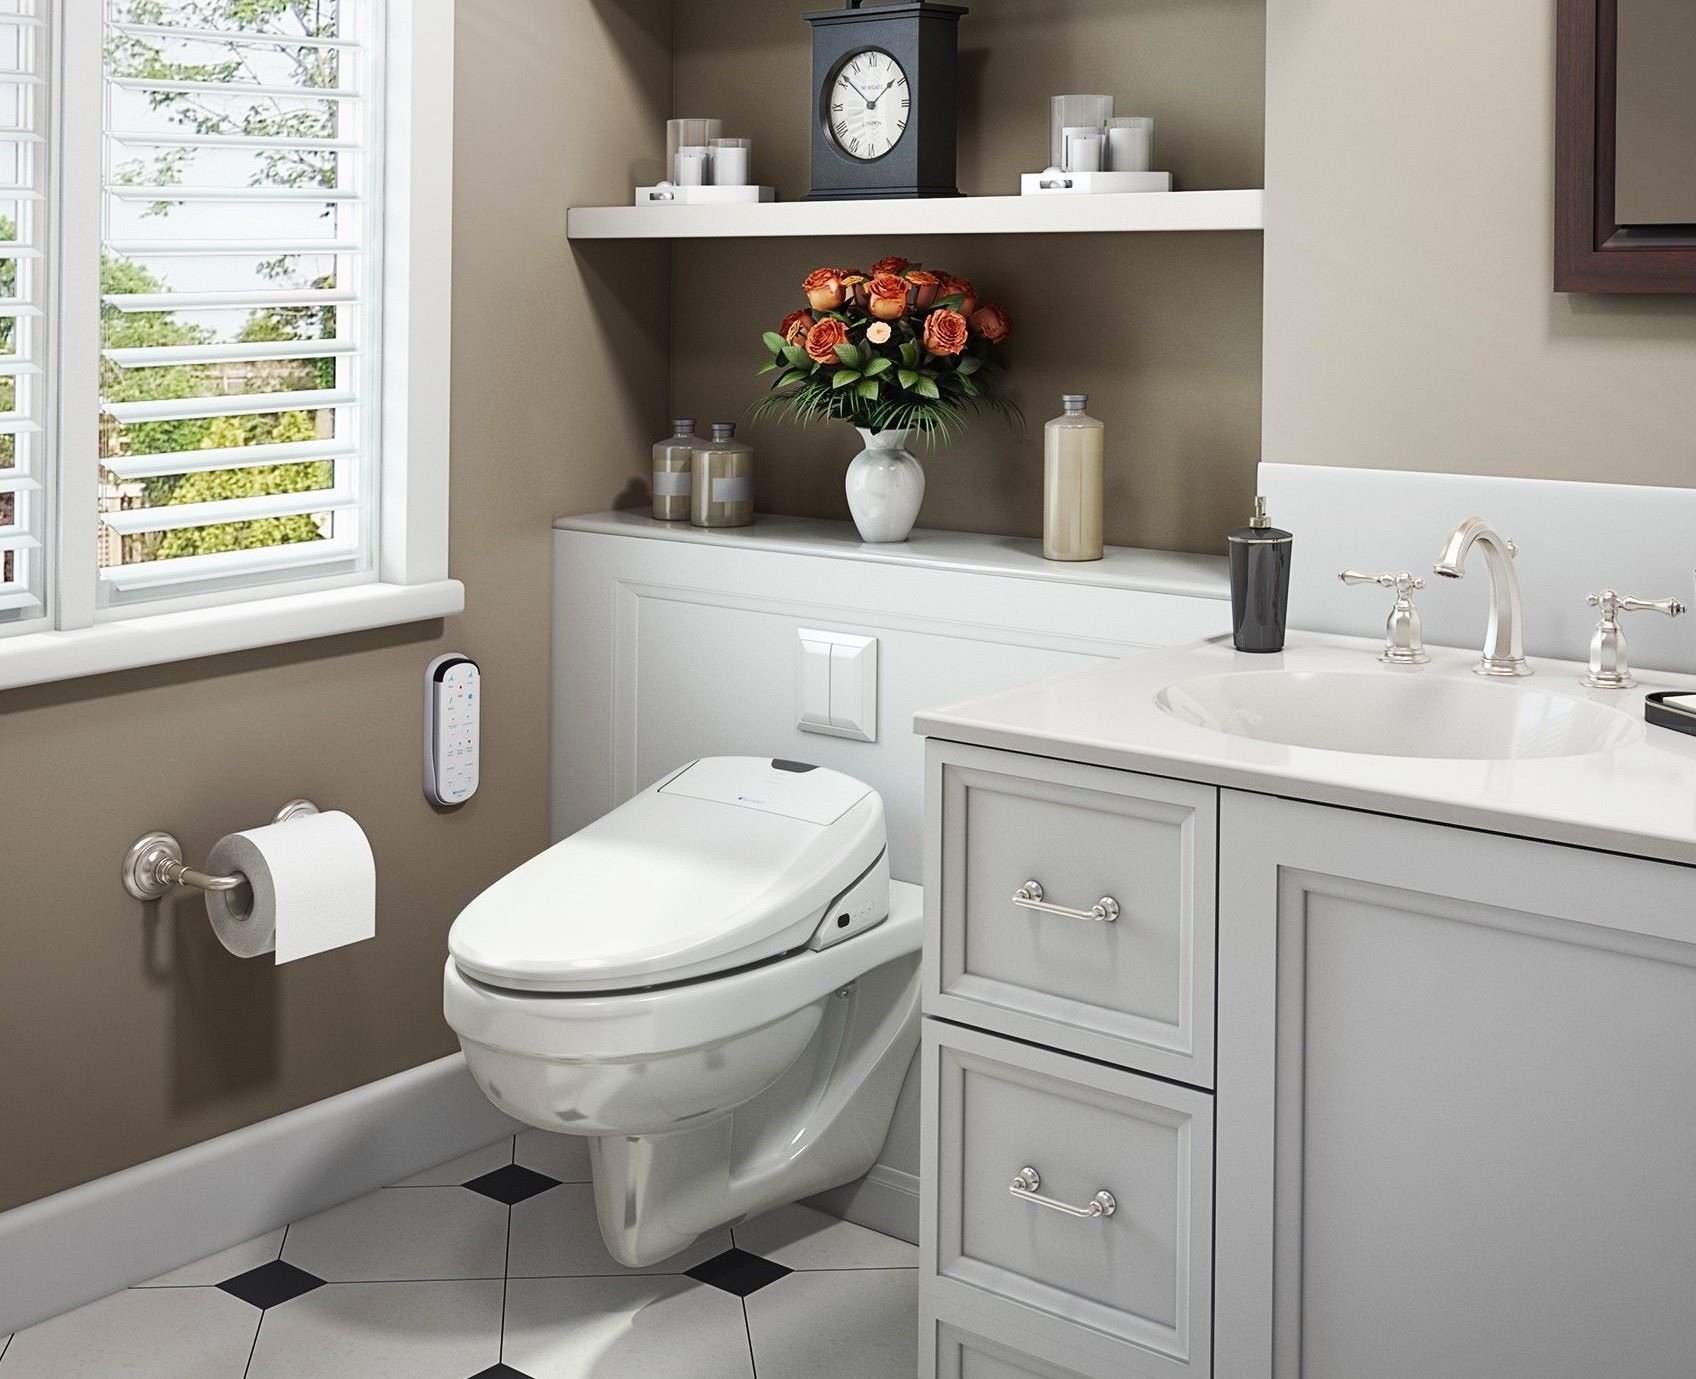
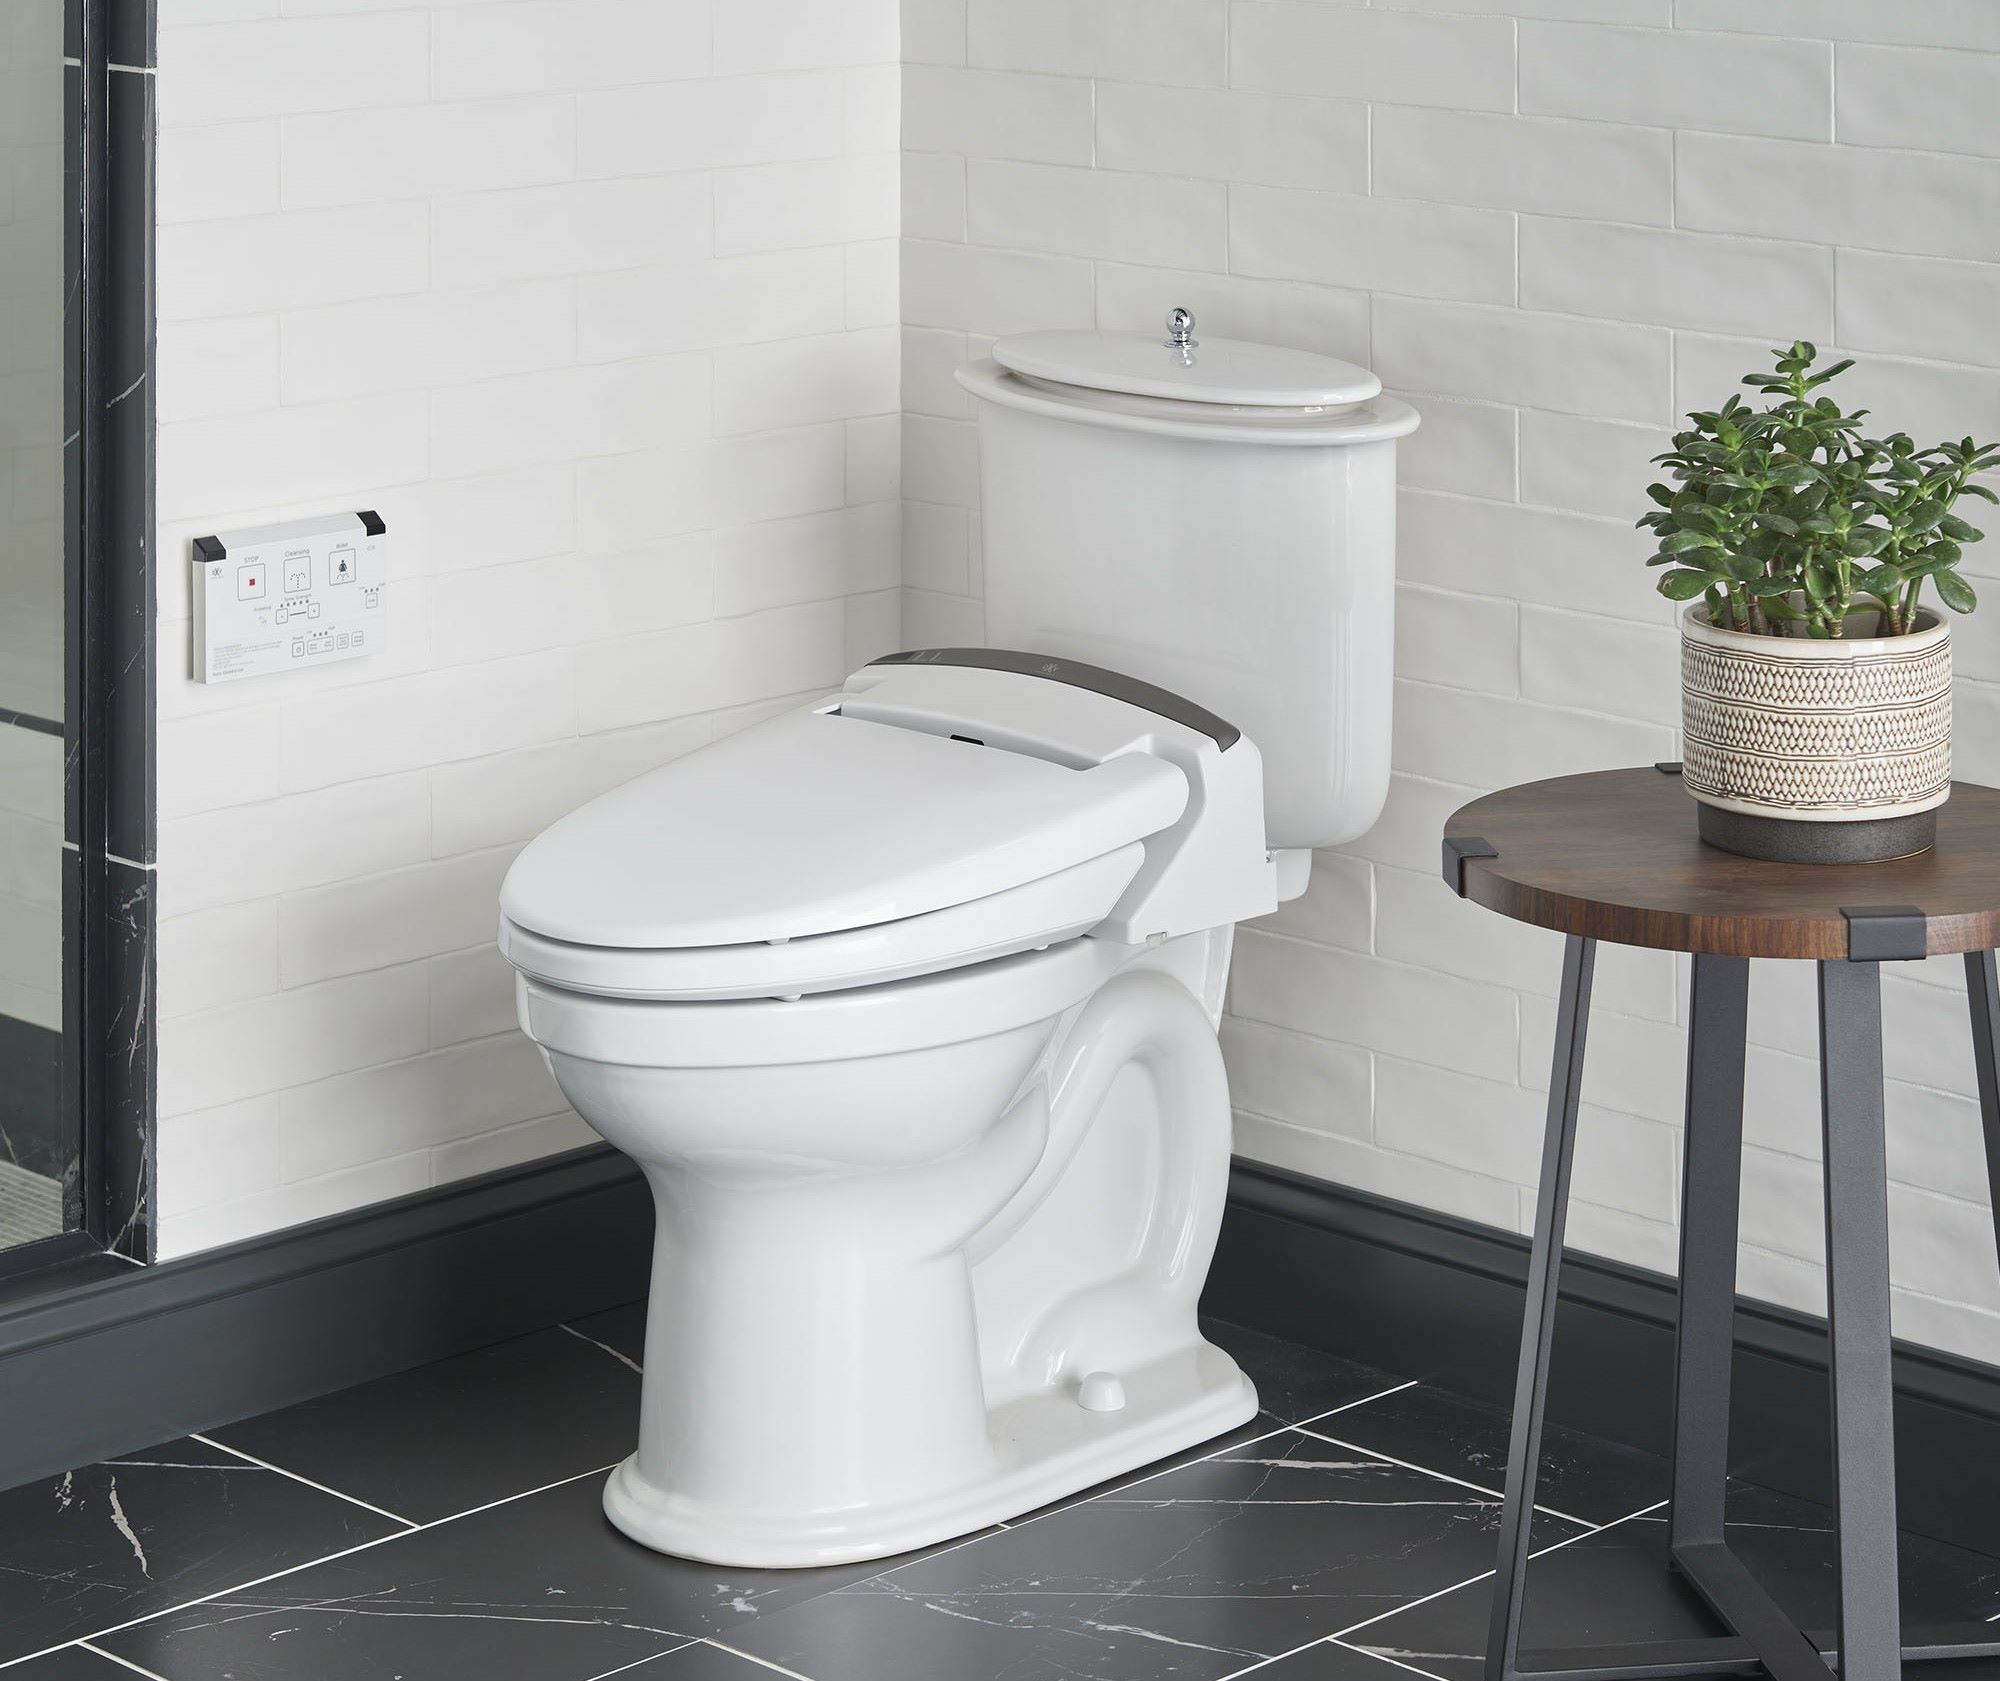
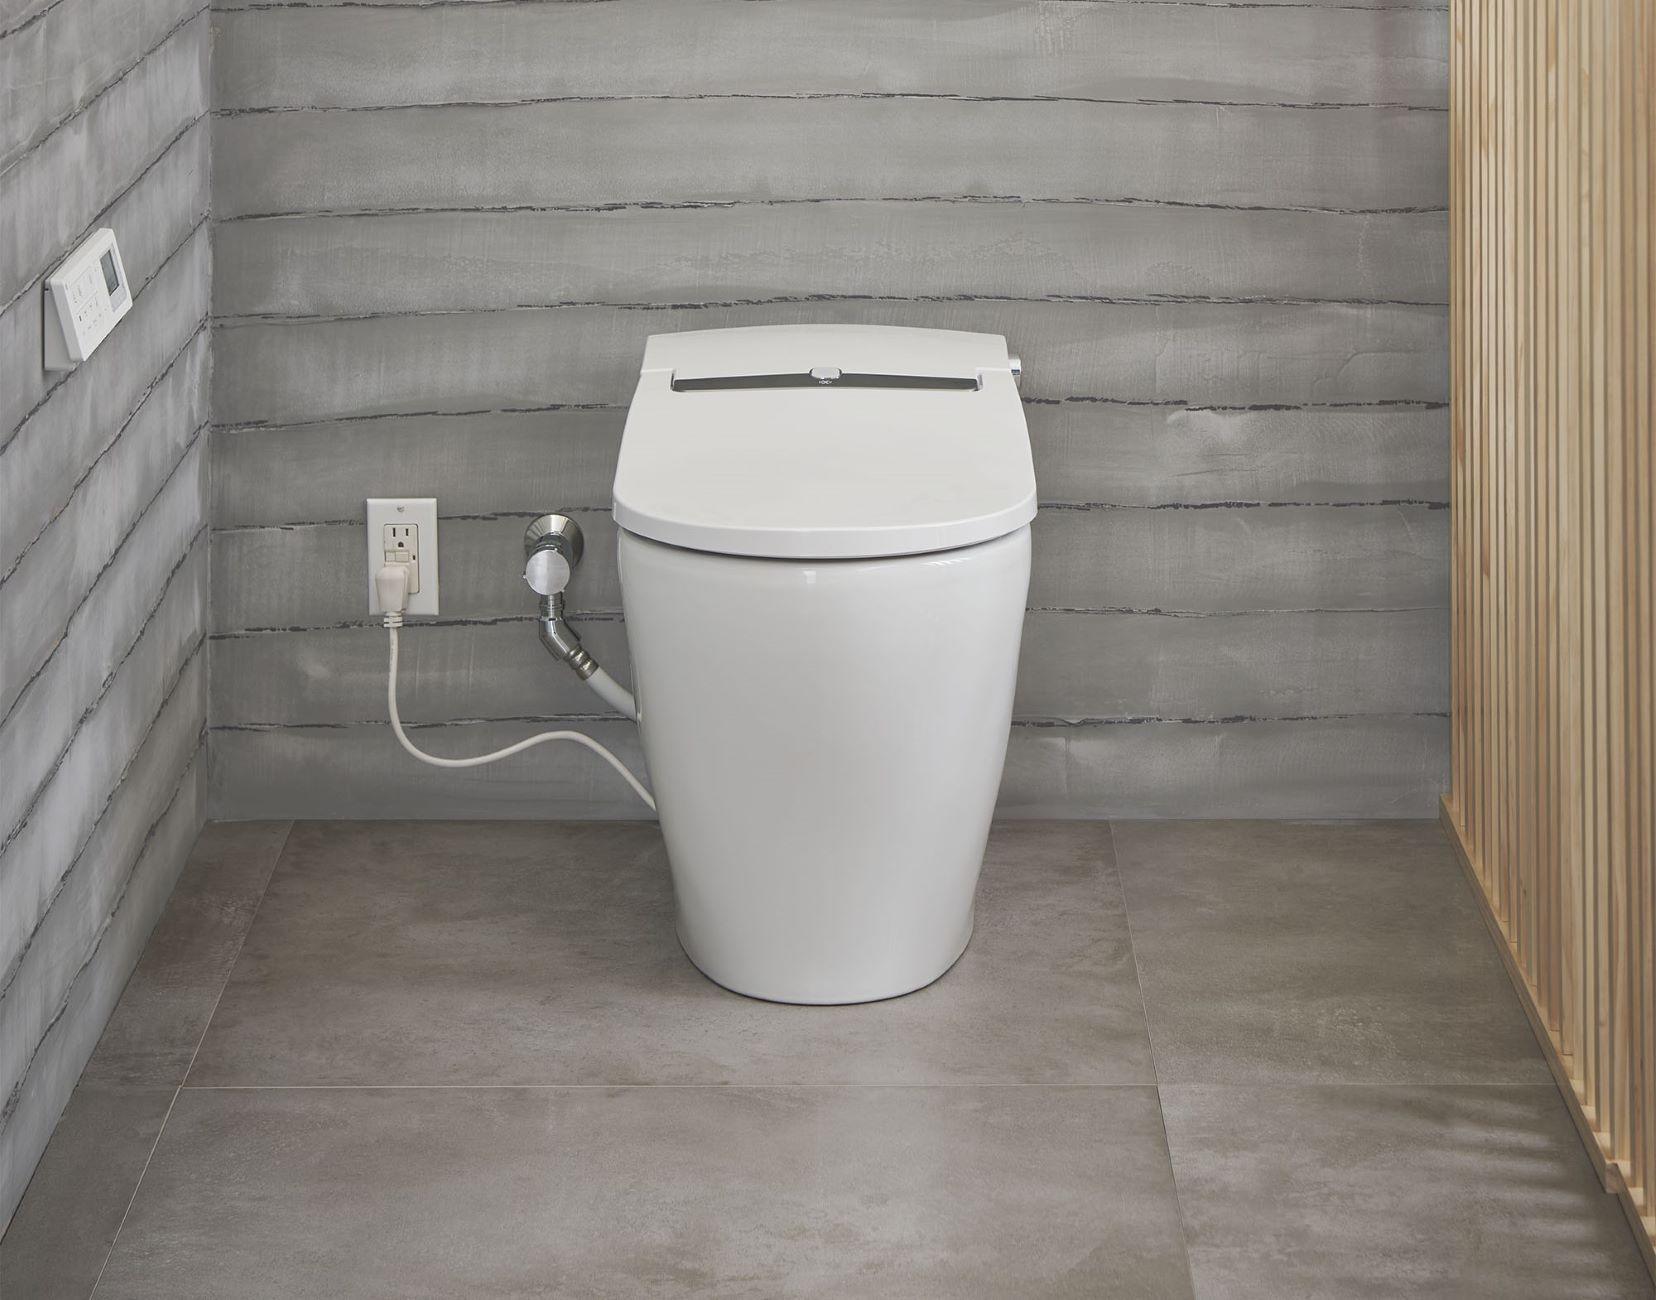
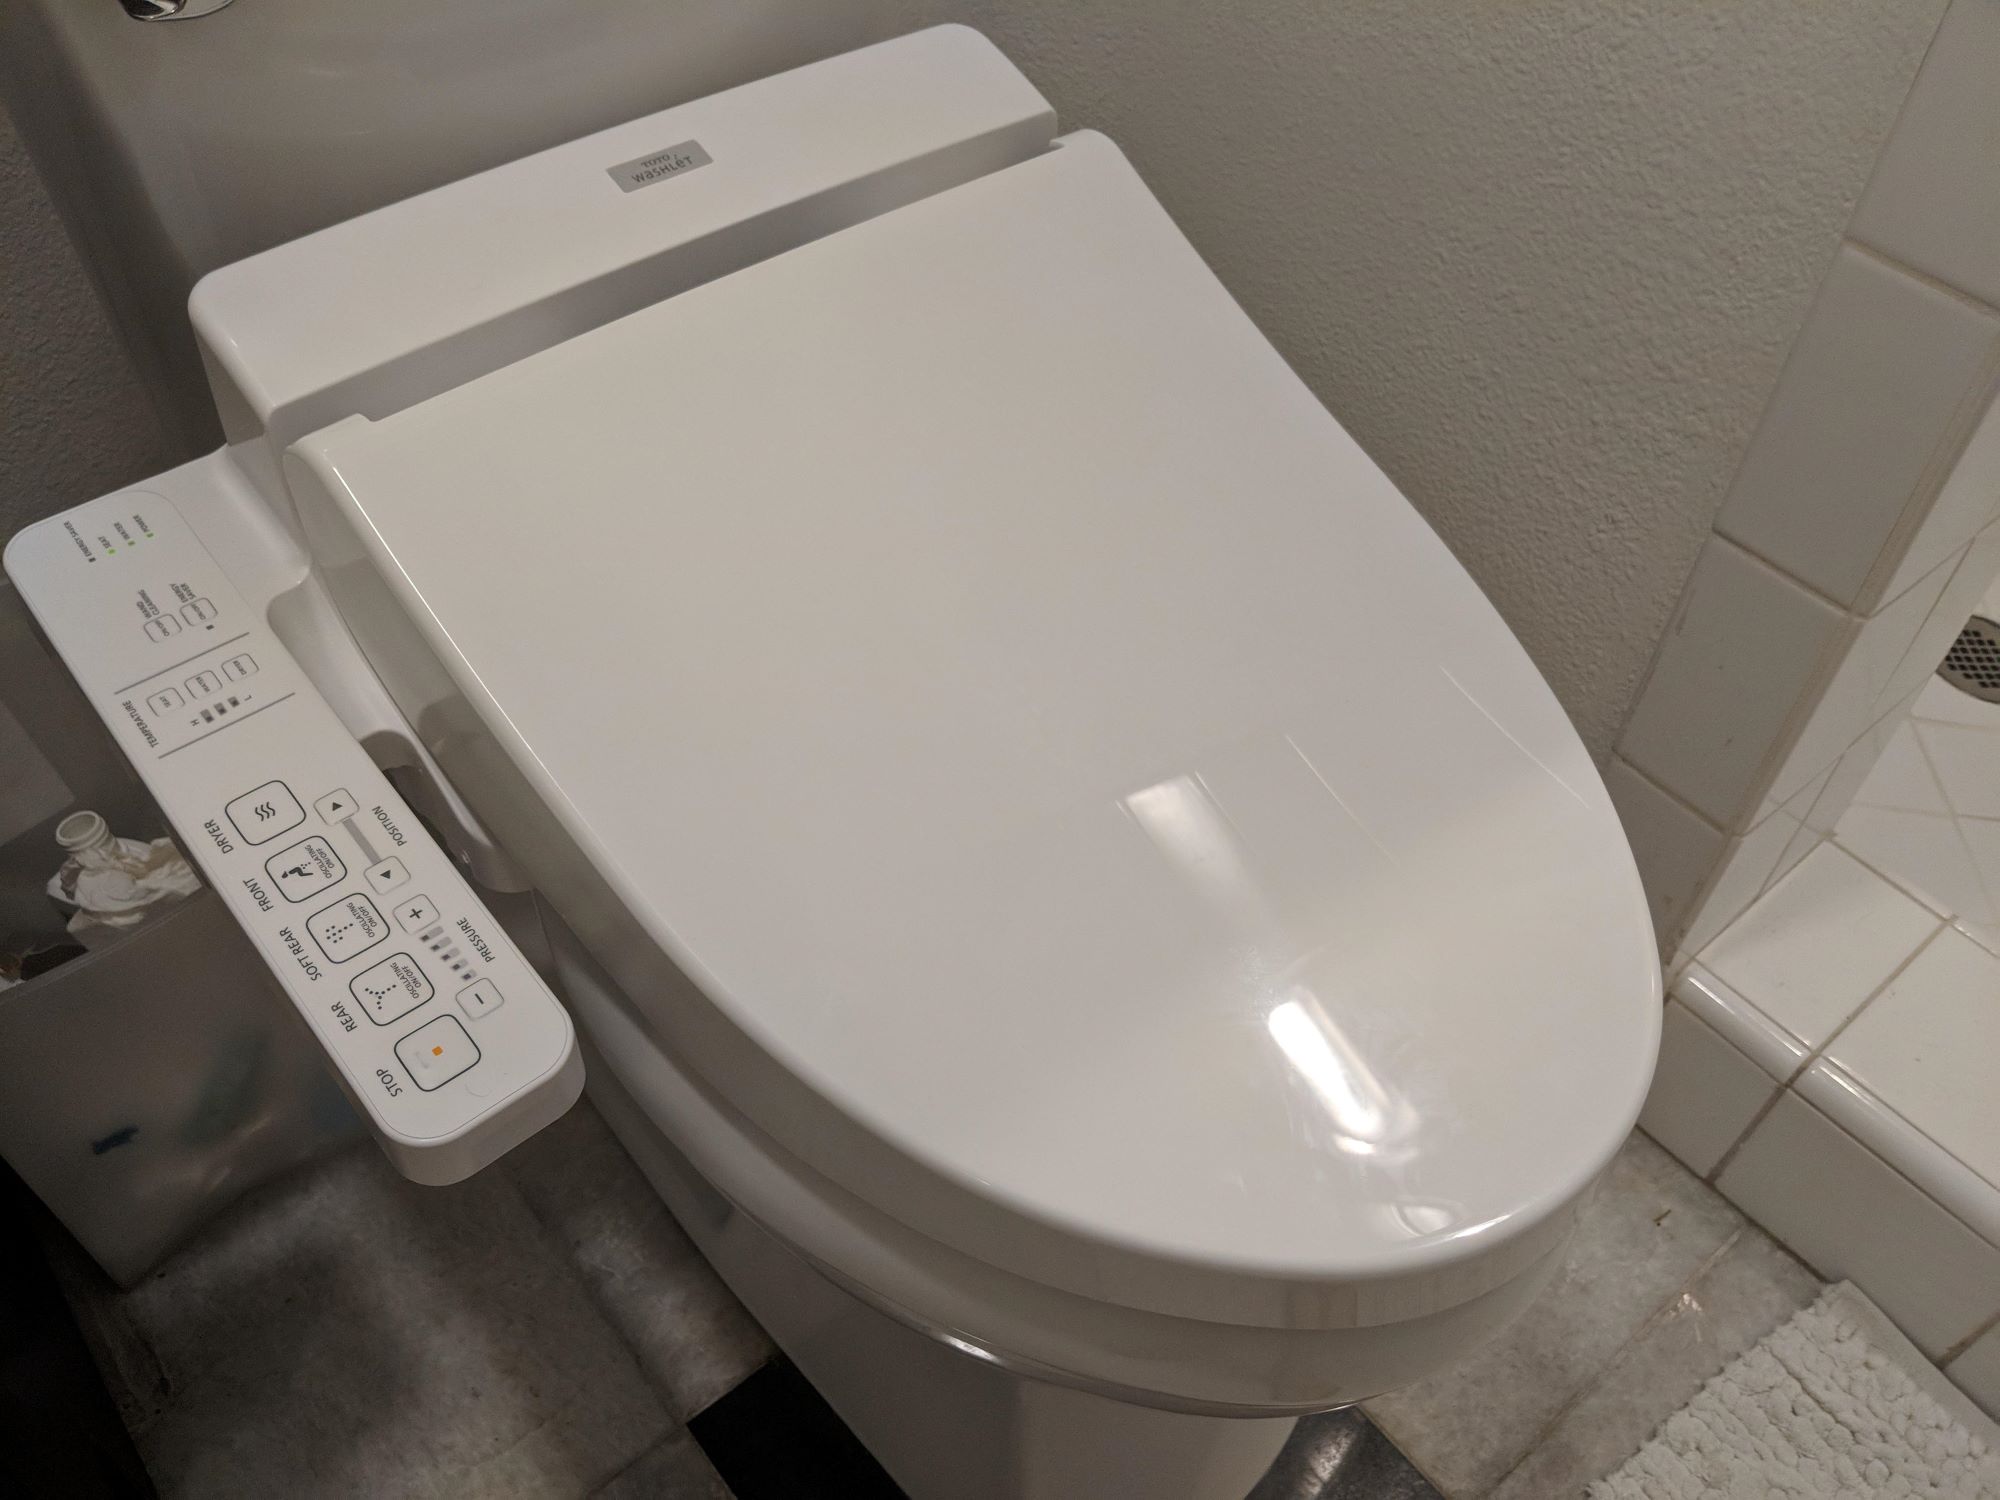
After using a bidet, simply press the flush button on the control panel to activate the water rinse and clean the bidet basin. Make sure to follow any specific instructions provided by the manufacturer for your particular bidet model.
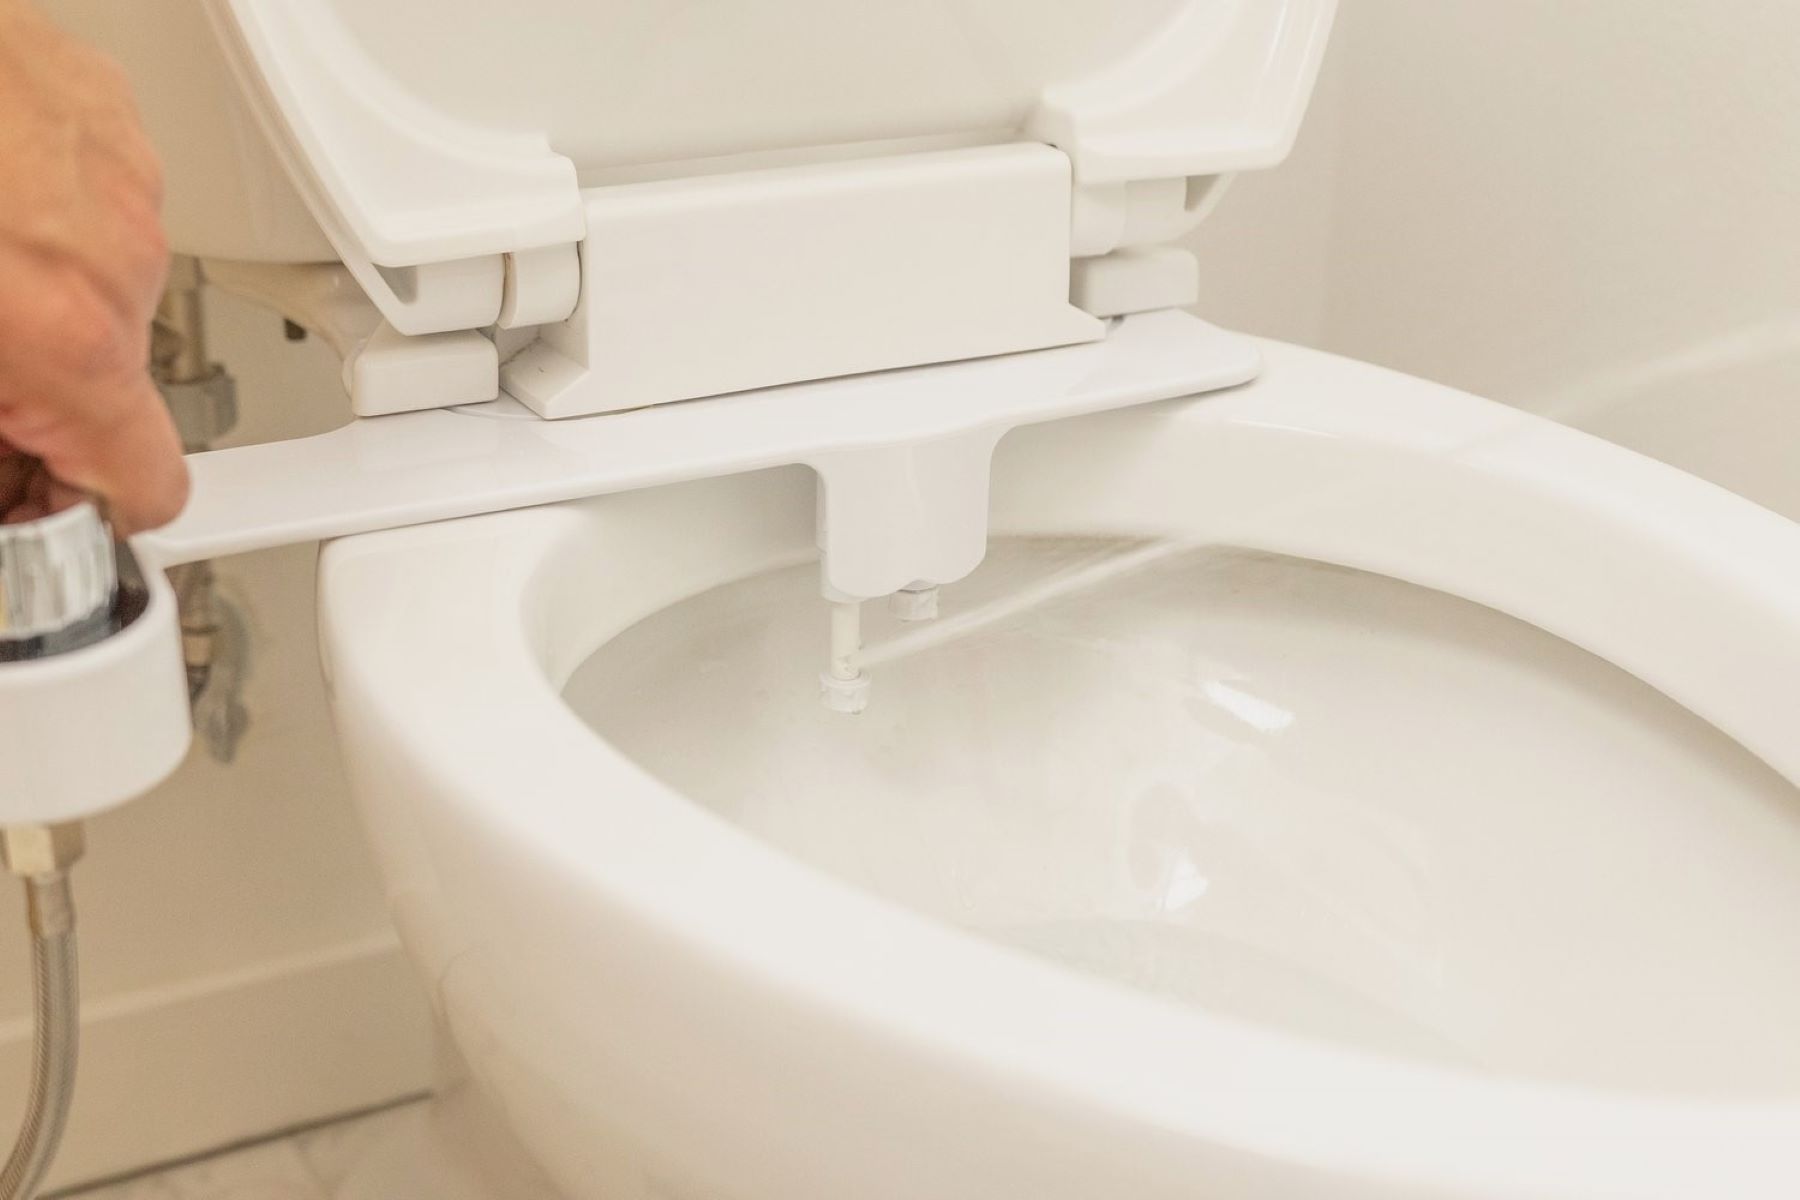
Step 4: Flush the bidet
Flushing the bidet is a pivotal step that not only ensures the cleanliness of the fixture but also contributes to its optimal functionality. By performing a thorough flush, you can effectively remove any remaining residue, test the water flow, and prepare the bidet for reattachment of components. This step is essential for both standalone bidets and bidet attachments, encompassing a comprehensive process that aligns with the maintenance and care of the entire bidet system.
To initiate the flushing process, turn the water supply back on by carefully rotating the shut-off valve in a counterclockwise direction. This action restores the water flow to the bidet, allowing you to assess the water pressure and ensure that the system is functioning as intended. As the water supply is reinstated, listen for any unusual sounds or observe the water flow to confirm that it is consistent and free from any irregularities.
Once the water supply is restored, activate the bidet's flushing mechanism to initiate a thorough rinse of the bowl and nozzles. Depending on the bidet model, this may involve pressing a designated button, adjusting a control lever, or engaging a specific flushing function. As the bidet flushes, observe the water flow and distribution to verify that the entire bowl is effectively rinsed and that the nozzles deliver a steady and even spray.
During the flushing process, pay attention to the water temperature and pressure, ensuring that they align with your preferences and the bidet's standard settings. This step allows you to assess the functionality of the bidet's temperature control and water pressure adjustment, providing valuable insights into the overall performance of the system.
After the bidet has been thoroughly flushed, allow the water to run for a brief period to ensure that any residual debris or cleaning agents are effectively flushed out of the system. This proactive measure contributes to the maintenance of clean and unobstructed water pathways within the bidet, promoting optimal hygiene and functionality.
By performing a comprehensive flush of the bidet, you uphold a standard of cleanliness and functionality that enhances the overall experience of using this essential bathroom fixture. This step sets the stage for reattaching any components and restoring the bidet to its fully operational state, ready to deliver a refreshing and hygienic experience with each use.
Read more: How Sanitary Is A Bidet
Step 5: Turn the water supply back on
Turning the water supply back on is the final step in the process of flushing a bidet, marking the transition from maintenance mode to the restoration of full functionality. This pivotal step ensures that the bidet is ready to deliver a refreshing and hygienic experience, with the water supply securely reinstated for seamless operation.
As you prepare to turn the water supply back on, it is essential to approach this step with attentiveness and care. Begin by locating the shut-off valve that was previously turned clockwise to deactivate the water supply. This valve is typically positioned near the bidet fixture or adjacent to the toilet, serving as the primary control point for regulating the water flow to the bidet.
With the shut-off valve in sight, carefully rotate it in a counterclockwise direction to gradually restore the water supply to the bidet. It is important to execute this action with precision, allowing the water flow to resume in a controlled manner without sudden surges or fluctuations in pressure. By gradually reopening the shut-off valve, you can mitigate the risk of water hammer or unexpected water flow that could impact the bidet or surrounding areas.
As the water supply is reinstated, take a moment to listen for any unusual sounds or observe the water flow to ensure that it is consistent and free from any irregularities. This attentive approach allows you to verify that the bidet's water supply is functioning as intended, setting the stage for a seamless transition to the subsequent steps of reattaching any components and conducting a final inspection of the bidet.
Once the water supply has been successfully restored, take a moment to confirm that there are no visible leaks or issues related to the water flow. This proactive assessment provides assurance that the bidet's water supply is operating optimally, ready to support the fixture's essential functions without any impediments.
With the water supply securely turned back on, the bidet is now primed for regular use, delivering a refreshing and hygienic experience that aligns with your preferences and promotes a clean and comfortable bathroom environment. This final step in the flushing process signifies the successful completion of bidet maintenance, ensuring that the fixture is ready to provide reliable performance and optimal cleanliness with each use.
Conclusion
In conclusion, the process of flushing a bidet encompasses a series of essential steps that contribute to the cleanliness, functionality, and longevity of this indispensable bathroom fixture. By following a systematic approach to bidet maintenance, individuals can ensure that their bidets remain in optimal condition, ready to deliver a refreshing and hygienic experience with each use.
The comprehensive maintenance routine begins with the crucial step of turning off the water supply, providing a safe and controlled environment for subsequent cleaning and flushing tasks. By deactivating the water supply, individuals can proceed with confidence, knowing that the bidet is primed for thorough maintenance without the risk of unexpected water flow.
The subsequent steps of removing attachments and cleaning the bidet address every aspect of the fixture, from intricate components to accessible surfaces. By meticulously detaching attachments and employing gentle cleaning techniques, individuals can maintain a pristine and fully functional bidet, free from residue or buildup that could compromise its performance.
The pivotal step of flushing the bidet ensures that the fixture is thoroughly rinsed, allowing individuals to assess the water flow, temperature, and pressure. This proactive measure contributes to the maintenance of clean and unobstructed water pathways within the bidet, promoting optimal hygiene and functionality.
Finally, the process culminates with the restoration of the water supply, marking the bidet's readiness to deliver a refreshing and hygienic experience. By carefully turning the water supply back on, individuals can confirm that the bidet is fully operational, free from leaks or irregularities in water flow.
In essence, the process of flushing a bidet is not only a maintenance routine but a commitment to hygiene, comfort, and the reliable performance of an essential bathroom fixture. By embracing the steps outlined in this comprehensive guide, individuals can uphold a standard of cleanliness and functionality that enhances the overall experience of using a bidet, promoting a clean and comfortable bathroom environment for years to come.
Frequently Asked Questions about How To Flush A Bidet
Was this page helpful?
At Storables.com, we guarantee accurate and reliable information. Our content, validated by Expert Board Contributors, is crafted following stringent Editorial Policies. We're committed to providing you with well-researched, expert-backed insights for all your informational needs.

0 thoughts on “How To Flush A Bidet”