Home>Furniture & Design>Bathroom Accessories>How To Install A Tushy Bidet
Bathroom Accessories
How To Install A Tushy Bidet
Modified: October 20, 2024
Learn how to easily install a Tushy bidet in your bathroom with our step-by-step guide. Upgrade your bathroom accessories today!
(Many of the links in this article redirect to a specific reviewed product. Your purchase of these products through affiliate links helps to generate commission for Storables.com, at no extra cost. Learn more)
Introduction
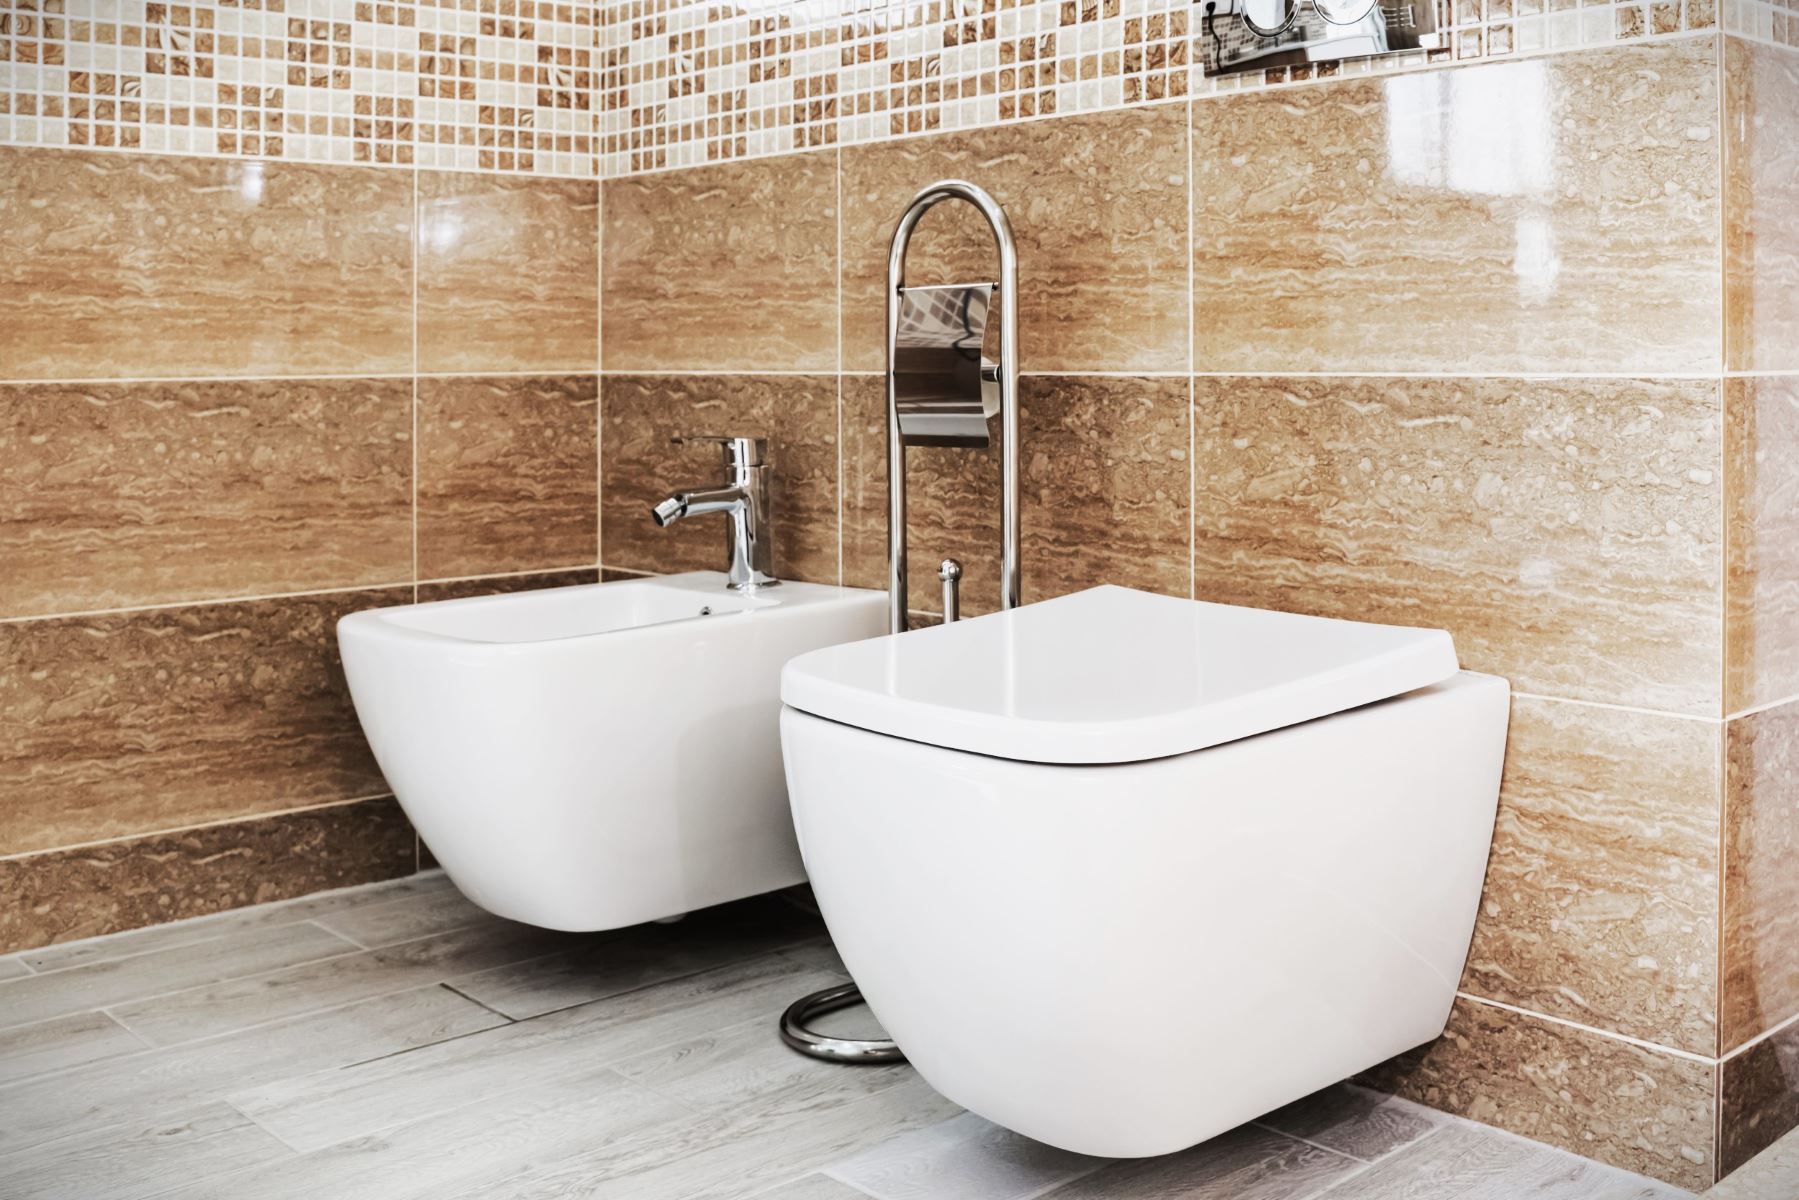
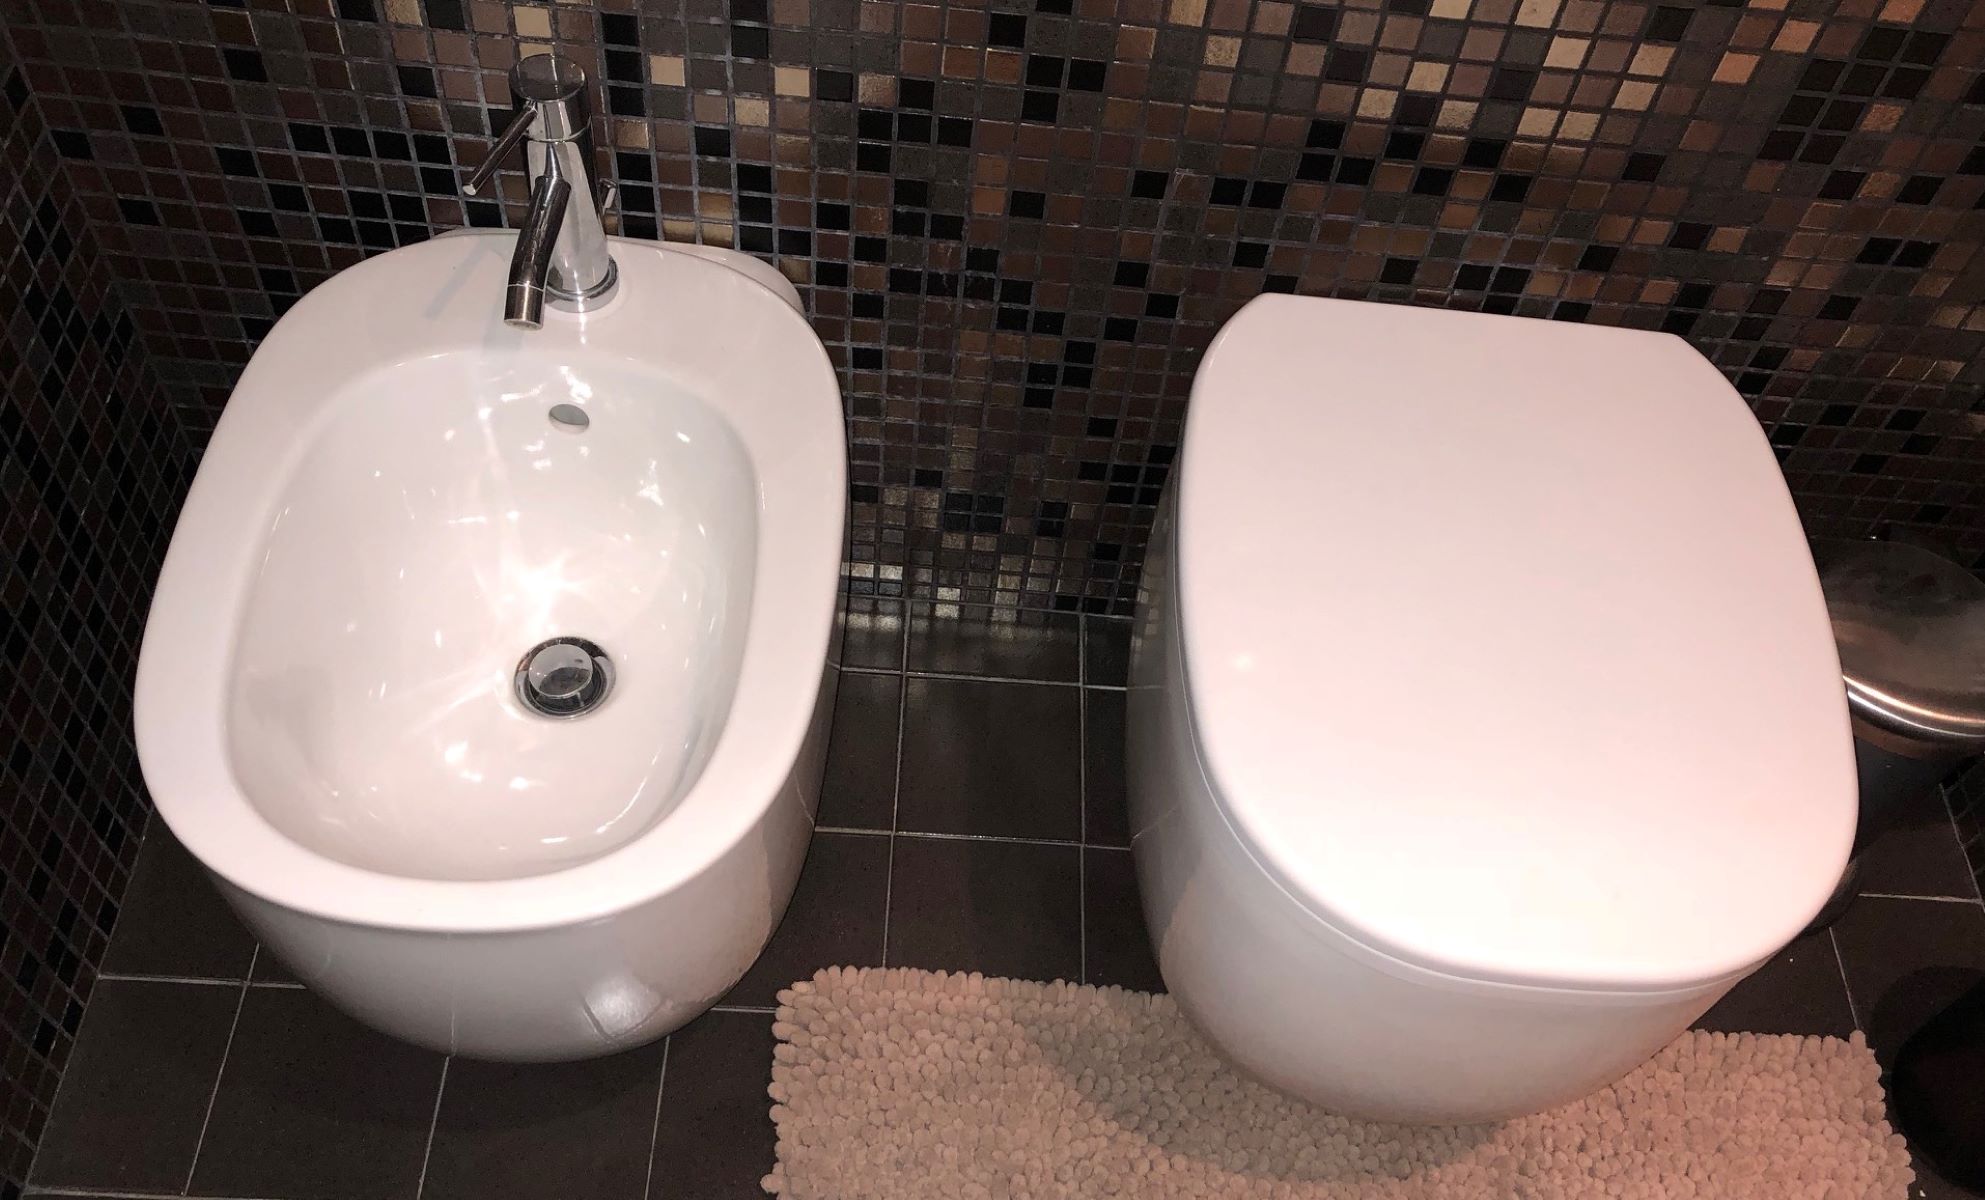
Welcome to the ultimate guide on how to install a Tushy bidet! Bidets have gained popularity for their hygienic and eco-friendly benefits, and installing a Tushy bidet attachment is a simple and effective way to upgrade your bathroom experience. Whether you're a seasoned DIY enthusiast or a novice looking to embark on a home improvement project, this comprehensive guide will walk you through the installation process step by step.
By following these instructions, you'll be able to transform your standard toilet into a luxurious and environmentally conscious oasis. Say goodbye to excessive toilet paper usage and hello to a refreshing and sustainable cleansing experience. With the Tushy bidet, you can reduce your environmental footprint while enjoying the comfort and cleanliness it provides.
So, roll up your sleeves, gather your tools, and get ready to embark on this rewarding journey of enhancing your bathroom with a Tushy bidet. Let's dive into the step-by-step process of transforming your ordinary toilet into a modern, eco-friendly, and hygienic marvel.
Key Takeaways:
- Upgrade your bathroom with a Tushy bidet for a luxurious and eco-friendly experience. Follow the simple installation process to reduce toilet paper usage and enjoy personalized cleansing comfort.
- Embrace sustainability and comfort by installing a Tushy bidet. Customize water pressure and temperature for a refreshing, eco-conscious bathroom upgrade.
Read more: How To Uninstall Tushy Bidet
Step 1: Gather the necessary tools and materials
Before diving into the installation process, it's crucial to gather all the essential tools and materials to ensure a smooth and efficient experience. Here's a comprehensive list of what you'll need:
Tools:
- Adjustable Wrench: This versatile tool will come in handy for securing and adjusting the connections during the installation process.
- Phillips Head Screwdriver: You'll need this to tighten screws and ensure a secure fit for the bidet attachment.
- Teflon Tape: This tape is essential for creating a watertight seal when connecting the water supply, preventing any potential leaks.
- Bucket or Container: Having a bucket or container nearby will help catch any excess water that may drip during the installation.
Materials:
- Tushy Bidet Attachment: The star of the show! Ensure you have the Tushy bidet attachment ready for installation.
- Water Supply Adapter: Depending on your existing water supply line, you may need an adapter to connect the bidet to the water source.
- Rubber Washers: These will be used to create a secure and leak-free connection between the bidet attachment and the toilet.
- User Manual: Don't overlook the importance of the user manual provided with the Tushy bidet. It contains valuable instructions specific to your model.
Optional:
- Flashlight: If your bathroom lighting is limited, a flashlight can be helpful for better visibility during the installation process.
- Towel or Rag: Keep a towel or rag handy to wipe away any water or moisture as you work.
By ensuring you have all the necessary tools and materials at your disposal, you'll be well-prepared to proceed with the installation of your Tushy bidet attachment. With everything in place, you're ready to move on to the next step and prepare the toilet for the installation process.
Read more: What Is A Tushy Bidet
Step 2: Prepare the toilet
Before diving into the installation of your Tushy bidet attachment, it's essential to prepare the toilet to ensure a seamless and successful installation process. Here's a detailed guide on how to prepare your toilet for the bidet attachment:
-
Turn off the Water Supply: Locate the shut-off valve behind your toilet and turn it clockwise to shut off the water supply. Flushing the toilet after shutting off the water will help drain any remaining water from the tank and bowl.
-
Remove the Existing Toilet Seat: Using a screwdriver, carefully remove the existing toilet seat by unscrewing the bolts that secure it to the toilet bowl. Set the seat aside in a safe place, as it may be reinstalled after attaching the Tushy bidet.
-
Clean the Toilet Bowl: Take this opportunity to thoroughly clean the toilet bowl and the area around the mounting holes. This will ensure a clean surface for attaching the Tushy bidet and promote a secure and hygienic installation.
-
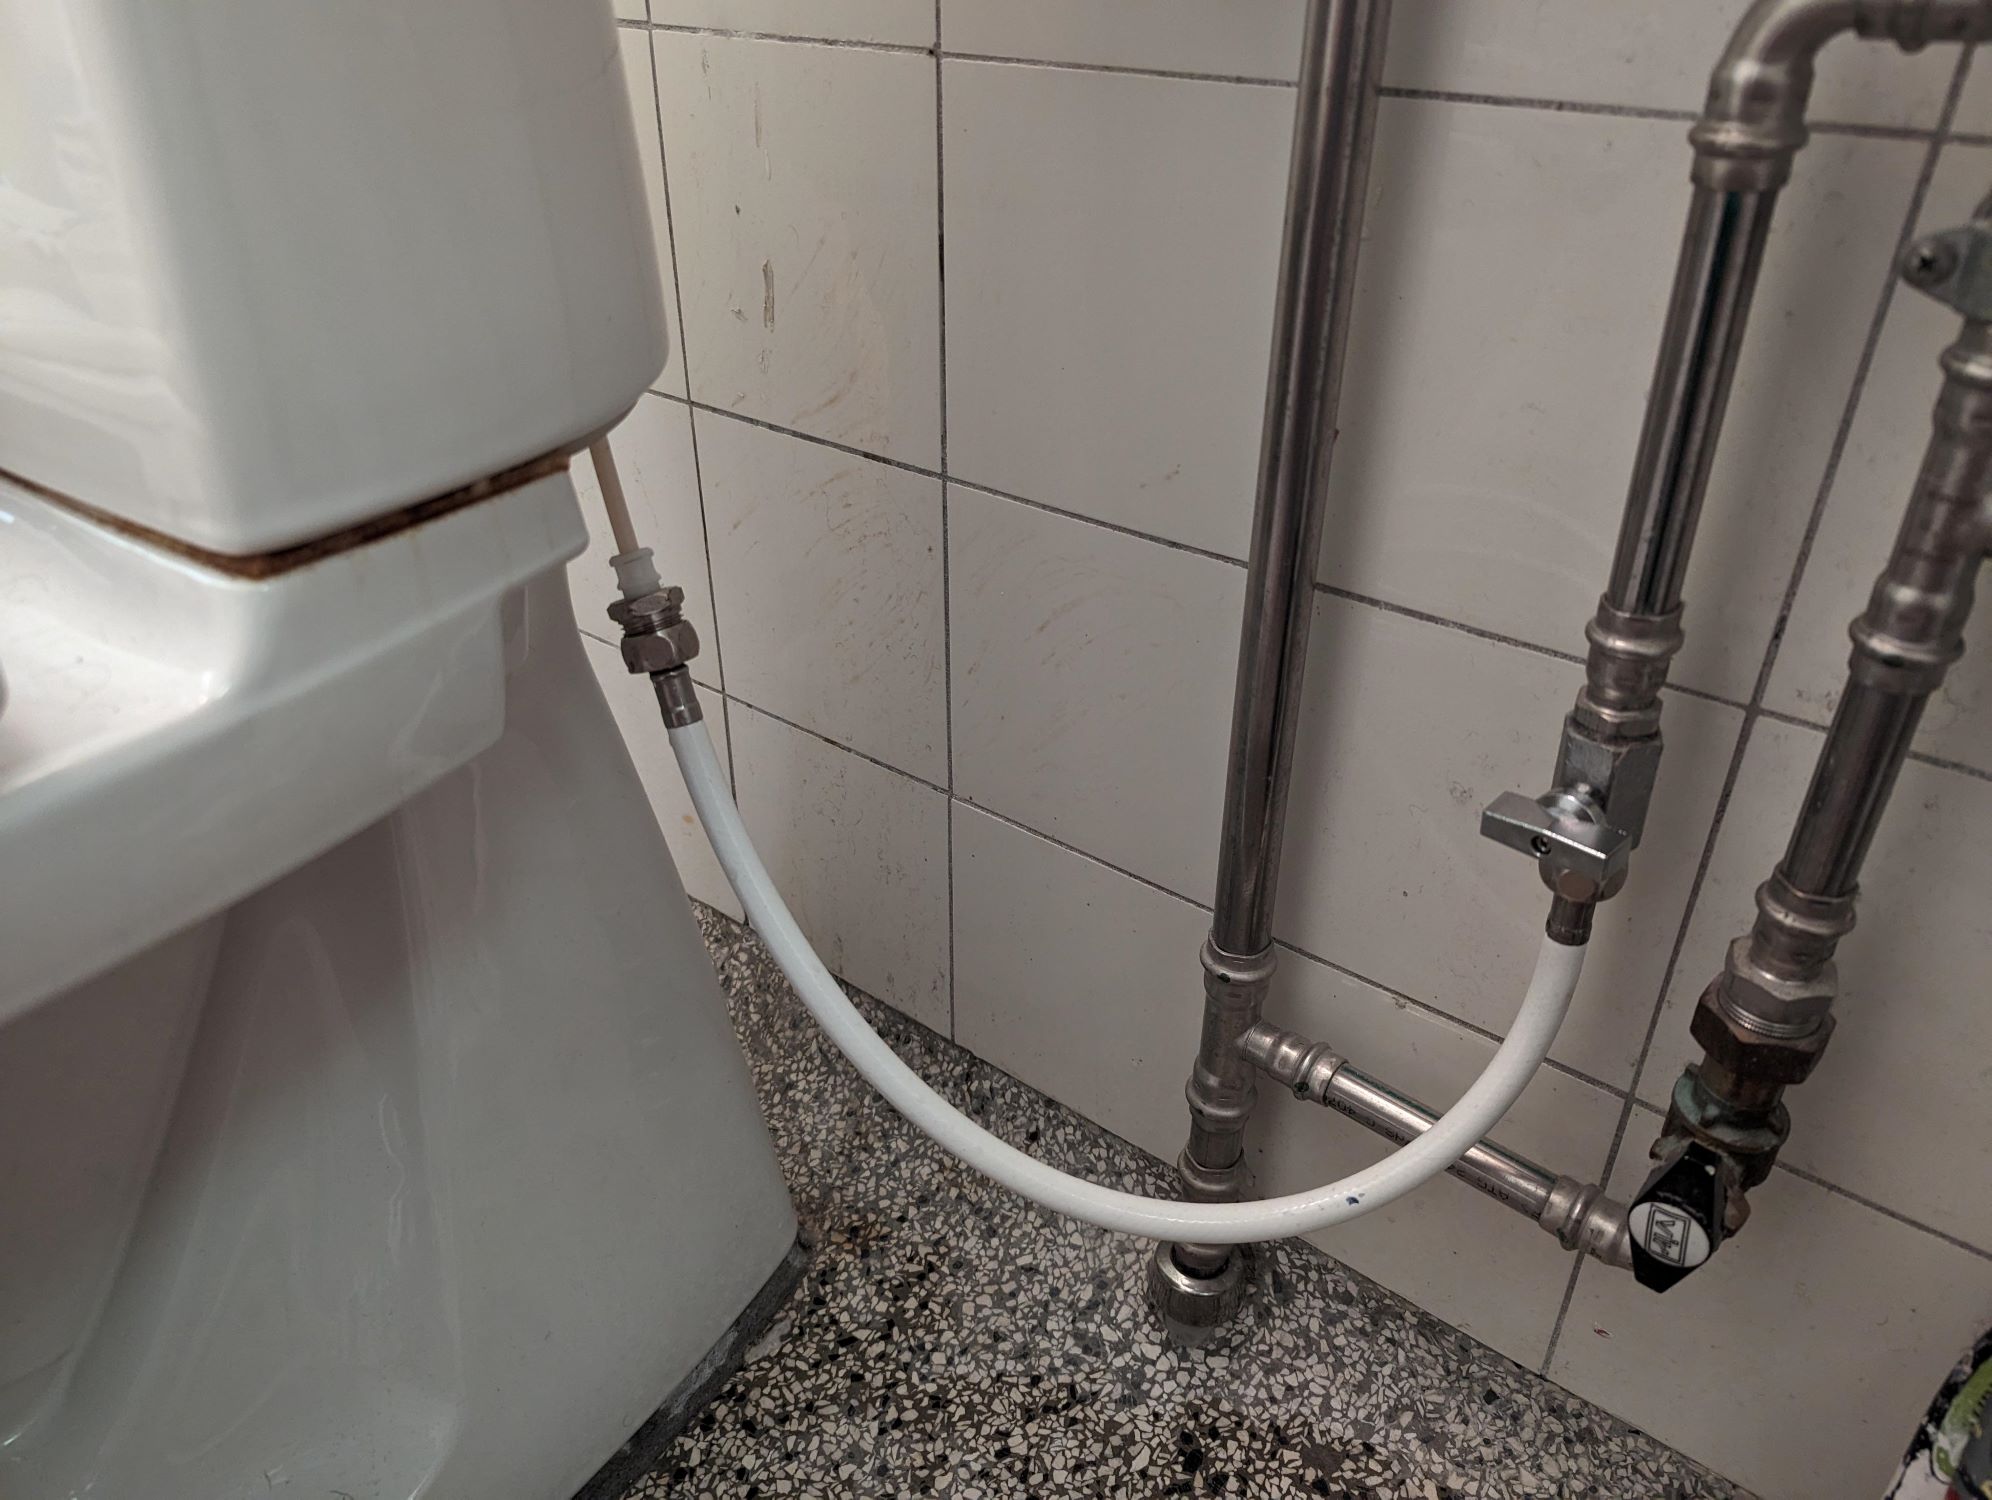
Inspect the Water Supply Line: Examine the water supply line connected to the toilet tank. Ensure that it is in good condition and free from any leaks or damage. If any issues are detected, it's advisable to address them before proceeding with the bidet installation.
-
Check the Toilet Compatibility: Verify that the Tushy bidet attachment is compatible with your toilet. Most standard two-piece and some one-piece toilets are compatible with Tushy bidets. Refer to the user manual or Tushy's website for specific compatibility information.
-
Prepare the Mounting Area: Take a moment to assess the mounting area on the toilet bowl where the bidet attachment will be installed. Ensure that the area is free from any obstructions and that the mounting holes are accessible for the installation process.
By following these preparatory steps, you'll set the stage for a smooth and efficient installation of your Tushy bidet attachment. With the toilet properly prepared, you're now ready to move on to the next exciting phase: installing the Tushy bidet attachment itself.
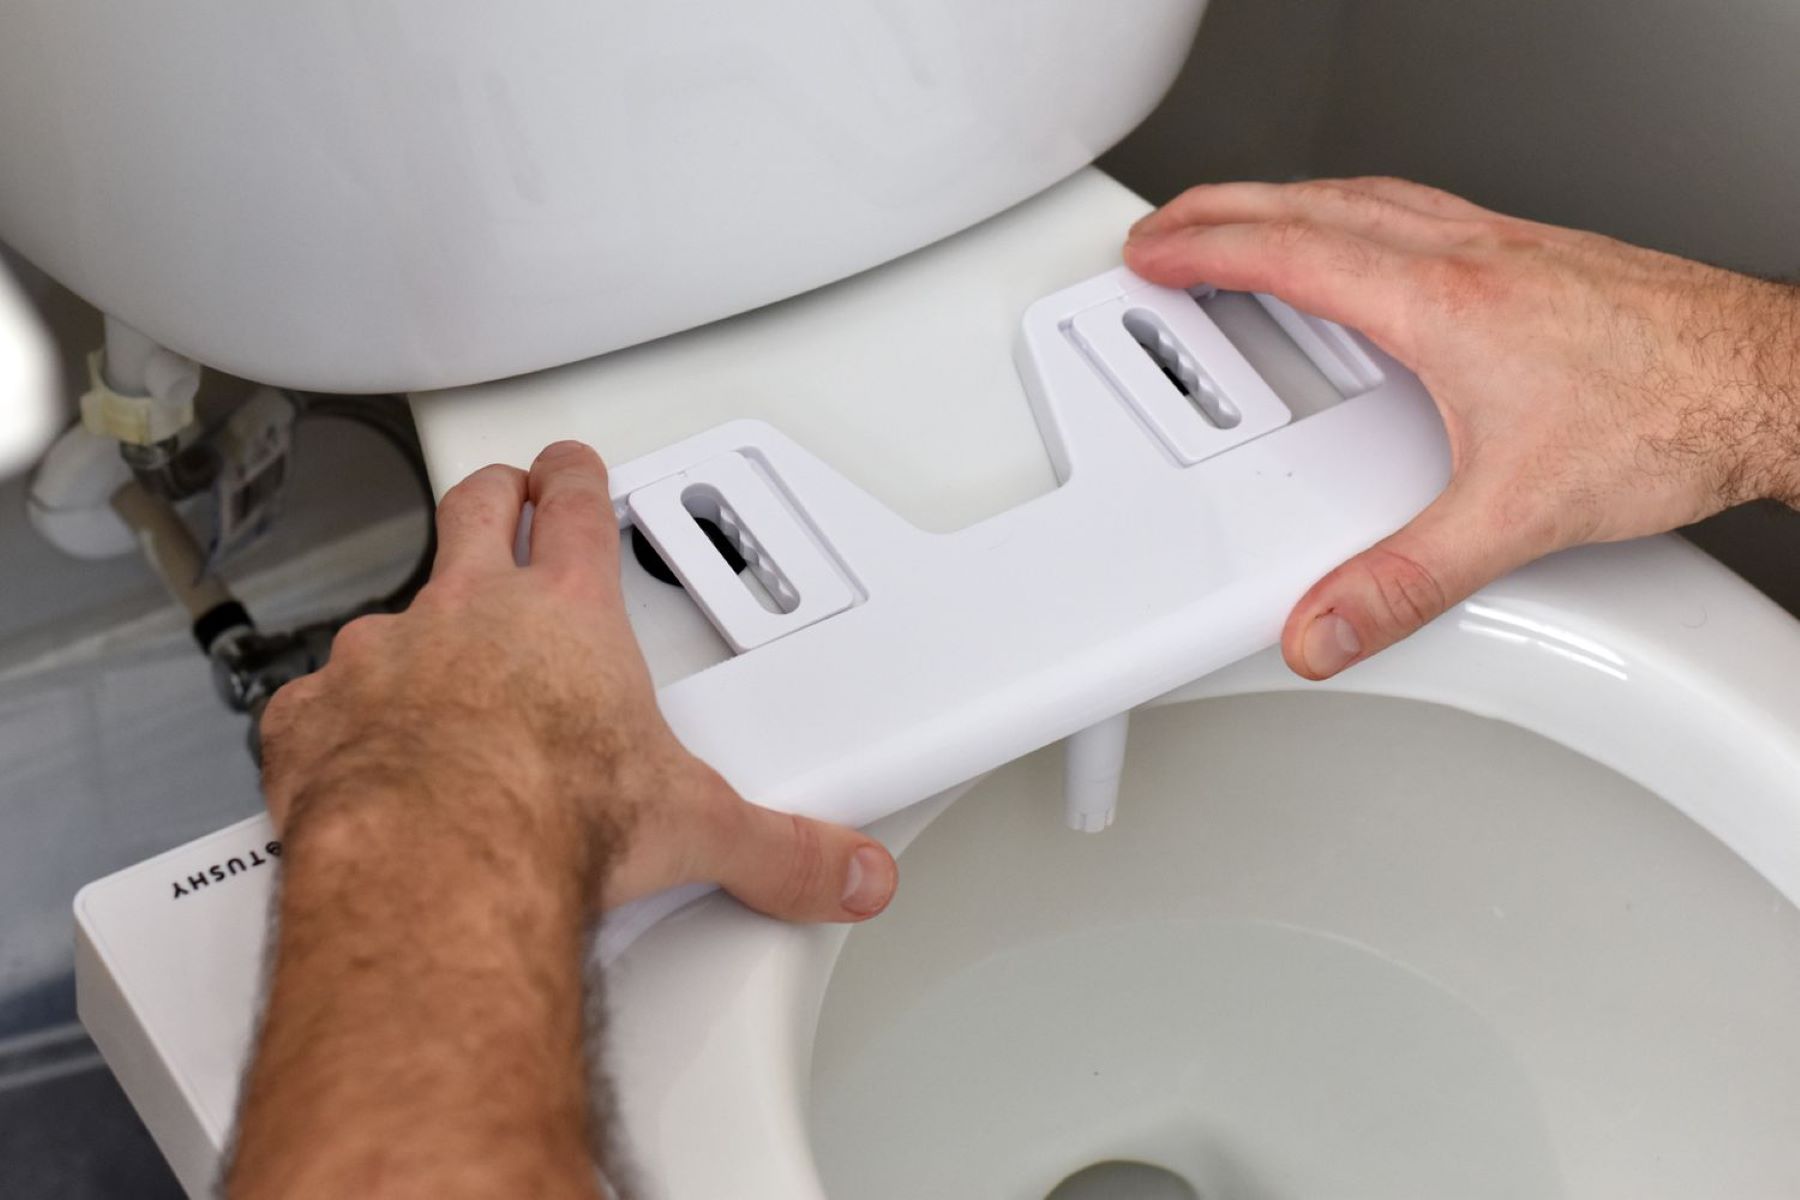
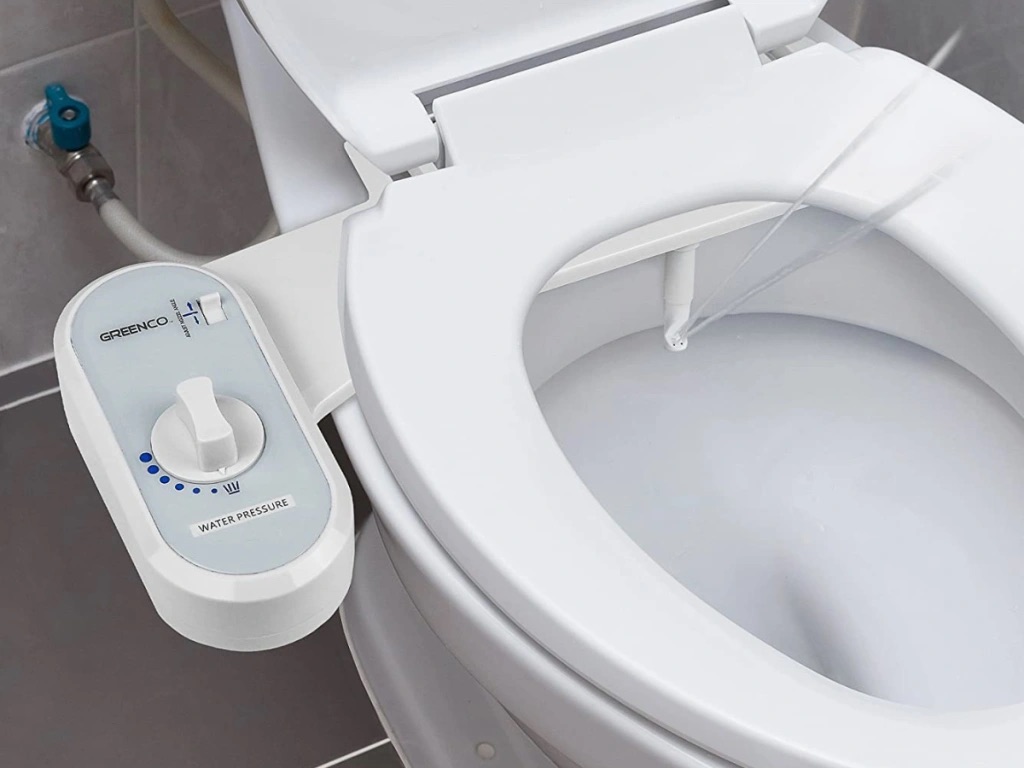
Step 3: Install the Tushy bidet attachment
Now comes the exciting part – installing the Tushy bidet attachment onto your toilet. Follow these step-by-step instructions to seamlessly integrate this innovative device into your bathroom:
-
Position the Tushy Bidet Attachment: Carefully align the Tushy bidet attachment with the mounting holes on the toilet bowl. Ensure that it is positioned securely and level to facilitate a stable installation.
-
Secure the Bidet Attachment: Using the provided mounting hardware, such as bolts and rubber washers, fasten the Tushy bidet attachment to the toilet bowl. Tighten the bolts evenly to create a secure and stable connection without over-tightening, which could potentially damage the toilet.
-
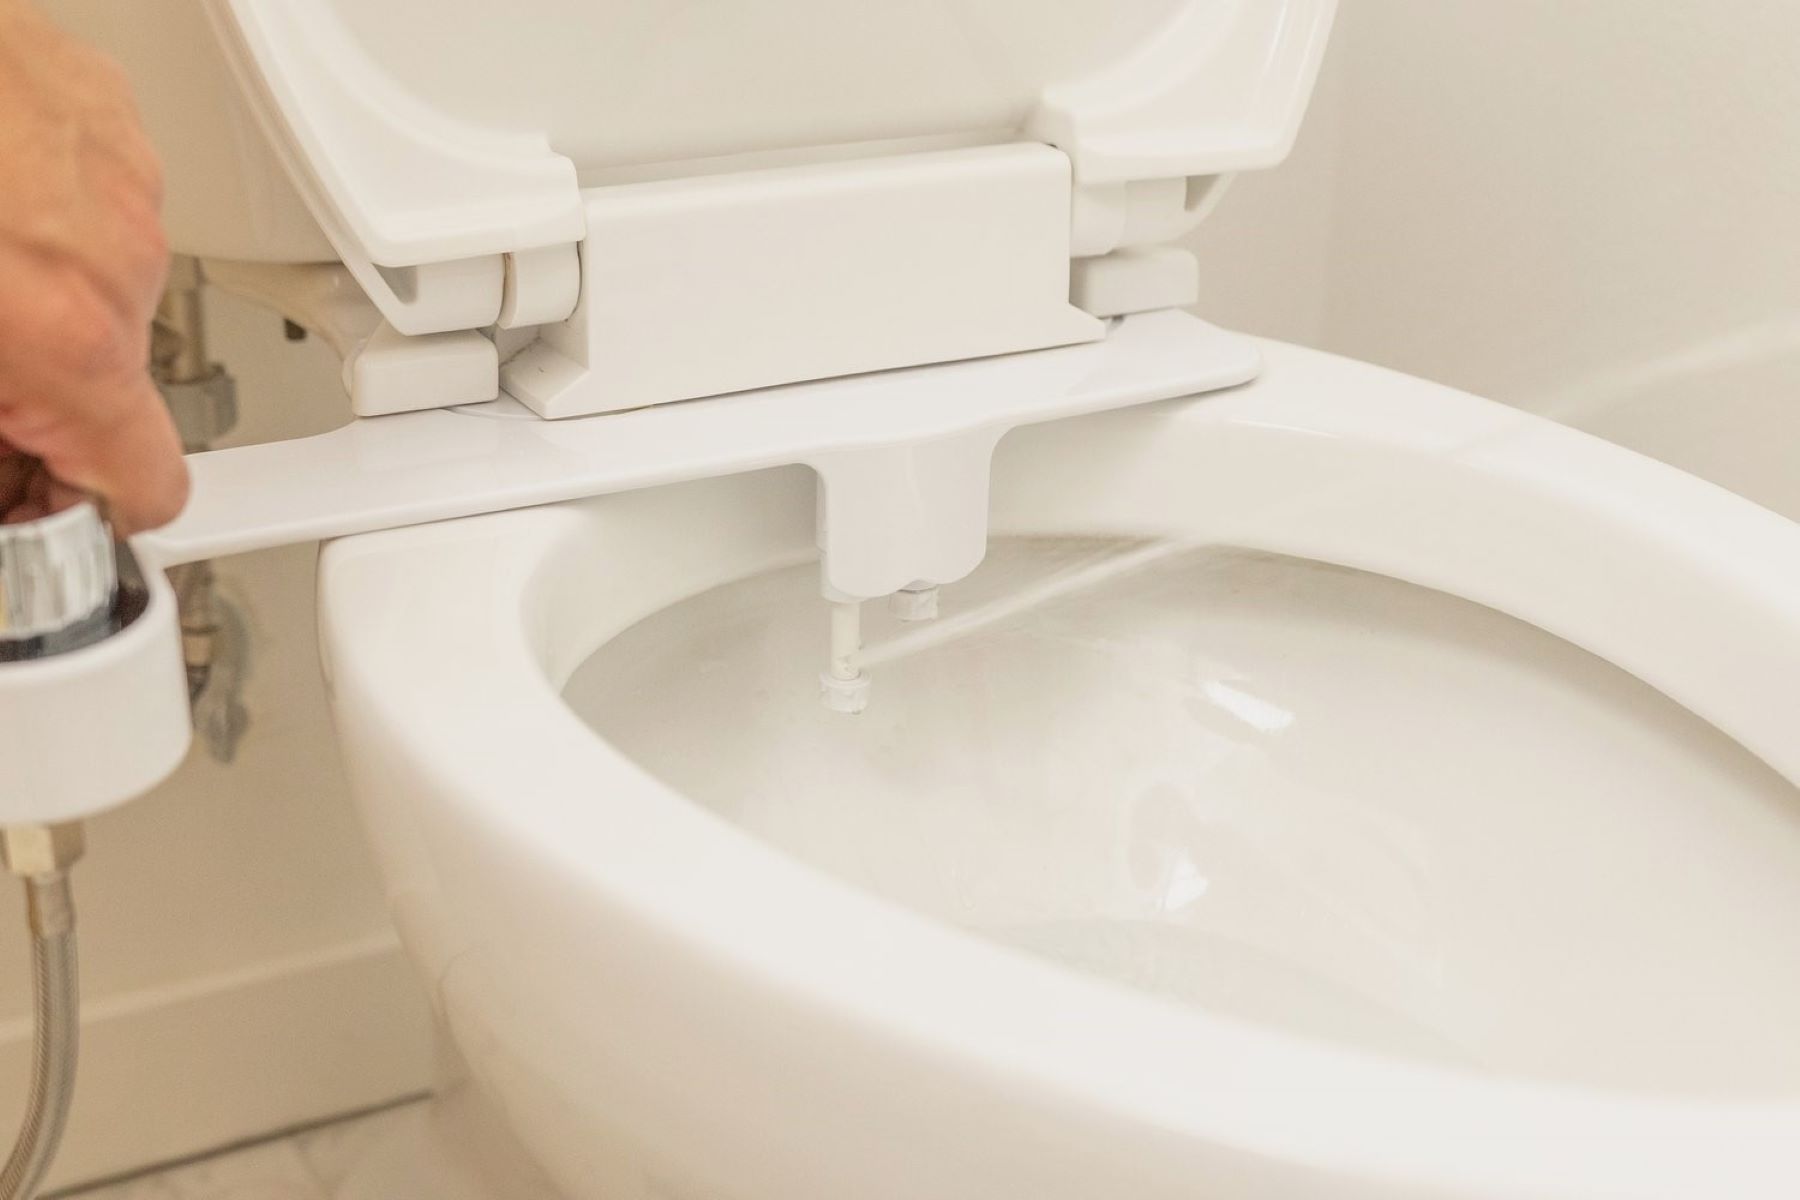
Connect the Water Supply: Locate the water supply valve near the toilet and turn it off. Next, connect the Tushy bidet attachment to the water supply line using the provided adapter, ensuring a snug and leak-free connection. Apply Teflon tape to the threaded connections to create a watertight seal and prevent any potential leaks.
-
Adjust the Spray Settings: Depending on the Tushy model, adjust the spray settings to your preference. This may include setting the water pressure and nozzle position to ensure a comfortable and effective cleansing experience.
-
Double-Check the Connections: Before proceeding, double-check all the connections to ensure they are secure and free from any leaks. This includes the mounting bolts, water supply line, and any additional connections specific to your Tushy bidet model.
-
Turn on the Water Supply: Once everything is securely in place, turn on the water supply valve to allow water to flow to the Tushy bidet attachment. Keep an eye out for any leaks or drips, and promptly address any issues that may arise.
-
Test the Bidet: With the installation complete, it's time to test the Tushy bidet. Sit on the toilet and activate the bidet to ensure that the water pressure, temperature, and spray pattern meet your preferences. Make any necessary adjustments to the settings to achieve your desired cleansing experience.
By following these detailed steps, you can successfully install the Tushy bidet attachment and elevate your bathroom with its modern functionality and eco-friendly features. With the bidet in place, you're now ready to enjoy the enhanced comfort and hygiene it brings to your daily routine.
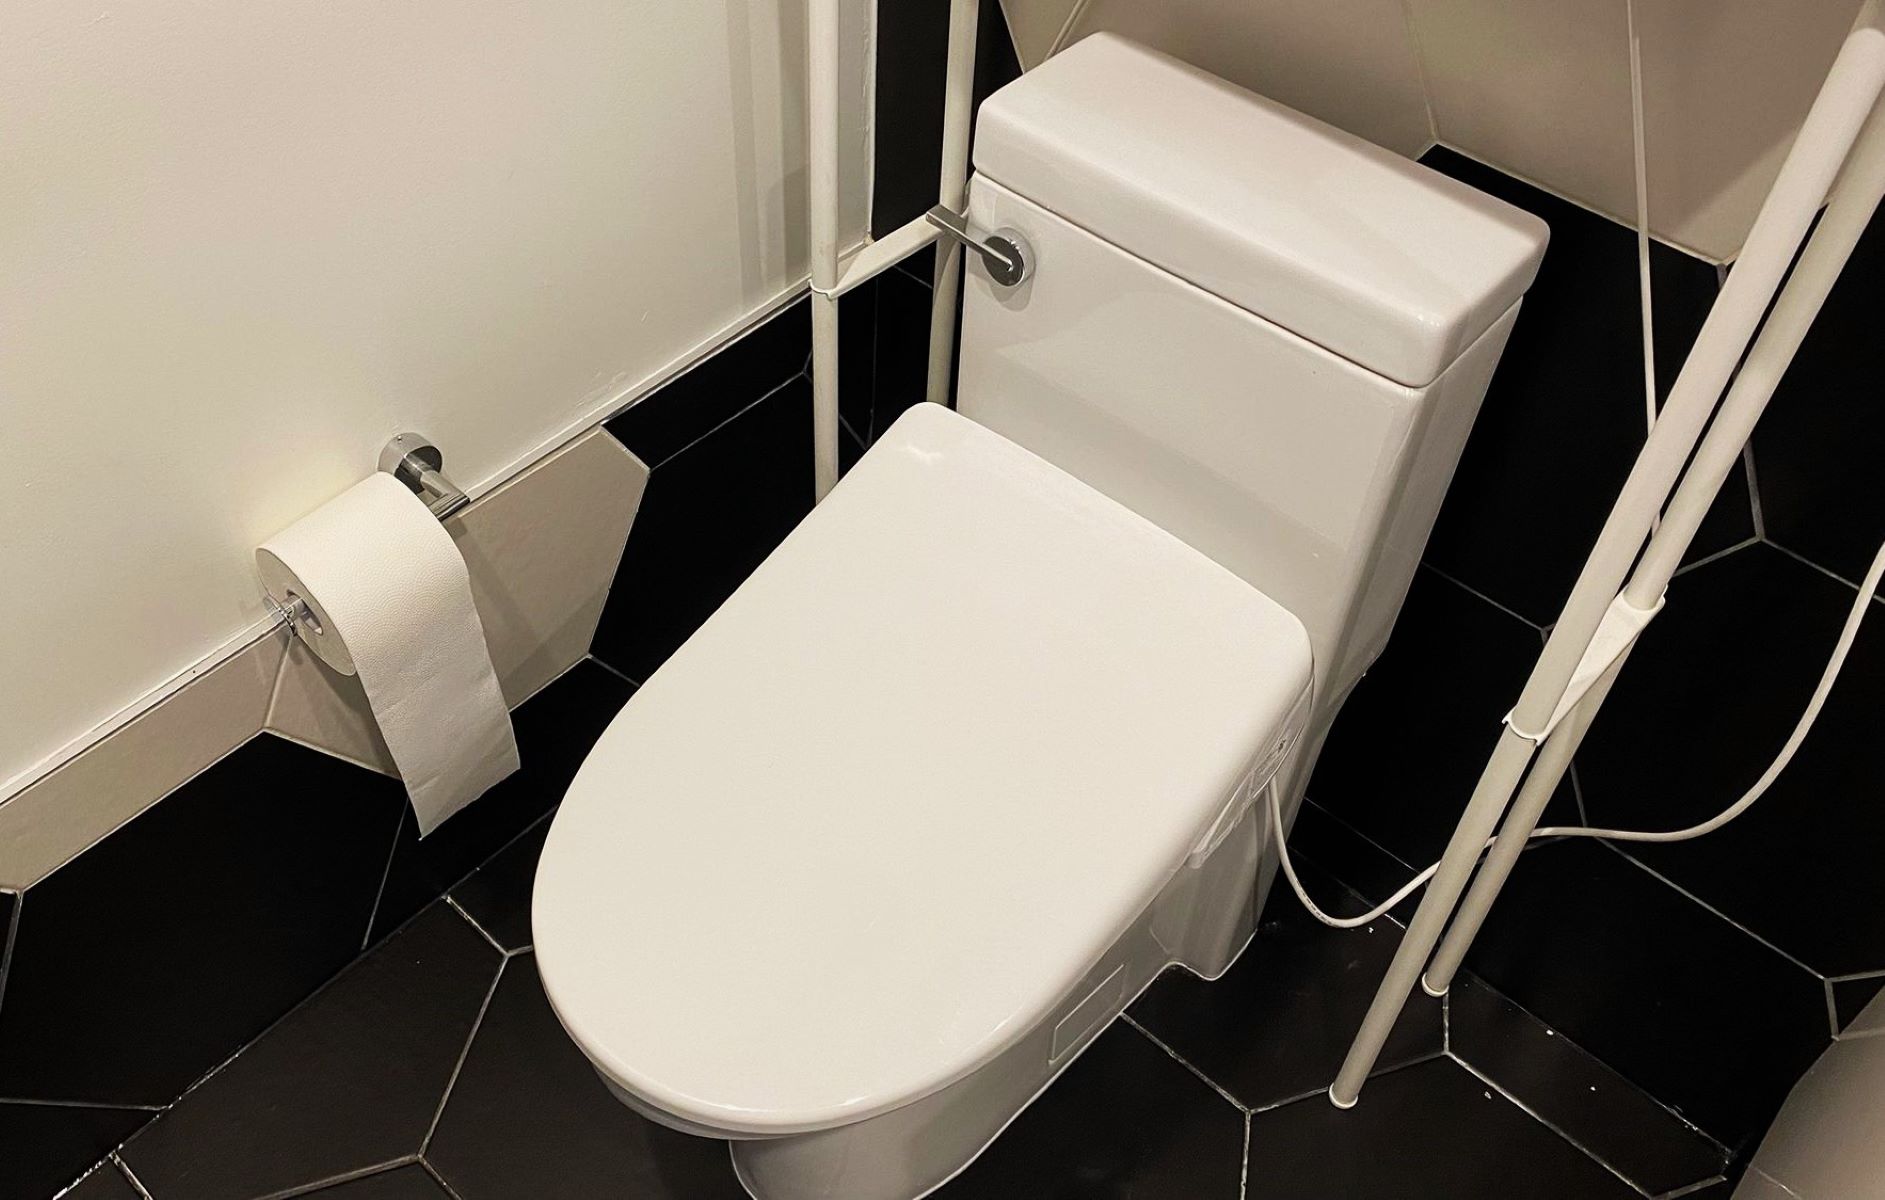
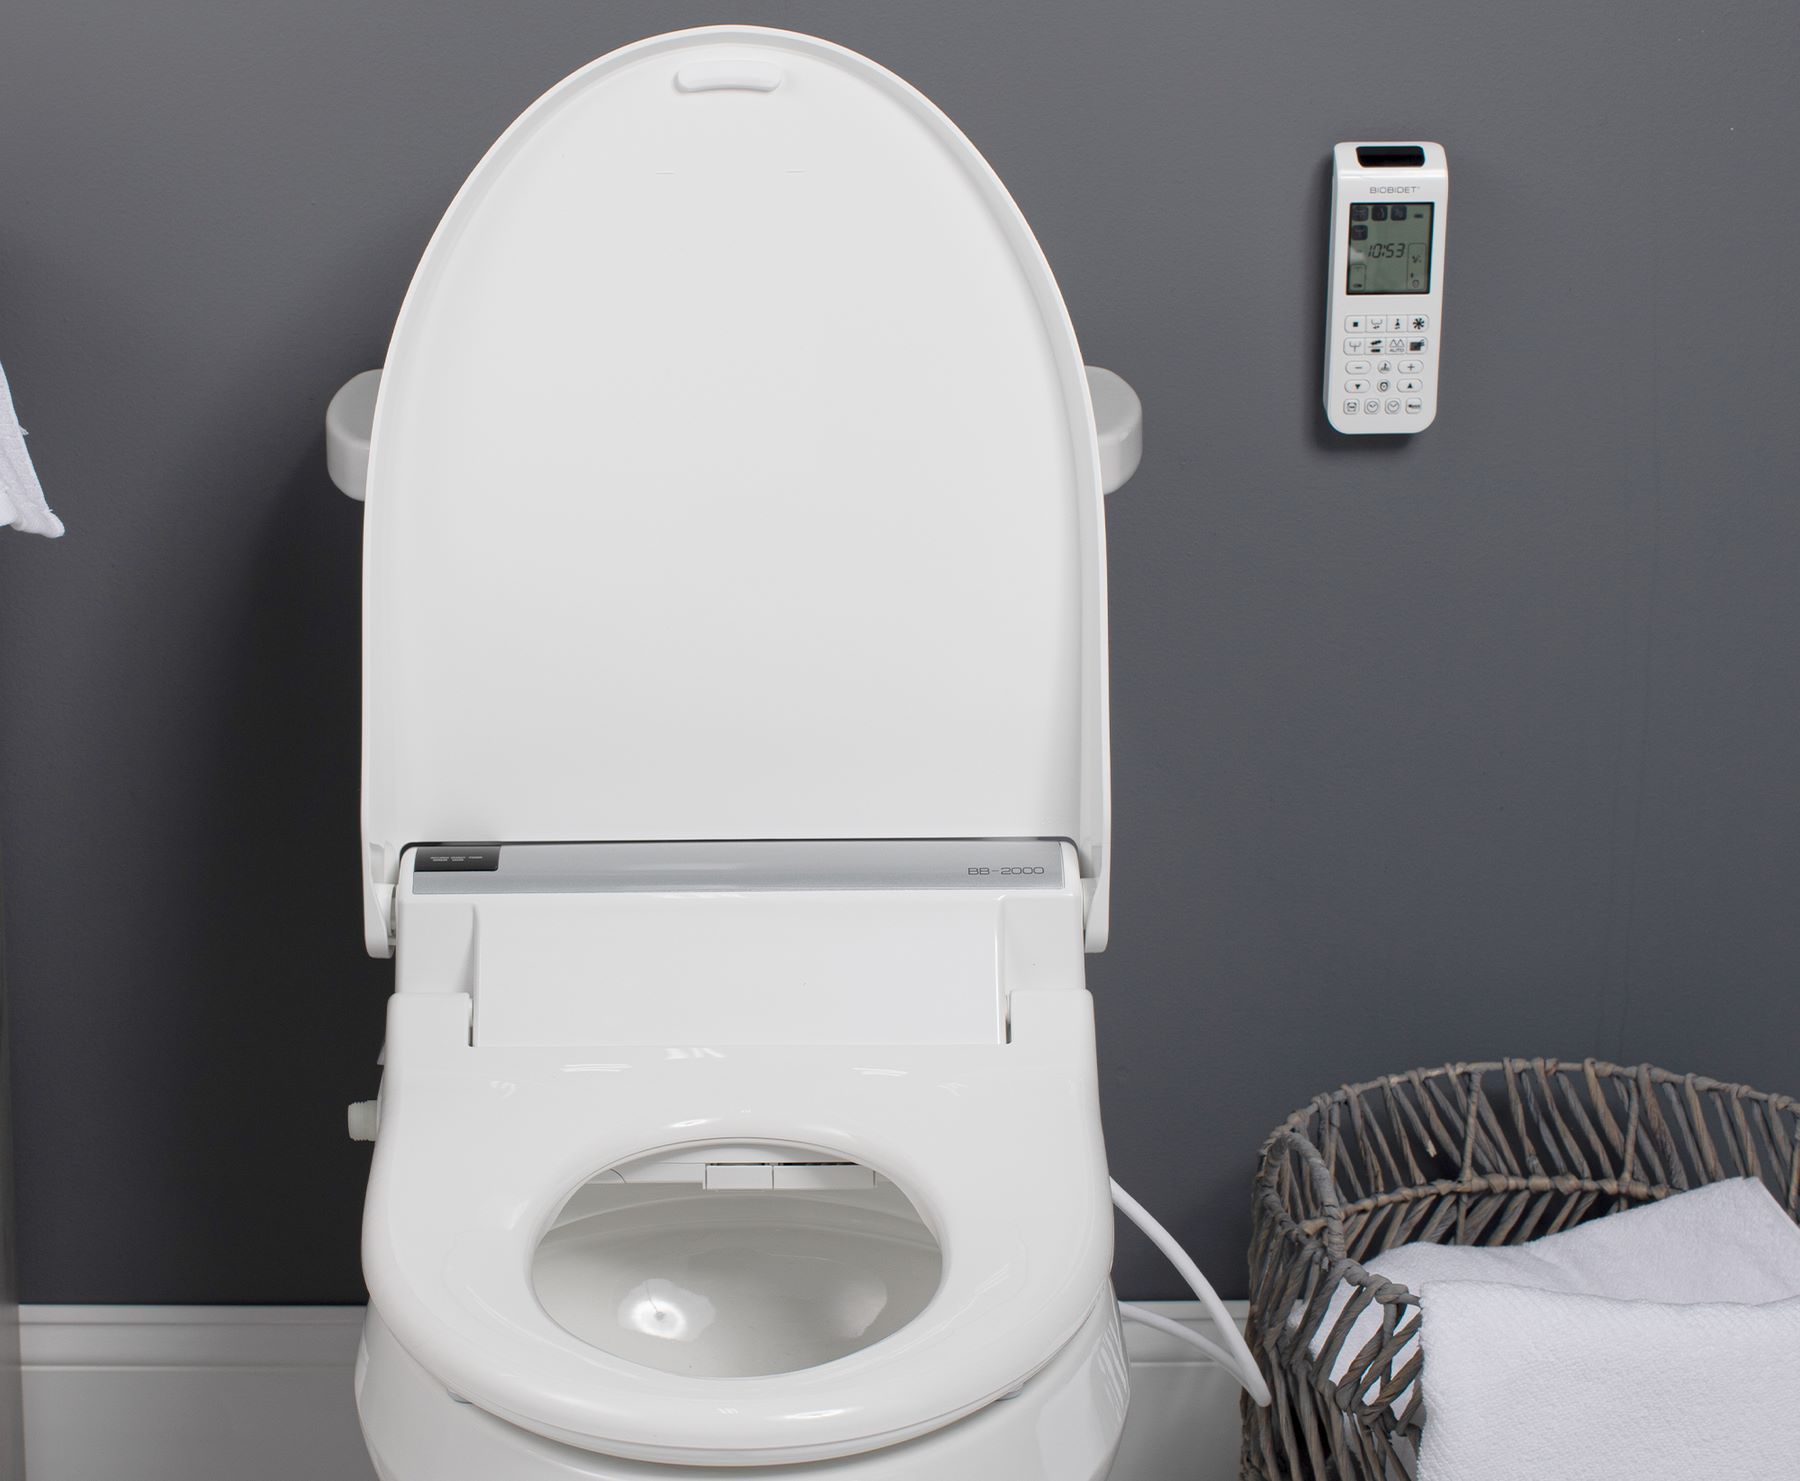
Step 4: Test the bidet
With the Tushy bidet attachment successfully installed, it's time to put it to the test and experience the refreshing and hygienic benefits it offers. Testing the bidet allows you to ensure that the water pressure, temperature, and spray pattern meet your preferences, providing a personalized and comfortable cleansing experience. Here's a detailed guide on how to test the Tushy bidet and make any necessary adjustments:
-
Activate the Bidet: Sit on the toilet and activate the Tushy bidet using the intuitive controls. Depending on the model, you may have options to adjust the water pressure, nozzle position, and temperature. Start with the default settings and gradually make adjustments to customize the experience to your liking.
-
Adjust the Water Pressure: Experiment with the water pressure settings to find the level that provides optimal cleansing while ensuring comfort. Some users prefer a gentle spray, while others may prefer a stronger pressure for a more thorough cleanse. Take your time to find the pressure that suits your preferences.
-
Explore the Nozzle Position: Many Tushy bidet models offer adjustable nozzle positions to accommodate varying body types and preferences. Test different nozzle positions to find the one that aligns with your comfort and cleansing needs. The ability to customize the nozzle position ensures a tailored and effective cleansing experience for each user.
-
Evaluate the Water Temperature: If your Tushy bidet includes a warm water option, test the temperature settings to determine the ideal warmth for your comfort. Some users may prefer a slightly warmer temperature, especially during colder seasons, while others may find room temperature water to be perfectly suitable.
-
Ensure Proper Functionality: While testing the bidet, pay attention to any unusual sounds, leaks, or malfunctions. Ensure that the water spray is directed accurately and consistently for a thorough cleansing experience. If you encounter any issues, refer to the user manual for troubleshooting tips or reach out to Tushy's customer support for assistance.
-
Make Necessary Adjustments: Based on your testing experience, make adjustments to the water pressure, temperature, and nozzle position as needed. The goal is to tailor the bidet's settings to your individual preferences, ensuring a comfortable and effective cleansing experience every time you use it.
By thoroughly testing the Tushy bidet and making personalized adjustments, you can maximize the benefits of this innovative bathroom accessory. The ability to customize the water pressure, temperature, and nozzle position allows you to create a tailored and refreshing cleansing experience that aligns with your unique preferences and needs. With the bidet successfully tested and adjusted, you can confidently embrace the enhanced comfort and hygiene it brings to your daily routine.
Before installing a Tushy bidet, make sure to shut off the water supply to the toilet. This will prevent any leaks or accidents while you’re working.
Conclusion
Congratulations on successfully installing your Tushy bidet attachment! By following the step-by-step instructions outlined in this guide, you've transformed your ordinary toilet into a modern, eco-friendly, and hygienic oasis. The installation process may have seemed daunting at first, but with the right tools, materials, and guidance, you've accomplished a rewarding home improvement project that offers long-term benefits.
As you reflect on the journey of installing the Tushy bidet, it's important to recognize the positive impact it brings to your daily routine. The bidet's eco-friendly design reduces reliance on excessive toilet paper usage, contributing to environmental sustainability while providing a refreshing and hygienic cleansing experience. With the ability to customize water pressure, temperature, and nozzle position, the Tushy bidet offers a personalized and comfortable cleansing solution for each user.
Beyond the practical benefits, the installation of a Tushy bidet attachment signifies a commitment to embracing innovative and sustainable bathroom accessories. It's a step towards reducing environmental waste and embracing modern solutions that prioritize both comfort and eco-consciousness. By integrating the Tushy bidet into your bathroom, you've embraced a lifestyle that values sustainability without compromising on luxury and convenience.
As you enjoy the benefits of your newly installed Tushy bidet, remember that proper maintenance and care will ensure its longevity and continued performance. Regularly check for leaks, clean the bidet attachment, and refer to the user manual for maintenance guidelines. By caring for your Tushy bidet, you'll continue to experience its refreshing and hygienic benefits for years to come.
In conclusion, the installation of a Tushy bidet attachment represents a significant upgrade to your bathroom experience. It's a testament to your commitment to sustainability, comfort, and modern innovation. With the Tushy bidet in place, you can take pride in knowing that you've enhanced your bathroom with a practical, eco-friendly, and luxurious addition that elevates your daily routine.
So, as you revel in the comfort and sustainability of your newly installed Tushy bidet, take a moment to appreciate the positive impact it brings to your life and the environment. Embrace the modern convenience and eco-consciousness that the Tushy bidet embodies, and continue to explore innovative solutions that enhance your home while contributing to a more sustainable world.
Frequently Asked Questions about How To Install A Tushy Bidet
Was this page helpful?
At Storables.com, we guarantee accurate and reliable information. Our content, validated by Expert Board Contributors, is crafted following stringent Editorial Policies. We're committed to providing you with well-researched, expert-backed insights for all your informational needs.

0 thoughts on “How To Install A Tushy Bidet”