Home>Furniture & Design>Kitchen Furniture>How To Paint A China Cabinet
Kitchen Furniture
How To Paint A China Cabinet
Modified: February 18, 2024
Learn how to paint a china cabinet to give your kitchen furniture a fresh, new look. Get expert tips on furniture and design for your kitchen.
(Many of the links in this article redirect to a specific reviewed product. Your purchase of these products through affiliate links helps to generate commission for Storables.com, at no extra cost. Learn more)
Introduction
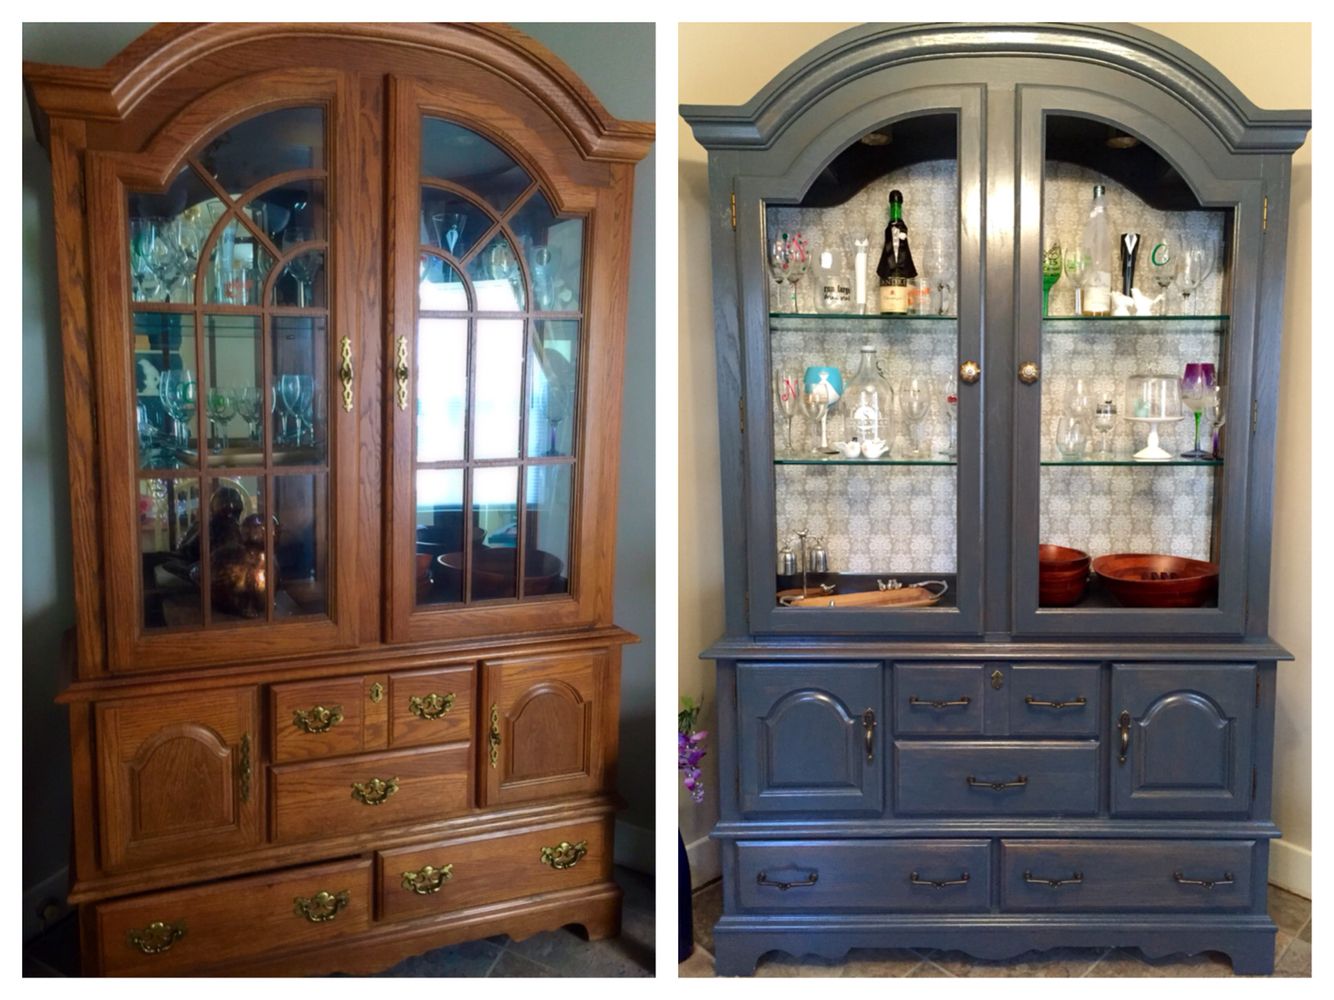
Are you looking to breathe new life into your kitchen decor without breaking the bank? Painting your china cabinet can be a fantastic way to revamp the space and infuse it with your personal style. Whether you prefer a rustic, shabby-chic look or a sleek modern finish, a fresh coat of paint can work wonders. In this comprehensive guide, we'll walk you through the step-by-step process of painting a china cabinet, from choosing the right paint to adding those final finishing touches.
Not only does painting your china cabinet offer a budget-friendly alternative to purchasing a new one, but it also allows you to unleash your creativity and transform your furniture to align with your evolving taste. With a bit of time, effort, and the right materials, you can achieve a stunning result that will leave your guests in awe.
So, roll up your sleeves, put on your creative hat, and let's dive into the exciting world of china cabinet painting. Whether you're a seasoned DIY enthusiast or a novice looking to embark on your first furniture makeover, this guide has you covered. Let's turn your vision into a reality!
Key Takeaways:
- Revamp your kitchen decor on a budget by painting your china cabinet. Choose the right paint, prepare meticulously, and add finishing touches for a stunning, personalized furniture makeover.
- Transform your china cabinet into a unique reflection of your style. With the right paint, careful preparation, and creative finishing touches, you can breathe new life into your kitchen decor.
Read more: How To Paint China Cabinet
Choosing the Right Paint
Before embarking on your china cabinet painting journey, it’s crucial to select the right paint for the job. The type of paint you choose will significantly impact the final look and durability of the finish. Here are some essential factors to consider when choosing the perfect paint for your project:
- Paint Type: Opt for either latex or oil-based paint. Latex paint is easy to clean, dries quickly, and emits fewer fumes, making it a more convenient option for indoor use. On the other hand, oil-based paint offers a more durable finish, making it suitable for high-traffic areas such as the kitchen.
- Finish: Consider the finish that best complements your desired aesthetic. Satin and semi-gloss finishes are popular choices for kitchen cabinets due to their durability and ease of cleaning. A glossy finish adds a modern touch, while a matte finish creates a more rustic or vintage look.
- Color: The color you choose can completely transform the look and feel of your kitchen. Whether you opt for a classic white, a bold pop of color, or a trendy neutral tone, ensure that the color harmonizes with your kitchen’s overall design scheme.
- Primer: Depending on the condition of your cabinet’s existing finish, you may need a primer. A high-quality primer can help the paint adhere better and provide a more uniform finish.
- Durability: Since kitchen cabinets are subjected to daily wear and tear, it’s essential to select a paint that can withstand frequent cleaning and resist chipping and peeling.
Once you’ve considered these factors, visit your local paint store to explore color swatches and discuss your project with a knowledgeable staff member. Don’t hesitate to ask for recommendations based on your specific requirements and the cabinet’s material. Armed with the right paint, you’re ready to take the next step in transforming your china cabinet.
Preparing the Cabinet
Proper preparation is key to achieving a flawless and long-lasting paint finish on your china cabinet. Before diving into the painting process, take the time to prepare the cabinet by following these essential steps:
- Clean the Surface: Start by thoroughly cleaning the cabinet to remove any dirt, grease, or residue that may interfere with the adhesion of the paint. Use a gentle cleanser and water to wipe down the surfaces, ensuring that all areas are clean and dry before proceeding.
- Remove Hardware: If your cabinet has hardware such as knobs, handles, or hinges, it’s best to remove them before painting. This allows for easier access to the cabinet’s surfaces and ensures a more uniform finish.
- Repair Imperfections: Inspect the cabinet for any dents, scratches, or imperfections. Fill in any holes or cracks with wood filler, and sand the areas smooth once the filler has dried. This step is crucial for achieving a polished final result.
- Sand the Surface: Lightly sand the entire cabinet to create a slightly rough texture that will help the paint adhere better. Use a fine-grit sandpaper, and be sure to sand along the grain of the wood to avoid causing any visible scratches.
- Remove Dust: After sanding, wipe down the cabinet with a tack cloth to remove any dust or debris. This step is vital for ensuring a clean painting surface and preventing particles from becoming trapped in the paint.
- Protect Surrounding Areas: If you’re painting the cabinet in place, take precautions to protect the surrounding floor and walls from paint drips or spills. Lay down drop cloths and use painter’s tape to cover any areas that you want to keep paint-free.
By meticulously preparing the cabinet, you’ll create an optimal foundation for the paint, promoting adhesion and enhancing the overall quality of the finish. While it may require some elbow grease, the preparation process is a crucial investment in achieving professional-looking results.
Priming the Surface
Once your china cabinet is meticulously cleaned and prepared, the next step in the painting process is priming the surface. While not all projects may require priming, it is particularly beneficial when painting over dark or glossy surfaces, or when using a significantly lighter paint color. Here’s why priming is essential and how to do it effectively:
- Promotes Adhesion: Primer creates a bonding surface for the paint, allowing it to adhere better and ensuring a more durable finish.
- Blocks Stains: If your cabinet has any stains, knots, or discolorations, a quality primer can prevent them from bleeding through the paint and marring the final result.
- Enhances Color Accuracy: When transitioning from a dark to a light paint color, primer helps achieve the true hue of the new paint, preventing the previous color from affecting the final outcome.
- Smoothens Imperfections: Primer can help minimize the appearance of surface imperfections, creating a more uniform base for the paint.
When selecting a primer, opt for a high-quality product specifically designed for use on wood surfaces. Consider whether a water-based or oil-based primer is best suited for your project, taking into account factors such as drying time, odor, and cleanup. Once you have the appropriate primer, follow these steps to prime your cabinet:
- Prepare the Area: Ensure that the cabinet is clean and dry, and that the surrounding area is adequately protected from primer overspray or drips.
- Apply the Primer: Using a paintbrush or a high-quality roller, apply a thin, even coat of primer to the entire cabinet surface. Be mindful of drips and brush marks, and strive for a smooth application.
- Allow Drying Time: Follow the manufacturer’s instructions regarding drying time. Ensure that the primer is completely dry before proceeding to the painting stage.
- Lightly Sand (Optional): If necessary, lightly sand the primed surface to remove any brush marks or imperfections, ensuring a smooth base for the paint.
- Clean the Surface: After sanding, use a tack cloth to remove any dust or residue before moving on to the painting phase.
By priming your cabinet, you’re setting the stage for a flawless and long-lasting paint finish. This crucial step can make a significant difference in the overall quality and durability of your cabinet makeover.
Before painting a china cabinet, make sure to clean and sand the surface to ensure the paint adheres properly. Use a high-quality primer to help the paint stick and last longer.
Painting the Cabinet
With the cabinet cleaned, prepared, and primed, it’s time to unleash your creativity and bring your vision to life by applying the paint. This phase of the process is where your cabinet truly undergoes its stunning transformation. Follow these steps for a smooth and successful painting experience:
- Choose the Right Tools: Select high-quality paintbrushes or rollers suitable for the type of paint you’re using and the cabinet’s surface. A combination of brushes and rollers can provide the best coverage and finish.
- Stir the Paint: Thoroughly stir the paint to ensure an even consistency and proper color distribution. If using multiple cans of paint, mix them together in a larger container to maintain color uniformity.
- Begin Painting: Starting with the cabinet doors, apply the paint in smooth, even strokes, following the natural grain of the wood. Work methodically, section by section, to ensure consistent coverage and minimize visible brush marks.
- Pay Attention to Details: Take care when painting intricate areas, such as moldings or trim. Use a smaller brush or an artist’s brush to navigate corners and edges with precision.
- Allow for Drying Time: Follow the paint manufacturer’s recommended drying time between coats. Multiple thin coats are preferable to one thick coat, as they promote better adhesion and a more professional finish.
- Consider Ventilation: If painting indoors, ensure proper ventilation to aid in the drying process and minimize the inhalation of fumes. Open windows and use fans to maintain airflow.
- Paint the Cabinet Frame: Once the doors are painted and fully dry, move on to the cabinet frame, applying the paint with the same level of care and attention to detail.
- Inspect for Imperfections: After the initial coat(s) of paint have dried, inspect the cabinet for any missed spots, drips, or uneven areas. Touch up as needed before proceeding to the final step.
As you apply the paint, envision the final look you aim to achieve. Whether you’re aiming for a pristine, modern finish or a charmingly distressed appearance, the painting phase is where your creative vision truly takes shape. Embrace the process, and revel in the magical metamorphosis of your china cabinet.
Read more: What Is A China Cabinet
Adding Finishing Touches
As you near the completion of your china cabinet painting project, it’s time to add those final touches that will elevate the overall look and ensure a polished, professional result. These finishing touches go beyond the paint itself and encompass the finer details that can make a world of difference in the cabinet’s appearance. Here’s how to add those essential finishing touches:
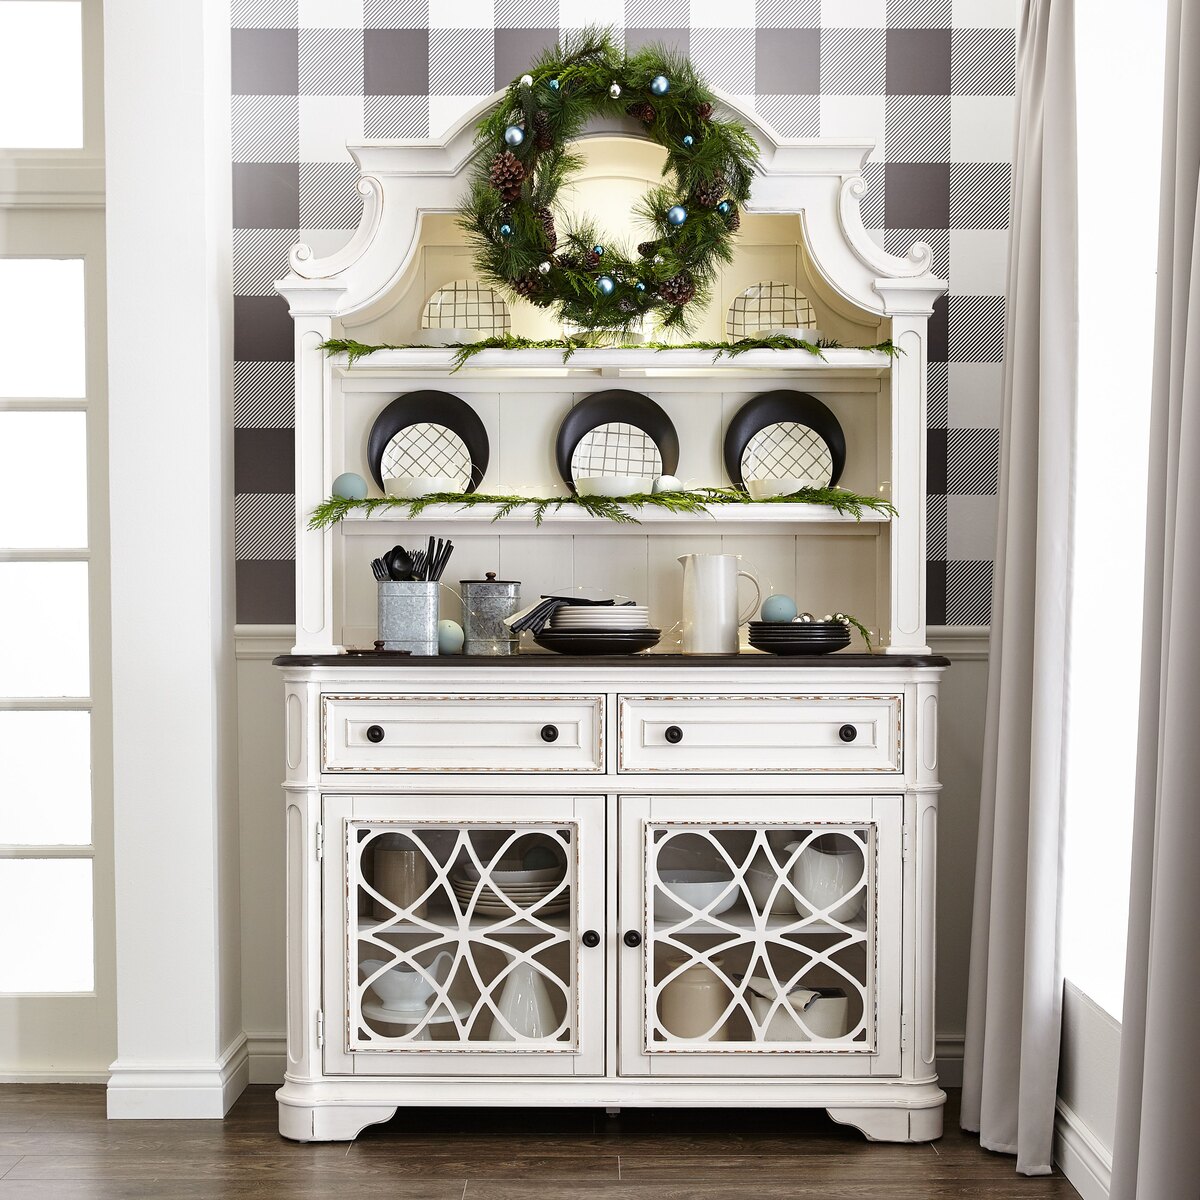
- Reattach Hardware: Once the paint is fully dry, reattach the cabinet’s hardware, including knobs, handles, and hinges. Opt for hardware that complements the new color and style of the cabinet, adding a touch of elegance or modern flair.
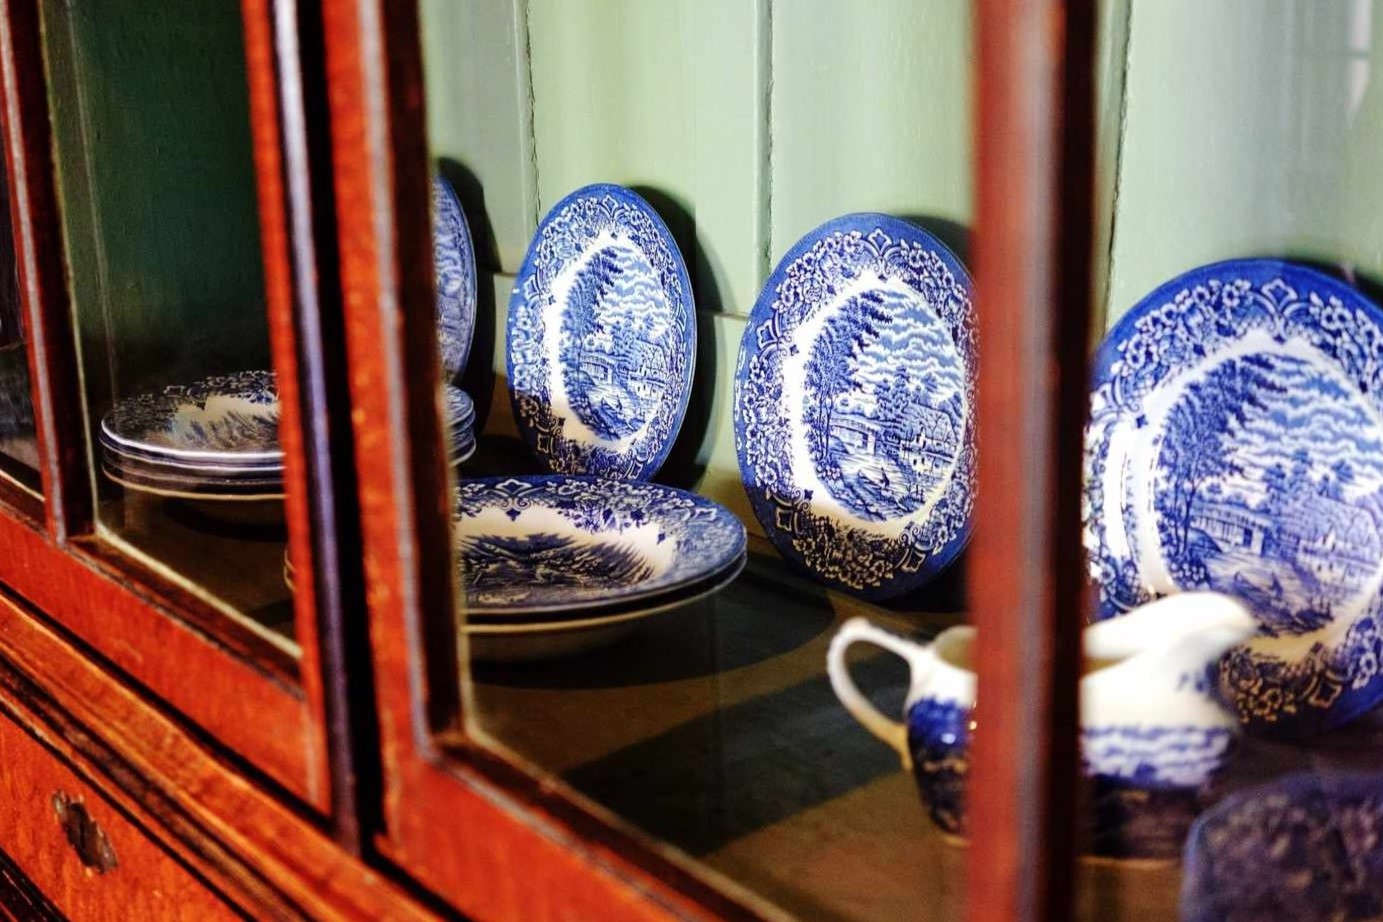
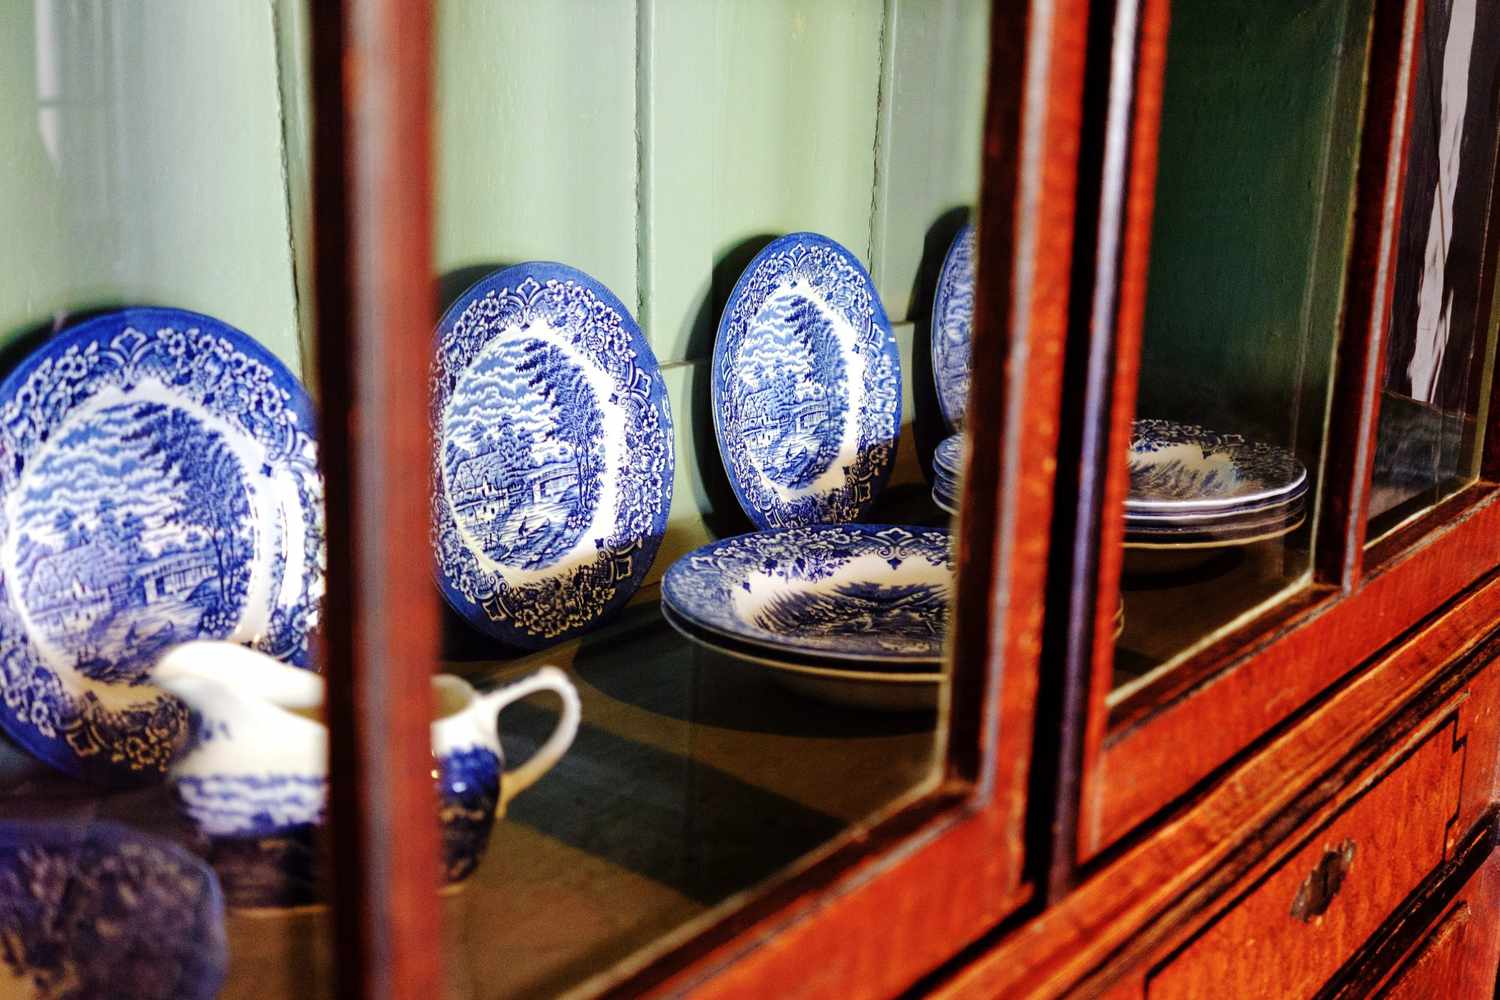
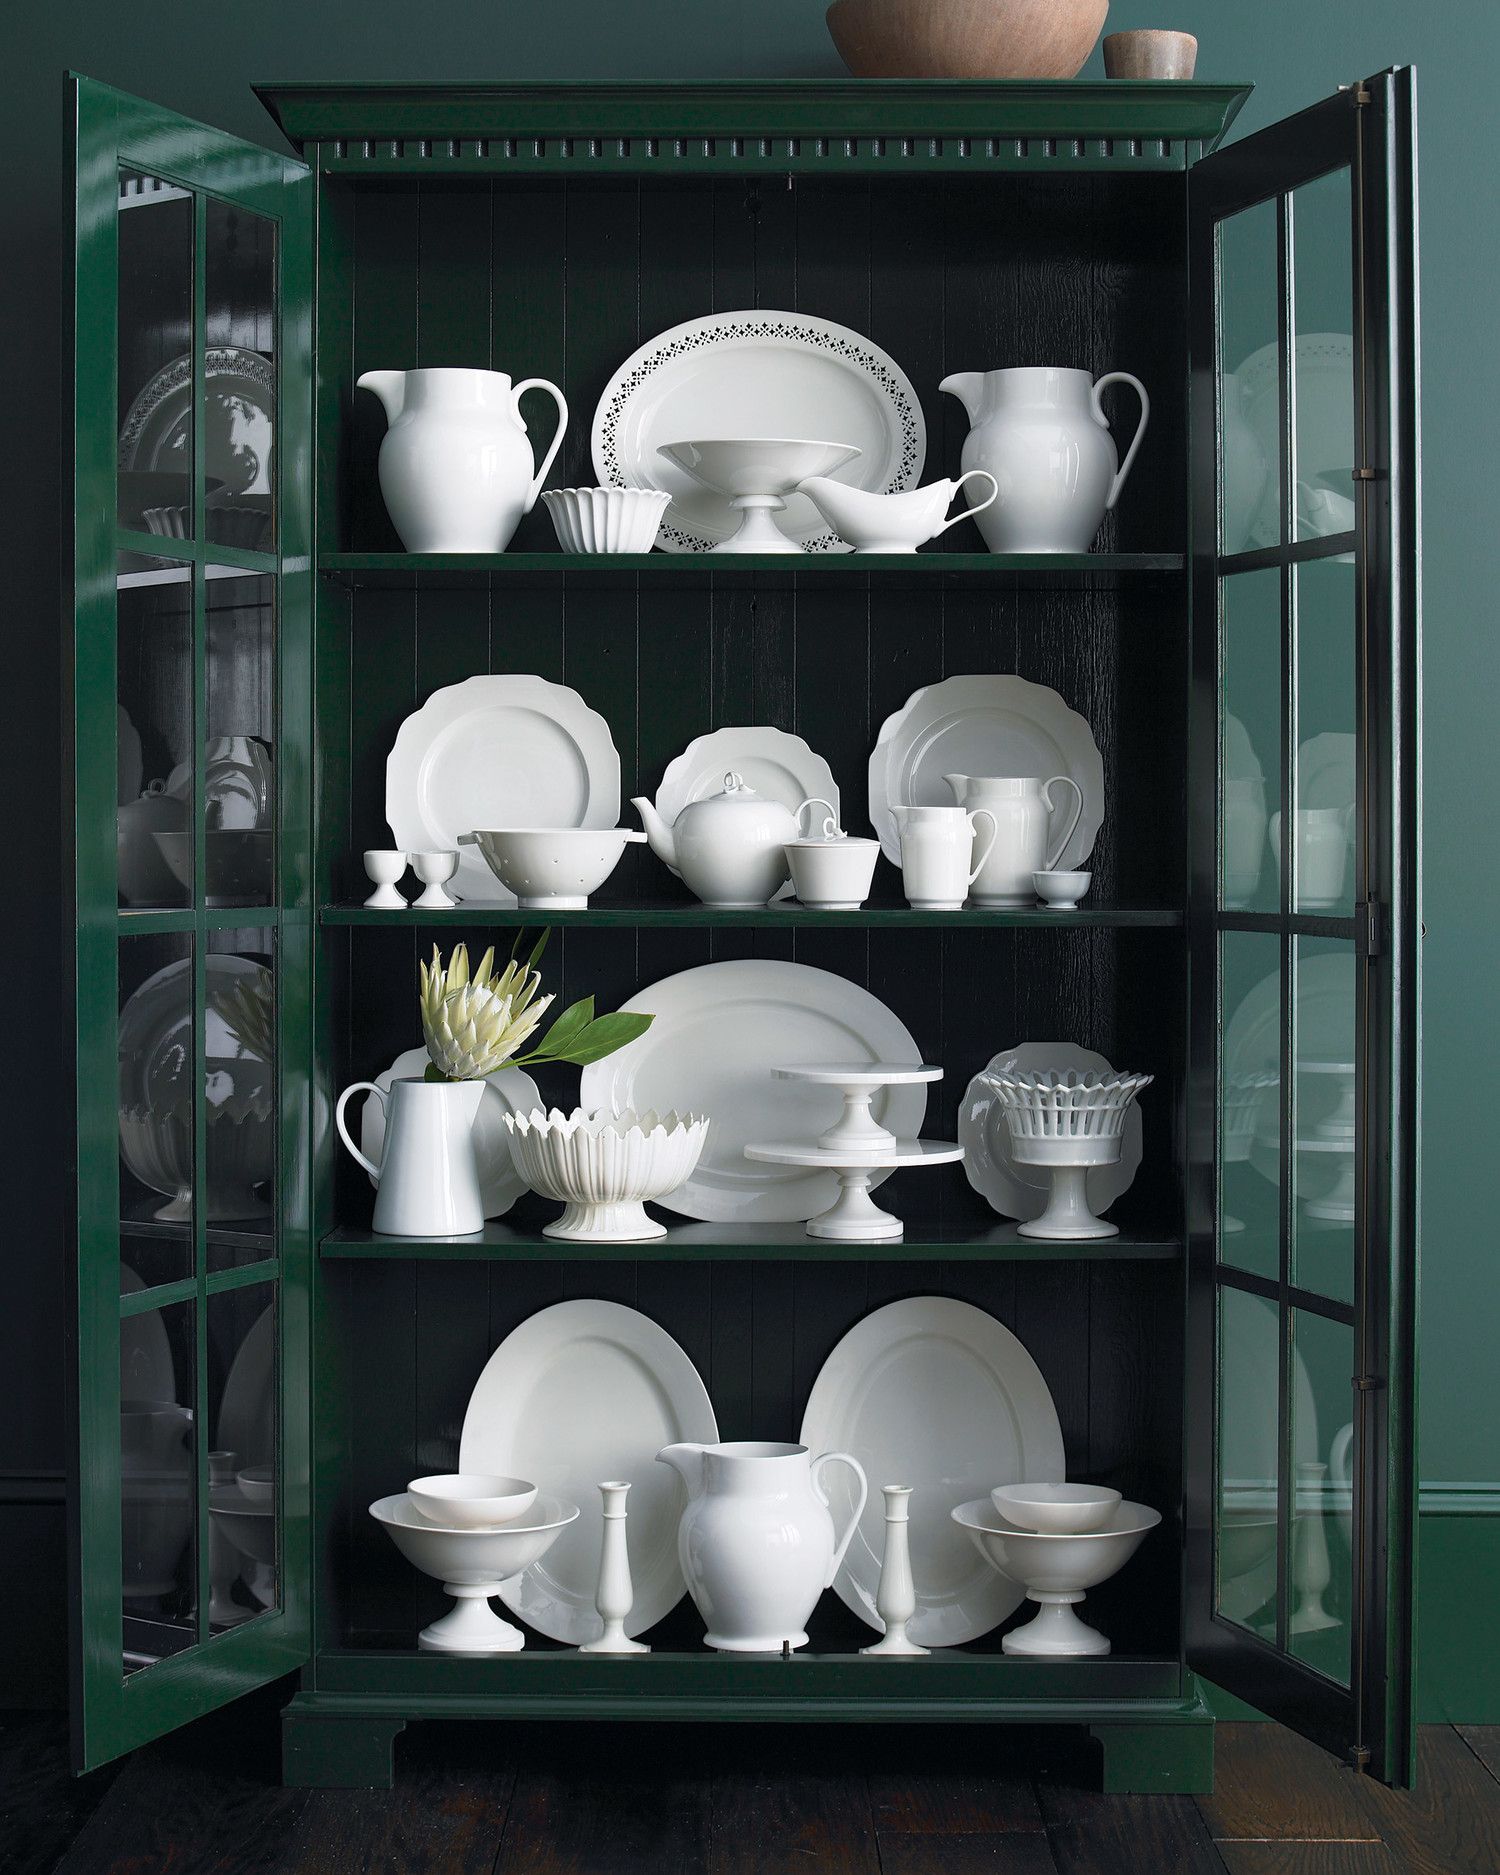
- Install Glass or Mirrors: If your china cabinet features glass doors, consider adding decorative glass or mirrors to enhance its visual appeal. This can create a striking display area for your cherished dinnerware and collectibles.
- Apply a Protective Finish: To safeguard the newly painted surface and enhance its durability, consider applying a clear protective finish. Choose a product specifically designed for use on painted surfaces, and follow the manufacturer’s instructions for optimal results.
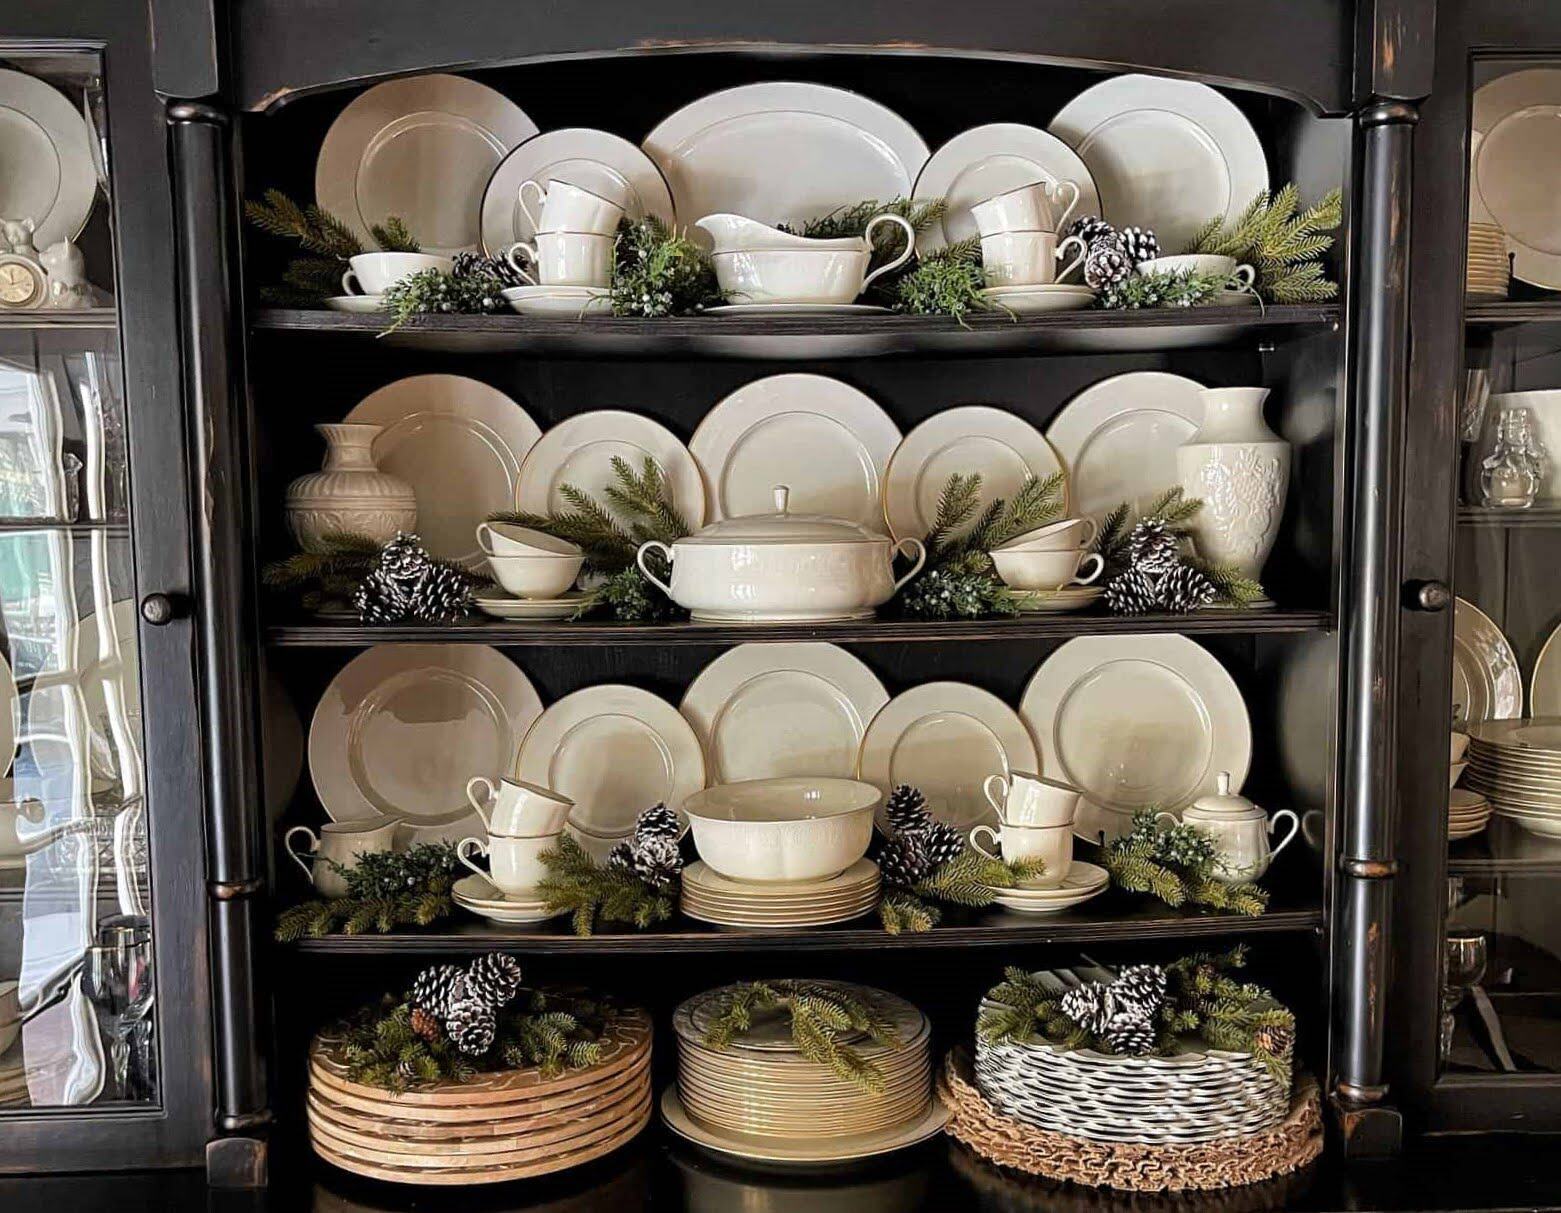
- Accessorize the Interior: Arrange the cabinet’s interior to showcase your favorite dishes, glassware, or decorative items. Consider adding LED lighting to illuminate the display and create a captivating focal point in your kitchen or dining area.
- Personalize with Decals or Stencils: For a unique and personalized touch, consider embellishing the cabinet with decorative decals, stencils, or hand-painted designs. This can add character and individuality to the piece, making it a standout feature in your home.
- Admire Your Handiwork: Step back and take a moment to admire the stunning transformation you’ve accomplished. Revel in the satisfaction of breathing new life into your china cabinet and infusing your kitchen with style and personality.
By attending to these finishing touches, you’ll complete the cabinet’s makeover with finesse, ensuring that every aspect reflects your desired aesthetic and attention to detail. The result will be a beautifully rejuvenated china cabinet that serves as a captivating focal point in your home.
Conclusion
Congratulations on successfully embarking on the exhilarating journey of painting your china cabinet! Through careful consideration of paint selection, meticulous preparation, and skillful execution, you’ve transformed a functional piece of furniture into a stunning focal point that reflects your unique style and creativity. As you stand back and admire the fruits of your labor, take pride in the fact that you’ve achieved a remarkable makeover without the expense of purchasing a new cabinet.
By choosing the right paint and finish, diligently preparing the cabinet, and applying the paint with precision and care, you’ve breathed new life into a beloved piece of furniture. The addition of finishing touches, from reattaching hardware to personalizing the interior, has elevated the cabinet’s aesthetic appeal and contributed to the overall ambiance of your kitchen or dining area.
More than just a DIY project, painting your china cabinet has allowed you to express your creativity, showcase your personal taste, and create a one-of-a-kind piece that adds character and charm to your home. Whether you’ve opted for a timeless white finish, a bold pop of color, or a distressed vintage look, your cabinet now stands as a reflection of your individuality and design sensibilities.
As you enjoy the transformed space and the admiring glances of friends and family, take a moment to revel in the sense of accomplishment that comes with a successful furniture makeover. Your newly painted china cabinet is not just a piece of furniture; it’s a testament to your ingenuity and dedication to creating a home that resonates with warmth and style.
So, as you bask in the glow of your beautifully painted cabinet, take pride in the fact that you’ve not only revitalized a piece of furniture but also added a touch of artistry and personality to your living space. Your china cabinet stands as a testament to the transformative power of creativity and the joy of breathing new life into the things we cherish.
Frequently Asked Questions about How To Paint A China Cabinet
Was this page helpful?
At Storables.com, we guarantee accurate and reliable information. Our content, validated by Expert Board Contributors, is crafted following stringent Editorial Policies. We're committed to providing you with well-researched, expert-backed insights for all your informational needs.


0 thoughts on “How To Paint A China Cabinet”