Articles
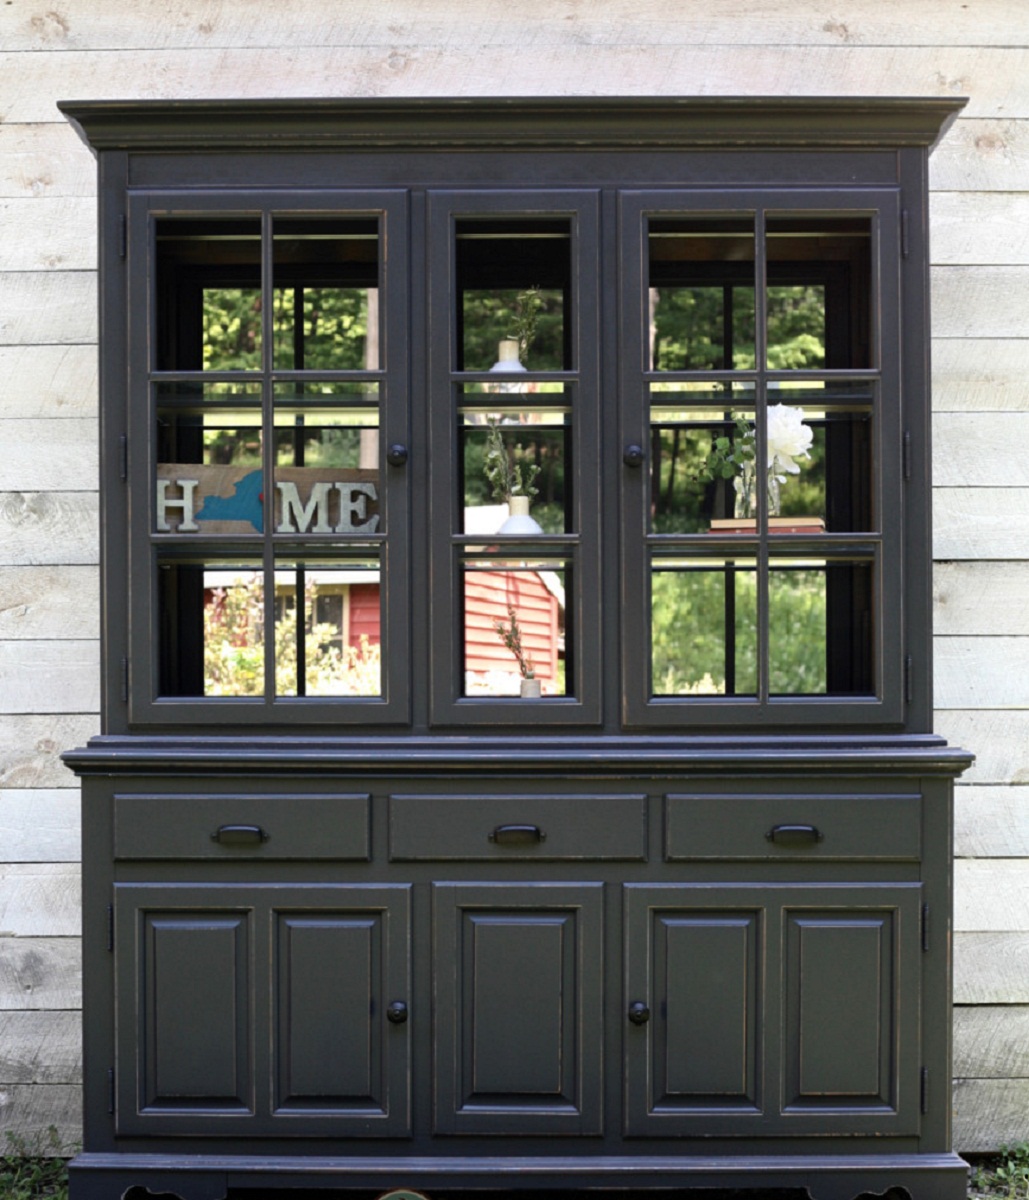
How To Paint China Cabinet
Modified: September 1, 2024
Learn how to paint your china cabinet with our easy step-by-step guide. Transform your home with this DIY home maintenance project.
(Many of the links in this article redirect to a specific reviewed product. Your purchase of these products through affiliate links helps to generate commission for Storables.com, at no extra cost. Learn more)
Introduction
Welcome to our comprehensive guide on how to paint a china cabinet. Giving your old, worn-out cabinet a fresh coat of paint can breathe new life into it and transform the entire look of your space. Whether you want to update the cabinet to match your new decor or simply want to give it a modern facelift, painting is a great DIY project that anyone can tackle.
In this step-by-step guide, we will walk you through the process of painting your china cabinet from start to finish. From gathering the necessary materials to adding the final decorative touches, we’ve got you covered. So, grab your paintbrush and let’s get started!
Before you begin, it’s important to note that painting a china cabinet requires some time and effort. It’s not a project that can be rushed, as proper preparation and attention to detail are crucial for achieving a professional-looking finish. So, be prepared to invest some time into the process, and the end result will be worth it!
Now, let’s take a look at the materials you’ll need for this project.
Key Takeaways:
- Transform your old china cabinet into a stunning statement piece with a fresh coat of paint. Patience, attention to detail, and proper preparation are key to achieving a professional finish that reflects your unique style.
- Enjoy the creative process of painting your china cabinet and add personal touches to make it truly yours. Protect your finished piece and share your accomplishment with friends and family to inspire others to embark on their own DIY projects.
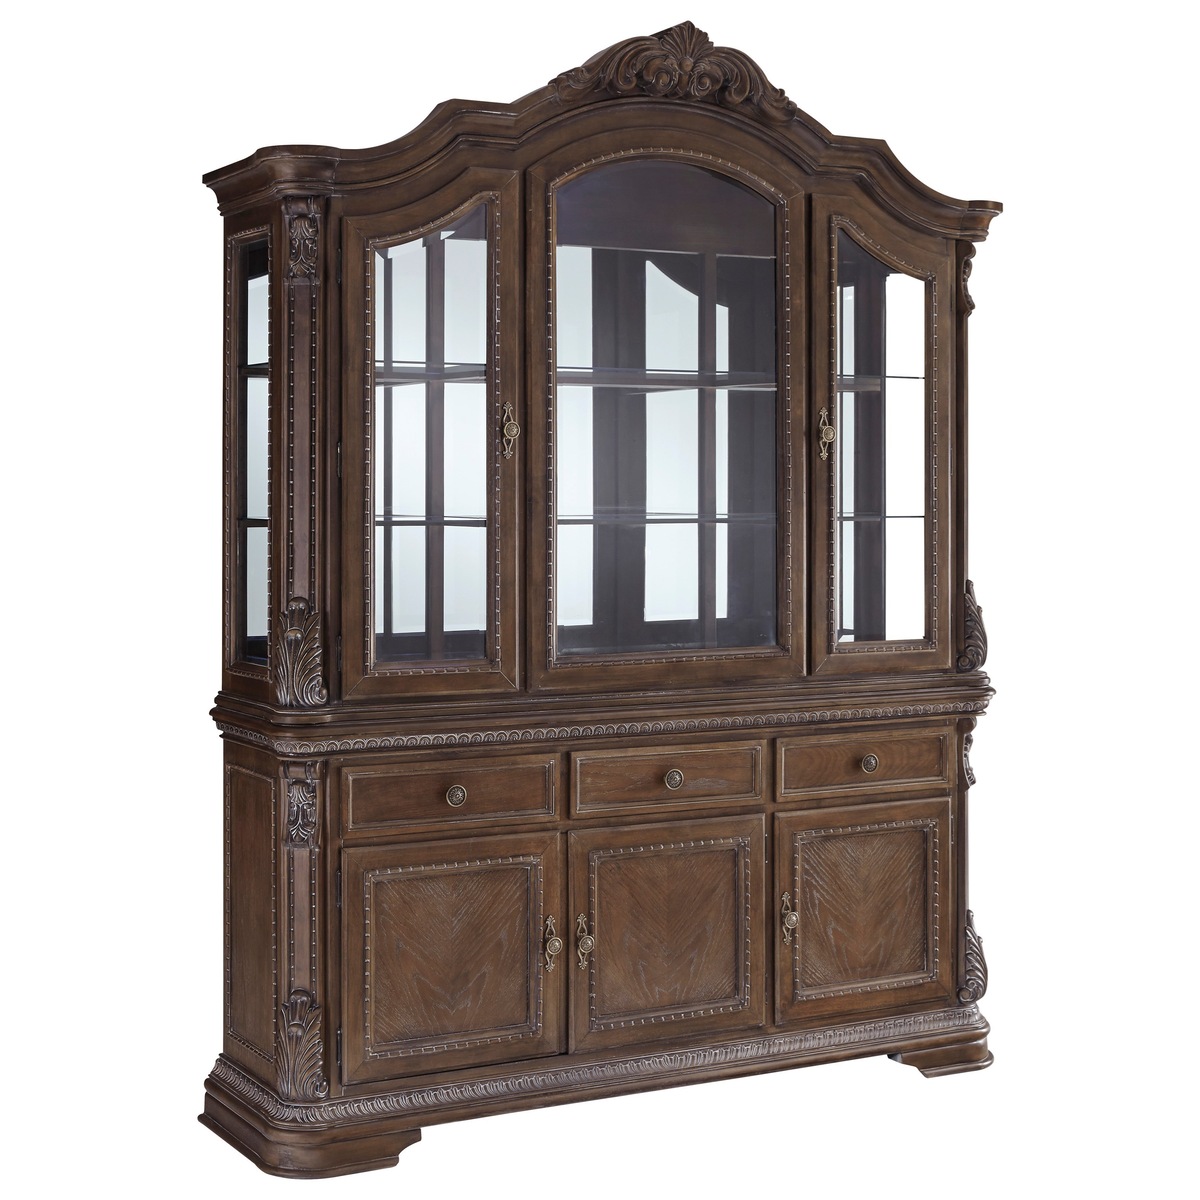
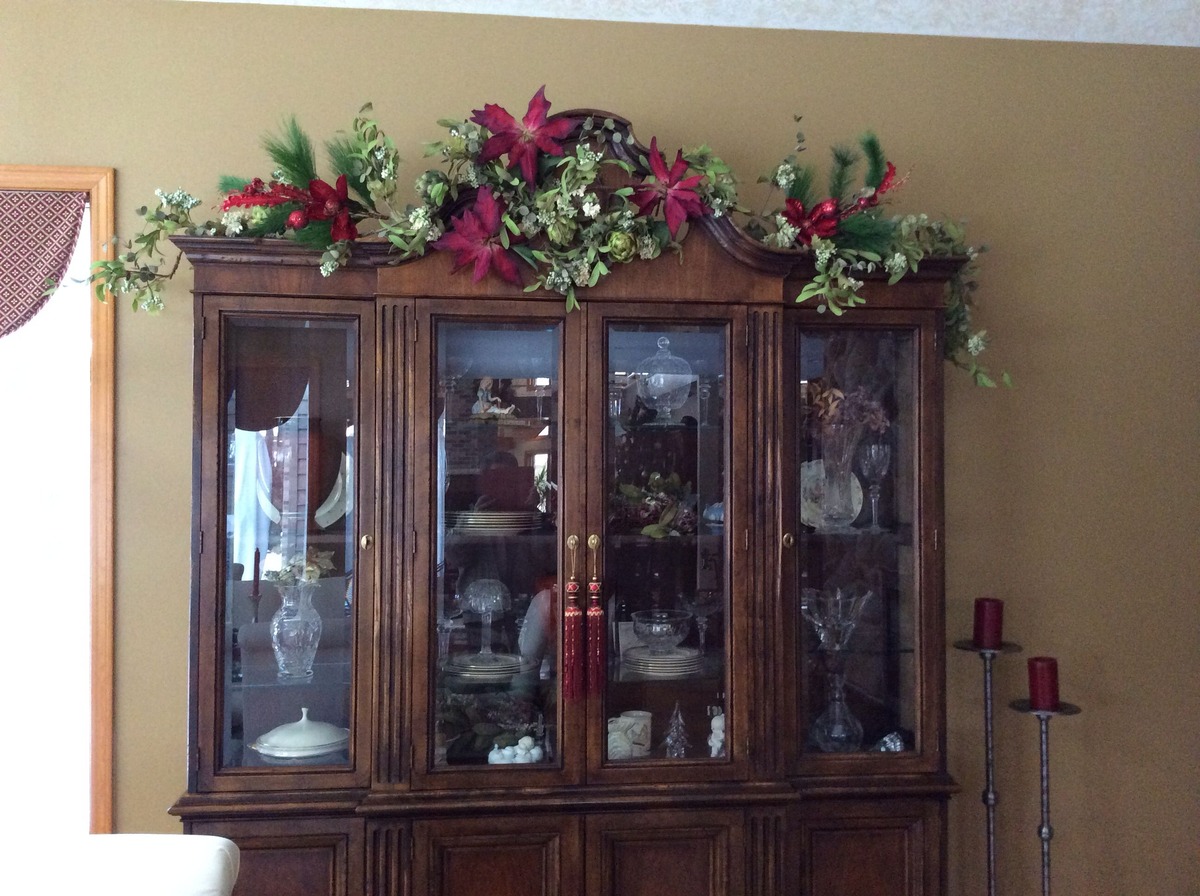
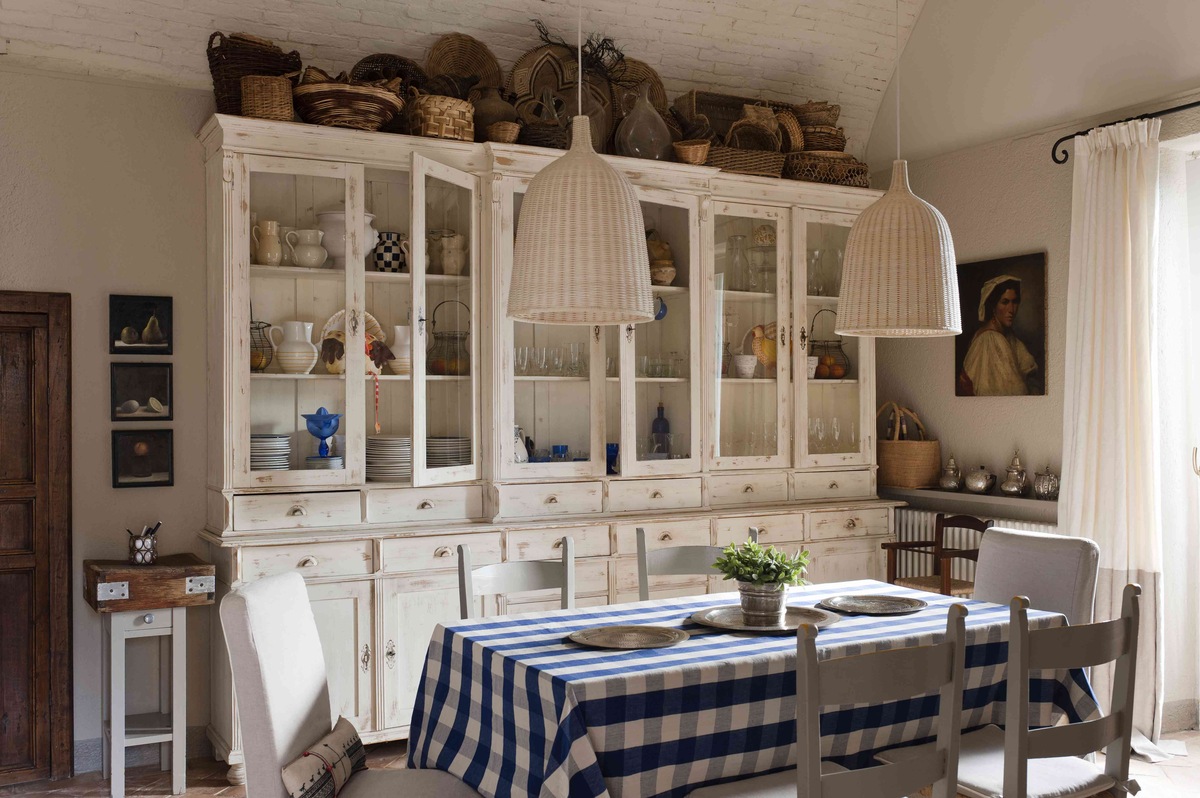
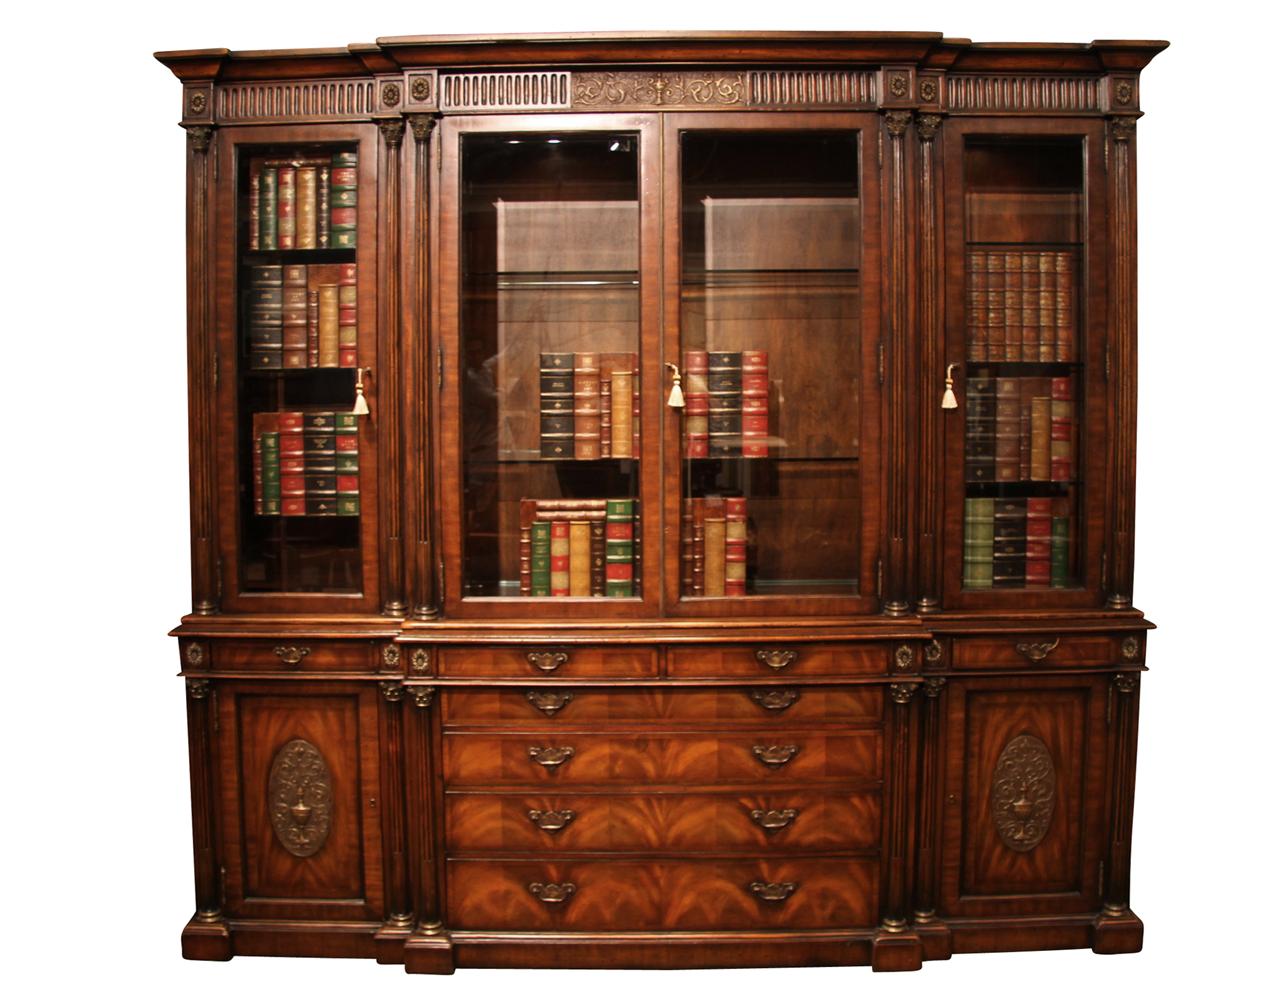
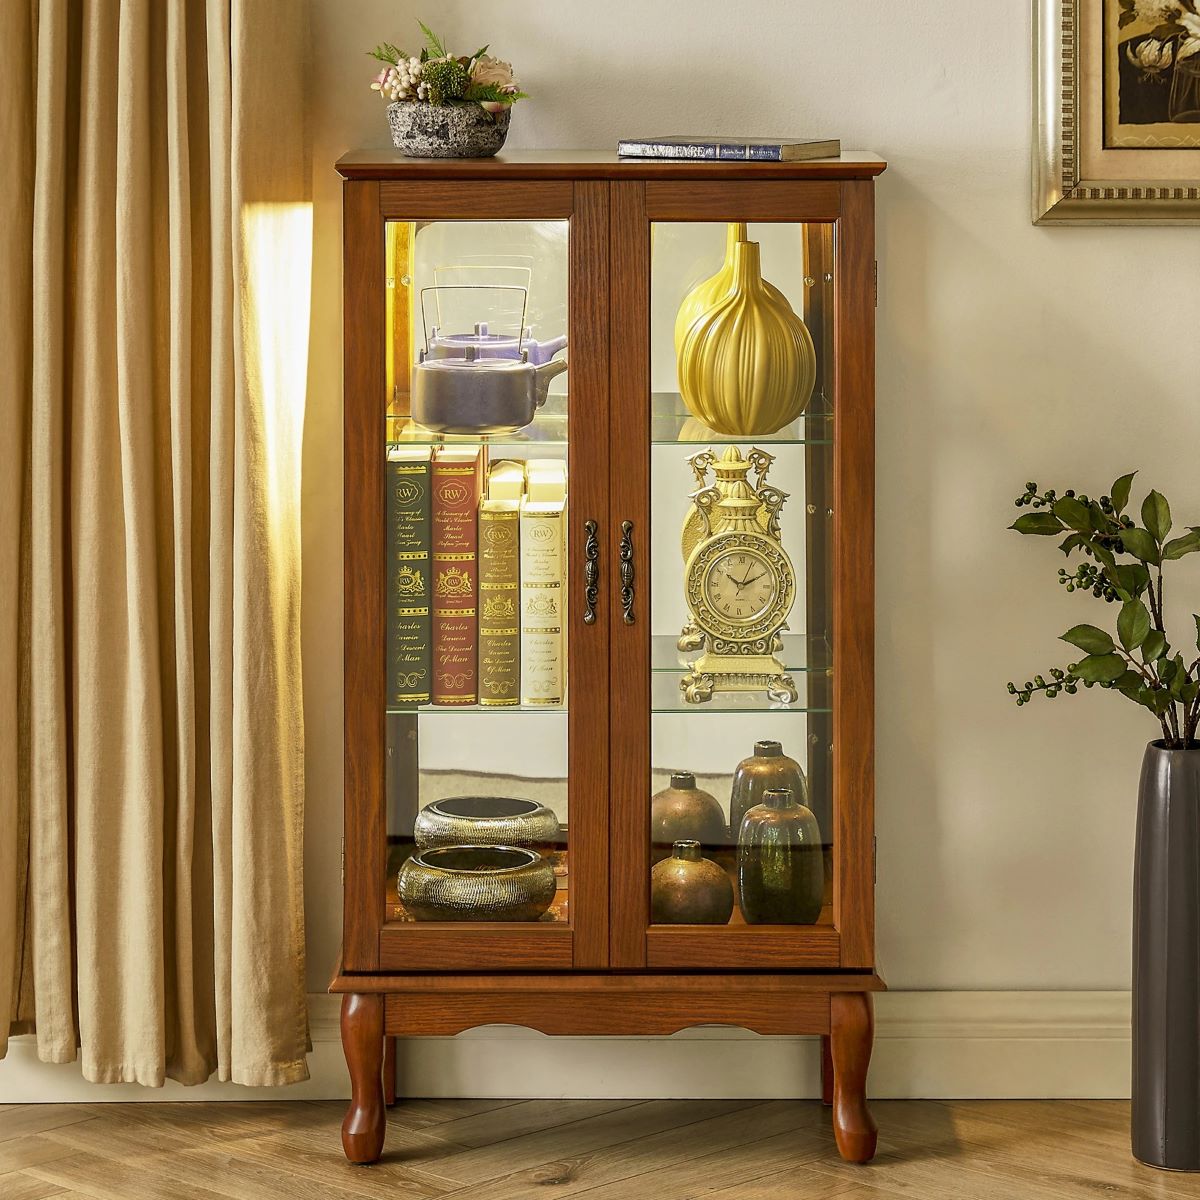
Read more: What Is A China Cabinet
Materials Required
Before you start painting your china cabinet, it’s important to gather all the necessary materials. Here is a list of things you’ll need:
- Painter’s tape
- Sandpaper (medium and fine grit)
- Tack cloth or lint-free cloth
- Primer
- Paint in your desired color (water-based or oil-based)
- Paintbrushes (a small brush for detailed areas and a larger brush for larger surfaces)
- Roller brush (optional)
- Paint tray
- Drop cloth or old newspapers to protect the surrounding area
- Screwdriver (if necessary to remove hardware)
- Protective gloves
- Dust mask
- Cleaning supplies (such as mild soap and water, or a wood cleaner)
Having all the necessary materials on hand before you start will ensure a smoother painting process and prevent any interruptions. Now that you’ve gathered your materials, let’s move on to preparing the cabinet for painting.
Preparing the Cabinet
Before you start painting, it’s important to prepare the cabinet surface to ensure proper adhesion and a smooth finish. Here are the steps to prepare your china cabinet:
- Clear out the cabinet: Remove all items from the cabinet, including shelves, drawers, and any hardware. This will give you access to the entire surface and make the painting process easier.
- Remove hardware: If your cabinet has any hardware such as knobs or handles, use a screwdriver to remove them. Place them in a safe place for later reinstallation.
- Clean the surface: Use a mild soap and water solution, or a wood cleaner, to clean the cabinet surface thoroughly. Remove any grease, dirt, or debris. Ensure the surface is completely dry before moving on to the next step.
- Sand the surface: Use medium-grit sandpaper to lightly sand the entire surface of the cabinet. This will help remove any existing finish, roughen up the surface, and create a better bond for the primer and paint. Wipe away any dust with a tack cloth or a lint-free cloth.
- Mask off areas: Use painter’s tape to mask off any areas that you don’t want to paint, such as glass panels or decorative trim. This will ensure clean lines and protect those areas from accidental paint splatters.
By following these preparation steps, you’ll create a clean and smooth surface for the primer and paint to adhere to. Once you’ve completed these steps, you’re ready to move on to priming the cabinet, which we’ll cover in the next section.
Priming the Surface
Priming is a crucial step when painting a china cabinet as it helps the paint adhere better to the surface, allows for smoother application, and improves the overall durability of the finish. Here’s how to prime the cabinet:
- Select the right primer: Choose a primer that is specifically formulated for the material of your cabinet. For example, if your cabinet is made of wood, use a wood primer. If it’s made of laminate or melamine, use a primer designed for those surfaces.
- Apply the primer: Pour the primer into a paint tray and use a brush or roller brush to apply a thin, even coat of primer to the cabinet surface. Work in small sections, moving from top to bottom, to ensure full coverage.
- Let the primer dry: Follow the drying time recommended by the manufacturer. It usually takes a few hours for the primer to dry completely. Make sure the cabinet is in a well-ventilated area during this time.
- Sand the primed surface: Once the primer is dry, use fine-grit sandpaper to lightly sand the surface. This will help smooth out any imperfections and create a smoother finish. Wipe away any dust with a tack cloth or a lint-free cloth.
Priming the surface not only helps with the adhesion of the paint but also helps to block any stains or discolorations on the cabinet. It creates a uniform base that allows the paint to adhere better and provides a more professional-looking finish.
Now that you’ve successfully primed the cabinet, it’s time to choose the paint color and move on to the next step.
Choosing the Paint
When it comes to selecting the paint for your china cabinet, there are a few factors to consider. The type of paint, finish, and color are all important considerations that can greatly impact the final look and durability of the cabinet. Here’s what you need to know:
- Type of paint: You have two main options for the type of paint: water-based or oil-based. Water-based paints, such as latex or acrylic, are easier to clean up, have less odor, and dry faster. Oil-based paints, on the other hand, provide a smooth and durable finish but require longer drying times and special cleaning solvents.
- Finish: The finish, or sheen, of the paint can also affect the overall look of the cabinet. Common options include matte, satin, semi-gloss, and high-gloss. Matte finishes give a flat, non-reflective look, while higher gloss finishes offer more shine and are easier to clean.
- Color: The color you choose depends on your personal preference and the overall design scheme of your space. Consider the existing decor, color palette, and the statement you want your cabinet to make. Whether you opt for a bold, vibrant shade or a neutral tone, make sure it complements the surroundings.
Before making a final decision, it’s a good idea to test the paint color and finish on a small, inconspicuous area of the cabinet or on a sample board to ensure you’re happy with the result.
Once you’ve chosen the paint, it’s time to apply the first coat onto your primed china cabinet. We’ll guide you through the process in the next section.
When painting a china cabinet, be sure to thoroughly clean and sand the surface before applying a high-quality primer and paint. Use a small foam roller for a smooth finish and consider adding a protective top coat for durability.
Read more: How To Store China Without A China Cabinet
Applying the First Coat
Now that you have primed your china cabinet and chosen the perfect paint color, it’s time to start applying the first coat. Follow these steps to ensure a smooth and even application:
- Stir the paint: Before you begin painting, give the paint can a good stir to ensure it’s well-mixed.
- Start with the brush: Begin by using a small brush to paint the corners, edges, and detailed areas of the cabinet. Take your time and ensure even coverage in these hard-to-reach spots.
- Use the roller: Once the corners and edges are done, switch to a larger brush or roller. Apply the paint in long, even strokes, working from top to bottom. Start with the larger, flat areas of the cabinet, moving in a consistent direction.
- Watch for drips: Keep an eye out for any drips or excess paint pooling in certain areas. Smooth them out immediately using a brush or roller to avoid clumps or unevenness.
- Work in sections: Depending on the size of your cabinet, it may be helpful to work in sections, completing one area before moving on to the next. This will help you maintain control over the application and ensure consistent coverage.
- Allow proper drying time: Follow the paint manufacturer’s instructions for drying time between coats. It’s important to let the first coat dry completely before moving on to the next step.
Remember, the first coat is meant to provide a base layer, and it’s normal if the coverage is not perfect at this stage. The subsequent coats will help achieve a more opaque and even finish. Once the first coat is dry, you can proceed to sanding and preparing for the second coat, which we’ll cover in the next section.
Sanding and Preparing for the Second Coat
After the first coat of paint has dried completely, it’s time to sand the surface and prepare the cabinet for the second coat. This step will help ensure a smooth finish and remove any imperfections. Follow these steps to sand and prepare for the second coat:
- Gently sand the surface: Using fine-grit sandpaper, lightly sand the entire painted surface. This will help smooth out any brush strokes, bubbles, or rough areas. Be careful not to sand too hard and remove too much of the paint—just aim to create a smooth texture.
- Remove dust: Wipe away any sanding dust with a tack cloth or a lint-free cloth. This will prevent any particles from getting trapped in the fresh paint.
- Inspect the surface: Take a close look at the cabinet to ensure there are no visible imperfections. If you notice any, you can use a small brush to touch up those areas before applying the second coat.
- Repeat the painting process: Now it’s time to apply the second coat of paint. Follow the same steps as before, starting with the corners and edges, then moving on to the larger areas. Use clean brushes or rollers for the best results.
- Allow proper drying time: Once again, follow the drying time instructions provided by the paint manufacturer. Make sure the second coat is fully dry before moving on to the final coat.
By sanding the surface and applying the second coat, you’ll be amazed at how much smoother and more uniform the cabinet will look. Now, let’s move on to applying the final coat of paint.
Applying the Final Coat
Congratulations! You’re now in the final stage of painting your china cabinet. The final coat of paint will give your cabinet a polished and professional appearance. Follow these steps to apply the final coat:
- Prepare the surface: Before applying the final coat, inspect the cabinet for any imperfections or rough areas. Use fine-grit sandpaper to lightly sand those spots and ensure a smooth surface.
- Clean the cabinet: Wipe away any dust or debris from sanding with a tack cloth or a lint-free cloth. It’s important to have a clean surface before applying the final coat.
- Apply the final coat: Dip your clean brush or roller into the paint, and apply an even layer of paint to the entire cabinet. Use long and smooth strokes, working in the same direction as before. Make sure to cover any missed spots from the previous coats.
- Smooth out any brush marks: If you notice any brush marks or uneven areas after applying the final coat, lightly go over them with a dry brush or roller to smooth them out. Be gentle to avoid removing too much paint.
- Allow sufficient drying time: Follow the paint manufacturer’s instructions for the drying time of the final coat. It’s essential to allow it to dry completely before handling or moving the cabinet.
Remember, the final coat should provide full coverage and a smooth, flawless finish. Take your time and pay attention to detail during this stage to achieve the best results.
Once the final coat is dry, your newly painted china cabinet is almost ready to be put back into place. However, if you want to add some extra charm and personalization, you can consider adding decorative touches, which we’ll cover in the next section.
Optional: Adding Decorative Touches
If you want to take your painted china cabinet to the next level, consider adding some decorative touches to enhance its appearance. These optional steps can add personality and uniqueness to your cabinet. Here are a few ideas:
- Stencil designs: Use stencils to add intricate patterns or designs to the cabinet doors or sides. You can use a contrasting paint color or even metallic paint for a stunning effect.
- Decoupage: Choose decorative paper or fabric and apply it to the interior of the cabinet or the back panel. This can add a pop of color or an interesting pattern to the cabinet’s interior.
- Replace hardware: Consider replacing the knobs, handles, or hinges with new ones that match your updated cabinet’s style. This simple change can make a significant difference in the overall aesthetic.
- Add glass inserts: If your cabinet has doors with solid panels, you can consider replacing them with glass inserts. This will give the cabinet a more open and airy feel and allow you to display your favorite items inside.
- Distressing or antiquing: If you want to achieve a vintage or aged look, you can distress the painted surface using sandpaper or apply an antiquing glaze. This technique can add character and depth to the cabinet.
Remember, these decorative touches are optional and depend on your personal style and the look you want to achieve. Take your time to plan and execute these additional steps to ensure they complement your painted cabinet’s overall theme.
Now that you’ve completed the painting process and considered optional decorative touches, your china cabinet is ready to be showcased in your space. Admire your hard work, and enjoy the transformation you’ve accomplished!
Final Thoughts
Painting a china cabinet is a rewarding and creative project that can completely transform the look of your space. By following these step-by-step instructions, gathering the necessary materials, and paying attention to detail, you can achieve a professional-looking finish. Remember to take your time, allow proper drying between coats, and enjoy the process. With a little effort and creativity, your old, worn-out cabinet can become a stunning statement piece that adds charm and style to your home.
Read more: How To Organize A China Cabinet
Final Thoughts
Congratulations on completing the process of painting your china cabinet! By now, you’ve transformed your old, worn-out cabinet into a beautifully refreshed piece that adds a touch of style and elegance to your space. As you step back and admire your handiwork, here are some final thoughts to keep in mind:
1. Patience and attention to detail. Painting a china cabinet requires time, patience, and attention to detail. Remember to take your time during each step of the process, from preparing the cabinet to applying multiple coats of paint. Pay attention to detail, ensuring smooth and even application for a professional finish.
2. Proper preparation is key. The key to a successful paint job is proper preparation. Make sure to thoroughly clean and sand the surfaces, prime the cabinet, and choose the appropriate paint for your specific cabinet material. These steps will ensure better adhesion, durability, and a flawless finish.
3. Enjoy the creativity and personalization. Painting your china cabinet offers an opportunity for creativity and personalization. Whether you choose a bold color, add decorative touches, or distress the paint for a vintage look, let your unique style shine through. Make this project a reflection of your personality and create a cabinet that stands out.
4. Protect your finished cabinet. Once the paint has fully dried and cured, it’s essential to protect your newly painted cabinet. Use felt pads on the underside of items placed on shelves or surfaces to prevent scratches. Avoid using harsh chemicals or abrasive cleaners that could damage the paint. With proper care, your painted china cabinet will retain its beauty for years to come.
5. Share your accomplishment. Don’t forget to share your painting success with friends and family. They’ll be amazed at the transformation and may even be inspired to tackle their own painting projects. Show off your handiwork and enjoy the sense of accomplishment that comes with creating a stunning piece of furniture.
Painting a china cabinet is a wonderful way to breathe new life into an old piece of furniture. With time, patience, and a little creativity, you can create a custom piece that fits perfectly into your home decor. Enjoy your beautifully painted china cabinet and the joy it brings to your space!
Frequently Asked Questions about How To Paint China Cabinet
Was this page helpful?
At Storables.com, we guarantee accurate and reliable information. Our content, validated by Expert Board Contributors, is crafted following stringent Editorial Policies. We're committed to providing you with well-researched, expert-backed insights for all your informational needs.


0 thoughts on “How To Paint China Cabinet”