Home>Furniture & Design>Outdoor Furniture>How To Make An Outdoor Compost Bin

Outdoor Furniture
How To Make An Outdoor Compost Bin
Modified: October 28, 2024
Learn how to create a durable and efficient outdoor compost bin for your garden with our step-by-step guide. Discover the best outdoor furniture and design options for your composting needs.
(Many of the links in this article redirect to a specific reviewed product. Your purchase of these products through affiliate links helps to generate commission for Storables.com, at no extra cost. Learn more)
Introduction
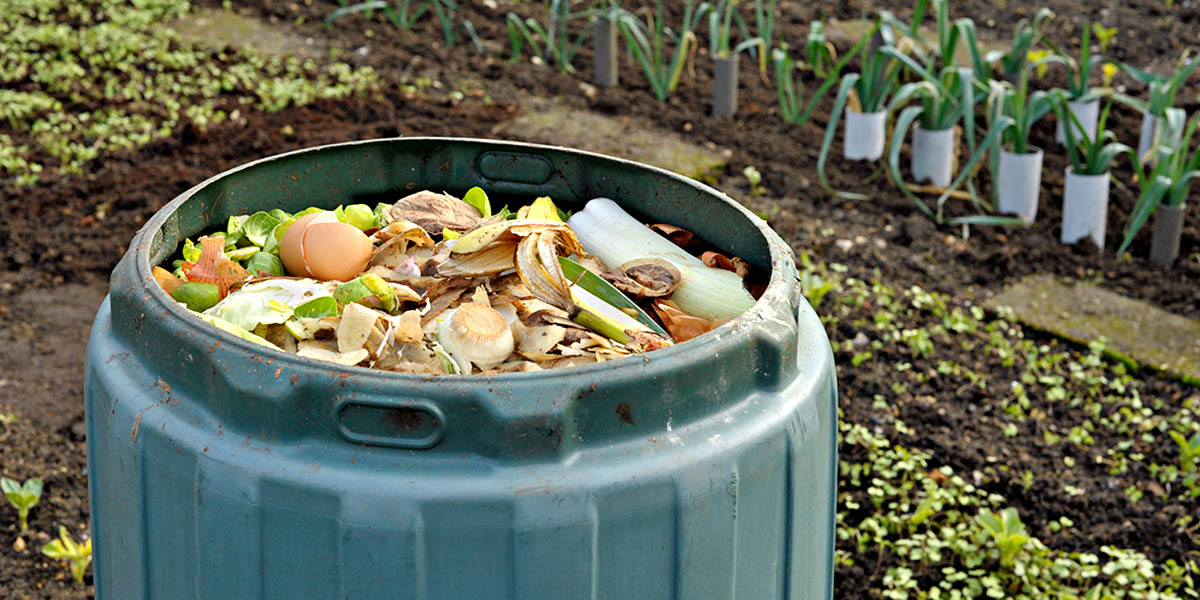
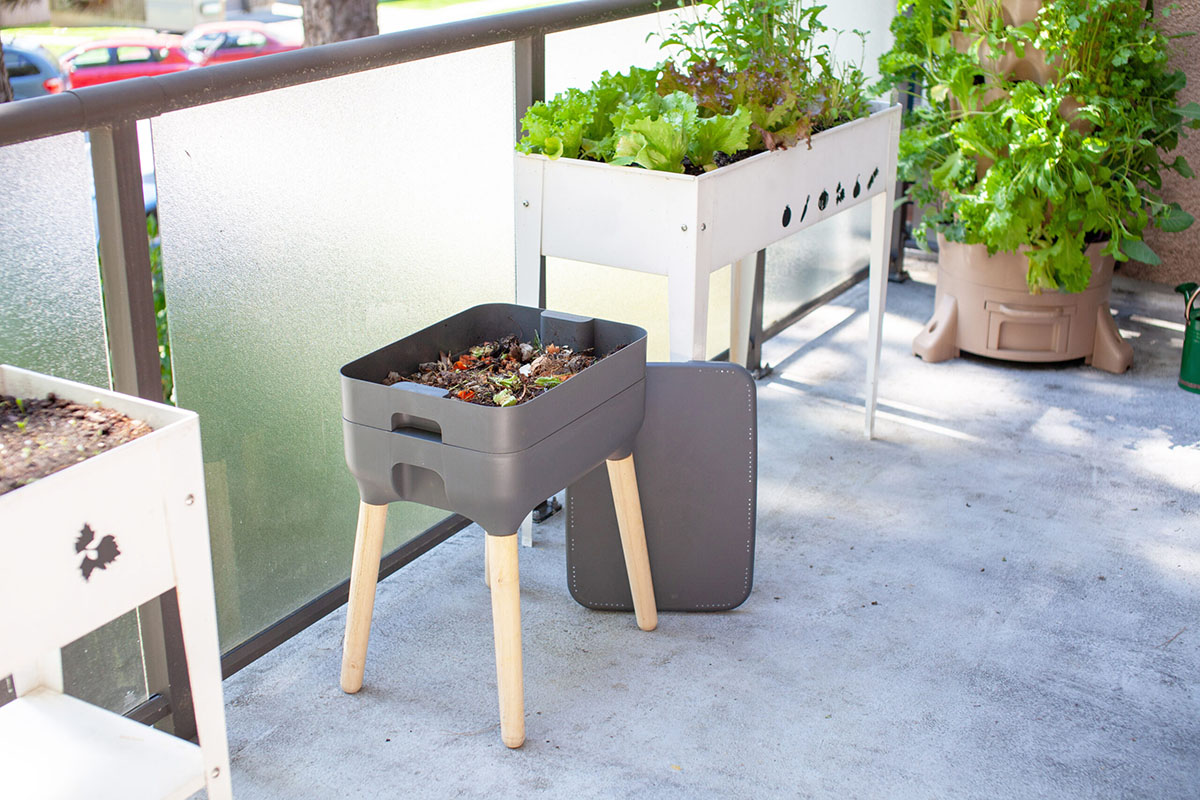
Creating an outdoor compost bin is a fantastic way to reduce waste, enrich your garden soil, and contribute to a more sustainable environment. Composting is a natural process that transforms organic waste, such as food scraps, yard trimmings, and coffee grounds, into nutrient-rich soil conditioner. By diverting these materials from landfills, you can minimize methane emissions and decrease your carbon footprint. Moreover, the resulting compost can be used to nourish your plants, promote soil health, and foster a thriving ecosystem in your garden.
In this comprehensive guide, we will walk you through the step-by-step process of building and maintaining an outdoor compost bin. Whether you are a seasoned gardener or a novice enthusiast, creating a composting system in your backyard is a rewarding and eco-friendly endeavor. With the right materials, location, and techniques, you can effortlessly turn organic waste into a valuable resource for your garden while positively impacting the environment. Let's dive into the details of how to construct and manage an outdoor compost bin that will yield nutrient-dense compost for your gardening needs.
Key Takeaways:
- Turn organic waste into nutrient-rich soil by building an outdoor compost bin with the right materials and location. It’s a rewarding, eco-friendly way to reduce waste and nourish your garden.
- Maintain your compost bin by adding a balanced mix of green and brown materials, regular turning, and monitoring moisture levels. Use the nutrient-dense compost to enrich your garden soil and promote plant health.
Materials Needed
Before embarking on your outdoor composting journey, it’s essential to gather the necessary materials to ensure a successful and efficient composting process. Here’s a list of items you will need to construct a basic outdoor compost bin:
- Wooden pallets or wire mesh panels
- Galvanized screws or zip ties
- Four metal T-posts or wooden stakes
- Wire or plastic mesh (if using wooden pallets)
- Shovel or pitchfork
- Compost thermometer (optional but recommended)
- Brown materials (e.g., dried leaves, straw, or shredded paper)
- Green materials (e.g., fruit and vegetable scraps, grass clippings, coffee grounds)
- Water source (hose or watering can)
- Aeration tool (e.g., garden fork or compost turning tool)
- Compost starter or activator (optional)
These materials will provide you with the foundation to build and maintain a functional outdoor compost bin. The selection of appropriate materials is crucial for facilitating the decomposition process and creating a balanced environment within the compost pile. Once you have gathered these items, you will be well-equipped to proceed with choosing a suitable location for your compost bin.
Choosing a Location
When selecting the ideal location for your outdoor compost bin, several factors should be taken into consideration to promote efficient decomposition and convenient access. Here are the key aspects to keep in mind:
Sunlight and Shade: Place the compost bin in an area that receives a good balance of sunlight and shade. While some sunlight is beneficial for the composting process, excessive heat can dry out the pile. Conversely, too much shade may slow down decomposition.
Proximity to Water Source: Ensure that the chosen location is within reach of a water source, such as a hose or watering can. Proper moisture levels are essential for the breakdown of organic materials and the overall health of the compost pile.
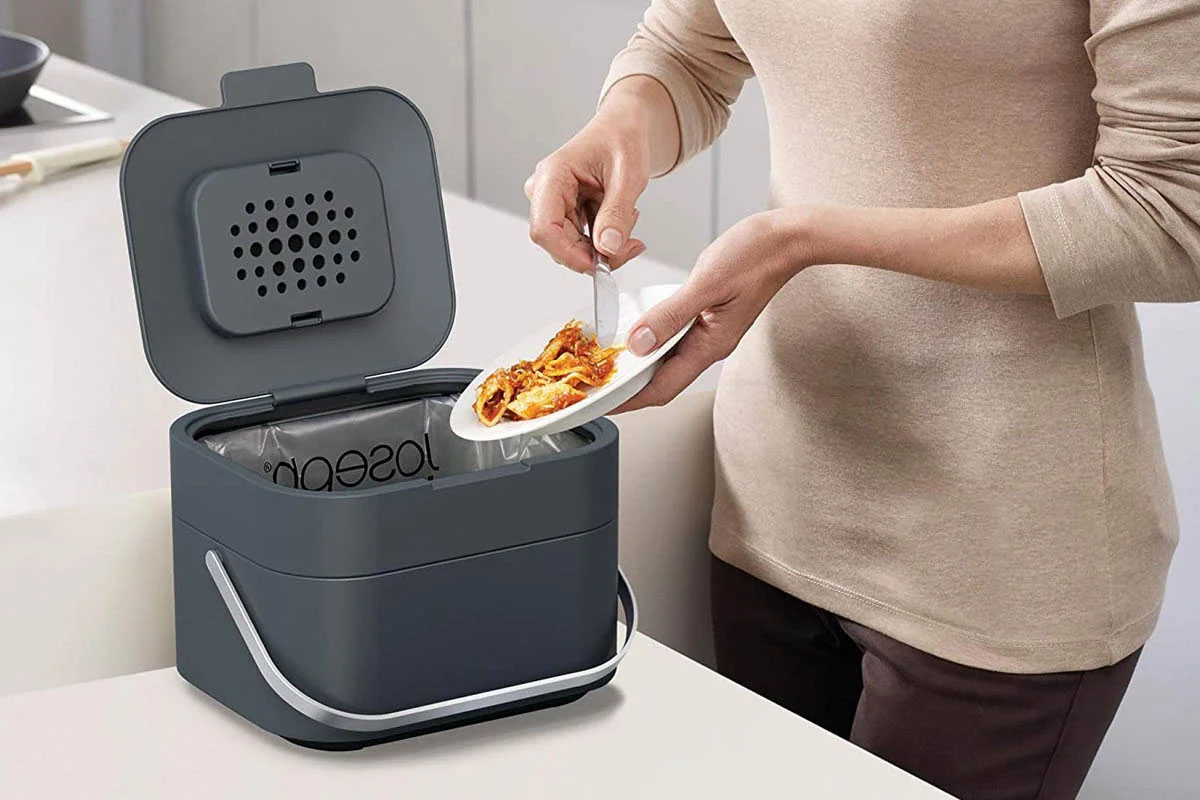
Accessibility: Select a location that is easily accessible for adding new compost materials, turning the pile, and harvesting finished compost. Consider proximity to your kitchen for convenient disposal of food scraps.
Drainage: Avoid low-lying areas prone to waterlogging, as excess moisture can impede the composting process and lead to unpleasant odors. Good drainage will help maintain the optimal moisture levels within the compost pile.
Air Circulation: Choose a location with adequate air circulation to facilitate the aeration of the compost. Proper airflow is crucial for the decomposition process and helps prevent the development of anaerobic conditions.
By carefully evaluating these factors, you can identify a suitable location that promotes the effectiveness of your composting efforts. Once you have chosen the perfect spot, you can proceed to the next step: building the compost bin.
Building the Compost Bin
Constructing a sturdy and functional compost bin is the next step in establishing your outdoor composting system. The following guidelines will help you create a simple yet effective composting enclosure:
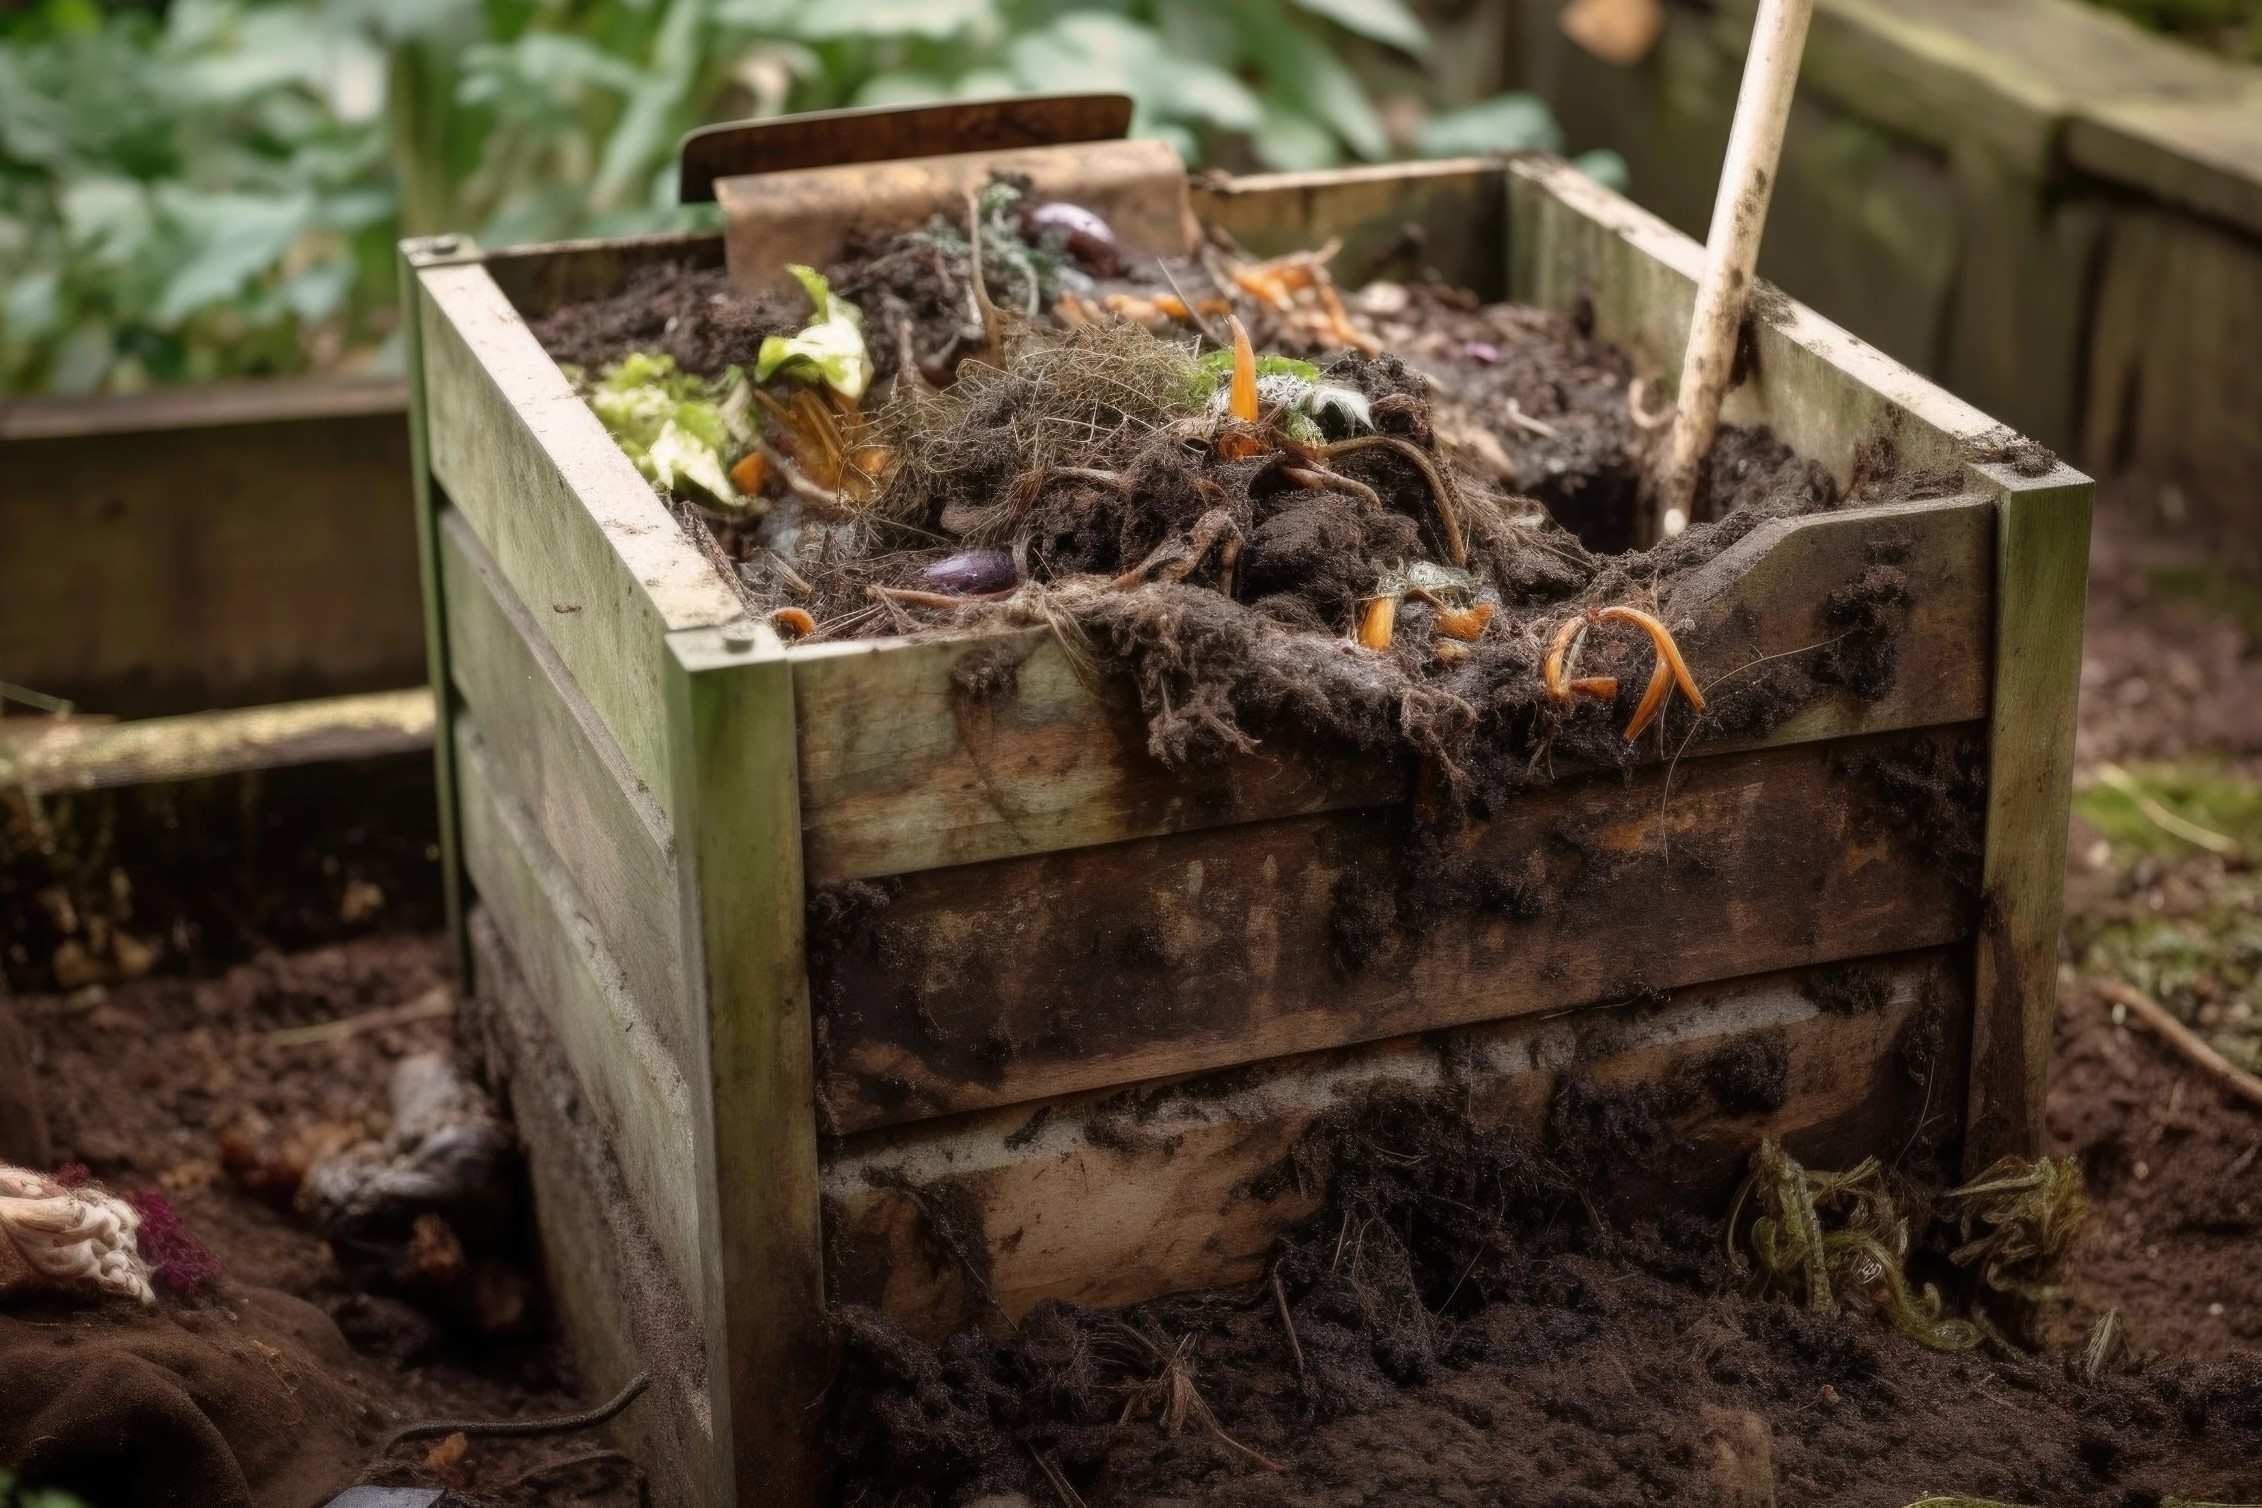
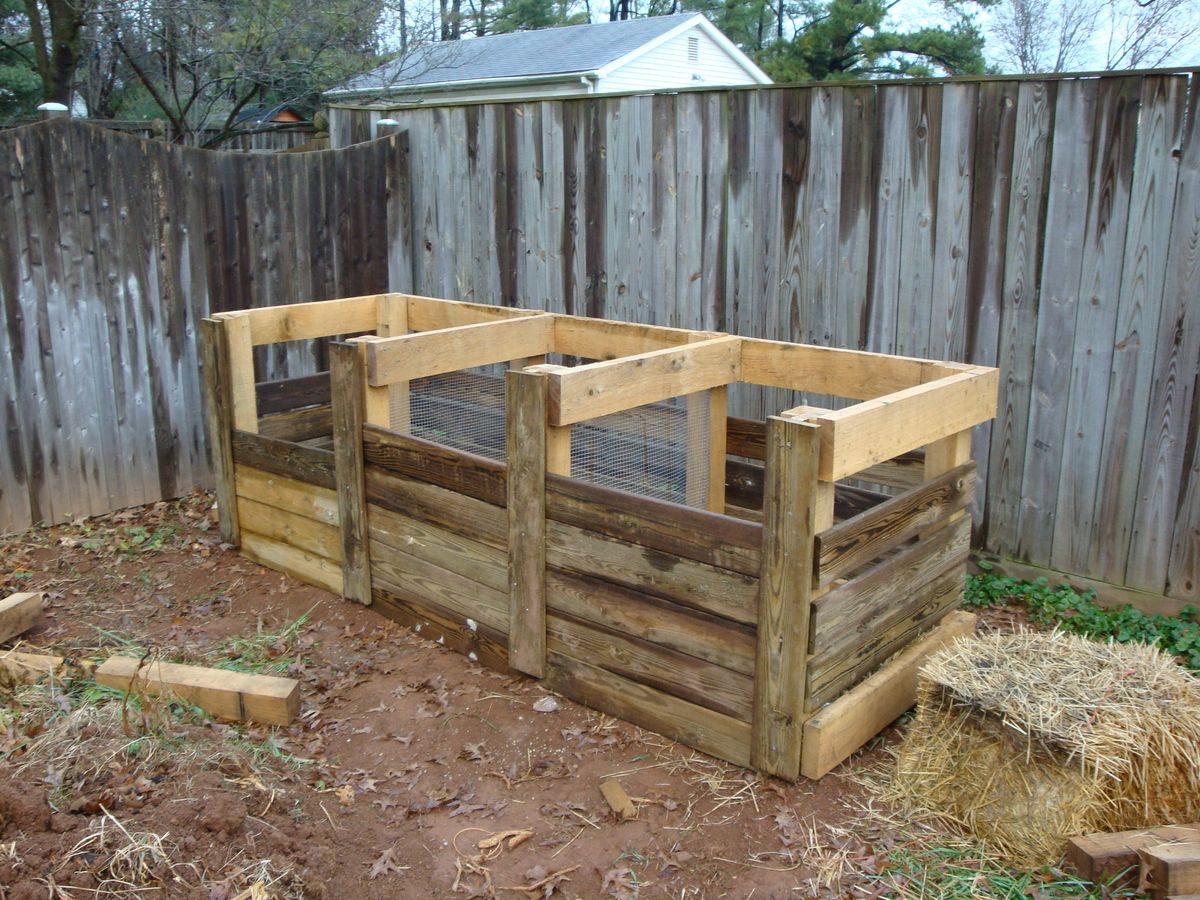
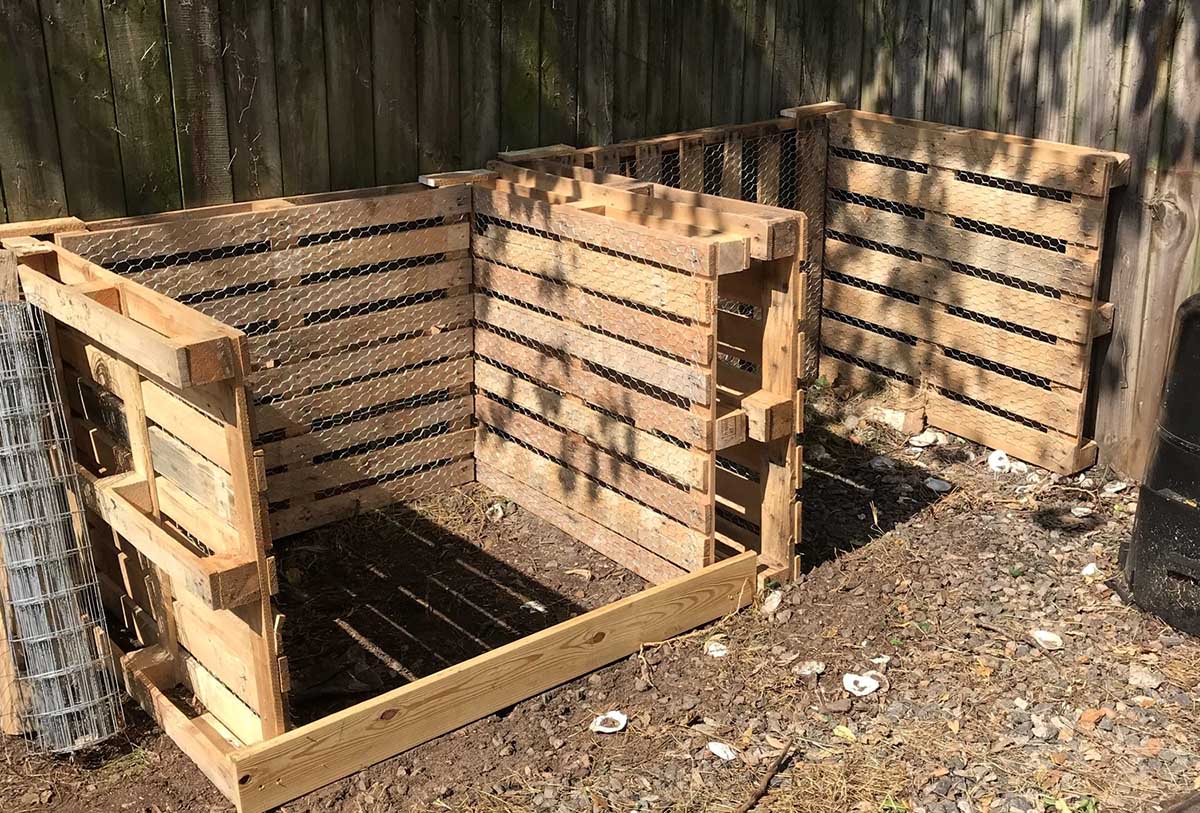
Using Wooden Pallets: If you opt for wooden pallets, arrange three pallets to form three sides of the bin, securing them together at the corners using galvanized screws or zip ties. For the front opening, leave one side open for easy access to the compost pile.
Using Wire Mesh Panels: Alternatively, you can create a compost bin using wire mesh panels. Form the panels into a circular or square shape and secure the ends together using wire or zip ties. Ensure that the mesh is tightly fastened to prevent compost materials from spilling out.
Adding Support Posts: Once the sides of the compost bin are in place, insert four metal T-posts or wooden stakes at the corners to provide stability and support for the structure. Secure the posts firmly into the ground to prevent the bin from shifting or collapsing.
Optional Cover: Consider adding a cover to protect the compost from excessive rain and maintain consistent moisture levels. A piece of wire or plastic mesh can be used as a cover, allowing for airflow while shielding the pile from harsh weather conditions.
Regardless of the design you choose, the primary goal is to create a contained space that allows for proper aeration, moisture retention, and easy access for adding and turning the compost materials. With the compost bin in place, you are ready to start filling it with organic waste and kick-starting the composting process.
To keep pests away from your outdoor compost bin, avoid adding meat, dairy, and oily foods, and make sure to cover the bin with a tight-fitting lid.
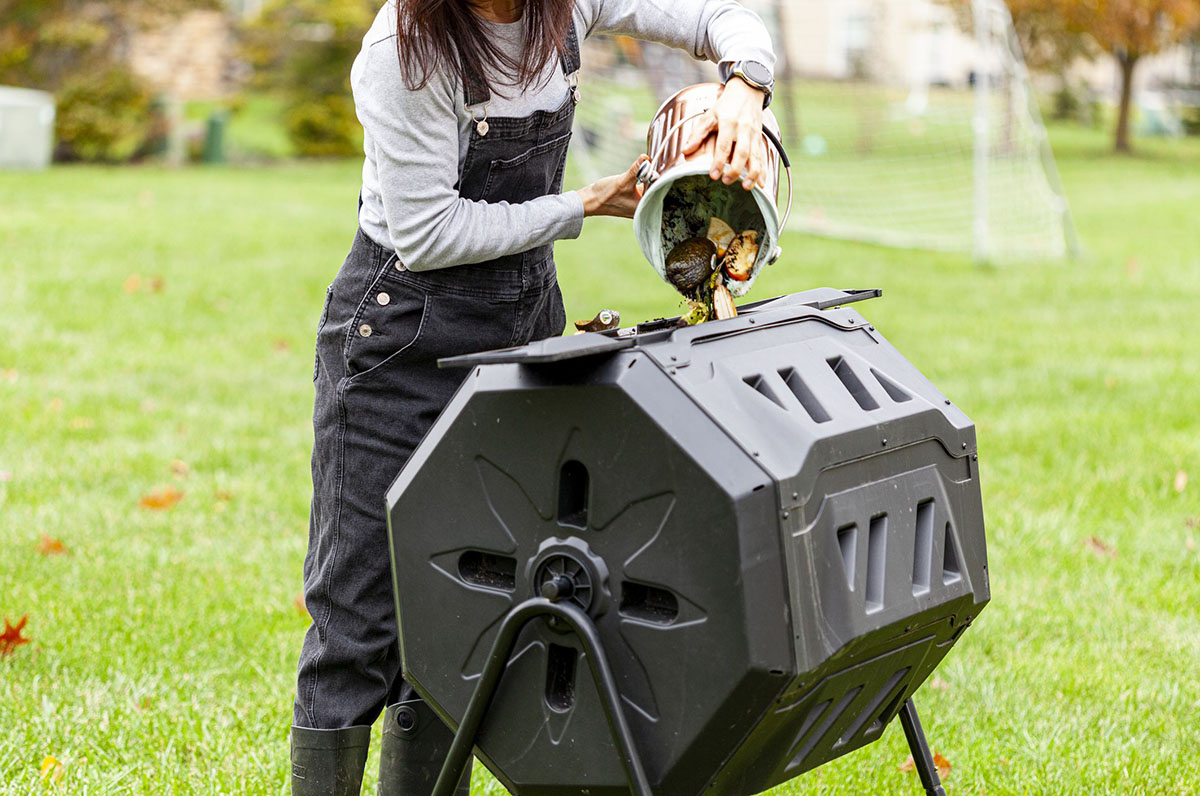
Adding Compost Materials
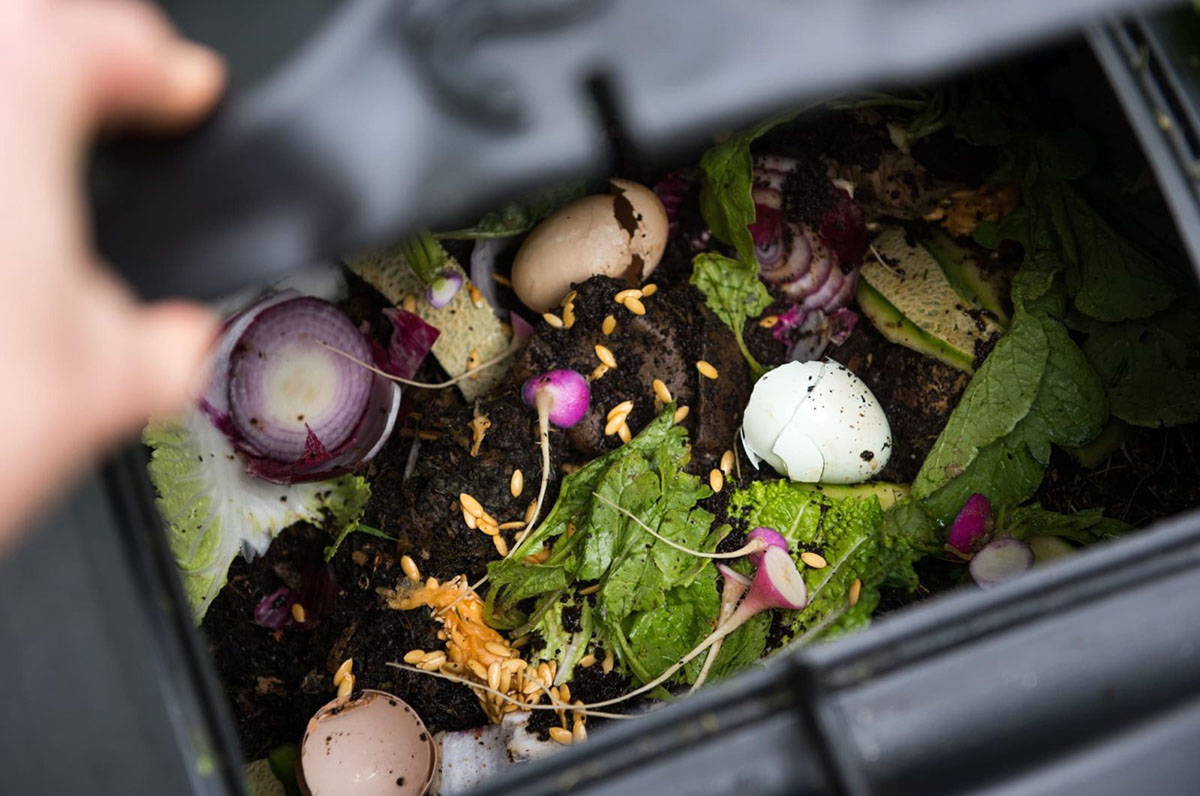
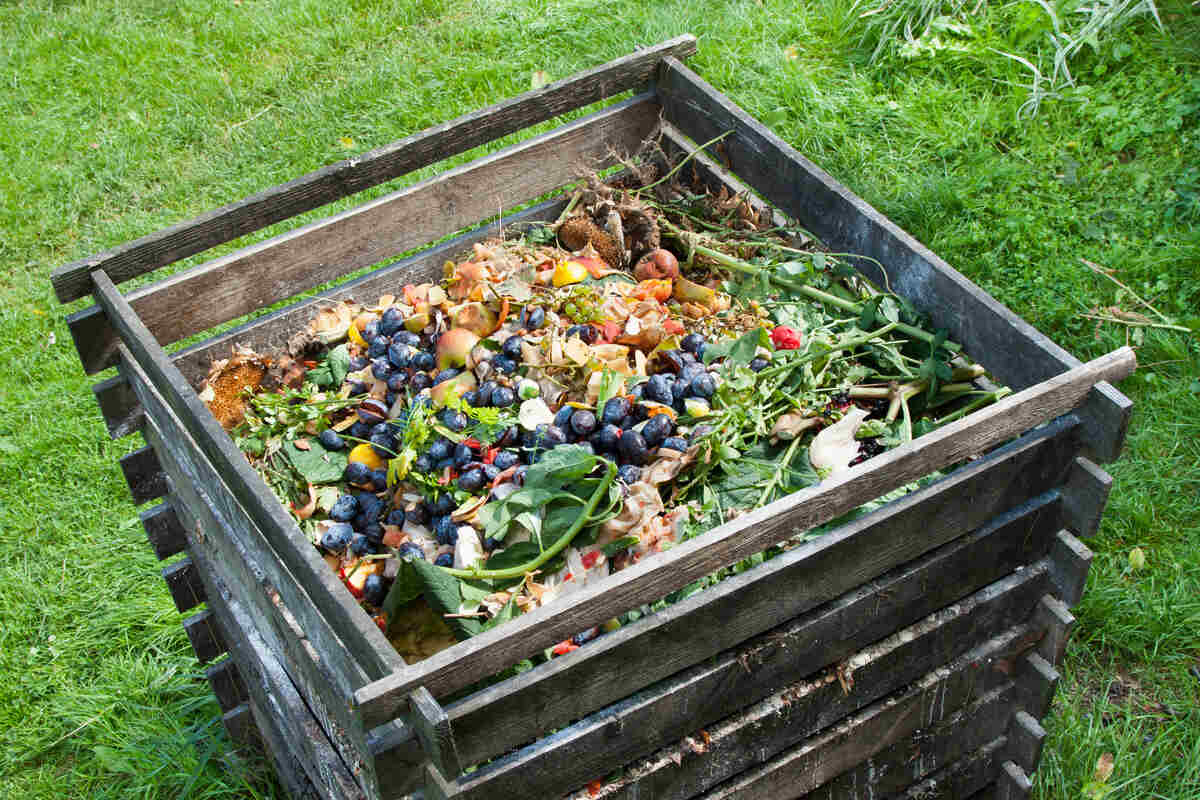
Now that your compost bin is assembled, it’s time to begin the process of adding compost materials. To create nutrient-rich compost, it’s important to incorporate a balanced mix of green and brown materials. Here’s a breakdown of what to include:
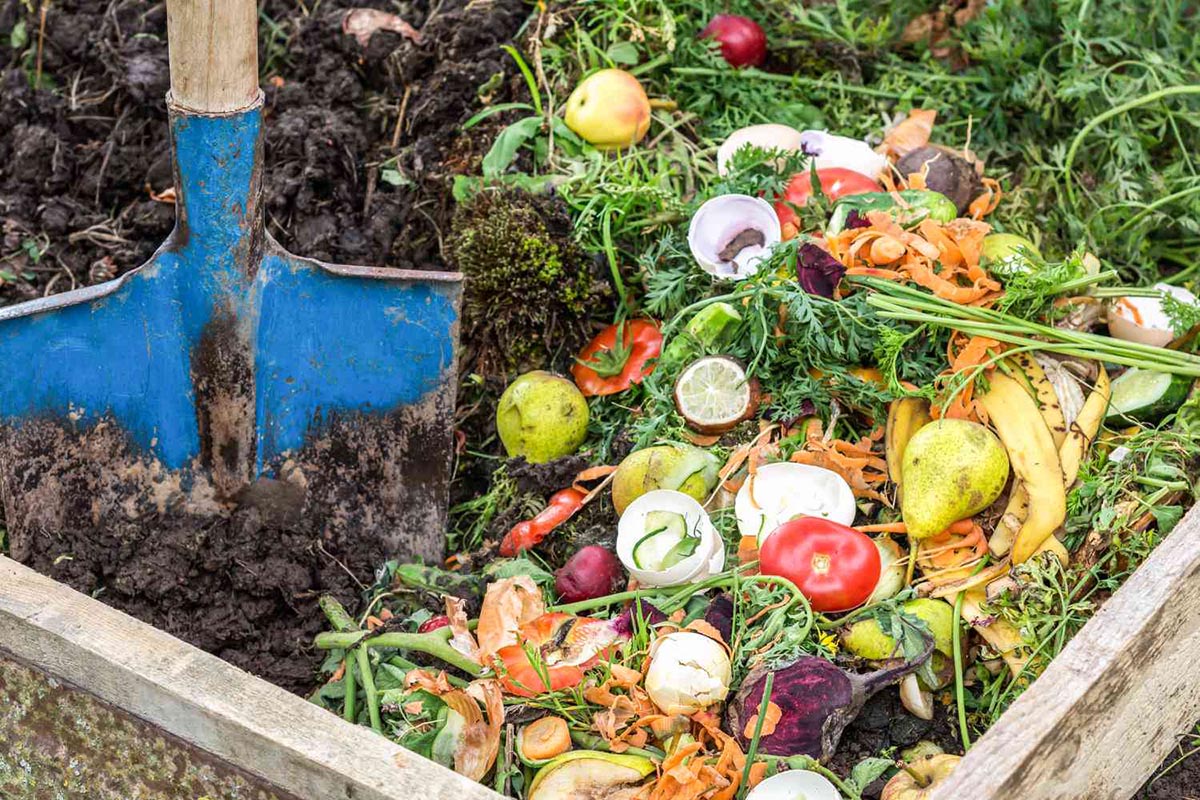
Green Materials: These nitrogen-rich materials include kitchen scraps (fruit and vegetable peels, coffee grounds, eggshells), fresh yard trimmings, and plant-based leftovers. Green materials provide essential nutrients and moisture to the compost pile, accelerating the decomposition process.
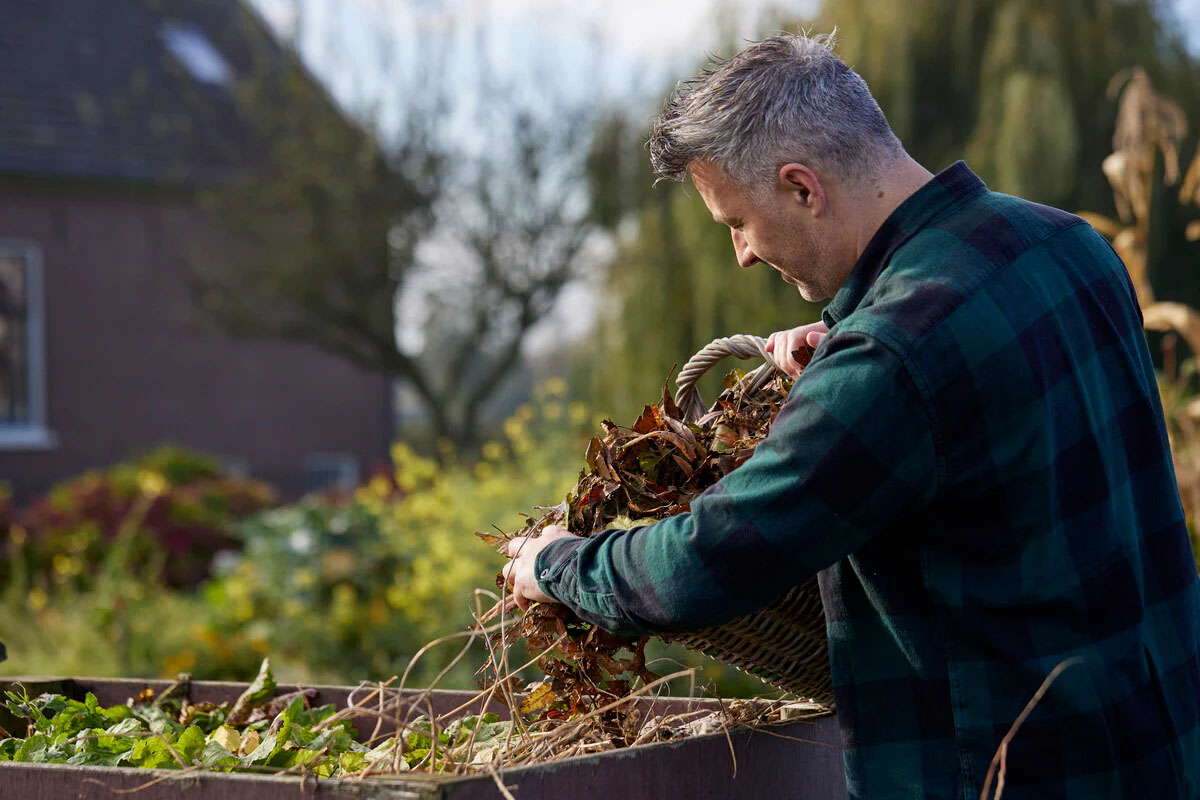
Brown Materials: Carbon-rich brown materials consist of dried leaves, straw, shredded paper, and cardboard. These components add structure to the compost, improve airflow, and help absorb excess moisture. Layering brown materials with green materials creates a balanced environment for decomposition.
Layering Technique: Alternate layers of green and brown materials as you add them to the compost bin. This layering method promotes a healthy carbon-to-nitrogen ratio, which is crucial for efficient decomposition. Aim for approximately two parts brown materials to one part green material by volume.
Moisture Management: Ensure that the compost materials remain consistently moist, similar to a wrung-out sponge. Water the pile lightly as needed, especially during dry periods, to maintain the ideal moisture level for decomposition. Avoid saturating the compost, as excessive moisture can lead to anaerobic conditions and unpleasant odors.
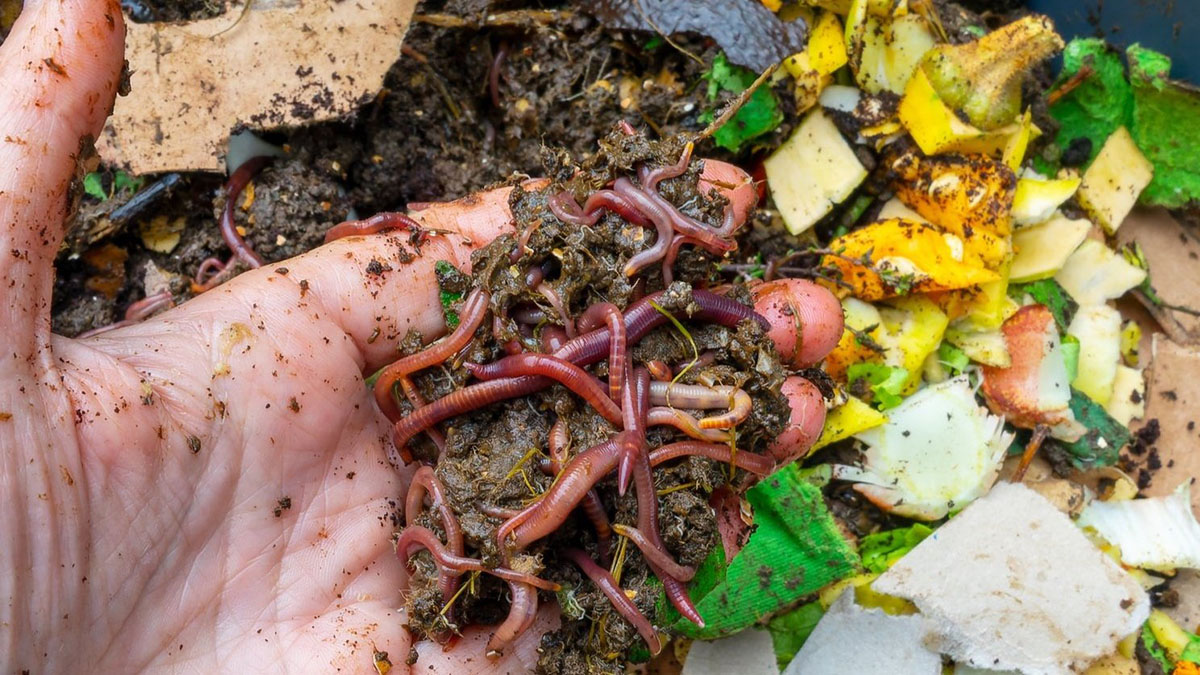
Aeration: Periodically aerate the compost pile by turning it with a shovel or pitchfork. This helps distribute oxygen, regulate temperature, and accelerate the breakdown of materials. A well-aerated compost pile facilitates the activity of beneficial microorganisms and speeds up the composting process.
By following these guidelines and regularly adding a balanced mix of green and brown materials, you can foster the decomposition of organic waste and cultivate a thriving compost pile. With the composting process underway, it’s essential to maintain the bin and monitor the progress of the compost as it transforms into a valuable soil amendment.
Maintaining the Compost Bin
Proper maintenance is key to ensuring that your compost bin operates efficiently and produces high-quality compost. By implementing the following maintenance practices, you can support the decomposition process and address any potential issues that may arise:
Regular Turning: Turn the compost pile every 1-2 weeks to aerate the materials and facilitate even decomposition. Use a shovel or pitchfork to mix the outer and inner layers, redistributing moisture and oxygen throughout the pile. This process prevents the formation of anaerobic pockets and accelerates decomposition.
Monitoring Moisture Levels: Check the moisture content of the compost regularly. The pile should have the consistency of a damp sponge, with adequate moisture to support microbial activity. If the compost appears dry, lightly water the pile. Conversely, if it is overly wet, incorporate additional brown materials to absorb excess moisture.
Temperature Management: Use a compost thermometer to monitor the internal temperature of the pile. A well-maintained compost pile will generate heat as microbial activity breaks down the materials. The ideal temperature range for composting is between 110°F and 140°F (43°C and 60°C). If the temperature exceeds 160°F (71°C), the compost may become too hot and require turning to regulate the heat.
Adding Amendments: Occasionally introduce compost activators or accelerators to enhance the decomposition process. These products contain beneficial microorganisms and enzymes that can expedite the breakdown of organic materials, particularly if the compost pile is slow to decompose or lacks sufficient microbial activity.
Managing Odors: If unpleasant odors develop in the compost pile, it may indicate an imbalance in the decomposition process. Address this issue by adding more brown materials, aerating the pile thoroughly, and ensuring proper moisture levels. Well-maintained compost with adequate airflow should have an earthy, pleasant smell.
By staying proactive in the maintenance of your compost bin, you can foster optimal conditions for decomposition and produce high-quality compost for your gardening needs. With regular attention and care, your compost bin will continue to transform organic waste into a valuable resource for nourishing your garden and reducing environmental impact.
Using the Compost
Once your compost has reached a dark, crumbly texture and has a rich, earthy aroma, it is ready to be incorporated into your garden soil as a nutrient-dense amendment. Here are some valuable insights on using compost to enhance the health and vitality of your garden:
Soil Enrichment: Mix the finished compost into your garden soil to improve its structure, fertility, and water retention capabilities. The organic matter in compost enhances soil health by providing essential nutrients, promoting beneficial microbial activity, and supporting a balanced soil ecosystem.
Plant Nourishment: Apply compost as a top dressing around the base of plants or incorporate it into planting holes when installing new vegetation. The slow-release nutrients in compost serve as a natural fertilizer, supplying plants with a steady source of nourishment for healthy growth and robust development.
Mulching: Use compost as a protective mulch layer around shrubs, trees, and garden beds. Compost mulch helps suppress weed growth, regulate soil temperature, and conserve moisture, creating an optimal environment for plant roots to thrive.
Compost Tea: Brew compost tea by steeping a portion of finished compost in water to create a nutrient-rich liquid fertilizer. Use this organic solution to water your plants and provide them with a boost of beneficial microorganisms and soluble nutrients.
Compost Sifting: For a finer texture, sift the compost to remove any large, undecomposed materials. The sifted compost can be used for starting seeds, potting plants, or blending with potting soil to create a custom mix for container gardening.
By integrating compost into your gardening practices, you can cultivate a flourishing and sustainable garden environment. The use of compost not only reduces the need for synthetic fertilizers but also promotes soil biodiversity, conserves water, and mitigates the environmental impact of organic waste. As you witness the transformative effects of compost on your garden, you’ll appreciate the invaluable role it plays in nurturing vibrant, thriving landscapes.
Conclusion
Embarking on the journey of creating an outdoor compost bin empowers you to actively participate in sustainable waste management while reaping the numerous benefits of nutrient-rich compost for your garden. By following the step-by-step process outlined in this guide, you have gained valuable insights into constructing, maintaining, and utilizing an outdoor composting system.
From selecting the optimal location for your compost bin to diligently adding and maintaining compost materials, you have embraced the art and science of composting. The careful balance of green and brown materials, coupled with regular aeration and moisture management, has set the stage for the natural transformation of organic waste into a valuable soil amendment.
As you witness the gradual decomposition of compost materials and the emergence of dark, crumbly compost, you are poised to enrich your garden soil, nourish your plants, and foster a thriving ecosystem. The utilization of compost as a natural fertilizer, mulch, and soil conditioner showcases the versatility and efficacy of this sustainable resource in promoting garden vitality and environmental stewardship.
By integrating composting into your lifestyle, you are contributing to a more sustainable and eco-conscious approach to waste reduction and soil enrichment. Your commitment to composting not only benefits your garden but also supports broader environmental initiatives by diverting organic waste from landfills and reducing greenhouse gas emissions.
As you continue to cultivate and harness the power of compost, you are embracing a holistic and regenerative approach to gardening that aligns with the principles of environmental sustainability and resource conservation. Your dedication to composting serves as a testament to the positive impact that individuals can make in fostering a greener, more resilient planet.
With your newfound knowledge and hands-on experience in outdoor composting, you are well-equipped to embark on a rewarding journey of sustainable waste management, soil enrichment, and garden stewardship. As you witness the transformative effects of compost on your garden, you’ll appreciate the invaluable role it plays in nurturing vibrant, thriving landscapes.
Frequently Asked Questions about How To Make An Outdoor Compost Bin
Was this page helpful?
At Storables.com, we guarantee accurate and reliable information. Our content, validated by Expert Board Contributors, is crafted following stringent Editorial Policies. We're committed to providing you with well-researched, expert-backed insights for all your informational needs.


0 thoughts on “How To Make An Outdoor Compost Bin”