Home>Others>Eco-Friendly Products>How To Build A Compost Bin With Pallets
Eco-Friendly Products
How To Build A Compost Bin With Pallets
Modified: August 16, 2024
Learn how to build an eco-friendly compost bin using pallets. Discover a sustainable way to manage organic waste at home.
(Many of the links in this article redirect to a specific reviewed product. Your purchase of these products through affiliate links helps to generate commission for Storables.com, at no extra cost. Learn more)
Introduction
Welcome to the world of sustainable living! Composting is a fantastic way to reduce waste, enrich your garden, and contribute to a healthier planet. In this guide, we'll explore how to construct a compost bin using pallets, a cost-effective and eco-friendly solution for managing organic waste.
Composting with pallets not only repurposes materials that might otherwise go to waste but also provides a customizable and durable structure for your composting needs. Whether you're a seasoned gardener or just beginning to explore the world of composting, building a compost bin with pallets is a practical and rewarding endeavor.
Throughout this article, we'll walk you through the process, from selecting the right materials to maintaining your compost bin. By the end, you'll be equipped with the knowledge and confidence to create a thriving composting system right in your backyard. Let's dive in and discover the art of building a compost bin with pallets!
Key Takeaways:
- Building a compost bin with pallets is an eco-friendly and practical way to reduce waste, enrich your garden, and contribute to a healthier planet while repurposing materials that might otherwise go to waste.
- By filling and maintaining a compost bin with a diverse mix of compostable materials, you can actively contribute to the natural cycle of renewal and regeneration, enrich your garden soil, and minimize the need for chemical fertilizers.
Read more: How To Compost With A Bin
Materials Needed
Before embarking on your compost bin construction journey, it’s essential to gather the necessary materials. Building a compost bin with pallets requires minimal supplies, making it an accessible project for eco-conscious individuals of all skill levels.
Here’s a list of the basic materials you’ll need:
- Wooden pallets: Look for sturdy, untreated pallets that are free from chemical treatments. These will serve as the primary building blocks for your compost bin.
- Hardware cloth or wire mesh: This will be used to line the interior of the bin, providing ventilation and preventing compost spillage.
- Galvanized nails or screws: These will secure the pallets together, ensuring the structural integrity of the compost bin.
- Hinges and a latch (optional): If you plan to add a lid to your compost bin, these items will be essential for constructing a functional and easily accessible cover.
- Tools: Gather basic tools such as a hammer, saw, tape measure, and gloves to facilitate the assembly process.
By obtaining these materials, you’ll be well-prepared to commence the construction of your compost bin. Additionally, repurposing pallets for this project contributes to sustainable resource utilization, promoting environmental stewardship through the practice of upcycling.
Now that you’ve gathered the necessary materials, it’s time to select the ideal location for your compost bin. Let’s explore this crucial step in the next section.
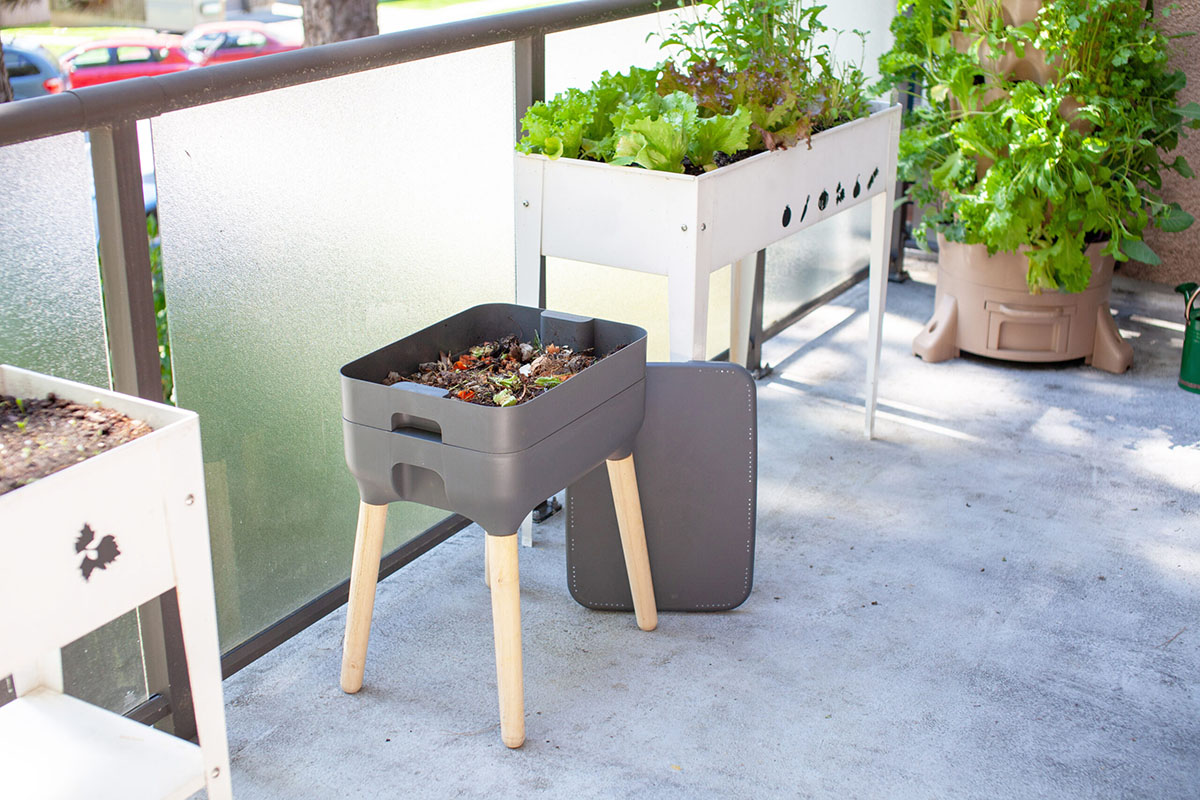
Choosing the Right Location
When it comes to setting up your compost bin, selecting the right location is key to its long-term success. Consider these factors as you choose the perfect spot:
- Sunlight: Opt for a location that receives partial sunlight, as this will help maintain the ideal temperature for the composting process. Avoid areas with full sun exposure, as excessive heat can dry out the compost.
- Accessibility: Ensure the chosen spot is easily accessible for adding organic waste and turning the compost. This convenience will encourage consistent maintenance and aeration, fostering efficient decomposition.
- Drainage: Pick a level area with good drainage to prevent waterlogging, which can impede the composting process and lead to unpleasant odors.
- Proximity to the garden: If you plan to use the compost in your garden, consider locating the bin nearby for effortless access to the finished compost.
By carefully considering these factors, you can establish an optimal environment for your compost bin, setting the stage for successful composting and nutrient-rich soil production. With the location chosen, it’s time to move on to the next step: building the base of your compost bin.
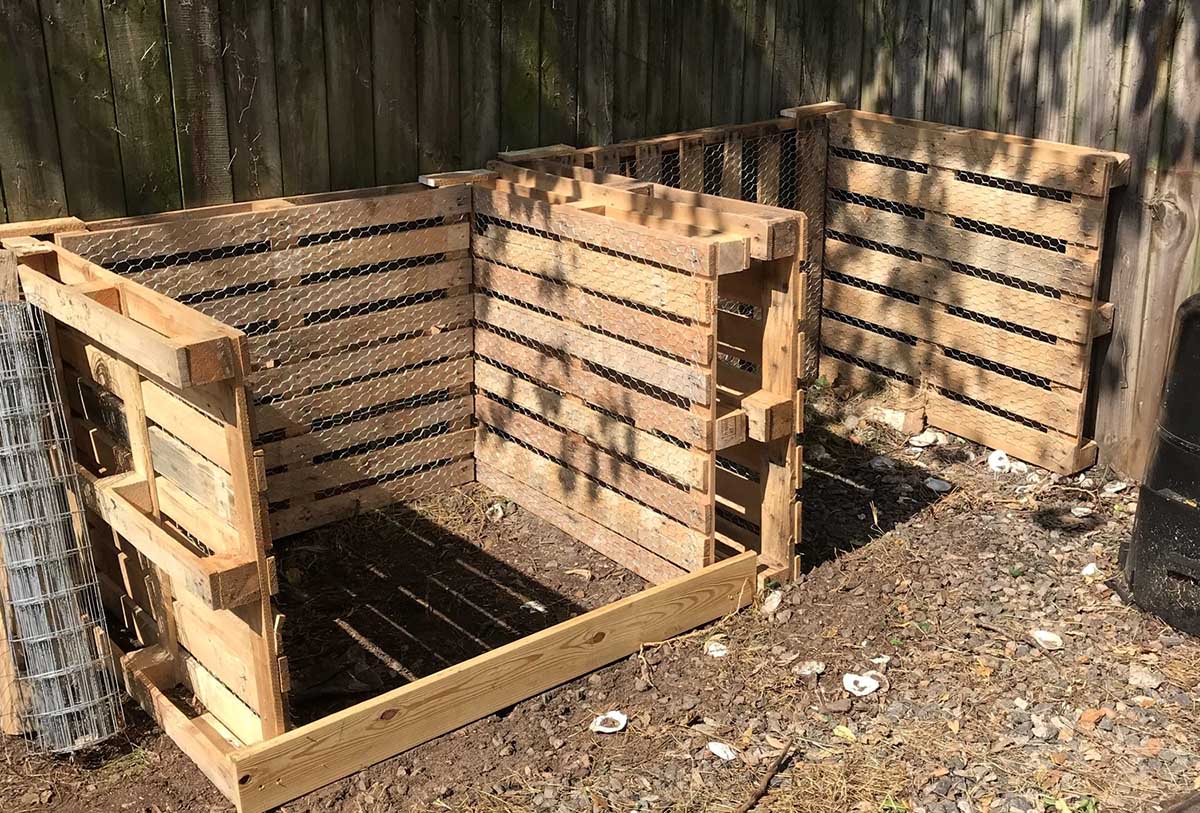
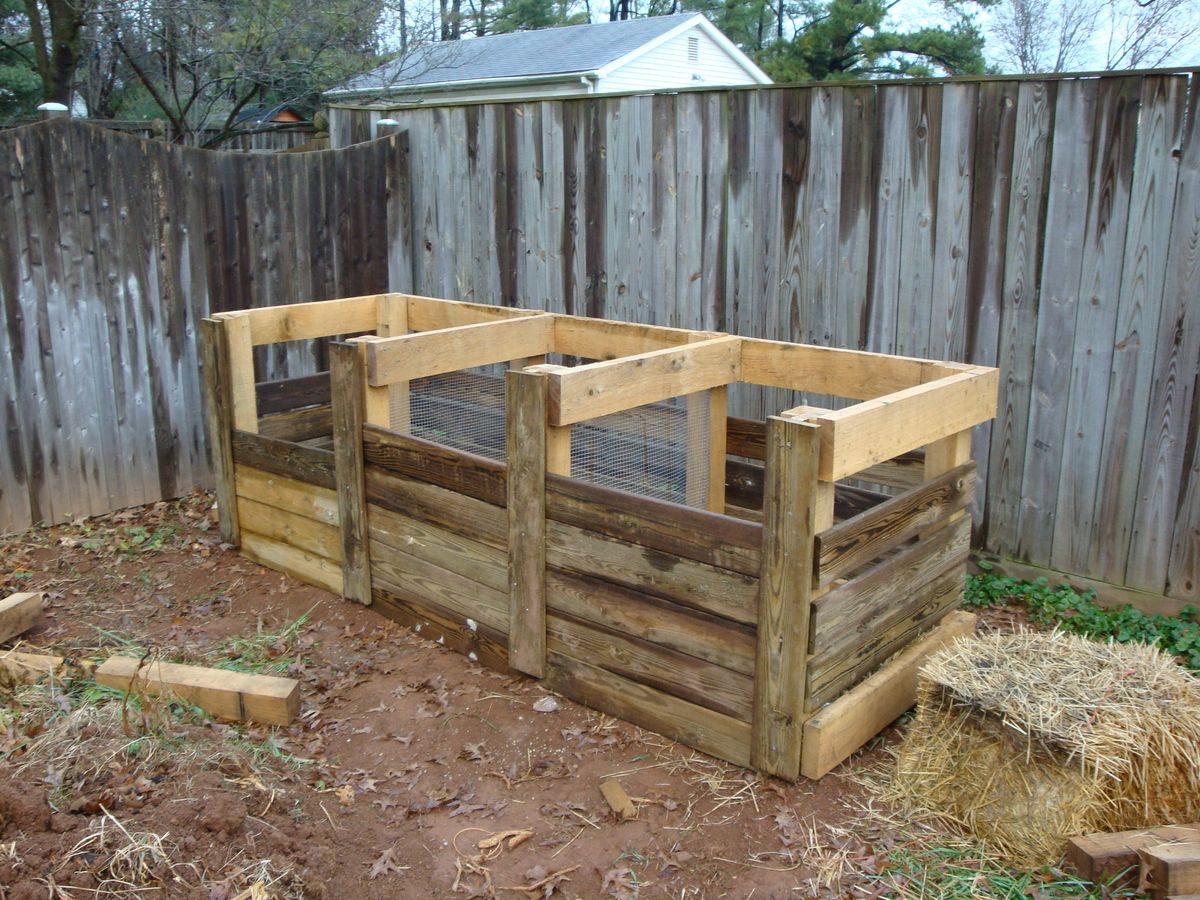
Building the Base
The base of your compost bin serves as the foundation for the entire structure, providing stability and support for the composting process. Follow these steps to construct a solid base:
- Prepare the site: Clear the chosen area of any debris or vegetation, ensuring a level surface for the base of the compost bin.
- Position the pallets: Place the first pallet flat on the ground, ensuring its stability. If desired, you can use bricks or blocks to elevate the pallet slightly for improved airflow.
- Secure the pallets: Use galvanized nails or screws to fasten additional pallets to the sides of the base pallet, creating a three-sided structure. Ensure the pallets are securely attached to form a stable base.
- Line the interior (optional): If you prefer, line the interior of the base with hardware cloth or wire mesh to prevent compost from spilling out while allowing for adequate aeration.
With the base in place, you’ve laid the groundwork for the compost bin’s structure. The next step involves constructing the sides, a pivotal aspect of the compost bin’s design. Let’s delve into the process of building the sides to complete the framework of your composting system.
Constructing the Sides
As you progress with building your compost bin, constructing the sides is a crucial step that contributes to the overall functionality and durability of the structure. Follow these steps to create the sides of your compost bin:
- Attach additional pallets: Secure additional pallets to the open side of the base, using galvanized nails or screws to connect them to the existing structure. Ensure the pallets are aligned and firmly affixed to form a cohesive enclosure for the compost.
- Consider the height: Depending on your preference and the available space, you can add multiple pallets vertically to achieve the desired height for your compost bin. Taller bins can accommodate larger quantities of compost and provide ample room for decomposition.
- Stabilize the corners (optional): To enhance stability, consider reinforcing the corners of the bin with additional support, such as wooden stakes or brackets. This will fortify the structure and prevent shifting over time.
By diligently following these steps, you’ll establish a sturdy and well-constructed framework for your compost bin. The next phase involves adding a lid to the bin, providing essential coverage and protection for the composting materials. Let’s explore the process of adding a lid to complete the construction of your compost bin.
When building a compost bin with pallets, make sure to choose untreated pallets to avoid any chemicals leaching into your compost. Also, secure the pallets together tightly to prevent them from shifting or collapsing.
Read more: How To Manage A Compost Bin
Adding a Lid
Introducing a lid to your compost bin is a valuable addition that offers numerous benefits, including moisture regulation, pest prevention, and odor containment. Follow these steps to add a functional and effective lid to your compost bin:
- Measure and cut: Determine the dimensions of the lid based on the size of your compost bin. Using a saw, carefully cut a piece of plywood or another suitable material to create the lid.
- Attach hinges: Secure hinges to one side of the lid and the corresponding edge of the compost bin. This will allow the lid to open and close smoothly, providing easy access for adding compost materials and turning the pile.
- Install a latch (optional): For added security and stability, consider attaching a latch to keep the lid securely closed. This will prevent it from being dislodged by strong winds or curious critters.
- Ventilation (optional): To promote airflow and prevent moisture buildup, you can incorporate small gaps or vents along the edges of the lid. This will facilitate proper aeration and contribute to the overall health of the compost.
By following these steps, you’ll complete the construction of your compost bin with a functional and practical lid. This addition not only enhances the efficiency of the composting process but also contributes to a tidy and organized composting area. Now that your compost bin is fully assembled, it’s time to fill it with organic waste and kickstart the composting journey. Let’s explore the process of filling the bin with compostable materials in the next section.
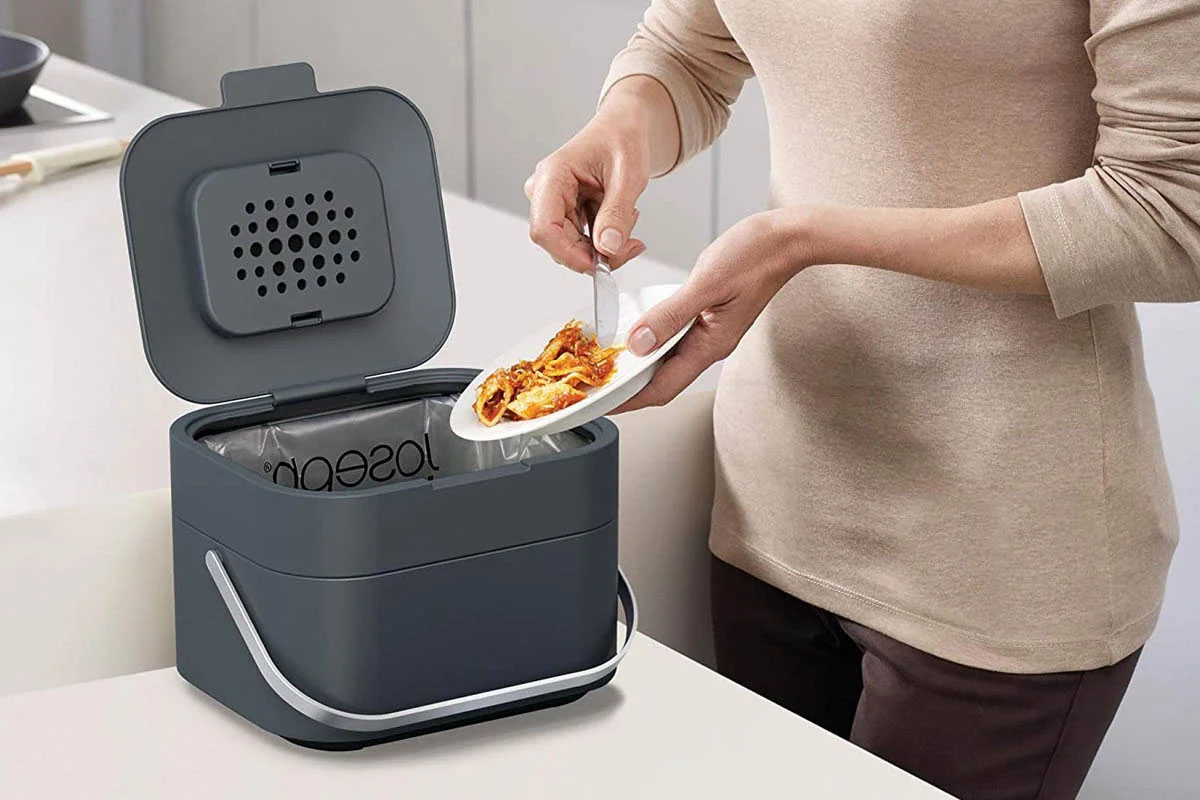
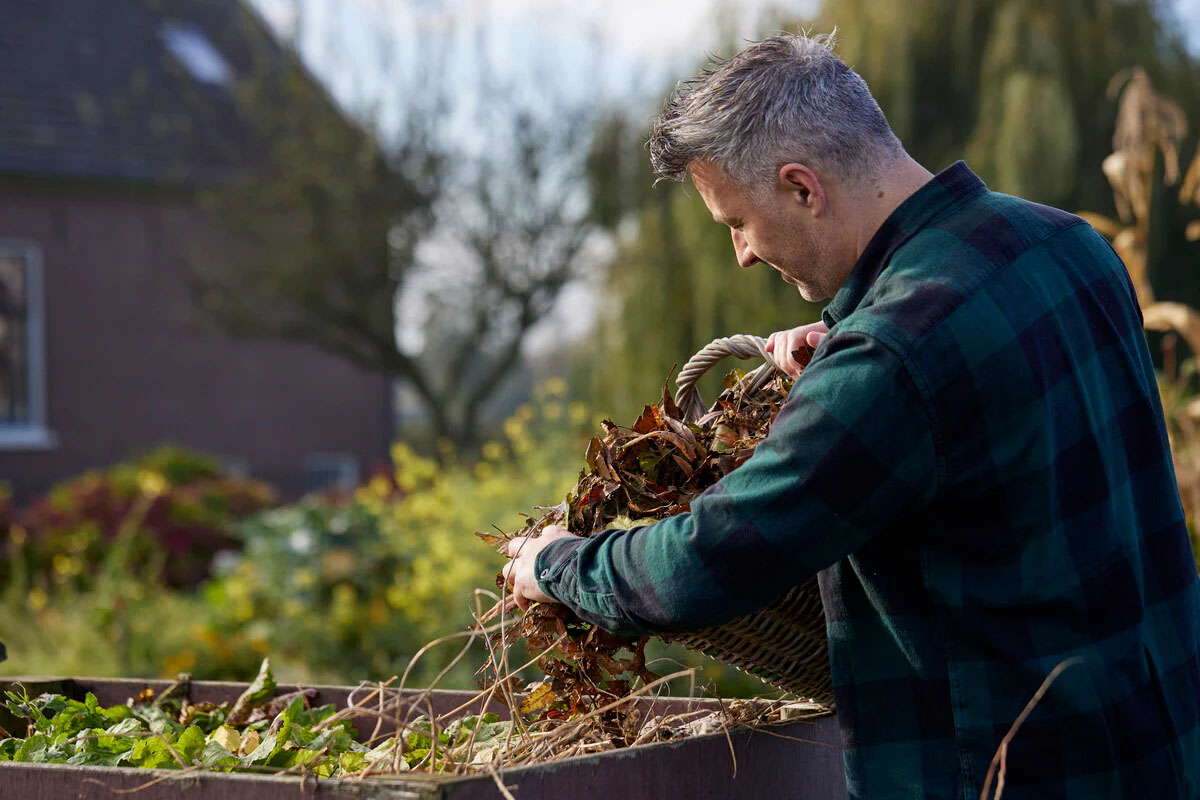
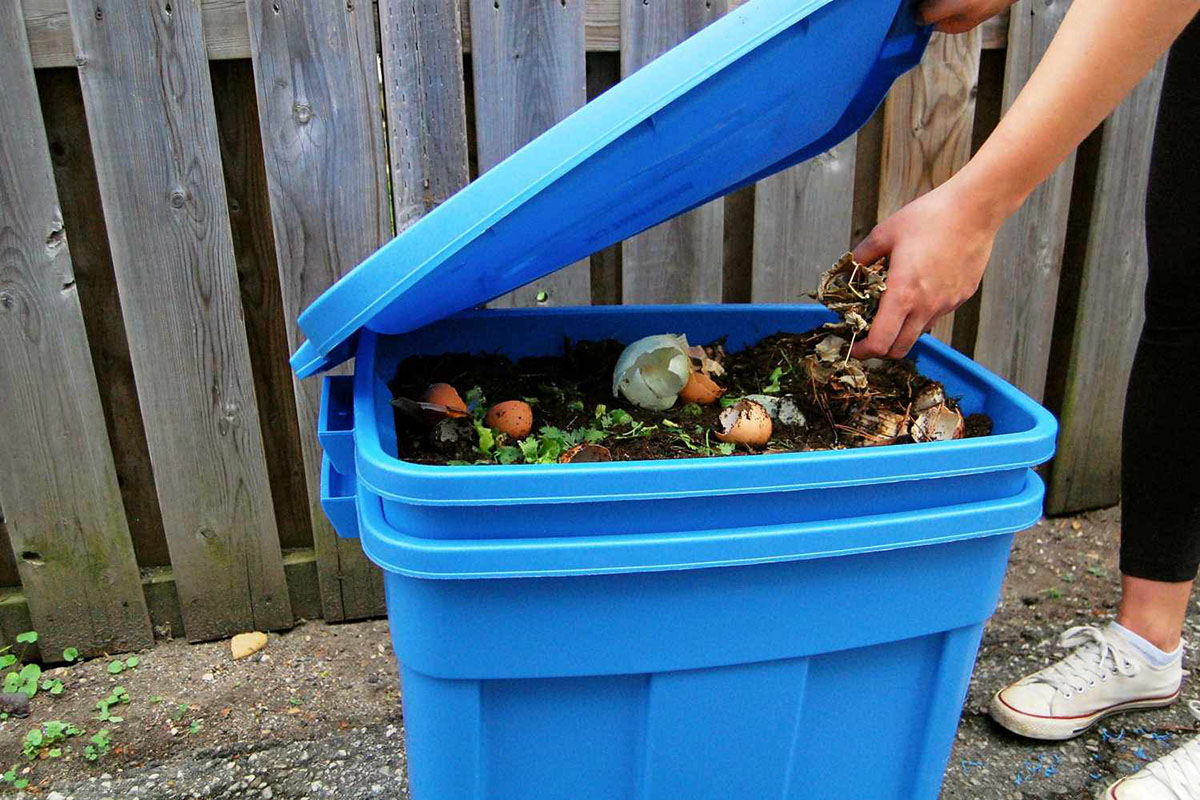
Filling the Bin
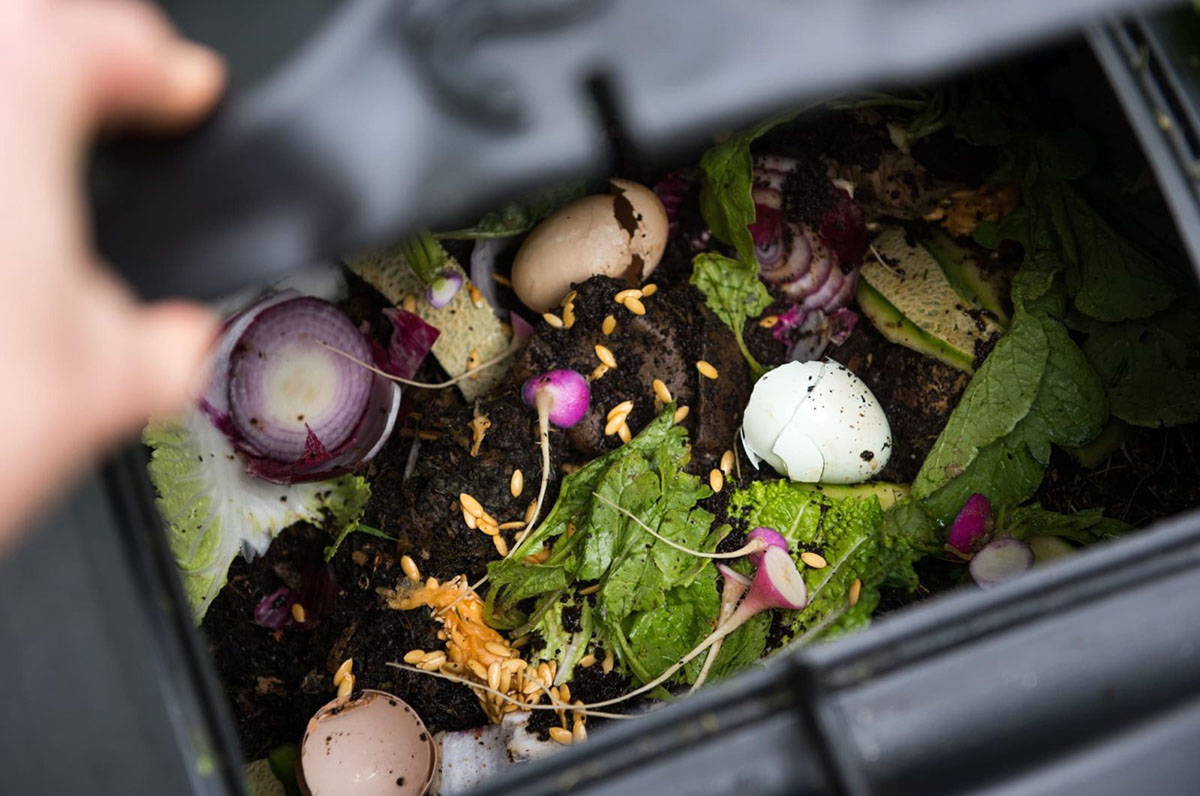
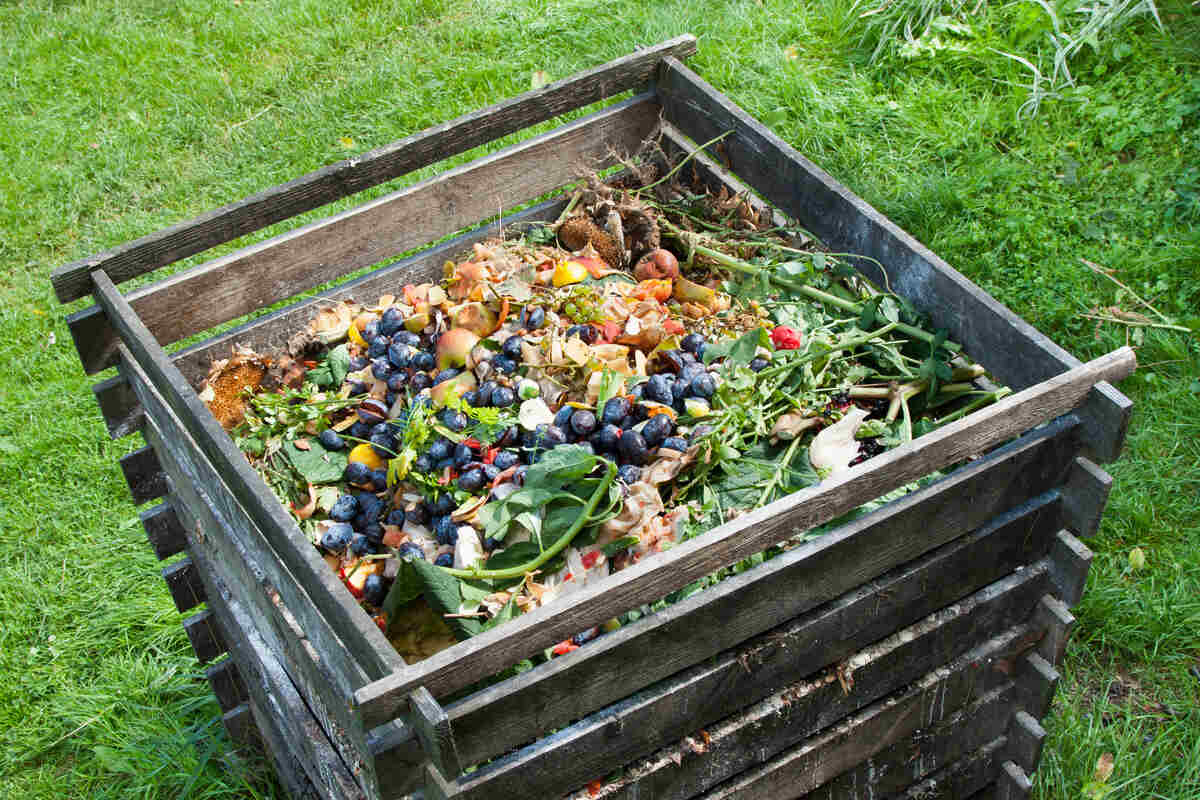
Now that your compost bin is ready to receive organic waste, it’s time to start filling it with a diverse range of compostable materials. By incorporating a balanced mix of ingredients, you can create nutrient-rich compost that will benefit your garden and the environment. Here’s a guide to filling your compost bin:
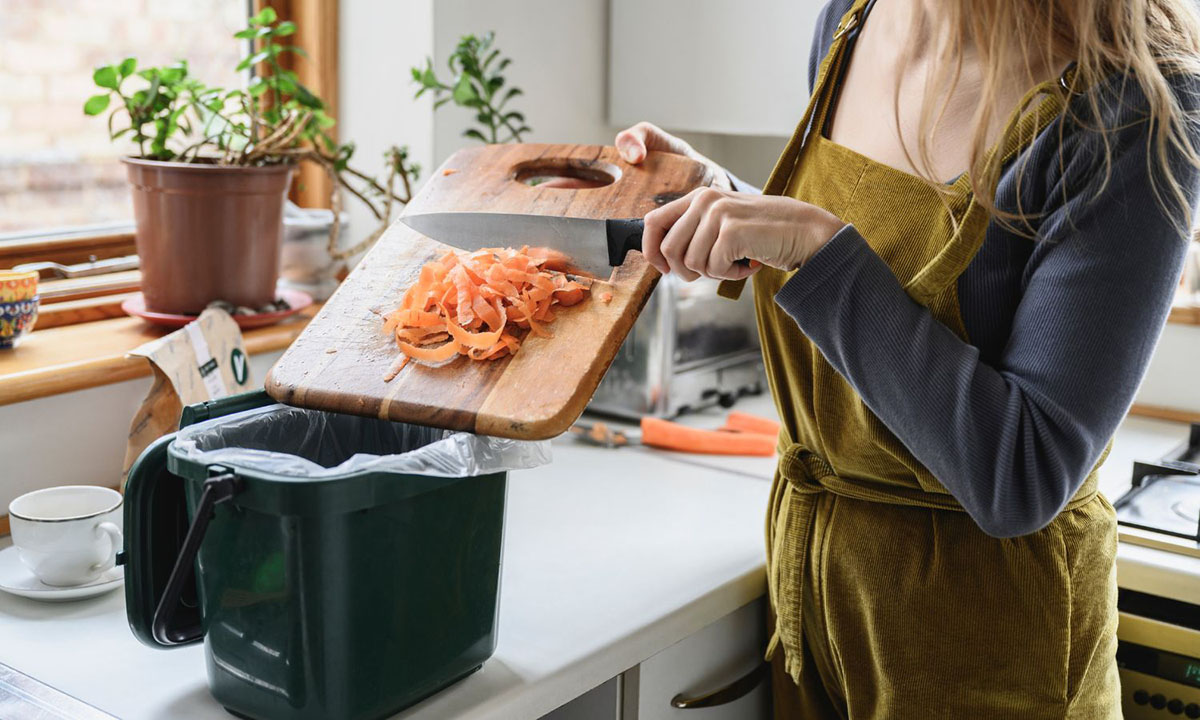
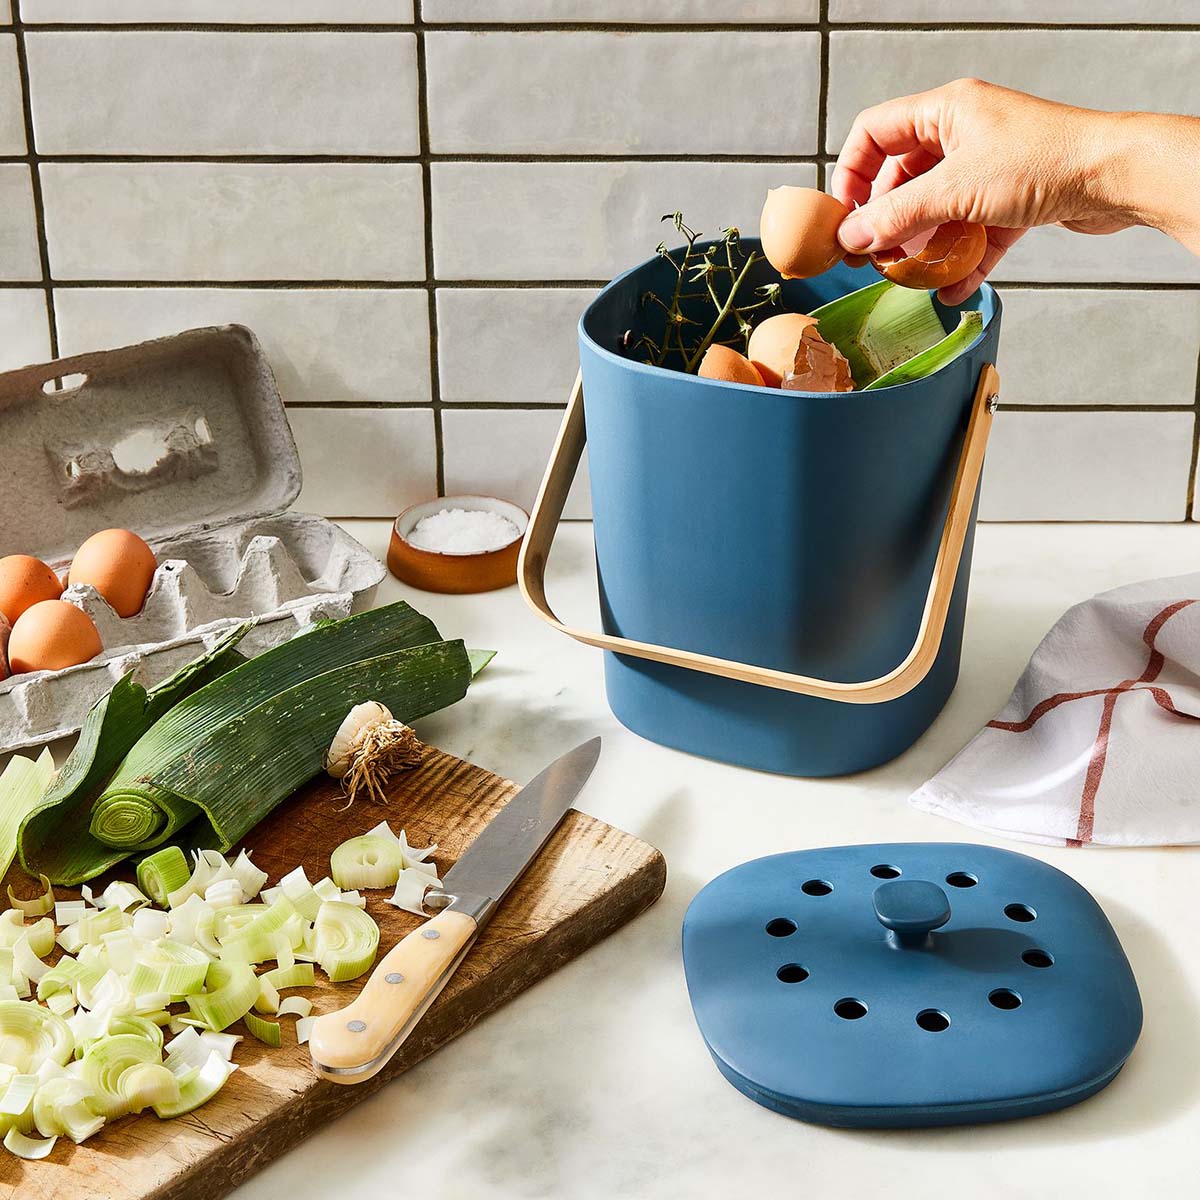
- Green materials: Add nitrogen-rich “green” materials such as fruit and vegetable scraps, coffee grounds, grass clippings, and plant trimmings. These items provide essential nutrients and moisture to the compost pile.
- Brown materials: Introduce carbon-rich “brown” materials, including dry leaves, straw, shredded paper, and cardboard. These components help maintain aeration and balance the carbon-to-nitrogen ratio in the compost.
- Avoid certain items: Refrain from adding meat, dairy, oily foods, and pet waste to the compost bin, as these can attract pests and create unpleasant odors. Additionally, avoid adding diseased plants or weeds with mature seeds to prevent potential issues in the compost.
- Layering and moisture: Alternate layers of green and brown materials to encourage decomposition and prevent the compost from becoming too compact. Ensure the compost remains consistently moist, similar to a wrung-out sponge, to support microbial activity and breakdown of organic matter.
- Aeration and turning: Periodically turn the compost with a pitchfork or shovel to aerate the pile and facilitate decomposition. This process introduces oxygen and helps maintain an optimal environment for beneficial microorganisms.
By following these guidelines, you’ll effectively fill your compost bin with a diverse array of materials, setting the stage for the transformation of organic waste into valuable compost. As the composting process unfolds, regular maintenance and attention will be essential to ensure its success. Let’s explore the key practices for maintaining your compost bin in the following section.
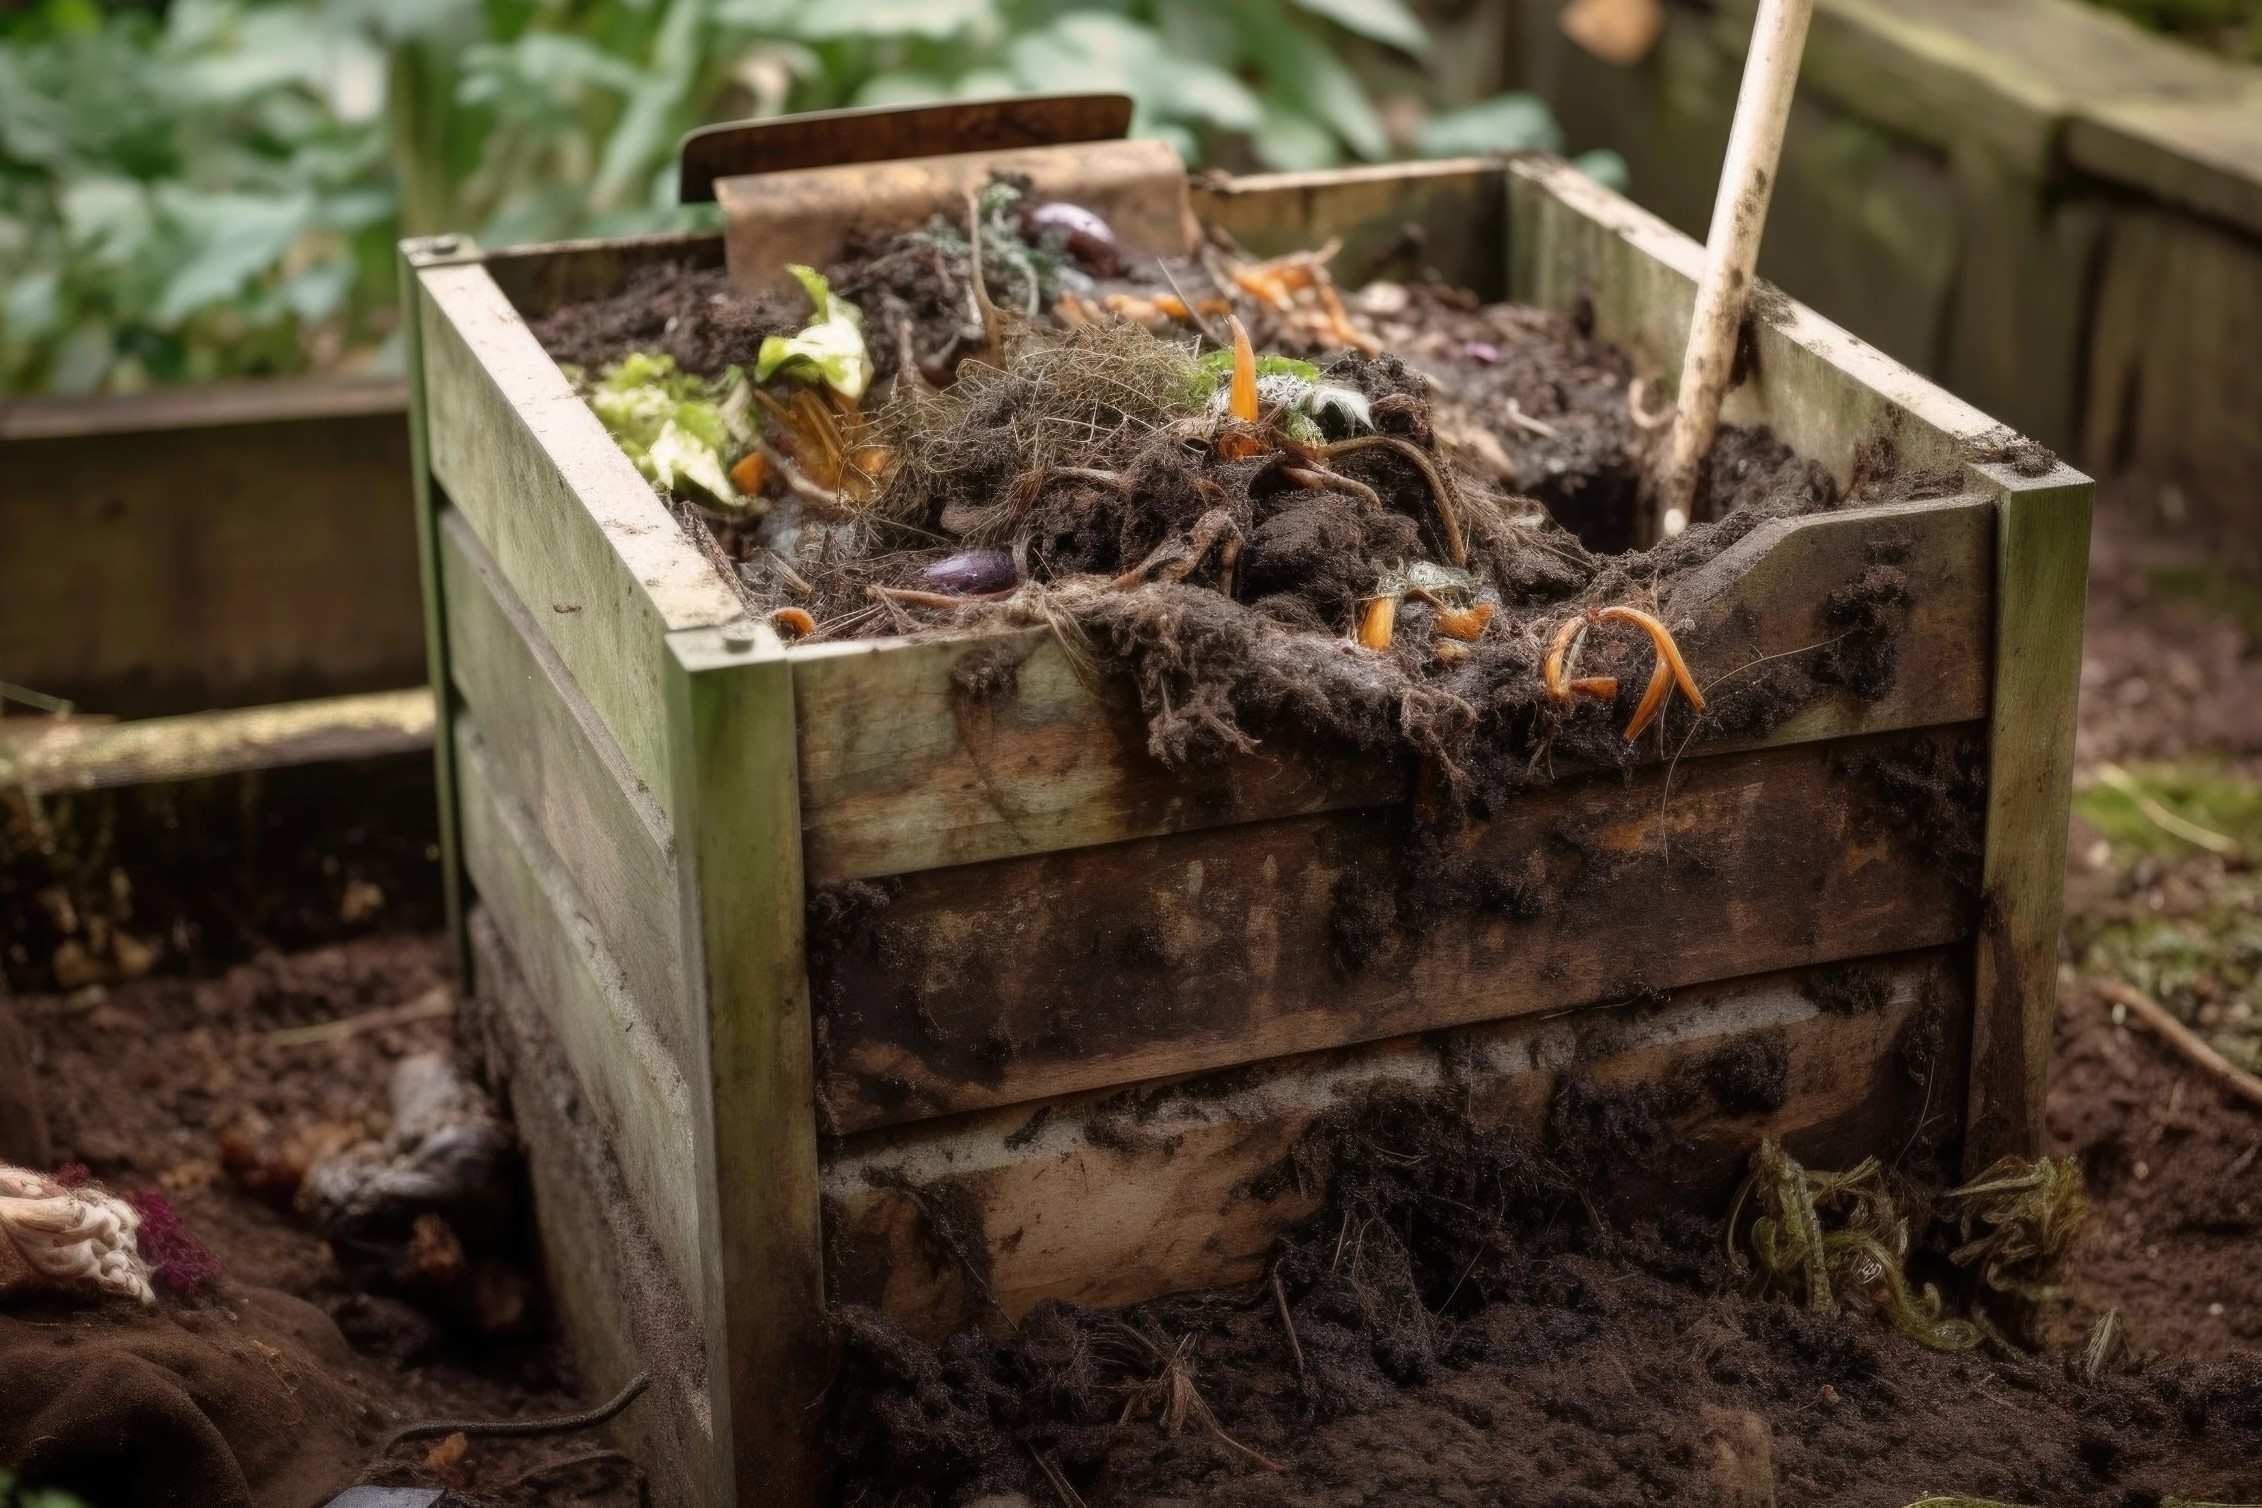
Maintaining the Compost Bin
Effective maintenance is crucial for nurturing a healthy and productive compost bin. By implementing the following practices, you can ensure optimal conditions for the decomposition process and the creation of nutrient-rich compost:
- Regular turning: Turn the compost pile every 1-2 weeks to aerate the materials and distribute moisture and microorganisms evenly. This helps accelerate decomposition and prevents the formation of anaerobic zones.
- Monitoring moisture: Check the moisture levels in the compost regularly. If the pile appears too dry, lightly water it to maintain the ideal moisture content. Conversely, if it’s overly wet, add dry brown materials to improve aeration and absorb excess moisture.
- Temperature monitoring: Periodically assess the internal temperature of the compost pile using a compost thermometer. A temperature range of 110-160°F (43-71°C) indicates active decomposition, while excessively high temperatures may necessitate turning the pile to prevent overheating.
- Adding amendments (optional): If necessary, introduce compost activators or high-nitrogen materials such as alfalfa meal or blood meal to invigorate the decomposition process and address imbalances in the carbon-to-nitrogen ratio.
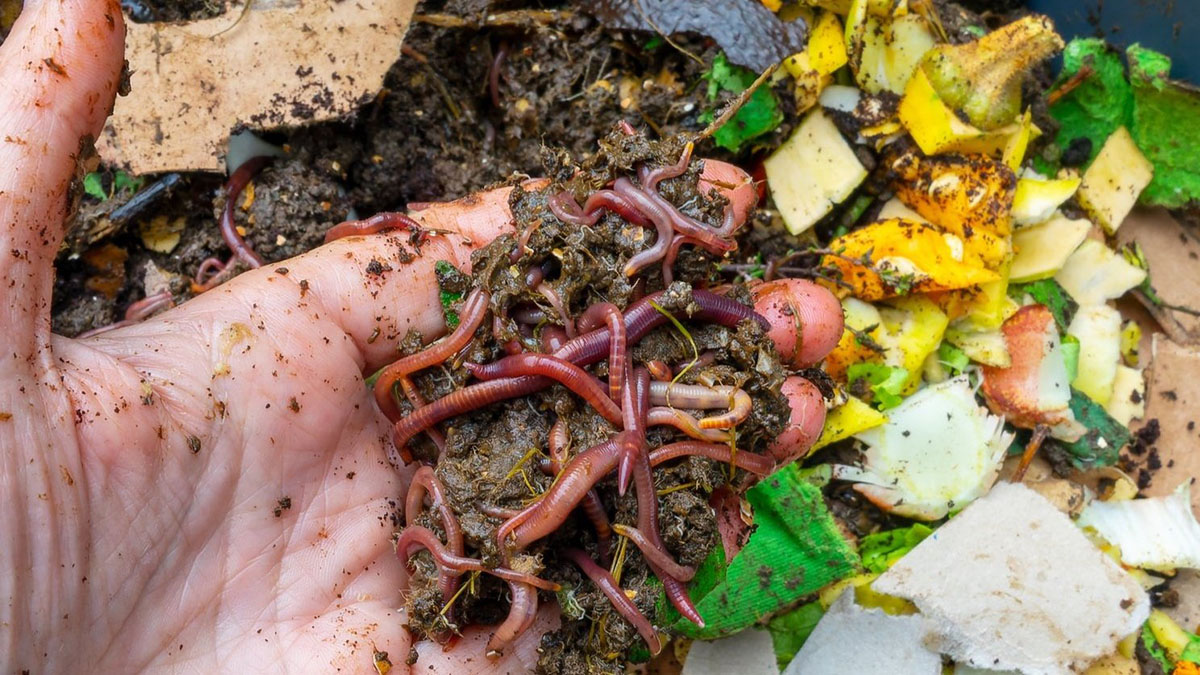
- Patience and observation: Be patient as the compost matures, and observe the gradual transformation of the materials into dark, crumbly compost. This valuable resource can be used to enrich garden soil, nourish plants, and promote a thriving ecosystem.
By diligently maintaining your compost bin and attending to its evolving needs, you’ll foster an environment conducive to the production of high-quality compost. This nutrient-dense material can significantly benefit your garden, reduce waste, and contribute to a more sustainable lifestyle. As you embark on this composting journey, you’ll witness the transformative power of organic recycling and its positive impact on the environment.
With the knowledge and practices outlined in this guide, you’re well-equipped to build, fill, and maintain a compost bin with pallets, fostering a continuous cycle of organic renewal and environmental stewardship right in your own backyard. Embrace the art of composting, and let nature’s remarkable processes inspire and enrich your sustainable living endeavors.
Conclusion
Congratulations on embarking on the rewarding journey of building and maintaining a compost bin with pallets. By repurposing materials and engaging in sustainable practices, you’ve taken a significant step toward reducing waste and nurturing a more environmentally conscious lifestyle.
As you’ve discovered, constructing a compost bin with pallets is a practical and accessible endeavor, offering a host of benefits for both your garden and the planet. Through the thoughtful selection of materials, strategic placement, and conscientious maintenance, you’ve created a valuable resource for transforming organic waste into nutrient-rich compost.
By filling your compost bin with a diverse mix of compostable materials and implementing proper maintenance techniques, you’re actively contributing to the natural cycle of renewal and regeneration. The resulting compost will enrich your garden soil, foster plant growth, and minimize the need for chemical fertilizers, aligning with sustainable gardening principles.
Furthermore, your commitment to composting serves as a testament to the positive impact of individual actions on environmental conservation. By diverting organic waste from landfills and mitigating greenhouse gas emissions, you’re playing a vital role in promoting a healthier planet for current and future generations.
As you tend to your compost bin and witness the gradual transformation of organic matter into a valuable resource, take pride in your role as a steward of the environment. Your dedication to sustainable living and responsible waste management exemplifies the profound impact that small, everyday choices can have on the world around us.
In closing, may your composting journey continue to inspire and empower you to explore new avenues of sustainability, fostering a deeper connection with nature and a more conscientious approach to resource utilization. Embrace the art of composting as a testament to the potential for positive change, and let your actions serve as a beacon of hope for a greener, more sustainable future.
Frequently Asked Questions about How To Build A Compost Bin With Pallets
Was this page helpful?
At Storables.com, we guarantee accurate and reliable information. Our content, validated by Expert Board Contributors, is crafted following stringent Editorial Policies. We're committed to providing you with well-researched, expert-backed insights for all your informational needs.


0 thoughts on “How To Build A Compost Bin With Pallets”