Home>Furniture & Design>Outdoor Furniture>How To Set An Acurite Indoor/Outdoor Thermometer
Outdoor Furniture
How To Set An Acurite Indoor/Outdoor Thermometer
Modified: January 26, 2024
Learn how to set up your Acurite indoor/outdoor thermometer with our comprehensive guide. Ensure accurate temperature readings for your outdoor furniture and design.
(Many of the links in this article redirect to a specific reviewed product. Your purchase of these products through affiliate links helps to generate commission for Storables.com, at no extra cost. Learn more)
Introduction
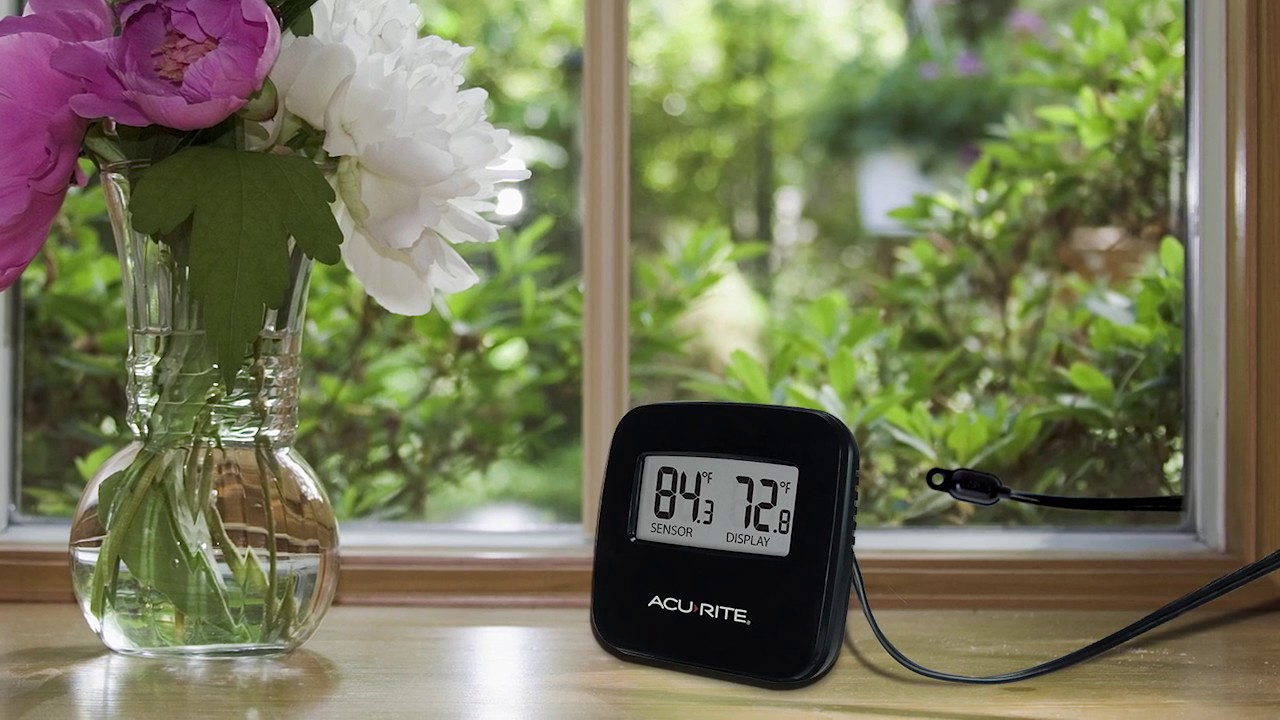
Welcome to the world of accurate and reliable temperature monitoring with the Acurite Indoor/Outdoor Thermometer. Whether you're a weather enthusiast, a gardening aficionado, or simply someone who wants to keep a close eye on indoor and outdoor temperatures, this user-friendly device is an invaluable addition to your home. In this comprehensive guide, we'll walk you through the simple and straightforward process of setting up your Acurite Indoor/Outdoor Thermometer, ensuring that you get the most out of this innovative technology.
As you unbox your Acurite Indoor/Outdoor Thermometer, you're taking the first step toward gaining a deeper understanding of the temperature variations in and around your home. By following the steps outlined in this guide, you'll be able to seamlessly install and calibrate the thermometer, allowing you to access accurate temperature readings with ease. Whether you're preparing your garden for the changing seasons, monitoring the temperature in a greenhouse, or simply keeping an eye on the indoor climate, this device empowers you to make informed decisions based on precise temperature data.
With its intuitive design and user-friendly features, the Acurite Indoor/Outdoor Thermometer is suitable for users of all levels of technical expertise. From the moment you unpack the device to the final calibration steps, we'll provide you with clear and concise instructions to ensure that you can set up and utilize your thermometer efficiently. By the end of this guide, you'll be equipped with the knowledge and confidence to make the most of your Acurite Indoor/Outdoor Thermometer, gaining valuable insights into the temperature dynamics of your surroundings.
So, let's embark on this journey together as we delve into the step-by-step process of setting up your Acurite Indoor/Outdoor Thermometer. Get ready to experience the convenience and precision of monitoring indoor and outdoor temperatures with this exceptional device.
Key Takeaways:
- Stay informed about indoor and outdoor temperatures with the Acurite Thermometer. Follow the simple setup process to access accurate temperature data for gardening, weather monitoring, and more.
- Maximize your thermometer’s potential by positioning it carefully, setting the time and date accurately, and exploring additional tips for maintenance and data utilization. Enjoy precise temperature monitoring with confidence and ease.
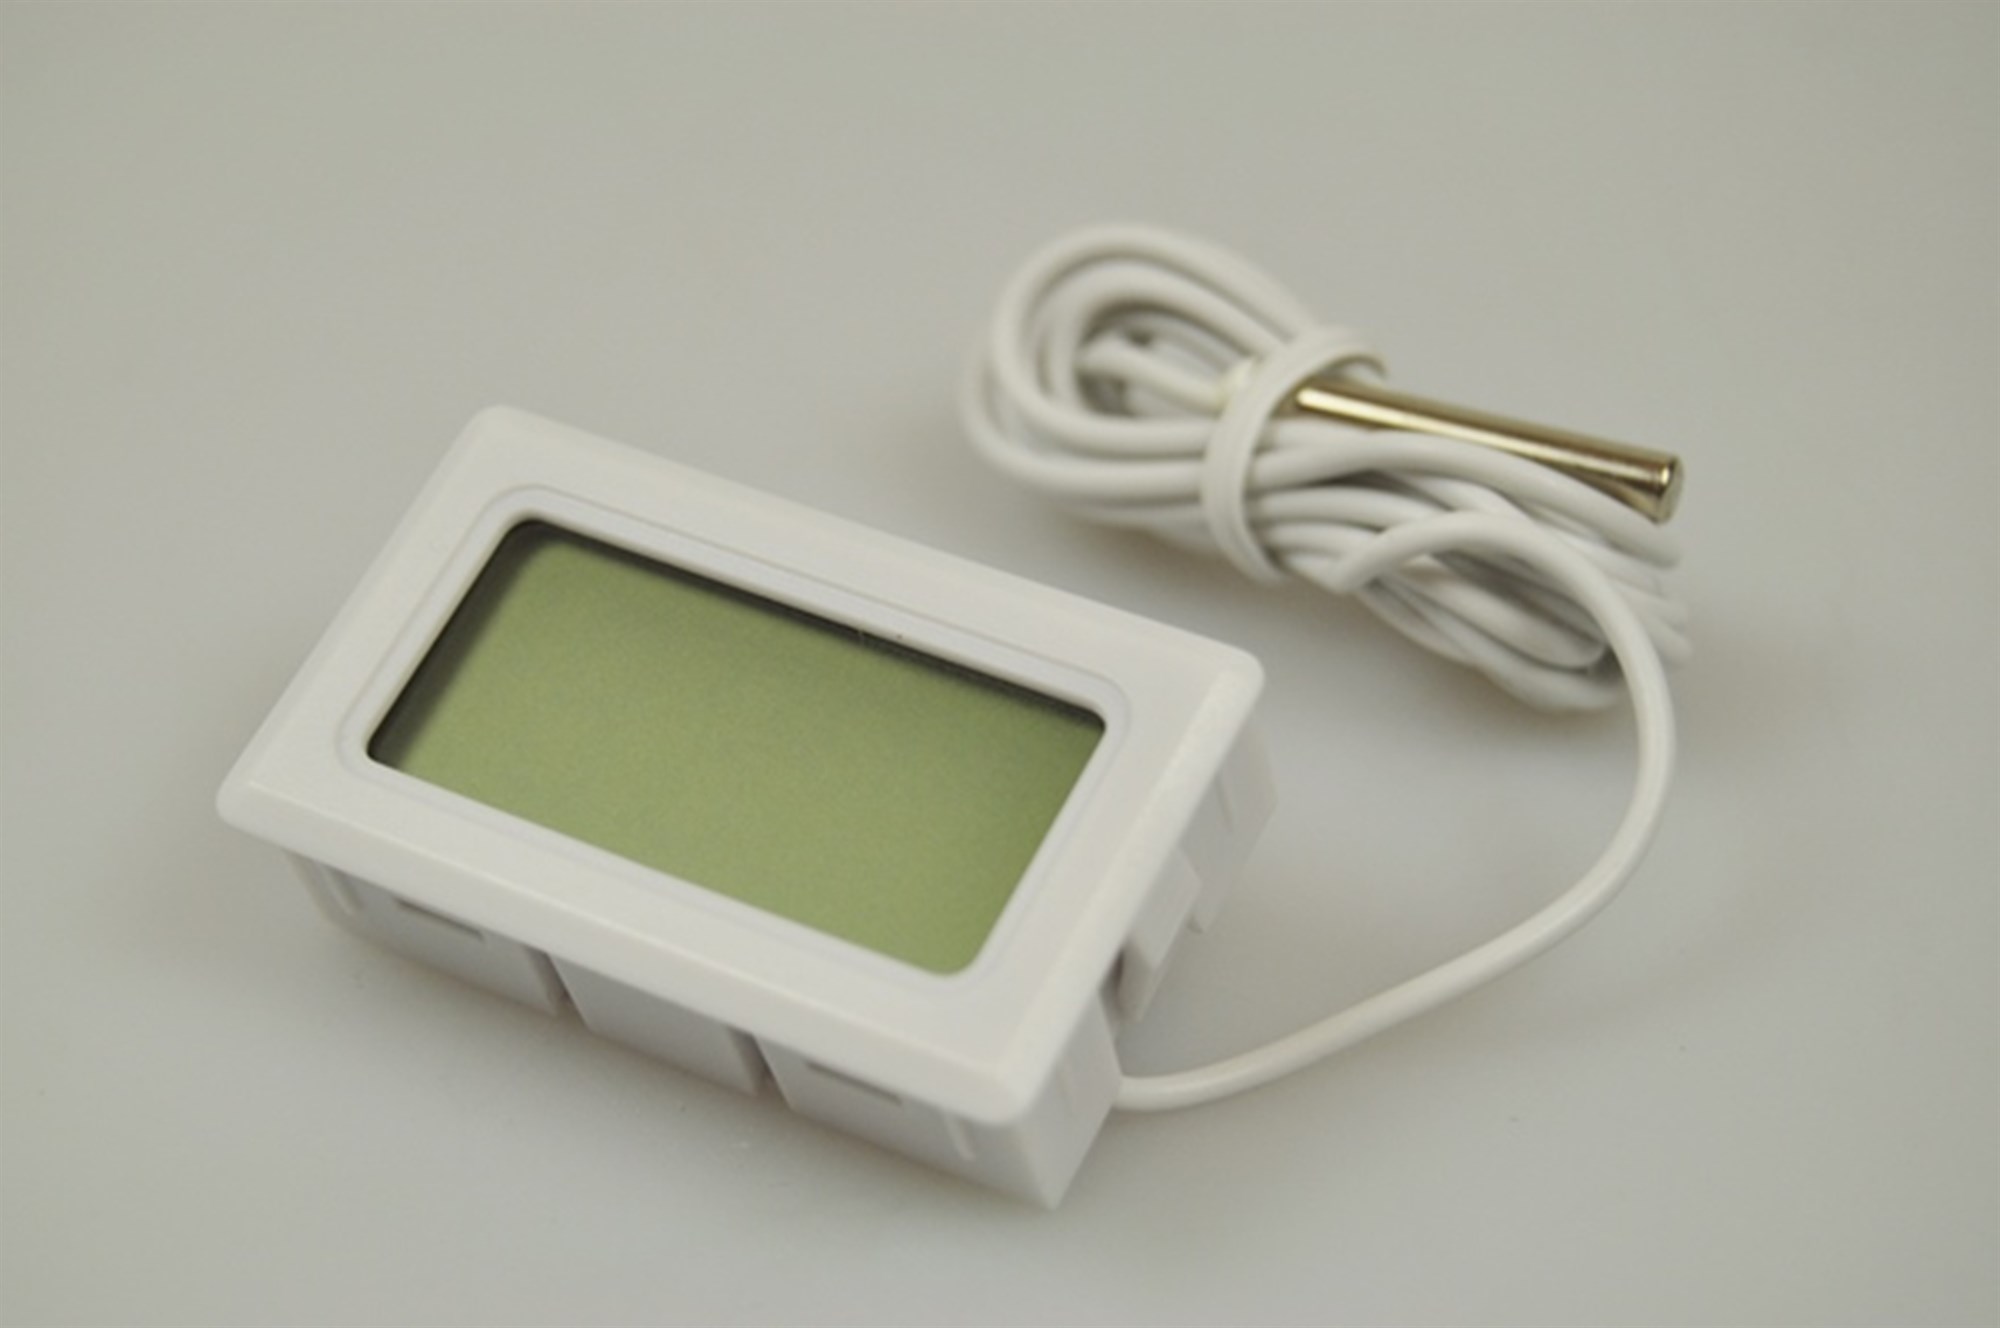
Step 1: Unpack the Thermometer
The first step in setting up your Acurite Indoor/Outdoor Thermometer is to carefully unpack the contents of the box. As you open the packaging, you'll find the components neatly organized and ready for assembly. Take a moment to familiarize yourself with the various parts, including the indoor display unit, outdoor temperature sensor, and any additional accessories included.
Inspect the components to ensure that everything is in good condition and free from any damage that may have occurred during shipping. It's essential to handle the components with care, as they are precision instruments designed to provide accurate temperature readings. By handling them gently during the unpacking process, you can avoid any potential issues that may arise from mishandling.
Once you've confirmed that all the components are in good condition, you can proceed to the next step of the setup process. By taking the time to unpack the thermometer methodically and attentively, you set the stage for a smooth and successful installation, laying the groundwork for reliable temperature monitoring in the days to come.
With the components unpacked and ready for assembly, you're now prepared to move on to the next step in the setup process. As we progress through the subsequent steps, you'll gain a comprehensive understanding of how to install and calibrate your Acurite Indoor/Outdoor Thermometer, unlocking its full potential for accurate temperature monitoring.
Step 2: Install Batteries
With the components of your Acurite Indoor/Outdoor Thermometer unpacked, the next crucial step is to install the required batteries. The indoor display unit and outdoor temperature sensor both rely on batteries to power their operations, ensuring continuous and reliable temperature monitoring.
Begin by identifying the battery compartments on both the indoor display unit and the outdoor temperature sensor. The battery compartments are typically located on the back or bottom of each device and can be accessed by sliding open the covers. Once you have located the compartments, carefully insert the specified batteries, ensuring that you observe the correct polarity as indicated by the markings inside the compartments.
It is essential to use high-quality batteries to power your Acurite Indoor/Outdoor Thermometer, as this will contribute to the longevity of the devices and the accuracy of the temperature readings. When selecting batteries, opt for reputable brands known for their reliability and long-lasting performance. Additionally, consider using alkaline batteries, as they are well-suited for devices that require a consistent power supply.
After inserting the batteries into the designated compartments, securely close the covers to ensure that the batteries remain in place during operation. Take care to follow the manufacturer’s instructions regarding the type and quantity of batteries required for each device, as this will contribute to the optimal functioning of your thermometer.
By installing the batteries in the indoor display unit and outdoor temperature sensor, you are one step closer to harnessing the full capabilities of your Acurite Indoor/Outdoor Thermometer. The successful installation of batteries paves the way for the subsequent setup steps, allowing you to proceed with configuring the thermometer for accurate temperature monitoring.
As we move forward with the setup process, you’ll soon be ready to position the outdoor sensor and place the indoor display unit in your desired location, setting the stage for seamless temperature monitoring both indoors and outdoors.
Step 3: Set Up the Outdoor Sensor
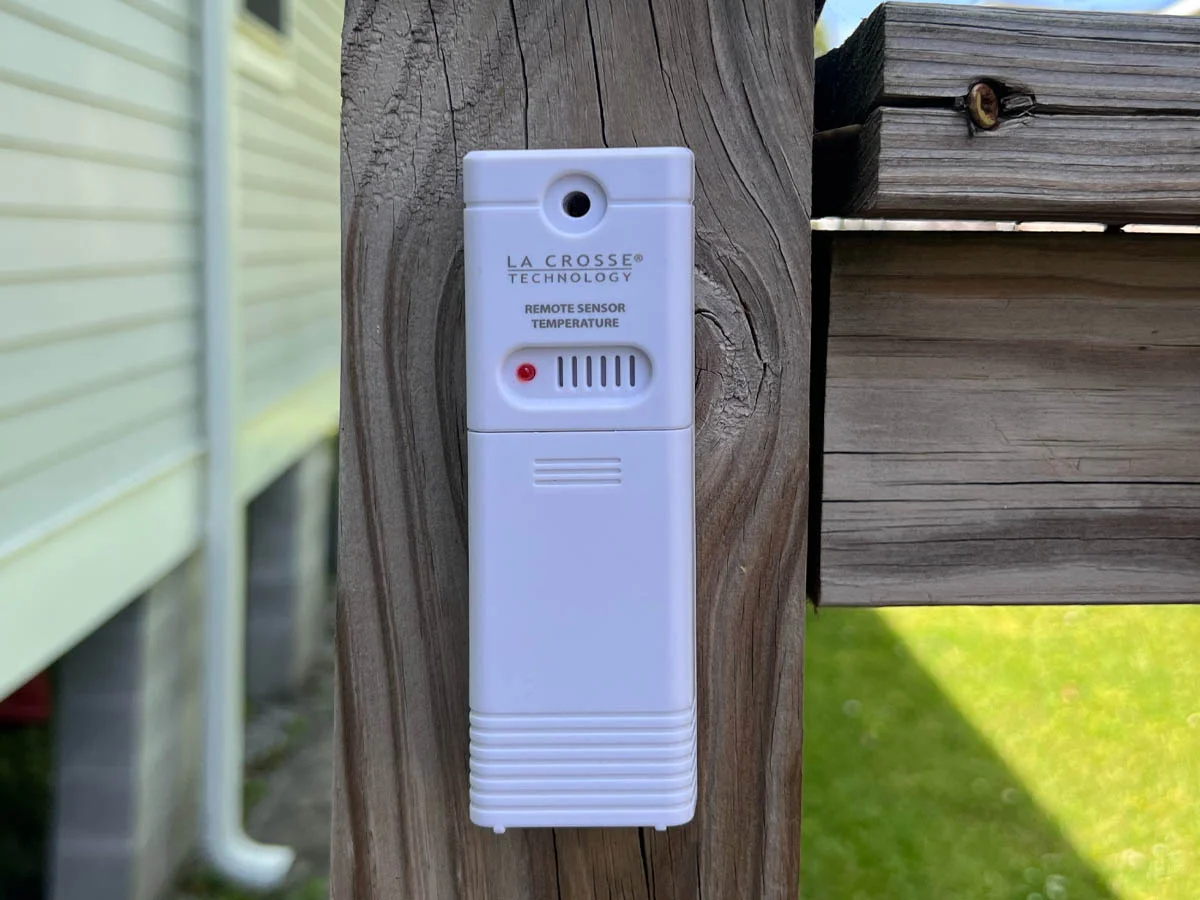
Setting up the outdoor sensor is a pivotal part of configuring your Acurite Indoor/Outdoor Thermometer for accurate temperature monitoring. The outdoor sensor is designed to withstand various weather conditions while wirelessly transmitting temperature data to the indoor display unit, providing you with real-time insights into outdoor temperature fluctuations.
Before positioning the outdoor sensor, it’s important to identify an optimal location that meets certain criteria. The ideal placement for the outdoor sensor is an area shielded from direct sunlight and precipitation, as exposure to these elements can affect the accuracy of the temperature readings. Additionally, consider placing the outdoor sensor in a location where it can receive a strong wireless signal from the indoor display unit, ensuring consistent data transmission.
Once you’ve identified the suitable location for the outdoor sensor, securely mount it using the provided mounting hardware or adhesive. Ensure that the sensor is positioned stably and that it is angled slightly downward to prevent water accumulation, further safeguarding its functionality in outdoor conditions.
After securing the outdoor sensor in place, you can proceed to synchronize it with the indoor display unit. This typically involves activating the wireless connection between the sensor and the display unit, allowing them to communicate seamlessly. Follow the manufacturer’s instructions to pair the outdoor sensor with the indoor display unit, ensuring that the connection is established successfully.
Upon successful synchronization, the outdoor sensor will begin transmitting temperature data to the indoor display unit, providing you with real-time outdoor temperature readings. This valuable feature allows you to stay informed about outdoor temperature variations, making it especially useful for outdoor activities, gardening, and general weather monitoring.
By completing the setup of the outdoor sensor, you have unlocked the capability to monitor outdoor temperature with precision and convenience. The successful installation and synchronization of the outdoor sensor set the stage for the next steps in configuring your Acurite Indoor/Outdoor Thermometer, bringing you closer to comprehensive temperature monitoring both indoors and outdoors.
As we progress through the setup process, you’ll soon be ready to position the indoor display unit and proceed with setting the time and date, ensuring that your thermometer provides accurate and up-to-date temperature information for your convenience and peace of mind.
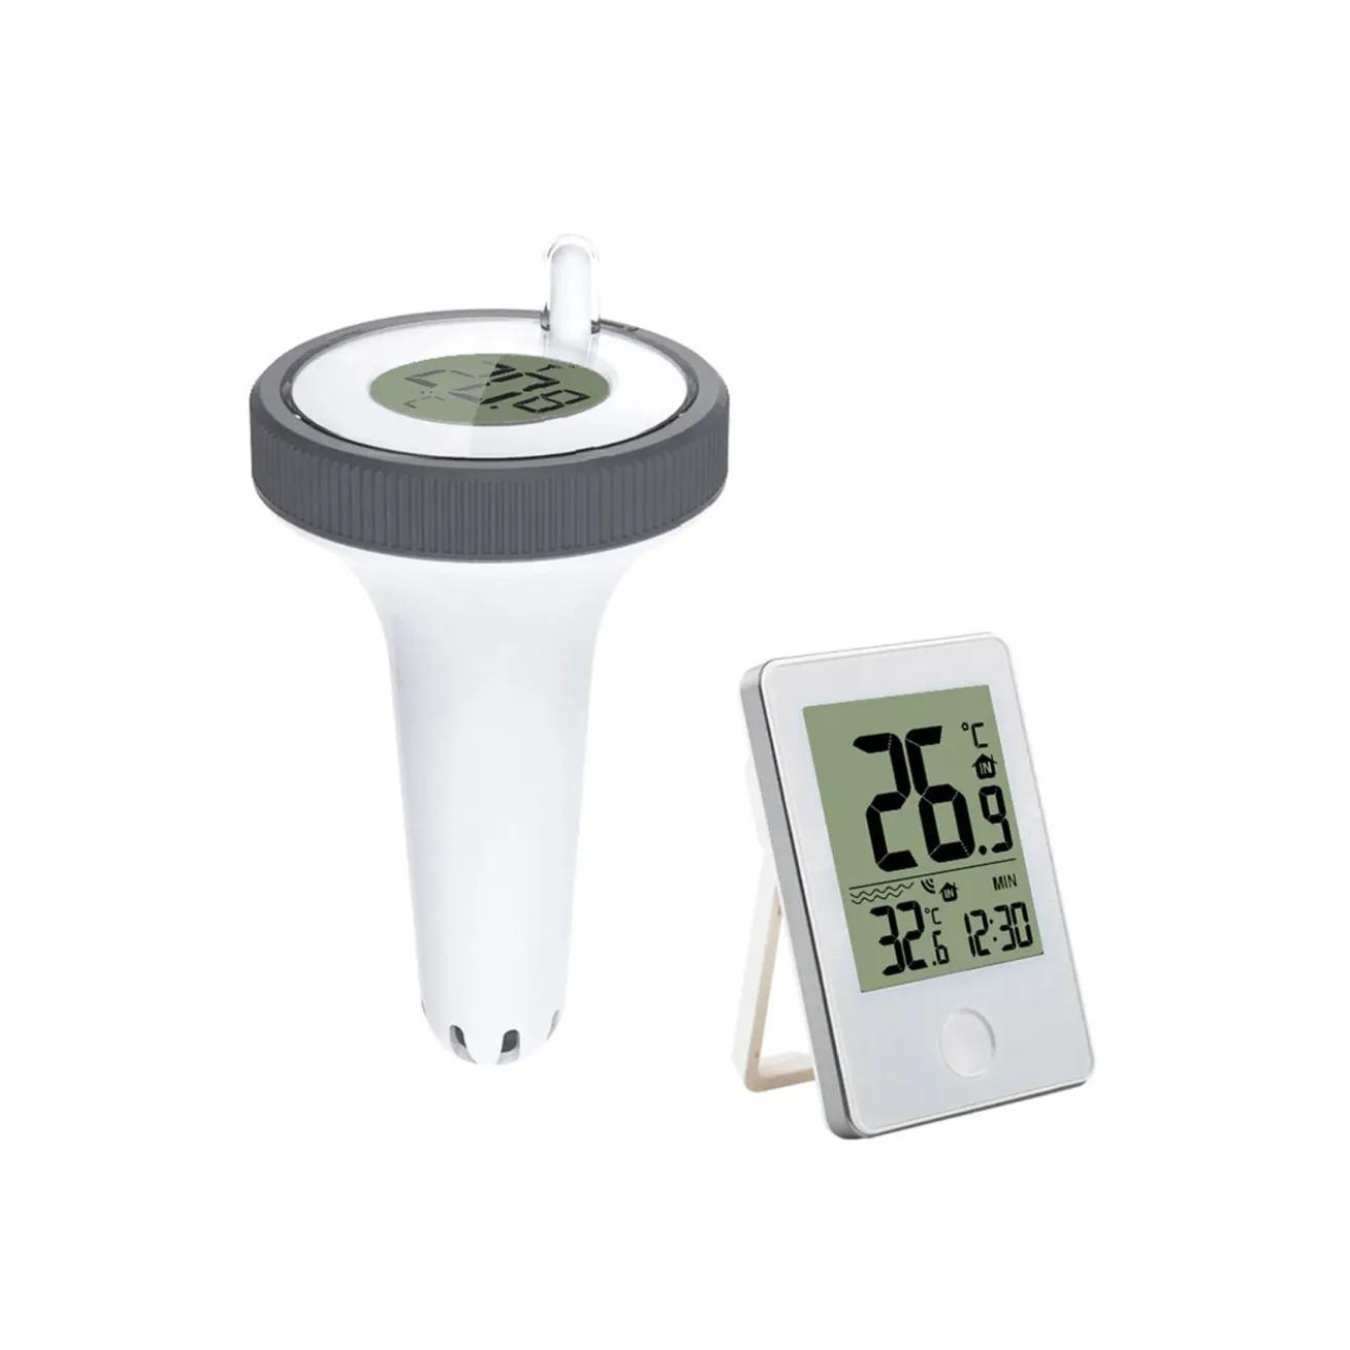
Step 4: Place the Indoor Display Unit
Positioning the indoor display unit of your Acurite Indoor/Outdoor Thermometer is a crucial step in ensuring that you can conveniently access indoor temperature data and effectively monitor the climate within your home. The indoor display unit serves as the central hub for receiving and displaying temperature information from the outdoor sensor, providing you with real-time insights into indoor temperature dynamics.
When selecting a location for the indoor display unit, consider areas within your home that are easily accessible and frequented regularly. Choose a spot with good visibility, allowing you to glance at the display unit effortlessly and check the indoor temperature at a glance. Additionally, ensure that the location is away from direct heat sources, drafts, and excessive moisture, as these factors can affect the accuracy of the temperature readings.
Once you’ve identified the optimal location for the indoor display unit, place it on a flat and stable surface, such as a tabletop, shelf, or counter. Alternatively, you may choose to mount the display unit on a wall using the provided mounting hardware, ensuring that it is positioned securely and at a convenient eye level for easy readability.
As you position the indoor display unit, take into account the wireless signal reception from the outdoor sensor. Ensure that the display unit is within the recommended range for wireless communication with the outdoor sensor, allowing for reliable data transmission. If necessary, you can test the signal strength by temporarily placing the display unit in different locations until you find the optimal position for seamless communication with the outdoor sensor.
Once the indoor display unit is in place, you’re ready to proceed with setting the time and date, a crucial step in ensuring that your thermometer provides accurate and up-to-date temperature information. By carefully positioning the indoor display unit, you’ve taken a significant stride toward seamlessly monitoring indoor temperature while laying the groundwork for the subsequent steps in configuring your Acurite Indoor/Outdoor Thermometer.
As we progress through the setup process, you’ll soon be ready to calibrate the thermometer, ensuring that it delivers precise and reliable temperature readings for your comfort and convenience. The successful placement of the indoor display unit brings you closer to harnessing the full potential of your Acurite Indoor/Outdoor Thermometer, empowering you to make informed decisions based on accurate temperature data.
Make sure to place the outdoor sensor in a shaded area to get accurate temperature readings. Keep the indoor unit away from direct sunlight and drafts for best results.
Read more: Where To Put Outdoor Thermometer
Step 5: Set the Time and Date
Configuring the time and date on your Acurite Indoor/Outdoor Thermometer is a fundamental step that ensures the accuracy and relevance of the temperature data displayed on the indoor unit. By setting the correct time and date, you establish a reliable reference point for tracking temperature variations and accessing historical data, enabling you to make informed decisions based on precise time-stamped temperature readings.
Begin the process by accessing the settings or configuration menu on the indoor display unit. Depending on the model of your Acurite thermometer, you may navigate through the menu using the provided buttons or touchscreen interface. Refer to the user manual for specific instructions on accessing the time and date settings, ensuring that you can proceed with confidence.
Once you’ve accessed the time and date settings, use the provided controls to input the current time and date accurately. Pay close attention to the format required for inputting the time, ensuring that you select the appropriate hour, minute, and, if applicable, AM/PM designation. Similarly, input the current date, taking care to enter the correct month, day, and year to establish an accurate reference for temperature monitoring.
After inputting the time and date, review the settings to confirm their accuracy. Take a moment to double-check the entries, ensuring that the time and date reflect the current information. This attention to detail is essential for maintaining the precision of the temperature data displayed on the indoor unit, allowing you to rely on the thermometer for up-to-date and accurate readings.
With the time and date accurately configured, your Acurite Indoor/Outdoor Thermometer is now equipped to provide you with relevant and precise temperature information, empowering you to monitor indoor and outdoor temperature dynamics with confidence and ease. The successful setup of the time and date serves as a crucial foundation for leveraging the full capabilities of your thermometer, setting the stage for seamless temperature monitoring and informed decision-making.
As we progress through the setup process, you’ll soon be ready to calibrate the thermometer, ensuring that it delivers precise and reliable temperature readings for your comfort and convenience. By setting the time and date accurately, you’ve taken a significant stride toward harnessing the full potential of your Acurite Indoor/Outdoor Thermometer, enabling you to stay informed about temperature variations and make informed choices based on reliable data.
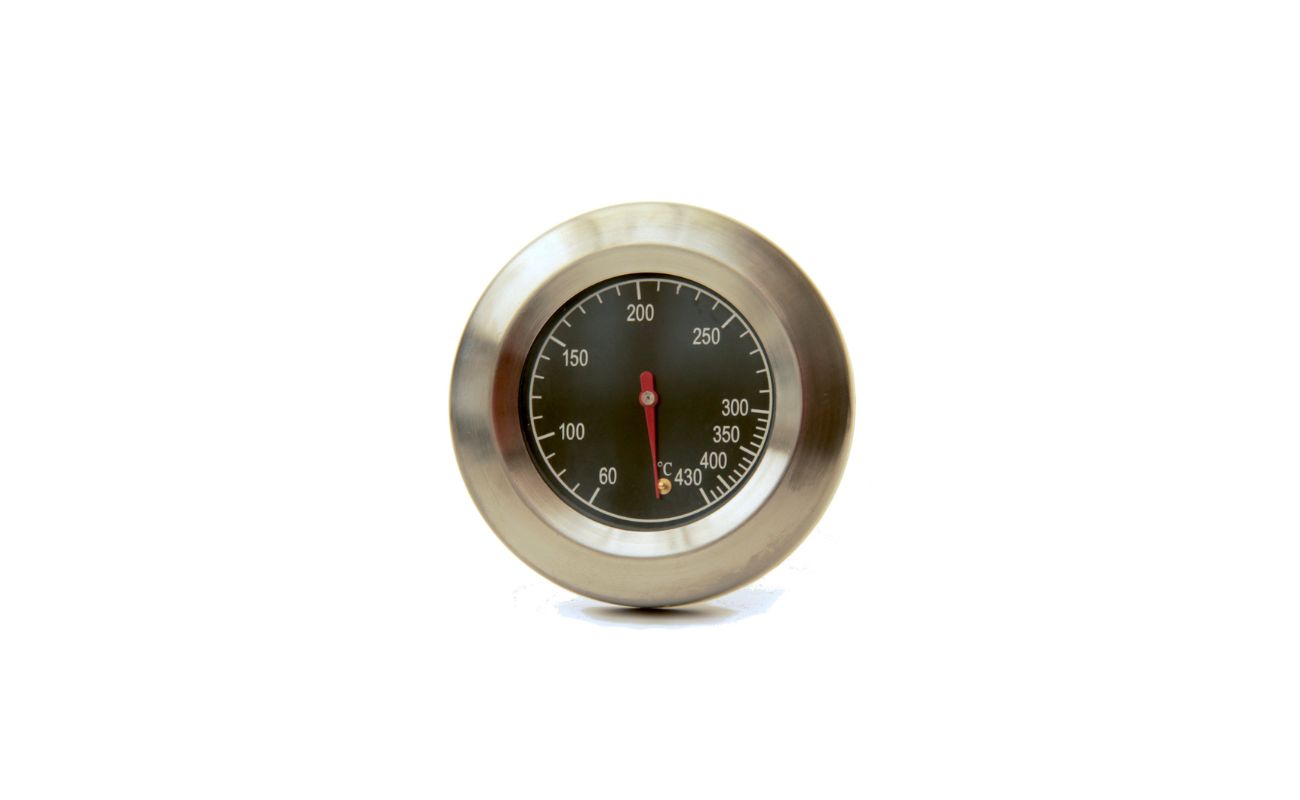
Step 6: Calibrate the Thermometer
Calibrating your Acurite Indoor/Outdoor Thermometer is a crucial step that ensures the accuracy and reliability of the temperature readings it provides. By calibrating the thermometer, you can fine-tune its measurements to align with known standards or reference thermometers, allowing you to trust the precision of the displayed temperature data and make informed decisions based on the information it provides.
Before initiating the calibration process, it’s essential to understand the specific calibration procedures recommended by the manufacturer for your Acurite thermometer model. Refer to the user manual or accompanying documentation to access detailed instructions on calibrating the device, ensuring that you follow the prescribed steps accurately.
Depending on the model of your Acurite thermometer, the calibration process may involve adjusting the temperature readings manually using the provided controls or accessing a calibration mode within the settings menu. Follow the manufacturer’s guidelines to access the calibration functionality and make any necessary adjustments to align the thermometer’s measurements with your desired reference point.
When calibrating the thermometer, it’s beneficial to use a reliable reference source, such as a certified thermometer or a known accurate temperature measurement, to verify the adjustments you make. By comparing the readings of the Acurite thermometer with the reference source, you can ensure that the calibration process results in precise and trustworthy temperature data.
Once you have completed the calibration process, take the time to verify the accuracy of the temperature readings displayed on the indoor unit. Test the thermometer in various temperature conditions to confirm its consistency and reliability, ensuring that it delivers accurate readings across a range of environmental scenarios.
By calibrating your Acurite Indoor/Outdoor Thermometer, you establish a foundation of accuracy and trustworthiness, allowing you to rely on the temperature data it provides for a wide range of applications, from monitoring indoor climate conditions to tracking outdoor temperature variations. The successful calibration of the thermometer enhances its utility and value, empowering you to make informed decisions based on precise temperature measurements.
As we progress through the setup process, you’ll soon be ready to explore additional tips for using and maintaining your Acurite Indoor/Outdoor Thermometer, ensuring that you maximize its capabilities and derive the greatest benefit from its advanced temperature monitoring features. By calibrating the thermometer, you’ve taken a significant stride toward harnessing the full potential of your Acurite thermometer, enabling you to access reliable temperature data for your comfort and convenience.
Step 7: Additional Tips for Use
As you embark on your journey of utilizing the Acurite Indoor/Outdoor Thermometer to monitor temperature dynamics in and around your home, consider the following additional tips to enhance your experience and maximize the benefits of this innovative device:
- Regular Maintenance: Periodically check the outdoor sensor for any obstructions or debris that may affect its performance. Clear away any accumulated dirt or debris to ensure optimal wireless communication and accurate temperature readings.
- Battery Replacement: Keep an eye on the battery status of both the indoor display unit and outdoor sensor. Replace the batteries as needed to maintain consistent power and reliable operation, especially during extreme temperature conditions that may impact battery life.
- Positioning Considerations: If you notice any discrepancies in the temperature readings, consider repositioning the outdoor sensor to ensure that it is shielded from direct sunlight and positioned within the recommended wireless range of the indoor display unit.
- Utilize Historical Data: Take advantage of any features that allow you to access and review historical temperature data recorded by the thermometer. Analyzing trends and patterns can provide valuable insights into temperature fluctuations over time, aiding in planning and decision-making.
- Integration with Smart Home Systems: Explore the compatibility of your Acurite thermometer with smart home systems or weather monitoring platforms. Integration with smart home technology can enhance the accessibility and functionality of the temperature data, allowing for seamless integration into your home automation ecosystem.
- Weather Forecast Integration: If your Acurite thermometer offers weather forecasting capabilities, familiarize yourself with the features and consider integrating the forecast data into your daily routines and outdoor activities, leveraging the predictive insights to plan ahead.
- Community Weather Networks: Explore opportunities to contribute to community weather networks or online platforms that aggregate temperature and weather data from various sources. Sharing your temperature observations can contribute to a broader understanding of local climate patterns and support community-driven weather monitoring initiatives.
By incorporating these additional tips into your use of the Acurite Indoor/Outdoor Thermometer, you can optimize its functionality and derive greater value from its advanced temperature monitoring capabilities. Embracing best practices for maintenance, battery management, positioning, and data utilization empowers you to make the most of this innovative device, enhancing your ability to stay informed about temperature variations and make informed decisions based on reliable and accurate temperature data.
As you integrate these tips into your use of the Acurite thermometer, you’ll further enrich your experience of monitoring indoor and outdoor temperature dynamics, establishing a foundation of convenience, reliability, and precision in your temperature monitoring endeavors.
Conclusion
Congratulations on successfully setting up and configuring your Acurite Indoor/Outdoor Thermometer, a valuable tool that empowers you to monitor temperature variations with precision and confidence. By following the step-by-step process outlined in this guide, you have gained the knowledge and insight to harness the full capabilities of this innovative device, allowing you to access accurate temperature data for a wide range of applications.
As you embark on your journey of temperature monitoring, remember that the Acurite thermometer serves as a reliable companion in your quest to stay informed about indoor and outdoor temperature dynamics. Whether you’re tending to your garden, planning outdoor activities, or simply maintaining a comfortable indoor climate, the thermometer provides you with real-time insights and historical data to support your decisions and activities.
With the thermometer in place, equipped with fresh batteries, and accurately calibrated, you can trust in the accuracy and reliability of the temperature readings it provides. The seamless communication between the outdoor sensor and indoor display unit ensures that you have access to up-to-date temperature information, empowering you to make informed choices based on precise data.
As you continue to use the Acurite Indoor/Outdoor Thermometer, consider implementing the additional tips provided in this guide to further enhance your experience and maximize the benefits of this advanced temperature monitoring device. By incorporating best practices for maintenance, positioning, and data utilization, you can optimize the functionality of the thermometer and derive greater value from its capabilities.
Remember that the thermometer not only serves as a tool for personal temperature monitoring but also contributes to a broader understanding of local climate patterns when integrated into community weather networks or online platforms. Your participation in sharing temperature observations can support community-driven weather monitoring initiatives and contribute to a comprehensive understanding of the local climate.
As you embrace the convenience and reliability of the Acurite Indoor/Outdoor Thermometer, may you find comfort and empowerment in staying informed about temperature variations, making informed decisions, and gaining valuable insights into the climate dynamics of your surroundings. With your newfound knowledge and the capabilities of the thermometer at your disposal, you are well-equipped to navigate temperature monitoring with confidence and ease.
Here’s to a future filled with accurate temperature data, informed decisions, and a deeper understanding of the temperature dynamics that shape your environment. Enjoy the journey of temperature monitoring with the Acurite Indoor/Outdoor Thermometer, and may it bring you convenience, insights, and peace of mind in your daily endeavors.
Frequently Asked Questions about How To Set An Acurite Indoor/Outdoor Thermometer
Was this page helpful?
At Storables.com, we guarantee accurate and reliable information. Our content, validated by Expert Board Contributors, is crafted following stringent Editorial Policies. We're committed to providing you with well-researched, expert-backed insights for all your informational needs.


0 thoughts on “How To Set An Acurite Indoor/Outdoor Thermometer”