Home>Furniture & Design>Interior Design Trends>How To Use A Glass Thermometer
Interior Design Trends
How To Use A Glass Thermometer
Modified: February 18, 2024
Learn how to effectively use a glass thermometer to monitor interior design trends. Discover tips and techniques for accurate temperature readings.
(Many of the links in this article redirect to a specific reviewed product. Your purchase of these products through affiliate links helps to generate commission for Storables.com, at no extra cost. Learn more)
Introduction
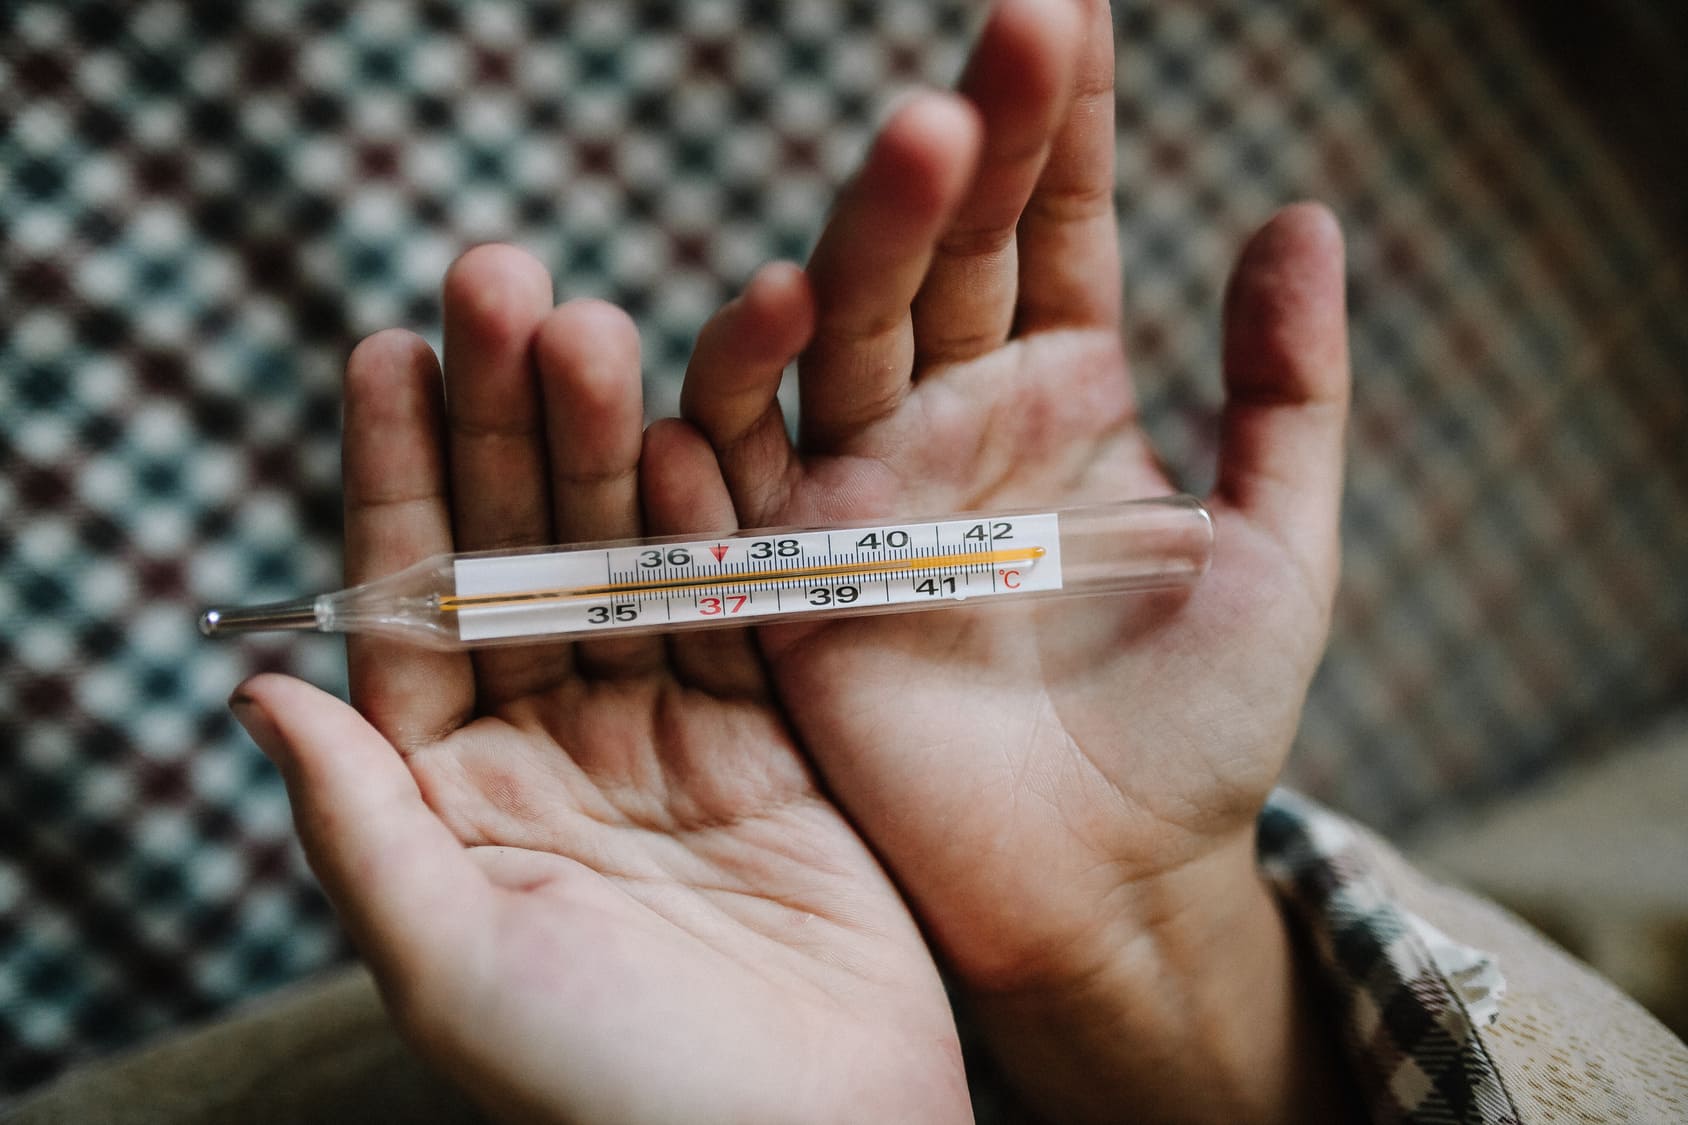
Using a glass thermometer is a simple yet effective way to measure body temperature accurately. Whether you're monitoring a fever or ensuring that food is cooked to the right temperature, a glass thermometer can be a reliable tool. In this guide, we'll walk you through the step-by-step process of using a glass thermometer, providing you with the knowledge and confidence to use this traditional instrument with ease.
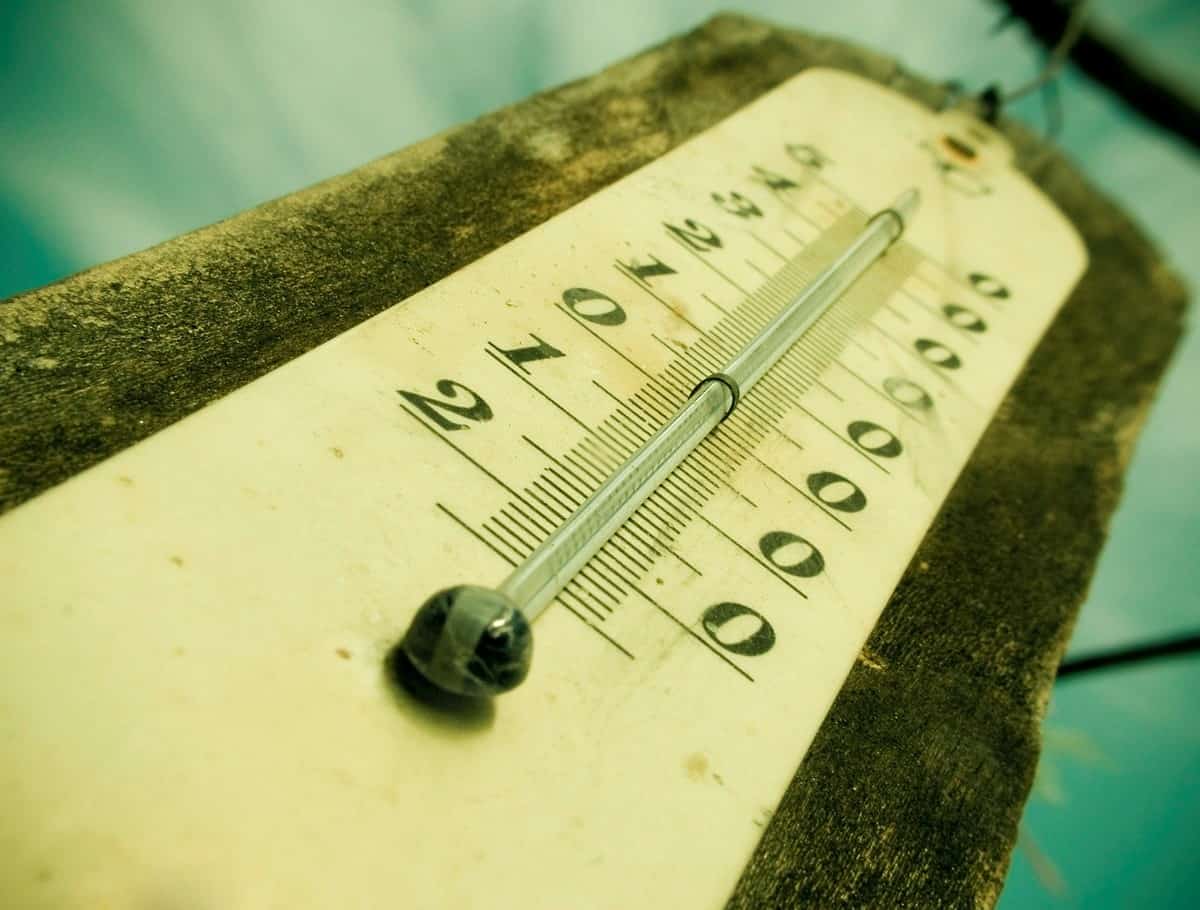
A glass thermometer consists of a long, slender glass tube with a small bulb at one end. Inside the tube is a narrow column of mercury, which expands and contracts with changes in temperature. This movement is what allows the thermometer to provide an accurate reading. While digital thermometers have become increasingly popular, many people still prefer the simplicity and reliability of a traditional glass thermometer.
By following the steps outlined in this guide, you'll learn how to use a glass thermometer safely and effectively. Whether you're caring for a sick family member or ensuring that your culinary creations are cooked to perfection, mastering the use of a glass thermometer is a valuable skill. So, let's dive into the process and discover how to use a glass thermometer with confidence and precision.
Key Takeaways:
- Master the art of using a glass thermometer by carefully preparing, shaking down the mercury, placing it correctly, waiting for the reading, and removing it with precision. This ensures accurate and reliable temperature measurements for various purposes.
- After use, clean and store the glass thermometer properly to maintain its accuracy and longevity. Thoroughly clean, disinfect, dry, and store the thermometer in a suitable location to preserve its effectiveness for future use.
Read more: When Can Glass Thermometers Be Used
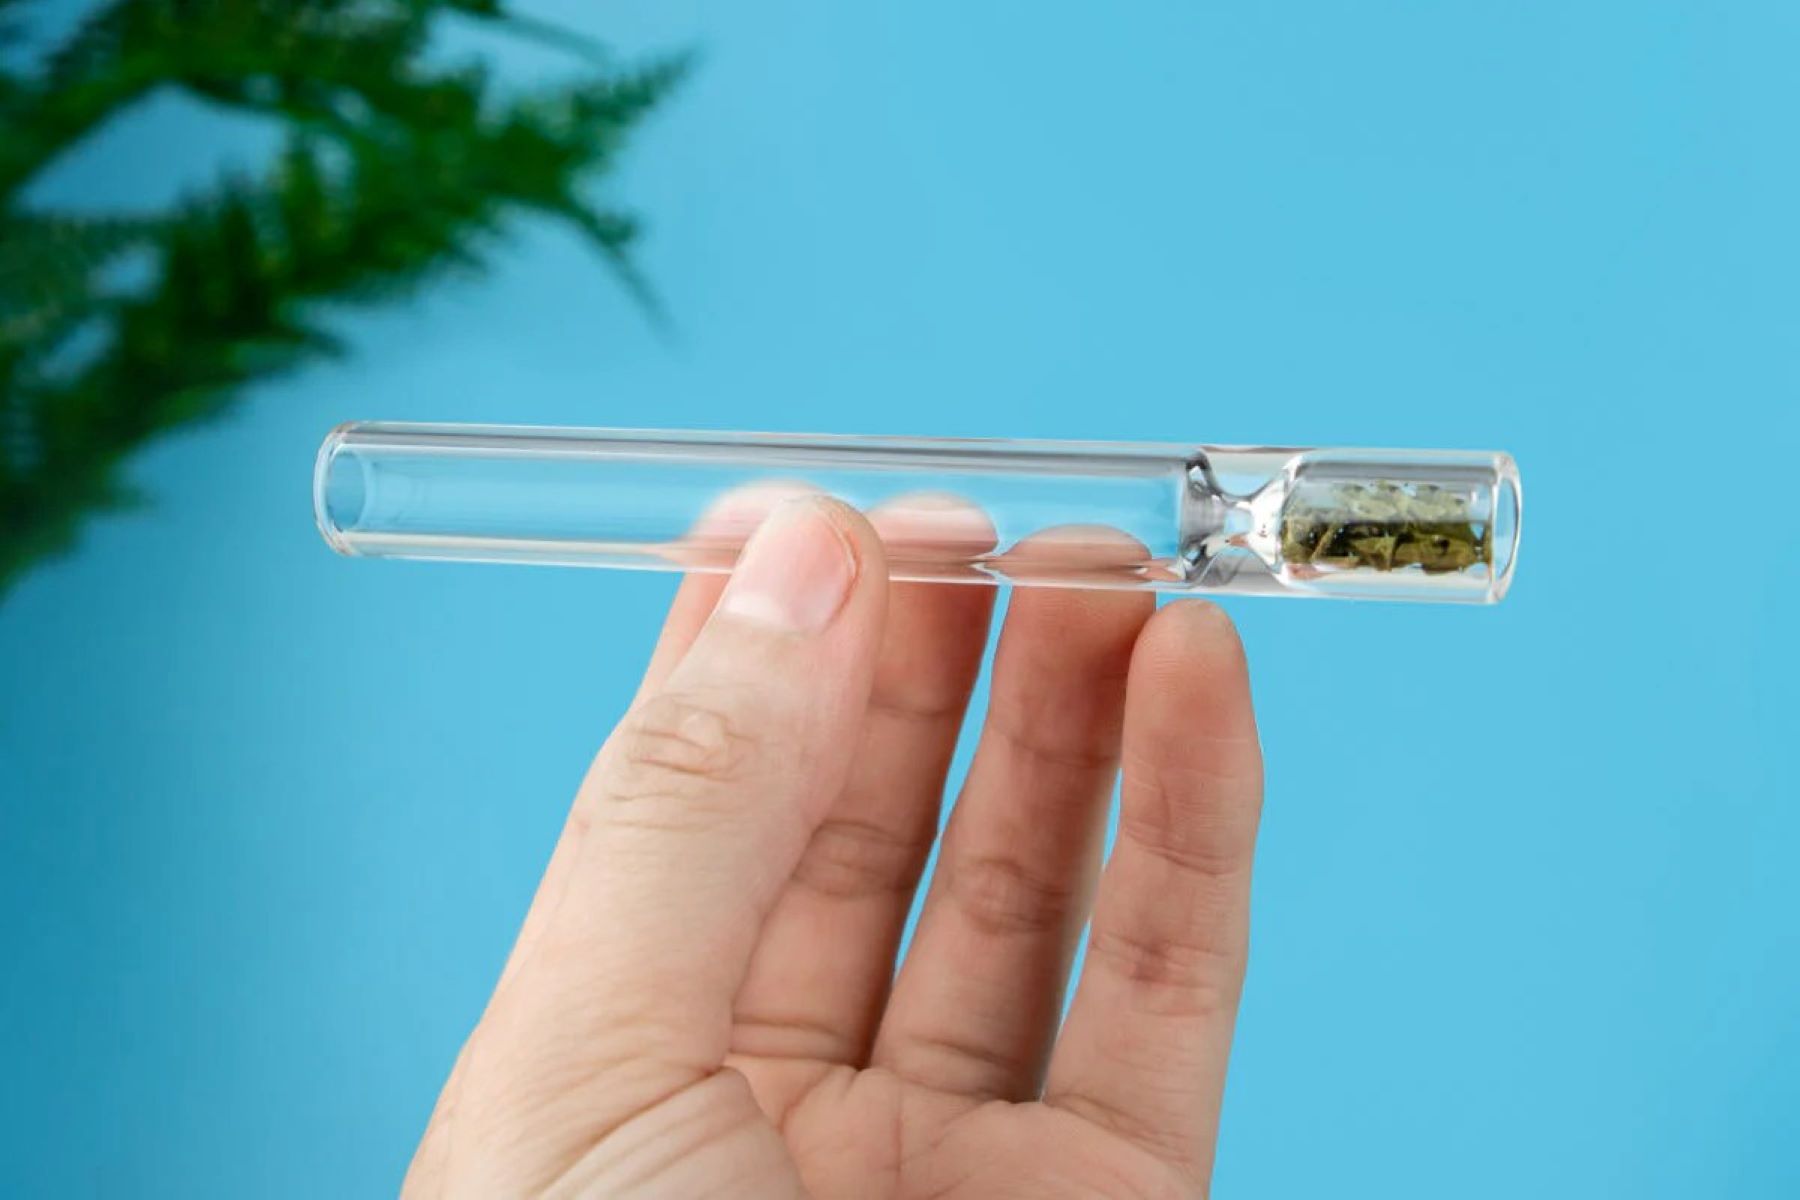
Step 1: Prepare the thermometer
Before using a glass thermometer, it's essential to ensure that it is clean and in good working condition. Follow these steps to prepare the thermometer for use:
-
Inspect the thermometer: Begin by carefully examining the glass thermometer for any cracks, chips, or other damage. A damaged thermometer should not be used, as it may provide inaccurate readings or pose a safety risk. If the thermometer is in good condition, proceed to the next step.
-
Clean the thermometer: Thoroughly clean the thermometer with soap and warm water. Gently wash the entire length of the glass tube, including the bulb at the end. Rinse the thermometer under running water to remove any soap residue. Ensure that the thermometer is completely dry before use, as water droplets can interfere with the accuracy of the reading.
-
Check for mercury separation: Hold the thermometer at eye level and inspect the mercury column inside the tube. If you notice any separation or gaps in the mercury column, it indicates that the thermometer may be damaged or compromised. In such cases, it's crucial to refrain from using the thermometer and seek a replacement.
-
Prepare the patient or surface: Depending on the intended use of the thermometer, prepare the individual or surface where the temperature will be measured. For instance, if using the thermometer to take a person's temperature, ensure that they are comfortably seated or lying down. If measuring the temperature of a liquid or solid surface, ensure that it is accessible and stable.
By carefully preparing the glass thermometer and the environment in which it will be used, you can ensure accurate and reliable temperature measurements. This initial step sets the stage for the successful use of the thermometer and contributes to the overall effectiveness of the temperature reading process.
Step 2: Shake down the mercury
Once the glass thermometer is prepared and the individual or surface is ready, the next step is to shake down the mercury. This process ensures that the mercury column is at the lowest point of the thermometer, below the scale, before taking the temperature reading. Here's how to shake down the mercury effectively:
-
Hold the thermometer: Grasp the glass thermometer firmly between your thumb and forefinger, ensuring that you have a secure grip on the instrument. Position the thermometer vertically, with the bulb end pointing downward.
-
Flick your wrist: With a swift and controlled motion, flick your wrist to create a sharp downward movement. This action causes the mercury inside the thermometer to descend rapidly, settling at the base of the glass tube. The goal is to ensure that the mercury is below the lowest point of the temperature scale, allowing for an accurate reading once the thermometer is placed in the desired location.
-
Verify the position: After shaking down the mercury, visually confirm that the mercury column has indeed descended to the lowest point of the thermometer. This visual check ensures that the mercury is in the correct position for an accurate temperature reading.
Shaking down the mercury is a critical step in using a glass thermometer, as it establishes the baseline for temperature measurement. By following this step with precision, you set the stage for an accurate and reliable reading, whether you are measuring body temperature or the temperature of a surface or substance.
This simple yet essential action ensures that the mercury is in the optimal position to respond to the temperature it will encounter, providing a clear and accurate indication of the thermal conditions. With the mercury properly shaken down, you are now ready to proceed to the next step of placing the thermometer in the desired location to obtain the temperature reading.
Step 3: Place the thermometer
Placing the thermometer in the correct location is crucial to obtaining an accurate temperature reading. Whether you are measuring body temperature or the temperature of a surface or substance, the placement of the glass thermometer directly impacts the precision of the result. Here's a detailed guide on how to effectively place the thermometer for different temperature measurement scenarios:
Measuring Body Temperature
-
Oral Temperature: If measuring oral temperature, instruct the individual to open their mouth and slightly lift their tongue. Place the bulb of the thermometer under the tongue, ensuring that it is positioned towards the back of the mouth. Instruct the person to keep their lips closed and breathe through their nose while the thermometer is in place.
-
Rectal Temperature: When measuring rectal temperature, carefully lubricate the tip of the thermometer with a water-soluble lubricant. Gently insert the bulb of the thermometer into the rectum, about 1 inch for an infant and up to 1.5 inches for an adult. Hold the thermometer in place for the recommended time, as per the manufacturer's instructions, to obtain an accurate reading.
-
Axillary Temperature: For axillary temperature measurement, ensure that the individual's armpit is dry. Place the bulb of the thermometer in the center of the armpit, then instruct the person to hold their arm snugly against their body to ensure proper contact between the thermometer and the skin.
Read more: How To Read A Glass Thermometer
Measuring Surface or Substance Temperature
-
Liquid Temperature: When measuring the temperature of a liquid, carefully lower the thermometer into the liquid, ensuring that the bulb is fully submerged. Hold the thermometer steady for a few moments to allow the mercury to adjust to the temperature of the liquid. Avoid touching the bottom or sides of the container to obtain an accurate reading.
-
Solid Surface Temperature: When measuring the temperature of a solid surface, gently press the bulb of the thermometer against the surface, ensuring good contact. Hold the thermometer steady for the recommended time to allow the mercury to adjust to the temperature of the surface.
General Considerations
-
Stability: Whether measuring body temperature or the temperature of a surface or substance, ensure that the thermometer is held or positioned steadily throughout the measurement process. Any movement or instability can affect the accuracy of the reading.
-
Duration: Follow the recommended duration for temperature measurement as per the thermometer's instructions. This ensures that the mercury has sufficient time to reach thermal equilibrium with the measured entity, providing an accurate reading.
By carefully placing the glass thermometer in the appropriate location for the specific temperature measurement, you set the stage for obtaining precise and reliable temperature readings. This step is fundamental to the overall accuracy of the measurement process and contributes to the effectiveness of using a glass thermometer for various applications.
Step 4: Wait for the reading
After placing the glass thermometer in the desired location, it is crucial to allow sufficient time for the mercury to respond to the temperature of the environment. Whether measuring body temperature or the temperature of a surface or substance, the waiting period is essential for obtaining an accurate reading.
For oral temperature measurement, it is recommended to wait for at least 3 minutes before removing the thermometer from under the tongue. This duration allows the mercury to reach thermal equilibrium with the oral cavity, ensuring a precise reading. During this time, it is important for the individual to keep their lips closed and breathe through their nose to minimize any external influence on the thermometer.
When measuring rectal temperature, the waiting period may vary based on the specific instructions provided by the thermometer's manufacturer. Typically, it is advised to wait for 2 to 3 minutes to obtain an accurate reading. During this time, it is essential to hold the thermometer in place to prevent any movement that could affect the measurement.
For axillary temperature measurement, it is recommended to wait for at least 5 minutes to ensure that the thermometer responds adequately to the skin's temperature. This waiting period allows the mercury to adjust to the thermal conditions of the armpit, resulting in a reliable temperature reading.
When measuring the temperature of a liquid, it is important to wait for the mercury to stabilize within the liquid. This typically takes a few minutes, during which the thermometer should be held steady to prevent any disturbances that could impact the reading. Similarly, when measuring the temperature of a solid surface, allowing the thermometer to remain in contact with the surface for the recommended duration ensures an accurate reading.
Throughout the waiting period, it is essential to maintain a stable and undisturbed environment to facilitate accurate temperature measurement. Any external factors that could influence the thermometer, such as drafts or sudden movements, should be minimized to ensure the reliability of the reading.
By patiently waiting for the thermometer to respond to the temperature of the environment, you set the stage for obtaining precise and trustworthy temperature readings. This waiting period is a critical component of the temperature measurement process, contributing to the overall accuracy and effectiveness of using a glass thermometer for various applications.
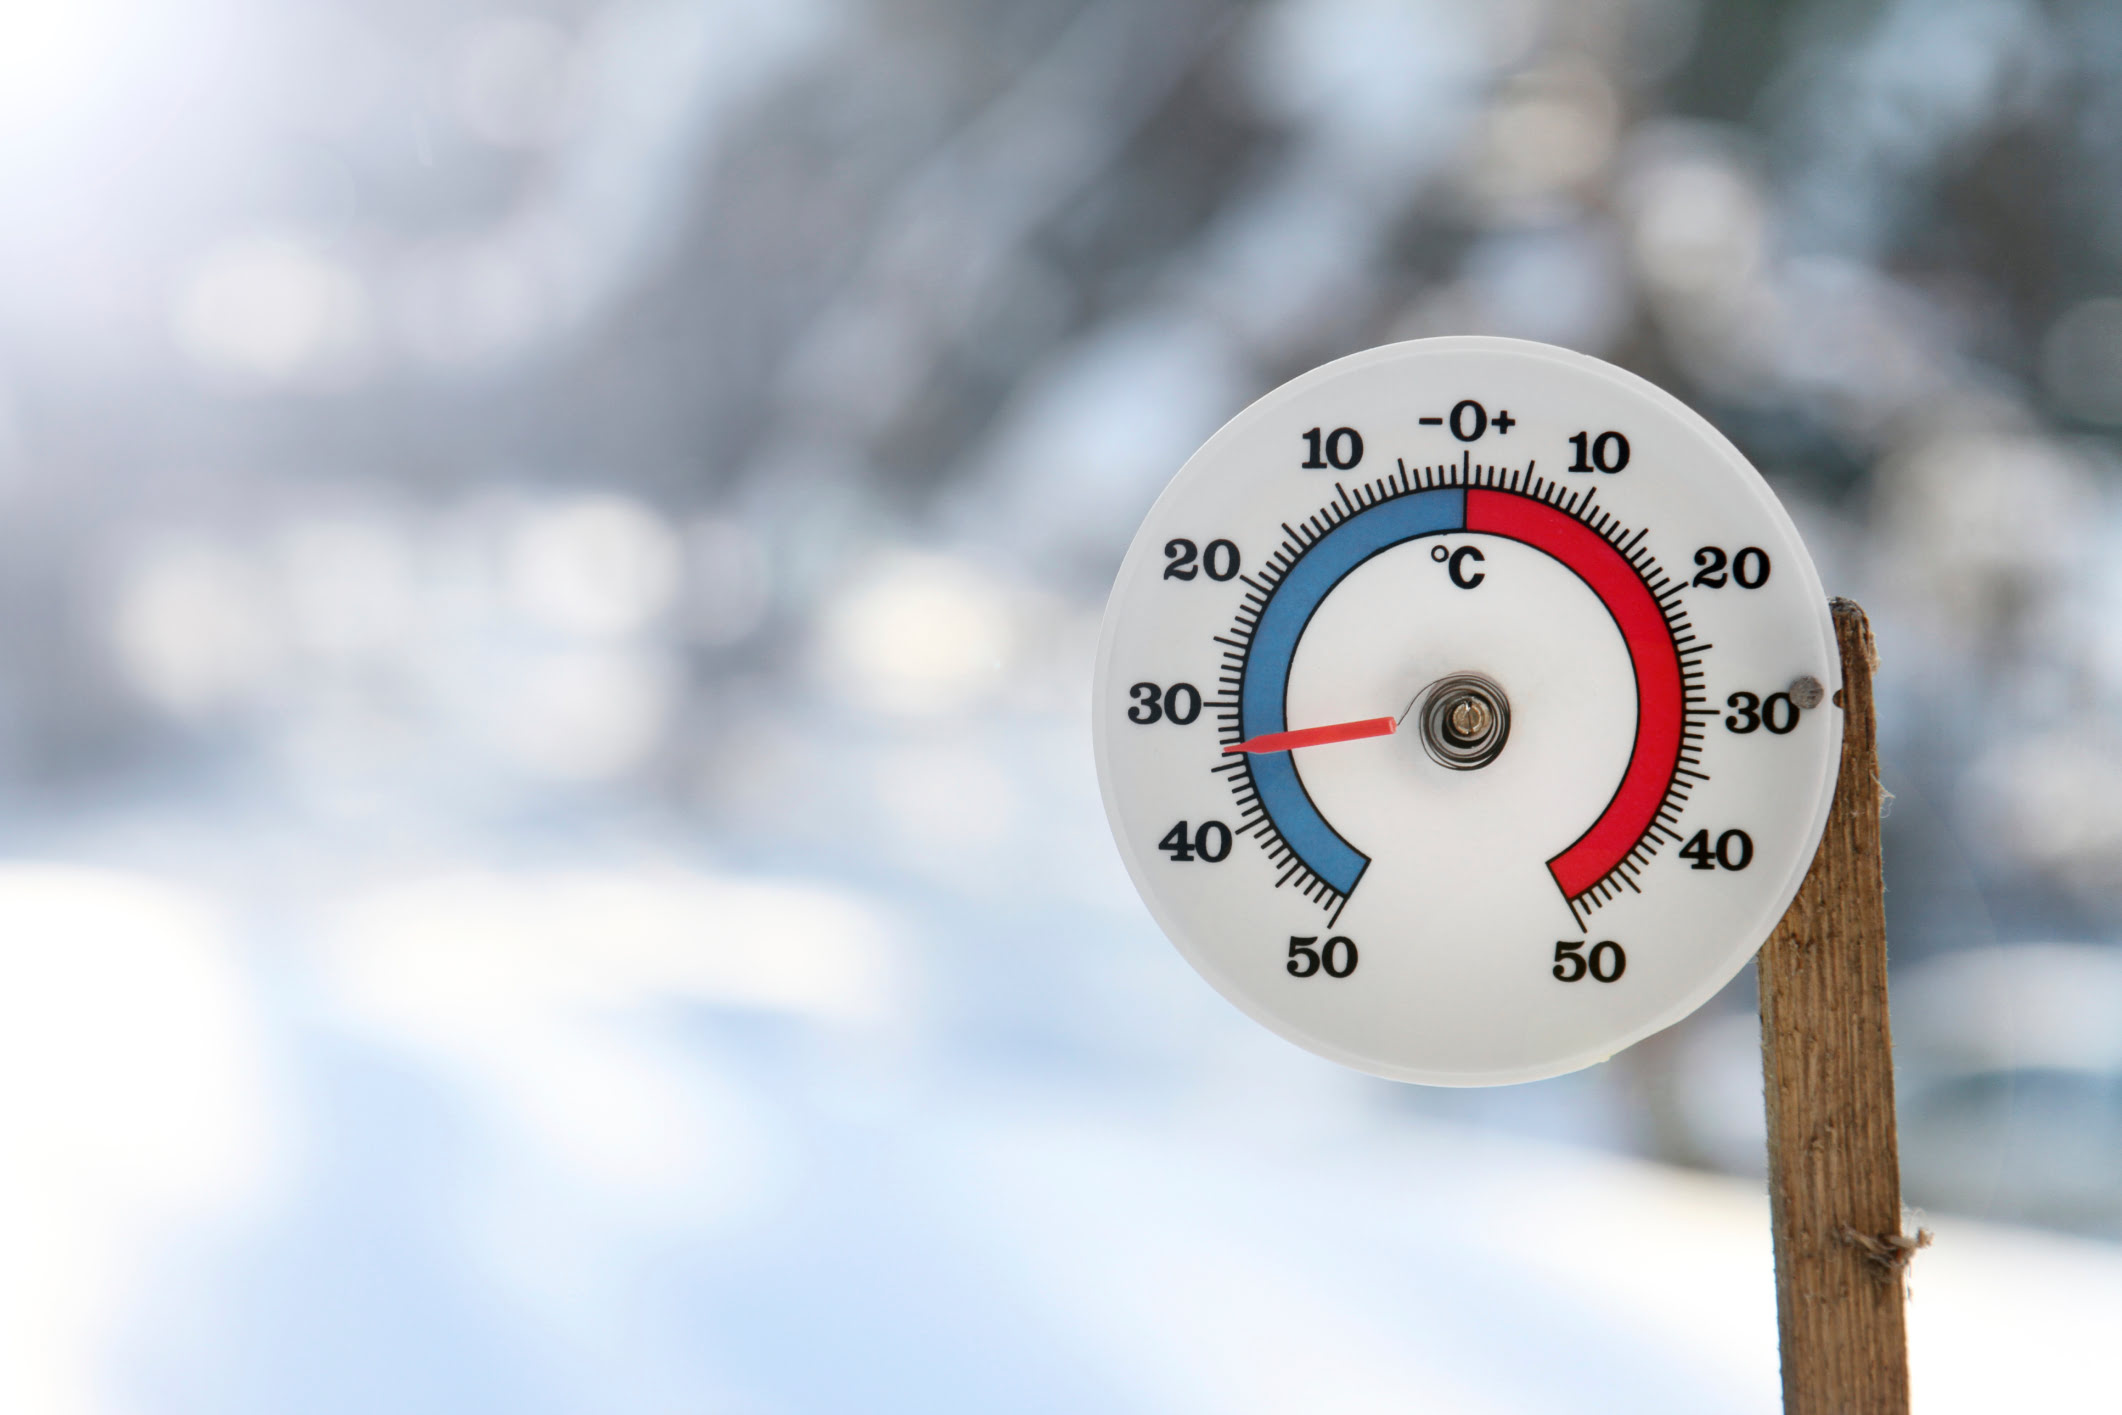
When using a glass thermometer, make sure to shake it down to below room temperature before using. Hold it by the top and place it under your tongue for an accurate reading. Be careful not to bite down on it.
Step 5: Remove the thermometer
After the waiting period, it is time to carefully remove the glass thermometer from its placement. The process of removing the thermometer is as crucial as the preceding steps, as it directly impacts the accuracy and safety of the temperature measurement. Whether the thermometer was used to measure body temperature or the temperature of a surface or substance, the removal process requires attention to detail and precision.
When removing the thermometer from the mouth after oral temperature measurement, it is essential to gently grasp the thermometer near the base, ensuring a firm grip without exerting excessive pressure. Slowly and steadily remove the thermometer from under the tongue, taking care to avoid sudden movements that could disrupt the reading. Once the thermometer is out of the mouth, it should be held horizontally to allow for a clear and convenient reading of the temperature.
For rectal temperature measurement, the removal of the thermometer requires a gentle and controlled approach. Holding the thermometer firmly near the base, slowly withdraw it from the rectum, ensuring a steady and gradual motion. It is crucial to avoid any abrupt actions that could compromise the accuracy of the reading. Once the thermometer is removed, it should be held horizontally to facilitate an accurate interpretation of the temperature.
In the case of axillary temperature measurement, removing the thermometer from the armpit necessitates a careful and deliberate approach. Grasping the thermometer near the base, gently lift it from the armpit, ensuring a smooth and steady motion. Any sudden movements should be avoided to prevent inaccuracies in the temperature reading. Once the thermometer is removed, it should be held horizontally for convenient temperature assessment.
When measuring the temperature of a liquid or solid surface, the removal of the thermometer requires caution to prevent spills or disruptions. Carefully lift the thermometer from the liquid or surface, ensuring that it remains steady and level to avoid any spillage or contact with external surfaces. Once removed, the thermometer should be held horizontally to assess the temperature accurately.
By meticulously removing the glass thermometer from its placement, you ensure the integrity and precision of the temperature reading. This step, when executed with care and attention, contributes to the overall effectiveness of using a glass thermometer for diverse temperature measurement purposes.
Read more: Why Are Glass Thermometers Rarely Used Today
Step 6: Clean and store the thermometer
After successfully using the glass thermometer to obtain temperature readings, it is essential to clean and store the instrument properly to maintain its accuracy and longevity. The following steps outline the process of cleaning and storing a glass thermometer effectively:
-
Clean the thermometer: Begin by carefully washing the glass thermometer with a mild soap and warm water. Gently scrub the entire length of the thermometer, including the bulb, to remove any residue or contaminants. Pay particular attention to areas that came into direct contact with the individual or the measured surface. Rinse the thermometer thoroughly under running water to ensure that all soap residue is removed.
-
Disinfect the thermometer: After cleaning, it is crucial to disinfect the glass thermometer to eliminate any potential pathogens or bacteria. This can be achieved by wiping the thermometer with a soft cloth dampened with rubbing alcohol or an appropriate disinfectant solution. Ensure that the entire surface of the thermometer is treated with the disinfectant to maintain hygienic conditions for future use.
-
Dry the thermometer: Once cleaned and disinfected, carefully dry the glass thermometer with a clean, lint-free cloth. Ensure that the thermometer is completely dry before storage to prevent the growth of mold or bacteria. Pay attention to the bulb and the area around the mercury column to remove any residual moisture thoroughly.
-
Store the thermometer: Choose a suitable storage location for the glass thermometer, ensuring that it is protected from damage and contamination. Ideally, the thermometer should be stored in a clean and dry container or case to prevent exposure to dust, moisture, or physical impact. Additionally, consider storing the thermometer in a location with a consistent and moderate temperature to preserve its accuracy.
-
Check for damage: Before storing the thermometer, carefully inspect it for any signs of damage, such as cracks, chips, or separation in the mercury column. A damaged thermometer should not be stored or used, as it may compromise the accuracy of temperature readings and pose safety risks. If any damage is detected, seek a replacement or appropriate repair for the thermometer.
By following these steps to clean and store the glass thermometer, you ensure that the instrument remains in optimal condition for future use. Proper cleaning and storage practices contribute to the longevity and reliability of the thermometer, allowing for consistent and accurate temperature measurements over time.
Frequently Asked Questions about How To Use A Glass Thermometer
Was this page helpful?
At Storables.com, we guarantee accurate and reliable information. Our content, validated by Expert Board Contributors, is crafted following stringent Editorial Policies. We're committed to providing you with well-researched, expert-backed insights for all your informational needs.


0 thoughts on “How To Use A Glass Thermometer”