Home>Furniture>Bedroom Furniture>How To Get Sweat Stains Off A Mattress
Bedroom Furniture
How To Get Sweat Stains Off A Mattress
Modified: March 6, 2024
Learn how to easily remove sweat stains from your mattress with our expert tips and tricks. Keep your bedroom furniture fresh and clean!
(Many of the links in this article redirect to a specific reviewed product. Your purchase of these products through affiliate links helps to generate commission for Storables.com, at no extra cost. Learn more)
Introduction
Welcome to our comprehensive guide on how to get sweat stains off a mattress. We all know how crucial a good night’s sleep is for our overall well-being, and the quality of our mattress plays a significant role in ensuring that. However, over time, mattresses can develop unsightly stains, particularly from sweat accumulation. If you’re looking to restore the cleanliness and freshness of your mattress, you’ve come to the right place!
In this article, we’ll discuss what causes sweat stains on a mattress, how to prepare an effective cleaning solution, and step-by-step methods for removing both fresh and set-in sweat stains. We’ll also cover deodorizing techniques and share some tips on preventing future sweat stains from ruining your sleeping surface.
So let’s dive in and learn how to banish those sweat stains and restore the comfort and cleanliness of your mattress!
Key Takeaways:
- Say goodbye to sweat stains on your mattress! Use a simple vinegar and water solution to remove fresh stains, and a paste of hydrogen peroxide and baking soda for set-in stains. Don’t forget to deodorize with baking soda and essential oils for a fresh-smelling mattress.
- Keep your mattress sweat-stain free! Invest in a waterproof mattress protector, wash bedding regularly, and practice good hygiene. With these tips, you can enjoy a clean and comfortable sleeping surface for years to come.
Read more: How To Clean Sweat Stains Off A Mattress
Understanding Sweat Stains on a Mattress
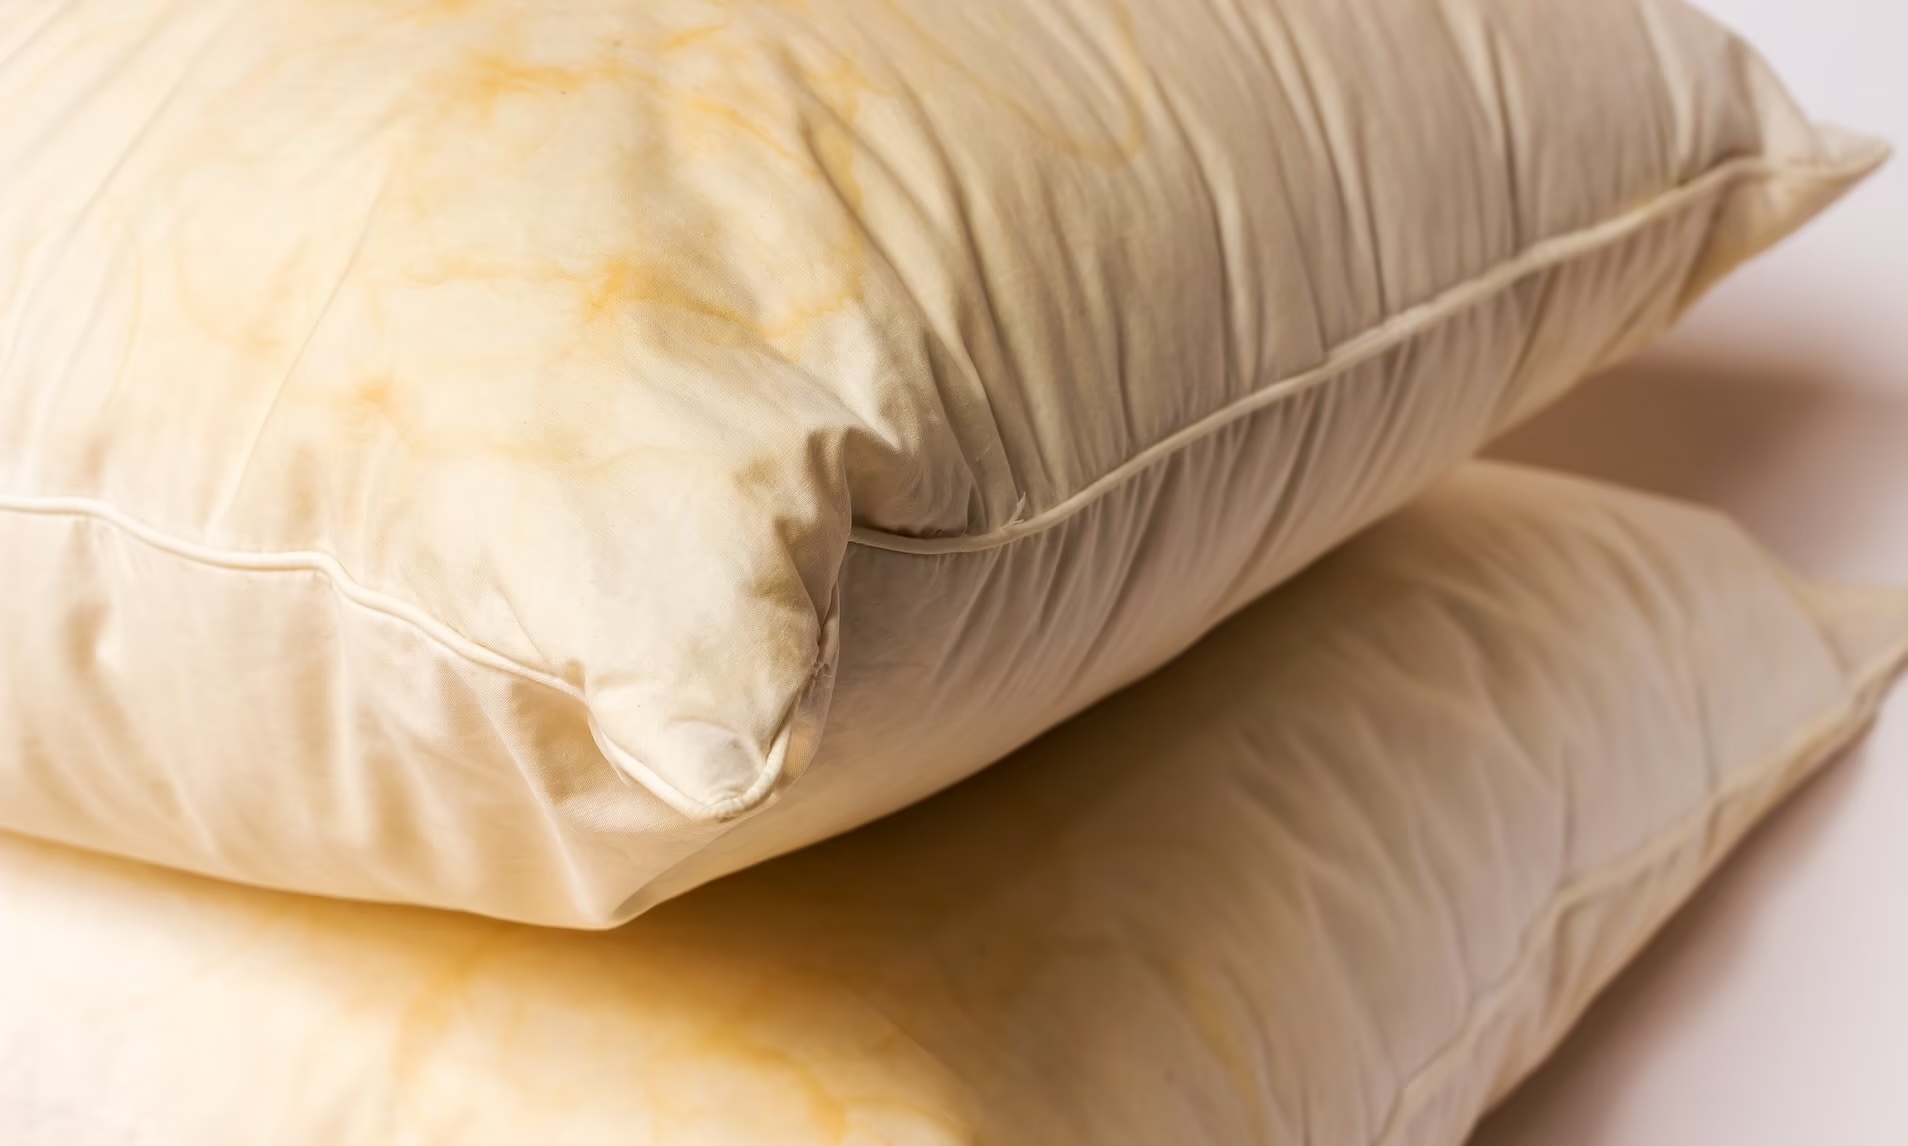
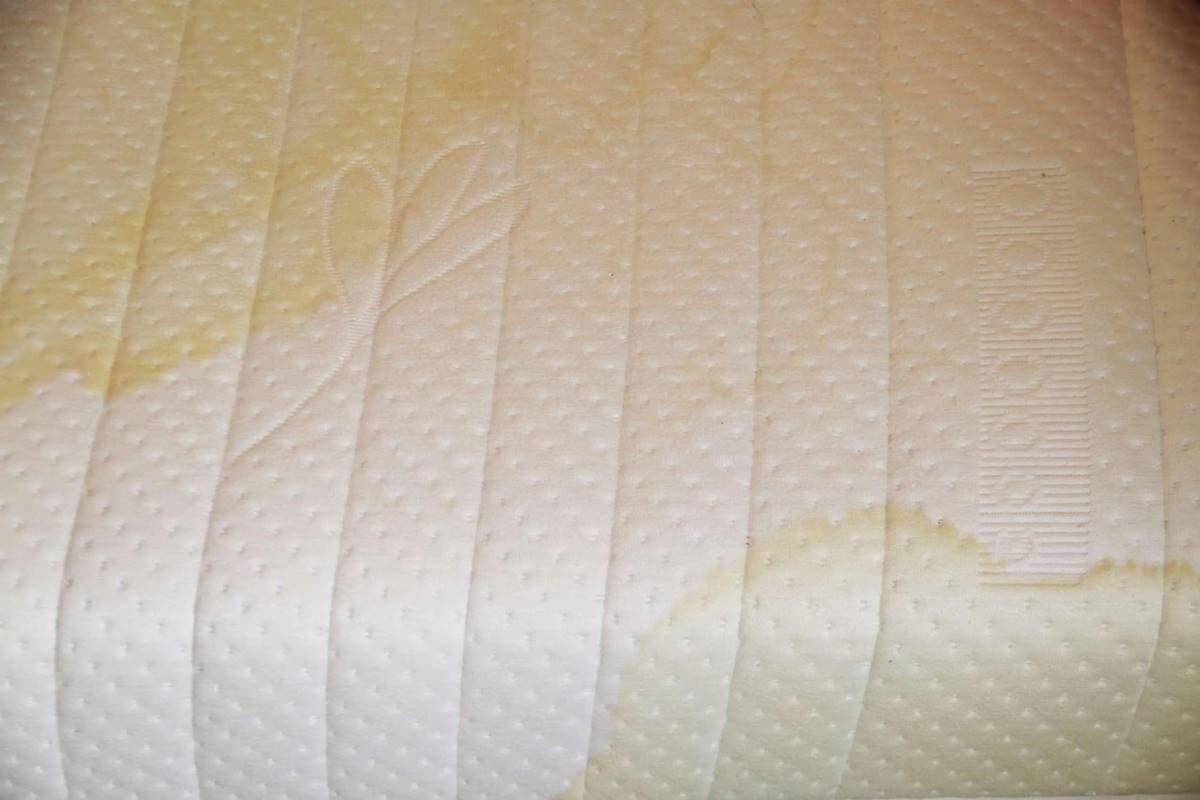
Sweat stains on a mattress can be caused by a variety of factors, including high humidity, hot temperatures, and excessive sweating during sleep. When we sleep, our bodies naturally perspire to regulate temperature and detoxify. Unfortunately, some of this sweat can penetrate deep into the mattress, creating unsightly stains that may seem impossible to remove.
Sweat stains are not only unappealing to look at, but they can also lead to the growth of bacteria, mold, and unpleasant odors if left untreated. Moreover, the stains can seep into the mattress layers, compromising its longevity and overall hygiene.
To effectively tackle sweat stains, it’s crucial to act promptly and use the right cleaning techniques. The sooner you address the stains, the easier it will be to remove them.
It’s important to note that different mattress materials require different cleaning methods. For example, memory foam mattresses are more susceptible to moisture absorption, while latex or hybrid mattresses may have a protective cover that helps repel sweat. Always check the manufacturer’s instructions and recommendations before applying any cleaning solutions.
Now that we understand the importance of addressing sweat stains and the potential consequences of leaving them untreated, let’s move on to preparing a cleaning solution that will help remove these stubborn stains.
Preparing the Cleaning Solution
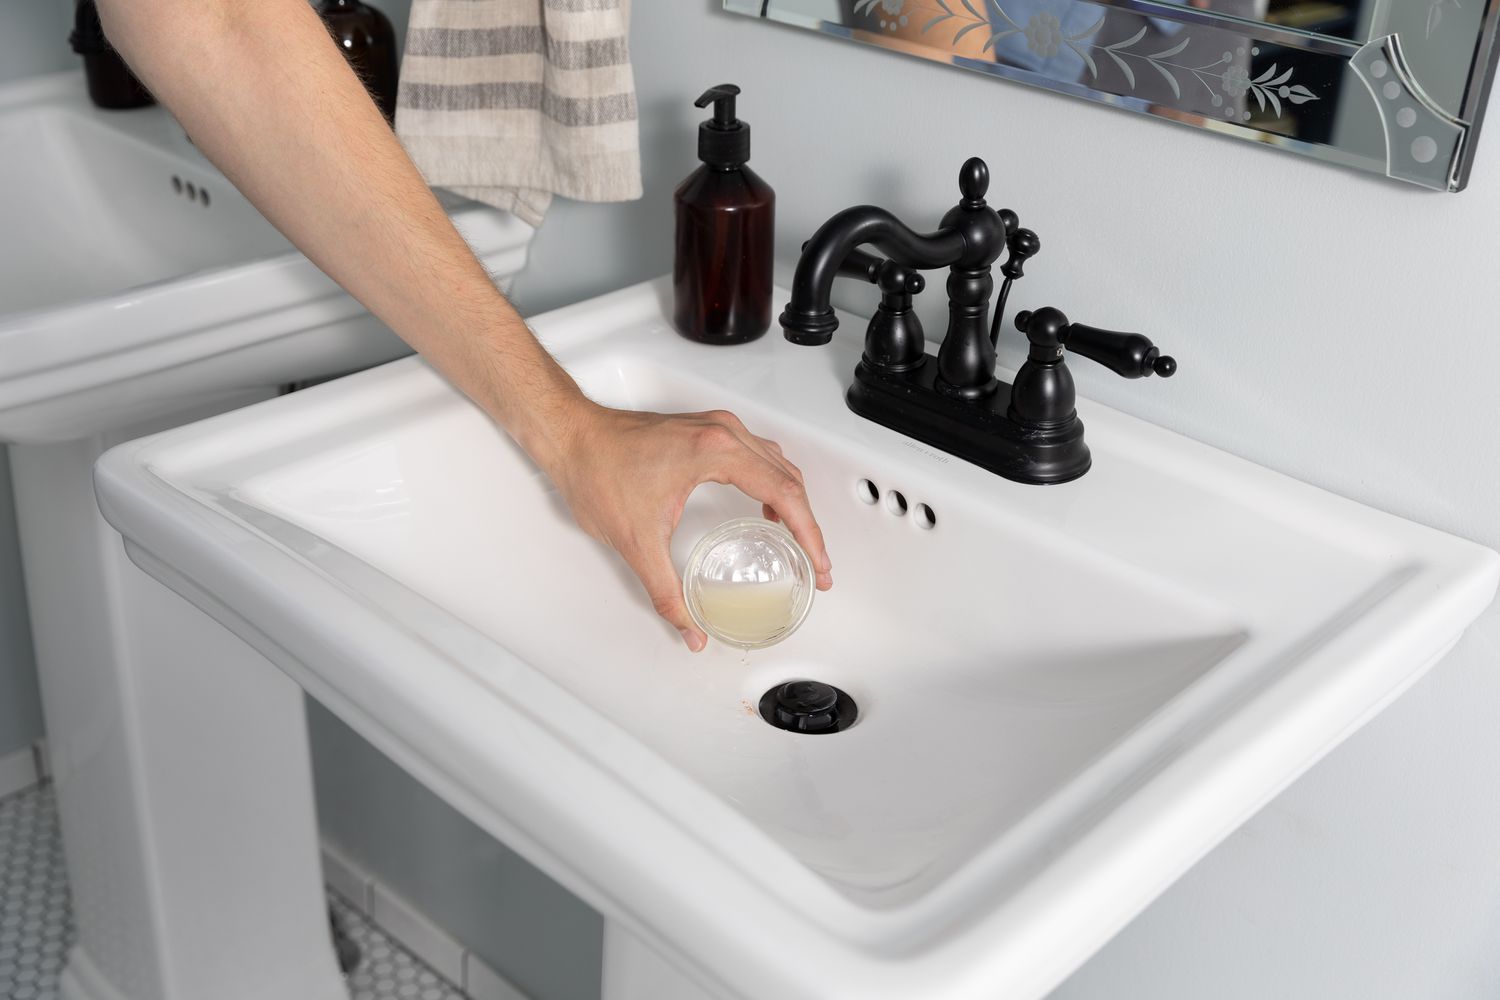
Before we dive into the process of removing sweat stains from your mattress, it’s essential to prepare an effective cleaning solution. The right combination of ingredients will help break down the sweat residue and eliminate any lingering odors.
Here’s a simple and effective cleaning solution that you can make at home:
- Mix equal parts of warm water and white vinegar in a spray bottle. Vinegar is a natural disinfectant and helps to neutralize odors. Plus, it’s safe to use on most mattress materials.
- Optional: Add a few drops of your favorite essential oil to the mixture. Lavender, tea tree, or eucalyptus oil are excellent choices as they have antimicrobial properties and can leave your mattress smelling fresh.
- Shake the spray bottle well to ensure the ingredients are thoroughly blended.
With your cleaning solution ready, let’s move on to the next sections where we will guide you through the process of removing both fresh and set-in sweat stains from your mattress.
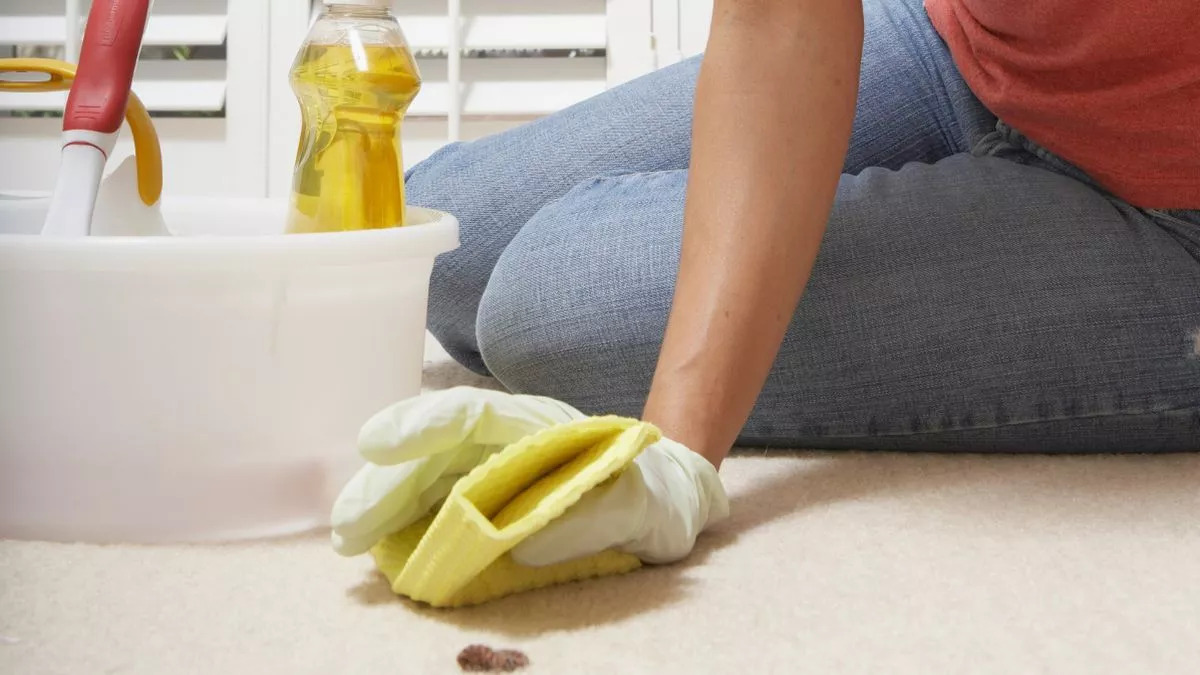
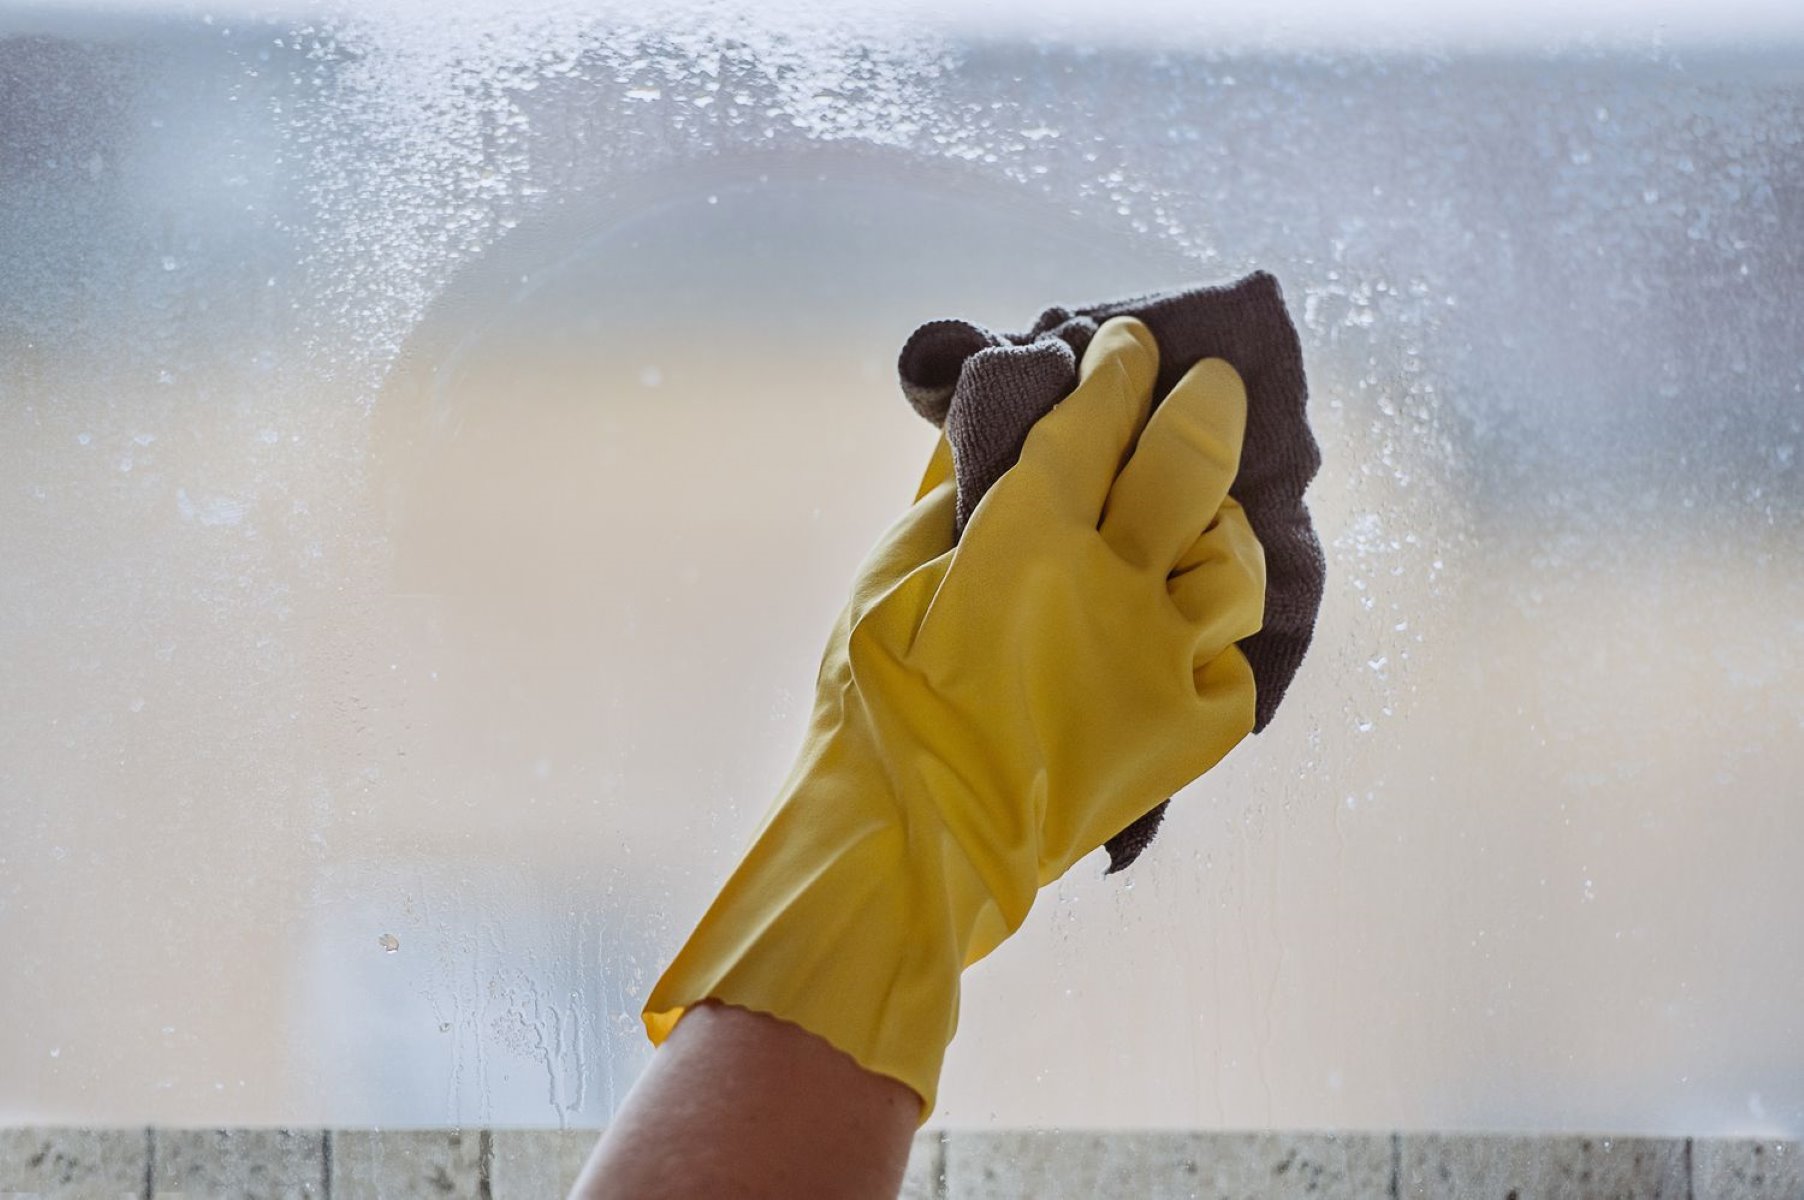
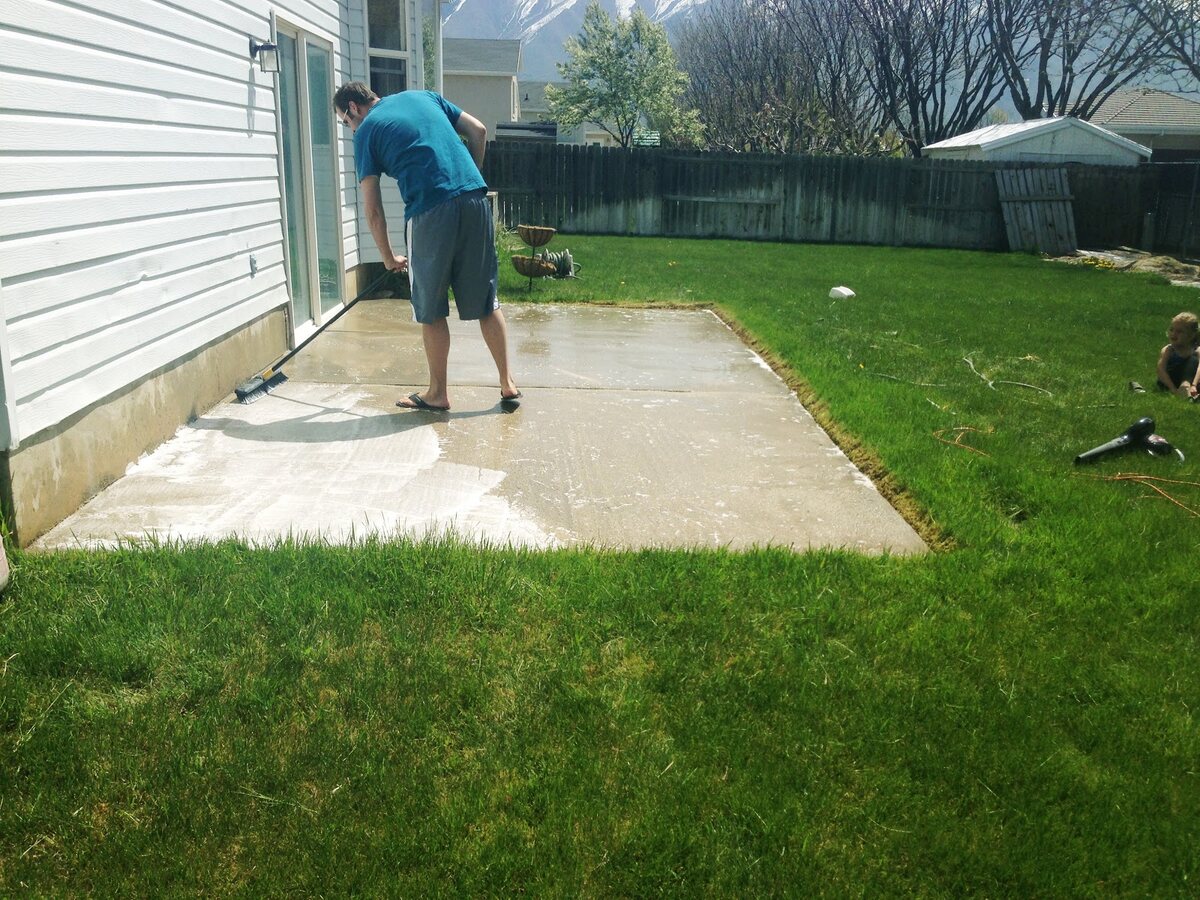
Removing Fresh Sweat Stains
If you’ve recently noticed fresh sweat stains on your mattress, it’s essential to act quickly to prevent them from setting in. Here’s a step-by-step guide to help you remove fresh sweat stains:
- Start by blotting the affected area with a clean, dry cloth or paper towel. This will help to absorb as much moisture as possible.
- Spray the cleaning solution onto the sweat stains, focusing on the affected areas. Be sure to saturate the stains without oversaturating the mattress.
- Gently scrub the stains using a soft-bristle brush or a clean cloth. Work in circular motions to help loosen the sweat residue from the mattress fibers.
- Allow the cleaning solution to sit on the stains for about 15 minutes. This will give it time to break down and neutralize the sweat.
- After 15 minutes, blot the area with a clean cloth to remove any excess moisture and cleaning solution.
- For better results, you can sprinkle baking soda on the mattress to absorb any remaining moisture and odors. Let it sit for a few hours or overnight.
- Vacuum the mattress thoroughly to remove the baking soda residue. Use a brush attachment to ensure you reach all the nooks and crannies.
By following these steps, you should be able to remove fresh sweat stains from your mattress effectively. However, if the stains have already set in or if they are particularly stubborn, you may need to take additional measures, which we will discuss in the next section.
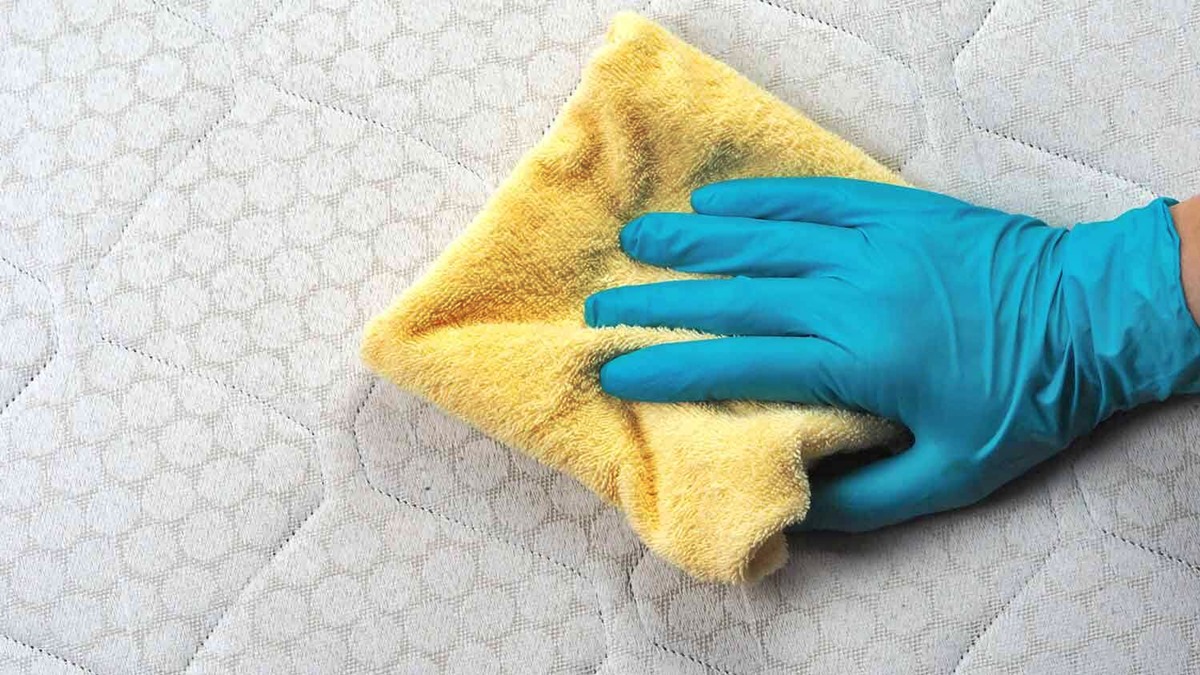
To remove sweat stains from a mattress, mix equal parts of hydrogen peroxide and water. Spray the solution on the stain and let it sit for 5-10 minutes. Blot with a clean cloth until the stain is gone, then let the mattress air dry.
Treating Set-In Sweat Stains
If you’ve discovered set-in sweat stains on your mattress, don’t fret. While they may be more challenging to remove, it’s still possible to restore your mattress to its former glory. Follow these steps to treat set-in sweat stains:
- Create a paste by combining equal parts of hydrogen peroxide and baking soda in a bowl. This mixture will help break down the stains and lift them from the mattress.
- Apply the paste directly to the set-in sweat stains, using a clean cloth or sponge. Gently rub the mixture into the stains, making sure to cover the entire affected area.
- Allow the paste to sit on the stains for at least an hour. This dwell time will give the hydrogen peroxide and baking soda an opportunity to work their magic.
- After the dwell time, dampen another clean cloth or sponge with warm water and blot the area to remove the paste. Be gentle to avoid spreading the stain further.
- If the stains are still visible, repeat the process. In some cases, it may take multiple applications to completely eliminate stubborn set-in sweat stains.
- Once the stains have been successfully removed, use a dry cloth or towel to blot the area and remove any excess moisture.
- Allow the mattress to air dry completely before putting any sheets or bedding back on.
Remember, persistence is key when dealing with set-in sweat stains. Be patient and repeat the process as necessary until the stains are no longer visible.
Now that you’ve successfully tackled the sweat stains, it’s time to address any lingering odors that may have developed. Continue reading to learn how to deodorize your mattress.
Read more: How To Get Stains Off A Mattress
Deodorizing the Mattress
After successfully removing sweat stains from your mattress, it’s important to address any lingering odors that may have developed. Here are some effective methods for deodorizing your mattress:
- Sprinkle a generous amount of baking soda over the entire surface of the mattress. Baking soda is a natural odor absorber and will help eliminate any remaining smells.
- Gently rub the baking soda into the mattress using a clean cloth or your fingertips. This will ensure that the baking soda penetrates deep into the fabric and absorbs odors effectively.
- Let the baking soda sit on the mattress for a few hours or overnight. This will give it ample time to work its magic and absorb any unpleasant smells.
- Vacuum the mattress thoroughly to remove the baking soda. Use a brush attachment to reach all the crevices and ensure the baking soda is completely removed.
- If any odors persist, you can spray a mixture of water and your preferred essential oil onto the mattress. Essential oils such as lavender, tea tree, or eucalyptus have natural antibacterial properties and can leave a pleasant scent on your mattress.
- Allow the mattress to air dry completely before putting any bedding or sheets back on.
By following these deodorizing steps, you’ll not only eliminate any lingering odors but also leave your mattress smelling fresh and clean.
Now that you’ve successfully cleaned and deodorized your mattress, let’s discuss some preventative measures to avoid future sweat stains.
Preventing Future Sweat Stains
Prevention is key when it comes to keeping your mattress free from sweat stains. By implementing a few simple preventive measures, you can maintain the cleanliness and freshness of your mattress for years to come. Here are some tips to help you prevent future sweat stains:
- Use a mattress protector: Invest in a high-quality mattress protector that is waterproof and breathable. A mattress protector acts as a barrier between your body and the mattress, preventing sweat from seeping into the fabric. It also helps protect against spills, dust mites, and other allergens.
- Wash your bedding regularly: Make sure to wash your sheets, pillowcases, and duvet covers on a regular basis. This will not only keep your bedding fresh but also prevent sweat and body oils from transferring to your mattress.
- Keep your bedroom well-ventilated: Proper air circulation can help reduce moisture buildup in the bedroom. Open windows, use a fan, or invest in a dehumidifier to maintain optimal humidity levels.
- Use breathable fabrics: Opt for breathable and moisture-wicking bedding materials such as cotton or bamboo. These fabrics allow for better airflow and can help keep you cool and dry during the night.
- Rotate and flip your mattress: Regularly rotating and flipping your mattress can help distribute weight and pressure evenly, reducing the likelihood of sweat stains forming in specific areas.
- Practice good hygiene: Showering before bed can help reduce the amount of sweat your body produces during the night. Additionally, keeping your bedroom at a comfortable temperature can minimize excessive sweating.
By implementing these preventive measures, you can significantly reduce the chances of sweat stains appearing on your mattress. Remember, a little proactive effort goes a long way in maintaining the cleanliness and longevity of your sleeping surface.
Now that you’re equipped with the knowledge and techniques to prevent, clean, and deodorize sweat stains on your mattress, you can enjoy a fresh and comfortable sleeping environment night after night.
We hope this guide has been helpful in addressing your mattress sweat stain concerns. Sleep tight!
Conclusion
Keeping your mattress clean and free from sweat stains is essential for a comfortable and healthy sleep environment. With the tips and techniques discussed in this guide, you now have the knowledge to tackle sweat stains effectively and prevent them from recurring. By regularly cleaning and maintaining your mattress, you can enhance its longevity and ensure a restful night’s sleep.
Remember to act promptly when you notice fresh sweat stains on your mattress, using the appropriate cleaning solution to remove them. For set-in stains, a combination of hydrogen peroxide and baking soda can work wonders in breaking down and lifting the stains. Deodorizing your mattress with baking soda and essential oils will leave it smelling fresh and clean.
Prevention is the key to avoiding future sweat stains on your mattress. Investing in a waterproof mattress protector, washing your bedding regularly, and practicing good hygiene can go a long way in maintaining a clean and sweat-free sleeping surface. Don’t forget to keep your bedroom well-ventilated to minimize moisture buildup.
By implementing these tips and techniques, you can enjoy a mattress that is free from unsightly sweat stains and odors, providing you with a comfortable and rejuvenating sleep experience. Take care of your mattress, and it will take care of you.
Thank you for reading our comprehensive guide on how to get sweat stains off a mattress. We hope this information has been valuable to you. Sleep well!
Frequently Asked Questions about How To Get Sweat Stains Off A Mattress
Was this page helpful?
At Storables.com, we guarantee accurate and reliable information. Our content, validated by Expert Board Contributors, is crafted following stringent Editorial Policies. We're committed to providing you with well-researched, expert-backed insights for all your informational needs.