Home>Garden Essentials>How Long Does It Take Sage To Germinate

Garden Essentials
How Long Does It Take Sage To Germinate
Modified: March 16, 2024
Learn how long it takes for sage seeds to germinate in your garden and enjoy a successful growing season with these helpful tips.
(Many of the links in this article redirect to a specific reviewed product. Your purchase of these products through affiliate links helps to generate commission for Storables.com, at no extra cost. Learn more)
Introduction
When it comes to growing a beautiful and flourishing garden, sage is a must-have herb. With its aromatic leaves and versatile culinary uses, sage is a favorite among gardeners and chefs alike. But before you can enjoy the flavors and benefits of this herb, you need to start by germinating the sage seeds.
Germination is the process by which a seed develops into a new plant. It is a crucial and exciting stage in gardening, as it marks the beginning of a plant’s life cycle. If you’re wondering how long it takes for sage to germinate and what factors can affect this process, you’ve come to the right place.
In this article, we will explore the various factors that can influence sage germination, offer tips on seed preparation, discuss different germination methods, and provide a time frame for sage germination. Whether you’re a seasoned gardener or a novice enthusiast, this comprehensive guide will help you successfully germinate sage seeds.
Key Takeaways:
- Sage seeds take 10 to 21 days to sprout, but patience is key as it can take longer. Factors like temperature, moisture, and seed quality affect germination. Proper preparation and care increase success.
- To grow sage successfully, choose high-quality seeds, provide optimal conditions, and avoid common mistakes like overwatering and planting too deep. With patience and care, you’ll enjoy a thriving sage garden.
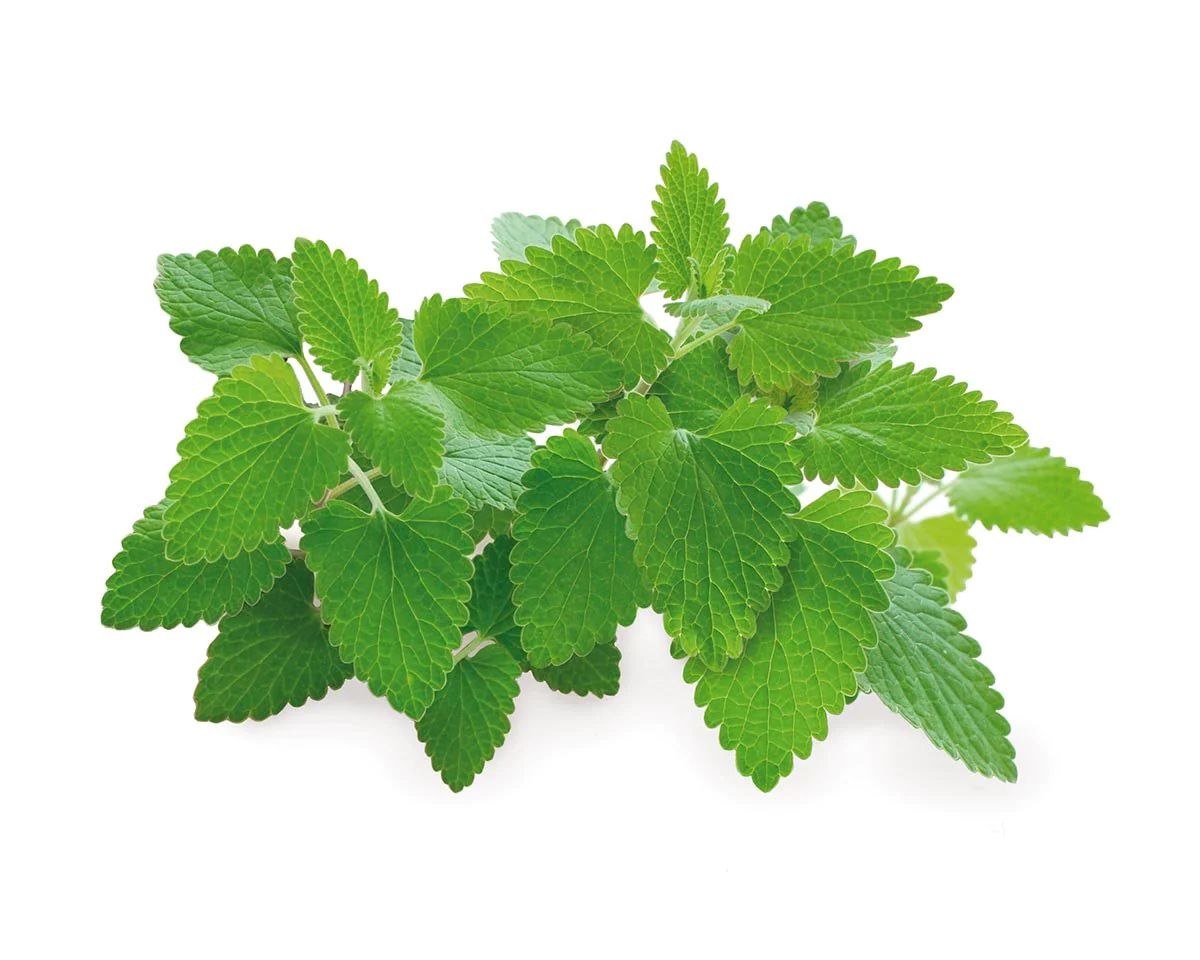
Read more: How Long Does It Take For Mint To Germinate?
Factors Affecting Sage Germination
Germination is a complex process that can be influenced by several factors. By understanding these factors, you can create the optimal conditions for sage seeds to germinate successfully. Let’s take a closer look at the key factors affecting sage germination.
- Temperature: Sage seeds require a consistent temperature to germinate properly. The ideal temperature range for sage germination is between 60 to 70 degrees Fahrenheit (15 to 21 degrees Celsius). It’s essential to maintain a warm and stable environment, as fluctuations in temperature can hinder or delay germination.
- Moisture: Adequate moisture is crucial for sage seeds to germinate. Before sowing the seeds, ensure that the planting medium is moist but not soaked. Maintaining a moist environment throughout the germination process is necessary. However, be cautious not to overwater, as excessively wet conditions can lead to rot and hinder germination.
- Light: Unlike some seeds that require exposure to light for germination, sage seeds actually prefer darkness. These seeds germinate best when covered with a thin layer of soil, around 1/4 inch (0.6 cm) deep. Avoid exposing the seeds to direct sunlight during germination, as it may inhibit their growth.
- Seed Quality: The quality of the sage seeds plays a vital role in germination success. Choose high-quality seeds from reputable suppliers or harvest seeds from well-established sage plants. Fresh seeds tend to have a higher germination rate compared to older or improperly stored seeds.
- Seed Stratification: Sage seeds may benefit from a period of stratification before germination. Stratification involves subjecting the seeds to a period of cold temperatures to simulate winter conditions. This process can help break seed dormancy and improve germination rates. Place the seeds in a sealed plastic bag and refrigerate them for about 2-4 weeks before sowing.
- Soil Quality: The quality of the soil directly affects sage germination. Ensure that the soil is well-draining and rich in organic matter. A pH level of 6.0 to 7.0 is ideal for sage. If the soil is heavy or compacted, consider amending it with sand or organic compost to improve drainage and fertility.
By taking these factors into account and creating the optimal conditions, you can significantly increase the chances of successful sage germination. Now that we’ve explored the key factors affecting sage germination, let’s move on to seed preparation.
Seed Preparation
Proper seed preparation is essential for maximizing the germination success of sage seeds. Taking the time to prepare the seeds before planting will help create an optimal environment for germination. Here are some steps to consider when preparing your sage seeds:
- Seed Selection: Choose high-quality sage seeds from reputable suppliers or harvest seeds from your own well-established sage plants. Look for seeds that are plump, firm, and free from any signs of damage or disease.
- Seed Cleaning: Thoroughly clean the sage seeds before planting. Remove any debris or impurities from the seeds by gently rinsing them under lukewarm water. This will help ensure that only healthy seeds are planted.
- Seed Soaking: Some gardeners suggest soaking the sage seeds in water for a few hours before planting. This can help to soften the seed coat and improve germination rates. However, it’s important not to soak the seeds for too long, as excessive moisture can lead to rot.
- Seed Stratification: As mentioned earlier, sage seeds may benefit from a period of stratification. After cleaning and soaking the seeds, place them in a sealed plastic bag and refrigerate them for 2-4 weeks. This simulated cold period can help break seed dormancy and enhance germination rates.
- Seed Scarification: Scarification involves creating small abrasions or scratches on the seed coat to improve germination. For sage seeds, gently rub them against a fine sandpaper or soak them in slightly warm water for a few minutes. This process can help water penetrate the seed coat and promote germination.
- Seed Labeling: It’s a good practice to label your sage seeds before planting. Use small markers or labels to identify the different varieties of sage or the date when the seeds were collected. This will help you keep track of your seeds and monitor their progress.
By following these seed preparation steps, you can enhance the germination success of your sage seeds. Now that we’ve prepared the seeds, let’s explore different germination methods.
Germination Methods
There are several germination methods you can choose from when it comes to sage seeds. Each method has its own advantages and considerations, so you can select the one that best suits your needs and gardening setup. Here are some common germination methods for sage:
- Direct Sowing: Direct sowing involves planting the sage seeds directly into the garden soil. Choose a sunny spot with well-draining soil. Prepare the soil by removing any weeds and loosening it with a fork or tiller. Make small holes in the soil, approximately 1/4 inch (0.6 cm) deep, and place one or two sage seeds in each hole. Gently cover the seeds with soil and water lightly. Keep the soil moist during the germination period.
- Seed Trays or Pots: Another option is to germinate sage seeds in seed trays or pots before transplanting them into the garden. Fill the trays or pots with a well-draining seed-starting mix. Sow the seeds on the surface of the soil and lightly press them down. Cover the seeds with a thin layer of soil or vermiculite. Place the trays or pots in a warm location with indirect light. Keep the soil evenly moist but not waterlogged. Once the seedlings have developed a few sets of true leaves, they can be transplanted into the garden.
- Germination Paper: Germination paper or moist paper towels can be used to germinate sage seeds. Place moistened germination paper or paper towels in a shallow container. Lay the sage seeds on the paper and cover them with another layer of moist paper. Keep the paper towels moist throughout the germination period by misting them with water. Once the seeds have sprouted, carefully transfer the seedlings to pots or trays filled with seed-starting mix.
- Seed Germination Chambers: Seed germination chambers create a controlled environment for optimal germination. These chambers provide consistent temperature, moisture, and light conditions. You can use a commercially available germination chamber or create your own using a plastic container with a transparent lid. Fill the container with a sterile seed-starting mix, sow the sage seeds, and follow the manufacturer’s instructions for maintaining the ideal conditions.
- Hydroponics: For those interested in hydroponic gardening, sage seeds can be germinated using a hydroponic system. Prepare a hydroponic tray or container with a nutrient solution, following the instructions provided for your specific hydroponic setup. Sow the sage seeds in a growing medium such as rockwool or oasis cubes and place them in the tray or container. Maintain the appropriate temperature, humidity, and nutrient levels for hydroponic germination.
Choose the germination method that suits your preferences and gardening setup. Regardless of the method you choose, regular monitoring, appropriate watering, and attention to temperature and light conditions are key for successful germination. Now that we’ve explored different germination methods, let’s move on to the expected time frame for sage germination.
Sage seeds typically take 10-21 days to germinate. Keep the soil consistently moist and provide warmth for best results.
Time Frame for Sage Germination
The time it takes for sage seeds to germinate can vary depending on various factors such as temperature, moisture, and seed quality. On average, sage seeds can take anywhere from 10 to 21 days to germinate, but it can take longer in some cases. Patience is key when germinating sage seeds, as germination times can be influenced by external conditions and the specific sage variety you are growing.
Under ideal conditions, with a consistent temperature of around 60 to 70 degrees Fahrenheit (15 to 21 degrees Celsius) and adequate moisture, you can expect to see the first signs of germination within 1 to 2 weeks. The seeds will typically sprout and send up small cotyledon leaves, which are the first pair of leaves to appear.
If you’re growing sage in cooler temperatures or if the seeds require stratification, it may take longer for germination to occur. In some cases, it can take up to 4 weeks or more for sage seeds to sprout. It’s important to be patient and continue to provide the optimal conditions for germination.
Keep in mind that not all sage seeds will germinate at the same time. Some may sprout earlier, while others may take a bit longer. It’s normal to see staggered germination as each seed has its own unique pace.
Once the seeds have germinated and the seedlings have developed a few sets of true leaves, they can be transplanted or thinned to provide adequate space for growth. At this stage, you can gradually acclimate the seedlings to outdoor conditions if you plan to transplant them into the garden.
Remember to continue providing the necessary care such as proper watering, adequate sunlight, and regular fertilization to ensure the healthy growth of your sage plants.
Now that you have an idea of the time frame for sage germination, it’s essential to be aware of some tips to increase the success rate. Let’s explore some helpful tips for successful sage germination.
Read more: How Long Does It Take Millet To Germinate
Tips for Successful Sage Germination
Germinating sage seeds can be a rewarding and fulfilling experience. To increase the chances of successful germination, here are some tips and best practices to follow:
- Start with Quality Seeds: Choose high-quality sage seeds from reputable sources. Fresh seeds, whether purchased or harvested from your own garden, have a higher chance of germination success.
- Follow Seed Preparation Steps: Clean and prepare your sage seeds by removing any debris, soaking them if desired, and stratifying them if needed. Scarification can also be done to enhance germination rates.
- Provide Optimal Growing Conditions: Maintain a consistent temperature range of 60 to 70 degrees Fahrenheit (15 to 21 degrees Celsius) for optimal germination. Ensure the soil or growing medium is kept moist but not waterlogged.
- Keep Away from Direct Sunlight: Sage seeds prefer darkness during the germination process, so it’s important to cover the seeds with a thin layer of soil or vermiculite and keep them away from direct sunlight.
- Be Patient and Consistent: Sage seeds may take anywhere from 10 days to several weeks to germinate. Be patient and maintain consistent care and watering during this time.
- Thin or Transplant Seedlings: Once the seedlings have developed a few sets of true leaves, thin them out or transplant them into larger pots or the garden, providing adequate space for each plant to grow.
- Monitor and Adjust: Regularly monitor the germination progress and make adjustments as needed. Check for signs of overwatering, under-watering, or any pests or diseases that may affect the seedlings.
- Provide Adequate Light: Once the seedlings have emerged, ensure they receive adequate light to promote healthy growth. If growing indoors, use fluorescent lights or place them near a sunny window.
- Continue Care and Maintenance: As the sage plants grow, continue to provide proper care including regular watering, fertilizing, and pruning if necessary. This will help the plants establish strong root systems and thrive.
- Keep a Garden Journal: It can be helpful to keep a journal to record important details such as the planting date, germination time, and any observations or notes throughout the process. This will allow you to track your progress and make adjustments for future germinations.
By following these tips, you’ll increase the likelihood of successful sage germination and enjoy a thriving herb garden. Now let’s take a moment to discuss some common mistakes to avoid during the germination process.
Common Mistakes in Sage Germination
While germinating sage seeds can be a straightforward process, there are a few common mistakes that can hinder successful germination. By being aware of these mistakes, you can avoid them and increase your chances of achieving germination success. Here are some common mistakes to avoid:
- Overwatering: Overwatering is a common mistake that can lead to seed rot and hinder germination. While it’s important to keep the soil or growing medium moist, ensure you’re not keeping it excessively wet or waterlogged.
- Using Poor Quality Seeds: Using old, expired, or poor quality seeds can significantly reduce germination rates. Always choose fresh and high-quality sage seeds from reputable sources.
- Inadequate Light: Sage seeds prefer darkness during the germination process. However, once the seedlings have emerged, they require adequate light to grow. Make sure to provide sufficient light, whether it’s natural sunlight or artificial sources like fluorescent lights.
- Planting Too Deep: Planting sage seeds too deep into the soil can prevent them from germinating. Sage seeds are small, so it’s important to only cover them with a thin layer (around 1/4 inch) of soil or vermiculite.
- Skipping Seed Preparation: Properly preparing sage seeds before planting is crucial for germination success. Skipping steps like cleaning, soaking, or stratifying the seeds can negatively impact germination rates.
- Ignoring Temperature Requirements: Sage seeds have temperature preferences for germination. Ignoring these temperature requirements by exposing the seeds to extreme heat or cold can hinder germination or delay the process.
- Failing to Maintain Consistent Conditions: Inconsistent environmental conditions, such as temperature fluctuations or irregular watering, can disrupt the germination process. It’s important to maintain consistent and stable conditions throughout the germination period.
- Transplanting Seedlings Too Early: Transplanting seedlings too early can cause transplant shock and hinder their growth. Ensure that the seedlings have developed a few sets of true leaves before considering transplanting them.
- Not Labeling Seeds: Failing to label your sage seeds can result in confusion or a loss of track of different varieties. It’s recommended to label your seeds with their respective variety or the date of collection for easy identification.
- Not Learning from Previous Attempts: Each germination attempt provides valuable experience and insights. If you’ve encountered challenges or mistakes in previous attempts, take note of them and adjust your approach accordingly for future germinations.
By avoiding these common mistakes and following the best practices discussed earlier, you’ll significantly increase your chances of successful sage germination. Now let’s wrap up our discussion.
Conclusion
Growing sage from seed through germination is an exciting and rewarding journey for gardeners. By understanding the factors that affect sage germination, properly preparing the seeds, and utilizing the right germination methods, you can increase your chances of success.
Temperature, moisture, light conditions, and seed quality are all crucial factors to consider when germinating sage seeds. Providing the optimal growing conditions, such as consistent temperature and moisture, will greatly enhance germination rates. It’s important to be patient during the germination process, as sage seeds can take anywhere from 10 to 21 days or longer to sprout.
Proper seed preparation, including cleaning, soaking, and potentially stratifying or scarifying the seeds, can also contribute to higher germination success. Choosing high-quality seeds from reputable sources is essential for obtaining viable and healthy sage plants.
There are various germination methods to choose from, such as direct sowing, using seed trays or pots, germination paper, seed germination chambers, or even hydroponics. Select the method that suits your gardening setup and preferences.
To ensure successful germination, follow helpful tips such as providing adequate light for seedlings, regular monitoring and adjustments, and maintaining proper care and maintenance as the sage plants grow.
Avoid common mistakes like overwatering, using poor quality seeds, planting too deep, or skipping seed preparation. By learning from previous attempts and adapting your approach, you can improve upon your germination techniques.
With a little patience, attention to detail, and adherence to best practices, you’ll be rewarded with a bountiful harvest of flavorful sage leaves, perfect for culinary creations and enjoying the beauty of this versatile herb in your garden.
So, get ready to embark on your sage germination journey and enjoy the satisfaction of growing this wonderful herb from seed!
Frequently Asked Questions about How Long Does It Take Sage To Germinate
Was this page helpful?
At Storables.com, we guarantee accurate and reliable information. Our content, validated by Expert Board Contributors, is crafted following stringent Editorial Policies. We're committed to providing you with well-researched, expert-backed insights for all your informational needs.



0 thoughts on “How Long Does It Take Sage To Germinate”