Home>Garden Essentials>When To Plant Sage Seeds
Garden Essentials
When To Plant Sage Seeds
Modified: March 16, 2024
Discover the best time to plant sage seeds in your garden and ensure a successful harvest. Learn the basics of sage seed planting and care techniques.
(Many of the links in this article redirect to a specific reviewed product. Your purchase of these products through affiliate links helps to generate commission for Storables.com, at no extra cost. Learn more)
Introduction
Welcome to the wonderful world of gardening! If you have a green thumb or are simply looking to add some beauty and flavor to your outdoor space, planting sage seeds is an excellent choice. Sage, known for its aromatic leaves and delightful taste, is a versatile herb that can enhance the flavor of various dishes while also adding visual appeal to your garden.
In this article, we will explore everything you need to know about planting sage seeds. Whether you are a novice gardener or an experienced enthusiast, we’ll cover the key factors to consider before planting, the ideal growing conditions, step-by-step instructions for planting sage seeds, common mistakes to avoid, and tips for caring and harvesting your sage plants. So, let’s dive in and discover the secrets to growing a successful sage garden!
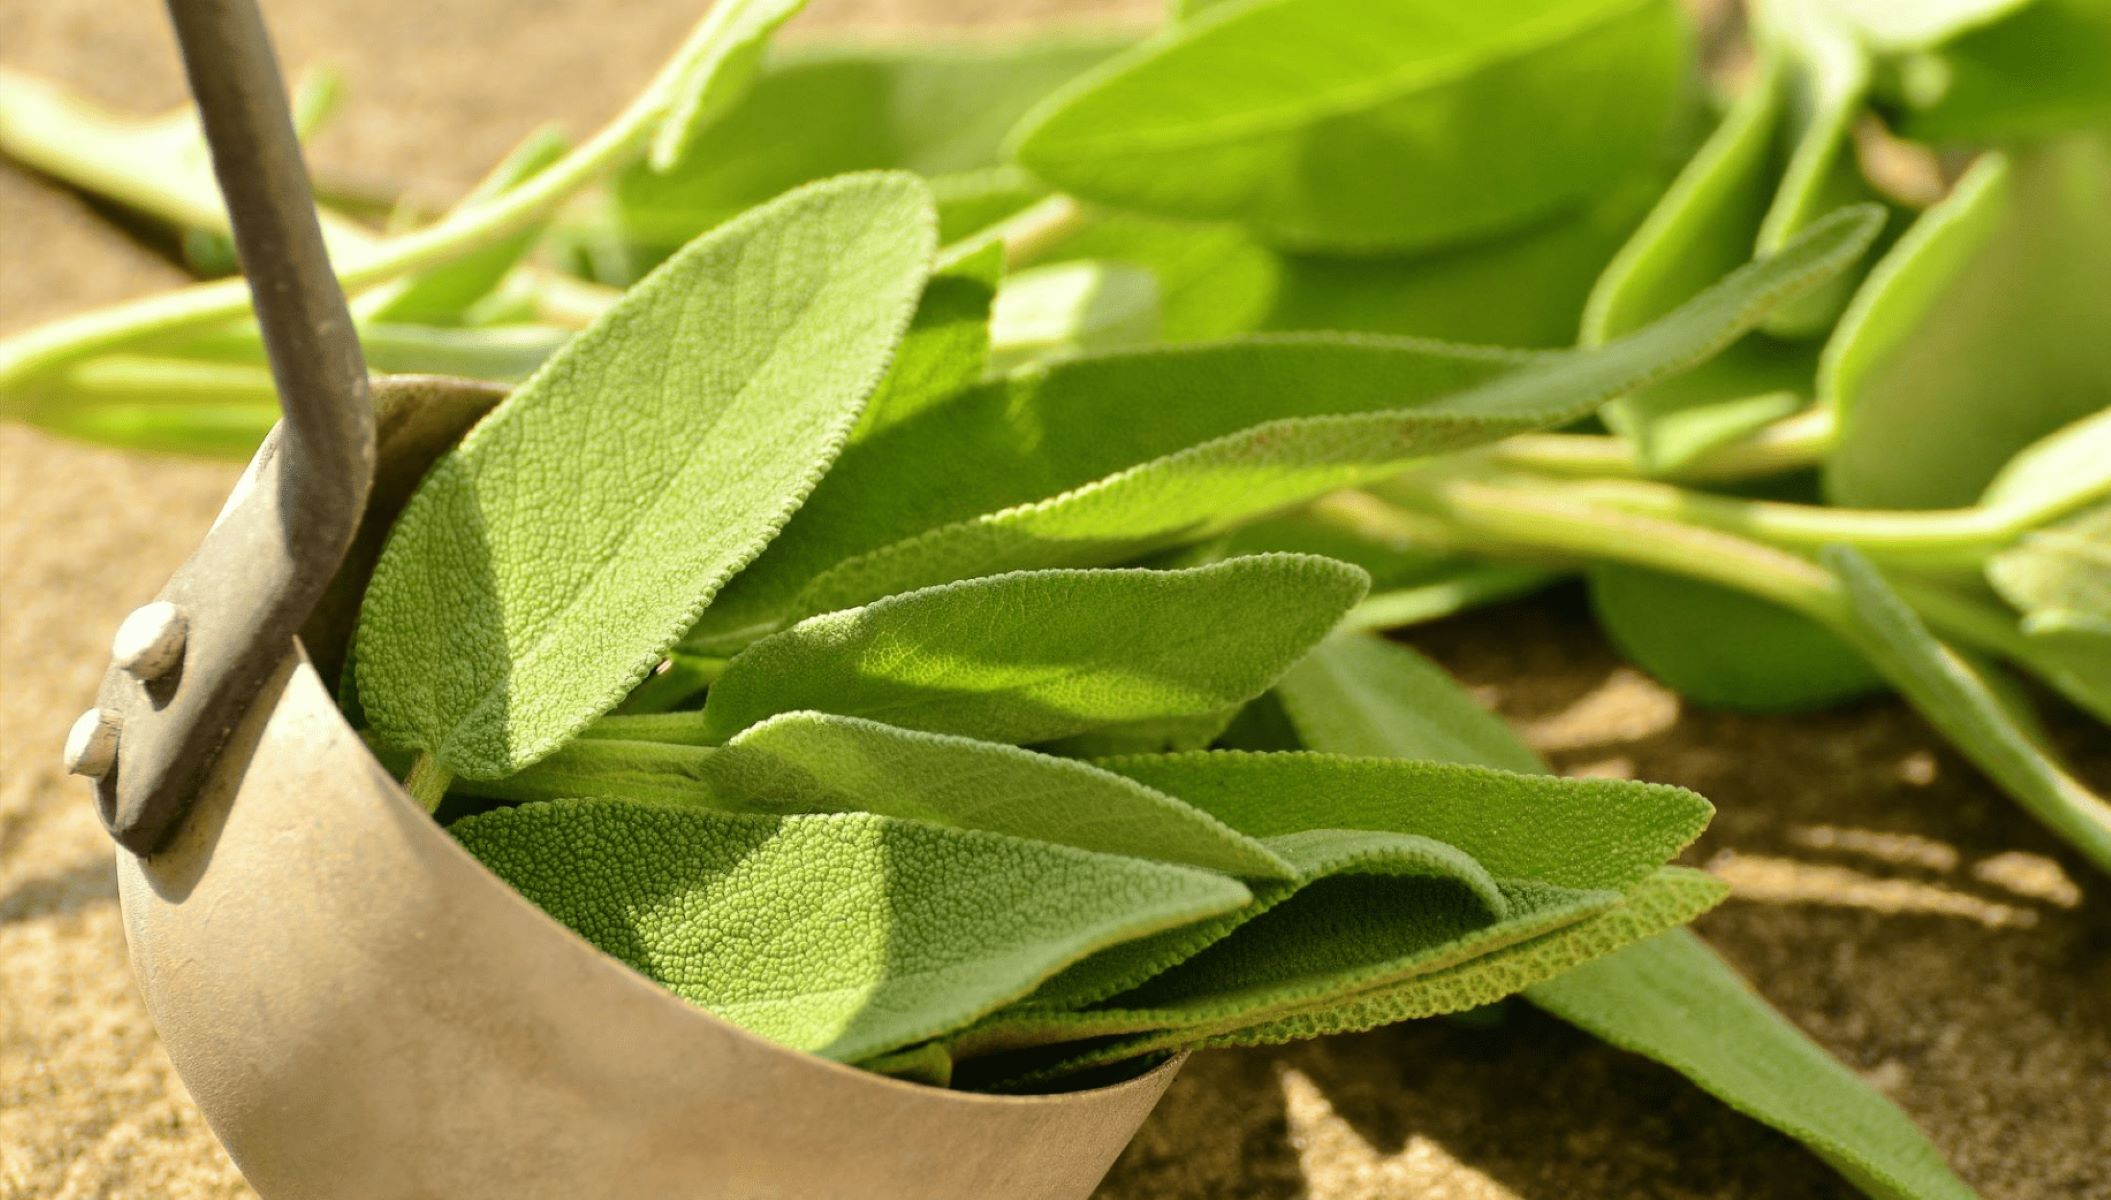
Before we get started, it’s important to understand what exactly sage seeds are. Sage seeds, also known as Salvia officinalis, are the small, oval-shaped reproductive structures produced by the sage plant. These seeds contain the genetic information needed to grow a new sage plant, and they are the starting point for your gardening adventure.
Now that we have a basic understanding of sage seeds, let’s explore the factors you should consider before planting them. Understanding these factors will ensure that you have the best chance of success when it comes to growing healthy, thriving sage plants.
Key Takeaways:
- Planting sage seeds requires understanding factors like climate, soil, and watering. Providing ideal growing conditions and avoiding common mistakes will help you grow healthy sage plants.
- Caring for sage seedlings involves proper watering, fertilization, weeding, and pruning. Harvesting sage leaves at the right time and storing them correctly will ensure flavorful culinary creations.
Read more: How To Start Sage Seeds
Understanding Sage Seeds
Before you start planting sage seeds, it’s essential to have a good understanding of what they are and how they function. Sage seeds are the small, dried reproductive structures of the sage plant. They are typically brown or black in color and can vary in size, depending on the variety of sage.
Sage seeds contain all the genetic material needed to grow a mature sage plant. When the conditions are favorable, the seeds germinate, and tiny roots and shoots emerge from them. These roots anchor the seedling in the soil, while the shoots eventually develop into the distinctive sage leaves.
It’s important to note that sage seeds have a protective coating that can be quite tough. This coating needs to be broken down before the seeds can germinate properly. In nature, this is often achieved through natural processes such as freezing and thawing or being eaten and passed through an animal’s digestive system. However, when planting sage seeds at home, we need to help the seeds break through this protective layer.
Sage seeds are usually sold in seed packets or can be collected from mature sage plants in your garden. For optimal results, it’s recommended to use fresh, high-quality seeds from a reputable source.
While sage seeds can be planted directly in the ground, many gardeners prefer to start them indoors. This allows you to control the growing conditions more effectively and gives the seeds a better chance of germinating successfully. Starting sage seeds indoors also gives you a head start, as the seedlings will be ready to be transplanted into your garden once the weather warms up.
Now that we have a good understanding of sage seeds, let’s explore the important factors you should consider before planting them.
Factors to Consider Before Planting Sage Seeds
Before you start planting sage seeds, there are a few key factors to consider that will greatly impact the success of your sage garden. Taking the time to plan and prepare properly will set the stage for healthy growth and bountiful harvests. Here are the factors you should consider:
- Climate: Sage is a hardy herb that thrives in Mediterranean climates with mild winters and hot, dry summers. It prefers full sun exposure, so ensure your location receives at least 6-8 hours of direct sunlight per day. If you live in a region with cold winters, starting seeds indoors or providing protection from frost will be necessary.
- Soil: Sage prefers well-draining soil with a pH level between 6.0 and 7.0. Consider conducting a soil test to ensure the pH level is within the optimum range. Sandy or loamy soil types work best for sage plants, as they allow excess water to drain away freely.
- Watering: While sage is a drought-tolerant plant, it still requires regular watering, especially during dry spells. However, it’s crucial not to overwater sage, as it is susceptible to root rot. Allow the top inch of soil to dry out before watering, and make sure the soil is well-drained to avoid standing water.
- Temperature: Sage is sensitive to extreme temperatures. The ideal temperature range for sage growth is between 60°F and 70°F (15°C and 21°C). Avoid planting sage seeds in excessively hot or cold conditions, as this can inhibit germination.
- Spacing: Sage plants require adequate spacing for proper air circulation and growth. Allow approximately 18-24 inches (45-60 cm) between plants to ensure they have enough room to spread out.
- Companion Planting: Consider planting sage alongside other herbs and vegetables that are compatible with its growth requirements. Good companions for sage include rosemary, thyme, cabbage, carrots, and tomatoes. These plants can help deter pests and attract beneficial insects.
- Pest Control: Sage is generally resistant to pests and diseases. However, it can occasionally attract aphids, spider mites, and caterpillars. Regularly inspect your plants for signs of pests and take appropriate measures to control them, such as using organic insecticidal soap or introducing beneficial insects.
By considering these factors before planting sage seeds, you will be well-prepared to create an optimal growing environment for your sage plants. Next, let’s explore the ideal growing conditions for sage seeds.
Ideal Growing Conditions for Sage Seeds
To ensure the successful growth of sage seeds, providing the ideal growing conditions is crucial. By creating an environment that mimics the plant’s natural habitat, you can maximize the chances of germination and healthy plant development. Here are the key factors to consider:
- Sunlight: Sage is a sun-loving herb that thrives in full sunlight. Choose a location in your garden that receives at least 6-8 hours of direct sunlight per day. This will help the plants develop strong stems, robust foliage, and a rich flavor.
- Soil Type: Sage prefers well-draining soil that is rich in organic matter. It thrives in sandy or loamy soil, so consider amending heavy clay soil with compost or organic matter to improve drainage. Avoid planting sage seeds in soil that remains consistently wet, as this can lead to root rot.
- Soil pH: Sage prefers slightly acidic to neutral soil, with a pH level between 6.0 and 7.0. Conduct a soil test to determine the pH of your garden soil. If the pH is too low (acidic), you can add lime to raise it. If the pH is too high (alkaline), you can amend the soil with organic matter to lower it.
- Watering: While sage is drought-tolerant, it still requires regular watering, especially during dry periods. Water deeply and thoroughly, allowing the soil to dry out slightly between waterings. Avoid overwatering, as sage plants are susceptible to root rot. Mulching around the base of the plants can help retain moisture and suppress weed growth.
- Temperature: Sage thrives in warm temperatures and can withstand heat better than extreme cold. The ideal temperature range for sage growth is between 60°F and 70°F (15°C and 21°C). Protect young seedlings from frost or cold snaps by covering them with a row cover or bringing them indoors when necessary.
- Air Circulation: Good air circulation is essential for preventing diseases and promoting healthy growth. Avoid overcrowding your sage plants and provide adequate spacing of 18-24 inches (45-60 cm) between plants. Prune any dense foliage that restricts airflow and removes any diseased or damaged leaves promptly.
- Fertilization: Sage is a low-maintenance herb that doesn’t require heavy fertilization. Before planting sage seeds, incorporate compost or well-rotted organic matter into the soil to provide essential nutrients. Avoid using high-nitrogen fertilizers, as they can promote excessive leaf growth at the expense of flavor.
By creating the ideal growing conditions for sage seeds, you are setting the stage for healthy plant development and a bountiful harvest. Up next, we’ll guide you through the step-by-step process of planting sage seeds.
Step-by-Step Guide to Planting Sage Seeds
Planting sage seeds is an exciting and rewarding process that allows you to grow your own fresh herbs. Follow this step-by-step guide to ensure successful germination and healthy growth of your sage plants:
- Choose the Right Time: Sage seeds are typically planted in early spring, after the last frost date in your area when the soil has warmed up. Starting seeds indoors 6-8 weeks before the expected transplanting date can give you a head start.
- Prepare the Soil: Select a location in your garden that receives full sun and has well-draining soil. Clear away any weeds, debris, or rocks from the planting area. Working the soil with a garden fork or tiller will help loosen it and improve drainage.
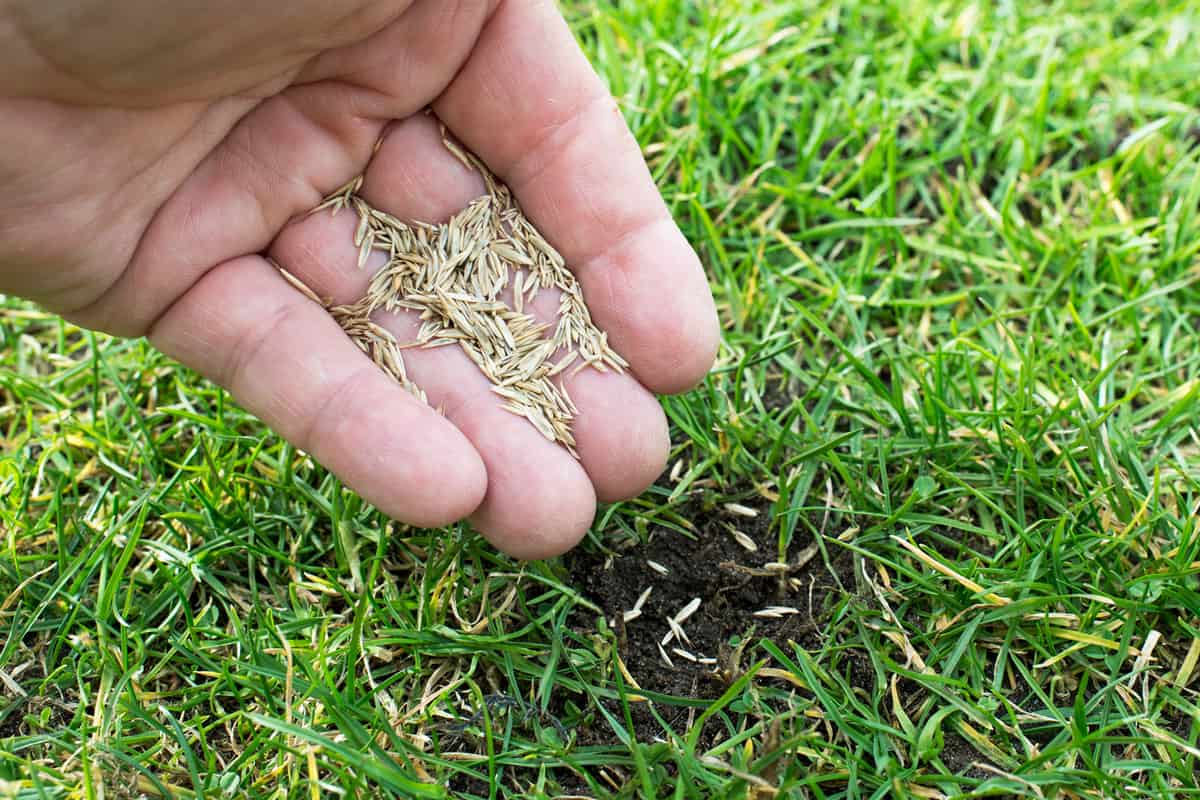
- Sow the Seeds: If starting seeds indoors, fill seed trays or pots with a seed starting mix. Plant sage seeds about 1/4 inch deep and cover with a thin layer of soil. If planting outdoors, sow the seeds directly into the prepared soil, spacing them about 12-18 inches apart.
- Water Well: After sowing the seeds, water the soil gently to ensure even moisture. Avoid overwatering that can lead to waterlogging. Keep the soil consistently moist, but not saturated, until the seeds germinate.
- Provide Warmth: Sage seeds require warmth to germinate. Keep the planted seeds in a warm location, ideally around 65-70°F (18-21°C). Using a heating mat under the seed trays can help maintain the desired temperature.
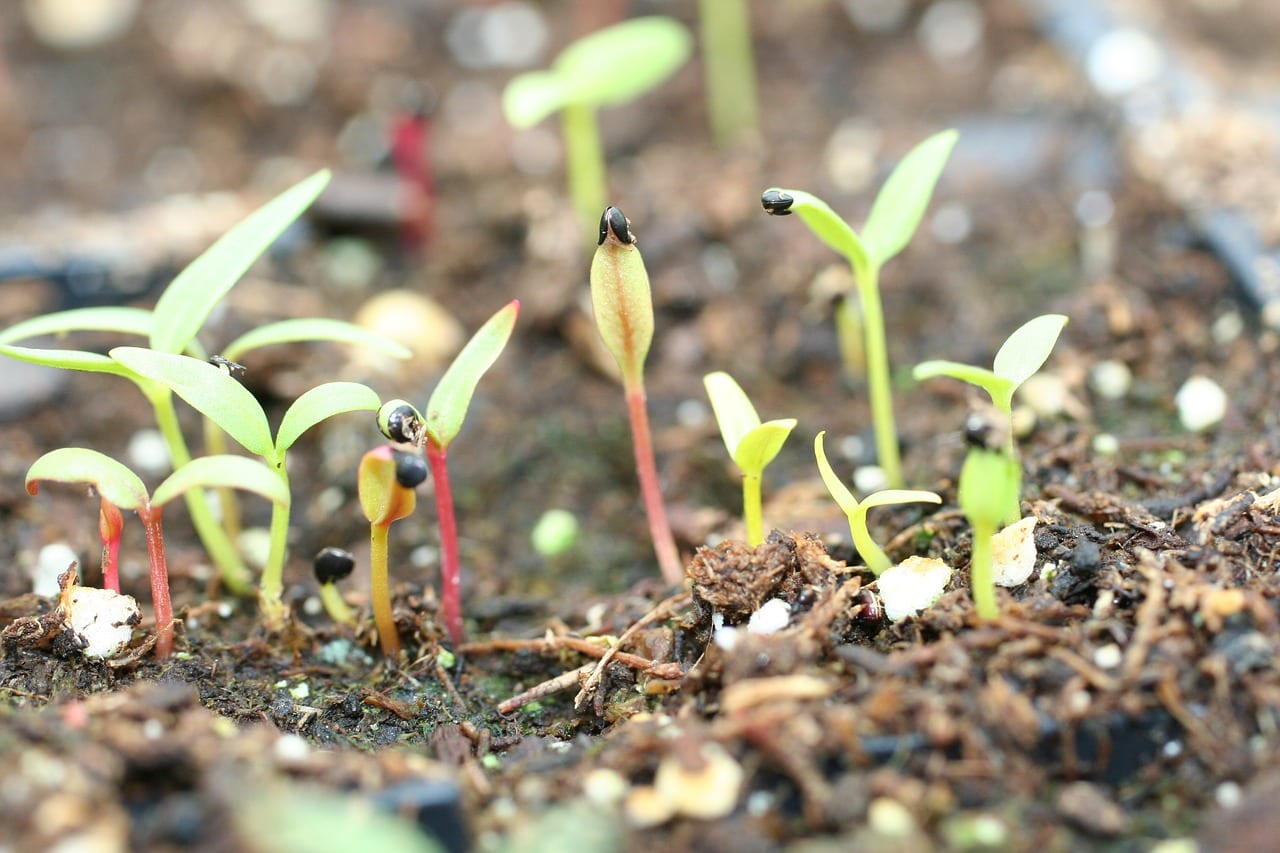
- Monitor Germination: Sage seeds typically take 10-21 days to germinate. During this time, check the trays or pots regularly for signs of sprouting. Once the seedlings have emerged, move them to a location with bright, indirect sunlight or under grow lights.
- Transplant Seedlings: When the seedlings have developed their first set of true leaves and the weather has warmed up, they are ready to be transplanted into your garden. Choose a location with the appropriate growing conditions mentioned earlier.
- Prepare the Transplanting Hole: Dig holes in the garden soil that are slightly larger than the root ball of the seedlings. Space the holes according to the recommended spacing, typically 18-24 inches apart.
- Plant the Seedlings: Gently remove the seedlings from their containers, being careful not to damage their delicate roots. Place each seedling in a prepared hole, ensuring that the top of the root ball is level with the soil surface. Backfill the hole with soil, firming it gently around the seedling.
- Water and Mulch: After planting the seedlings, water them thoroughly to settle the soil and provide moisture. Apply a layer of organic mulch, such as straw or wood chips, around the base of the plants to help retain moisture and suppress weed growth.
Following these steps will give your sage seeds the best chance of germinating and growing into healthy plants. Next, we’ll explore common mistakes to avoid when planting sage seeds to ensure a successful harvest.
Plant sage seeds in early spring after the last frost date. Choose a sunny location with well-drained soil. Sow the seeds 1/4 inch deep and keep the soil consistently moist until the seeds germinate.
Read more: When To Plant Borage Seeds
Common Mistakes to Avoid When Planting Sage Seeds
While growing sage from seeds is generally a straightforward process, there are a few common mistakes that gardeners should avoid to ensure the best possible outcome. By steering clear of these pitfalls, you can increase the chances of success and enjoy a thriving sage garden. Here are some common mistakes to avoid:
- Overwatering: Sage is a plant that prefers drier conditions. Overwatering can lead to root rot and other fungal diseases. It’s important to water sage plants only when the top inch of soil feels dry. Stick your finger into the soil to check the moisture level before watering.
- Poor Drainage: Sage plants thrive in well-draining soil. If the soil retains too much water, it can suffocate the roots and lead to root rot. Make sure to amend heavy clay soil with organic matter or grow sage in raised beds to improve drainage.
- Planting Too Deep: Sage seeds should be planted shallowly, as they require light to germinate. Planting them too deep can inhibit germination and lead to weak seedlings. Aim to plant the seeds about 1/4 inch deep in loose, well-draining soil.
- Insufficient Sunlight: Sage is a sun-loving herb that requires at least 6-8 hours of direct sunlight per day. Insufficient sunlight can cause leggy growth and diminished flavor. Make sure to plant sage in a location that receives ample sunlight to promote healthy development.
- Overcrowding: Sage plants need adequate air circulation and space to grow. Overcrowding can lead to increased humidity, which can promote the growth of fungal diseases. Plant sage seedlings at the recommended spacing to ensure proper air circulation and healthy growth.
- Skipping Thinning: If you start sage seeds indoors and multiple seedlings emerge from one seed, it’s important to thin them out. Crowded seedlings will compete for nutrients and space, resulting in weak growth. Thin out the weakest seedlings, leaving the healthiest ones to continue growing.
- Ignoring Pest Control: While sage is generally resistant to pests, it can still attract aphids, spider mites, and caterpillars. Regularly inspect your plants for any signs of pests and take appropriate measures to control them. Use organic insecticidal soaps or introduce beneficial insects to keep pest populations in check.
- Harvesting Too Much: It can be tempting to harvest sage leaves as soon as they appear, but it’s important to allow the plant to establish a strong root system first. Avoid overharvesting in the first growing season to allow the plant to grow and mature properly.
By avoiding these common mistakes, you can ensure the optimal growth and health of your sage plants. Now that we’ve covered the potential pitfalls, let’s move on to learning how to care for your sage seedlings.
Caring for Sage Seedlings
Caring for sage seedlings is crucial to ensure their healthy growth and development into mature plants. By providing the right care, you can help your seedlings establish a strong root system and thrive in your garden. Here are the key aspects to consider when caring for sage seedlings:
- Watering: Sage seedlings should be watered consistently to keep the soil evenly moist. However, be careful not to overwater, as sage is susceptible to root rot. Allow the top inch of soil to dry out slightly before watering again. Water at the base of the plants to avoid wetting the leaves, as this can promote disease.
- Fertilization: Sage seedlings generally do not require heavy fertilization. They can benefit from a light application of balanced organic fertilizer once they have developed a few sets of true leaves. Avoid using high-nitrogen fertilizers, as this can promote excessive leaf growth at the expense of flavor.
- Weeding: Keep the area around your sage seedlings free from weeds. Weeds can compete with young seedlings for nutrients, water, and sunlight. Regularly weed the area, being careful not to disturb the roots of the sage seedlings.
- Mulching: Apply a layer of organic mulch, such as straw or wood chips, around the base of your sage seedlings. Mulch helps to retain moisture, suppress weed growth, and regulate soil temperature. Keep the mulch a few inches away from the stem to prevent rotting.
- Pruning: Once your sage seedlings have developed a few sets of true leaves, you can start pruning them. Pinch off the top inch or two of the main stem to encourage bushier growth and promote branching. Regular pruning throughout the growing season will help maintain the shape and vigor of your sage plants.
- Support: As your sage plants grow, they may benefit from some support to prevent bending or breaking. Place small stakes or plant supports near the base of the seedlings, being careful not to damage the roots. Tie the stems gently to the support using soft plant ties or twine.
- Pest Control: Keep an eye out for any signs of pest infestations on your sage seedlings. Common pests that may attack sage include aphids, spider mites, and caterpillars. If necessary, use organic insecticidal soaps or introduce beneficial insects like ladybugs or lacewings to help control pests naturally.
- Harvesting: Depending on the variety, you can start harvesting sage leaves once the plants have become established and have a sufficient amount of foliage. Harvest the leaves in the morning when the essential oil content is at its peak. Use sharp scissors or pruning shears to snip off individual leaves or stems just above a leaf node.
By providing proper care, your sage seedlings will grow into robust plants that will reward you with an abundance of flavorful leaves. With these care guidelines in mind, you are now ready to enjoy a successful sage garden. Next, let’s delve into the exciting topic of harvesting sage.
Harvesting Sage
Harvesting sage is an exciting and rewarding part of growing this versatile herb. Sage leaves are known for their aromatic fragrance and distinct flavor, making them a valuable addition to your culinary adventures. By following these guidelines, you can ensure a successful and bountiful harvest of your sage plants:
- Timing: Sage leaves can be harvested throughout the growing season, but it’s best to wait until the plants are well-established and have plenty of foliage. Avoid harvesting from young seedlings in their first growing season, as they need ample time to grow and develop a strong root system.
- Leaf Selection: Choose leaves that are healthy, firm, and fully developed. Ideally, select leaves that are not yet flowering, as they tend to have the best flavor. Look for leaves that are vibrant and free from discoloration or damage.
- Harvest Method: When harvesting sage leaves, it’s important to do so correctly to promote healthy regrowth. Use sharp scissors or pruning shears to snip off individual leaves or stems just above a leaf node. Avoid cutting into the woody parts of the plant, as this can hinder regrowth.
- Harvesting Techniques: There are a few different harvesting techniques you can employ with sage. You can choose to harvest individual leaves as needed, or you can cut entire stems if you require a larger quantity. If you want to encourage bushier growth, regularly pinch off the top inch or two of the stems.
- Storage: Properly storing harvested sage is crucial for preserving its flavor and quality. You can use the leaves fresh, or you can dry them for long-term storage. To dry sage, tie small bunches of stems together and hang them upside down in a cool, well-ventilated area. Once fully dried, crumble the leaves and store them in an airtight container away from heat and light.
- Freezing Sage: Another option for preserving sage is to freeze the leaves. Wash and pat the leaves dry, then place them in a single layer on a baking sheet and freeze until firm. Transfer the frozen leaves to a freezer-safe bag or container and store them in the freezer for up to six months.
- Using Sage Leaves: Sage leaves can be used in a variety of culinary dishes, adding a depth of flavor to both savory and sweet recipes. Use fresh sage leaves in soups, stews, sauces, marinades, stuffings, and herb blends. Dried sage is excellent for seasoning roasted meats, vegetables, and pasta dishes.
By following these harvesting tips, you can enjoy the full flavor and aroma of freshly harvested sage in your culinary creations. Remember to never harvest more than one-third of the plant’s foliage at a time to ensure its continued growth and vitality.
With your sage harvested and in use, it’s time to reflect on the incredible journey that started with planting sage seeds. Let’s conclude our article with a summary of what we’ve learned.
Conclusion
Congratulations on completing this comprehensive guide to planting sage seeds! By now, you should have a solid understanding of the factors to consider before planting, the ideal growing conditions, the step-by-step process of planting sage seeds, common mistakes to avoid, and essential care tips for your sage seedlings and mature plants. Armed with this knowledge, you are well-equipped to embark on your sage gardening adventure and enjoy the bountiful rewards.
Remember, sage is a versatile herb that not only adds incredible flavor to your favorite dishes but also adds visual appeal to your garden with its beautiful foliage and aromatic presence. From its distinctive gray-green leaves to its delicate purple flowers, sage can enhance both your culinary creations and your outdoor space.
As you venture into the world of sage gardening, be mindful of the unique needs of this herb. Provide it with plenty of sunlight, well-draining soil, and proper spacing. Water it judiciously, avoiding overwatering, and take precautions against common pests. Regularly care for your sage plants by pruning, fertilizing lightly, and maintaining good air circulation. When the time comes, harvest your sage leaves with care and store them properly to preserve their flavor for future use.
With each season, your sage plants will flourish, providing you with an abundant supply of aromatic leaves to enhance your cooking and bring a touch of nature to your home. The journey from planting sage seeds to harvesting flavorful leaves is a rewarding one, filled with discovery, growth, and the joys of nurturing a living thing.
So go ahead, start your own sage garden and savor the satisfaction of growing this remarkable herb. Whether you’re a seasoned gardener or a beginner, the process of planting sage seeds will surely bring you closer to nature and deepen your appreciation for the wonders of the plant world.
Happy gardening and may your sage garden thrive!
Frequently Asked Questions about When To Plant Sage Seeds
Was this page helpful?
At Storables.com, we guarantee accurate and reliable information. Our content, validated by Expert Board Contributors, is crafted following stringent Editorial Policies. We're committed to providing you with well-researched, expert-backed insights for all your informational needs.


0 thoughts on “When To Plant Sage Seeds”