Home>Garden Essentials>How To Get Another Scarecrow Garden Design
Garden Essentials
How To Get Another Scarecrow Garden Design
Modified: October 25, 2024
Discover how to create a stunning garden design with another scarecrow, using our expert tips and techniques. Transform your outdoor space with this unique twist on traditional gardening.
(Many of the links in this article redirect to a specific reviewed product. Your purchase of these products through affiliate links helps to generate commission for Storables.com, at no extra cost. Learn more)
Introduction
Welcome to the wonderful world of gardens, where nature and creativity unite. A garden is not only a place to grow plants, but it is also an expression of personal style and a haven for relaxation. Adding unique and eye-catching features to your garden can enhance its charm and make it truly stand out. One such feature that adds whimsy and personality to any garden is a scarecrow.
Scarecrows have long been used as a traditional method to ward off birds and protect crops in gardens. But they have evolved from simple, utilitarian structures to works of art and a popular garden decoration. Creating your own scarecrow garden design gives you the opportunity to unleash your creativity and add a touch of personality to your outdoor space.
In this article, we will take you through the process of creating another scarecrow garden design, step by step. From assessing your garden space to choosing the right design, gathering materials, building the framework, dressing up your scarecrow, and finally placing and maintaining it in your garden, we will cover it all. So, put on your gardening gloves and let’s get started!
Key Takeaways:
- Creating a scarecrow garden design is a fun and creative way to add personality to your garden. From choosing the right design to dressing it up, you can make your garden truly unique!
- Your scarecrow can be a functional and charming addition to your garden. By placing it strategically and adding personal touches, you can protect your crops and showcase your creativity.
Read more: How To Make A Scarecrow For The Garden
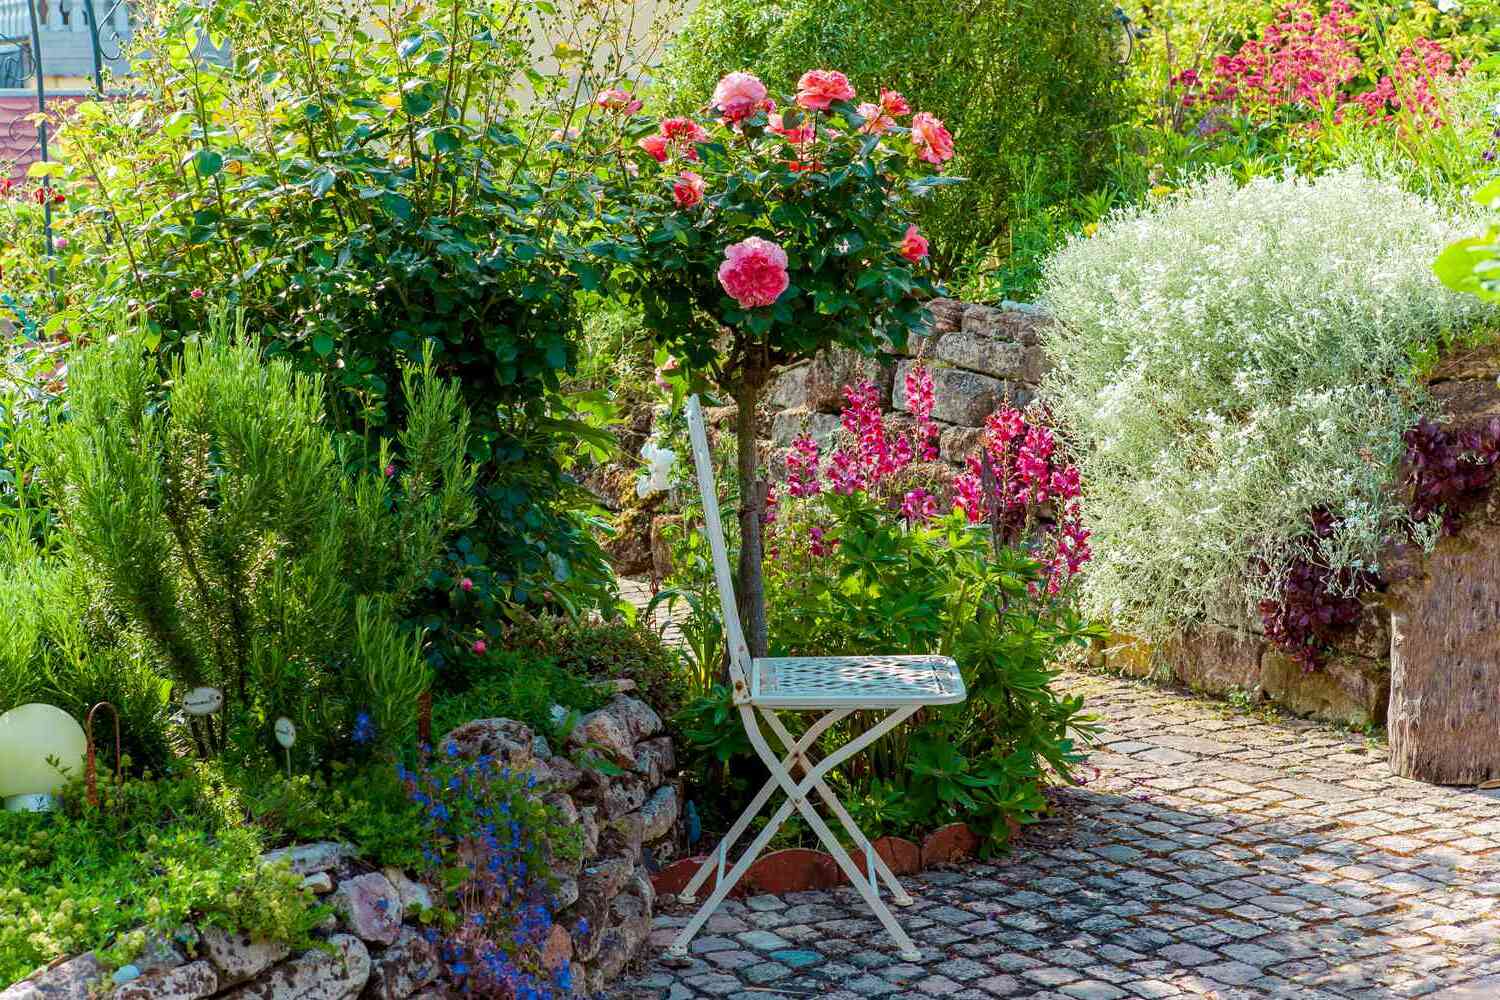
Step 1: Assessing your garden space
Before you begin designing and creating your scarecrow, it’s important to assess your garden space. Take a walk around your garden and observe the layout, size, and overall aesthetic. Understand the different areas where you can place your scarecrow to maximize its effectiveness and visual impact.
Consider the size of your garden and the available open spaces. A scarecrow can be placed in the center of a flower bed, near a vegetable patch, or even in a corner of your garden. Look for areas where there is ample visibility so that your scarecrow can be seen from different angles.
Pay attention to the existing plants and structures in your garden. Choose a location that complements the surroundings and creates a cohesive design. For example, if you have tall sunflowers, you can place your scarecrow nearby to create a whimsical scene. Alternatively, if you have a rustic wooden fence, a scarecrow with a vintage look can add to the charm.
Consider the sun exposure in different areas of the garden. Scarecrows are often made using various materials that may fade or deteriorate under direct sunlight. Choose a spot that offers a balance of sun and shade to ensure the longevity of your scarecrow.
Think about the desired visual impact. Do you want your scarecrow to be a focal point in your garden or blend in subtly? If you want it to be a standout feature, place it where it can be easily seen from a distance. On the other hand, if you prefer a more subtle approach, tuck it amidst the foliage or behind a tree.
Once you have assessed your garden space and have a clear idea of where you want to place your scarecrow, it’s time to move on to the next step: choosing the right scarecrow design.
Step 2: Choosing the right scarecrow design
Choosing the right scarecrow design is a crucial step in creating a visually appealing and effective garden feature. With a multitude of options available, you can let your creativity flow and select a design that aligns with your garden’s theme and your personal style.
Consider the overall aesthetic of your garden. Is it more traditional, rustic, modern, or whimsical? This will help you determine the style of the scarecrow that will best complement your outdoor space. For a traditional garden, a classic scarecrow with straw-filled clothing and a straw hat would be a great choice. If your garden has a whimsical feel, you can opt for a scarecrow with colorful clothing and quirky accessories.
Think about the materials you want to use. Scarecrow designs can incorporate a variety of materials such as straw, fabric, wood, and recycled items. Straw is a popular choice for the body and stuffing, as it provides a traditional look and is easily accessible. You can use old clothes or fabric scraps to dress up your scarecrow, adding character and charm.
Consider the size and proportions of your scarecrow. The size should be appropriate for your garden space and not overpowering. A scarecrow that is too small may not be noticeable, while one that is too large may look out of place. Take into account the height of your plants and other features in the garden so that the scarecrow’s proportions are in harmony with its surroundings.
Take inspiration from different sources such as books, magazines, and online platforms. Look for scarecrow designs that catch your eye and resonate with your garden style. Pinterest and gardening forums can provide a wealth of ideas and inspiration. Remember to add your own unique twist to make your scarecrow design truly one-of-a-kind.
Once you have chosen the right scarecrow design, it’s time to move on to the next step: gathering the materials and tools needed for construction.
Step 3: Gathering materials and tools
Now that you have chosen the perfect scarecrow design, it’s time to gather the materials and tools needed for its construction. Having everything prepared and organized will make the process smooth and enjoyable.
Here are some of the materials and tools commonly used for building a scarecrow:
- Straw: This is the classic material for stuffing the scarecrow’s body and giving it that traditional look.
- Sturdy poles or dowels: These will serve as the framework for your scarecrow. Choose poles that are long enough to reach the desired height of your scarecrow.
- Wire or twine: These will be used to secure the scarecrow’s limbs and clothing to the framework.
- Old clothes: Look through your closet or visit a thrift store to find clothing that would fit the scarecrow’s style. This can include shirts, pants, hats, and accessories.
- Decorative items: Depending on your chosen design, you might want to add additional accessories such as ribbons, bows, fake flowers, or even small garden tools.
- Scissors: These will come in handy for cutting fabric, twine, or any other materials.
- Needle and thread: If you plan on sewing any parts of the scarecrow’s clothing or attaching decorations, a needle and thread will be useful.
- Stapler or glue gun: These tools can be used to secure fabric or other materials to the scarecrow’s framework.
Make a list of all the materials and tools you need and gather them before starting the construction process. This will save you time and prevent interruptions during the building phase. Consider repurposing items or using recycled materials to add a sustainable touch to your scarecrow design.
Once you have everything ready, it’s time to move on to the next step: building the scarecrow’s framework.
Step 4: Building the scarecrow’s framework
With the materials and tools gathered, it’s time to start building the framework of your scarecrow. The framework provides the structure and support for the scarecrow’s body and clothing. Follow these steps to create a sturdy and stable foundation:
- Start by selecting a location in your garden where you want to place the scarecrow. This will help determine the appropriate height for the framework.
- Take one of the sturdy poles or dowels and insert it into the ground at the chosen location. Push it deep enough to ensure stability. If the soil is hard, you may need to use a mallet or hammer to help with the insertion.
- If you want your scarecrow to have arms, repeat the same process with an additional pole or dowel, placing it slightly lower and on either side of the first pole. The arms should be positioned at a natural angle to give the scarecrow a realistic appearance.
- Join the upper ends of the poles or dowels together. You can use wire or twine to create a crossbeam or secure them with screws or nails for added stability.
- Next, take the wire or twine and wrap it around the framework horizontally and vertically to provide additional support. This will help prevent the poles from shifting or wobbling once the scarecrow is fully assembled.
- Once the framework is secure, it’s time to move on to the next step: dressing up your scarecrow.
Building the scarecrow’s framework is an essential step that ensures its stability and longevity. Take your time to make sure the poles are firmly inserted and the framework is secure. With the framework in place, you’re now ready to let your creativity shine by dressing up your scarecrow in the next step.
Consider adding variety to your scarecrow garden design by using different materials such as old clothes, hats, and accessories. This will create a more unique and interesting display.
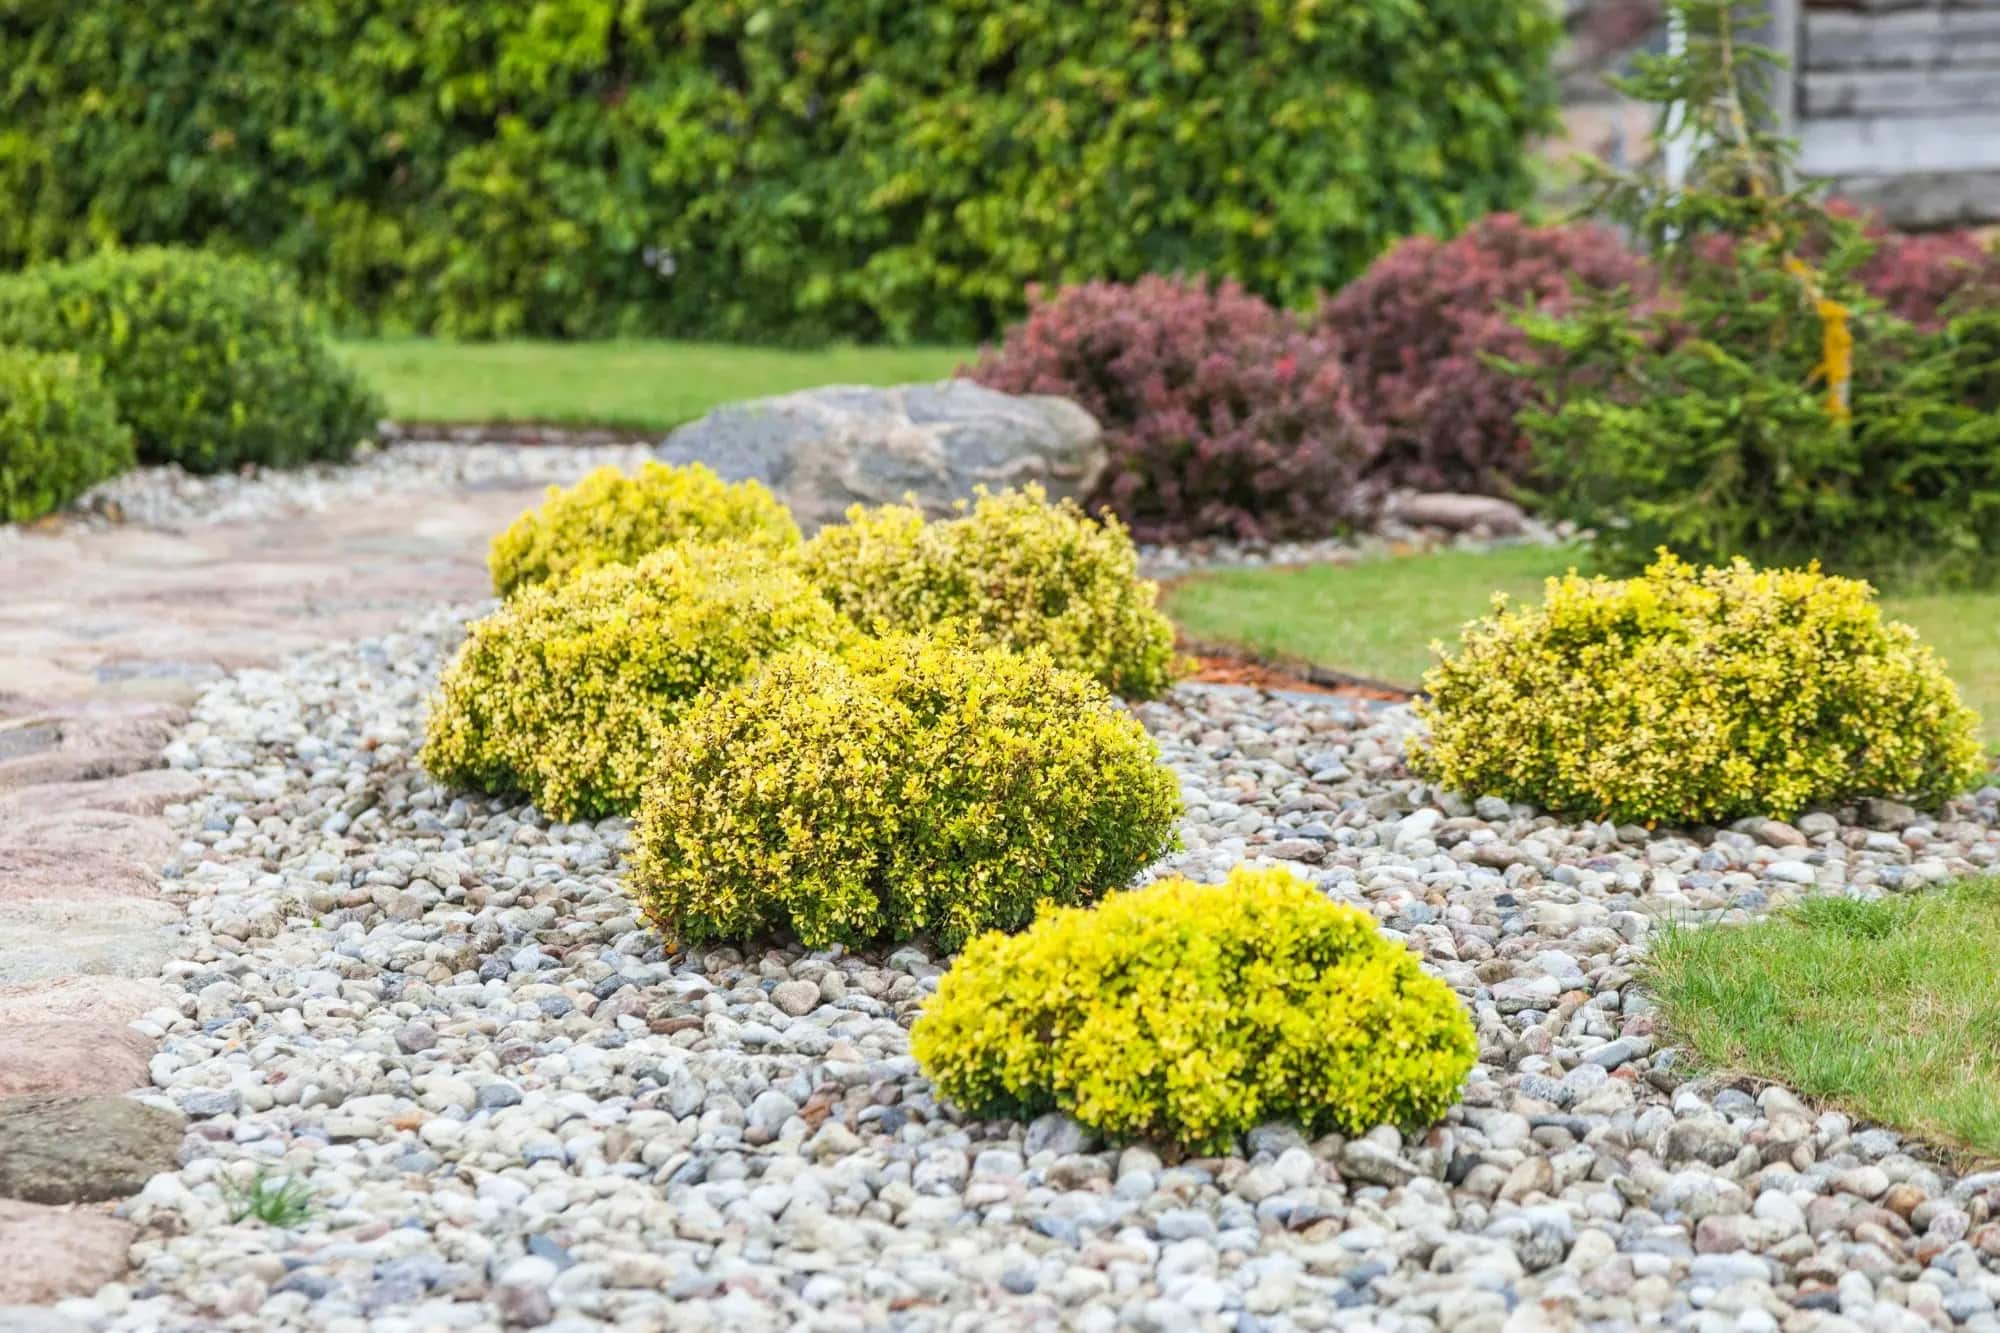
Read more: How To Design A Rock Garden
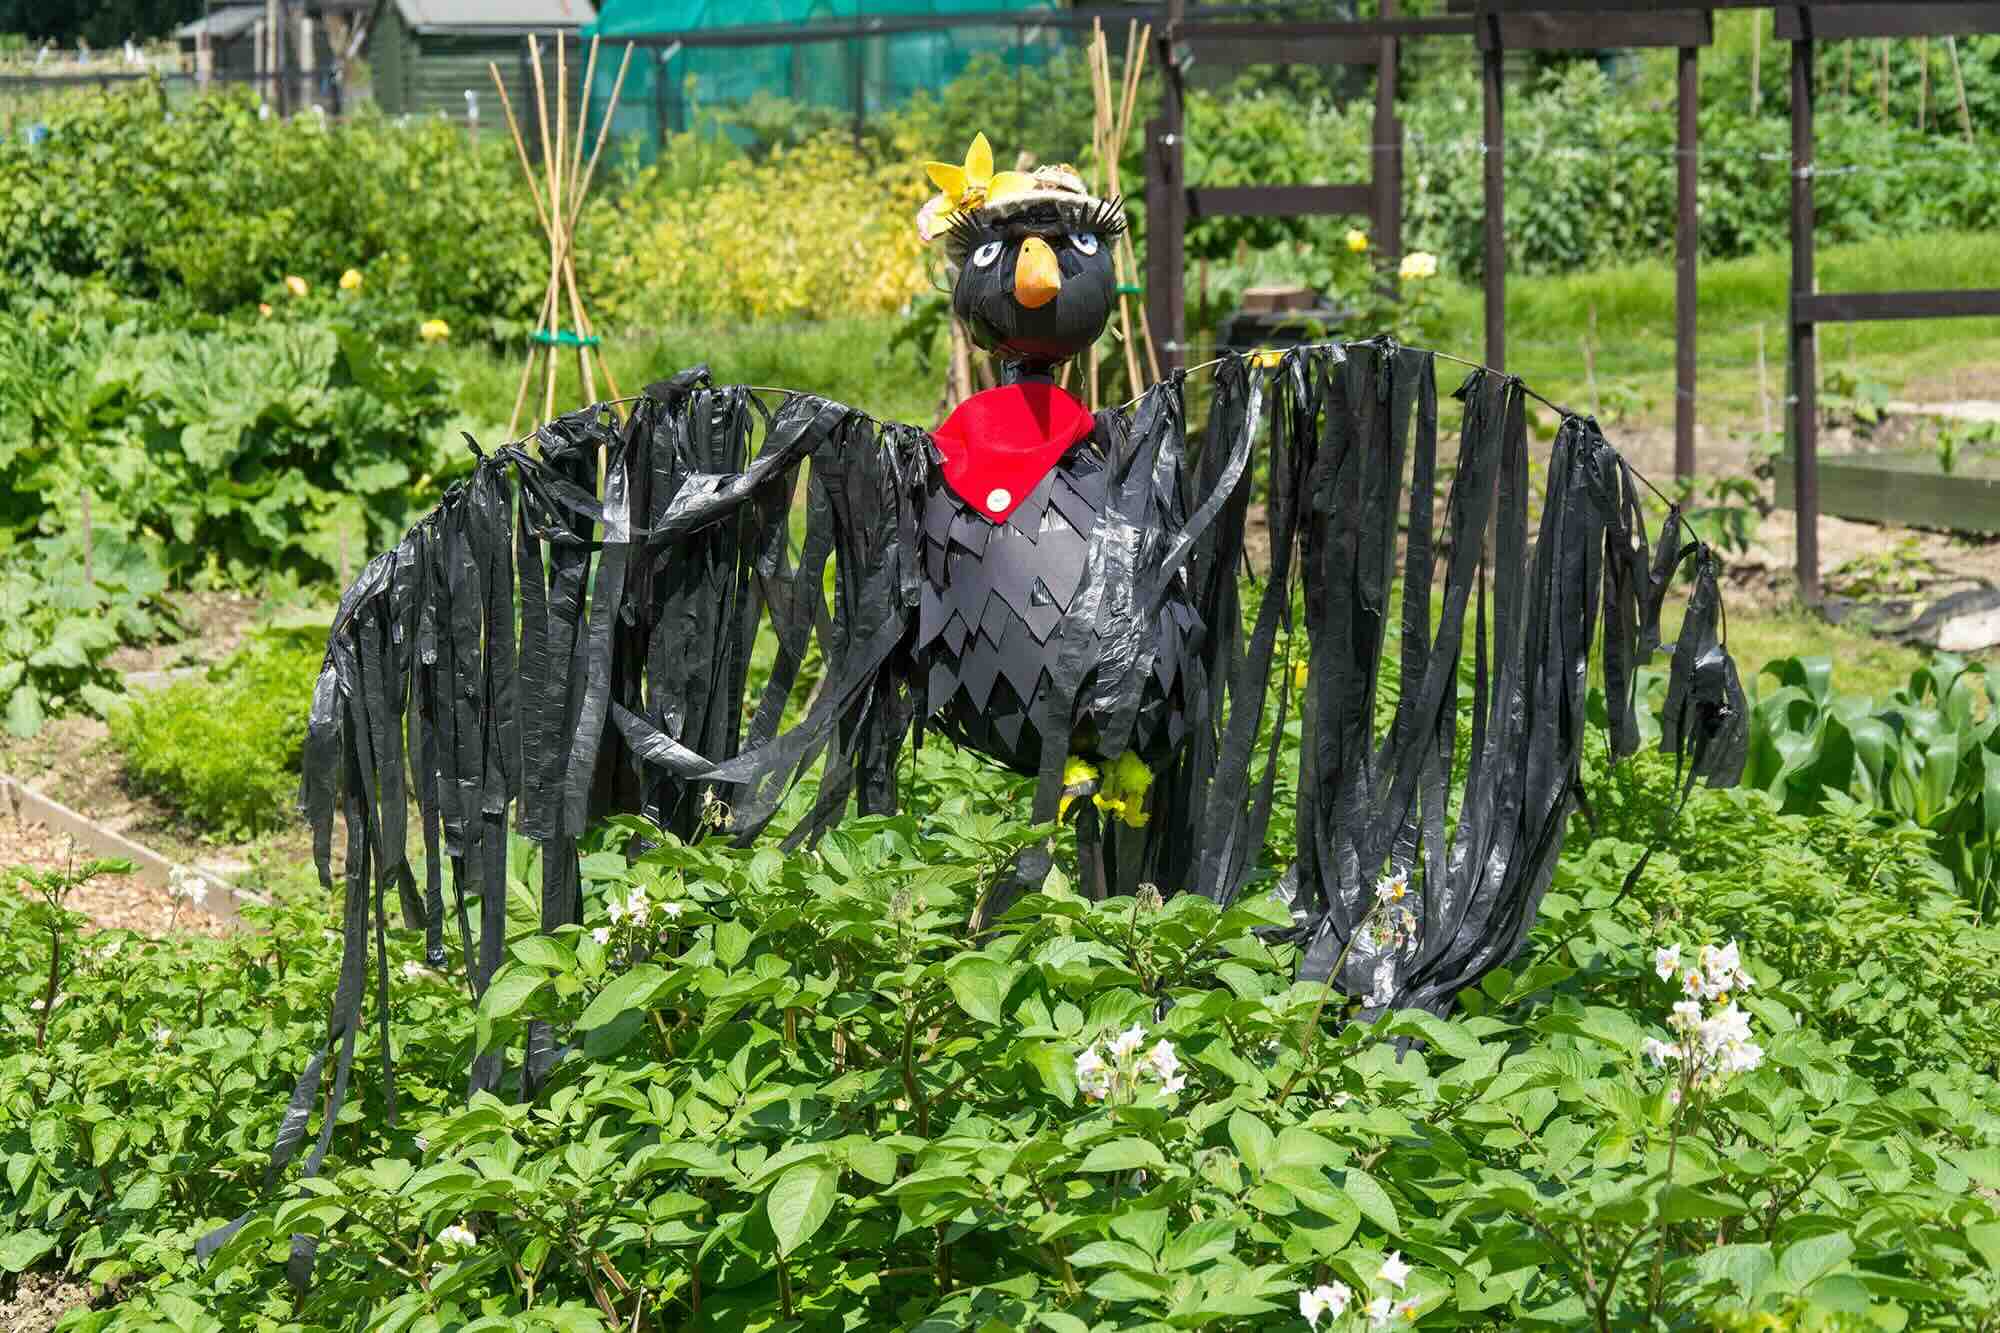
Step 5: Dressing up your scarecrow
Now comes the fun part – dressing up your scarecrow! This step allows you to infuse personality and creativity into your scarecrow design. Follow these steps to bring your scarecrow to life:
- Choose the clothing that you’ve gathered for your scarecrow. This can include old shirts, pants, overalls, or dresses. Consider the style and theme of your scarecrow and select clothing that matches.
- Place the selected clothing onto the scarecrow’s framework, starting with the pants or skirt. Slide the legs of the pants or skirt over the lower part of the framework and position them as desired.
- If your scarecrow has arms, dress them by placing the sleeves of the shirt or the arms of the dress over the poles. Adjust the positioning to create a natural and realistic appearance.
- Secure the clothing to the framework using twine, wire, or even safety pins. Make sure the clothing is securely attached to prevent it from slipping or getting blown away by the wind.
- To give your scarecrow a head, you can use a burlap sack, a pillowcase, or even a stuffed fabric bag. Place it on top of the framework and secure it with twine or wire.
- If desired, you can create a face for your scarecrow using markers, fabric paint, or even attaching button eyes and a stitched mouth. Get creative and personalize the face to bring your scarecrow to life.
- Accessorize your scarecrow! Add the finishing touches by attaching hats, scarves, ribbons, or any other decorations that match your scarecrow’s style. Be careful not to overload it with too many accessories; simplicity can often have a stronger visual impact.
As you dress up your scarecrow, step back occasionally to assess the overall appearance and make any adjustments if needed. Take advantage of the wind and movement in your garden to create a dynamic and lively scarecrow. Once you’re satisfied with the look, it’s time to move on to the next step: placing and maintaining your scarecrow in the garden.
Step 6: Placing and maintaining your scarecrow in the garden
Now that your scarecrow is dressed and ready, it’s time to find the perfect spot to place it in your garden. Follow these tips for proper placement and maintenance:
- Consider the purpose of your scarecrow. If its primary function is to deter birds from damaging your crops, place it in close proximity to the area you want to protect. Ensure that the scarecrow is visible and easily seen by birds.
- Choose a location that provides good visibility from different angles. Placing your scarecrow in an open area will not only make it more noticeable but also add a playful element to your garden’s scenery.
- Remember to take into account the wind patterns in your garden. Avoid placing your scarecrow in a location prone to strong winds, as it may cause damage or make it difficult for the scarecrow to stand upright.
- Regularly inspect your scarecrow for any signs of damage or wear. Check for loose clothing, missing accessories, or any other issues that may affect its appearance or stability.
- Make adjustments as needed. If your scarecrow begins to lean or becomes disheveled, reinforce the framework and secure any loose parts. Additionally, if exposed to rain or harsh sunlight, consider weatherproofing the scarecrow with a protective spray or coating.
- Periodically change the outfit or add seasonal accessories to keep your scarecrow fresh and interesting. This will add variety and prevent it from becoming stagnant or overlooked in your garden.
- Take advantage of the scarecrow’s presence by incorporating it into your garden’s overall design. Arrange plants and flowers around it, creating a visually appealing and cohesive scene.
Remember to have fun with your scarecrow and experiment with different placements to find the best effect. Regular maintenance and care will ensure that your scarecrow remains an attractive and functional part of your garden year after year.
As we move onto the final step, keep in mind that you can always add personal touches and decorations to make your scarecrow even more unique and special.
Step 7: Adding personal touches and decorations
In this final step, you have the opportunity to add personal touches and decorations to further enhance the charm and individuality of your scarecrow. This is where you can let your creativity run wild and make your scarecrow truly one-of-a-kind.
Here are some ideas for adding personal touches and decorations to your scarecrow:
- Attach small garden tools or props to the scarecrow’s hands, such as a mini watering can or a trowel. This adds a playful and functional element to your garden design.
- Add a hat that reflects your personality or matches the overall theme of your garden. It can be a classic straw hat, a colorful sunhat, or even a vintage cap.
- Hang ribbons, streamers, or wind chimes from the scarecrow’s arms or hat. These decorative elements will create movement and visual interest.
- Use fabric paint or markers to create intricate patterns or designs on your scarecrow’s clothing. This adds a personal touch and showcases your artistic abilities.
- Incorporate seasonal accessories to keep your scarecrow fresh and relevant throughout the year. For example, during Halloween, you can dress your scarecrow in a spooky costume or add fall leaves for an autumn-inspired look.
- Consider adding a name or a sign to your scarecrow. This gives it a sense of identity and can be an amusing conversation starter for visitors to your garden.
- If you have children or grandchildren, get them involved in the decoration process. Let them create handcrafted ornaments, paint designs, or choose accessories. This will make the scarecrow even more meaningful and memorable.
Remember to regularly inspect and maintain the decorations on your scarecrow. Extreme weather conditions, such as wind or rain, may cause the decorations to fade or become damaged. Make sure to replace or repair any worn-out or broken decorations to keep your scarecrow looking its best.
By adding personal touches and decorations, you can showcase your creativity and make your scarecrow a standout feature in your garden. Let your imagination guide you and have fun with the process!
As you complete this final step, you have successfully created and personalized your scarecrow garden design. Take a moment to step back and admire your work. Your scarecrow will not only protect your garden but also bring joy to all who see it.
Now, it’s time to sit back, relax, and enjoy the beauty of your garden, complete with your unique and captivating scarecrow.
Happy gardening!
Conclusion
Creating another scarecrow garden design is a delightful and rewarding project that allows you to showcase your creativity while adding a unique and charming touch to your outdoor space. By following the steps outlined in this article – assessing your garden space, choosing the right scarecrow design, gathering materials and tools, building the scarecrow’s framework, dressing it up, placing and maintaining it in the garden, and adding personal touches and decorations – you have embarked on a journey that brings both practicality and whimsy to your garden.
A scarecrow not only serves as a functional element, deterring birds and protecting your crops, but it also acts as a focal point, enhancing the visual appeal of your garden. The carefully selected design and personalized touch of your scarecrow reflect your unique style and personality, making your garden a reflection of yourself. It becomes a conversation starter and a source of joy for visitors and passersby.
Throughout the process, you have considered the size and layout of your garden, chosen materials that align with your vision, built a sturdy framework, and dressed up your scarecrow with care and creativity. By placing it in the perfect spot, regularly maintaining it, and adding personal touches and decorations, your scarecrow becomes a beloved addition to your garden scenery.
As you continue to enjoy your garden and cultivate its beauty, remember that your scarecrow will evolve with the seasons. It can be easily updated with different outfits and accessories to match the changing landscape and festive occasions. Let your imagination guide you as you infuse new life and character into your scarecrow.
Keep in mind that gardening is not just about cultivating plants; it’s about creating an environment that reflects your passion and personal style. Your scarecrow adds a touch of whimsy and fun to your garden, reminding you to embrace nature’s beauty and enjoy the simple pleasures it offers.
So, take pride in your scarecrow garden design and the artistry it brings to your outdoor oasis. Sit back, relax, and relish the sight of your handmade creation, as it stands tall and proud among your flourishing plants. Let it be a testament to your love for gardening, creativity, and the wonders of nature.
Happy gardening!
Frequently Asked Questions about How To Get Another Scarecrow Garden Design
Was this page helpful?
At Storables.com, we guarantee accurate and reliable information. Our content, validated by Expert Board Contributors, is crafted following stringent Editorial Policies. We're committed to providing you with well-researched, expert-backed insights for all your informational needs.


0 thoughts on “How To Get Another Scarecrow Garden Design”