Articles
How To Make A Scarecrow For The Garden
Modified: August 28, 2024
Learn how to make a scarecrow for your gardening needs with this step-by-step guide. Enhance your garden and keep pests away efficiently.
(Many of the links in this article redirect to a specific reviewed product. Your purchase of these products through affiliate links helps to generate commission for Storables.com, at no extra cost. Learn more)
Introduction
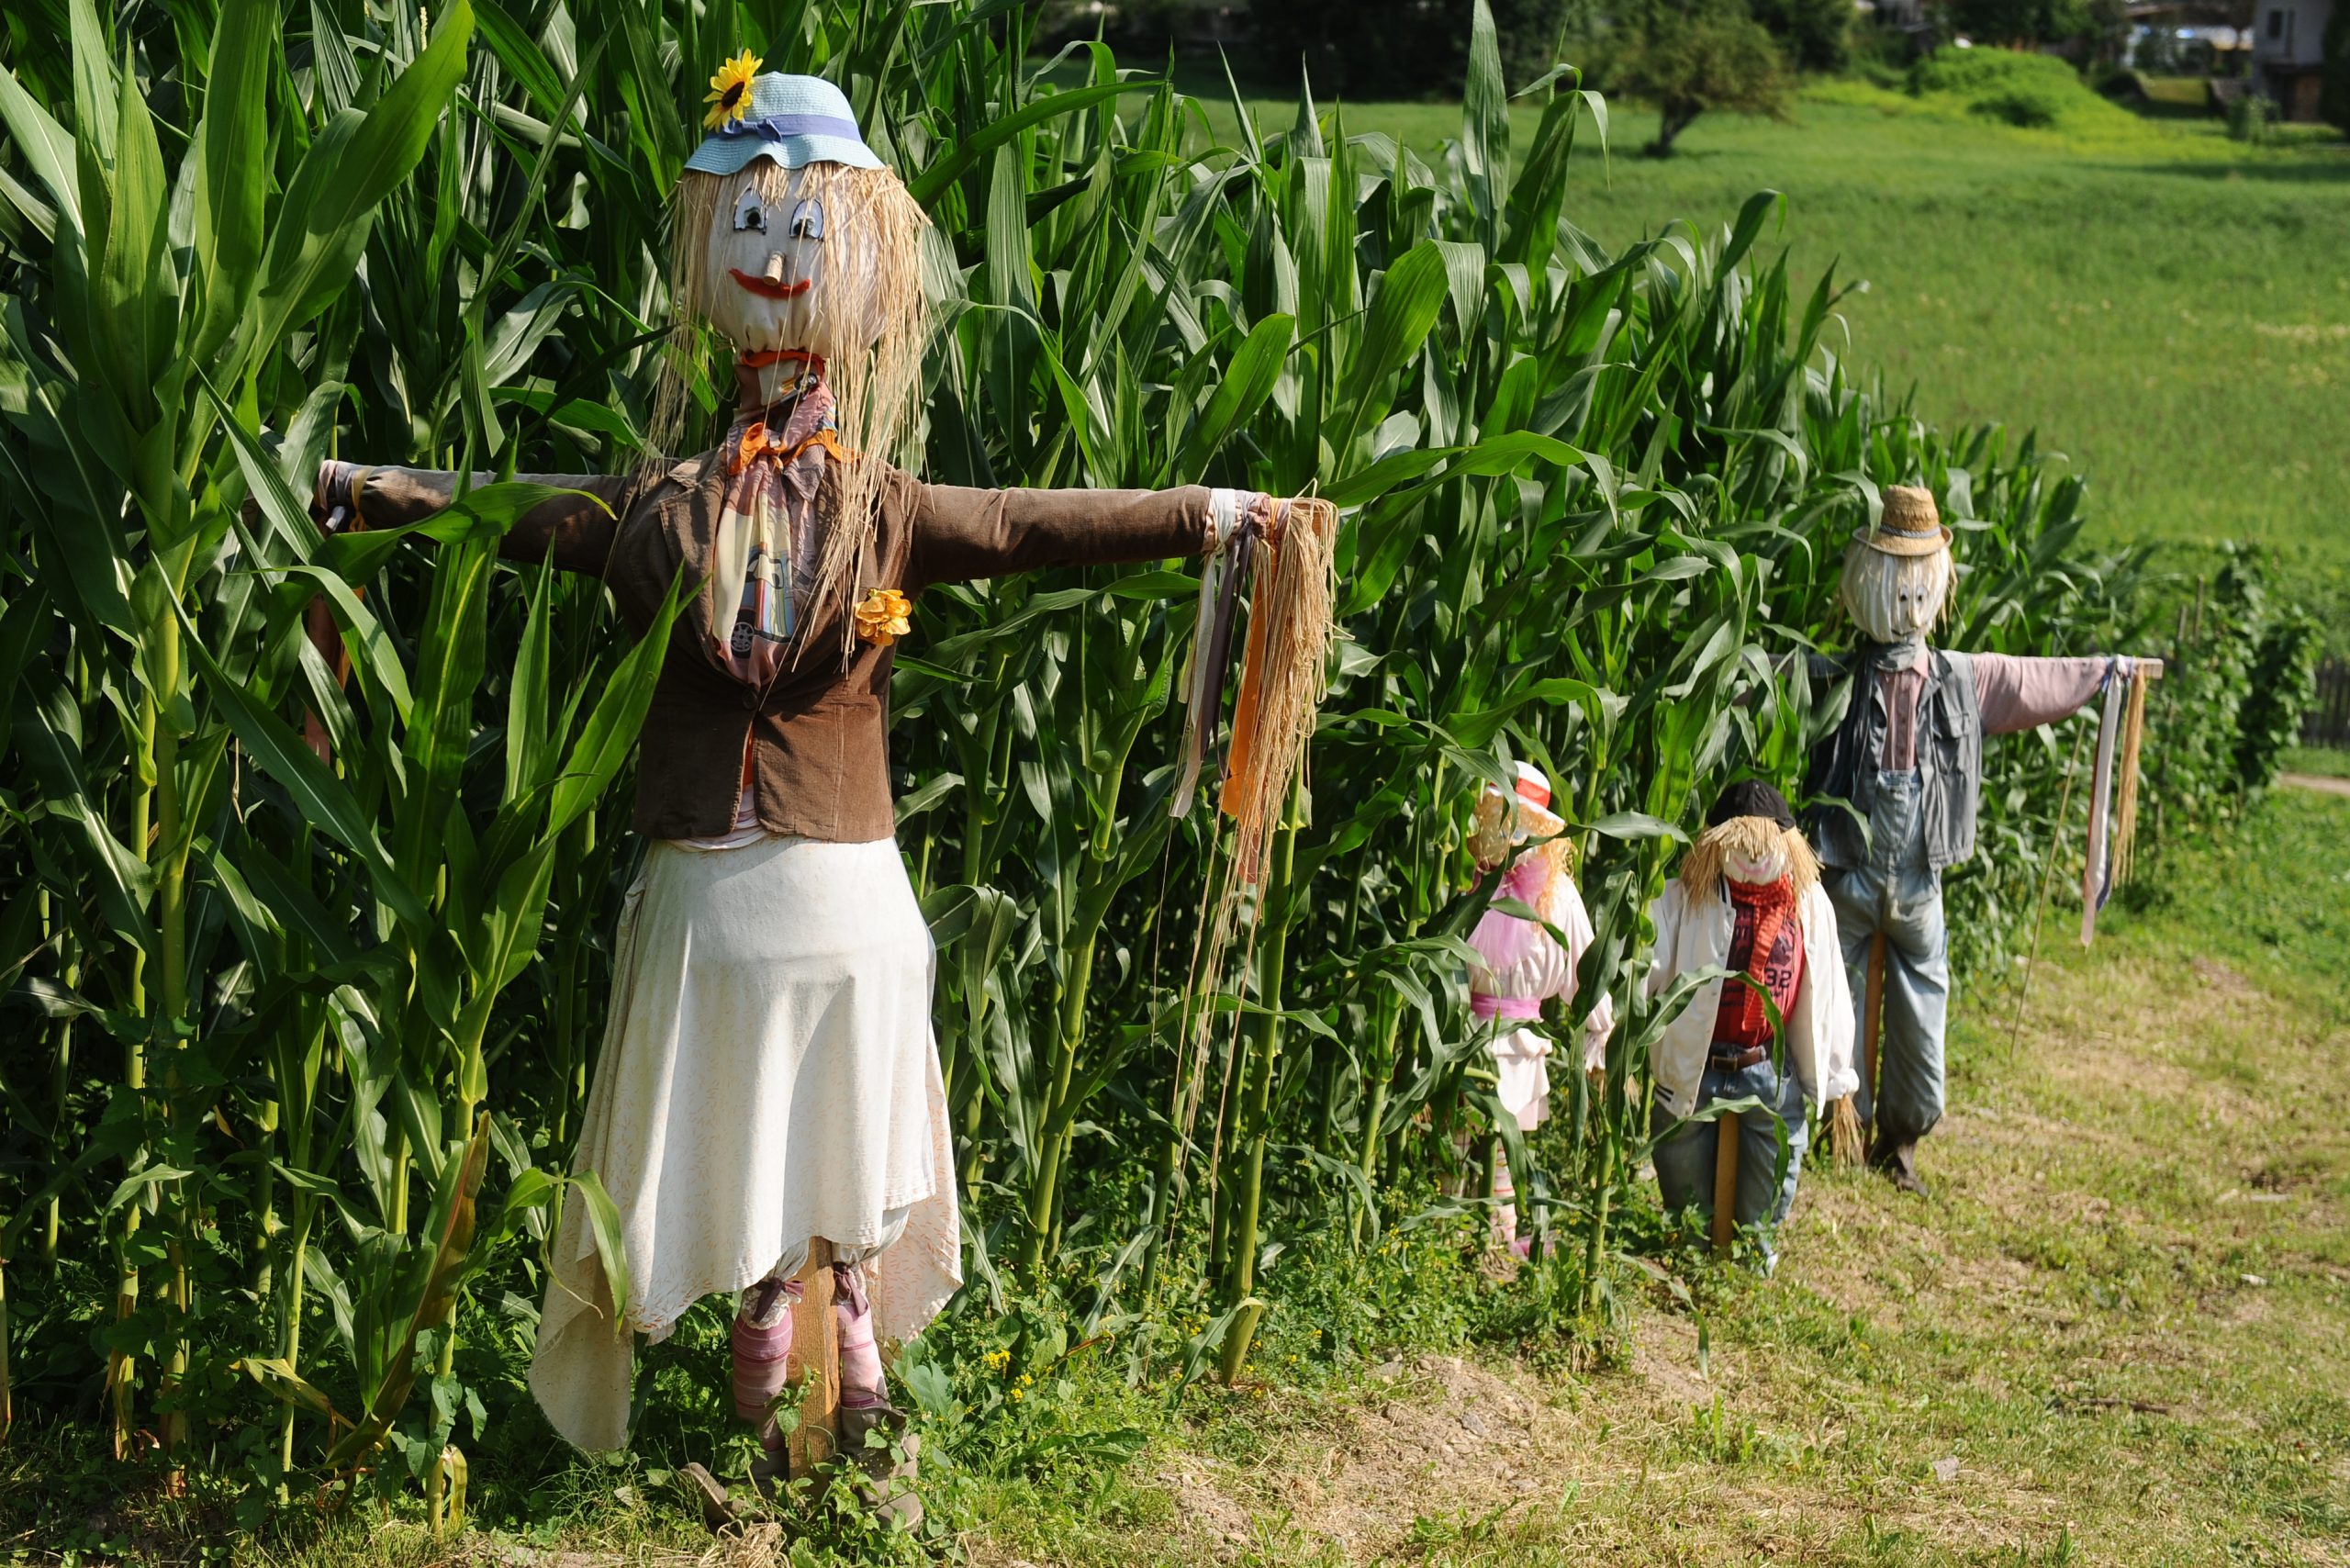
Gardens are a sanctuary, a place where we can escape from the hustle and bustle of daily life and connect with nature. However, pesky birds and critters can sometimes wreak havoc on our beloved plants. That’s where a scarecrow comes in handy. Not only does it serve as a decorative addition to your garden, but it also helps keep unwanted visitors at bay.
In this article, we will guide you through the process of making a scarecrow for your garden. We will discuss the materials you will need, the steps to follow, and how to maintain your scarecrow once it’s in place. So, roll up your sleeves, grab your tools, and let’s get started!
Key Takeaways:
- Protect your garden from pests and add charm with a DIY scarecrow using simple materials like wooden stakes, old clothes, and hay. Personalize it with accessories and maintain its effectiveness seasonally.
- Embrace creativity and maintenance to keep your scarecrow effective and visually appealing. Rotate its position, add seasonal clothing, and have fun with accessories to reflect your garden’s personality.
Read more: How To Make A Raised Garden
Materials Needed
Before you begin creating your scarecrow, it’s important to gather all the necessary materials. Here’s a list of what you’ll need:
- Wooden stakes: These will serve as the frame for your scarecrow.
- Old clothes: Look for old shirts, pants, hats, and scarves that you no longer wear.
- Hay or straw: This will be used to stuff the scarecrow and give it a full, lifelike appearance.
- Twine or zip ties: These will help secure the scarecrow’s limbs and clothing.
- Scissors: You’ll need these to cut the twine and trim any excess material.
- Nails or screws: These will be used to attach the scarecrow to the wooden stakes.
- Markers or paint: This will allow you to add facial features and other details to your scarecrow.
- Accessories: Get creative with items like hats, gloves, and even old gardening tools to personalize your scarecrow.
Once you’ve gathered all the necessary materials, you’ll be ready to move on to the next step: choosing the ideal location for your scarecrow.
Step 1: Choosing the Ideal Location
Now that you have all your materials ready, it’s time to choose the perfect spot for your scarecrow in your garden. Here are a few factors to consider when deciding on the ideal location:
- Visibility: You want your scarecrow to be easily visible to birds and other critters. Place it in an open area where it can be seen from various angles.
- Access: Ensure that your scarecrow is easily accessible for maintenance and adjustments. You may need to move or repair it from time to time, so make sure it’s not obstructed by plants or other objects.
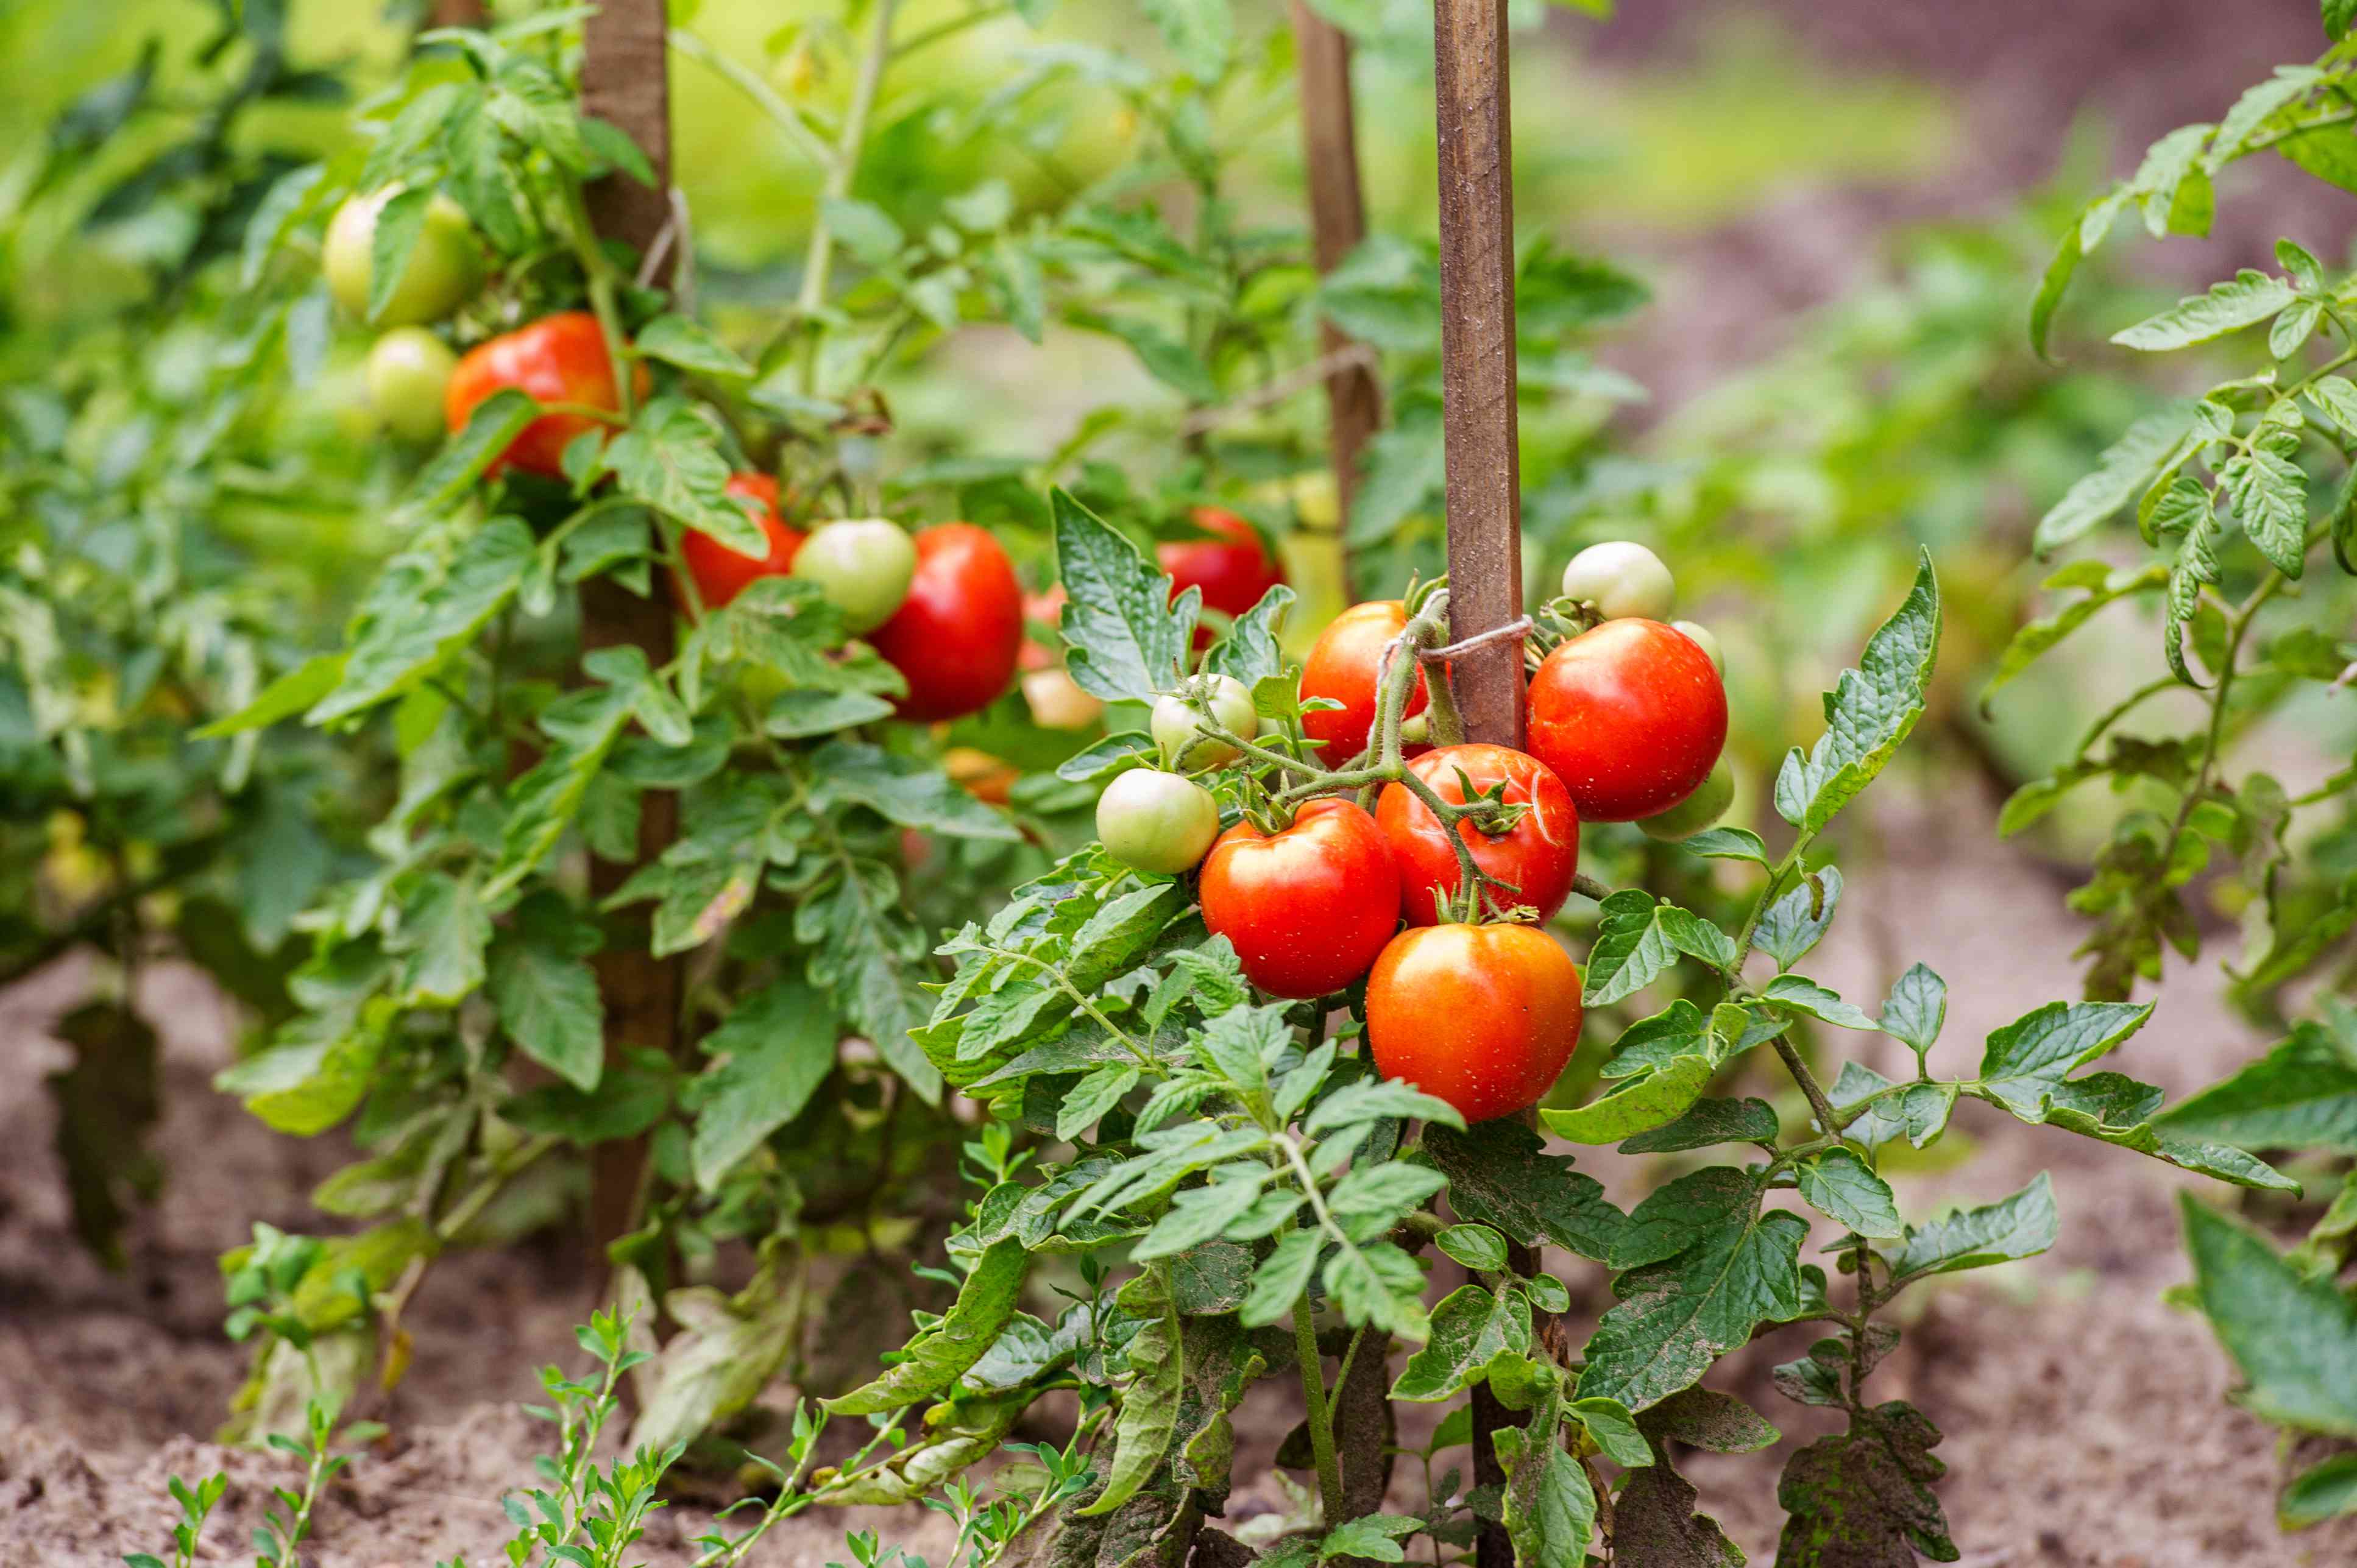
- Protection: Position your scarecrow near the plants or areas that you want to protect. For example, if you’re growing vegetables, place the scarecrow in the middle of the vegetable patch to deter hungry birds.
- Height: Consider the height of the surrounding vegetation. If your garden has tall plants, you may need to elevate your scarecrow by placing it on a raised platform or attaching it to a taller stake.
- Aesthetics: Think about how the scarecrow will enhance the overall look of your garden. Choose a location where it can be a focal point or blend in naturally with the surroundings.
Once you’ve considered these factors, mark the chosen spot in your garden and proceed to the next step: gathering the necessary materials.
Step 2: Gathering the Necessary Materials
With the ideal location selected, it’s time to gather all the materials you’ll need to create your scarecrow. Here’s a step-by-step guide on what to do:
- Wooden stakes: Begin by cutting the wooden stakes to the desired height for your scarecrow. The stakes should be long enough to anchor the scarecrow securely into the ground.
- Old clothes: Now, search your closets or local thrift stores for old clothes that will give your scarecrow a unique personality. Look for clothing items like oversized shirts, pants, hats, or dresses.
- Hay or straw: Collect a sufficient amount of hay or straw to stuff your scarecrow. This will give it a full and lifelike appearance. You can find hay or straw at garden centers, farms, or even pet stores.
- Twine or zip ties: Secure the limbs of your scarecrow to the wooden stakes using twine or zip ties. This will help keep the scarecrow stable and prevent it from falling apart.
- Scissors: Have a pair of scissors handy to trim any excess material and cut twine to the desired lengths.
- Nails or screws: If necessary, use nails or screws to attach the scarecrow to the wooden stakes. This will ensure that it stays in place, even during windy conditions.
- Markers or paint: Lastly, gather markers or paint to add facial features and other details to your scarecrow. Don’t be afraid to get creative and make your scarecrow truly unique.
Now that you have all the necessary materials, you’re ready to move on to the next step: assembling the skeleton of your scarecrow.
Step 3: Assembling the Skeleton
Now that you have gathered all the necessary materials, it’s time to assemble the skeleton of your scarecrow. Follow these steps:
- Take the wooden stakes that you cut in the previous step and position them in a cross shape, with the longer piece serving as the body and the shorter piece as the arms.
- Secure the stakes together at the center by tying them tightly with twine or zip ties. This will create the basic frame of your scarecrow.
- Extend the arms of the scarecrow by attaching additional wooden stakes or branches to the shorter stakes. Secure them with twine or zip ties.
- Ensure that the skeleton is stable and upright. Adjust the lengths of the stakes as needed to achieve the desired height and proportions.
Once you’ve assembled the skeleton, it’s time to move on to the next step: creating the head of your scarecrow.
When making a scarecrow for your garden, use old clothes and stuff them with straw or newspaper for a traditional look. Make sure to secure the scarecrow firmly in the ground to prevent it from blowing away.
Read more: How To Make Garden Gate
Step 4: Creating the Head
Now that you have the skeleton of your scarecrow assembled, it’s time to give it a head. Here’s how you can create the head:
- Find a burlap sack or an old pillowcase that you can use as the base for the head. Make sure it’s large enough to fit over the top of the wooden stake.
- Stuff the burlap sack or pillowcase with hay or straw to create the shape of the head. Add enough stuffing to make it firm but not too tight.
- Once you’re satisfied with the shape, tie or secure the opening of the burlap sack or pillowcase to keep the stuffing in place. You can use twine or zip ties for this.
- Position the head on top of the wooden stake, making sure it sits securely and is centered on the body.
- Use twine or zip ties to tightly fasten the head to the top of the stake. Make sure it’s stable and won’t wobble or fall off.
- Now that the head is in place, it’s time to move on to the next step: adding clothing and accessories to your scarecrow.
By creating a unique and expressive head for your scarecrow, you’ll add personality and charm to your garden.
Step 5: Adding Clothing and Accessories
Now that your scarecrow has a head, it’s time to dress it up and add some character. Here’s how you can add clothing and accessories to your scarecrow:
- Select the old clothes you gathered earlier and dress your scarecrow in them. You can use an oversized shirt for the torso, pants or a skirt for the lower body, and accessories like hats or scarves to add personality.
- For a more realistic look, stuff the clothing with hay or straw to give your scarecrow a more filled-out appearance.
- Secure the clothing to the scarecrow’s body using twine or zip ties. Make sure everything is tightly fastened to prevent it from blowing away in the wind.
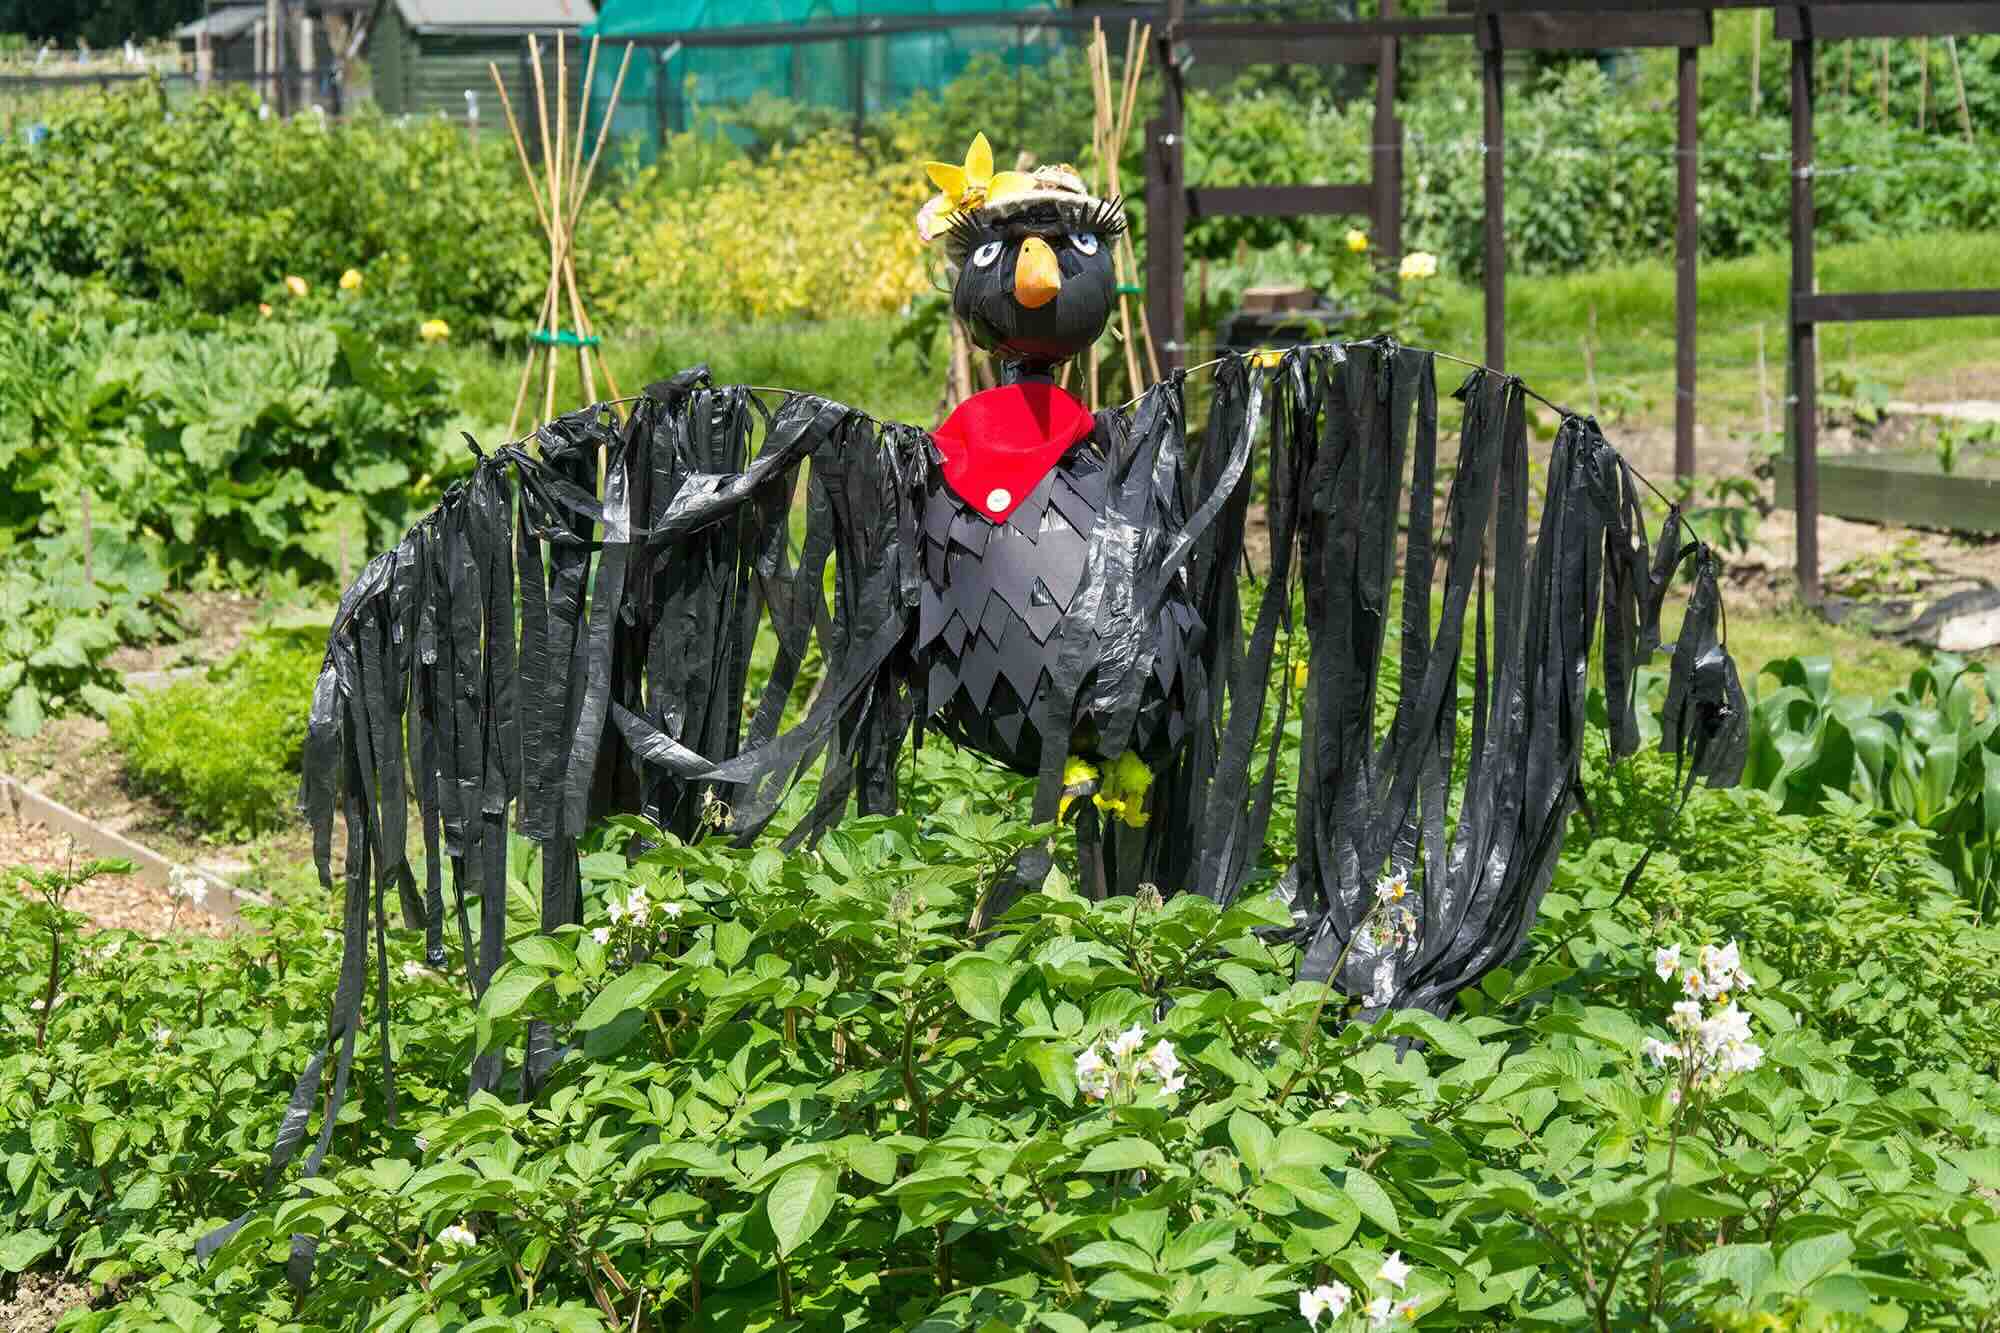
- Get creative with accessories! Add gloves, boots, or even a pair of sunglasses to give your scarecrow a unique style.
- Consider adding special touches like a birdhouse or a basket of fake flowers to your scarecrow’s hands, further enhancing its charm and functionality.
- Don’t forget to add facial features to your scarecrow’s head. Use markers or paint to draw eyes, a nose, and a mouth. This will bring your scarecrow to life!
Once your scarecrow is fully dressed and accessorized, it’s time to move on to the next step: securing it in your garden.
Keep in mind that the clothing and accessories you choose for your scarecrow can be changed seasonally or as per your personal preference. Have fun experimenting and updating your scarecrow’s attire to match the changing seasons.
Step 6: Securing the Scarecrow in the Garden
Now that your scarecrow is fully dressed and ready to protect your garden, it’s time to secure it in place. Follow these steps to ensure your scarecrow stays put:
- Position the scarecrow in the chosen location in your garden, making sure it is centered and aligned with the surrounding plants or areas you want to protect.
- Drive the wooden stakes into the ground firmly, ensuring that they are stable and provide enough support for the scarecrow.
- If necessary, use additional stakes or anchors to reinforce the stability of the scarecrow. You can bury them in the ground or attach them to the existing stakes with twine or zip ties.
- Check the scarecrow from different angles to ensure it is standing straight and doesn’t lean to one side. Adjust the stakes or add more support if needed.
- Make sure there is enough clearance around the scarecrow to prevent any obstacles or plants from obstructing its movements or visibility.
- Double-check that all clothing, accessories, and the head are securely attached to the scarecrow. Tighten any loose twine or zip ties to prevent them from coming undone.
- Take into account the weather conditions in your area. If you anticipate strong winds or storms, consider adding extra support or temporarily moving the scarecrow indoors to protect it.
By properly securing your scarecrow, you can ensure its longevity and effectiveness in keeping unwanted visitors away from your garden.
Step 7: Maintaining the Scarecrow
Once your scarecrow is in place, it’s important to maintain it to ensure its effectiveness and longevity. Here are some tips for maintaining your scarecrow:
- Regularly inspect your scarecrow for any signs of damage or wear. Look for loose clothing, faded paint, or damage caused by weather conditions or pests.
- Repair any damages promptly. Replace loose or torn clothing, tighten loose twine or zip ties, and touch up any faded paint.
- Consider changing the scarecrow’s clothing and accessories seasonally. This can add variety to your garden and keep the scarecrow looking fresh and interesting.
- Keep the area around the scarecrow clean and free from debris. Remove any leaves, grass clippings, or other materials that may collect around the scarecrow and detract from its appearance.
- Inspect the stake foundations regularly to ensure they remain securely anchored in the ground. Replace or reinforce stakes as needed.
- Adjust the scarecrow’s position occasionally. Rotating its position or relocating it within the garden can help maintain its effectiveness in deterring pests.
- Consider adding additional deterrents, such as reflective tape or wind chimes, to enhance the scarecrow’s effectiveness in keeping birds and pests away.
- Lastly, have fun with your scarecrow! Use your creativity to personalize it and make it a whimsical and enjoyable addition to your garden.
Remember, maintaining your scarecrow will help it remain effective in protecting your garden and keep it looking welcoming and attractive.
With these steps and tips in mind, you now have all the necessary knowledge to create and maintain a scarecrow for your garden. Enjoy the process and watch your scarecrow deter unwanted visitors while adding charm to your outdoor space!
Read more: How To Make A Garden Trellis
Conclusion
Congratulations! You have successfully learned how to make a scarecrow for your garden. By following the steps outlined in this article, you have created a charming and effective method to deter birds and pests while adding a unique touch to your outdoor space. As you maintain your scarecrow and personalize it with seasonal clothing and accessories, you will continue to enjoy the benefits it brings to your garden.
Remember, a scarecrow not only serves a practical purpose but also adds visual interest and character to your garden. It can become a conversation starter among friends and neighbors, and a source of joy for you and your family members.
Continue to monitor your scarecrow for any maintenance needs, make adjustments as necessary, and explore different ways to enhance its effectiveness. Additionally, don’t be afraid to get creative and experiment with different clothing and accessories to give your scarecrow a unique personality that reflects your personal style and garden theme.
With your scarecrow proudly standing tall, your garden will be safeguarded from pesky birds and critters, allowing your plants to thrive and flourish. Take advantage of this opportunity to connect with nature, enjoy the beauty of your garden, and appreciate the respite it provides from the demands of everyday life.
Now, it’s time to admire the handiwork you’ve accomplished and revel in the playful and protective presence of your scarecrow. Happy gardening!
Now that you've mastered building a scarecrow, why not enhance your garden's charm and functionality even further? For those inspired to redefine their outdoor spaces, plenty of garden fence ideas are waiting to be discovered. If unwanted guests are more of a concern, expert tips on effective pest control can help safeguard your home from pantry moths. And for hands-on enthusiasts, engaging in outdoor projects can transform any backyard into a personal oasis.
Frequently Asked Questions about How To Make A Scarecrow For The Garden
Was this page helpful?
At Storables.com, we guarantee accurate and reliable information. Our content, validated by Expert Board Contributors, is crafted following stringent Editorial Policies. We're committed to providing you with well-researched, expert-backed insights for all your informational needs.

0 thoughts on “How To Make A Scarecrow For The Garden”