Home>Garden Essentials>How To Preserve Greenery After Cutting

Garden Essentials
How To Preserve Greenery After Cutting
Modified: October 19, 2024
Learn how to preserve the lushness of your garden even after cutting with our expert tips and techniques. Keep your greenery vibrant and fresh for longer!
(Many of the links in this article redirect to a specific reviewed product. Your purchase of these products through affiliate links helps to generate commission for Storables.com, at no extra cost. Learn more)
Introduction
Welcome to the world of gardening and greenery preservation! If you’ve recently pruned or trimmed your plants and want to preserve their beauty, this article is here to guide you through the process. Preserving greenery after cutting is a wonderful way to extend the life of your plants and enjoy their vibrant colors, textures, and scents for a longer period.
Whether you plan to use preserved greenery for crafts, floral arrangements, or simply as decorative elements, the techniques you’ll learn here will help you achieve stunning and long-lasting results.
Before we dive into the preservation process, let’s talk about the essential tools and materials you’ll need. These items will ensure that you have everything necessary to successfully preserve your greenery.
Here are the tools and materials you should gather:
- Pruning shears or scissors
- A clean and sharp knife
- Waterproof gloves
- Twine or floral wire
- Preserving solution or materials
- A dedicated drying area
Now that you have your tools and materials ready, let’s move on to the step-by-step process of preserving greenery after cutting.
Key Takeaways:
- Preserve greenery by using sharp tools, targeting growth nodes, and removing dead material. Proper cutting techniques promote plant vitality and longevity.
- Choose the right preservation method, such as air drying or glycerin preservation, to maintain the beauty of different types of greenery. Drying and storing them properly ensures long-lasting beauty.
Read more: How To Preserve Greenery With Glycerin
Tools and Materials
To successfully preserve greenery after cutting, it’s important to have the right tools and materials at your disposal. Here’s a breakdown of what you’ll need:
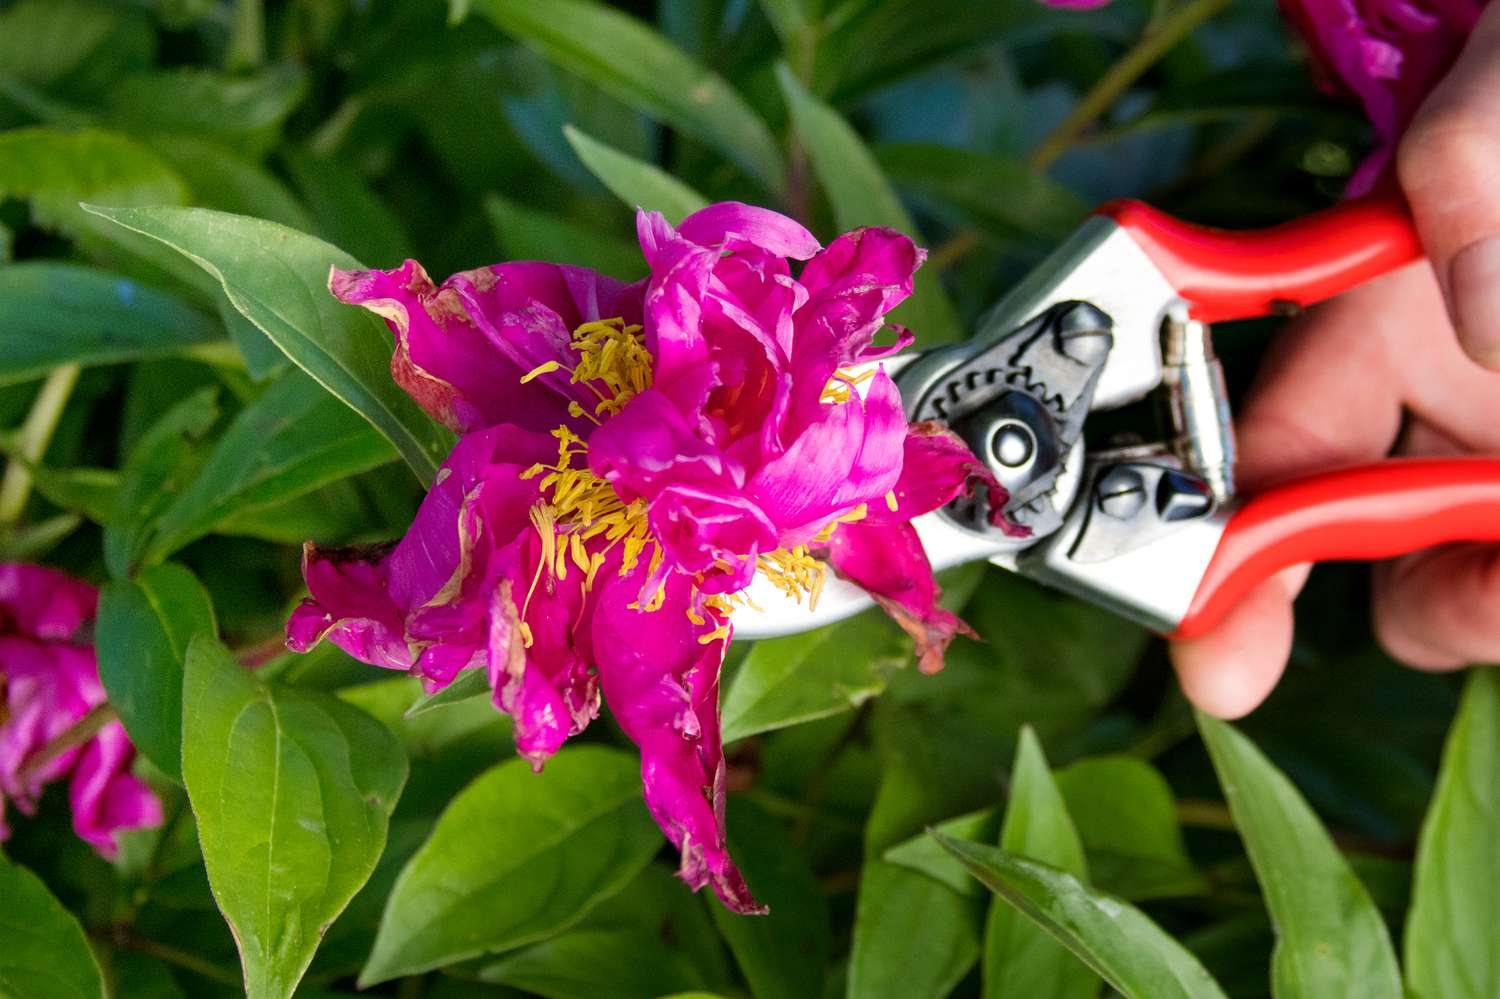
- Pruning shears or scissors: These are essential for cutting and trimming the greenery. Make sure they are sharp and clean to avoid damaging the plants.
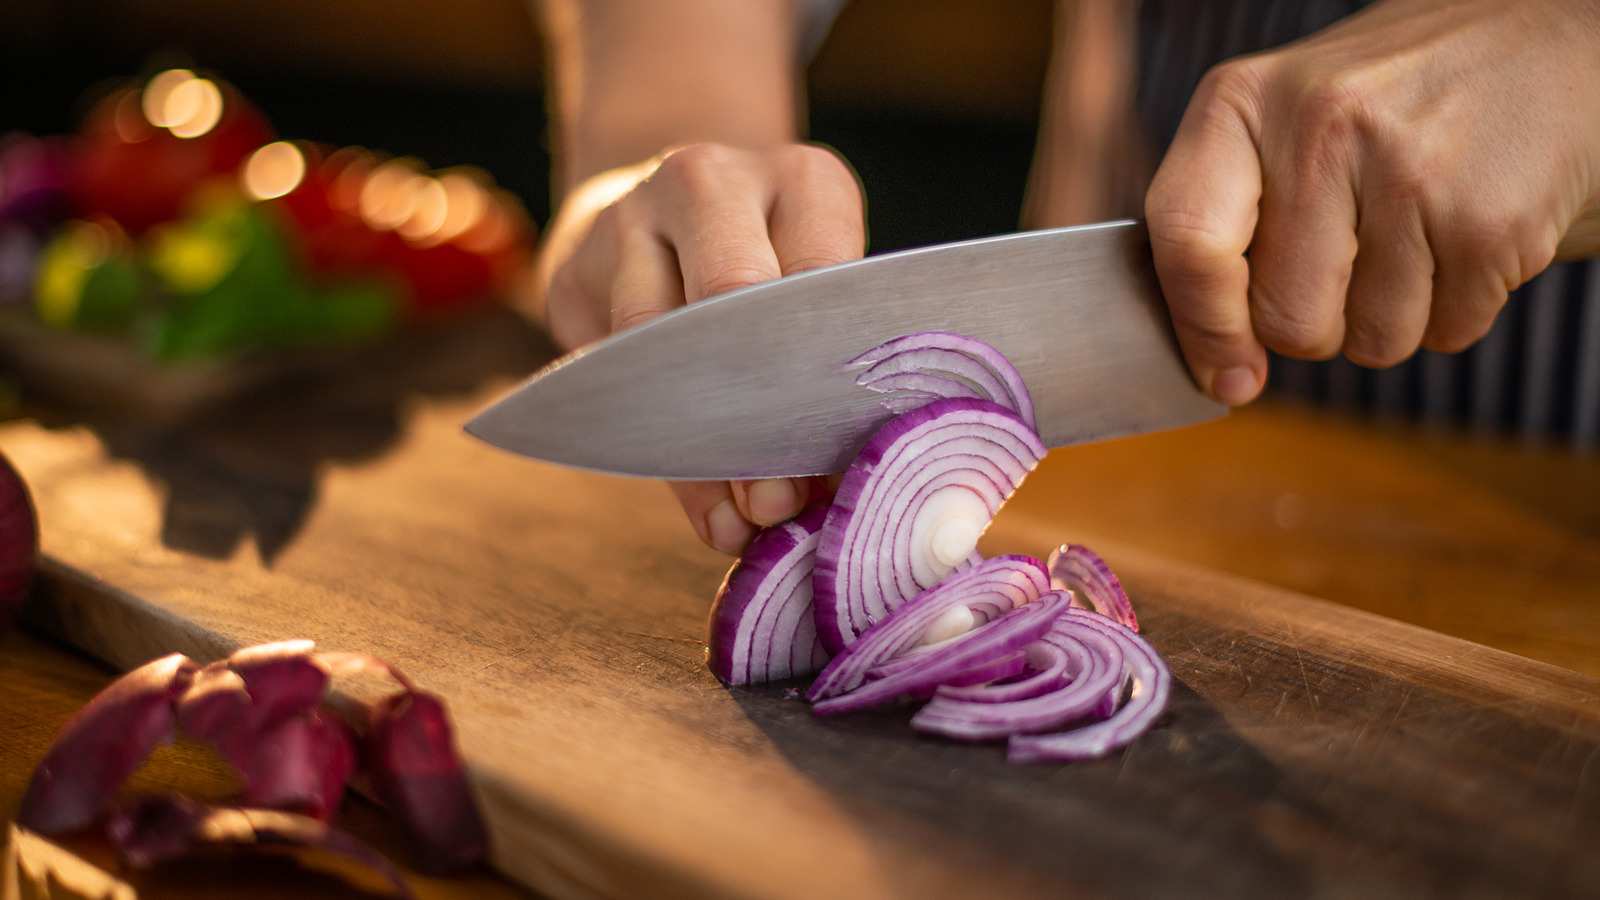
- A clean and sharp knife: This tool will come in handy for more precise cuts, especially when dealing with thicker stems or branches.
- Waterproof gloves: Protect your hands from any potential irritations or reactions caused by plant sap or preserving solutions.
- Twine or floral wire: These will be useful for bundling and securing the greenery together, especially if you plan on hanging them to dry.
- Preserving solution or materials: Depending on your preferred preservation method, you may need a solution such as glycerin or silica gel, or materials like craft sealant or spray. These substances will help maintain the color and texture of the greenery.
- A dedicated drying area: Find a well-ventilated spot where you can hang or lay the greenery to dry. Make sure it’s away from direct sunlight and any heat sources.
Having these tools and materials readily available will streamline the preservation process and ensure you achieve the best results. Now that you’re equipped, let’s move on to the step-by-step guide on how to properly preserve greenery after cutting.
Step 1: Proper Cutting Techniques
Before you start preserving your greenery, it’s crucial to master the art of proper cutting techniques. This ensures that you create clean and healthy cuts, promoting the overall vitality and longevity of your plants.
Here are a few tips to keep in mind:
- Use sharp and clean tools: Make sure your pruning shears, scissors, or knife are sharp and clean. Dull blades can crush the stems, leading to damage and potential diseases. Clean tools help prevent the spread of any bacteria or fungi.
- Target the right spots: Identify the growth nodes, which are the areas where new growth emerges. Make your cuts just above these nodes to encourage new growth and maintain the plant’s natural shape.
- Make clean and angled cuts: Use a smooth cutting motion to create clean cuts without any jagged edges. It’s advisable to make angled cuts, which prevent water accumulation and potential rot on the cut surface.
- Remove any dead or diseased material: Before cutting, inspect the greenery for any dead or diseased leaves, branches, or stems. Removing these will protect the overall health of the plant and prevent the spread of any infections.
Remember, precision and care during the cutting process are essential for successful preservation. By following these techniques, you’ll not only maintain the plant’s health, but also ensure that the preserved greenery looks its best.
Now that you’ve mastered the proper cutting techniques, let’s move on to the next step: preparing the greenery for preservation.
Step 2: Preparing the Greenery for Preservation
Once you’ve cut the greenery, it’s time to prepare it for preservation. This step involves removing excess foliage, cleaning the stems, and hydrating the plants to optimize their ability to absorb preserving materials.
Here’s a step-by-step guide to preparing your greenery:
- Remove excess foliage: Trim away any excess leaves or branches from the stems. This helps the plant focus its energy on the preservation process instead of supporting unnecessary foliage.
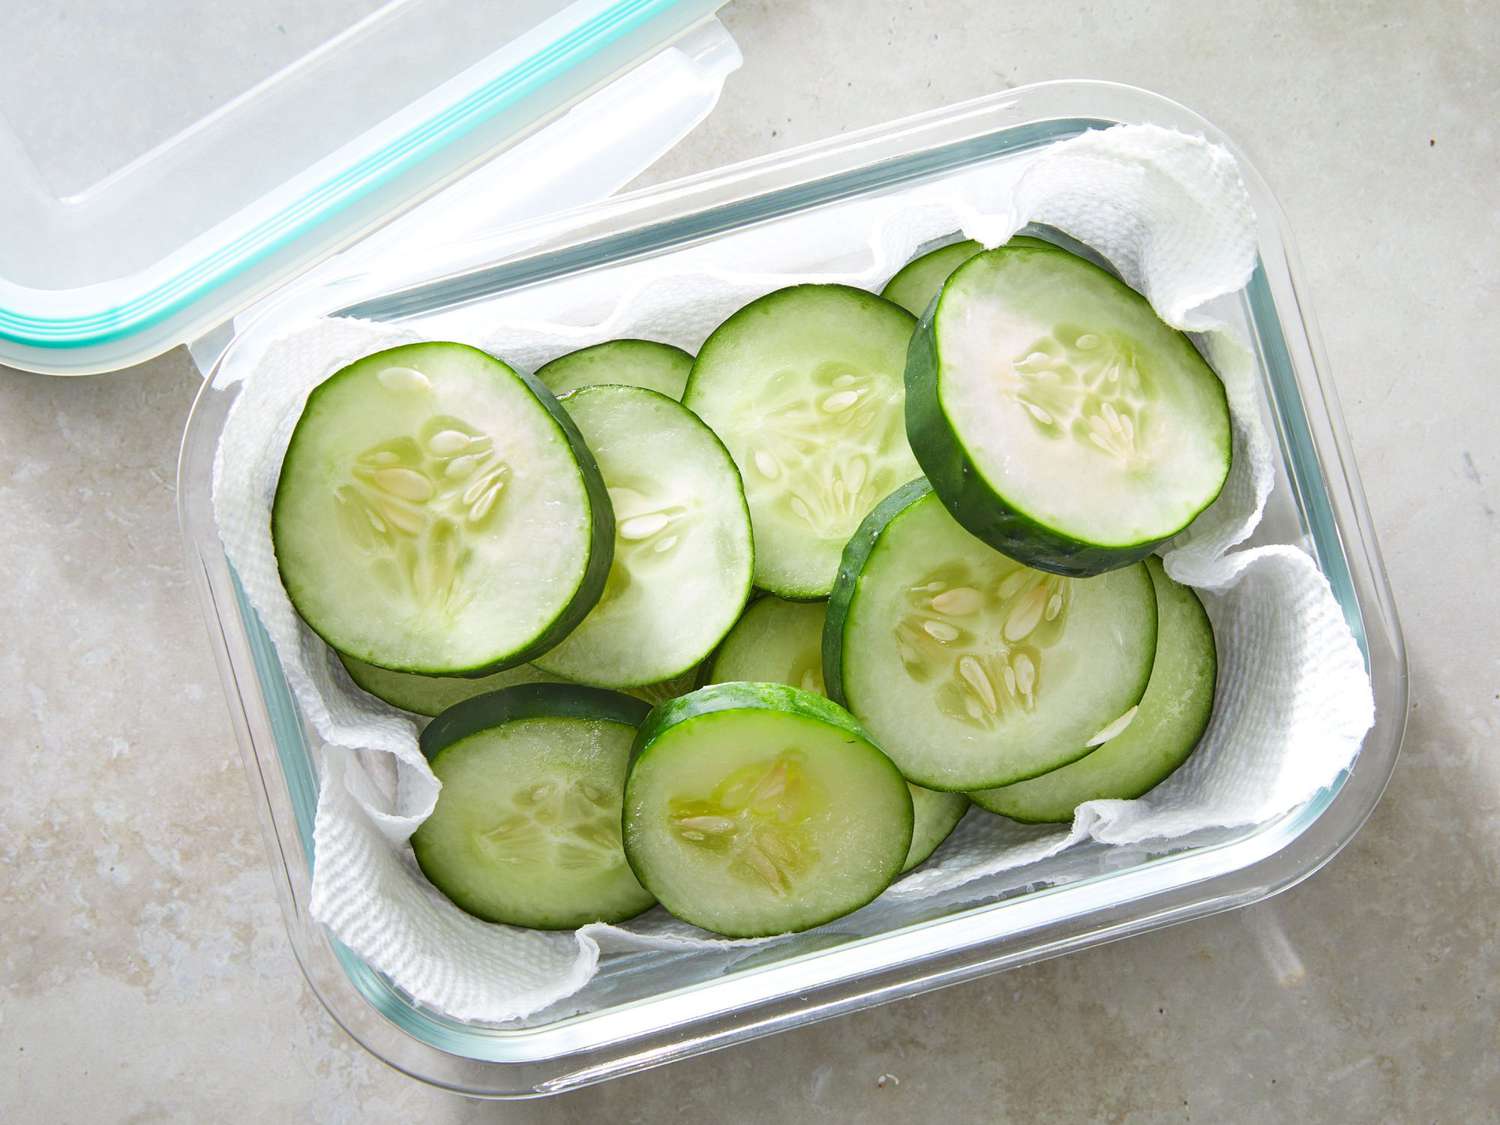
- Clean the stems: Gently wipe the stems with a clean, damp cloth to remove any dirt or debris. This step ensures that the preserving materials can adhere better to the surface of the stems.
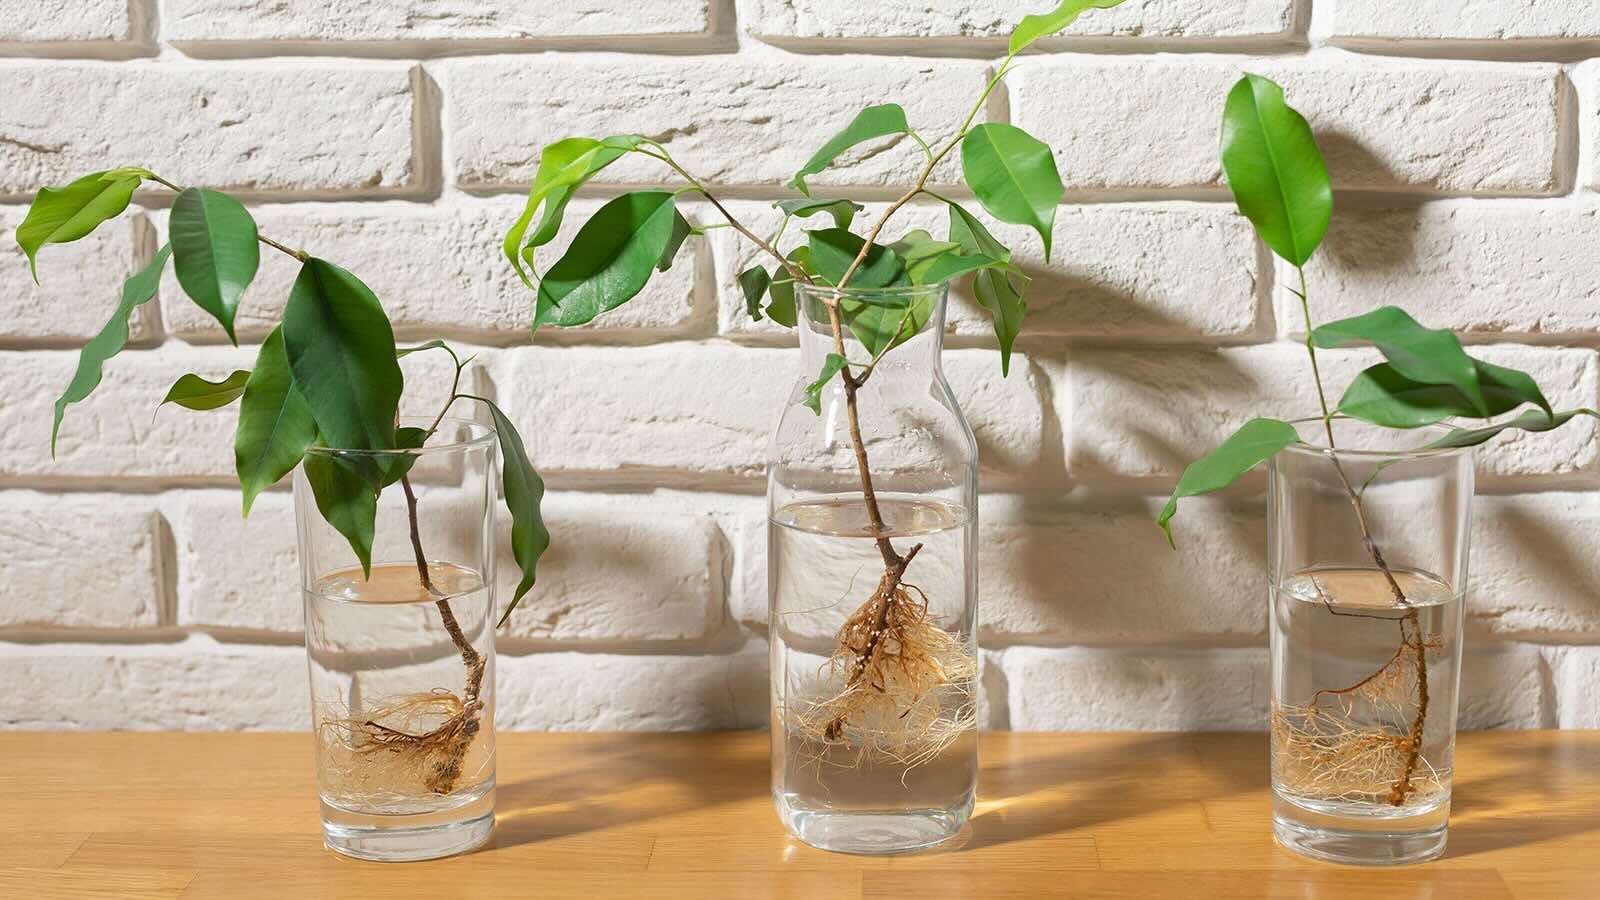
- Hydrate the plants: Place the stems in a container filled with water for a few hours before preservation. This helps the greenery absorb water and increases its ability to absorb the preserving solution or materials.
- Trim the stems (optional): If needed, trim the stems again after hydrating them. This allows you to adjust the length for your desired arrangement or project.
By following these steps, you’ll ensure that your greenery is in prime condition for the preservation process. Now that the preparation is complete, it’s time to move on to the next step: choosing the right preservation method.
To preserve greenery after cutting, place the stems in a vase of water as soon as possible. Trim the ends at an angle and change the water every few days to keep it fresh. Keep the greenery out of direct sunlight and away from heat sources to prolong its life.
Step 3: Choosing the Right Preservation Method
When it comes to preserving greenery, there are several methods to choose from. The right method for you depends on the type of plants you’re working with, your desired outcome, and the resources you have available. Let’s explore some popular preservation methods:
- Air drying: This method involves hanging the greenery upside down in a dry, well-ventilated area. As the plants naturally dry, they retain their shape and color. Air drying is ideal for sturdy plants with woody stems, like eucalyptus or lavender.
- Pressing: Pressing involves placing the greenery between absorbent materials, such as sheets of newspaper or blotting paper, and applying pressure to flatten them. This method is perfect for delicate leaves and flowers, as it preserves their shape and detail.
- Glycerin preservation: Glycerin is a substance that can be mixed with water to create a preserving solution. By immersing the greenery in this solution, the plant absorbs the mixture and retains its softness and flexibility. Glycerin preservation works best for foliage with waxy or thick leaves, like magnolia or leatherleaf fern.
- Silica gel drying: Silica gel is a desiccant that absorbs moisture from the greenery, leaving it dry and preserved. This method is excellent for preserving intricate flowers or small branches. The greenery is buried in a container filled with silica gel, which slowly draws out the moisture.
Consider the characteristics of your greenery, the time you have available, and the desired outcome when selecting a preservation method. Each method offers unique advantages and results in beautifully preserved greenery.
Now that you have chosen the right preservation method, it’s time to move on to the next step: drying the greenery.
Read more: How To Preserve Holiday Greenery
Step 4: Drying the Greenery
After selecting the appropriate preservation method, the next step is to dry the greenery. This allows the plants to retain their shape, color, and texture while removing excess moisture. The drying process varies depending on the method you chose. Let’s explore the drying techniques for each preservation method:
- Air drying: For air drying, gather the greenery in small bunches and secure them with twine or floral wire. Hang the bundles upside down in a dry, well-ventilated area. Avoid direct sunlight or high humidity, as these can affect the drying process. Leave the greenery to dry for several weeks until they feel crisp and dry to the touch.
- Pressing: To press greenery, place them between layers of absorbent material, such as newspaper or blotting paper, inside a flower press or heavy books. Apply weight on top to flatten the leaves or flowers and remove excess moisture. Leave them pressed for a few weeks until they are completely dry.
- Glycerin preservation: If you’re using the glycerin preservation method, immerse the stems in a mixture of one part glycerin to two parts water. Place the container in a cool, dark location and allow the greenery to soak for several weeks. The glycerin replaces the plant’s natural moisture, resulting in flexible and preserved foliage.
- Silica gel drying: For silica gel drying, bury the greenery completely in a container filled with silica gel. Make sure to support delicate stems and flowers to maintain their shape. Seal the container and leave it undisturbed for several days to a few weeks, depending on the thickness of the greenery. The silica gel will absorb the moisture, leaving the plants dry and preserved.
During the drying process, monitor the greenery regularly to ensure they are drying evenly and without any signs of mold or decay. Once they are fully dry, you can proceed to the final step: storing the preserved greenery.
By following the appropriate drying techniques, you’ll achieve beautifully preserved greenery that can be used for various crafts and decorations.
Step 5: Storing the Preserved Greenery
Once your greenery is successfully preserved and dried, it’s time to store them properly to maintain their quality and longevity. Proper storage ensures that the preserved greenery remains in excellent condition for future use in crafts, floral arrangements, or other decorative purposes.
Here are some tips for storing your preserved greenery:
- Keep them in a dry and dark location: Moisture and sunlight can cause preserved greenery to fade or deteriorate. Store them in a cool, dry, and preferably dark place, such as a closet or cabinet.
- Use airtight containers: Consider storing your preserved greenery in airtight containers or resealable bags to protect them from dust and humidity.
- Arrange them carefully: If you store the greenery in bundles, ensure they are arranged in a way that preserves their shape and prevents crushing or tangling.
- Avoid excessive handling: Frequent handling can cause the preserved greenery to become brittle or lose their intended shape. Handle them gently and only when necessary.
- Label and date: If you have multiple varieties of preserved greenery, consider labeling and dating them to keep track of their age and type.
By following these storage practices, you’ll ensure that your preserved greenery remains intact and beautiful, ready to be used whenever inspiration strikes.
Congratulations! You have now successfully completed the process of preserving greenery after cutting. By applying the proper cutting techniques, preparing the greenery, choosing the right preservation method, drying them carefully, and storing them appropriately, you can enjoy the beauty of your plants for an extended period.
Preserved greenery opens up a world of creative possibilities, allowing you to bring the beauty of nature indoors and incorporate it into your projects and decorations. Experiment with different types of greenery and preservation methods to discover what works best for you.
Now go forth and enjoy your preserved greenery, bringing a touch of nature’s charm to your home!
Conclusion
Preserving greenery after cutting is a wonderful way to extend the life of your plants and bring the beauty of nature indoors. Whether you’re looking to create stunning floral arrangements, craft unique decorations, or simply preserve the memories of a special moment, the process of preserving greenery allows you to cherish the beauty of plants for a longer period.
In this article, we’ve covered the essential steps to successfully preserve greenery after cutting. Starting with proper cutting techniques, we emphasized the importance of using sharp tools, targeting the right spots, and removing any dead or diseased material. These techniques ensure clean and healthy cuts, promoting the overall vitality of your plants.
We then moved on to preparing the greenery for preservation, which involves removing excess foliage, cleaning the stems, and hydrating the plants. By following these steps, you create an optimal environment for the preservation process to take place.
Choosing the right preservation method is a crucial step in ensuring successful results. Whether you opt for air drying, pressing, glycerin preservation, or silica gel drying, each method offers unique advantages and preserves the beauty of different types of greenery.
Once the greenery has been properly preserved, it’s important to dry them using the appropriate techniques for each method chosen. By air drying, pressing, or using glycerin or silica gel drying techniques, you can maintain the shape, color, and texture of the greenery while removing excess moisture.
Lastly, proper storage is essential to maintain the quality and longevity of the preserved greenery. By keeping them in a dry and dark location, using airtight containers, arranging them carefully, and avoiding excessive handling, you can ensure they remain in excellent condition for future use.
Preserved greenery offers endless creative possibilities, bringing the beauty of nature into your home or crafts. With the knowledge gained from this article, you are well-equipped to embark on your journey of preserving greenery after cutting. So go ahead, unleash your creativity, and enjoy the beauty of preserved greenery for years to come!
Frequently Asked Questions about How To Preserve Greenery After Cutting
Was this page helpful?
At Storables.com, we guarantee accurate and reliable information. Our content, validated by Expert Board Contributors, is crafted following stringent Editorial Policies. We're committed to providing you with well-researched, expert-backed insights for all your informational needs.


0 thoughts on “How To Preserve Greenery After Cutting”