Home>Garden Essentials>How To Spread Infill Without Infill Machine

Garden Essentials
How To Spread Infill Without Infill Machine
Modified: October 20, 2024
Discover the easiest way to spread infill in your garden without using an infill machine. Learn effective techniques to achieve even distribution effortlessly.
(Many of the links in this article redirect to a specific reviewed product. Your purchase of these products through affiliate links helps to generate commission for Storables.com, at no extra cost. Learn more)
Introduction
Welcome to the world of gardening! Whether you’re new to gardening or already have a green thumb, one thing you’ll soon discover is the importance of infill for your garden. Infill is a material that is used to fill in the gaps and spaces between plants, aiding in moisture retention, weed control, and overall plant health.
While there are machines specifically designed for spreading infill, not everyone has access to such equipment. But fear not! In this article, we will explore various methods for spreading infill without an infill machine, using items you may already have at your disposal. So, let’s dive in and discover how you can effectively spread infill and give your garden the care it deserves.
Before we begin, it’s important to note that the choice of infill material will depend on the specific needs of your garden. Common infill options include compost, mulch, peat moss, sand, or a combination of these. Consider the type of plants you have, soil conditions, and any specific requirements recommended by gardening experts.
Now, let’s explore the methods for spreading infill without an infill machine.
Key Takeaways:
- Spreading infill in your garden without a machine is possible using simple tools like a leaf blower, rake, or shovel. Each method offers unique benefits and allows for precise control over infill distribution.
- When spreading infill without a machine, it’s important to plan, choose the right material, and maintain consistent coverage. Taking breaks, paying attention to problem areas, and following up with maintenance are essential for a healthy garden.
Read more: How To Spread Grass Seed Without Spreader
Methods for Spreading Infill Without an Infill Machine
When you don’t have access to an infill machine, there are several alternative methods you can use to spread infill in your garden. These methods are simple, cost-effective, and can be done with basic gardening tools that you might already have. Let’s take a look:
- Hand Spreading: The most straightforward method is to simply use your hands to scatter the infill material evenly throughout your garden. This method gives you direct control over where the infill goes, allowing you to target specific areas or plants that need it the most.
- Using a Leaf Blower: If you have a leaf blower, you can repurpose it for spreading infill. Choose a low-speed setting and attach a diffuser or a homemade attachment to distribute the infill material evenly over your garden. Be sure to adjust the blowing force to prevent the infill from being blown away.
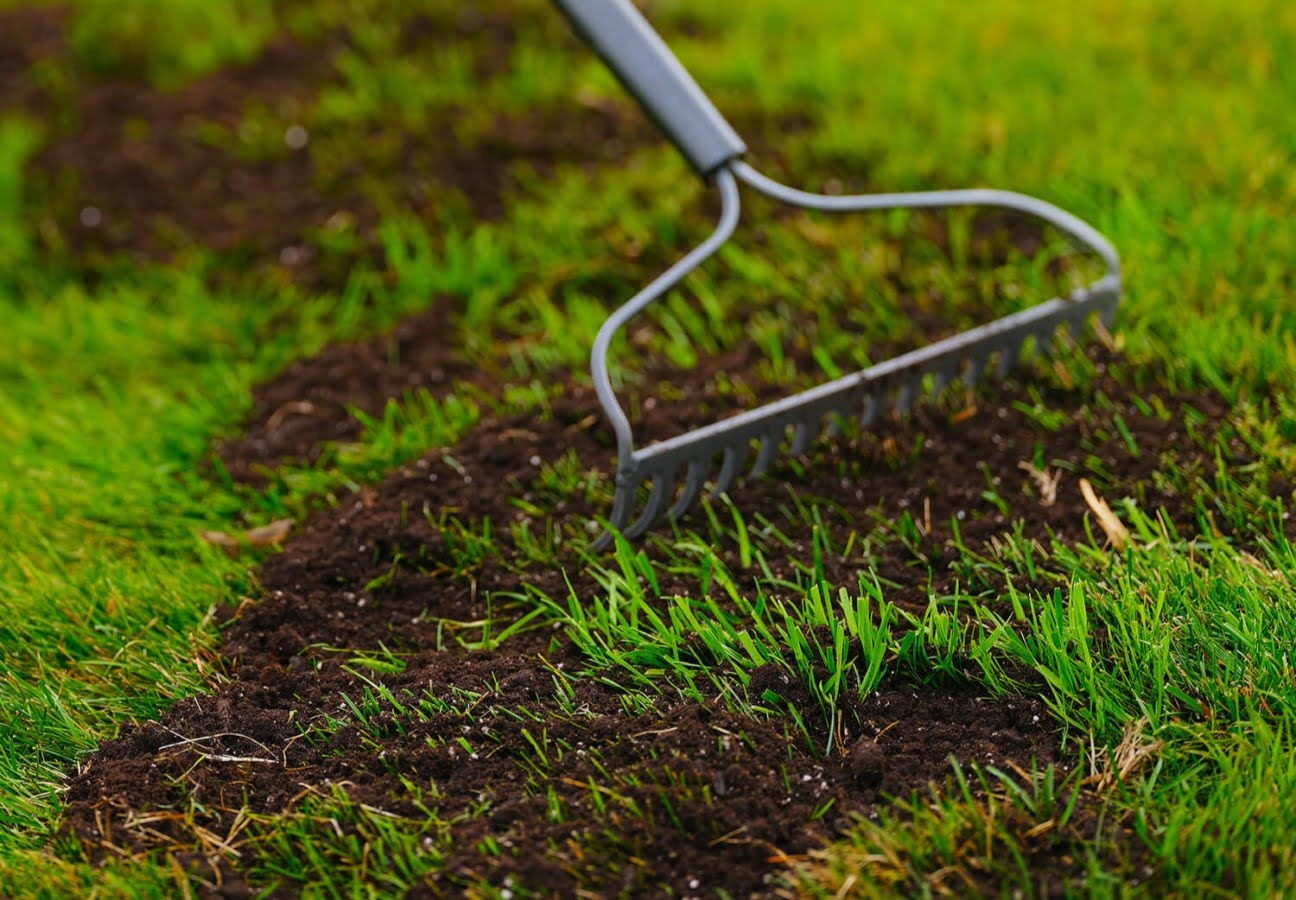
- Manual Raking: Another effective method is to use a rake to distribute the infill material. Simply spread the infill onto the desired area and use the rake to evenly distribute it. This method allows for better control and precision, ensuring that the infill is spread evenly over the soil surface.
- Using a Garden Sprayer: For fine materials such as compost or peat moss, you can use a garden sprayer to mist the infill onto your garden bed. This method helps to evenly distribute the infill without disturbing the surrounding plants.
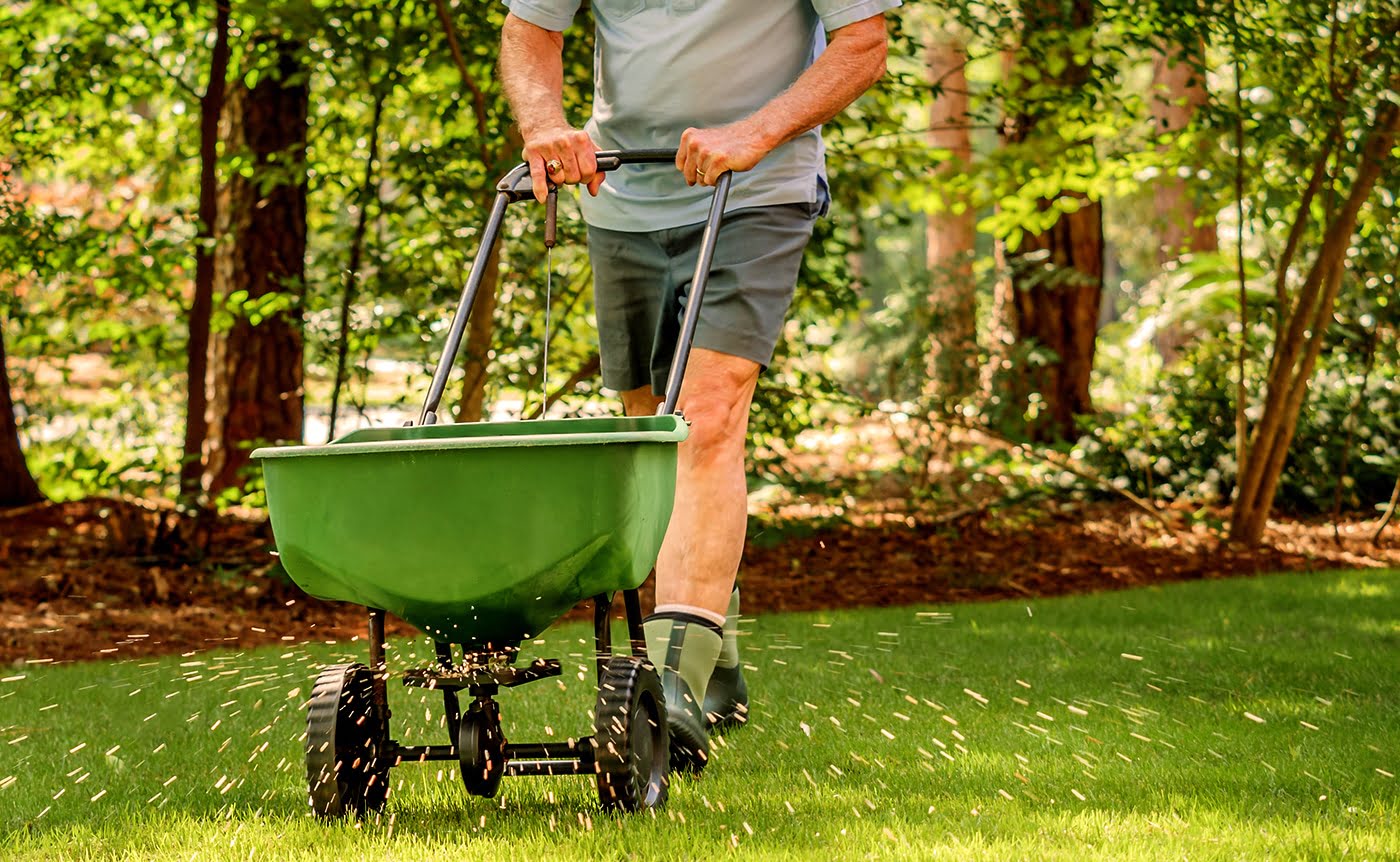
- Utilizing a Fertilizer Spreader: If you have a fertilizer spreader, it can be repurposed for spreading infill as well. Adjust the settings to a low application rate and walk slowly through your garden, releasing the infill material as you go. Be sure to overlap the application areas to ensure even coverage.
- Using a Shovel: If you have larger infill materials like mulch or sand, you can use a shovel to spread them. Scoop up the infill material with the shovel and gently toss it onto the desired area. Use the back of the shovel or a rake to spread it evenly.
- Sweeping with a Broom: For small infill materials or areas with delicate plants, you can use a broom to sweep the infill material into place. Gently push the material with the broom in a back-and-forth motion until it is evenly distributed.
Now that you have learned different methods for spreading infill without an infill machine, let us explore some essential tips to ensure successful infill spreading.
Hand Spreading
Hand spreading is the simplest and most direct method for spreading infill without an infill machine. With this method, you have complete control over where the infill material is placed, allowing you to target specific areas or plants that require it the most.
To hand spread infill, follow these steps:
- Start by wearing a pair of gloves to protect your hands from any rough materials or potential allergens.
- Pour a sufficient amount of infill material into a bucket or a container that is easy to handle.
- Using your hands, grab a handful of the infill material and gently scatter it over the desired area in your garden.
- Repeat the process, gradually spreading the infill material throughout the area or around specific plants.
- Use your fingers to break up any clumps or distribute the infill more evenly if needed.
- Continue spreading the infill material until you achieve the desired coverage or thickness.
Hand spreading is particularly useful when you want precise control and a personal touch in distributing the infill. It allows you to easily adjust the amount of infill material being applied and focus on areas that require more attention, such as around newly transplanted plants or areas prone to erosion.
However, keep in mind that hand spreading can be time-consuming, especially for larger gardens or areas that require a significant amount of infill material. It may also be physically demanding, so take breaks as needed to prevent strain or fatigue.
Additionally, ensure that you evenly distribute the infill material and avoid creating thick mounds or uneven patches. This will help maintain a consistent moisture level, prevent weed growth, and ensure proper nutrient distribution throughout your garden.
Now that you know how to hand spread infill, let’s explore other methods for spreading infill without an infill machine.
Using a Leaf Blower
If you have a leaf blower lying around, you can repurpose it as a tool for spreading infill in your garden. Using a leaf blower can provide a convenient and efficient way to distribute infill material, especially for larger areas or when you need to cover a significant distance.
Follow these steps to effectively use a leaf blower for spreading infill:
- Choose a leaf blower with a low-speed setting to ensure better control and prevent the infill material from being blown away too forcefully.
- Attach a diffuser or create a homemade attachment that can help evenly distribute the infill material.
- Pour the infill material into a large container or a bag that can be connected to the leaf blower.
- Attach the container or bag to the leaf blower, ensuring a secure fit and no leakage.
- Start the leaf blower and hold it at a comfortable height, pointing it toward the desired area where you want to spread the infill.
- Gently squeeze the trigger or control the airspeed to release the infill material in a controlled and even manner.
- Walk slowly and steadily across the area, moving the leaf blower from side to side to ensure even coverage.
- Repeat the process as needed until the desired amount of infill material has been spread.
Using a leaf blower for spreading infill can be particularly useful when you have a large garden or need to cover a large area in a short amount of time. It allows for quick, efficient dispersion of the infill material, minimizing the effort required compared to manual methods.
However, be cautious not to apply too much force with the leaf blower, as it can blow away the infill material or disturb delicate plants. It’s essential to adjust the blowing force and speed according to the specific requirements of the infill material and your garden.
Remember to always wear appropriate protective gear, such as safety goggles and ear protection, while operating a leaf blower. Follow the manufacturer’s guidelines and be mindful of any safety precautions to ensure a safe and effective infill spreading process.
Now that you’re familiar with using a leaf blower to spread infill, let’s explore another method for spreading infill without an infill machine.
Manual Raking
If you’re looking for a simple and effective method to spread infill without an infill machine, manual raking is an excellent option. This method allows for precise control and even distribution of infill material, ensuring that it covers the desired areas efficiently.
Follow these steps to effectively spread infill using a rake:
- Choose a rake that is suitable for the size of the infill material you are using. A wide-toothed rake is ideal for larger materials like mulch, while a fine-toothed rake works well for smaller materials like sand or compost.
- Pour the infill material onto the desired area in your garden.
- Hold the rake at a comfortable angle and use it to gently spread the infill material across the surface. Use a back-and-forth motion to distribute the material evenly.
- Continue raking the infill back and forth until you achieve the desired coverage and thickness. If needed, add more infill material and repeat the process.
- After spreading the infill, use the back of the rake or a broom to lightly smooth the surface, ensuring a uniform appearance and proper integration with the surrounding area.
Manual raking gives you excellent control over the distribution of infill material, allowing you to target specific areas or spot-treat particular plants. It is particularly useful for ensuring even coverage in narrow spaces, such as between rows of plants or in tight corners.
When using this method, be mindful of not disturbing the soil excessively or damaging the roots of your plants. Avoid raking too vigorously, especially around delicate or newly established plants.
It is also important to consider the type of infill material you are spreading. Some materials may require additional steps, such as wetting them beforehand or allowing them to settle after spreading, to ensure optimal effectiveness.
With manual raking, you can effectively spread infill without the need for specialized equipment. Take the time to distribute the infill material evenly, paying attention to any areas that may require greater coverage.
Now that you have learned about manual raking as a method for spreading infill, let’s explore another technique for spreading infill without an infill machine.
Read more: How To Get Grass To Spread
Using a Garden Sprayer
If you are working with fine infill materials such as compost or peat moss, using a garden sprayer can be an efficient and precise method for spreading infill. This method allows for controlled misting of the infill material, ensuring even distribution without disturbing the surrounding plants.
Follow these steps for using a garden sprayer to spread infill:
- Fill the garden sprayer with the desired infill material. Make sure the infill material is adequately moistened to prevent it from clogging the sprayer nozzle.
- Adjust the nozzle of the garden sprayer to a fine mist setting to ensure a gentle and even distribution of the infill material.
- Start at one end of the area you want to cover and walk slowly, misting the infill material evenly over the surface. Move the sprayer back and forth to ensure thorough coverage.
- If necessary, adjust the nozzle settings or the sprayer’s pressure to control the rate at which the infill material is misted out. This will help you achieve the desired thickness and coverage.
- Continue spraying the infill material until you have covered the entire area or achieved the desired infill depth.
Using a garden sprayer is particularly helpful when working with lightweight infill materials or when you need to distribute the material evenly over a large area. The gentle misting action of the sprayer prevents the infill from clumping together and allows for uniform coverage.
When using a garden sprayer, it is essential to be mindful of the wind direction to prevent the infill material from drifting away or landing on unintended areas. Choose a calm day or work in the early morning or late afternoon when there is less wind. If necessary, use protective barriers or shields to control the direction of the misted infill material.
Additionally, ensure that the garden sprayer is thoroughly cleaned after each use to prevent clogging and ensure its longevity. Follow the manufacturer’s instructions for cleaning and maintenance.
Now that you have learned about using a garden sprayer as a method for spreading infill, let’s explore another technique that can be used without an infill machine.
Use a shovel or rake to evenly spread infill across the turf. Start at one end and work your way to the other, making sure to cover the entire area. Keep adding infill until the turf fibers are standing upright.
Utilizing a Fertilizer Spreader
A fertilizer spreader can be repurposed as a tool for spreading infill material in your garden. This method allows for efficient and even distribution of infill, especially when working with larger areas or when you need to cover a significant distance.
Follow these steps to effectively use a fertilizer spreader for spreading infill:
- Choose a fertilizer spreader that is suitable for the size and type of infill material you are using. Different spreaders have adjustable settings to control the flow rate of material, allowing for precise application.
- Pour the infill material into the hopper of the spreader. Ensure that the hopper is not overfilled to avoid any clogging or uneven spreading.
- Adjust the spreader settings based on the manufacturer’s recommendations for the infill material you are using. These settings control the opening size of the spreader, which determines the amount of infill material being released.
- Start walking in a straight line along one end of the area you want to cover. As you walk, turn the hand crank or engage the power mechanism to start spreading the infill material.
- Continue walking at a steady pace, making sure to overlap the spreading pattern to ensure even coverage. Keep a consistent speed and rhythm to maintain a consistent distribution.
- If needed, make adjustments to the spreader settings throughout the process to achieve the desired coverage and thickness.
- Once you have covered the entire area, walk over it again in a perpendicular direction to ensure thorough coverage and eliminate any missed spots.
Utilizing a fertilizer spreader can save you time and effort when spreading infill material, especially in larger gardens or landscapes. The adjustable settings allow for precise control over the amount of infill being released, ensuring even distribution.
It’s important to note that different types of infill materials may have varying particle sizes or consistencies. Adjust the spreader settings accordingly to ensure optimal performance and prevent any clogging or uneven spreading.
Remember to clean the fertilizer spreader thoroughly after each use to prevent any potential cross-contamination between different infill materials or fertilizers. Following the manufacturer’s instructions for cleaning and maintenance will help prolong the lifespan of the spreader.
Now that you have learned about utilizing a fertilizer spreader to spread infill, let’s explore another method for spreading infill without an infill machine.
Using a Shovel
If you’re working with larger infill materials such as mulch or sand, using a shovel can be an effective method to spread them throughout your garden. This method allows for a more controlled and targeted distribution of infill, ensuring that it covers the desired areas evenly.
Follow these steps to effectively use a shovel to spread infill:
- Choose a shovel that is appropriate for the size and weight of the infill material you are working with. A larger, wide-bladed shovel works well for heavier materials, while a narrower shovel is suitable for lighter ones.
- Pour the infill material onto the desired area in your garden.
- Scoop up a shovelful of the infill material with the shovel.
- Gently toss the infill material from the shovel onto the desired area, working in a controlled and even manner.
- Use the back of the shovel or a rake to spread the infill material evenly across the surface.
- Continue scooping, tossing, and spreading the infill material until you have covered the entire area or achieved the desired thickness.
Using a shovel to spread infill gives you the advantage of precise control over where the material is placed. This method is particularly useful when you want to target specific areas or plants that require more infill or when working around existing landscaping features.
Ensure that you distribute the infill material evenly and avoid creating thick mounds or uneven patches. This will help maintain a consistent moisture level across your garden, prevent weed growth, and ensure proper nutrient distribution for healthy plant growth.
Be mindful of your physical capabilities and avoid overexertion when using a shovel, especially when working with heavy infill materials. Take breaks as needed and lift with your legs to avoid strain or injury.
Now that you have learned about using a shovel to spread infill, let’s explore another method for spreading infill without an infill machine.
Sweeping with a Broom
When working with small infill materials or areas with delicate plants, using a broom to spread the infill can be a practical and effective method. Sweeping with a broom allows for gentle and precise distribution of the infill material, ensuring even coverage without damaging nearby plants.
Follow these steps to effectively spread infill using a broom:
- Choose a broom with soft bristles that will not damage or disturb the surrounding plants.
- Pour the infill material onto the desired area in your garden.
- Hold the broom with a comfortable grip and use it to gently push the infill material into place.
- Using a back-and-forth motion, sweep the infill material across the surface, ensuring even distribution.
- Continue sweeping with the broom until you have covered the entire area or achieved the desired thickness.
- After spreading the infill, you can lightly press down with the broom or use the back of the broom to smooth the surface, ensuring a uniform appearance and integration with the surrounding area.
Sweeping with a broom is particularly useful for small infill materials such as sand or finely ground compost. It allows for precise control over the distribution of the infill, ensuring that it reaches all the necessary areas without disturbing sensitive plants or creating unwanted clumps.
When using this method, ensure that you do not apply excessive pressure or force with the broom. Use gentle strokes to evenly spread the infill material and to avoid disrupting the underlying soil or damaging the roots of your plants.
Take the time to distribute the infill material evenly, paying attention to any areas that may require greater coverage. Sweep in a deliberate and consistent manner to ensure thorough spreading.
Now that you have learned about sweeping with a broom as a method for spreading infill, let’s move on to some essential tips for successfully spreading infill without an infill machine.
Read more: How Do Dandelions Spread Their Seeds
Tips for Successful Infill Spreading without an Infill Machine
Spreading infill without an infill machine may require a bit of extra effort and creativity, but with these tips, you can achieve successful results and give your garden the care it needs:
- Plan and measure: Before you start spreading infill, take some time to plan and measure the areas that require infill. This will help you determine the amount of infill material you need and ensure even distribution.
- Choose the right infill material: Select the infill material that is best suited for your garden’s needs. Consider factors like plant types, soil conditions, and desired outcomes. Different infill materials have different properties, so choose wisely.
- Prepare the area: Clear any debris, weeds, or excess vegetation from the area before spreading infill. This will ensure that the infill material comes into contact with the soil and plants more effectively.
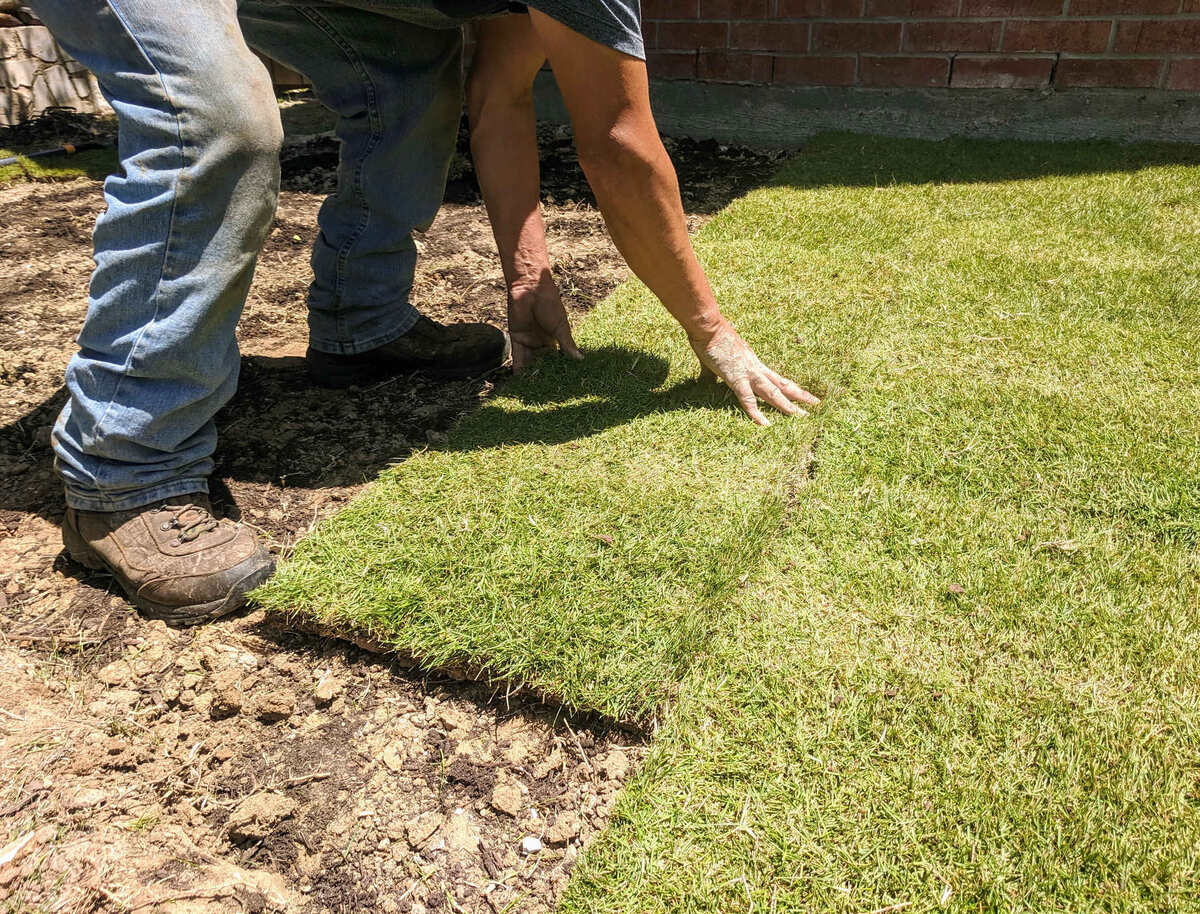
- Start from the perimeter: When spreading infill, begin from the perimeter of your garden and work your way inward. This will help you avoid trampling over areas you have already covered and ensure a more systematic spreading process.
- Take breaks: Spreading infill can be physically demanding, especially when working with larger gardens or heavier infill materials. Take breaks as needed to rest and re-energize, allowing yourself to work more efficiently and minimize strain or fatigue.
- Pay attention to problem areas: Identify any problem areas in your garden, such as areas prone to erosion or where plants require extra care. Focus on these areas when spreading infill, ensuring they receive the necessary attention and coverage.
- Walk lightly: When walking across the infill, be mindful of your footsteps. Try to distribute your weight evenly to minimize soil compaction and avoid displacing the infill material. Stepping on a board or plank can help distribute the weight more evenly.
- Inspect and adjust: After spreading infill, take a step back and inspect the coverage. Look for any areas that may require additional infill or smoothing. Adjust accordingly to ensure a uniform appearance and optimal distribution.
- Maintain a consistent thickness: Aim for a consistent thickness of infill throughout your garden. This will help maintain a balanced environment for your plants, ensuring adequate moisture retention, weed control, and nutrient distribution.
- Follow up with maintenance: Once the infill is spread, regularly monitor your garden and make adjustments as needed. Keep up with routine maintenance tasks like watering, weeding, and adjusting infill levels to keep your garden in its best condition.
Remember, spreading infill without an infill machine requires patience and attention to detail. Take your time, follow these tips, and enjoy the process of caring for your garden.
Now that you have a comprehensive understanding of various methods for spreading infill without an infill machine and essential tips for success, you’re ready to tackle your gardening project with confidence.
Happy gardening!
Conclusion
Spreading infill is an essential task in maintaining a healthy and vibrant garden. While an infill machine may provide convenience and efficiency, not everyone has access to one. However, with the methods and tips provided in this article, you can successfully spread infill without the need for specialized equipment.
We explored various techniques for spreading infill, including hand spreading, using a leaf blower, manual raking, utilizing a garden sprayer, utilizing a fertilizer spreader, using a shovel, and sweeping with a broom. Each method offers its own advantages and is suitable for different infill materials and garden sizes.
When applying these methods, it is important to plan ahead, choose the right infill material, and prepare the area for optimal results. Taking breaks, paying attention to problem areas, and maintaining a consistent thickness are also crucial for successful infill spreading.
Remember, gardening is not only about the end result but also about the journey. Enjoy the process of caring for your garden, and embrace the opportunity to connect with nature.
By utilizing these methods and following the tips provided, you can spread infill effectively, ensuring your garden receives the necessary moisture retention, weed control, and nutrient distribution it deserves.
So, roll up your sleeves, gather your tools, and let your garden flourish with the proper infill spreading techniques. Happy gardening!
Frequently Asked Questions about How To Spread Infill Without Infill Machine
Was this page helpful?
At Storables.com, we guarantee accurate and reliable information. Our content, validated by Expert Board Contributors, is crafted following stringent Editorial Policies. We're committed to providing you with well-researched, expert-backed insights for all your informational needs.


0 thoughts on “How To Spread Infill Without Infill Machine”