
Articles
How To Load Top Load Washer Without Agitator
Modified: August 16, 2024
Discover the best articles on how to load a top load washer without agitator. Get expert tips and tricks to optimize your laundry routine for efficient and effective cleaning.
(Many of the links in this article redirect to a specific reviewed product. Your purchase of these products through affiliate links helps to generate commission for Storables.com, at no extra cost. Learn more)
Introduction
Welcome to our comprehensive guide on how to load a top load washer without an agitator. In recent years, top load washers without an agitator have gained popularity for their superior washing performance and larger load capacity. These modern washers use advanced technology and innovative design to provide efficient and effective cleaning results.
Knowing the right way to load your top load washer without an agitator is essential to ensure optimal cleaning and prevent potential damage to your clothes. By following a few simple steps, you can make the most of your washer and enjoy clean and fresh laundry every time.
In this article, we will walk you through the step-by-step process of loading a top load washer without an agitator. From preparing your laundry to setting the appropriate settings, we will cover all the essential aspects to help you achieve the best results. Let’s dive in!
Key Takeaways:
- Properly sorting and preparing your laundry, setting the washer to the right settings, and loading it evenly are crucial for achieving optimal cleaning results with a top load washer without an agitator.
- Promptly removing the laundry after the wash cycle and taking care of your washer ensures fresh, wrinkle-free clothes and maximizes the performance of your washing machine.
Step 1: Prepare the laundry
The first step in loading a top load washer without an agitator is to prepare your laundry. Start by gathering all the clothes and items you plan to wash. Check the pockets of your garments to ensure they are empty, removing any loose change, tissues, or other small objects that could cause damage to your washer or clothes.
Next, separate your laundry into different piles based on their color and fabric type. This step is crucial to prevent color bleeding and to ensure that delicate fabrics are not damaged during the wash cycle. Sort your laundry into categories such as whites, lights, darks, and delicates.
If you have heavily soiled items, it is a good idea to pre-treat the stains before loading them into the washer. This can be done by using a stain remover or applying a gentle detergent directly on the stains. Allow the pre-treatment to penetrate the fabric for a few minutes before proceeding to the next step.
It is important to read the garment labels for any specific washing instructions. Some fabrics may require special care or temperature settings, so be sure to follow the manufacturer’s recommendations. This will help preserve the quality and lifespan of your clothes.
Once your laundry is sorted and pre-treated if necessary, it is time to move on to the next step: setting the washer to the appropriate settings.
Step 2: Sort the laundry
Sorting the laundry is a crucial step to ensure that your clothes are cleaned properly and avoid any potential damage during the wash cycle. By separating your laundry into different categories, you can minimize color bleeding, prevent fabric damage, and achieve the best washing results.
Start by sorting your laundry into piles based on color. Separate whites, lights, and darks to prevent colors from bleeding onto lighter fabrics. This will help keep your white clothes bright and prevent color transfer. It’s also a good idea to wash heavily soiled items separately to avoid staining other garments.
In addition to color, consider sorting your laundry based on fabric type and care requirements. Delicate fabrics such as lace, silk, and satin should be washed separately or placed in a mesh laundry bag to protect them from tangling or getting damaged by more robust fabrics. Similarly, items that require special care like hand-wash or dry clean only should be kept separate.
Pay attention to the size of the load as well. Avoid overloading the washer as it can affect the cleaning effectiveness and put strain on the machine. Follow the manufacturer’s recommendations for load capacity to ensure optimal performance.
Sorting your laundry may require some extra effort and time, but it will significantly improve the washing results and prolong the lifespan of your clothes. Once you have sorted your laundry, it is time to move on to the next step: setting the washer to the appropriate settings.
Step 3: Set the washer to the appropriate settings
Once you have sorted your laundry, it’s important to set the washer to the appropriate settings before loading it. Top load washers without an agitator typically come with a variety of settings and options to customize your wash cycle. Here’s a guide to help you choose the right settings:
- Water temperature: Most washers offer options for hot, warm, and cold water. Refer to the garment care labels to determine the appropriate water temperature for your laundry. As a general rule, use hot water for whites and heavily soiled items, warm water for colors, and cold water for delicates.
- Wash cycle: Choose the appropriate wash cycle based on the type of fabric and soil level. Common options include normal, delicate, heavy-duty, and quick wash. Delicate fabrics may require a gentle or hand wash cycle, while heavily soiled items may benefit from a longer and more intense cycle.
- Spin speed: The spin speed determines how fast the washer spins to remove excess water from your clothes. Higher spin speeds are suitable for sturdy fabrics, while lower spin speeds are gentler on delicate items. Refer to the garment care labels for spin speed recommendations.
- Additional options: Some washers offer additional options like pre-soak, extra rinse, or delay start. Use these options if necessary, depending on the specific needs of your laundry.
Take a moment to review the user manual of your washer to familiarize yourself with its settings and options. This will help you make informed decisions and optimize the cleaning process for your laundry.
Once you have selected the appropriate settings, it’s time to proceed to the next step: loading the washer evenly.
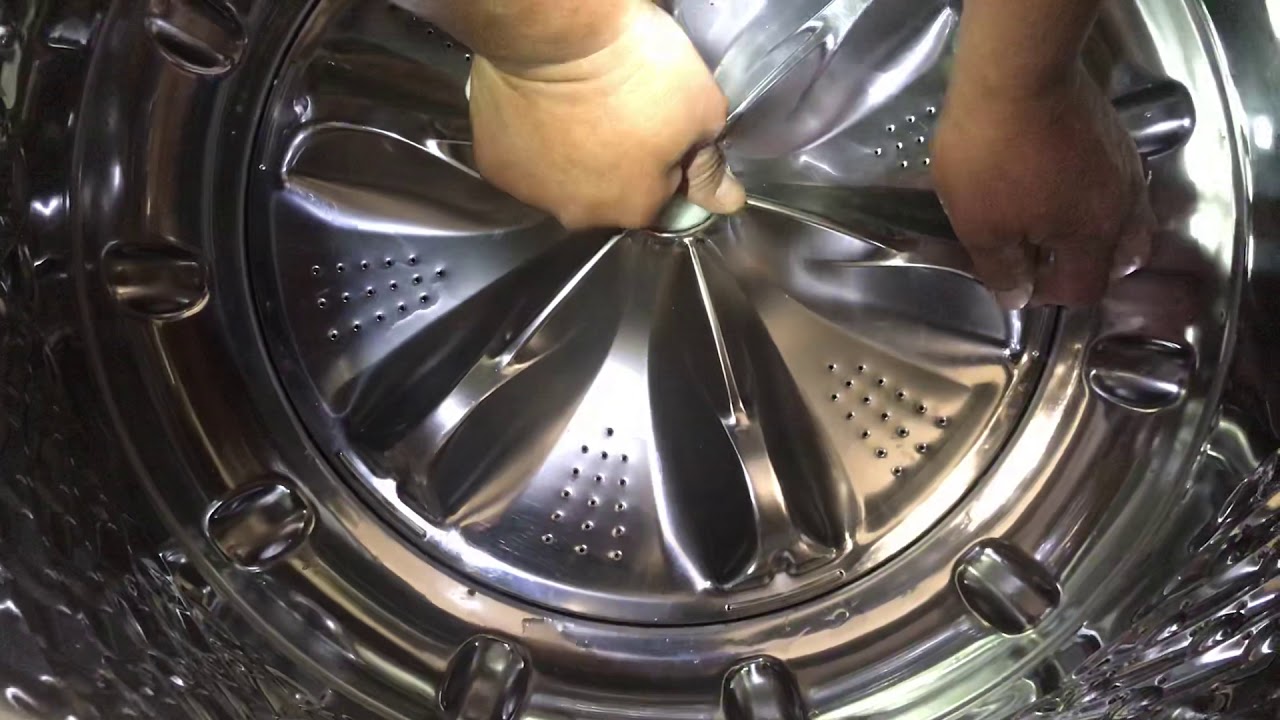
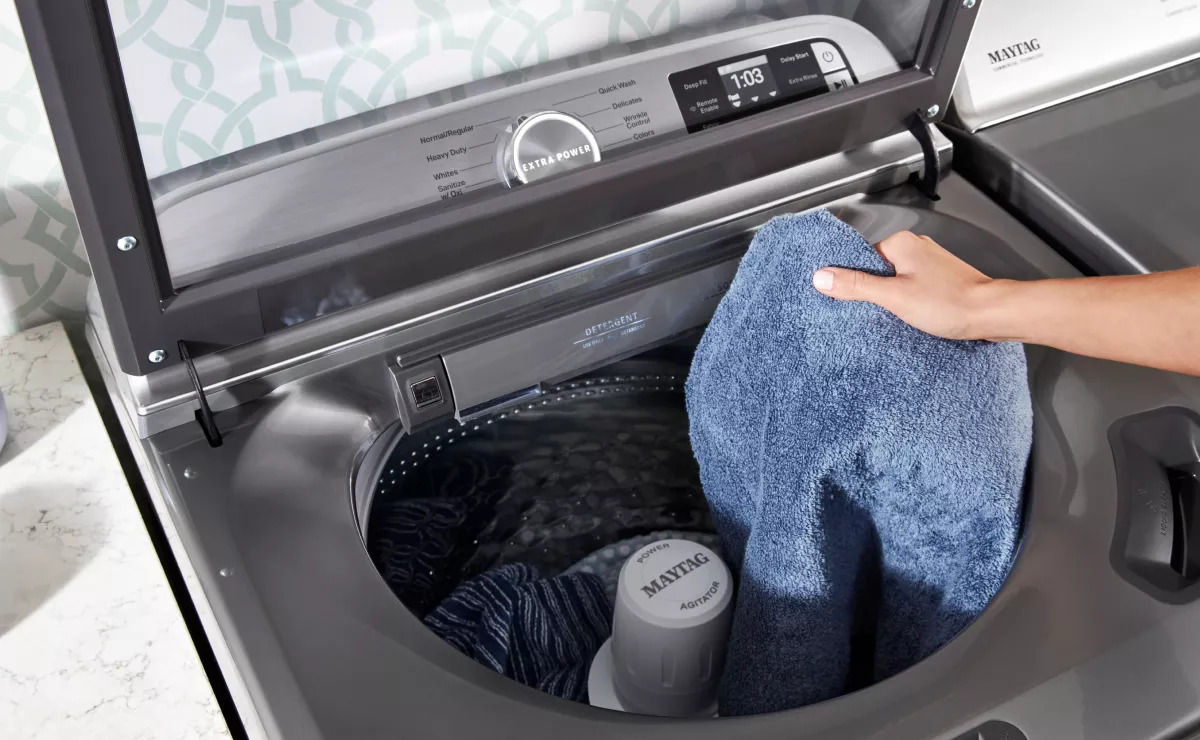
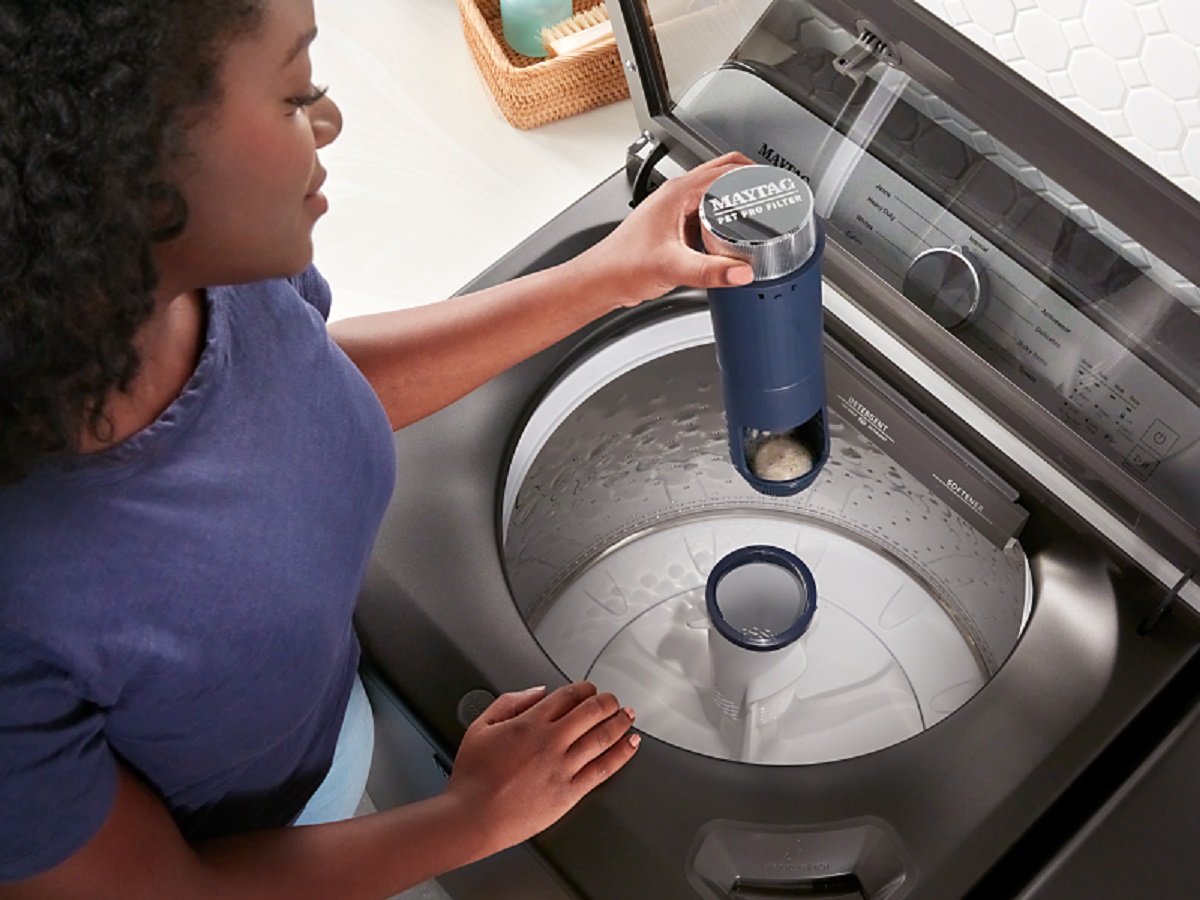
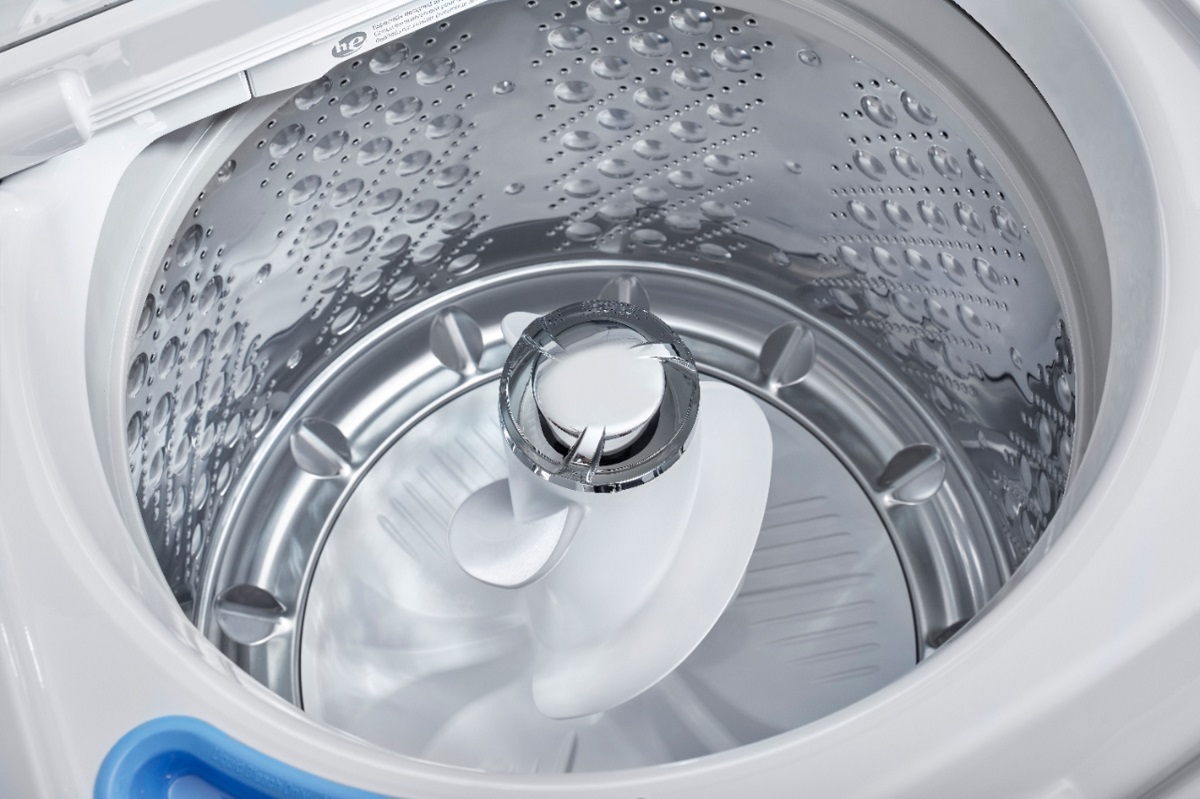
Step 4: Load the washer evenly
Now that you’ve sorted your laundry and set the appropriate settings, it’s time to load the washer evenly. Properly distributing the laundry inside the washer ensures efficient cleaning and prevents unbalanced loads that can cause the machine to vibrate or malfunction.
Here are some tips to help you load the washer evenly:
- Distribute the weight: Start by evenly distributing the weight of the laundry inside the washer. Mix large and small items, heavy and lightweight garments, to maintain balance. Avoid loading all the heavy items on one side as this can cause the machine to become unbalanced during the spin cycle.
- Don’t overload: It’s important not to overload the washer. Follow the manufacturer’s guidelines for the maximum load capacity of your model. Overloading the washer not only affects its cleaning performance but can also put strain on the motor and other components.
- Avoid tangling: To prevent tangling and wrinkling, place delicate items like lingerie, bras, and hosiery in mesh laundry bags or pillowcases. This will protect them during the wash cycle and prevent them from getting tangled with larger items.
- Leave space: Leave some space at the top of the washer to allow the laundry to move freely during the wash and spin cycles. Avoid cramming the washer full as this can hinder water circulation and impact the cleaning results.
Take your time to arrange the laundry inside the washer, making sure that it is evenly distributed. Once you’re satisfied with the loading, it’s time to move on to the next step: closing the washer lid securely.
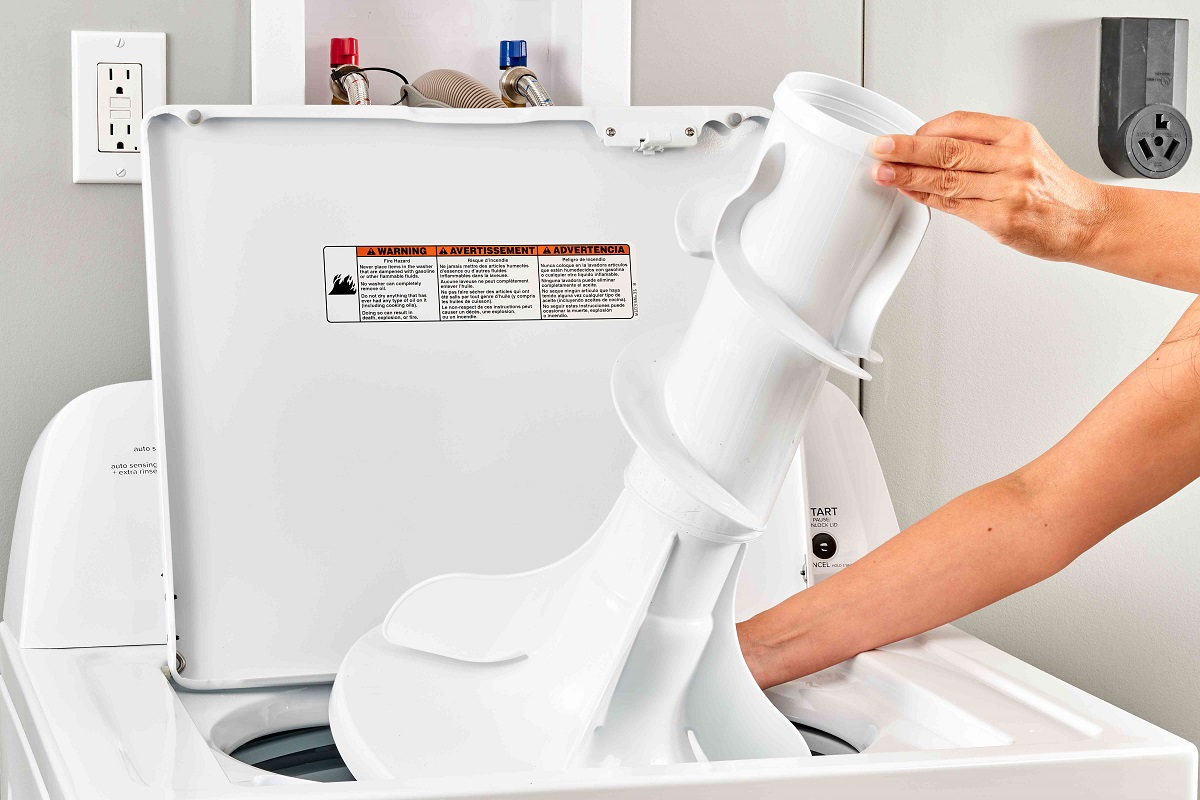
When loading a top load washer without an agitator, distribute the clothes evenly around the perimeter of the tub to ensure balanced and efficient washing. Avoid overloading the machine to allow for proper water circulation and cleaning.
Step 5: Close the washer lid securely
After loading the washer evenly, it’s crucial to close the washer lid securely before starting the wash cycle. Closing the lid properly ensures that the washer operates safely and efficiently throughout the entire washing process.
Here’s how to close the washer lid securely:
- Check for obstructions: Before closing the lid, double-check that there are no clothing items or other objects caught between the lid and the washer drum. Removing any obstructions helps prevent damage to both the washer and the items inside.
- Align the lid: Make sure that the lid is aligned with the washer’s body and is positioned correctly. It should be level and flush with the top of the washer.
- Secure the lid: Gently press down on the lid to ensure that it is securely closed. Most washers have a latch or locking mechanism that engages when the lid is properly closed. Listen for a click or look for a visual indicator to confirm that the lid is securely locked.
- Do not force the lid: Avoid applying excessive force or slamming the lid shut as it can cause damage to the washer or the locking mechanism. Close the lid with a gentle but firm touch to ensure proper alignment and secure closure.
Once you have closed the washer lid securely, you’re ready to move on to the next step: starting the washing cycle.
Step 6: Start the washing cycle
With the washer loaded and the lid closed securely, it’s time to start the washing cycle. Follow these steps to initiate the wash cycle:
- Select the appropriate wash cycle: Refer to the settings you chose in Step 3 and ensure that the correct wash cycle is selected. This ensures that the washer uses the optimal settings and timing for your specific laundry needs.
- Adjust any additional options: If your washer offers additional options such as pre-soak, extra rinse, or delayed start, adjust them according to your preferences or the requirements of your laundry.
- Press the start button: Locate the start button on your washer’s control panel and press it to initiate the wash cycle. Some washers may have a delay between when the cycle is selected and when it actually starts, so be patient and wait for the cycle to begin.
- Monitor the progress: While the washer is running, you can monitor the progress of the wash cycle through the washer’s display or control panel. Some washers may also have audible signals to indicate different stages of the cycle.
- Do not interrupt the cycle: Once the wash cycle has started, avoid opening the lid or interrupting the cycle unless necessary. Interrupting the cycle can affect the cleaning performance and may require restarting the entire cycle.
Now that you have started the washing cycle, it’s time to move on to the final step: removing the laundry promptly after the cycle is complete.
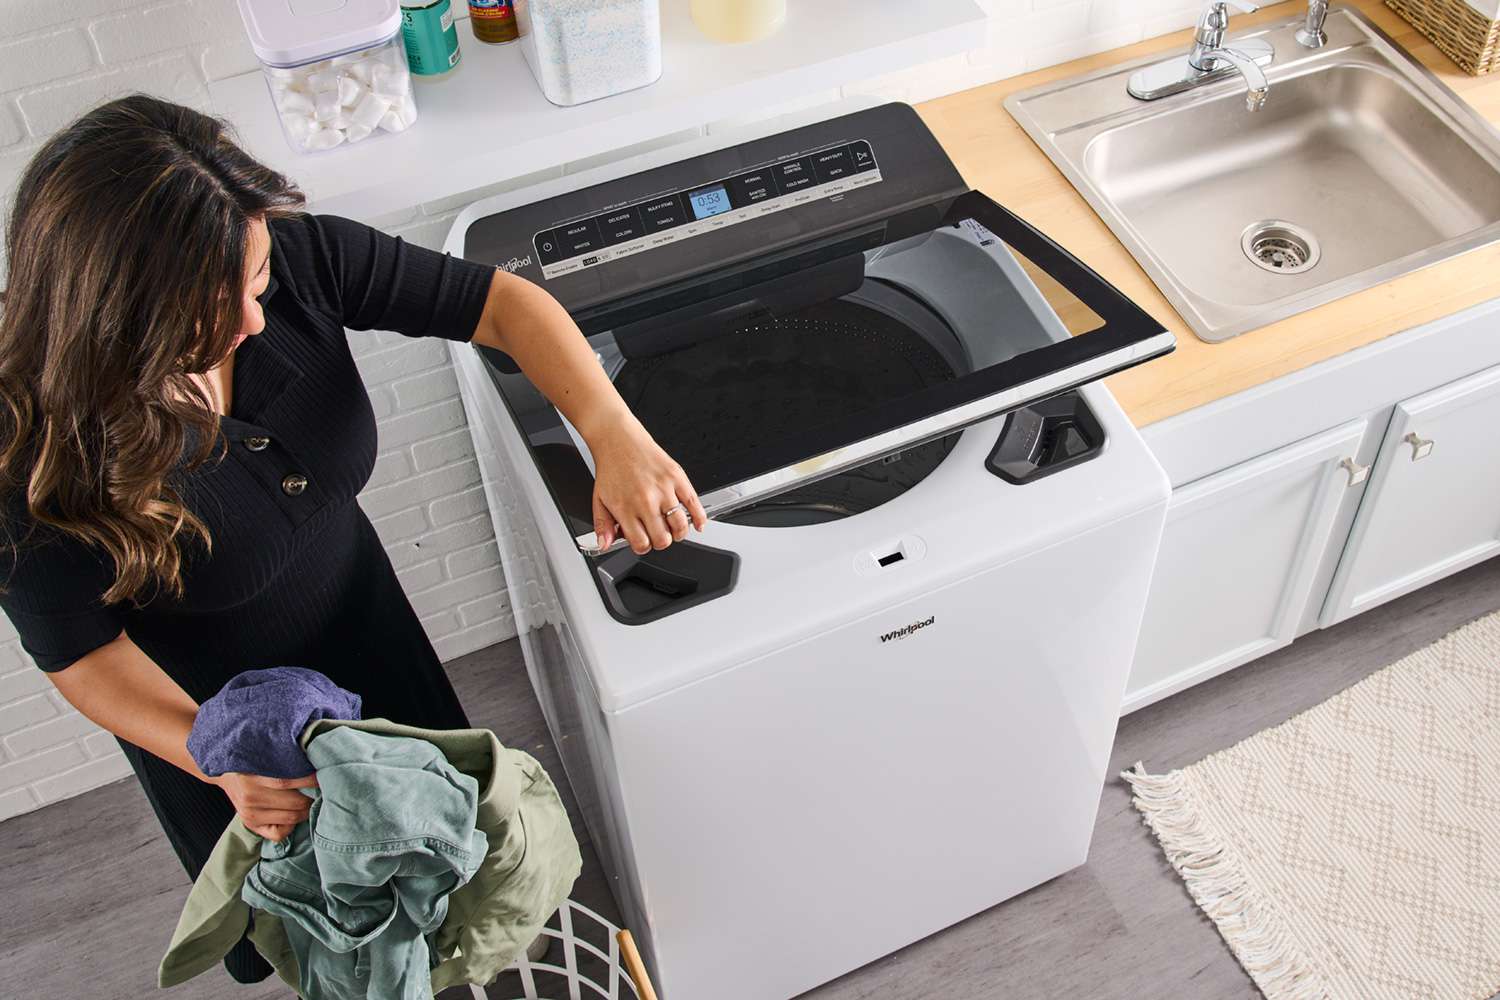
Step 7: Remove the laundry promptly
After the washing cycle has completed, it is important to remove the laundry from the washer promptly. Leaving wet clothes sitting in the washer can result in unpleasant odors, wrinkles, or even mildew. Follow these steps to remove your laundry:
- Open the washer lid: Once the wash cycle has finished, carefully open the washer lid. Some washers may have a slight delay before unlocking the lid, so be patient and wait for it to unlock.
- Take out the laundry: Gently remove the clothes from the washer one by one. Shake out any excess water or give the clothes a light tug to remove any wrinkles. If you encounter any tangled items, carefully untangle them to prevent damage.
- Check for missed items: Before closing the washer lid, double-check that you have removed all the items from the washer. Check the drum and any pockets to ensure that nothing has been left behind.
- Transfer to the dryer or drying rack: Depending on your preference and the garment care instructions, transfer the laundry to a dryer or drying rack. Follow the specific instructions for each garment, paying attention to recommended drying temperatures and cycles.
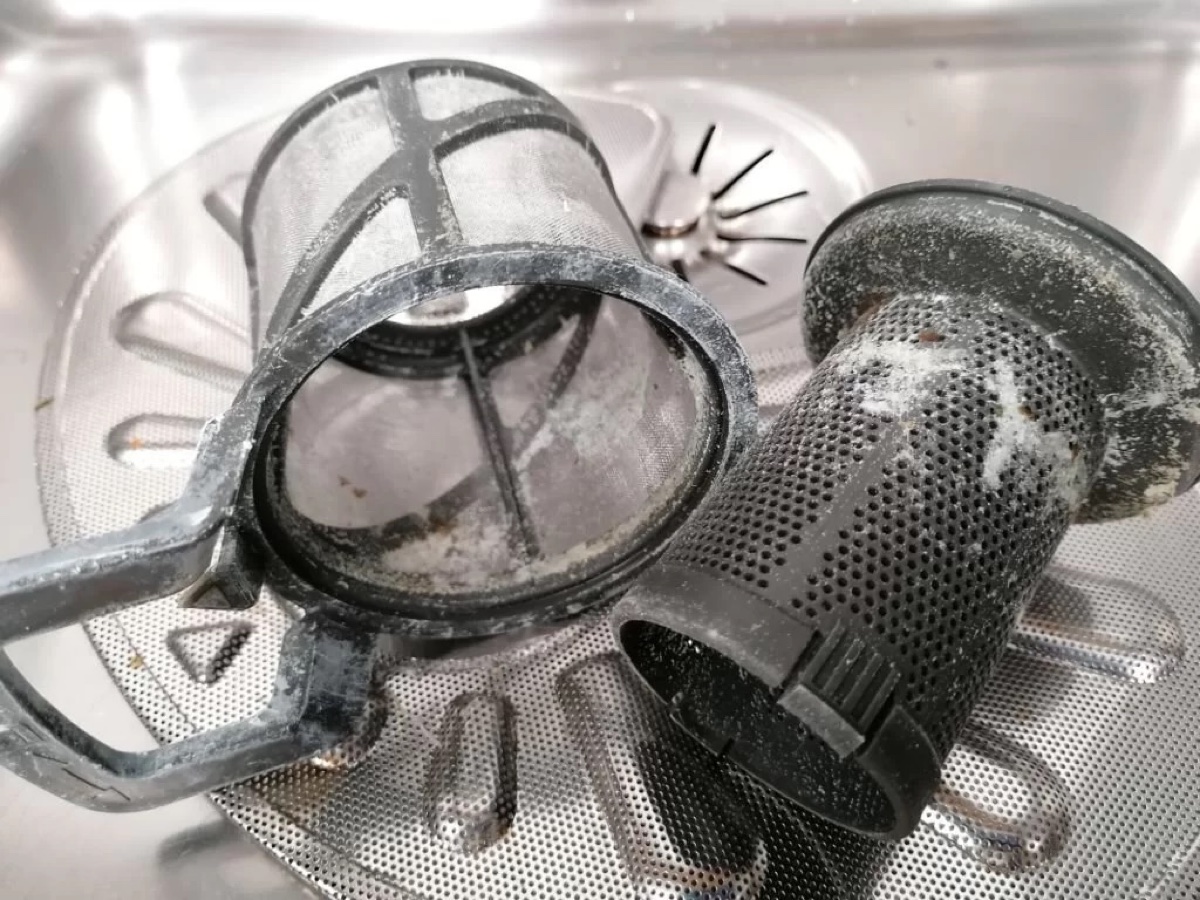
- Clean the washer: After removing the laundry, take a moment to wipe down the interior of the washer with a damp cloth. This helps remove any remaining detergent residue or lint, keeping your washer clean and in good condition.
By promptly removing your laundry and taking care of your washer, you can ensure that your clothes stay fresh, wrinkle-free, and ready to wear.
Congratulations! You have successfully completed all the steps to load a top load washer without an agitator. By following these guidelines, you can enjoy cleaner clothes and maximize the performance of your washing machine. Happy laundry days!
Conclusion
In conclusion, knowing how to load a top load washer without an agitator is essential for effective and hassle-free laundry tasks. By properly preparing your laundry, sorting it based on color and fabric type, and setting the washer to the appropriate settings, you can achieve optimal cleaning results.
By following the step-by-step process outlined in this guide, you can load the washer evenly, close the lid securely, start the washing cycle, and remove the laundry promptly. These practices not only ensure clean and fresh clothes but also prolong the lifespan of your garments.
Remember to always refer to the garment care labels for specific instructions and to familiarize yourself with the features and options of your specific washer model.
So, the next time you load your top load washer without an agitator, take the time to sort your laundry, set the appropriate settings, and load the washer evenly. Your clothes will thank you with a fresh and clean result!
Now that you have learned the proper techniques, go ahead and enjoy the convenience and efficiency of your top load washer without an agitator. Happy washing!
Frequently Asked Questions about How To Load Top Load Washer Without Agitator
Was this page helpful?
At Storables.com, we guarantee accurate and reliable information. Our content, validated by Expert Board Contributors, is crafted following stringent Editorial Policies. We're committed to providing you with well-researched, expert-backed insights for all your informational needs.


0 thoughts on “How To Load Top Load Washer Without Agitator”