Home>Garden Essentials>What Potting Soil Mix Do You Use For A Peace Lily
Garden Essentials
What Potting Soil Mix Do You Use For A Peace Lily
Modified: August 16, 2024
Discover the ideal garden potting soil mix for your peace lily. Achieve optimal growth with our expert tips and advice. Enhance your garden today!
(Many of the links in this article redirect to a specific reviewed product. Your purchase of these products through affiliate links helps to generate commission for Storables.com, at no extra cost. Learn more)
Introduction
Welcome to the world of gardening! Whether you are a seasoned green thumb or a beginner looking to nurture your first indoor plant, it’s important to understand the significance of using the right potting soil mix for your plants. In this article, we will focus specifically on the peace lily, a popular choice among indoor gardeners.
The peace lily, scientifically known as Spathiphyllum, is a stunning plant with glossy green leaves and elegant white flowers. It not only adds beauty and freshness to any space but also has air-purifying properties, making it an ideal choice for indoor environments.
While proper lighting, watering, and temperature conditions are crucial for the peace lily’s well-being, the potting soil mix plays an equally important role in its growth and overall health. The right type of potting soil mix provides essential nutrients, aids in water retention, promotes healthy root development, and ensures proper drainage.
In this article, we will discuss the factors to consider when choosing a potting soil mix for your peace lily, the common ingredients found in a peace lily potting soil mix, and even provide you with a step-by-step guide on how to make your own potting soil mix for your peace lily.
Whether you are a hands-on gardener who enjoys crafting your own potting soil mix or someone who prefers the convenience of store-bought options, this article will equip you with the knowledge to make an informed decision for your peace lily.
So, let’s dive in and discover the secrets to creating a thriving environment for your peace lily through the right potting soil mix!
Key Takeaways:
- Choose the right potting soil mix to help your peace lily thrive. Consider factors like drainage, moisture retention, and nutrient content for a healthy and vibrant plant.
- Transplant your peace lily into a well-blended potting soil mix and provide proper care for beautiful foliage and blooms. Monitor moisture, lighting, and pests to ensure a thriving indoor garden.
Read more: How To Make Potting Soil Mix
Importance of Using the Right Potting Soil Mix for a Peace Lily
When it comes to the health and well-being of your peace lily, the potting soil mix you choose can make a significant difference. Here are a few key reasons why using the right potting soil mix is of utmost importance:
- Nutrient Availability: The potting soil mix provides the essential nutrients that the peace lily needs for healthy growth. These nutrients include nitrogen, phosphorus, and potassium, as well as trace elements like iron, magnesium, and calcium. A well-balanced soil mix ensures that your peace lily has access to these vital nutrients, allowing it to thrive and produce vibrant foliage and beautiful blooms.
- Moisture Retention: Peace lilies prefer consistently moist but not overly wet soil. A proper potting soil mix is designed to retain moisture, allowing the roots to access water as needed. It also prevents excessive water pooling at the bottom of the pot. This balance is crucial in preventing root rot, a common issue that can occur if the soil retains too much water.
- Drainage: Adequate drainage is essential for the health of your peace lily. Excess water should be able to flow freely out of the pot, preventing waterlogged soil and root suffocation. A well-draining potting soil mix allows for optimal oxygen flow to the roots and helps prevent the accumulation of salts and minerals that can harm the plant over time.
- Root Development: The potting soil mix plays a vital role in supporting healthy root development. It should be loose enough to allow the roots to expand and grow freely, promoting a stronger and more resilient plant. Good aeration within the soil mix ensures that the roots have access to oxygen, helping them absorb water and nutrients more effectively.
- Pest and Disease Prevention: Using a high-quality potting soil mix can help prevent pests and diseases from attacking your peace lily. Well-draining soil is less attractive to pests that thrive in overly moist conditions, such as fungus gnats and root rot pathogens. Additionally, some potting soil mixes may contain beneficial microorganisms that can help suppress harmful pathogens and promote overall plant health.
By using the right potting soil mix, you create an optimal growth environment for your peace lily, ensuring its long-term vitality. It’s worth investing the time and effort into choosing or creating a potting soil mix that meets the specific needs of your plant.
Now that we understand the importance of the potting soil mix, let’s explore the factors you should consider when selecting the right mix for your peace lily.
Factors to Consider When Choosing a Potting Soil Mix
Choosing the right potting soil mix for your peace lily is essential for its overall health and vitality. Here are some factors to consider when selecting a potting soil mix:
- Drainage: Peace lilies prefer well-draining soil to avoid waterlogged roots. Look for potting soil mixes that have a good balance of organic matter and inorganic materials like perlite or vermiculite. These ingredients help promote proper drainage by allowing excess water to flow out of the pot.
- Moisture Retention: While drainage is important, peace lilies still need a potting soil mix that retains some moisture. Look for a mix that has organic matter like peat moss or coconut coir, as these materials can hold moisture while still allowing excess water to drain away. This ensures that your peace lily has access to water without becoming waterlogged.
- Nutrient Content: Peace lilies benefit from a well-balanced potting soil mix that provides essential nutrients. Look for mixes that contain organic matter like compost or worm castings, which naturally release nutrients over time. Additionally, consider using a slow-release fertilizer or supplementing with liquid fertilizers to ensure your peace lily gets the nutrients it needs to thrive.
- pH Levels: Peace lilies prefer slightly acidic to neutral soil, with a pH ranging from 6.0 to 7.0. Test the pH of your chosen potting soil mix to ensure it falls within this ideal range. If the pH is too acidic or alkaline, you can adjust it by adding pH modifiers like dolomite lime (for acidic soil) or sulfur (for alkaline soil).
- Texture: The texture of the potting soil mix is crucial for root development. Look for a mix with a light and airy texture, allowing the roots to breathe and grow properly. Avoid heavy, compacted mixes that can hinder root growth and lead to water retention issues.
- Organic vs. Synthetic: Some gardeners prefer organic potting soil mixes that are free from synthetic fertilizers and pesticides. These mixes often contain natural ingredients and are considered more environmentally friendly. However, synthetic mixes can also provide adequate nutrition and may be more convenient for some gardeners. Consider your gardening preferences and values when choosing between organic and synthetic potting soil mixes.
Remember, each peace lily may have slightly different preferences, so it’s essential to monitor your plant’s response to the chosen potting soil mix. If you notice any signs of stress or lack of growth, you may need to adjust the mix to better suit your plant’s needs.
Now that you have a better understanding of the factors to consider when choosing a potting soil mix for your peace lily, let’s delve into the common ingredients found in a peace lily potting soil mix.
Common Ingredients in a Peace Lily Potting Soil Mix
A well-balanced potting soil mix for a peace lily should contain a combination of ingredients that provide adequate drainage, moisture retention, and essential nutrients. Here are some common ingredients you can find in a peace lily potting soil mix:
- Peat Moss: Peat moss is a popular organic ingredient in potting soil mixes. It has excellent moisture retention properties, keeping the soil evenly moist without becoming waterlogged. It also contributes to the overall texture of the soil, ensuring good aeration.
- Coconut Coir: Coconut coir, derived from coconut husks, is another organic ingredient that can be used in potting soil mixes. It has similar properties to peat moss, providing moisture retention and aeration. Coconut coir is often considered a sustainable alternative to peat moss.
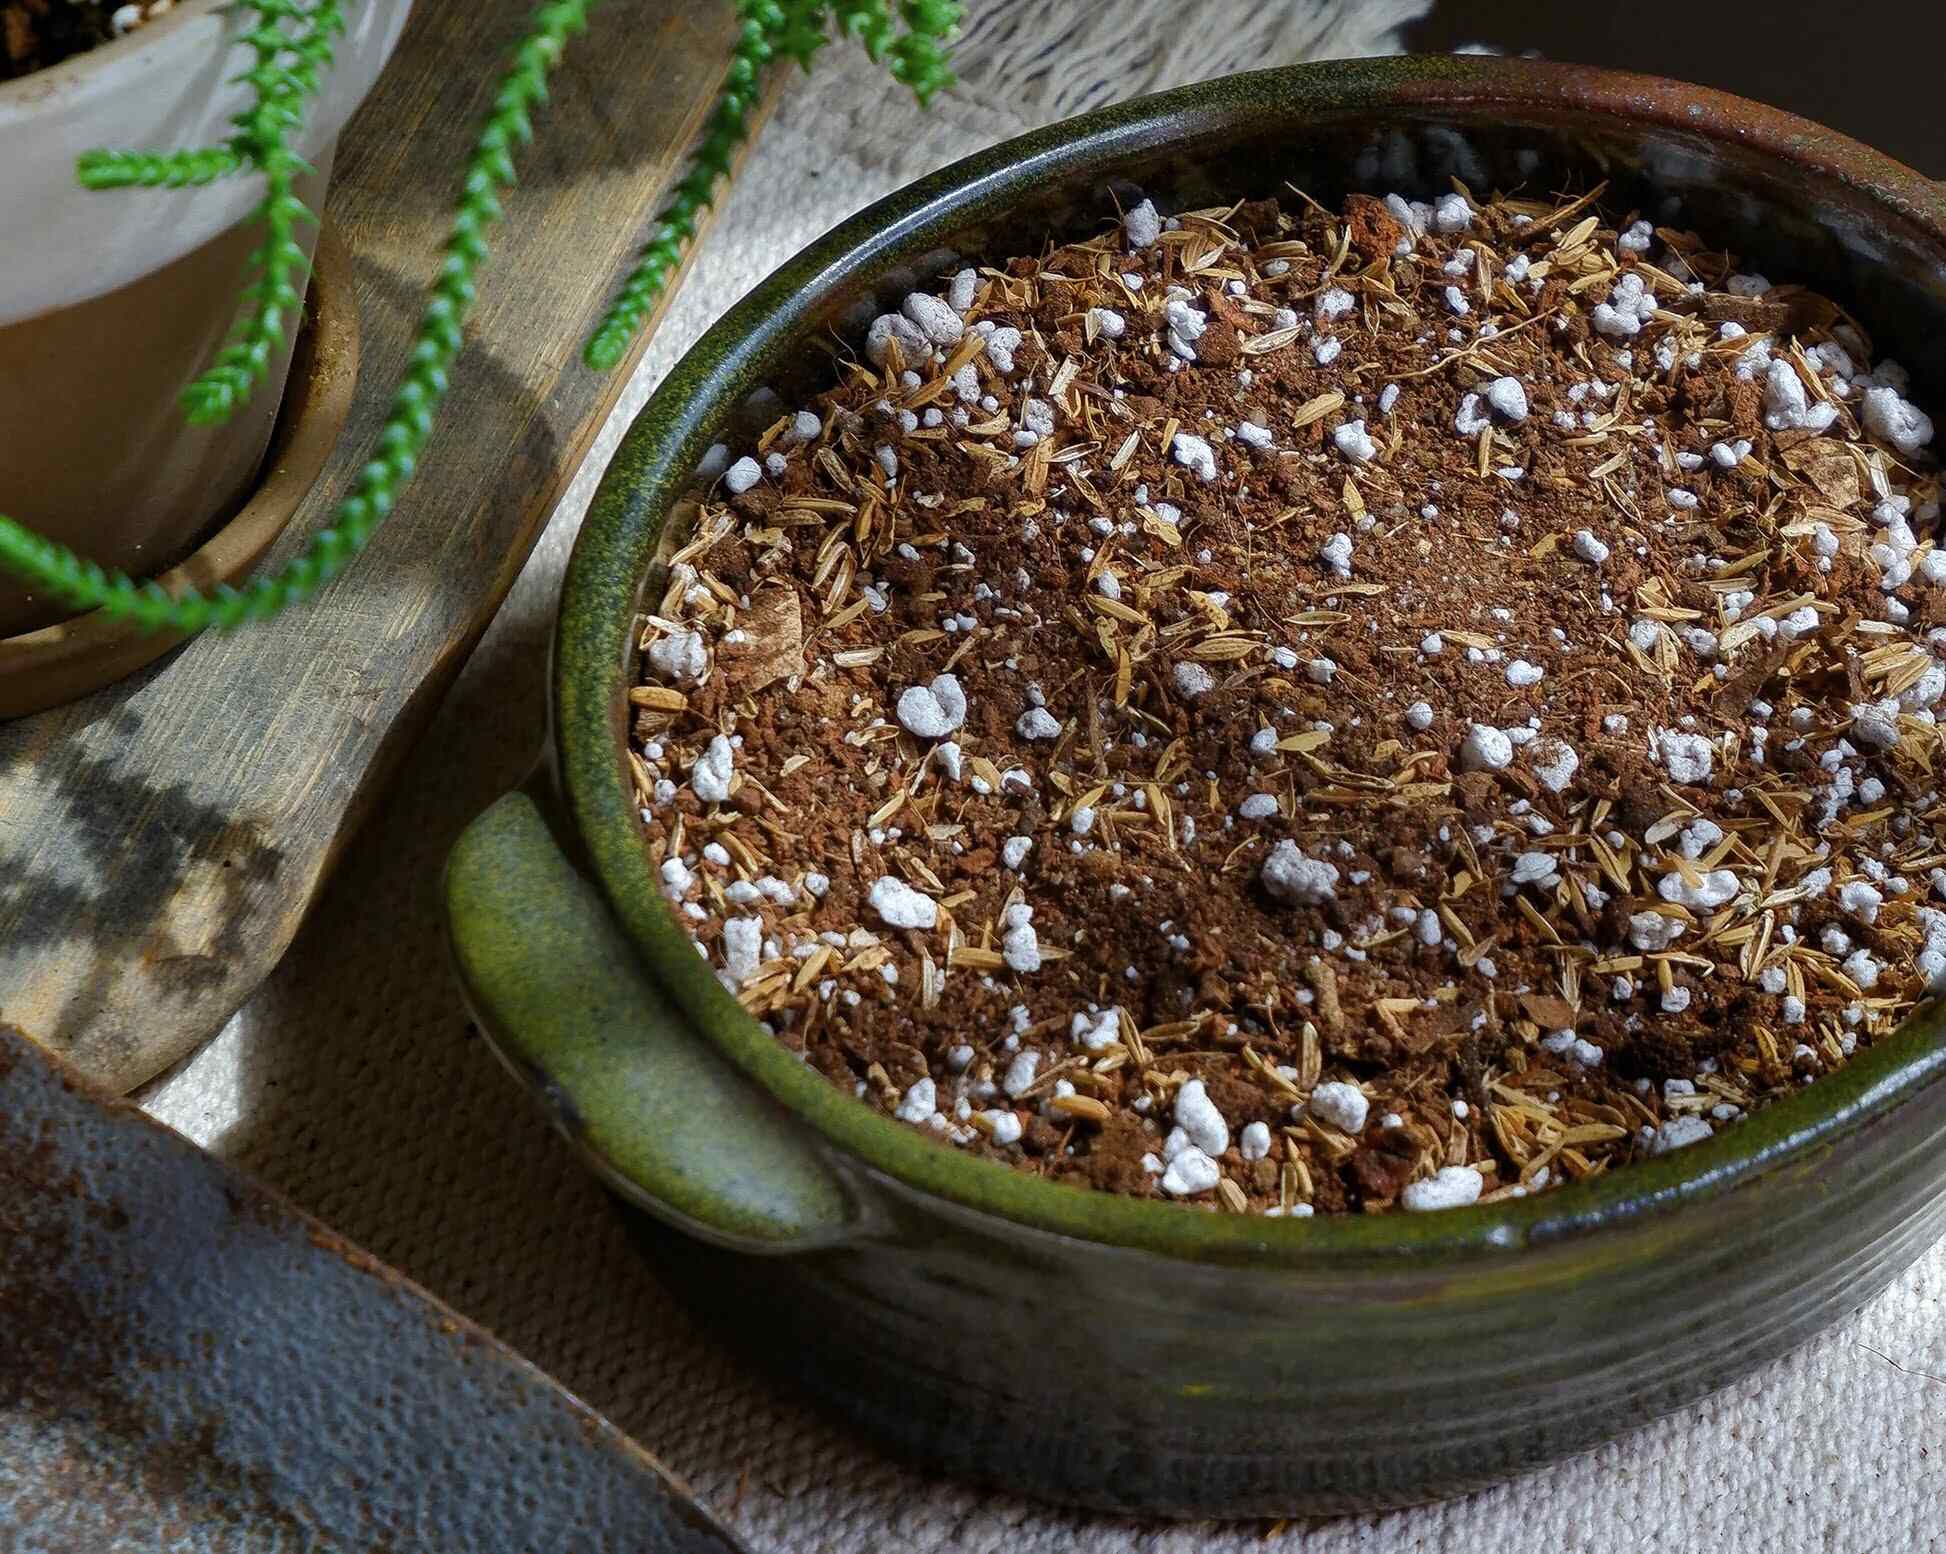
- Perlite: Perlite is a volcanic glass that is heated and expanded to create lightweight, porous particles. It is commonly added to potting soil mixes to improve drainage and aeration. Perlite prevents the soil from becoming compacted and helps maintain a well-balanced moisture level.
- Vermiculite: Vermiculite is another mineral that is expanded through heat to create a lightweight and moisture-absorbent material. It helps retain moisture in the soil mix, ensuring that the peace lily’s roots have access to water. Vermiculite also aids in aeration and prevents soil compaction.
- Compost: Compost is a rich organic matter that provides essential nutrients to the plant. It improves the soil structure, enhances water retention, and promotes healthy root development. Adding compost to the potting soil mix enriches it with beneficial microorganisms that naturally break down organic matter and release nutrients over time.
- Worm Castings: Worm castings, also known as vermicompost, are the waste produced by earthworms. They are nutrient-rich and contribute to the overall fertility of the soil. Worm castings improve soil structure, enhance moisture retention, and provide a slow-release supply of nutrients to the peace lily.
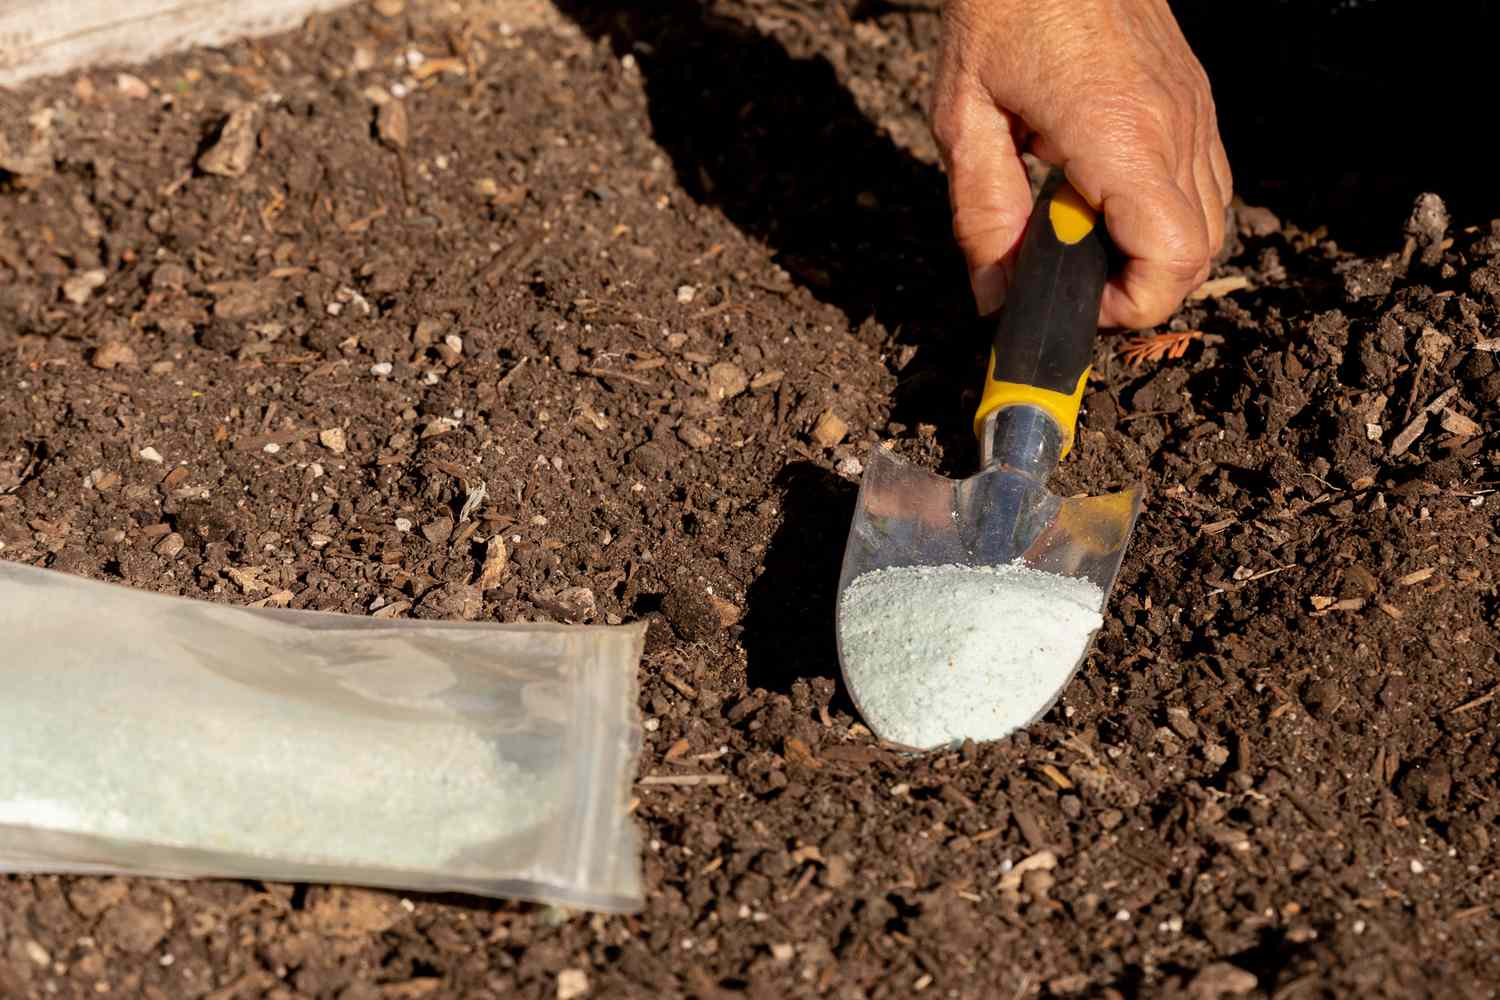
- Slow-release Fertilizers: Some potting soil mixes may contain slow-release fertilizers that provide a steady supply of nutrients over an extended period. These fertilizers release nutrients gradually, ensuring that the peace lily receives consistent nutrition. Be sure to follow the manufacturer’s instructions when using potting soil mixes with slow-release fertilizers.
These are just a few examples of the common ingredients you can find in a potting soil mix for a peace lily. Different brands and products may have variations in their formulations based on specific plant needs and regional availability. It is always a good idea to read the product labels, conduct research, and choose a potting soil mix that aligns with your peace lily’s requirements.
Now that you have an understanding of the common ingredients in a peace lily potting soil mix, let’s move on to the step-by-step guide on how to make your own potting soil mix for your peace lily!
Step-by-Step Guide on How to Make Your Own Potting Soil Mix for a Peace Lily
If you prefer a hands-on approach and want to customize your potting soil mix for your peace lily, you can easily create your own mixture. Here is a step-by-step guide to help you make your own potting soil mix:
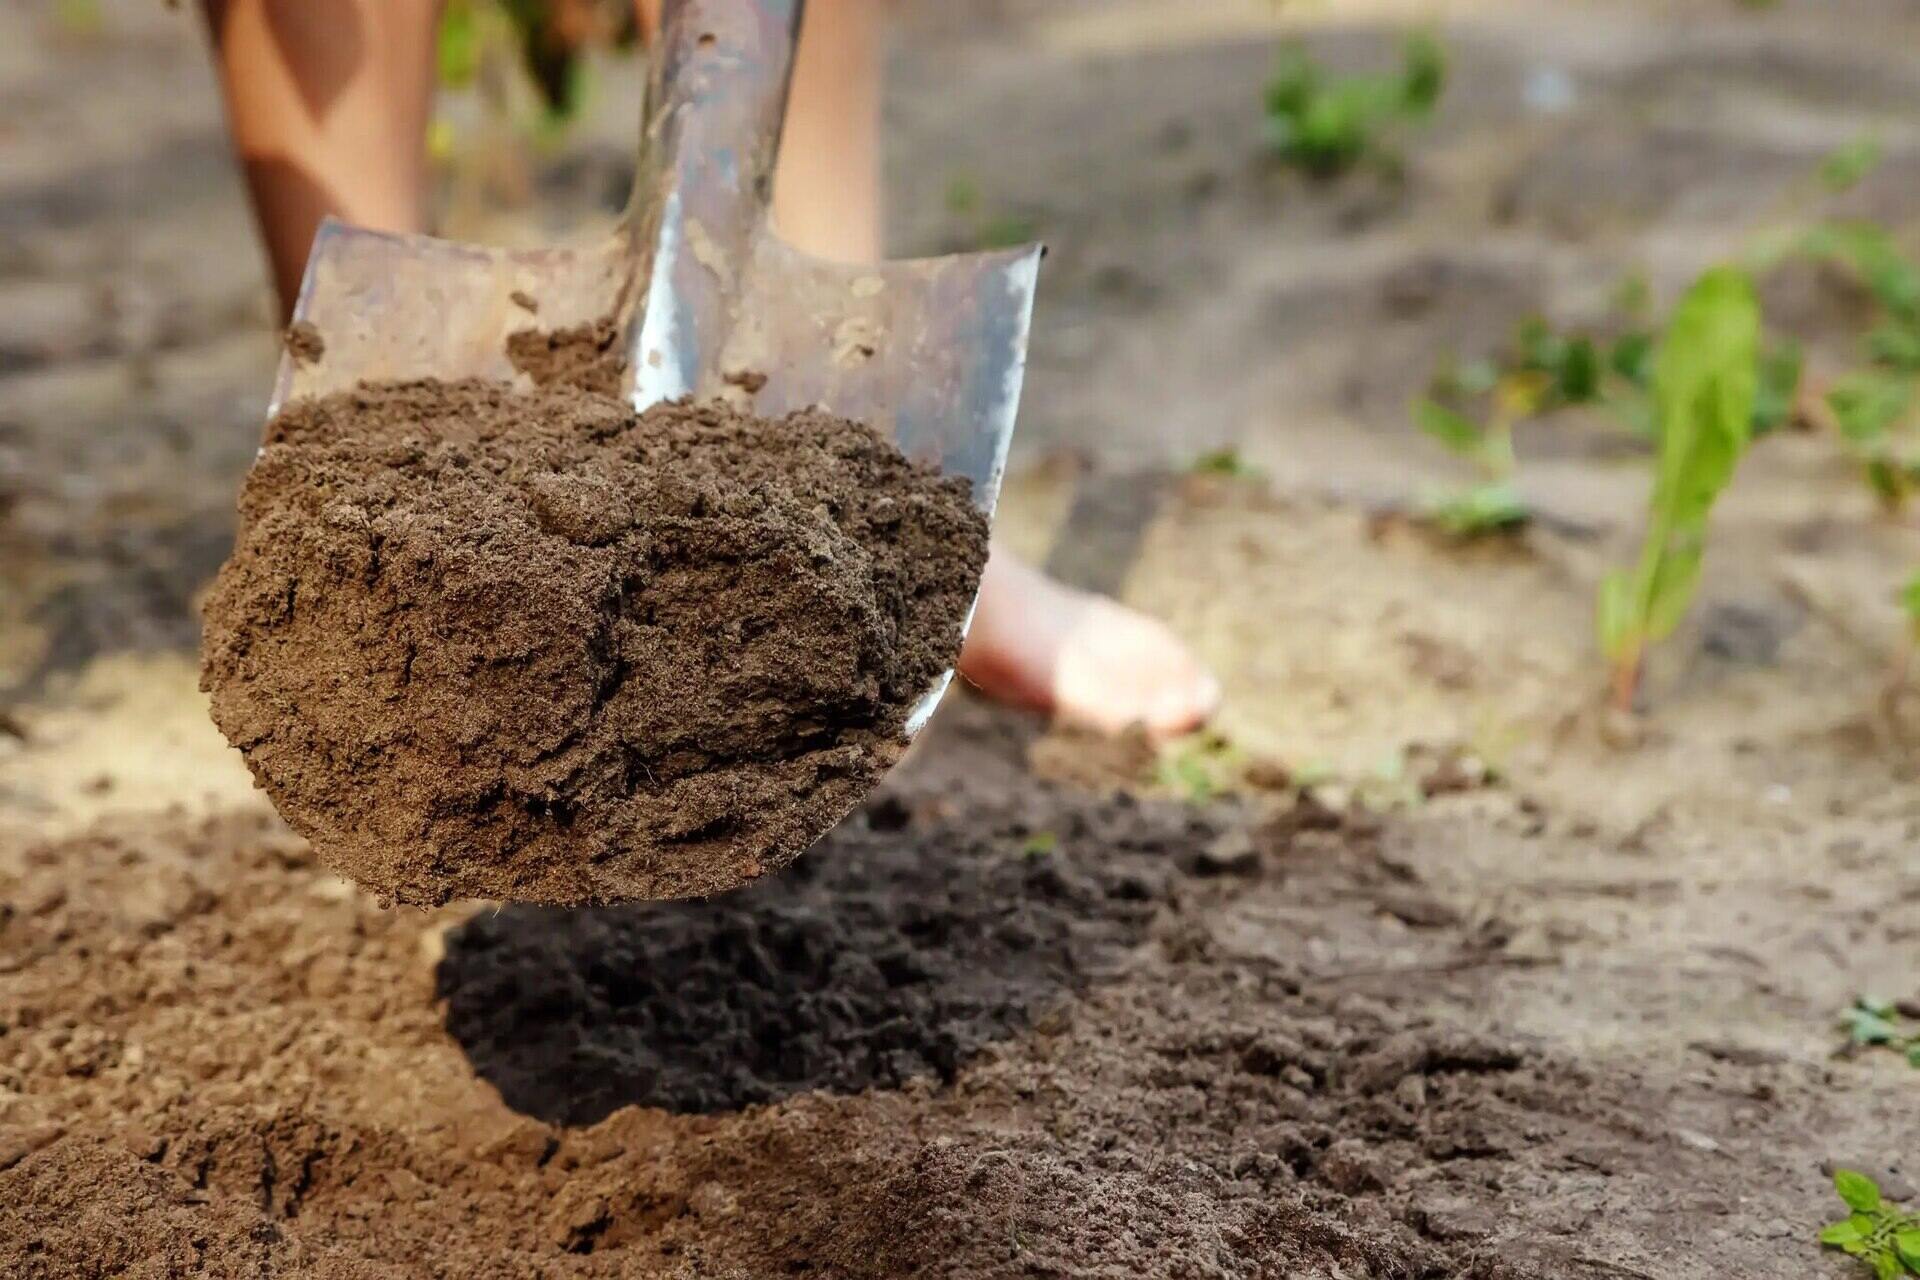
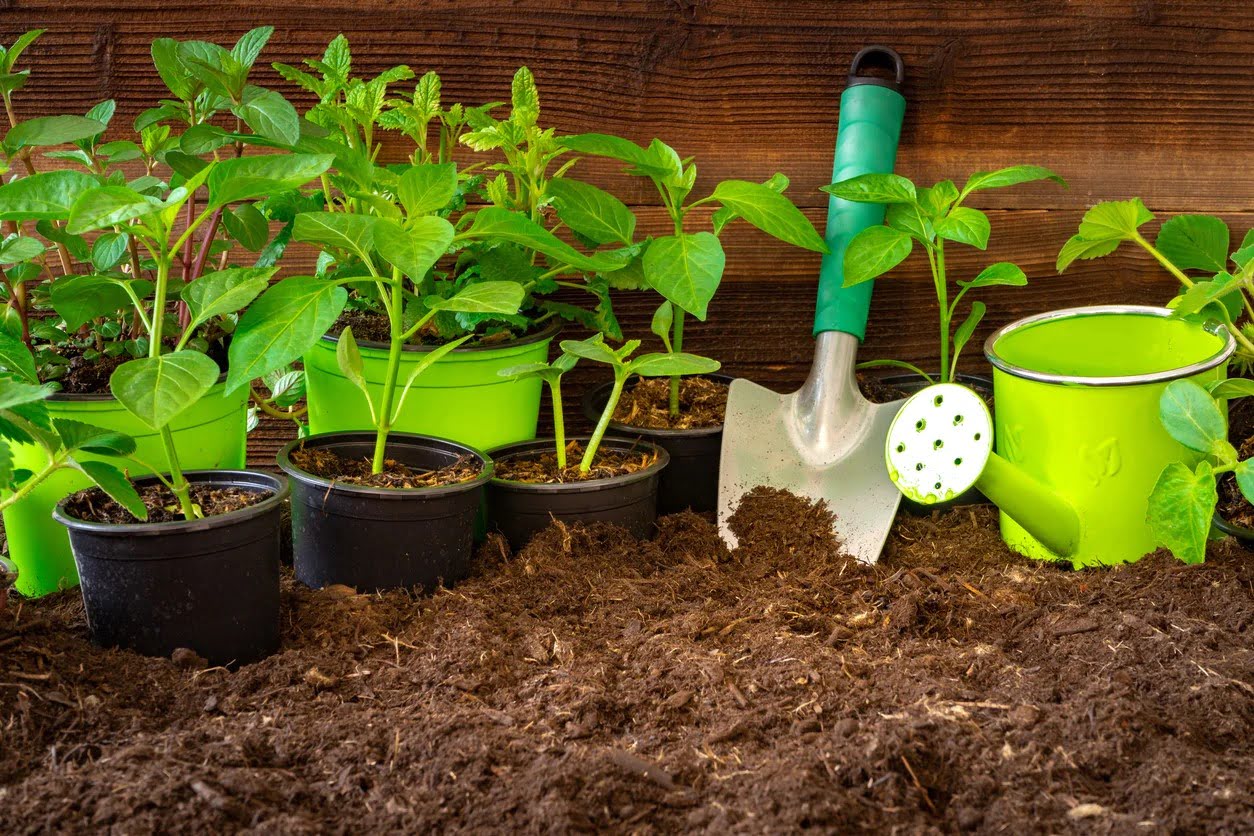
- Gather Ingredients: Collect the necessary ingredients for your potting soil mix. You will need components that provide drainage, moisture retention, and nutrition. Common ingredients include peat moss, perlite, compost, and slow-release fertilizers. Optional ingredients may include coconut coir, vermiculite, and worm castings.
- Prepare Container: Choose a clean container or bucket that is large enough to hold the desired amount of potting soil mix. Ensure that it is free from any contaminants and has proper drainage holes or perforations.
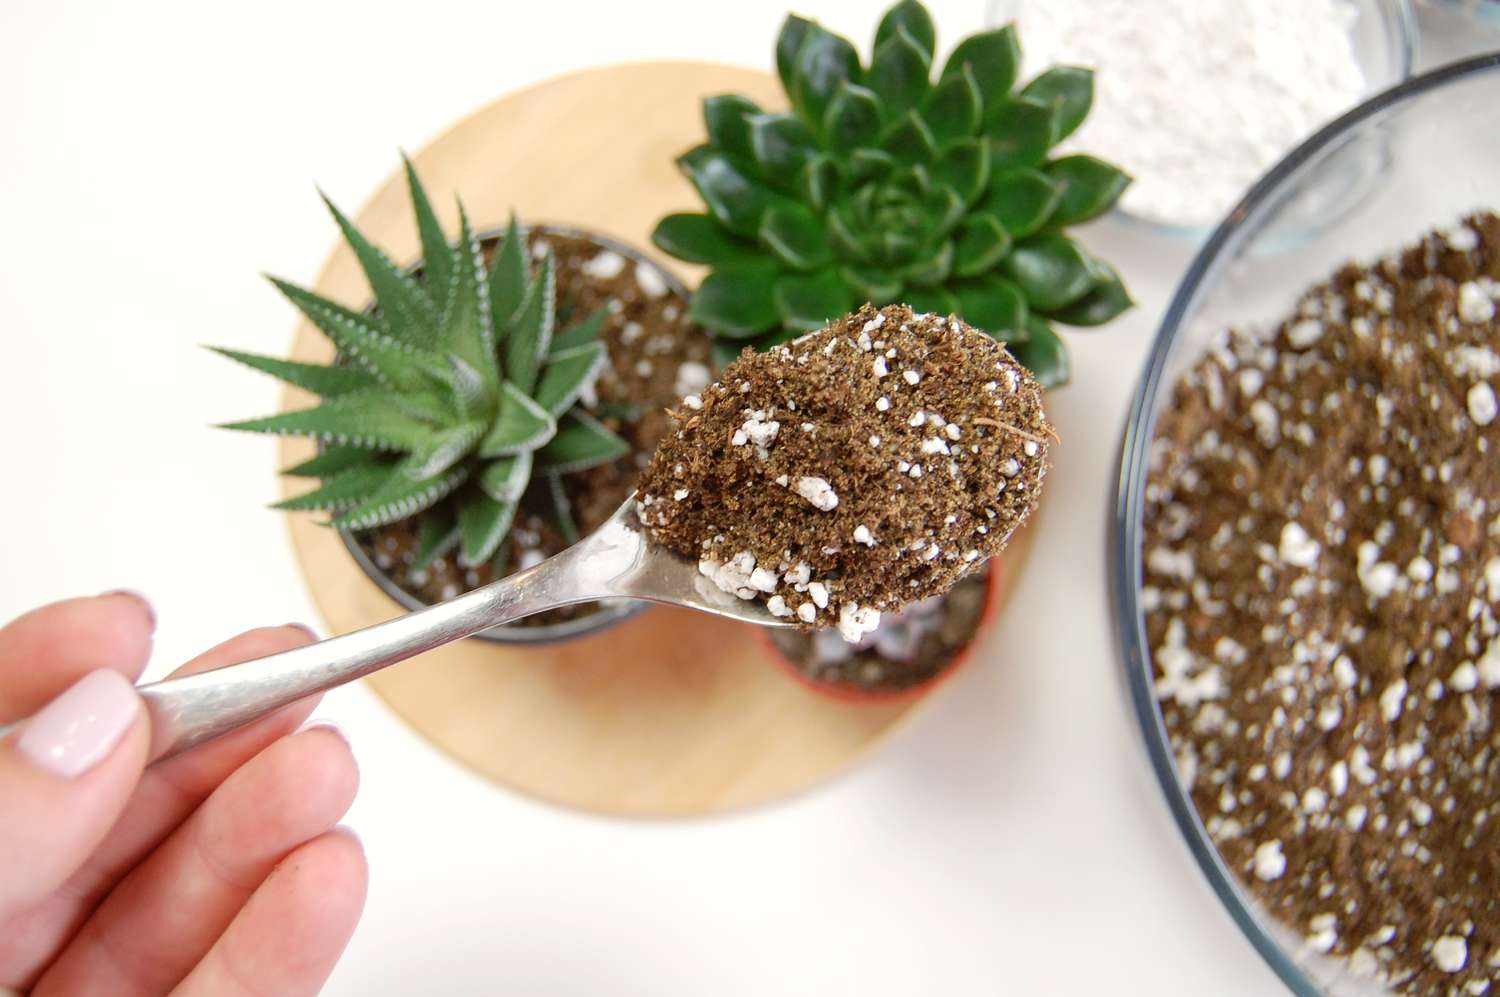
- Measure Ingredients: Use a measuring cup or scale to measure the ingredients based on the desired proportions. A basic recipe for a potting soil mix includes 50-60% peat moss or coconut coir, 30-40% perlite or vermiculite, and 10-20% compost. Adjust the ratios based on the specific needs of your peace lily and personal preference.
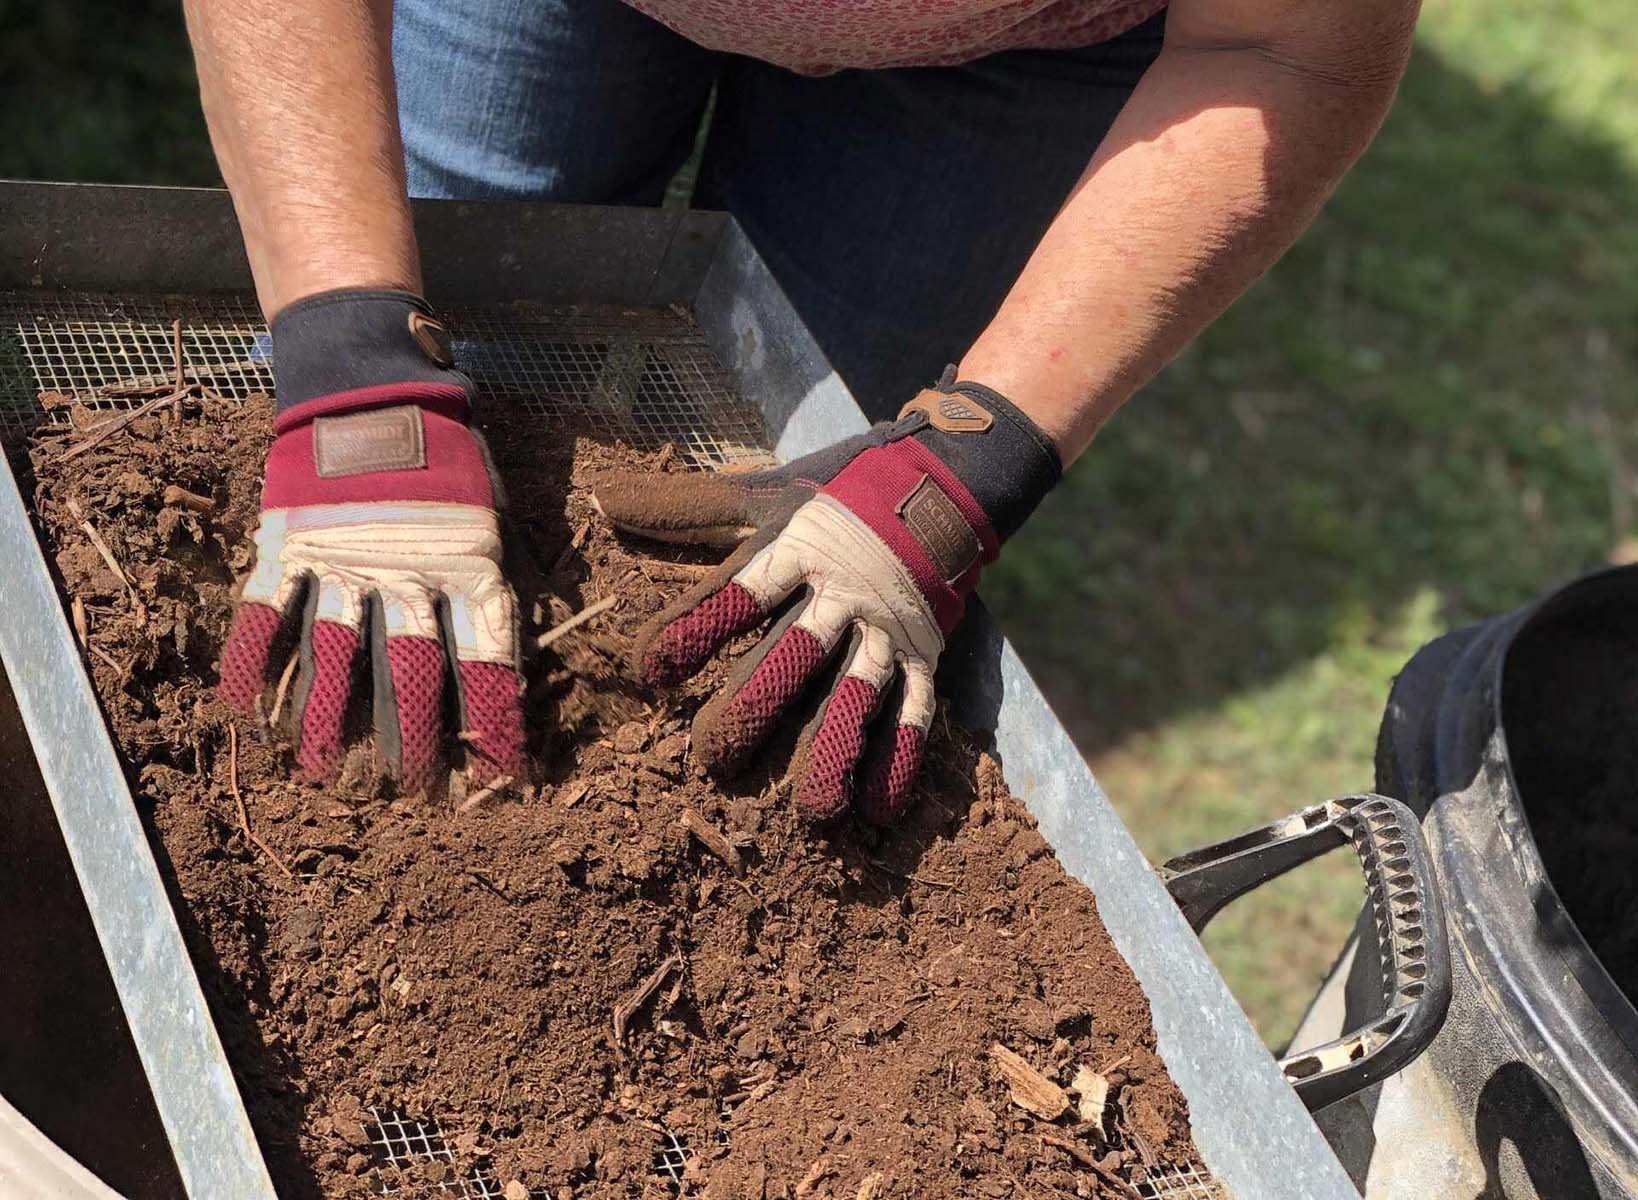
- Mix Dry Ingredients: Place the measured amounts of peat moss or coconut coir and perlite or vermiculite into the container. Gently mix the dry ingredients together using a trowel or your hands. This helps ensure an even distribution of materials.
- Add Compost: If using compost, add it to the container and mix it thoroughly with the dry ingredients. Compost provides additional nutrients and improves the overall fertility of the potting soil mix.
- Incorporate Slow-release Fertilizer: If desired, add slow-release fertilizer according to the manufacturer’s instructions. This step is optional, as some gardeners prefer to add fertilizer separately during regular plant maintenance.
- Moisten the Mix: Slowly add water to the potting soil mix while continuously mixing it. Aim for a slightly moist consistency, similar to a damp sponge. Be careful not to overwater, as it can lead to compacted soil.
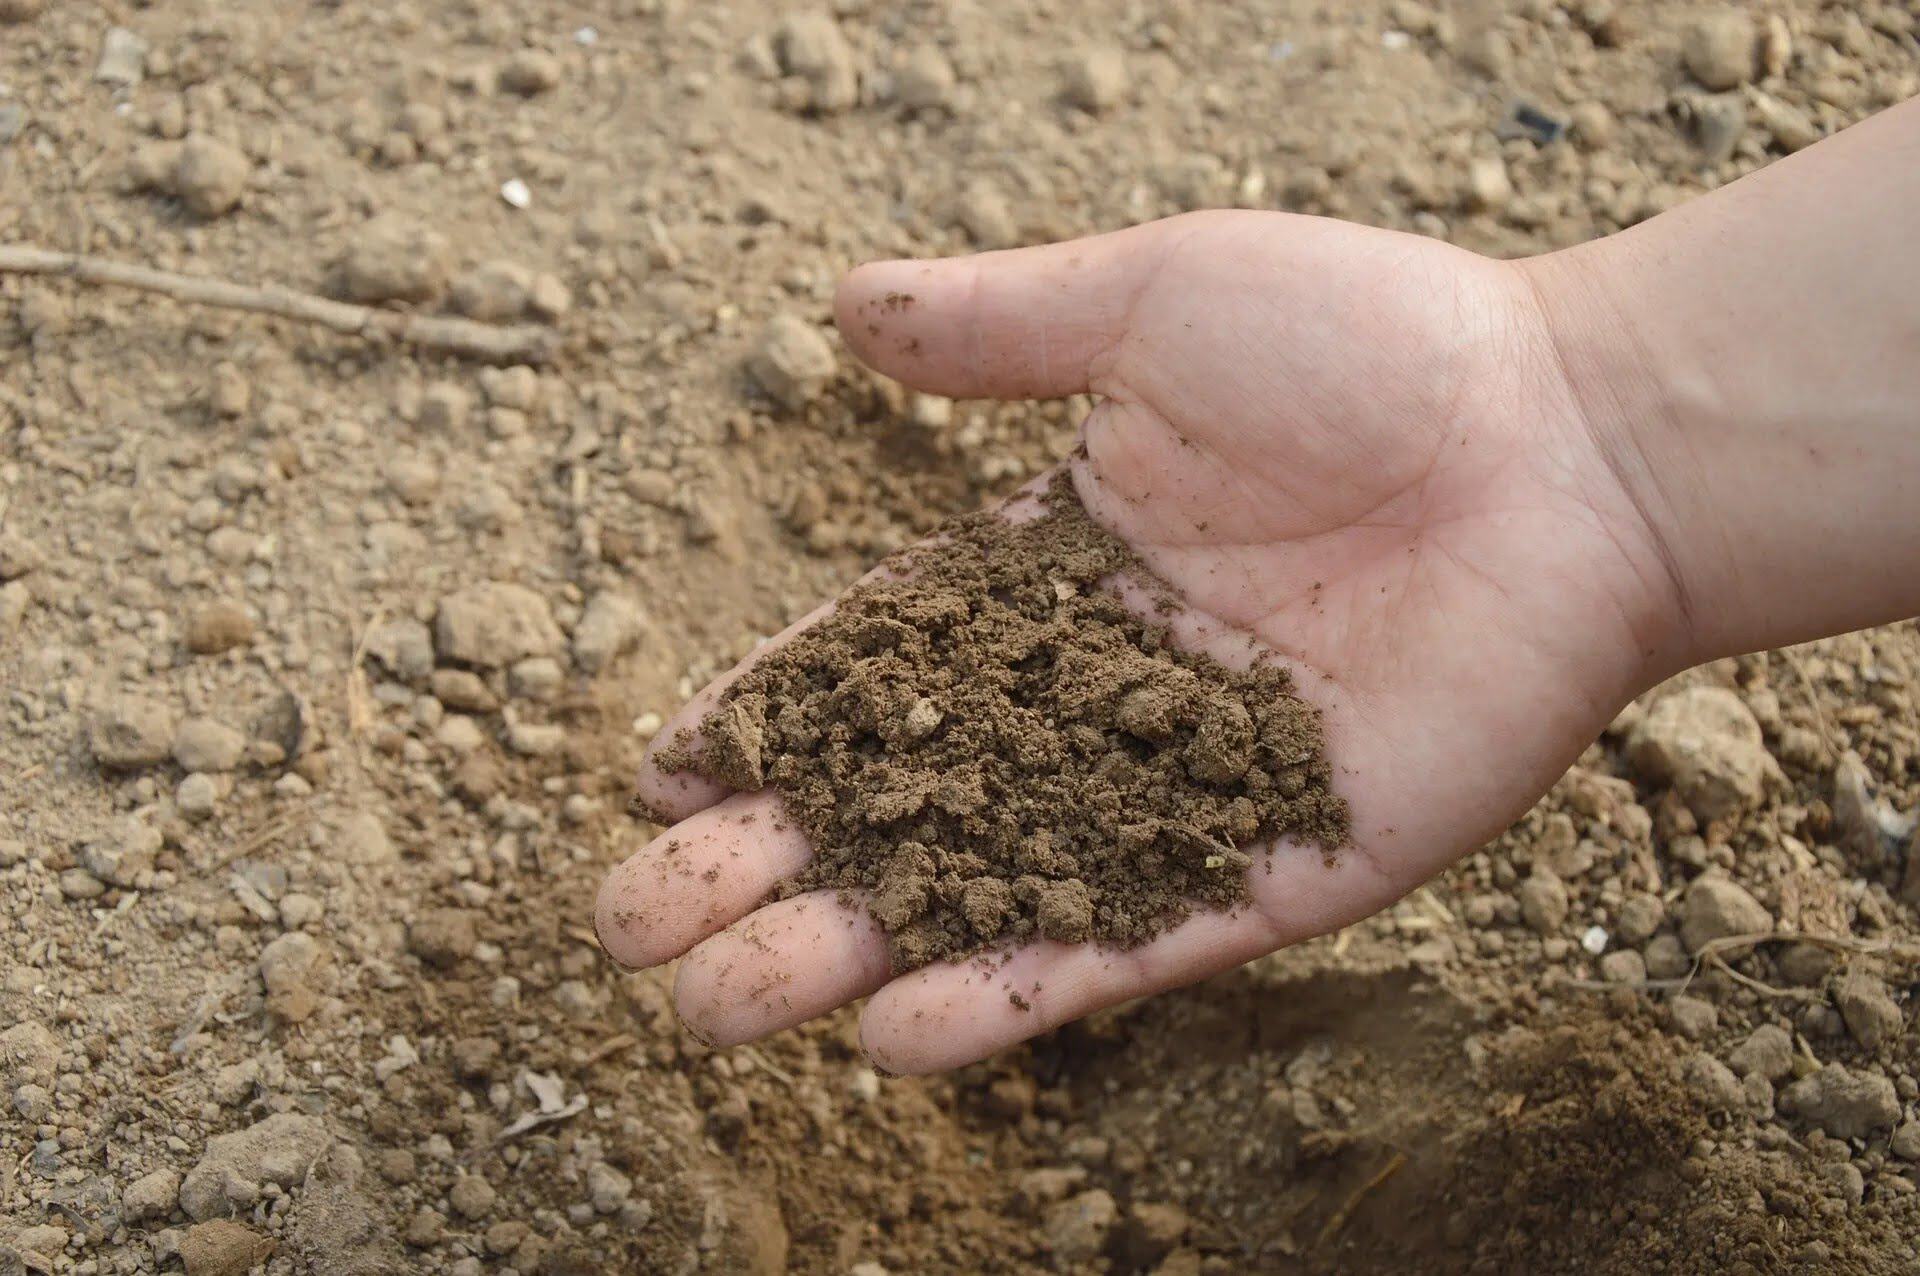
- Test the Mix: Take a handful of the potting soil mix and squeeze it gently. If it holds its shape but crumbles easily when touched, it is at the correct moisture level. If it is dripping with water or feels overly wet, add more dry ingredients to balance the moisture.
- Use or Store: Once the potting soil mix is properly mixed and moistened, it is ready to use. Transfer it into a clean, airtight container with a lid if you have leftovers. Store it in a cool and dry area to prevent moisture buildup, which can lead to mold or bacterial growth.
Congratulations! You have successfully made your own potting soil mix for your peace lily. Remember to adjust the ingredients and proportions based on your specific plant’s needs, as each peace lily may have slightly different requirements. Regularly monitor the moisture levels and overall health of your peace lily to make any necessary adjustments to the potting soil mix.
Now that you have prepared the potting soil mix, it’s time to transplant your peace lily into its new home. We will discuss the process of transferring your peace lily to the potting soil mix in the next section.
When repotting a peace lily, use a well-draining potting mix with a good balance of organic matter and perlite or sand. A mix designed for houseplants or a blend of peat moss, perlite, and pine bark works well.
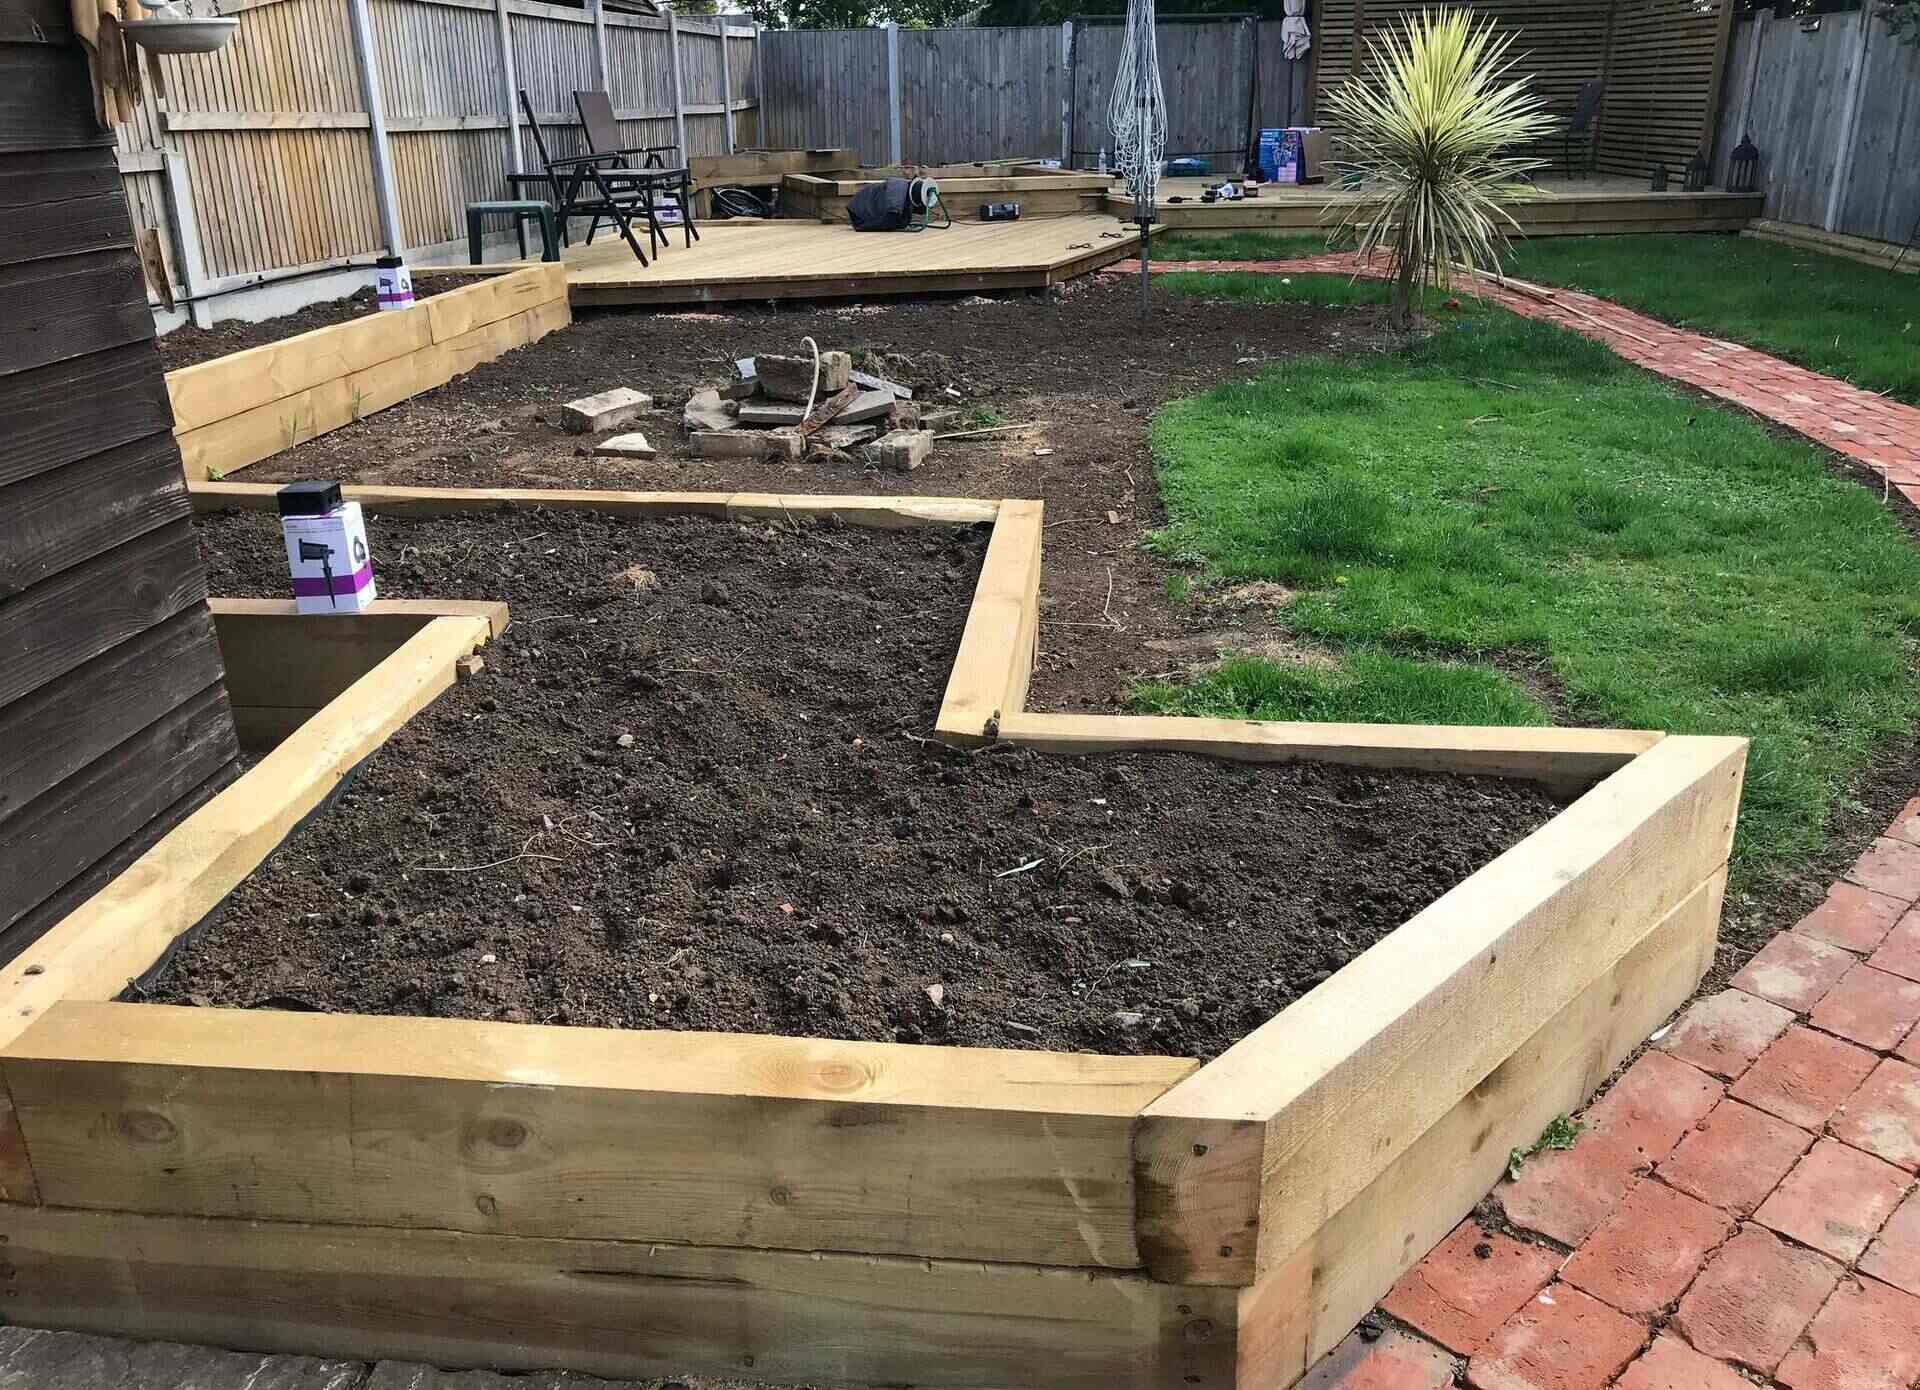
Preparing the Container for Potting
Before you transplant your peace lily into the new potting soil mix, it’s important to properly prepare the container. Here are the steps to ensure your container is ready for potting:
- Clean the Container: Start by cleaning the container you plan to use for your peace lily. Wash it with warm, soapy water to remove any dirt or residue. Rinse it thoroughly to ensure no soap residue remains.
- Choose the Right Size: Select a container that is slightly larger than the current root ball of your peace lily. This allows room for the roots to grow without becoming overcrowded. An oversized pot can lead to water retention issues, while an undersized pot hinders the plant’s growth.
- Ensure Proper Drainage: Check the container for proper drainage holes or perforations. These holes allow excess water to escape, preventing waterlogged soil. If the container doesn’t have drainage holes, you can create them using a drill or by placing small stones or broken pottery pieces at the bottom to facilitate drainage.
- Add a Drainage Layer: To further improve drainage, add a layer of small stones, pebbles, or broken pottery pieces at the bottom of the container. This layer helps prevent the drainage holes from becoming blocked and allows excess water to flow freely.
- Place a Saucer or Tray: If you plan to place the container on a surface that may be damaged by water or soil, such as a wooden table or carpet, place a saucer or tray underneath to catch any water drainage.
- Prepare for Potting: Once the container is clean and prepared, position it in the desired location. Ensure that the pot is stable and won’t topple over. Place it where your peace lily will receive the appropriate amount of light and where the temperature conditions are suitable.
By properly preparing the container for potting, you provide a healthy and stable environment for your peace lily to thrive. The right container size and proper drainage ensure adequate oxygen flow to the roots and prevent water-related issues.
Now that your container is ready, it’s time to move on to the exciting part – mixing the ingredients for the potting soil! We will discuss this in the next section.
Mixing the Ingredients for the Potting Soil
Now that you have prepared your container, it’s time to mix the ingredients for the potting soil. Here’s a step-by-step guide on how to create the perfect blend for your peace lily:
- Gather the Ingredients: Collect the ingredients for your potting soil mix. This may include peat moss, perlite, compost, and any other desired components like vermiculite or worm castings.
- Measure the Ingredients: Use measuring cups or a scale to measure the ingredients according to your desired ratio. A common ratio is approximately 50-60% peat moss or coconut coir, 30-40% perlite or vermiculite, and 10-20% compost. Adjust the proportions based on the specific needs of your peace lily.
- Combine the Dry Ingredients: In a clean container or bucket, mix the dry ingredients together. Start with the peat moss or coconut coir, followed by the perlite or vermiculite. Use a trowel or your hands to ensure the ingredients are thoroughly blended.
- Add Compost: If using compost, add it to the mixture and mix well. Compost provides additional nutrients and enhances the fertility of the potting soil mix.
- Optional Amendments: If desired, you can add other amendments like worm castings or slow-release fertilizers at this stage. Incorporate them into the mixture, ensuring an even distribution.
- Moisten the Mix: Slowly add water to the mixture while continuously mixing it. Aim for a slightly moist consistency, resembling a damp sponge. Be cautious not to overwater, as it can lead to compacted soil.
- Test the Mixture: Take a handful of the potting soil mix and gently squeeze it. If it holds its shape but crumbles easily when touched, it is at the correct moisture level. If it is dripping with water or feels overly wet, add more dry ingredients to balance the moisture.
- Adjustments: If the mixture is too dry, add small amounts of water and mix until the desired consistency is achieved. If it is too wet, add more dry ingredients to absorb the excess moisture.
By following these steps, you will create a well-blended potting soil mix that provides the right balance of moisture retention, drainage, and nutrition for your peace lily.
Once the mixture is ready, it’s time to proceed to the next step: transplanting your peace lily into the new potting soil mix. We will explore this process in the following section.
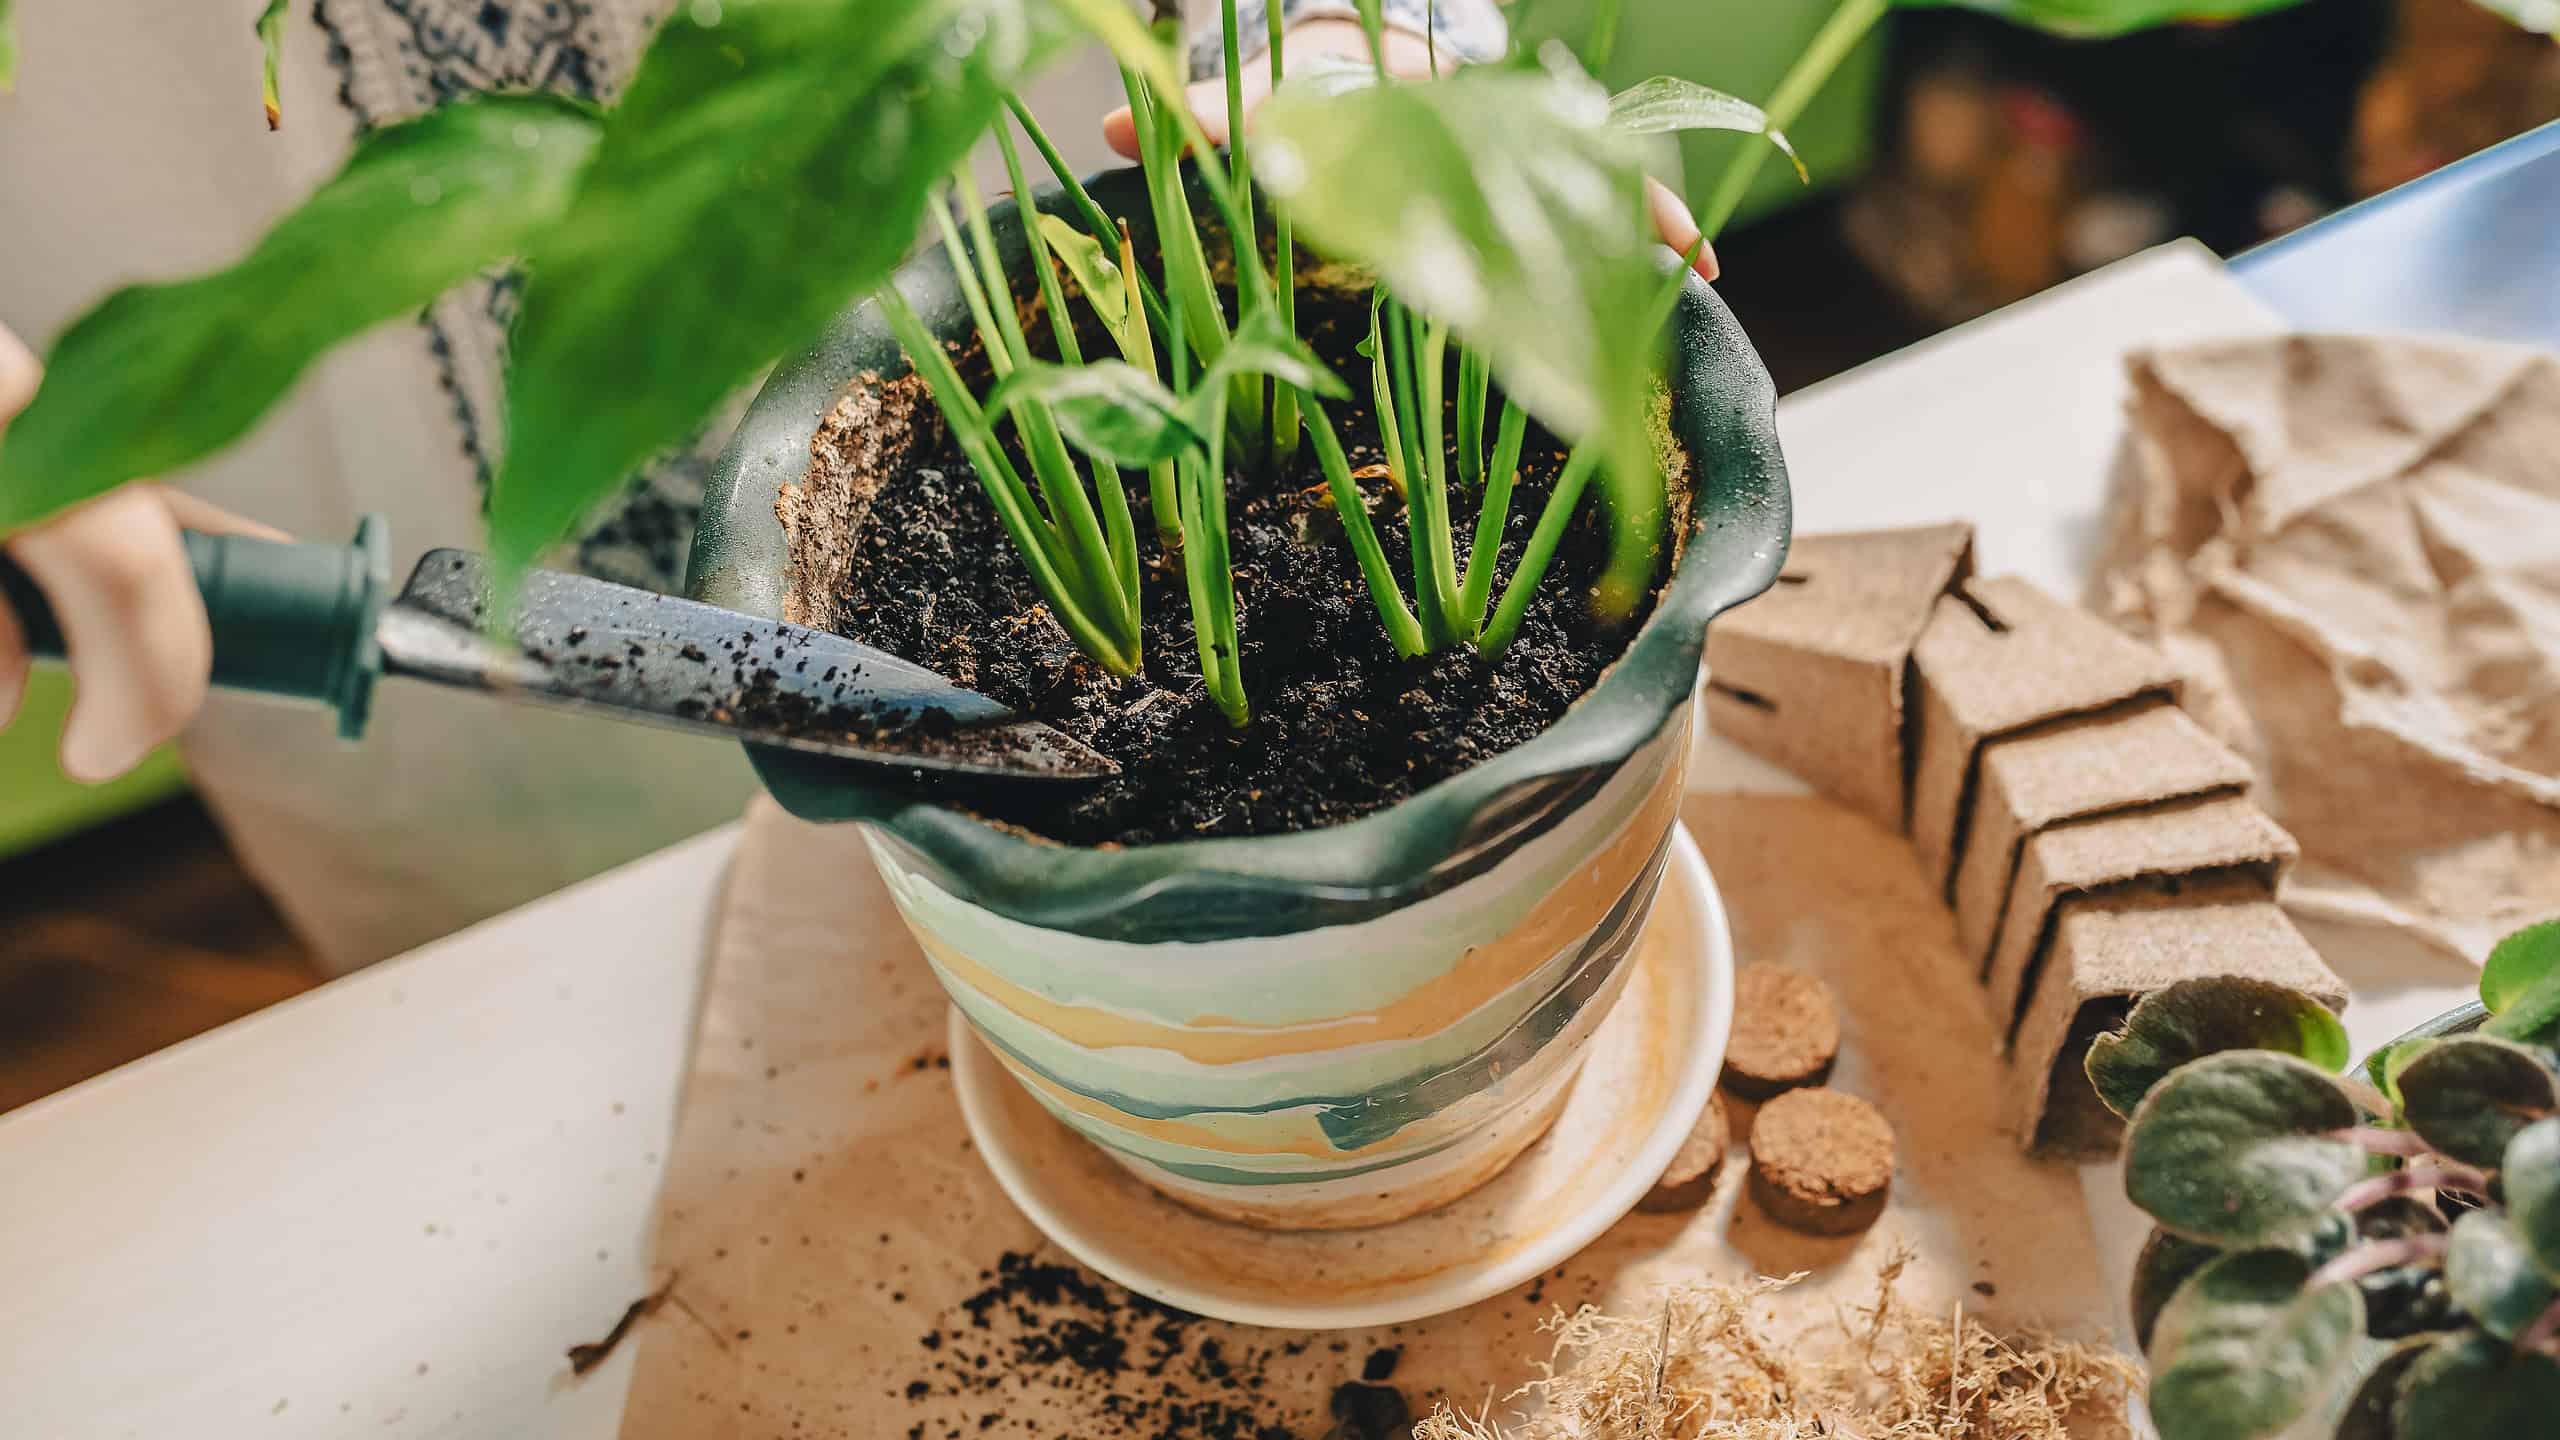
Transplanting the Peace Lily into the New Potting Soil Mix
Now that you have prepared the potting soil mix, it’s time to transplant your peace lily into its new home. Here’s a step-by-step guide to help you with the transplanting process:
- Choose the Right Time: Spring is typically the best time to transplant your peace lily when it is actively growing. However, if the current container is too small or if you notice signs of root congestion, you can transplant it at any time of the year.
- Carefully Remove the Peace Lily: Gently remove the peace lily from its current container. You may need to lightly tap the sides of the container or carefully loosen the root ball to facilitate its removal. If the plant is root-bound, gently untangle and loosen the roots to promote healthy growth.
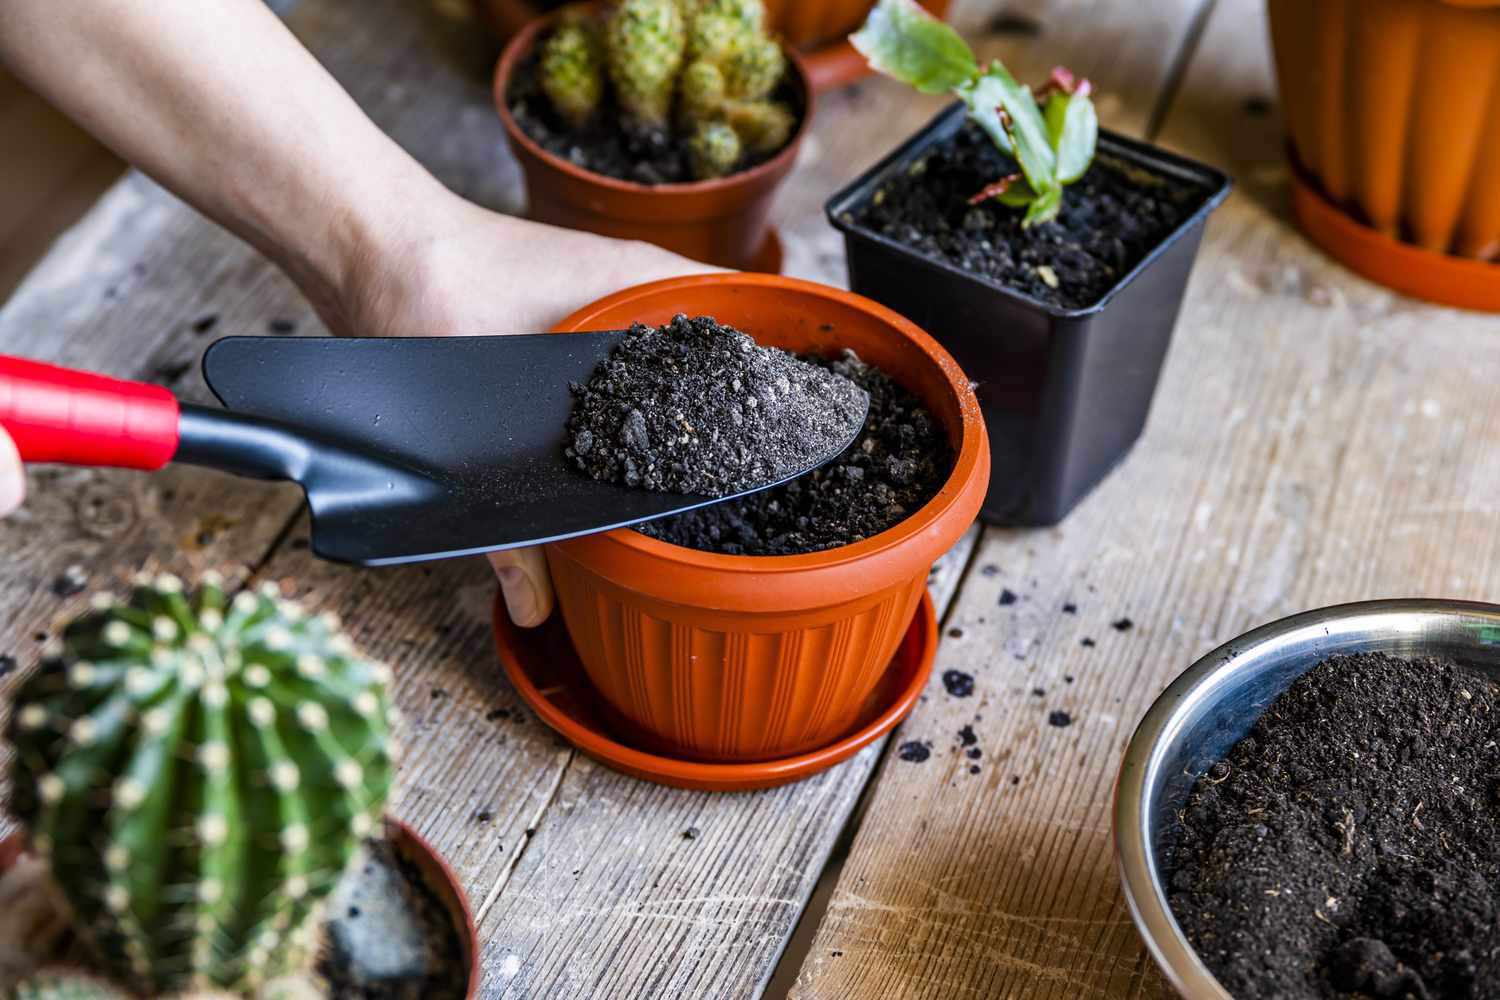
- Place Potting Soil Mix in the New Container: Place a layer of the prepared potting soil mix at the bottom of the new container. Ensure that the layer is thick enough to provide a sufficient foundation for the peace lily’s root system.
- Position the Peace Lily: Position the peace lily in the center of the new container, making sure that it sits at the same level it was in the previous container. Adjust the amount of potting soil mix beneath the plant to achieve the desired height.
- Add Potting Soil Mix: Fill in the space around the peace lily with the prepared potting soil mix. Gently pack the soil around the roots, ensuring that there are no air pockets. Leave a small gap between the top of the soil and the rim of the container to allow for watering.
- Water the Transplanted Peace Lily: Water the peace lily thoroughly after transplanting to help settle the soil and eliminate any remaining air pockets. Ensure that the water evenly saturates the soil without overwhelming the plant. Allow excess water to drain out through the drainage holes.
- Place in Optimal Conditions: Transfer the potted peace lily to its designated spot, providing the right amount of indirect light and suitable temperature and humidity levels. Avoid placing it in direct sunlight, which can lead to scorching of the leaves.
- Monitor and Adjust: Monitor the peace lily closely in the days following transplantation. Ensure that the soil remains consistently moist without becoming waterlogged. Adjust the watering schedule as needed and observe how the plant responds to its new potting soil mix.
Transplanting your peace lily into the new potting soil mix helps provide the plant with fresh nutrients, better drainage, and ample room for root growth. It’s crucial to handle the delicate roots with care during the transplanting process to minimize stress on the plant.
Now that you have successfully transplanted your peace lily, let’s move on to the final section: caring for your peace lily with the proper potting soil mix.
Caring for Your Peace Lily with the Proper Potting Soil Mix
Now that your peace lily is nestled in its new potting soil mix, it’s important to provide the right care to ensure its continued health and growth. Here are some key points to keep in mind when caring for your peace lily:
- Watering: Peace lilies prefer consistently moist soil. Check the moisture level of the potting soil mix regularly and water the plant when the top inch of soil feels dry to the touch. Avoid overwatering, as it can lead to root rot. Ensure proper drainage so that excess water can freely flow out of the container.
- Lighting: Peace lilies thrive in bright, indirect light. Place your plant in a well-lit area away from direct sunlight, as direct sun can scorch the leaves. A balance of light and shade will help maintain optimal growth and prevent leaf burn.
- Humidity: Peace lilies prefer higher humidity levels. If the air in your home is dry, consider increasing the humidity around the plant by using a humidifier, placing the pot on a tray of water and pebbles, or misting the leaves regularly. This will help keep the foliage lush and prevent issues like leaf browning.
- Fertilizing: While the potting soil mix provides some nutrients, peace lilies benefit from occasional fertilization. Use a balanced, water-soluble fertilizer or a slow-release fertilizer according to the manufacturer’s instructions. Fertilize during the growing season, typically from spring to early fall, and reduce or stop fertilization during the winter months when growth slows down.
- Pruning: Regular pruning helps maintain the appearance and health of your peace lily. Trim away any yellow or brown leaves, as these may indicate overwatering, underwatering, or nutrient deficiencies. Remove spent flowers to redirect the plant’s energy toward new growth. Always use clean, sharp pruning tools to prevent the spread of diseases.
- Pest Control: Monitor your peace lily for common pests like spider mites, mealybugs, or aphids. If you notice any signs of infestation, promptly treat the plant with natural or organic pest control methods, such as insecticidal soap or neem oil. Regularly wiping the leaves with a damp cloth can also help keep pests at bay.
By providing your peace lily with the proper care, including regular monitoring, watering, lighting, and pruning, it will continue to thrive in its new potting soil mix. Regularly check the soil moisture, observe the leaves for any signs of stress, and make adjustments to your care routine as needed.
Remember that each peace lily may have slightly different preferences, so pay attention to how your specific plant responds to the potting soil mix and adjust your care accordingly.
Congratulations on taking the necessary steps to provide the optimal growing environment for your peace lily with the proper potting soil mix. With proper care and attention, your peace lily will reward you with its stunning foliage and beautiful blooms for years to come!
If you have any further questions or need additional guidance, don’t hesitate to reach out. Happy gardening!
Conclusion
Choosing the right potting soil mix for your peace lily is essential for its overall health and vitality. By understanding the importance of the potting soil mix and considering factors such as drainage, moisture retention, nutrient content, and pH levels, you can create the perfect environment for your peace lily to thrive.
Whether you opt for a store-bought potting soil mix or decide to make your own, the key is to provide a well-balanced mixture that meets the specific needs of your peace lily. Ingredients such as peat moss, perlite, compost, and slow-release fertilizers ensure proper drainage, moisture retention, and nutrient availability.
Transplanting your peace lily into the new potting soil mix requires careful handling of the roots and ensuring proper positioning in the container. Once transplanted, it’s important to provide the right care, including proper watering, adequate lighting, humidity control, occasional fertilization, pruning, and pest control.
Remember that each peace lily is unique, and it may require adjustments in care based on its specific needs. Regularly monitor your plant and make adjustments to your care routine as necessary.
Providing your peace lily with the proper potting soil mix and care will support its growth, enhance its foliage, and promote beautiful blooms. The vibrant green leaves and elegant white flowers of your peace lily will bring life and beauty to your indoor space for years to come.
We hope this comprehensive guide has equipped you with the knowledge and confidence to provide the best potting soil mix and care for your peace lily. Happy gardening!
Frequently Asked Questions about What Potting Soil Mix Do You Use For A Peace Lily
Was this page helpful?
At Storables.com, we guarantee accurate and reliable information. Our content, validated by Expert Board Contributors, is crafted following stringent Editorial Policies. We're committed to providing you with well-researched, expert-backed insights for all your informational needs.


0 thoughts on “What Potting Soil Mix Do You Use For A Peace Lily”