Home>Gardening & Outdoor>Landscaping Ideas>How To Install Sprinklers For Lawns

Landscaping Ideas
How To Install Sprinklers For Lawns
Published: December 25, 2023
Learn how to install sprinklers for your lawn with our expert landscaping ideas. Discover step-by-step instructions for a lush and healthy lawn.
(Many of the links in this article redirect to a specific reviewed product. Your purchase of these products through affiliate links helps to generate commission for Storables.com, at no extra cost. Learn more)
Introduction
Welcome to the world of lush, green lawns and vibrant gardens! A well-designed and properly installed sprinkler system is the key to maintaining a healthy and beautiful landscape. Whether you’re a seasoned gardener or a novice enthusiast, understanding how to install sprinklers for your lawn is a valuable skill that can elevate the overall appeal of your outdoor space.
Installing a sprinkler system may seem like a daunting task, but with the right guidance and a bit of determination, you can transform your yard into a verdant oasis. This comprehensive guide will walk you through the process of planning, gathering materials, preparing the area, laying out the system, installing the sprinkler heads, connecting the water source, and testing and adjusting the system. By the end of this journey, you’ll be equipped with the knowledge and confidence to bring your lawn to life with a well-functioning sprinkler system.
So, roll up your sleeves, put on your gardening gloves, and let’s dive into the world of sprinkler installation. With a little effort and a touch of creativity, you’ll soon be on your way to enjoying a vibrant, healthy lawn that will be the envy of the neighborhood!
Key Takeaways:
- Planning is crucial for a successful sprinkler system. Consider water source, coverage area, and local regulations. Automation and rain sensors promote efficient watering and environmental sustainability.
- Installing sprinkler heads and connecting the water source are vital steps. Testing and adjusting the system ensures optimal performance and efficient water distribution for a vibrant, healthy landscape.
Planning Your Sprinkler System
Before you start digging and laying pipes, it’s essential to have a well-thought-out plan for your sprinkler system. Begin by assessing the layout of your lawn and garden. Take note of any existing plants, trees, and structures that may impact the water distribution. Consider the specific watering needs of different areas, as some plants may require more or less water than others.
Next, determine the water source for your sprinkler system. Whether you plan to connect to a municipal water supply, a well, or a rainwater collection system, understanding your water source will influence the design and functionality of your sprinkler system.
Mapping out the coverage area is crucial. Identify the areas that need watering and calculate the water pressure and flow rate required to adequately cover those zones. This will help you determine the number and placement of sprinkler heads needed to achieve optimal coverage.
Consider incorporating a timer or controller into your system to automate the watering schedule. This will ensure consistent and efficient watering, even when you’re away from home. Additionally, a rain sensor can be integrated to prevent unnecessary watering during wet weather, conserving water and promoting environmental sustainability.
Lastly, familiarize yourself with local regulations and obtain any necessary permits before proceeding with the installation. Some areas have specific guidelines for irrigation systems to promote water conservation and prevent water waste.
By carefully planning your sprinkler system, you’ll lay the groundwork for a functional and efficient setup that caters to the unique needs of your landscape. With a clear plan in place, you’ll be ready to move on to the next steps of gathering materials and tools.
Gathering Materials and Tools
With your plan in hand, it’s time to gather the materials and tools necessary for installing your sprinkler system. Here’s a comprehensive list of items you’ll need to bring your project to life:
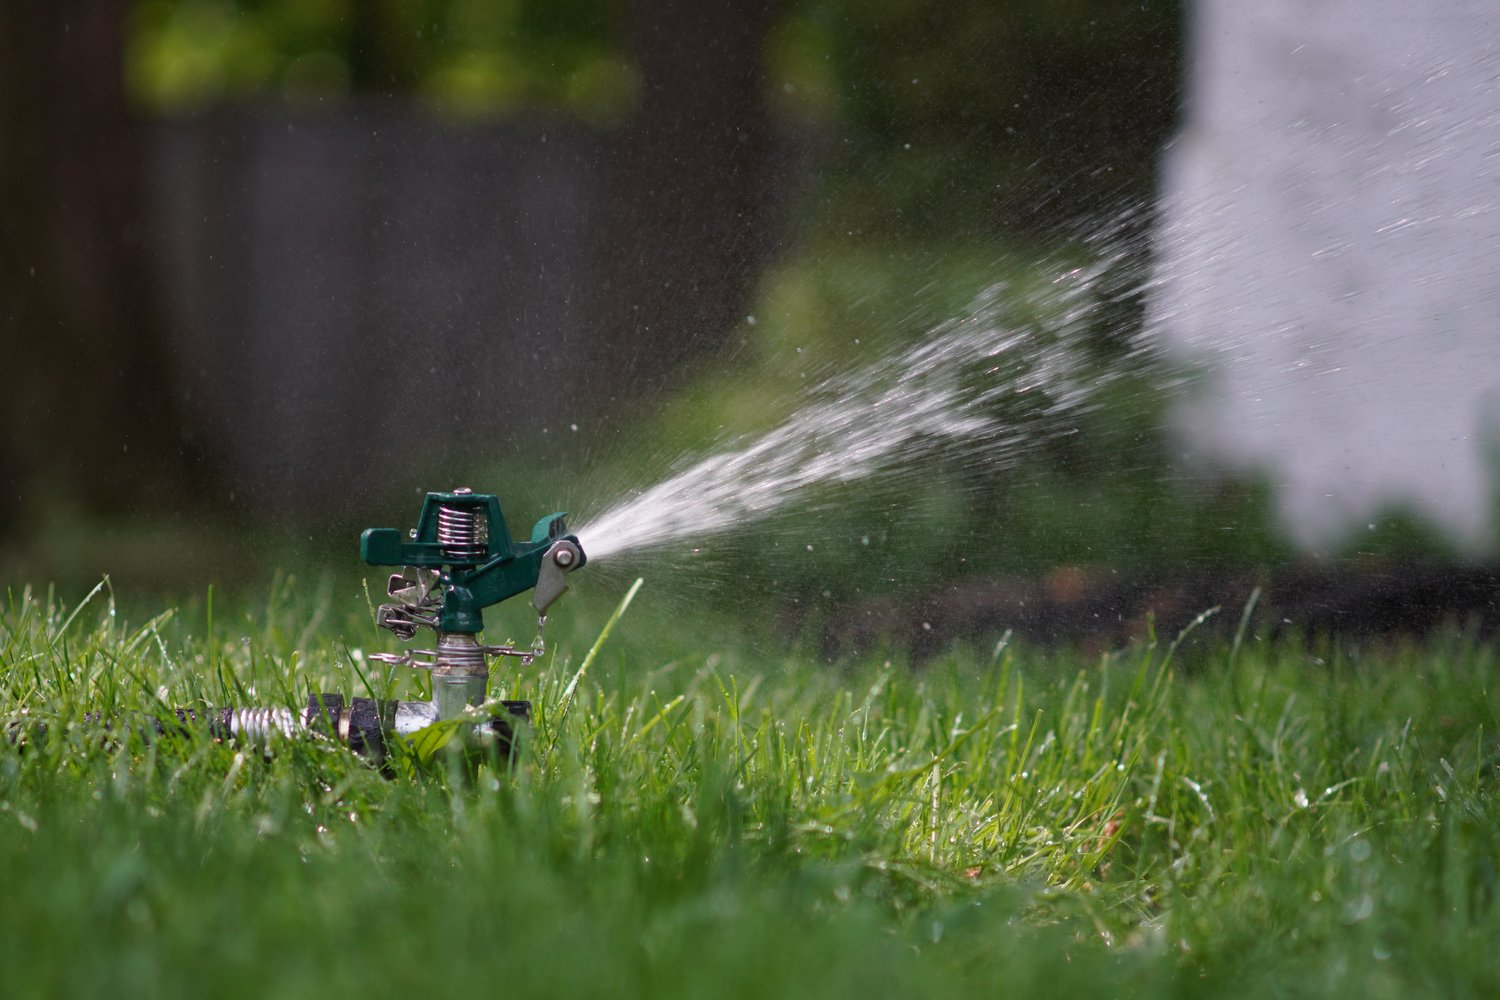
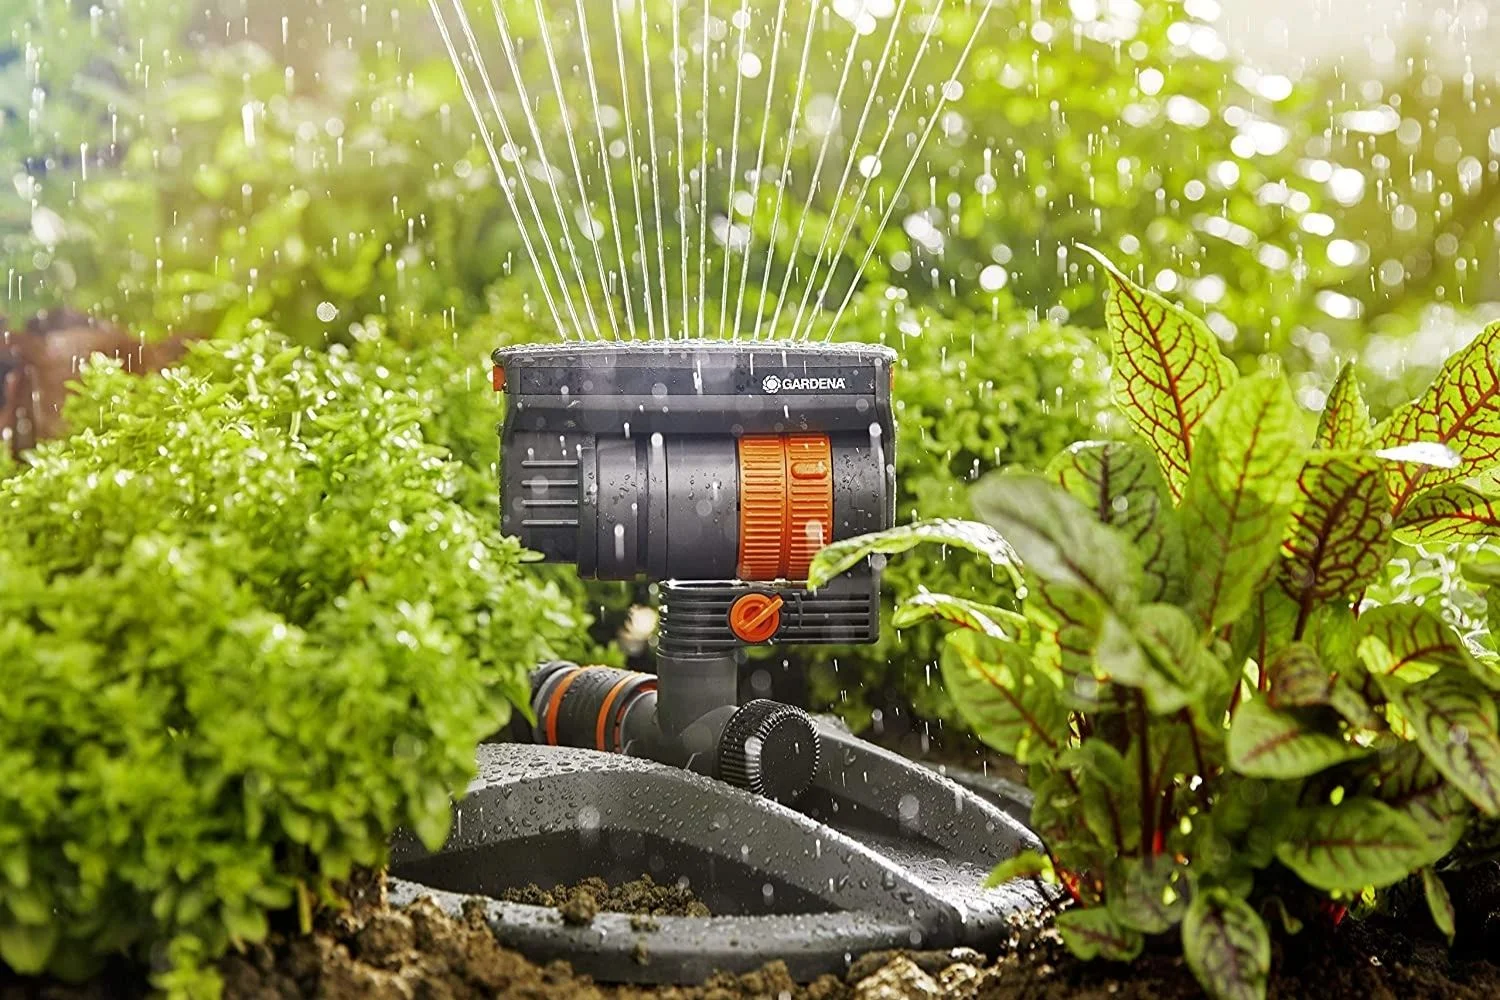
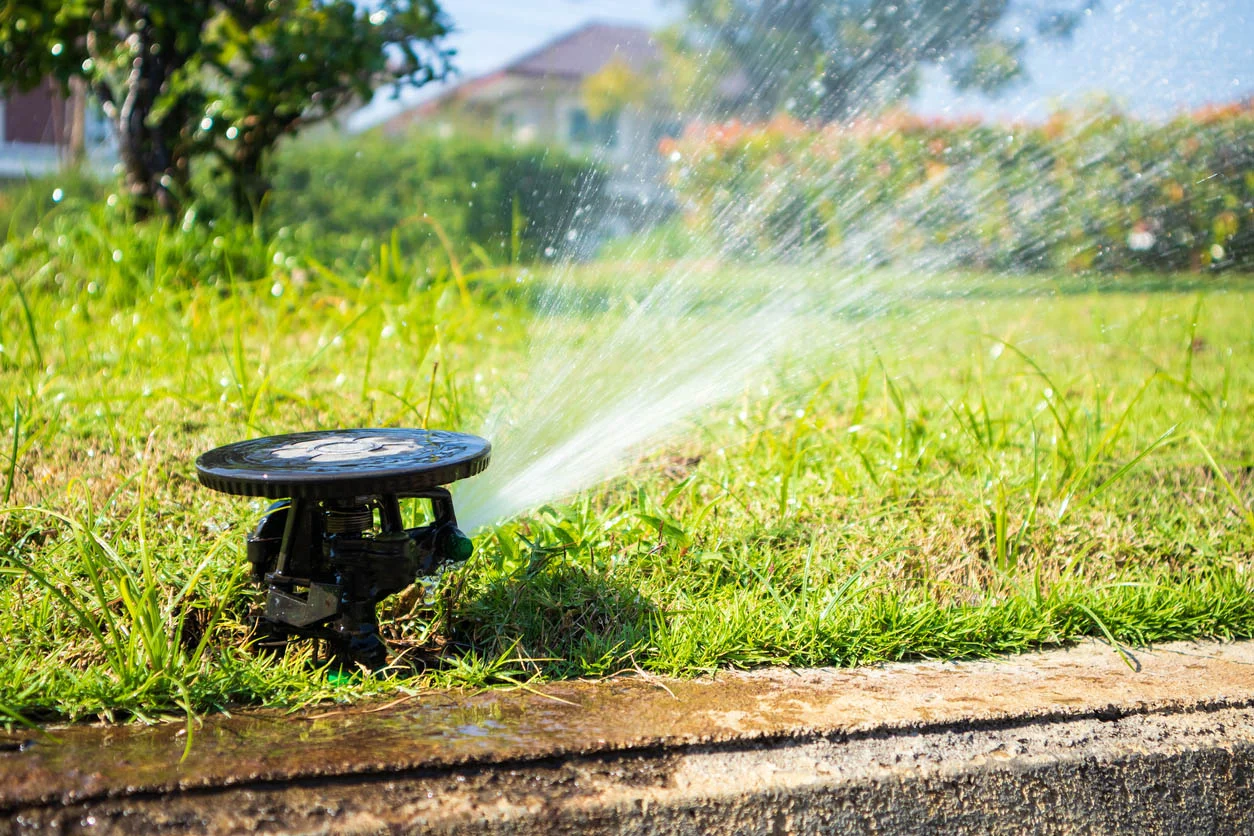
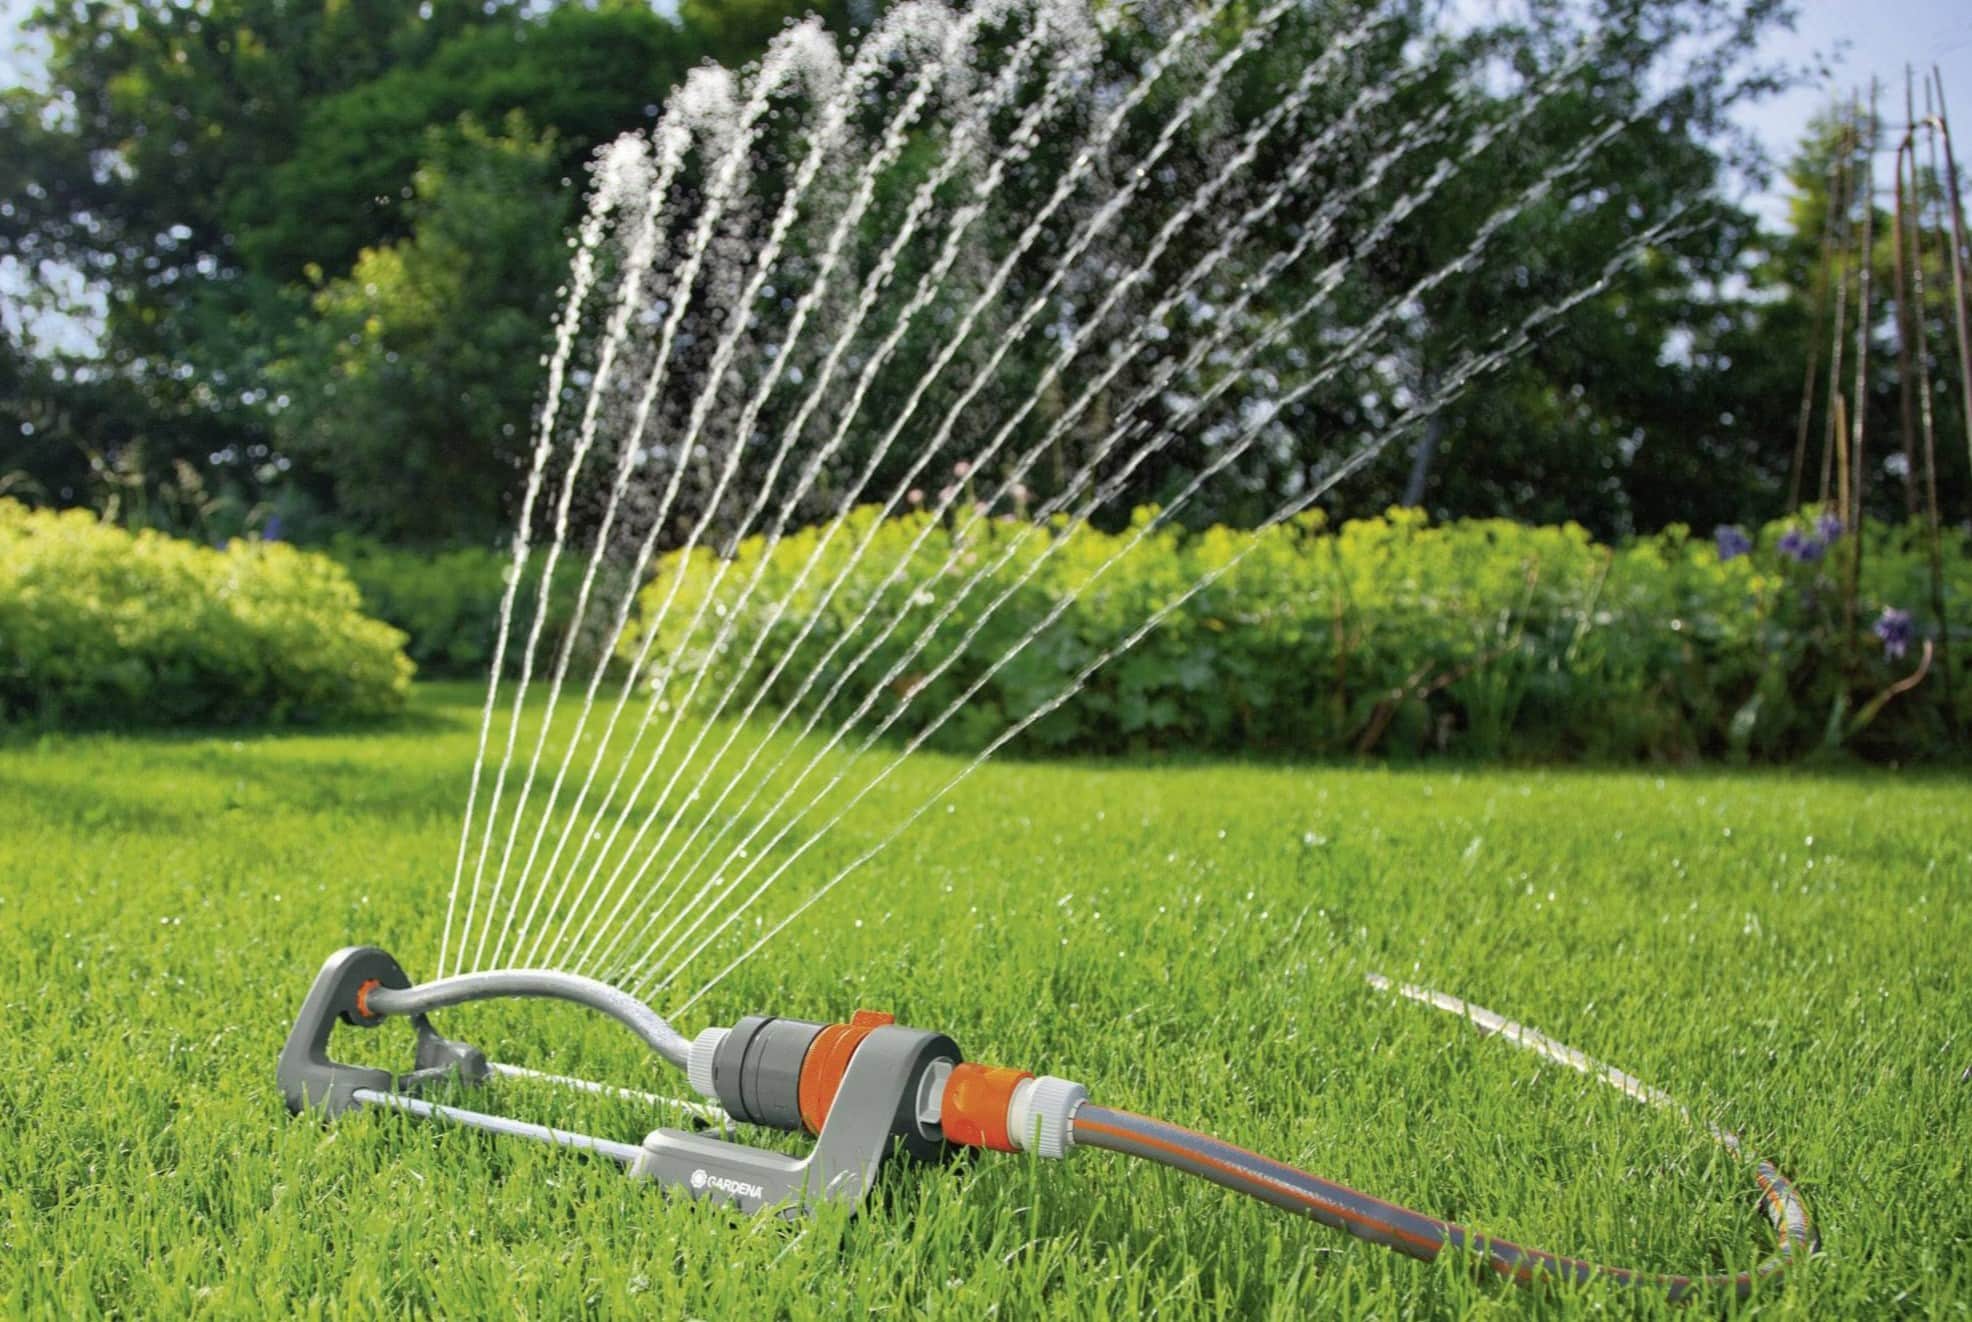
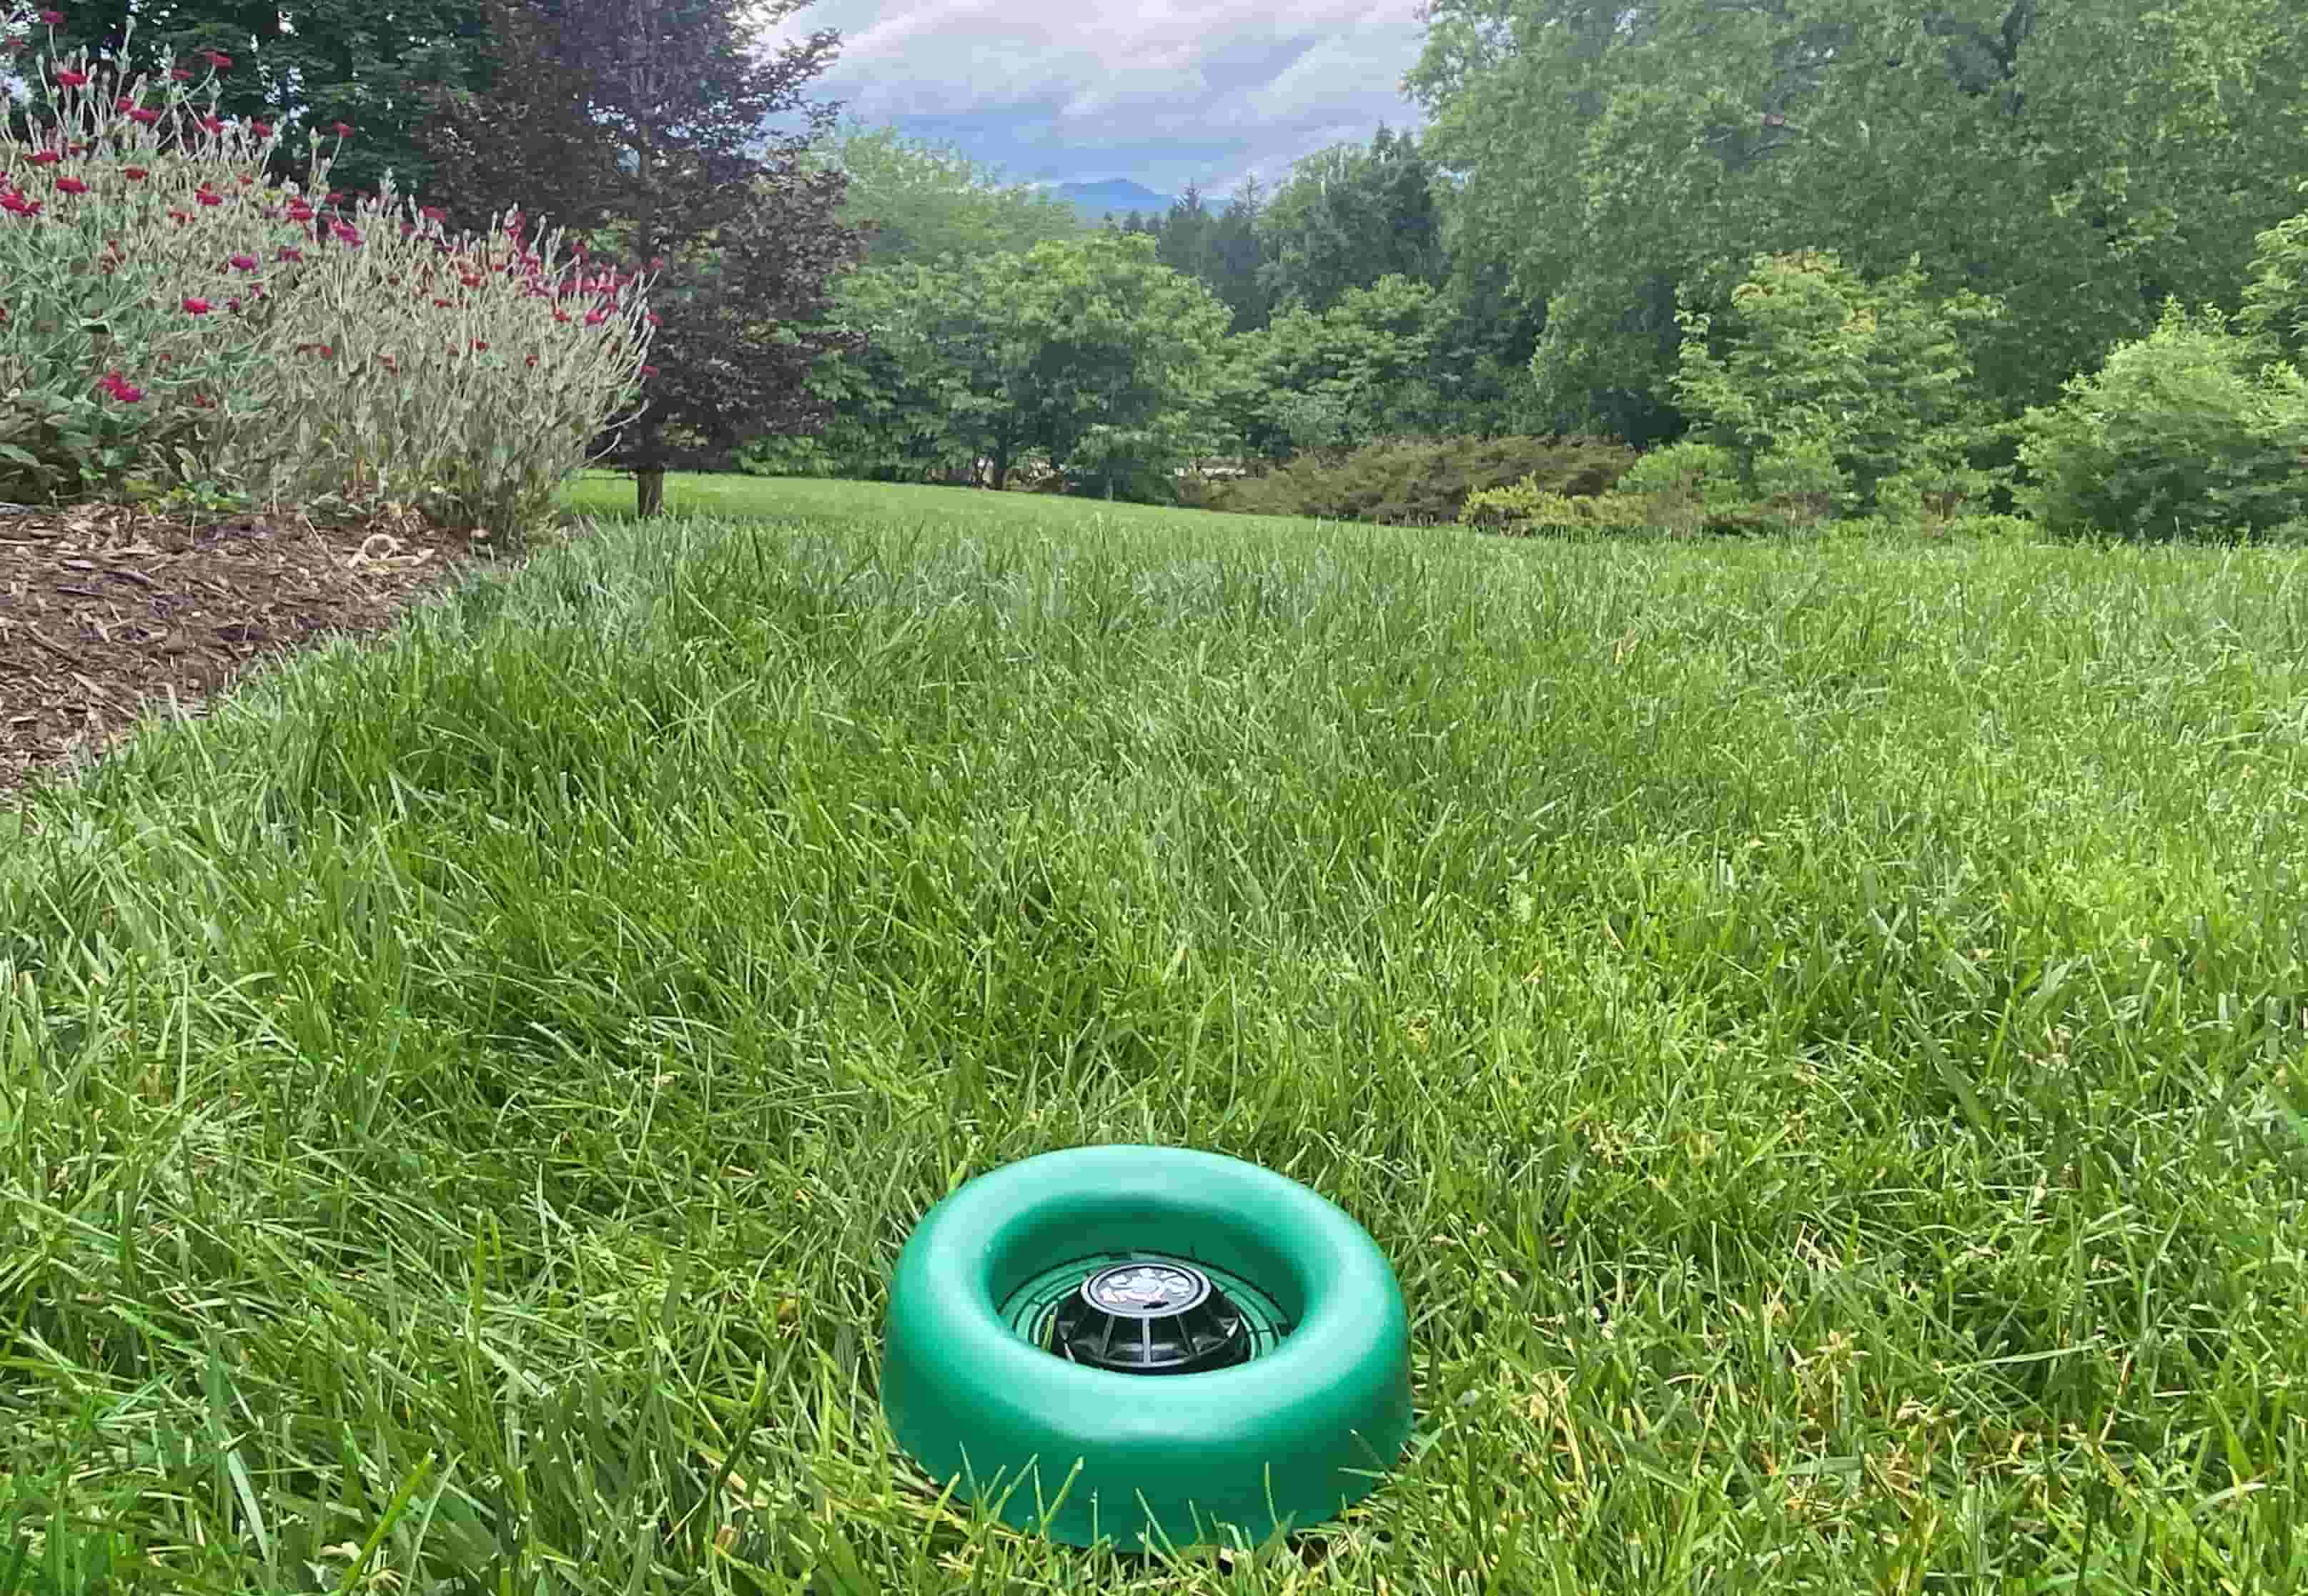
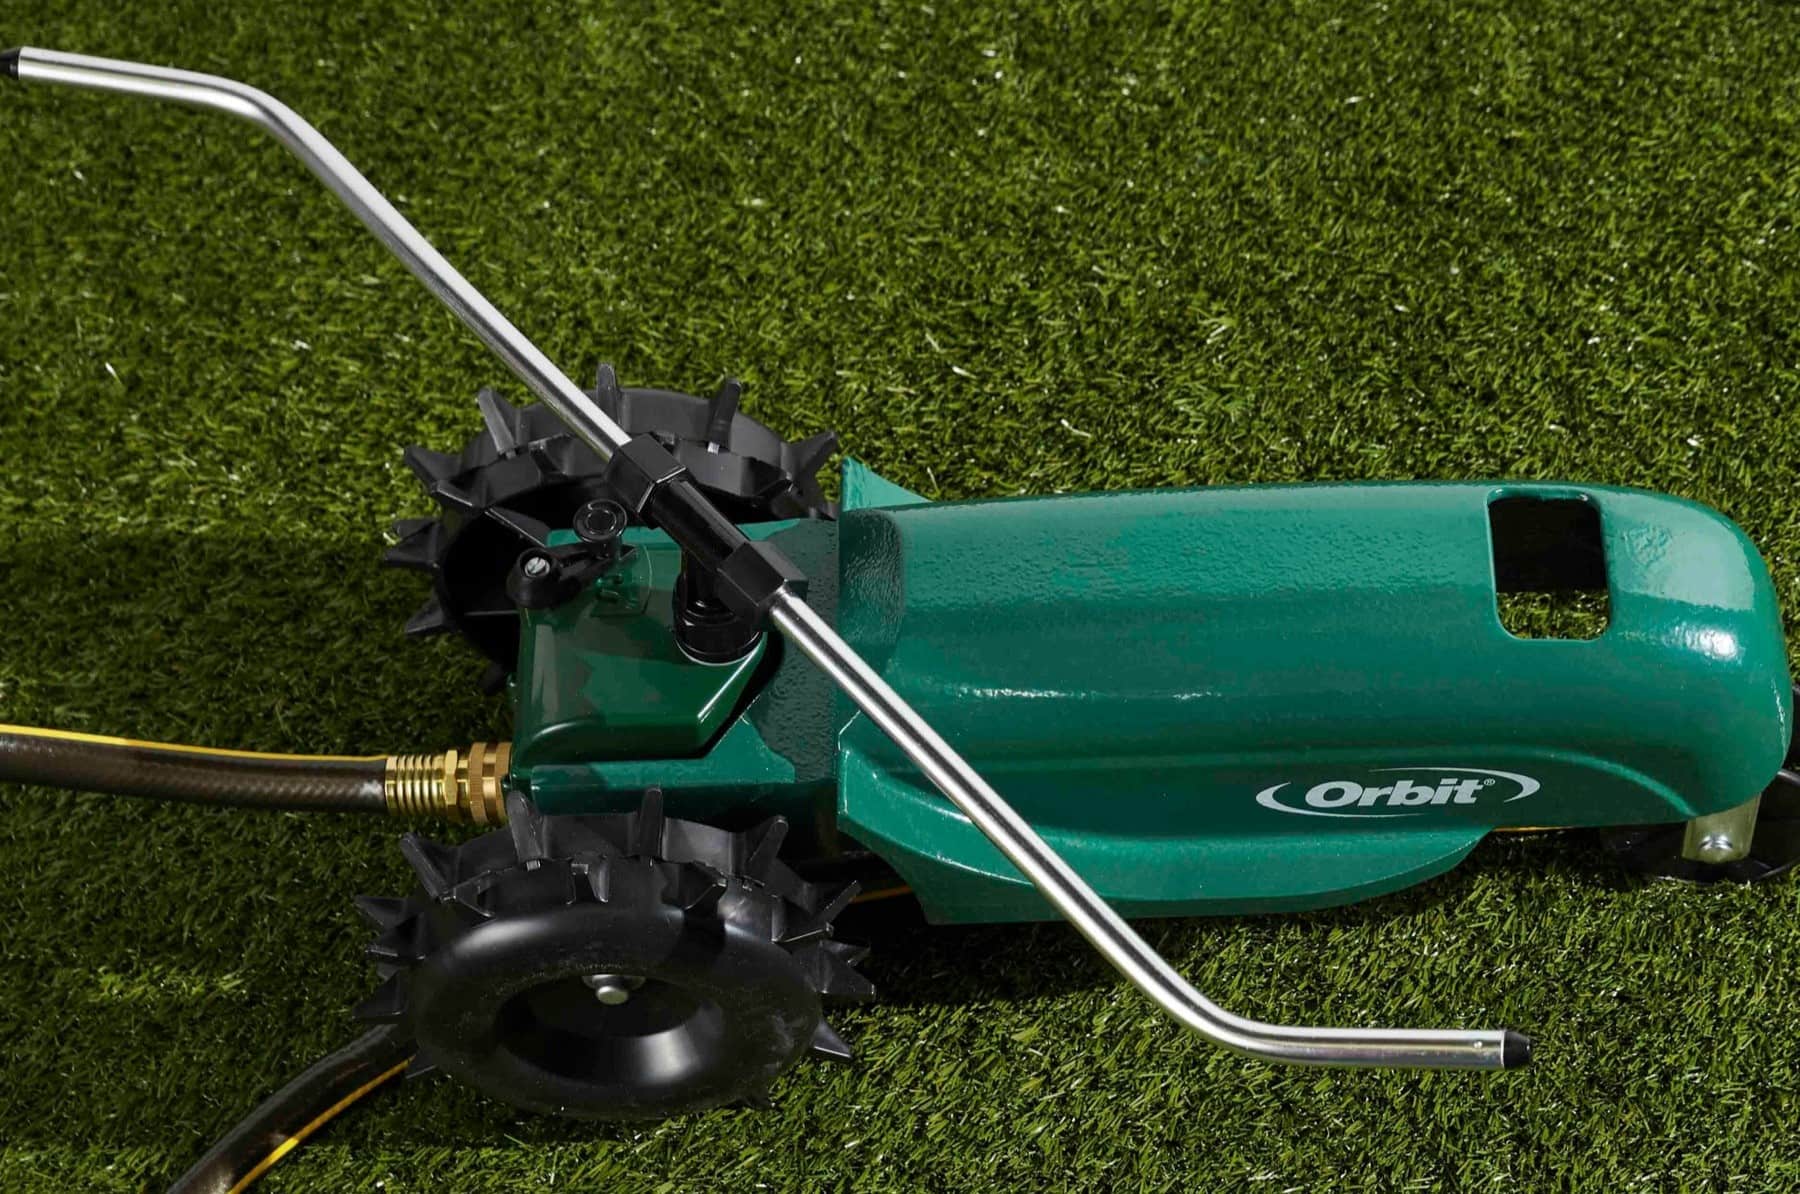
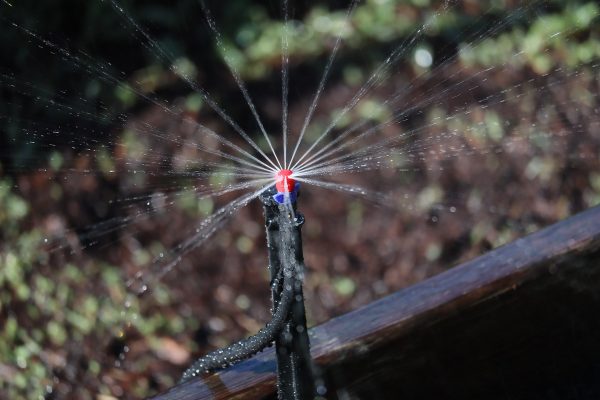
- Sprinkler Heads: Select the appropriate type of sprinkler heads based on the coverage area and water pressure. Options include rotor, spray, and impact sprinklers, each designed for specific watering needs.
- Piping: PVC or polyethylene pipes are commonly used for irrigation systems. Choose the right diameter and length of pipes based on the layout of your lawn and the distance from the water source to the farthest sprinkler head.
- Fittings and Connectors: Elbows, tees, couplings, and other fittings are essential for connecting and directing the flow of water through the piping system. Make sure to have an assortment of connectors to accommodate different pipe sizes and configurations.
- Valves: Install control valves to regulate water flow to different zones of your sprinkler system. Solenoid valves can be connected to a timer or controller for automated operation.
- Controller or Timer: Choose a reliable controller or timer to automate the watering schedule and ensure consistent irrigation without manual intervention.
- Backflow Preventer: A backflow preventer is crucial for safeguarding the potable water supply from contamination. Check local codes to determine the specific type of backflow preventer required for your system.
- Shovels and Digging Tools: Prepare for excavation by acquiring shovels, trenching tools, and a pipe cutter to create trenches for laying the piping network.
- Teflon Tape and PVC Glue: Use Teflon tape to seal threaded connections and PVC glue for securing non-threaded joints, ensuring leak-free connections throughout the system.
- Measuring Tape and Marking Flags: Accurately measure and mark the layout of the sprinkler system using a measuring tape and brightly colored marking flags to indicate the placement of sprinkler heads and piping.
- Rain Sensor: Consider adding a rain sensor to prevent unnecessary watering during rainy conditions, promoting water conservation and reducing water bills.
By gathering these essential materials and tools, you’ll be well-equipped to tackle the next phase of the installation process: preparing the area for the sprinkler system.
Preparing the Area
Before you begin installing the sprinkler system, it’s crucial to prepare the area to ensure a smooth and efficient installation process. Here are the key steps to take when preparing the designated area:
- Clearing Debris: Remove any debris, rocks, or obstructions from the area where the piping and sprinkler heads will be installed. Clearing the space will make it easier to dig trenches and lay the components of the system.
- Locating Utilities: Before digging, identify and mark the location of underground utilities such as gas lines, electrical cables, and water pipes. Contact your local utility companies to assist in locating and marking these utilities to prevent accidental damage during excavation.
- Marking the Layout: Use marking flags or spray paint to outline the layout of the sprinkler system based on your initial plan. Mark the placement of sprinkler heads, piping routes, and valve locations to provide a visual guide for the installation process.
- Excavating Trenches: Use shovels, trenching tools, or a trenching machine to dig trenches for laying the piping network. Excavate the trenches to the appropriate depth and width, ensuring they accommodate the pipes and allow for proper insulation and protection.
- Protecting Pipes: As you lay the pipes in the trenches, consider using protective sleeves or wrapping the pipes with insulation to shield them from potential damage caused by rocks, roots, or soil shifting over time.
- Backfilling and Compacting: Once the pipes are laid and the necessary fittings and connectors are installed, carefully backfill the trenches with soil, ensuring that the pipes are adequately supported and protected. Compact the soil gently to minimize settling.
- Installing Valve Boxes: Position valve boxes over the control valves to provide easy access for maintenance and repairs. Ensure that the valve boxes are level with the ground surface and securely anchored in place.
By diligently preparing the area for the sprinkler system, you’ll establish a solid foundation for the subsequent steps of laying out the system and installing the sprinkler heads. With the groundwork in place, you’re ready to move on to the next phase of bringing your irrigation system to life.
Laying Out the Sprinkler System
With the area prepared and the necessary materials at hand, it’s time to lay out the components of your sprinkler system. This phase involves positioning the piping network, strategically placing the sprinkler heads, and connecting the various elements to create a cohesive and functional irrigation system. Here’s a step-by-step guide to laying out the sprinkler system:
- Positioning the Main Line: Begin by laying the main water supply line from the source to the designated valve manifold location. Ensure that the pipe is buried at the appropriate depth and securely anchored to prevent shifting or damage.
- Installing Control Valves: Position control valves at the designated valve manifold location, connecting them to the main supply line. Each valve will regulate the flow of water to specific zones, allowing for customized watering schedules and targeted irrigation.
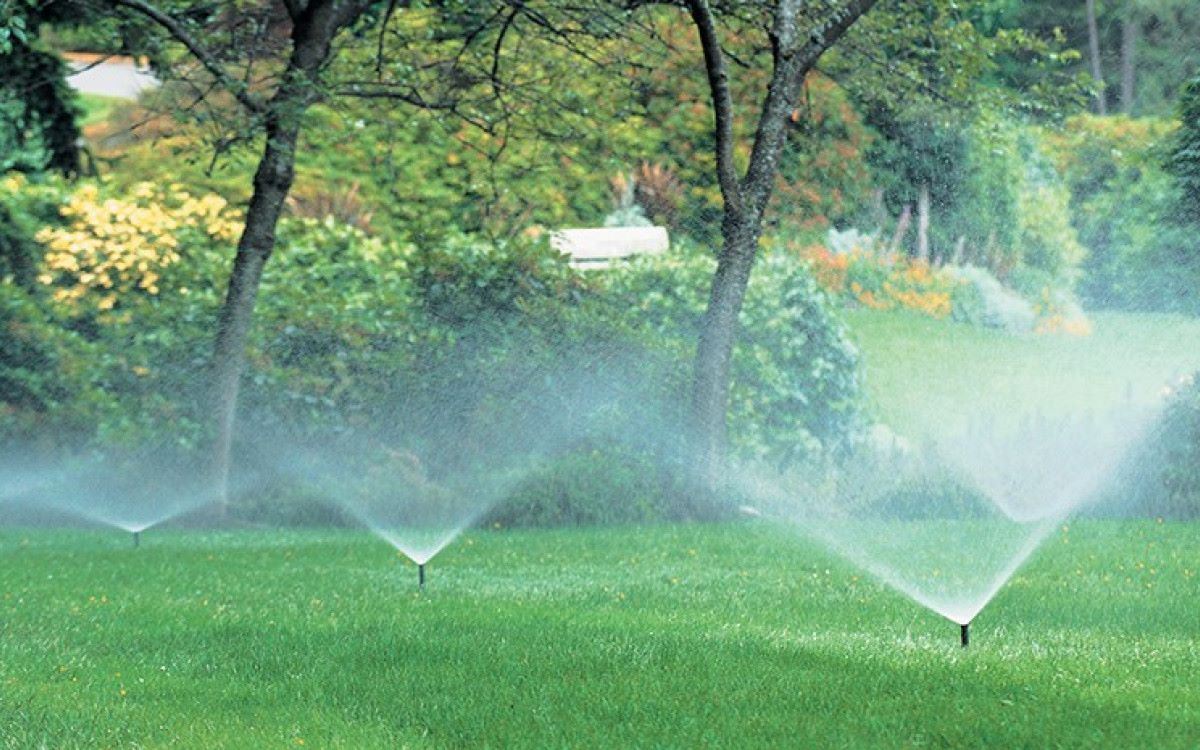
- Laying Distribution Lines: From the control valves, lay out the distribution lines to convey water to different areas of your lawn and garden. Use fittings and connectors to create the desired layout, accounting for the placement of sprinkler heads and the coverage area of each zone.
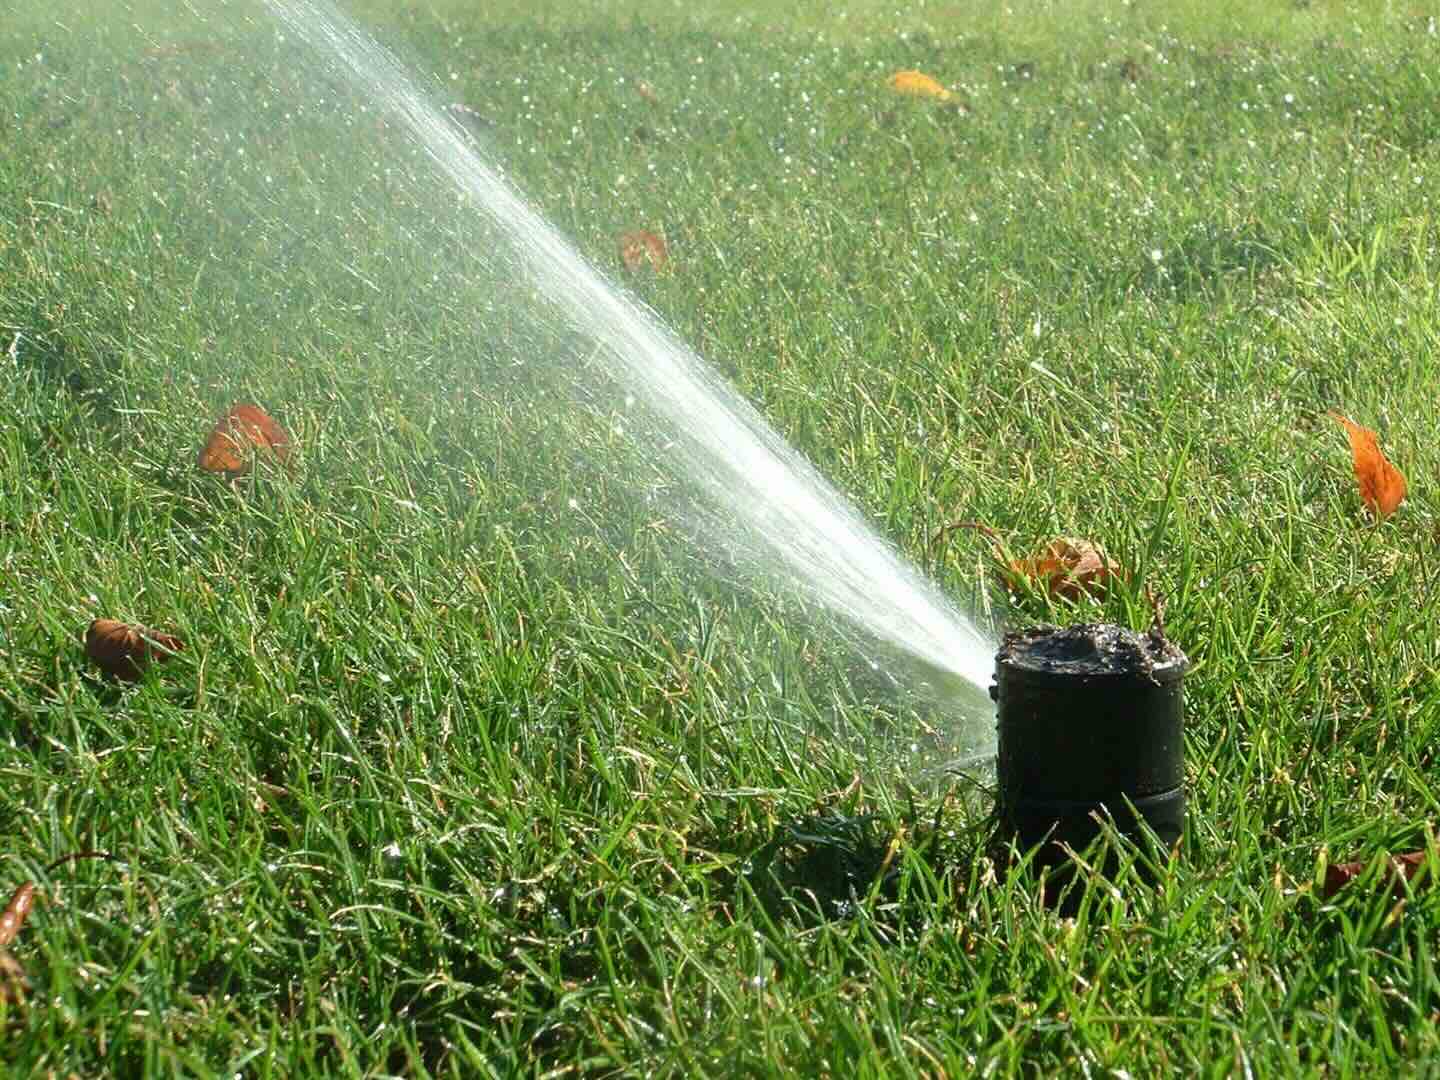
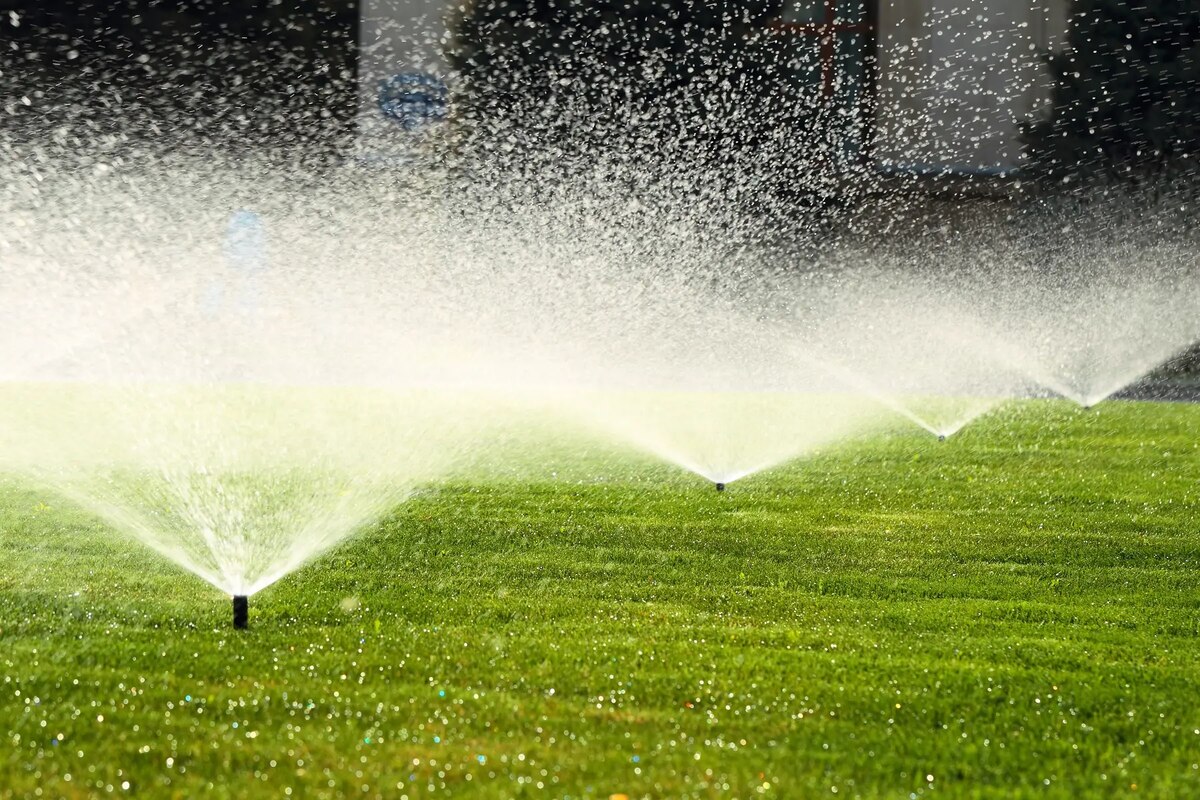
- Placing Sprinkler Heads: Strategically position the sprinkler heads based on the coverage requirements of each zone. Ensure that the selected sprinkler heads align with the flow rate and pressure of the water supply, providing uniform and efficient watering across the entire area.
- Adjusting Sprinkler Head Heights: Set the sprinkler heads at the appropriate heights to achieve optimal water distribution and coverage. Adjust the risers to ensure that the spray pattern reaches the intended areas without obstruction.
- Connecting Fittings and Risers: Use fittings and risers to connect the sprinkler heads to the distribution lines, ensuring secure and leak-free connections. Verify that the fittings are properly tightened and the risers are aligned for effective water dispersion.
- Testing the Layout: Conduct a preliminary test of the layout to verify the functionality and coverage of the sprinkler heads. Adjust the positioning and alignment as needed to optimize the distribution of water across the designated zones.
By meticulously laying out the sprinkler system, you’ll establish a well-organized and efficient irrigation network that caters to the specific watering needs of your landscape. With the components in place, you’re ready to move on to the next crucial step: installing the sprinkler heads to bring your system to life.
Before installing sprinklers for your lawn, make sure to carefully plan the layout to ensure even water distribution. Consider factors such as water pressure, coverage area, and the type of sprinkler heads to use.
Installing the Sprinkler Heads
As you progress with your sprinkler system installation, the next vital step is installing the sprinkler heads. These components play a pivotal role in ensuring precise and uniform water distribution across your lawn and garden. Follow these essential steps to effectively install the sprinkler heads:
- Digging Sprinkler Head Holes: Use a shovel or specialized auger to dig holes at the predetermined locations for the sprinkler heads. Ensure that the holes are deep and wide enough to accommodate the sprinkler heads and provide proper support.
- Positioning the Sprinkler Heads: Carefully position the sprinkler heads in the prepared holes, aligning them with the layout plan and ensuring that they are level with the ground surface. Proper alignment is crucial for optimal water dispersion and coverage.
- Connecting the Sprinkler Heads: Attach the sprinkler heads to the risers or fittings, securing them in place to prevent movement or misalignment during operation. Use thread seal tape to ensure leak-free connections between the sprinkler heads and the distribution lines.
- Adjusting Spray Patterns: Depending on the type of sprinkler heads you’re using, adjust the spray patterns and rotation settings to achieve the desired coverage area. Some sprinkler heads may offer adjustable spray angles and distances, allowing for customization based on specific watering needs.
- Securing the Sprinkler Heads: Once the spray patterns are adjusted, secure the sprinkler heads in position, ensuring that they are firmly anchored and stable. This step is essential to maintain consistent watering patterns and prevent displacement due to soil settling or external factors.
- Testing the Sprinkler Heads: Conduct a thorough test of each sprinkler head to verify its functionality and coverage. Ensure that the water distribution is uniform, and make any necessary adjustments to individual sprinkler heads to optimize their performance.
- Protecting and Marking: Consider installing protective guards or marking the locations of the sprinkler heads to prevent accidental damage from lawnmowers, foot traffic, or other activities in the yard.
By following these steps, you’ll successfully install the sprinkler heads, laying the groundwork for efficient and reliable water distribution throughout your landscape. With the sprinkler heads in place, the next phase involves connecting the water source to activate the system and bring your irrigation network to life.
Connecting the Water Source
With the groundwork laid and the sprinkler heads installed, the next critical step in the installation process is connecting the water source to your sprinkler system. This pivotal phase involves integrating the necessary components to ensure a consistent and reliable water supply for your irrigation network. Here’s a comprehensive guide to connecting the water source:
- Locating the Water Connection Point: Identify the designated connection point where the sprinkler system will link to the water supply. This may involve tapping into an existing outdoor faucet, connecting to a dedicated irrigation line, or integrating with a well or rainwater harvesting system.
- Installing Backflow Prevention: Incorporate a backflow preventer into the water supply line to safeguard against potential contamination of the potable water source. Ensure that the backflow preventer is installed according to local regulations and codes to maintain water quality and safety.
- Connecting the Main Line: From the water source connection point, establish the main line that will convey water to the control valves and distribution lines of the sprinkler system. Use appropriate fittings and connectors to secure the main line and ensure leak-free connections.
- Integrating Shut-Off Valves: Include shut-off valves in the main line to facilitate maintenance, repairs, or system shutdown when necessary. These valves provide a means to isolate specific sections of the sprinkler system for efficient operation and upkeep.
- Pressure Regulation and Filtration: Consider integrating pressure regulation devices and filtration systems to optimize water pressure and quality within the sprinkler system. These components help maintain consistent performance and protect the system from potential damage caused by excessive pressure or debris.
- Connecting to Control Valves: Link the main line to the control valves, ensuring that each valve corresponds to a specific zone or area of the sprinkler system. Verify that the connections are secure and properly aligned to facilitate controlled water distribution.
- Testing for Leaks and Functionality: Conduct a thorough inspection of the connections and components to identify any potential leaks or irregularities. Test the functionality of the control valves and main line to ensure proper water flow and distribution to the designated zones.
By methodically connecting the water source to your sprinkler system, you’ll establish a reliable and efficient water supply that forms the lifeblood of your irrigation network. With the water source integrated, the final phase involves testing and adjusting the system to ensure optimal performance and functionality.
Testing and Adjusting the System
As you near the completion of your sprinkler system installation, it’s crucial to thoroughly test and fine-tune the system to ensure optimal performance and efficiency. This phase involves evaluating the functionality of the components, adjusting settings, and addressing any potential issues to achieve a well-balanced and effective irrigation network. Here’s a detailed guide to testing and adjusting the system:
- System Activation: Activate the sprinkler system and observe the operation of the control valves, distribution lines, and individual sprinkler heads. Verify that water flows smoothly through the system without any obstructions or irregularities.
- Zone Testing: Test each zone of the sprinkler system independently to assess the coverage, spray patterns, and water distribution of the sprinkler heads within each area. Make note of any areas that receive inadequate coverage or excessive water, indicating the need for adjustments.
- Spray Pattern Adjustment: Fine-tune the spray patterns and rotation settings of the sprinkler heads to achieve uniform water distribution across the designated zones. Adjust the nozzles and settings as needed to optimize the coverage and minimize overspray or dry spots.
- Pressure and Flow Rate Assessment: Measure the water pressure and flow rate within the system to ensure that they align with the specifications of the sprinkler heads and distribution lines. Make adjustments to pressure regulators or valves to achieve the desired performance without exceeding the system’s capacity.
- Controller Programming: If your system includes a controller or timer, program the watering schedule based on the specific needs of your landscape. Set the duration and frequency of watering cycles to accommodate different zones and plant types, considering factors such as soil type and sun exposure.
- Rain Sensor Calibration: If a rain sensor is integrated into the system, calibrate its settings to accurately detect and respond to rainfall. Adjust the sensitivity and activation thresholds to prevent unnecessary watering during wet weather, promoting water conservation and efficient irrigation.
- Leak Detection and Repair: Conduct a comprehensive inspection of the entire system to identify and address any leaks, seepage, or irregularities. Repair or replace damaged components, fittings, or connections to eliminate water wastage and ensure the integrity of the system.
By meticulously testing and adjusting the system, you’ll fine-tune the performance of your sprinkler system, ensuring that it operates at peak efficiency and effectively meets the watering needs of your landscape. With the system optimized and fine-tuned, you can take pride in a well-functioning and sustainable irrigation network that enhances the vitality and beauty of your outdoor environment.
Conclusion
Congratulations on successfully navigating the intricacies of installing a sprinkler system for your lawn and garden! By embarking on this journey, you’ve not only enhanced the aesthetic appeal of your outdoor space but also embraced the principles of sustainable and efficient water management. As you reflect on the completion of your sprinkler system installation, it’s important to acknowledge the transformative impact it will have on the health and vitality of your landscape.
Through careful planning, meticulous preparation, and methodical execution, you’ve created a comprehensive irrigation network that caters to the unique watering needs of your lawn, garden beds, and plantings. The integration of advanced components such as control valves, rain sensors, and programmable controllers underscores your commitment to responsible water usage and environmental stewardship.
With the installation complete, your sprinkler system stands as a testament to your dedication to nurturing a thriving and sustainable outdoor environment. The efficient water distribution, precise coverage, and automated scheduling provided by your irrigation network will contribute to the long-term health and vibrancy of your landscape, fostering lush greenery and vibrant blooms throughout the seasons.
As you revel in the success of your sprinkler system installation, take pride in the knowledge that you’ve not only elevated the visual allure of your outdoor space but also embraced the principles of water conservation and responsible landscaping practices. Your commitment to creating a healthy and resilient landscape serves as an inspiration to others, showcasing the power of thoughtful design and sustainable technology in fostering a harmonious coexistence with nature.
Embrace the joy of witnessing your lawn and garden thrive under the care of your meticulously installed sprinkler system. As you savor the beauty and vitality it brings to your outdoor sanctuary, remember that your efforts have not only transformed your immediate surroundings but have also contributed to a more sustainable and eco-conscious approach to landscaping. Your dedication to creating a vibrant and water-efficient outdoor haven exemplifies the profound impact of thoughtful irrigation design and responsible water management.
With your sprinkler system in place, you’ve laid the foundation for a flourishing and resilient landscape, where the beauty of nature harmonizes with the ingenuity of modern irrigation technology. As you bask in the lush splendor of your revitalized outdoor haven, take pride in the knowledge that your commitment to sustainable landscaping has made a meaningful difference in preserving the natural beauty and vitality of your surroundings.
Frequently Asked Questions about How To Install Sprinklers For Lawns
Was this page helpful?
At Storables.com, we guarantee accurate and reliable information. Our content, validated by Expert Board Contributors, is crafted following stringent Editorial Policies. We're committed to providing you with well-researched, expert-backed insights for all your informational needs.


0 thoughts on “How To Install Sprinklers For Lawns”