Home>Furniture & Design>Outdoor Furniture>How To Prime An Outdoor Sprinkler System
Outdoor Furniture
How To Prime An Outdoor Sprinkler System
Published: January 12, 2024
Learn how to prime your outdoor sprinkler system with our expert tips and advice. Keep your outdoor furniture and design looking its best with proper sprinkler maintenance. Unlock the secrets to a lush and vibrant lawn today!
(Many of the links in this article redirect to a specific reviewed product. Your purchase of these products through affiliate links helps to generate commission for Storables.com, at no extra cost. Learn more)
Introduction
Outdoor sprinkler systems play a crucial role in maintaining a lush, vibrant lawn and garden. Properly priming the system is essential for ensuring efficient and effective irrigation. Whether you're preparing your sprinkler system for the upcoming watering season or addressing issues with its performance, understanding the key steps involved in priming an outdoor sprinkler system is vital.
In this comprehensive guide, we'll explore the intricacies of priming an outdoor sprinkler system, covering everything from understanding the system's components to the step-by-step process of priming and adjusting the settings. By the end of this article, you'll have the knowledge and confidence to prime your outdoor sprinkler system like a seasoned professional.
Let's dive into the world of outdoor sprinkler systems and discover the essential techniques for priming and optimizing their performance.
Key Takeaways:
- Priming an outdoor sprinkler system is like giving it a health check-up. By inspecting for leaks, preparing the sprinkler heads, and adjusting settings, you can ensure it works efficiently and keeps your garden healthy.
- Just like tuning a musical instrument, adjusting the settings of your outdoor sprinkler system is essential for it to play the right “tune” for your garden. By customizing watering schedules and integrating water-saving features, you can conserve water and keep your landscape thriving.
Understanding the Outdoor Sprinkler System
Before delving into the process of priming an outdoor sprinkler system, it’s important to grasp the fundamental components and functions of the system. An outdoor sprinkler system typically consists of a network of underground pipes, sprinkler heads, valves, and a control unit. These components work in harmony to distribute water across the designated area, ensuring even coverage and efficient irrigation.
The control unit serves as the brain of the system, allowing users to schedule watering times, set duration, and adjust the frequency of irrigation. It’s essential to familiarize yourself with the control unit’s interface and functionalities to effectively prime and optimize the system.
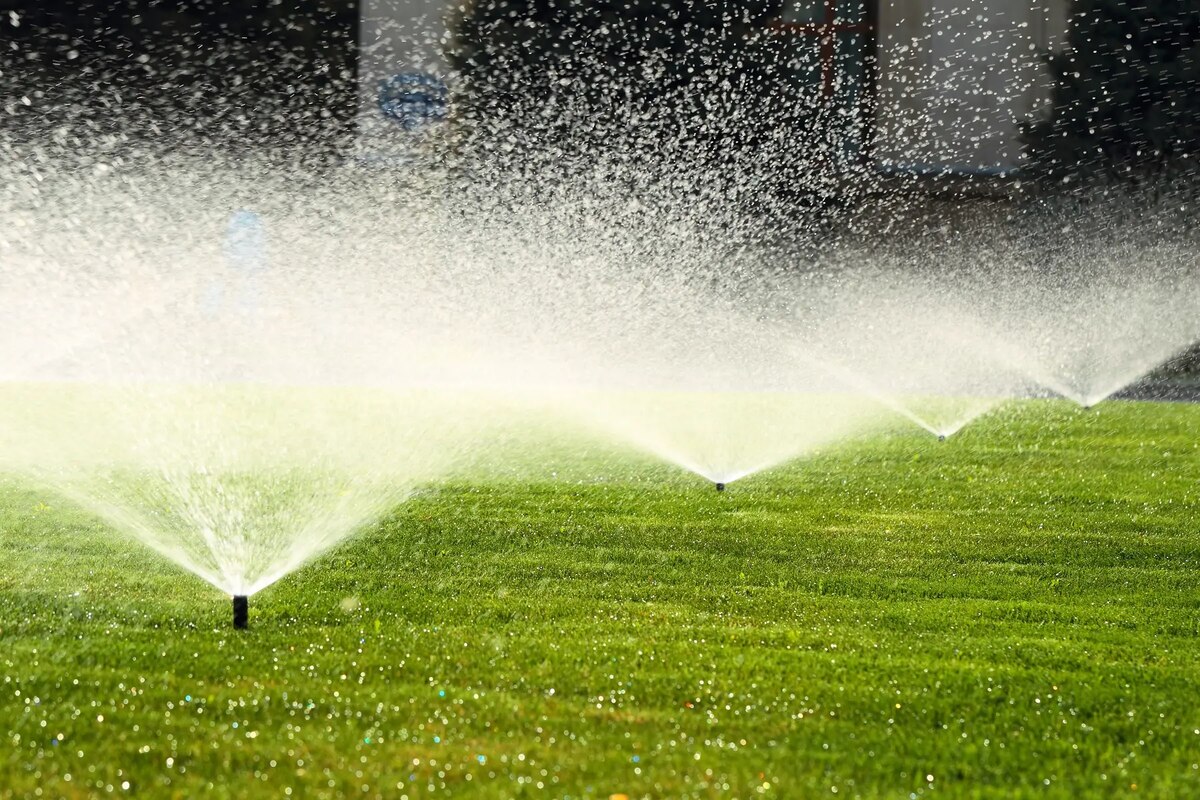
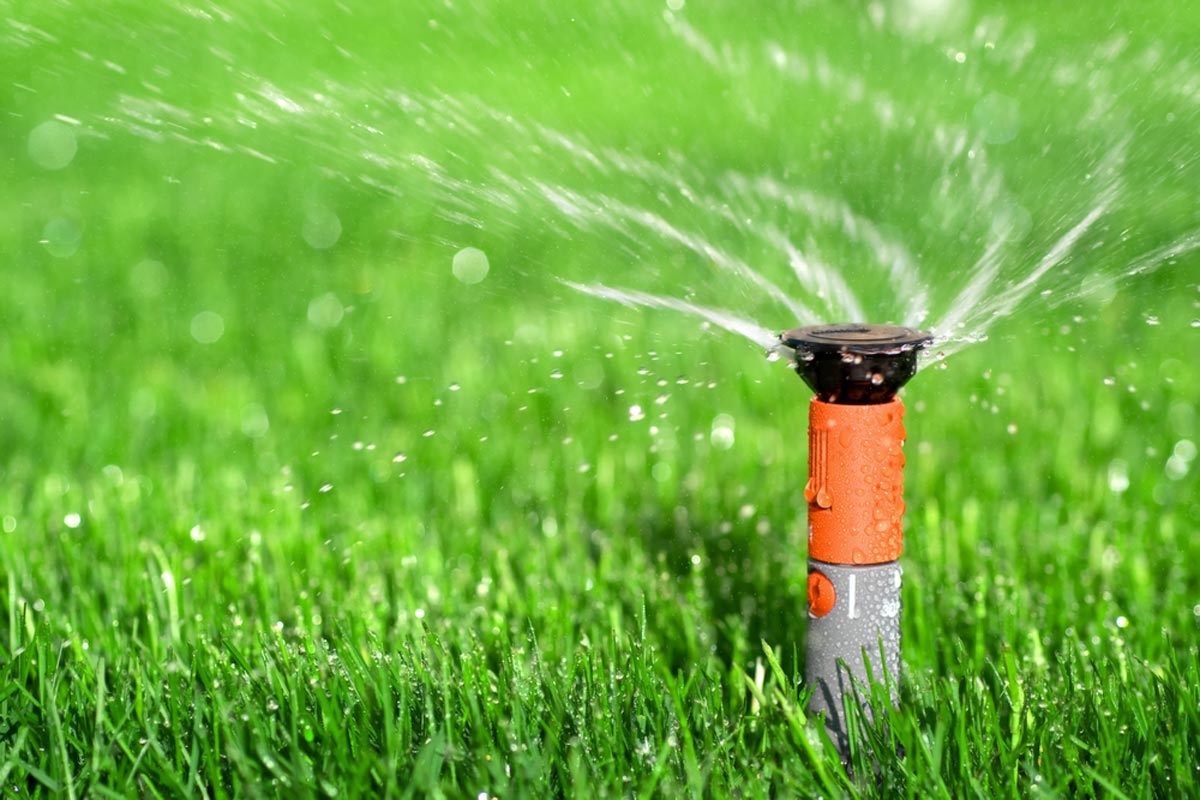
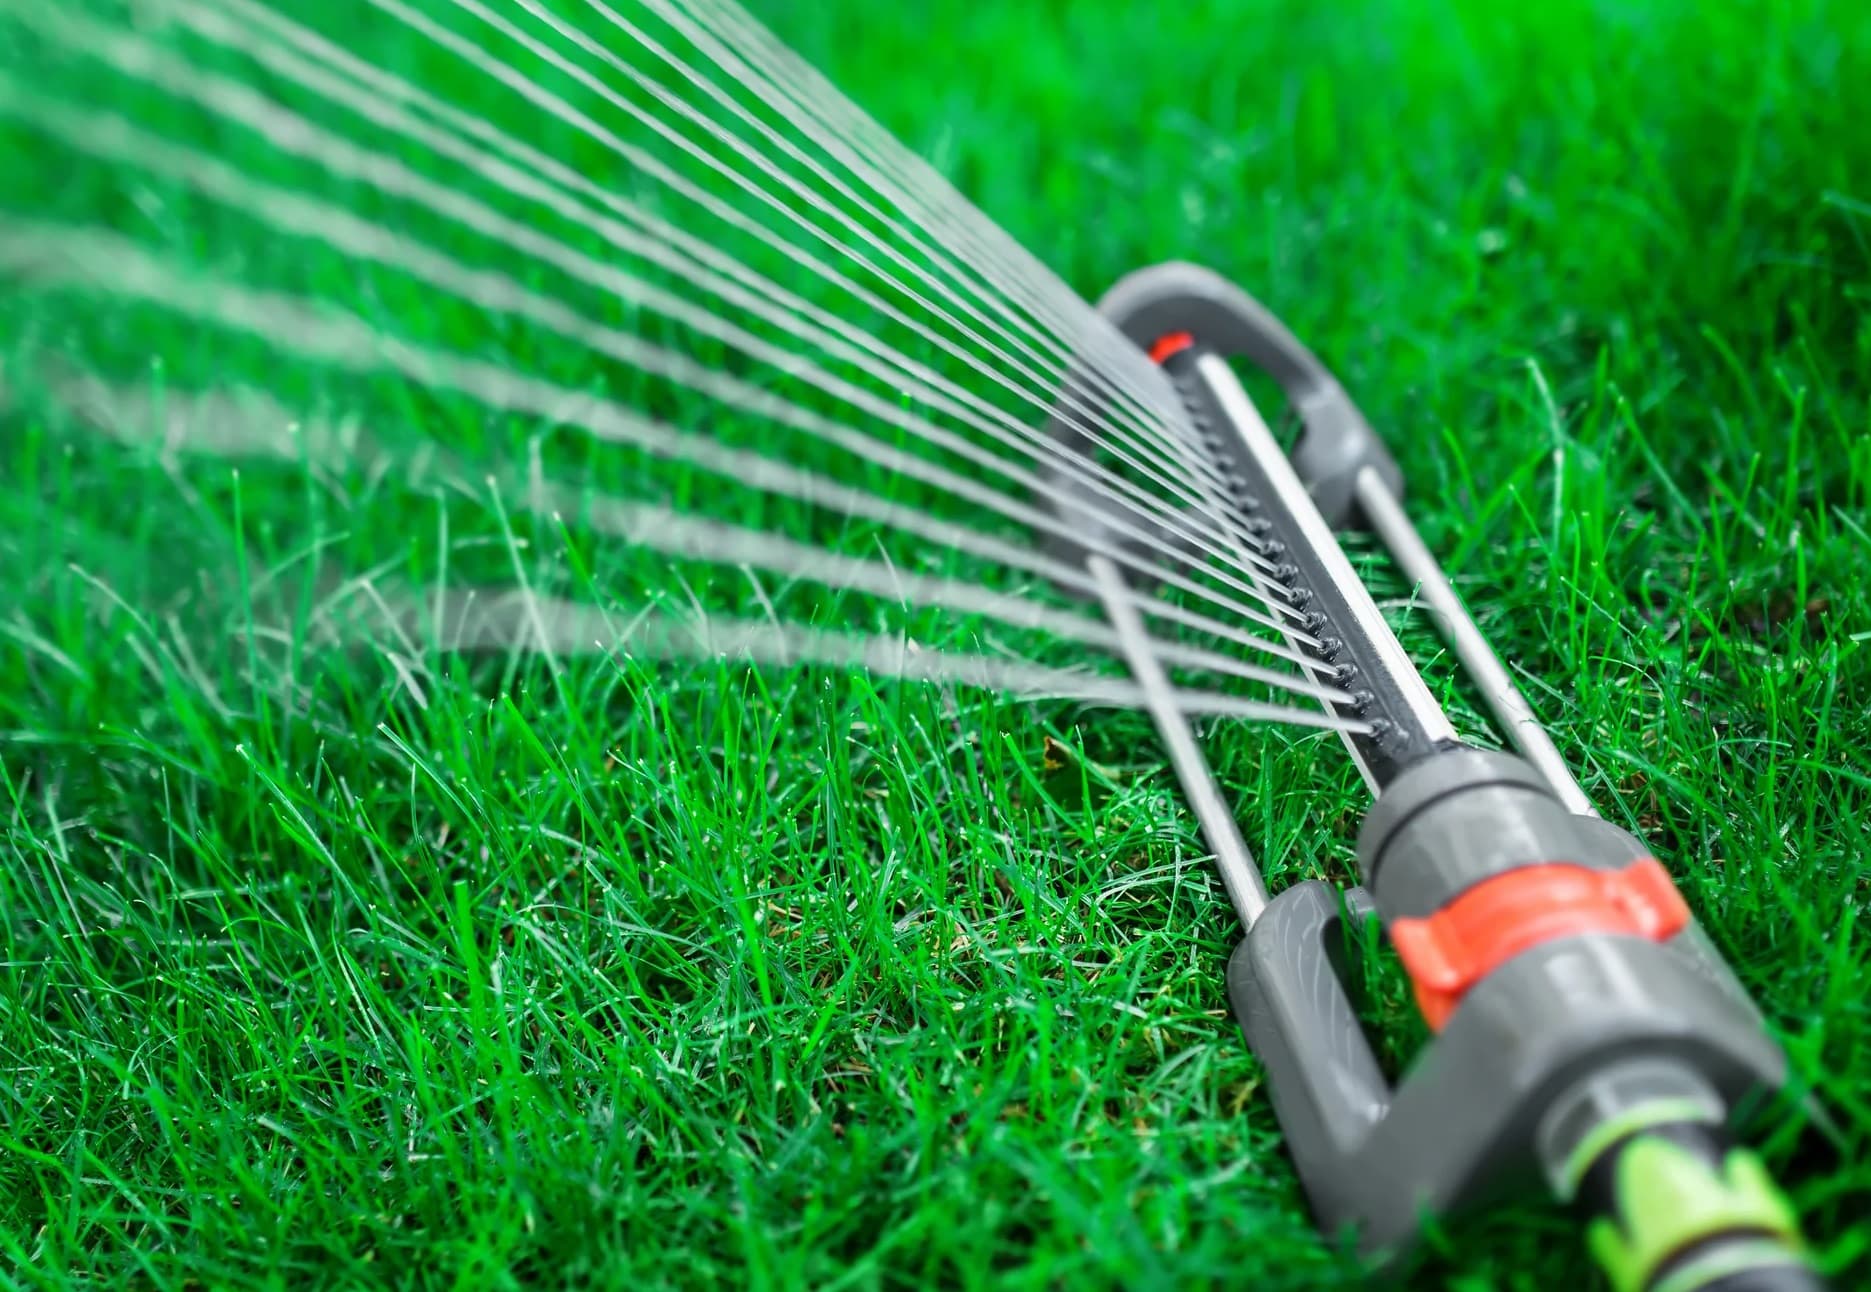
Sprinkler heads are strategically positioned throughout the landscape to disperse water. There are various types of sprinkler heads, including stationary, rotating, and pop-up heads, each designed for specific watering needs. Understanding the type and placement of sprinkler heads in your system is crucial for ensuring thorough and targeted irrigation.
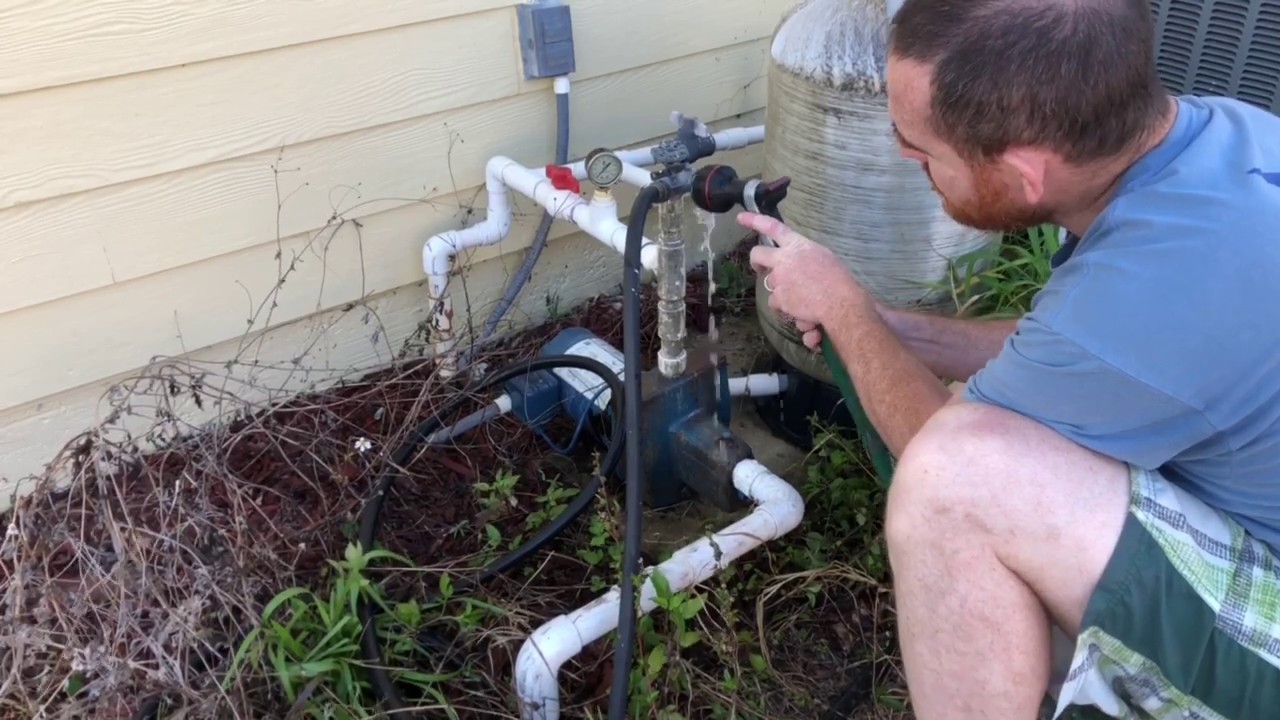
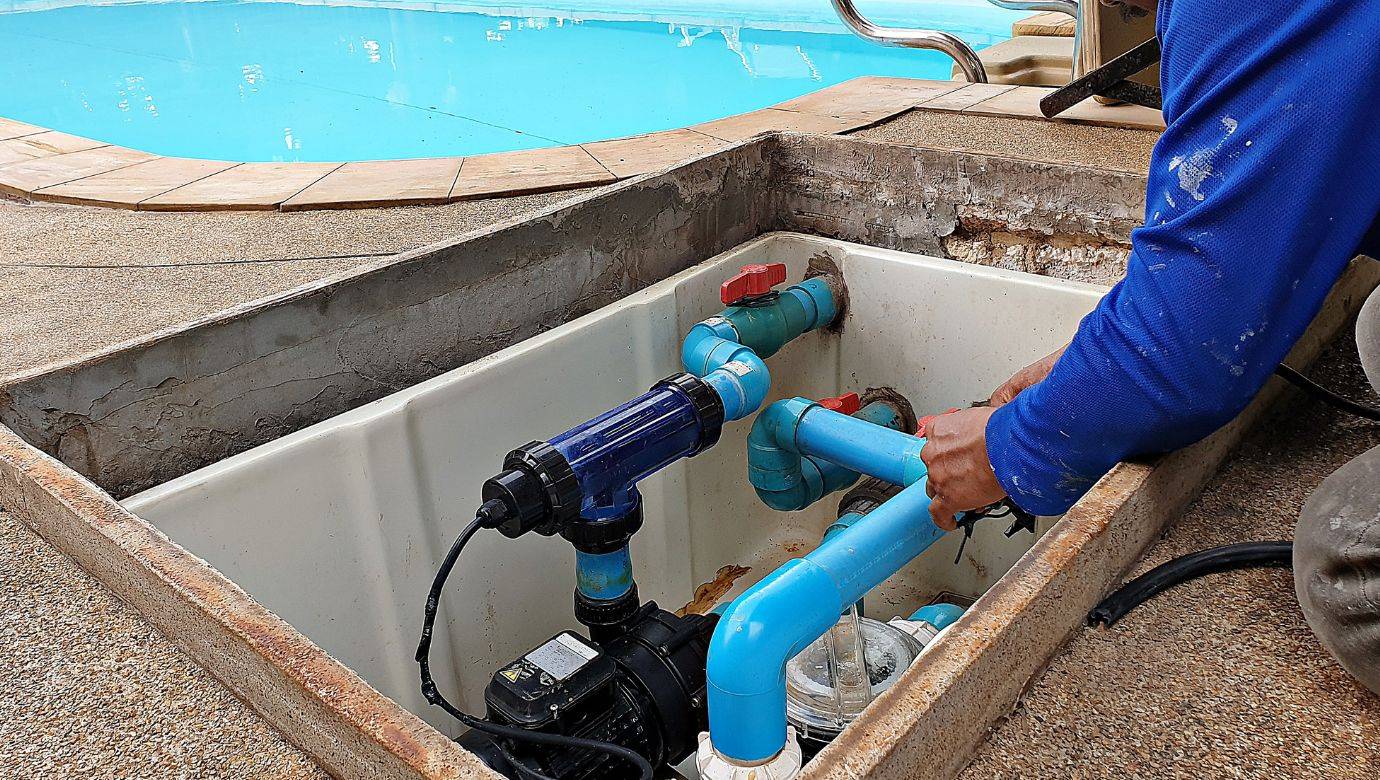
The network of underground pipes and valves forms the circulatory system of the sprinkler system, facilitating the flow of water from the water source to the sprinkler heads. Regular inspection and maintenance of these underground components are essential for preventing leaks, blockages, and other potential issues that can compromise the system’s performance.
By gaining a comprehensive understanding of the outdoor sprinkler system’s key elements, you’ll be better equipped to identify potential issues, optimize the system’s efficiency, and execute the priming process with precision. In the next sections, we’ll explore the essential steps for checking the system for leaks and damage, preparing the sprinkler heads, and priming the system to ensure optimal performance.
Checking for Leaks and Damage
Before priming your outdoor sprinkler system, it’s crucial to conduct a thorough inspection to identify any leaks, damage, or potential issues that may hinder its performance. Start by visually examining the sprinkler heads, valves, and pipes for signs of wear, corrosion, or physical damage. Look for cracks, leaks, or misaligned components that could compromise the system’s functionality.
Next, it’s important to assess the condition of the underground pipes. Inspect the areas where the pipes are buried, keeping an eye out for any indications of water seepage, soil erosion, or unusual wet patches. These signs may point to leaks or damage in the underground piping system, which can lead to water wastage and uneven irrigation.
Utilize the control unit to conduct a manual inspection of the sprinkler heads and valves. Activate each zone individually and observe the performance of the sprinkler heads. Look for irregular spray patterns, weak water pressure, or malfunctioning heads that may require cleaning or replacement.
If your system is equipped with a rain sensor, ensure that it’s functioning correctly by simulating rainfall or using the sensor’s test mode. A properly functioning rain sensor is essential for preventing unnecessary irrigation during wet weather conditions, conserving water and optimizing the system’s efficiency.
After visually inspecting the system and conducting manual checks, perform a thorough examination of the entire system while it’s in operation. Observe the distribution of water, ensuring that each area receives adequate coverage without excessive pooling or runoff. This step is crucial for identifying any performance issues or inefficiencies that may require adjustments during the priming process.
By meticulously assessing the outdoor sprinkler system for leaks, damage, and operational irregularities, you’ll be able to address any underlying issues before proceeding with the priming process. In the subsequent sections, we’ll delve into the essential steps for preparing the sprinkler heads, priming the system, and fine-tuning its settings to maximize efficiency and performance.
Preparing the Sprinkler Heads
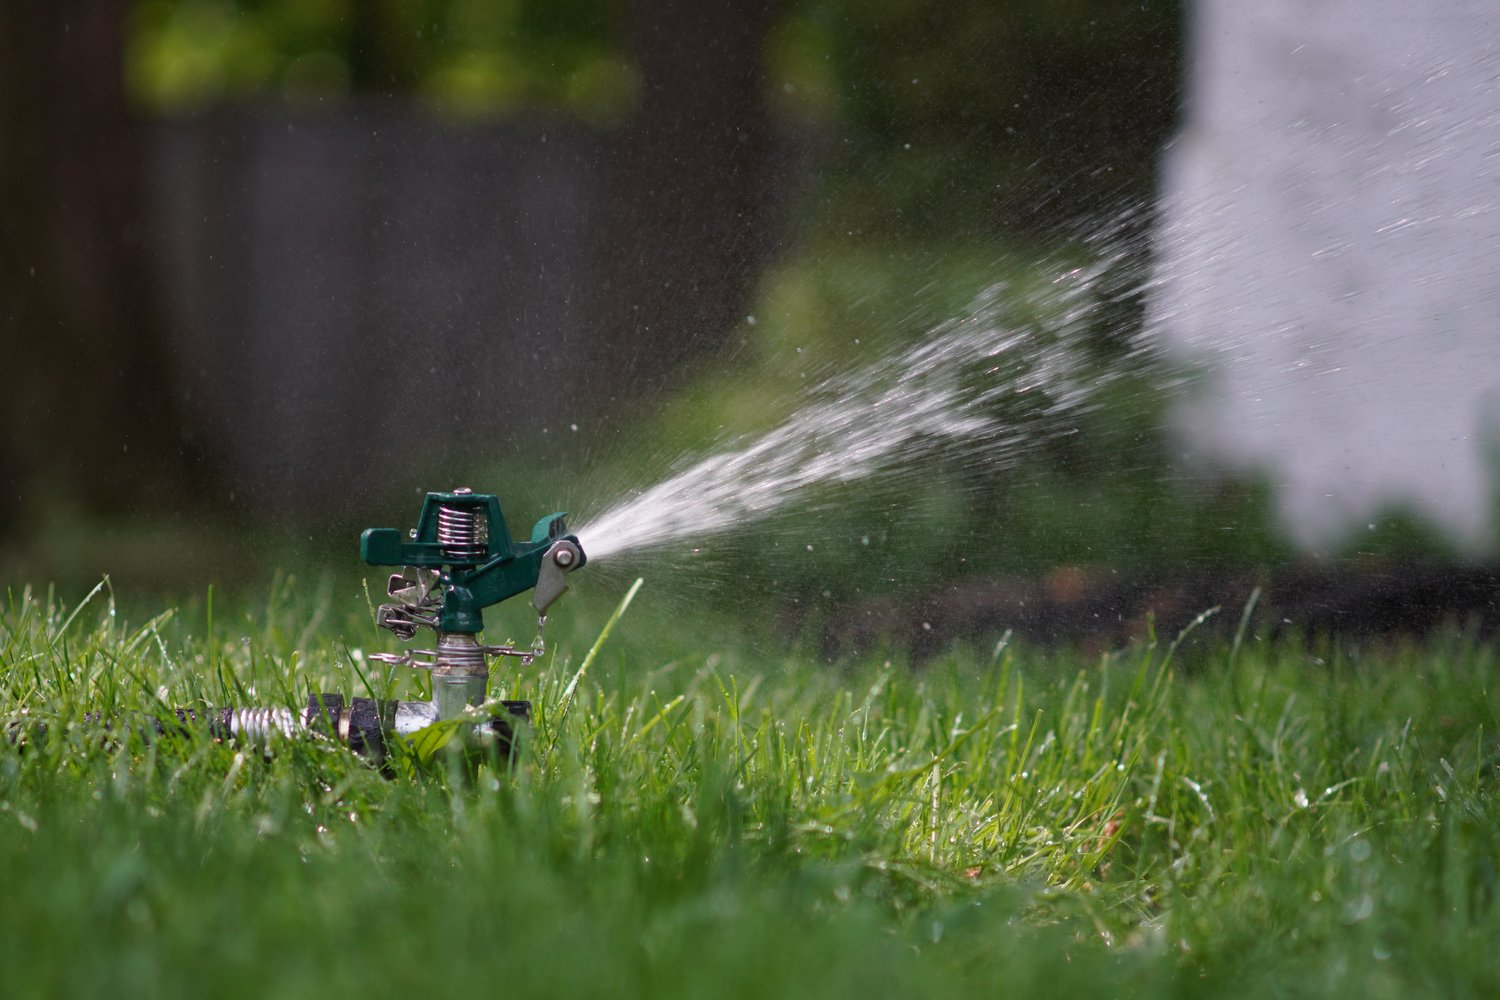
Properly preparing the sprinkler heads is a crucial step in priming an outdoor sprinkler system, as it ensures optimal performance and uniform water distribution. Begin by clearing any debris, dirt, or vegetation that may obstruct the sprinkler heads’ operation. Use a gentle brush or compressed air to remove accumulated debris from the nozzles and ensure unimpeded water flow.
Inspect the sprinkler heads for signs of damage, such as bent or clogged nozzles, and promptly address any issues to maintain efficient irrigation. If necessary, replace damaged or malfunctioning sprinkler heads to prevent uneven water distribution and potential water wastage.
Adjust the spray patterns and radius of the sprinkler heads to align with the specific watering needs of your landscape. Different areas of your lawn or garden may require varying water coverage, and customizing the spray patterns ensures that each zone receives the appropriate amount of water without overlapping or leaving dry spots.
If your sprinkler system includes adjustable nozzles, take the time to fine-tune the flow rate and direction to accommodate the layout of your landscape. This step is essential for optimizing water efficiency and minimizing overspray, especially in areas near sidewalks, driveways, or other non-planting zones.
Consider installing or retrofitting your sprinkler heads with water-efficient models that incorporate advanced features such as pressure regulation and matched precipitation technology. These innovative sprinkler heads help conserve water, reduce runoff, and enhance the overall effectiveness of the irrigation system.
By meticulously preparing the sprinkler heads and customizing their settings to suit your landscape’s watering requirements, you’ll lay the foundation for efficient and precise irrigation. The next crucial step in the priming process involves initiating the system’s operation and ensuring proper water flow through the entire network of pipes and valves. We’ll explore the intricacies of priming the system in the following section, guiding you through the essential steps for optimizing its performance and maximizing water efficiency.
Before priming your outdoor sprinkler system, make sure to turn off the water supply and drain any remaining water from the pipes to prevent freezing and damage during the winter.
Priming the System
Priming an outdoor sprinkler system is a vital process that involves initiating the flow of water through the network of pipes, valves, and sprinkler heads to ensure efficient and uniform irrigation. Before priming the system, it’s essential to shut off the water supply to the system at the main valve to prevent water from flowing prematurely during the priming process.
Start by locating the main control valve or isolation valve that supplies water to the sprinkler system. Ensure that the valve is fully closed to prevent water from entering the system as you prepare to prime it. This step is crucial for avoiding water wastage and potential flooding during the priming process.
Once the main valve is securely closed, access the control unit and initiate the priming or system startup sequence, depending on the system’s configuration. Follow the manufacturer’s guidelines for priming the system, which may involve activating the zones sequentially to allow water to flow through the pipes and reach the sprinkler heads.
Observe the system’s performance as it undergoes the priming process, paying close attention to any signs of leaks, irregular water flow, or malfunctioning components. If you notice any issues during the priming sequence, promptly halt the process and address the underlying causes before proceeding. This proactive approach helps prevent potential damage and ensures the system’s optimal operation.
As the system completes the priming sequence, carefully inspect each zone to verify that the sprinkler heads are functioning correctly and delivering uniform water distribution. Adjust the settings as needed to fine-tune the spray patterns, coverage, and duration of irrigation, ensuring that every area receives the appropriate amount of water without wastage or oversaturation.
After successfully priming the outdoor sprinkler system and confirming its proper operation, it’s essential to conduct a final check for leaks, unusual water pooling, or other irregularities. Address any remaining issues to guarantee the system’s integrity and efficiency before resuming regular irrigation schedules.
By following the prescribed steps for priming the outdoor sprinkler system, you’ll establish a foundation for consistent and effective irrigation, promoting the health and vitality of your lawn and garden. The final step in the priming process involves fine-tuning the system’s settings to align with specific watering requirements and environmental factors, optimizing its performance for maximum efficiency.
Adjusting the Settings
Once the outdoor sprinkler system has been successfully primed, the next crucial step involves fine-tuning the settings to optimize its performance, water efficiency, and alignment with the specific watering needs of your landscape. The control unit serves as the central interface for adjusting the system’s settings, allowing you to customize watering schedules, duration, frequency, and other essential parameters.
Begin by reviewing the existing watering schedule and making adjustments to accommodate seasonal variations, weather conditions, and the specific water requirements of your lawn and garden. Consider implementing a flexible watering program that adapts to changes in temperature, precipitation, and plant growth, ensuring that the system operates efficiently in response to environmental factors.
Utilize the control unit’s programming features to establish distinct watering zones based on the layout and irrigation needs of your landscape. Different zones may require varying water distribution patterns and durations to account for factors such as sun exposure, soil type, and plant species. Customizing the settings for each zone enables precise and targeted irrigation, promoting healthy plant growth and water conservation.
Integrate water-saving features and technologies into the system’s settings, such as rain sensors, soil moisture sensors, and seasonal adjustment capabilities. These advanced functionalities enable the system to adapt to changing environmental conditions, minimize water wastage, and optimize irrigation based on real-time data and predictive algorithms.
Consider implementing a smart irrigation controller that leverages weather data, evapotranspiration rates, and plant water requirements to automatically adjust the system’s settings. Smart controllers offer intuitive programming options and remote access capabilities, allowing you to monitor and manage the system’s operation from anywhere, enhancing convenience and water efficiency.
Regularly review and fine-tune the system’s settings to align with the evolving needs of your landscape and optimize water usage. Periodic adjustments based on plant growth, weather patterns, and soil moisture levels contribute to efficient irrigation, water conservation, and the overall health and beauty of your outdoor environment.
By meticulously adjusting the settings of the outdoor sprinkler system, you’ll harness its full potential for delivering precise, efficient, and environmentally conscious irrigation. With the system primed and optimized, you’ll enjoy the benefits of a healthy, vibrant landscape while conserving water and minimizing environmental impact.
Conclusion
Priming an outdoor sprinkler system is a fundamental aspect of maintaining a healthy and vibrant landscape, ensuring that plants, lawns, and gardens receive the water they need in an efficient and targeted manner. By understanding the intricacies of the system, conducting thorough inspections, and following the essential steps for priming and adjusting its settings, you can optimize its performance and promote water conservation.
Throughout this guide, we’ve explored the critical components of outdoor sprinkler systems, from the control unit and sprinkler heads to the network of pipes and valves. Understanding these elements is essential for identifying potential issues, customizing the system’s settings, and executing the priming process with precision.
Checking for leaks and damage, preparing the sprinkler heads, and priming the system are integral steps that lay the groundwork for efficient and effective irrigation. By meticulously inspecting the system, addressing any issues, and fine-tuning the sprinkler heads’ settings, you can ensure uniform water distribution and optimal performance.
Priming the system involves initiating the flow of water through the network of pipes, valves, and sprinkler heads, ensuring that the system operates as intended and delivers consistent irrigation. By following the prescribed steps for priming and conducting a thorough inspection of the system’s performance, you can address any issues and guarantee its integrity.
Adjusting the settings of the outdoor sprinkler system is a continuous process that involves customizing watering schedules, duration, and frequency to align with the specific needs of your landscape. By integrating water-saving features, utilizing smart irrigation controllers, and adapting the system to changing environmental conditions, you can promote water efficiency and sustainable landscape management.
In conclusion, priming an outdoor sprinkler system is a multifaceted endeavor that requires attention to detail, proactive maintenance, and a commitment to optimizing water usage. By mastering the essential techniques for priming and adjusting the system, you’ll not only enhance the health and beauty of your landscape but also contribute to water conservation and environmental stewardship.
With a well-primed and optimized outdoor sprinkler system, you can enjoy the benefits of a lush, thriving landscape while minimizing water wastage and maximizing the system’s efficiency. By implementing the insights and practices outlined in this guide, you’ll be empowered to maintain a healthy and sustainable outdoor environment for years to come.
Frequently Asked Questions about How To Prime An Outdoor Sprinkler System
Was this page helpful?
At Storables.com, we guarantee accurate and reliable information. Our content, validated by Expert Board Contributors, is crafted following stringent Editorial Policies. We're committed to providing you with well-researched, expert-backed insights for all your informational needs.


0 thoughts on “How To Prime An Outdoor Sprinkler System”