Home>Gardening & Outdoor>Landscaping Ideas>How To Plant Wheatgrass
Landscaping Ideas
How To Plant Wheatgrass
Published: January 27, 2024
Learn how to plant wheatgrass with our expert landscaping ideas. Discover the best tips and techniques for successful wheatgrass cultivation. Start your wheatgrass project today!
(Many of the links in this article redirect to a specific reviewed product. Your purchase of these products through affiliate links helps to generate commission for Storables.com, at no extra cost. Learn more)
Introduction
Wheatgrass, with its vibrant green hue and numerous health benefits, has gained popularity as a superfood and a versatile addition to a healthy lifestyle. Whether you're a health enthusiast, a gardening aficionado, or someone looking to explore the world of homegrown greens, planting wheatgrass can be a rewarding and fulfilling experience. This nutrient-dense plant is packed with vitamins, minerals, and antioxidants, making it a valuable addition to your diet and overall well-being.
In this comprehensive guide, we will delve into the step-by-step process of planting wheatgrass, from selecting the right seeds to harvesting the lush blades. By following these instructions, you can cultivate your own supply of fresh wheatgrass, ensuring a readily available source of this nutritional powerhouse.
Embarking on the journey of planting wheatgrass allows you to witness the marvel of nature as tiny seeds transform into vibrant green blades, ready to be harvested and enjoyed. Whether you plan to incorporate wheatgrass into your daily smoothies, juices, or as a decorative element in your living space, the process of growing it from scratch is both fulfilling and gratifying.
As we delve into the intricacies of planting and nurturing wheatgrass, you will gain valuable insights into the optimal conditions for growth, the importance of soil preparation, and the nurturing care required to yield a bountiful harvest. Whether you have a spacious garden, a cozy balcony, or a sunny windowsill, you can embark on this journey and experience the joy of cultivating your own supply of this nutrient-rich green goodness.
So, roll up your sleeves, gather your gardening tools, and let's embark on this enriching journey of planting and nurturing wheatgrass. With a little patience, care, and the right techniques, you'll soon be reaping the rewards of your own homegrown wheatgrass.
Key Takeaways:
- Planting wheatgrass is a rewarding journey that starts with choosing high-quality seeds and preparing nutrient-rich soil. With patience and care, you can grow vibrant wheatgrass at home for a fresh and nutritious addition to your diet.
- Harvesting wheatgrass at the right time and with precision ensures maximum nutritional benefits. Enjoy the versatile uses of freshly harvested wheatgrass, and with proper care, you can look forward to multiple harvests for continued enjoyment.
Read more: How To Plant Wheatgrass Seeds
Step 1: Choosing the Right Seeds
Selecting the right seeds is the foundational step in the process of planting wheatgrass. Opting for high-quality, organic wheatgrass seeds ensures a successful and bountiful harvest. When choosing seeds, look for those specifically labeled as "wheatgrass seeds" or "wheat berries." These seeds are typically untreated and free from chemicals, ensuring optimal growth and nutritional value.
It's essential to source seeds from reputable suppliers or specialized garden centers to guarantee their quality and viability. Organic seeds are preferable, as they are free from synthetic pesticides and genetically modified organisms, aligning with the principles of sustainable and natural cultivation.
When examining the seeds, ensure they are plump, uniform in size, and free from mold or discoloration. This indicates their freshness and viability for germination. Additionally, consider the origin of the seeds, as those cultivated in suitable climates and soil conditions are more likely to thrive when planted in a similar environment.
Furthermore, consider the quantity of seeds needed based on your intended wheatgrass yield. For small-scale cultivation, a modest quantity of seeds may suffice, while larger plantings require a correspondingly greater supply. It's advisable to purchase seeds in quantities that align with your planting goals, ensuring you have an adequate supply without excessive waste.
As you embark on the journey of planting wheatgrass, the selection of high-quality seeds sets the stage for a successful and rewarding cultivation process. By prioritizing the quality, freshness, and origin of the seeds, you lay a solid foundation for the vibrant and nutrient-rich wheatgrass that will flourish in the subsequent stages of growth and care.
Step 2: Preparing the Soil
The quality of the soil plays a pivotal role in the successful cultivation of wheatgrass. Before planting the seeds, it's essential to prepare the soil to create an optimal environment for germination and growth. Here's a detailed guide on how to prepare the soil for planting wheatgrass:
1. Selecting the Right Container or Planting Area
Whether you're planting wheatgrass indoors or outdoors, choosing the right container or planting area is crucial. For indoor cultivation, select shallow trays or containers with drainage holes to prevent waterlogging. If you opt for outdoor planting, ensure the chosen area receives ample sunlight and has well-draining soil.
2. Soil Preparation
Begin by selecting a high-quality, nutrient-rich potting mix or soil for your wheatgrass. A well-balanced mix with organic matter and good drainage properties is ideal. If you prefer a DIY approach, you can create a custom soil mix by combining equal parts of peat moss, vermiculite, and compost. This blend provides a fertile and well-draining medium for the seeds to germinate and the roots to establish.
Read more: What Is Wheatgrass For
3. Filling the Container or Planting Area
Fill the chosen container or planting area with the prepared soil mix, ensuring it is evenly distributed and leveled. Avoid compacting the soil excessively, as loose, aerated soil promotes healthy root development and overall plant growth.
4. Moistening the Soil
Before planting the wheatgrass seeds, lightly moisten the soil to create a conducive environment for germination. Use a spray bottle or a gentle watering can to ensure the soil is uniformly damp but not waterlogged. This step prepares the soil to receive the seeds and kick-start the germination process.
5. Optional Pre-Soaking of Seeds
While not mandatory, some gardeners opt to pre-soak wheatgrass seeds for 8-12 hours before planting. This can enhance germination rates and speed up the initial growth stages. If you choose to pre-soak the seeds, ensure they are thoroughly drained before planting to prevent waterlogging.
6. Leveling the Soil Surface
After moistening the soil and pre-soaking the seeds (if desired), gently level the soil surface using a flat tool or the back of a gardening trowel. This creates a smooth and uniform bed for planting the seeds, ensuring they are adequately covered and in close contact with the soil.
By meticulously preparing the soil for planting, you establish the groundwork for robust and thriving wheatgrass growth. The attention to soil quality, moisture levels, and seed placement sets the stage for successful germination and the emergence of lush, vibrant wheatgrass blades.
Read more: How To Juice Wheatgrass With A Juicer
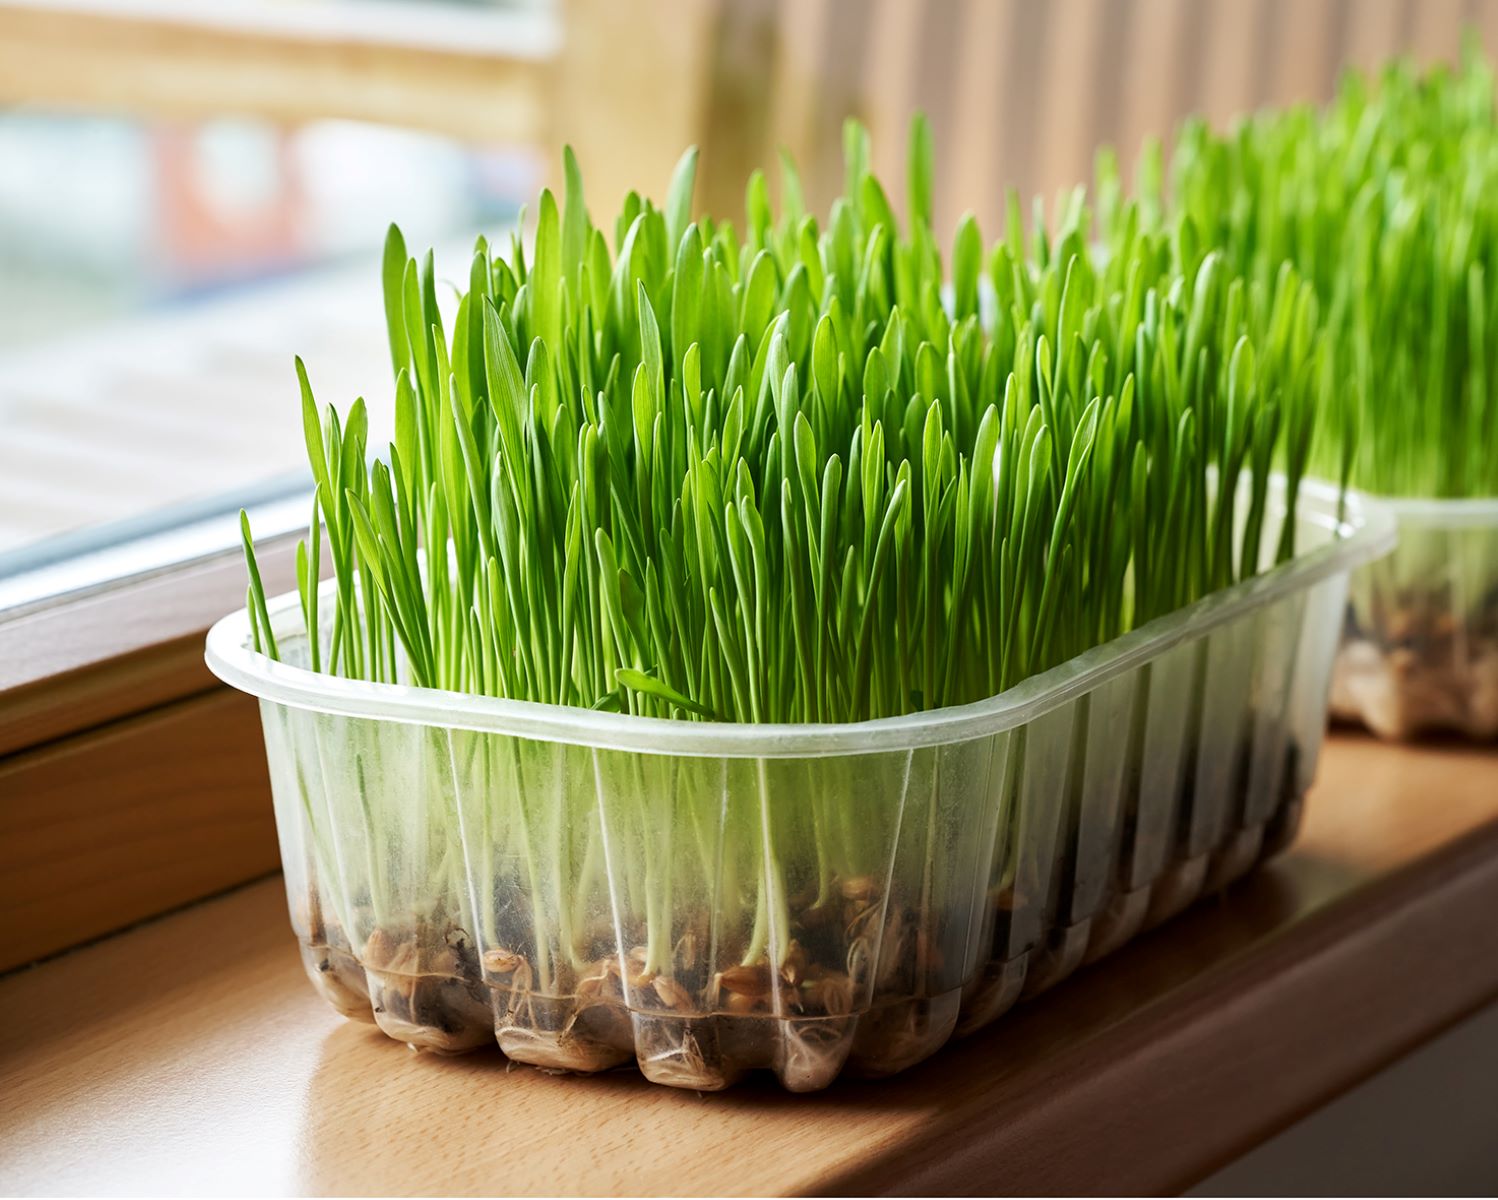
Step 3: Planting the Seeds
Planting the seeds marks a pivotal stage in the journey of cultivating vibrant wheatgrass. This step sets the foundation for germination and the subsequent growth of lush, green blades that embody the essence of this nutrient-rich superfood.
1. Seed Distribution
Begin by evenly distributing the wheatgrass seeds across the prepared soil surface. Ensure a uniform spread to facilitate consistent growth and avoid overcrowding, which can impede the development of individual plants. Gently scatter the seeds by hand, maintaining a steady and even motion to achieve a balanced distribution.
2. Light Pressing
After distributing the seeds, lightly press them into the soil using the back of a flat tool or the palm of your hand. This gentle pressing action ensures the seeds make adequate contact with the soil, promoting optimal germination and root establishment. Avoid pressing too firmly, as this may hinder the seeds' ability to access air and moisture essential for germination.
3. Soil Coverage
Following the pressing of the seeds, lightly cover them with a thin layer of soil. This layer acts as a protective blanket, shielding the seeds and providing a conducive environment for germination. The covering should be minimal, allowing the seeds to receive ample light and air while safeguarding them from potential disturbances.
Read more: How To Store Wheatgrass
4. Moistening the Seeds
Once the seeds are planted and lightly covered, moisten the soil surface using a gentle spray of water. Ensure the soil is adequately dampened, but avoid saturating it, as excessive moisture can impede germination. A fine mist of water provides the ideal level of moisture for the seeds to initiate the germination process.
5. Providing Adequate Light
Place the planted seeds in a location that receives ample natural light or, if necessary, under grow lights suitable for promoting germination. Adequate light exposure is crucial for stimulating the seeds' growth and ensuring the development of robust, healthy wheatgrass.
6. Patience and Observation
With the seeds planted and the initial steps completed, exercise patience and keen observation as the germination process unfolds. Monitor the soil moisture levels, ensure the seeds receive sufficient light, and eagerly anticipate the emergence of the first delicate green shoots, signaling the beginning of the wheatgrass's growth journey.
By meticulously following these steps, you lay the groundwork for the successful germination and growth of vibrant wheatgrass. The careful planting of seeds, coupled with attentive care and favorable growing conditions, sets the stage for a flourishing wheatgrass crop that embodies vitality and nutritional abundance.
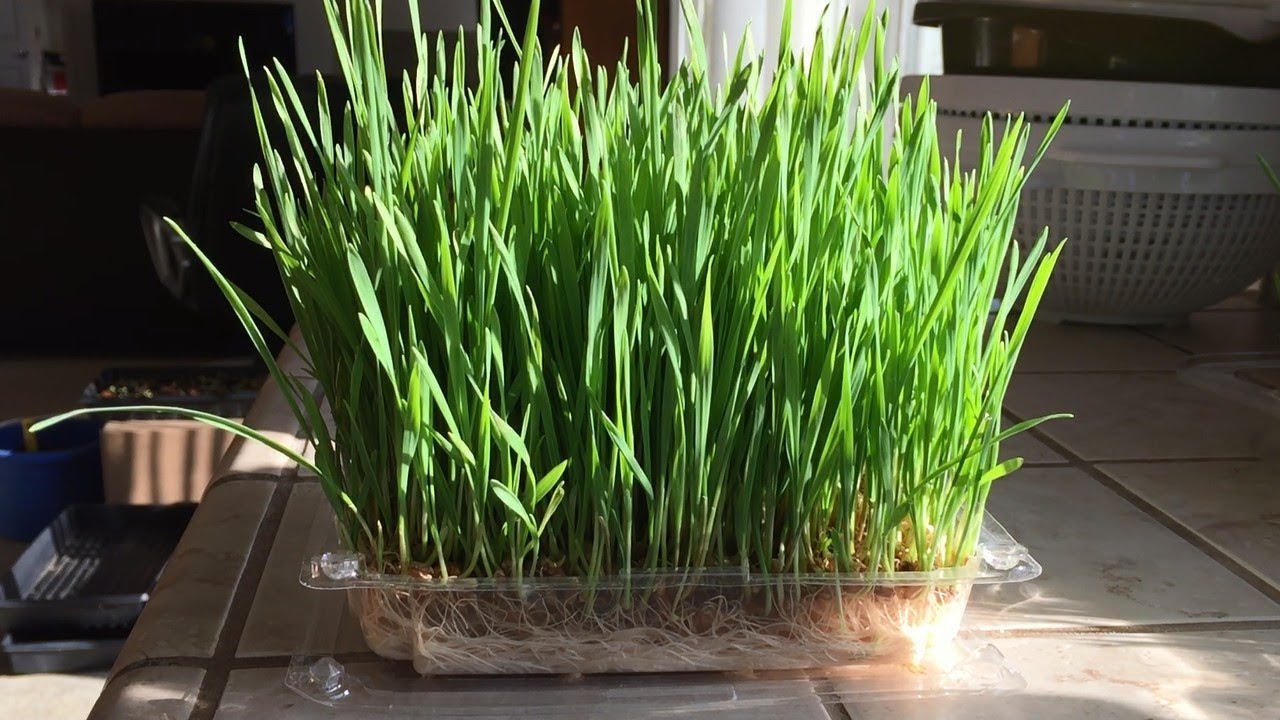
Step 4: Watering and Caring for the Wheatgrass
Watering and caring for wheatgrass are crucial aspects of nurturing its growth and ensuring the development of vibrant, nutrient-rich blades. Proper watering techniques, coupled with attentive care, contribute to the overall health and vitality of the wheatgrass crop. Here's a detailed guide on how to effectively water and care for your growing wheatgrass:
-
Moisture Management:
- Wheatgrass requires consistent moisture to thrive, but overwatering can lead to root rot and other issues. Ensure the soil remains consistently moist, but not waterlogged, throughout the growth cycle. A fine mist of water applied using a spray bottle helps maintain optimal moisture levels without saturating the soil.
-
Watering Frequency:
- As a general guideline, water the wheatgrass once or twice daily, depending on environmental conditions. In warmer climates or during dry spells, more frequent watering may be necessary to prevent the soil from drying out. Observing the soil's moisture level and the wheatgrass's appearance can guide the watering frequency.
-
Avoiding Standing Water:
- After watering, ensure excess water drains effectively from the planting container or area. Standing water can lead to root suffocation and create an environment conducive to fungal growth. Proper drainage is essential for maintaining a healthy growing environment for the wheatgrass.
-
Monitoring Growth:
- Regularly monitor the wheatgrass's growth and overall appearance. Healthy wheatgrass exhibits vibrant green coloration and robust blade development. If the blades appear pale or yellowish, it may indicate inadequate watering or nutrient deficiencies, prompting adjustments in the care regimen.
-
Air Circulation:
- Adequate air circulation is essential for preventing moisture-related issues and promoting healthy growth. Positioning fans on a low setting near the wheatgrass can enhance air circulation, reducing the risk of mold or mildew while fostering strong, resilient blades.
-
Fertilization:
- While wheatgrass typically derives ample nutrients from the soil, supplementing with a diluted organic fertilizer can bolster its growth. Apply the fertilizer sparingly, following the manufacturer's recommendations, to provide the wheatgrass with essential nutrients for robust development.
-
Protection from Extreme Conditions:
- Shield the wheatgrass from extreme temperatures and environmental stressors. During heatwaves, provide shade or relocate the wheatgrass to a cooler area. Similarly, protect the crop from frost or prolonged exposure to harsh weather conditions to maintain its health and vitality.
By implementing these watering and care practices, you foster an environment conducive to the flourishing growth of wheatgrass. The attentive management of moisture levels, coupled with proactive care measures, ensures the development of vibrant, nutrient-dense wheatgrass that embodies the essence of natural vitality and well-being.
Read more: How To Make Wheatgrass
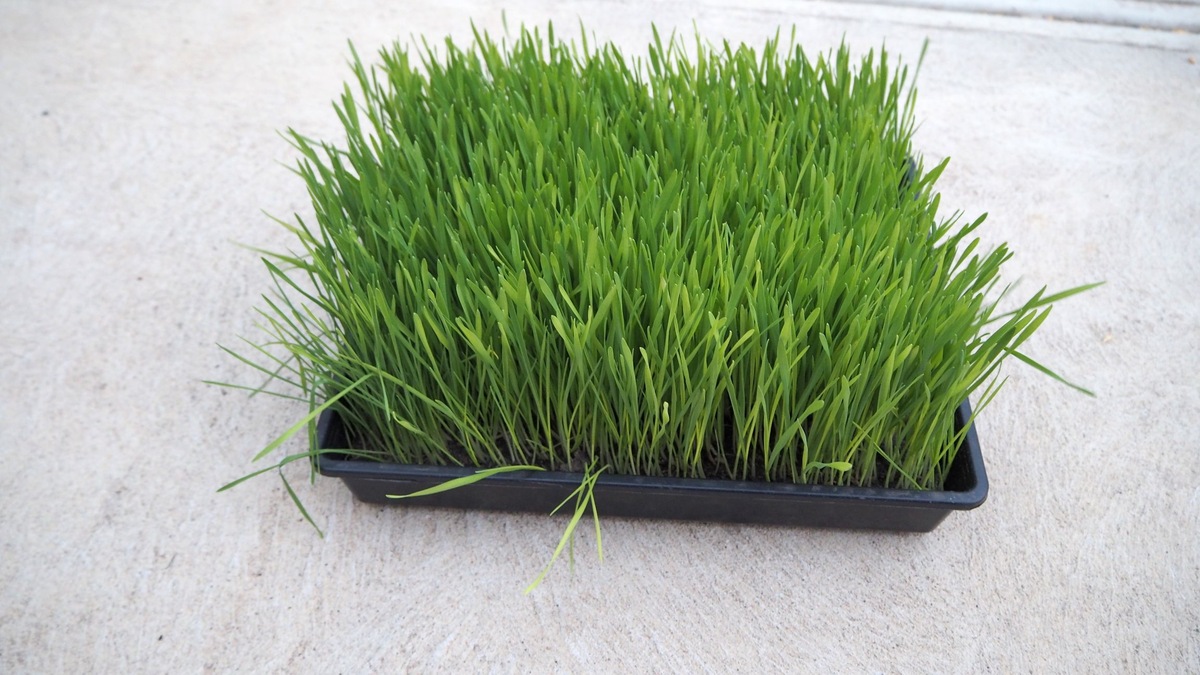
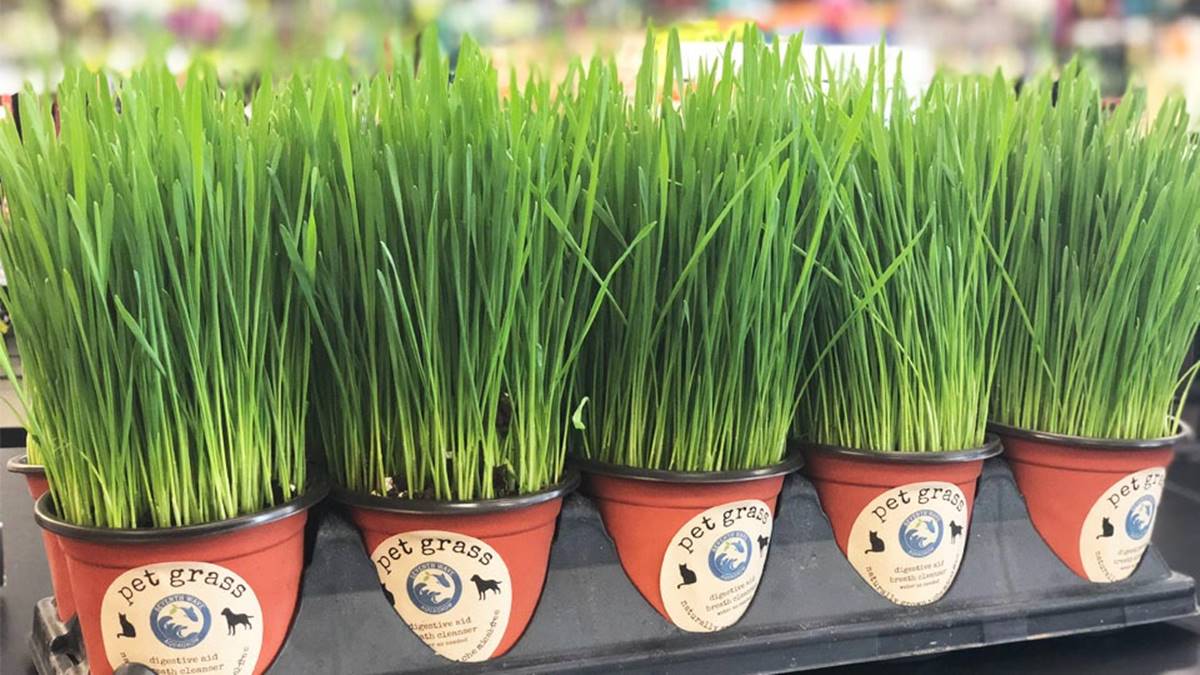
Step 5: Harvesting the Wheatgrass
Harvesting wheatgrass marks the culmination of the cultivation journey, offering the opportunity to reap the rewards of your dedicated efforts and witness the vibrant green blades transform into a valuable nutritional resource. The timing and technique of harvesting are critical in ensuring the optimal flavor, nutrient content, and overall quality of the harvested wheatgrass.
1. Determining the Ideal Harvest Time
Before proceeding with the harvest, it's essential to identify the optimal stage of growth for harvesting wheatgrass. Typically, wheatgrass reaches its peak nutritional potency when it reaches a height of 6-8 inches. At this stage, the blades are lush, vibrant, and packed with essential vitamins, minerals, and chlorophyll, making it an ideal time for harvesting.
2. Harvesting Technique
To harvest the wheatgrass, use clean, sharp scissors or a specialized wheatgrass harvesting tool to snip the blades just above the soil level. Ensure a clean and precise cut to facilitate regrowth for potential subsequent harvests. Exercise care to avoid damaging the underlying soil or disturbing the root system during the harvesting process.
3. Collection and Storage
Gather the harvested wheatgrass blades into a clean container, ensuring they remain fresh and vibrant. To prolong the shelf life and preserve the nutritional content, refrigerate the harvested wheatgrass in an airtight container or sealed plastic bag. Proper storage helps maintain the crispness and nutritional integrity of the wheatgrass, ensuring it remains a valuable addition to your culinary and wellness endeavors.
Read more: How To Grow Wheatgrass
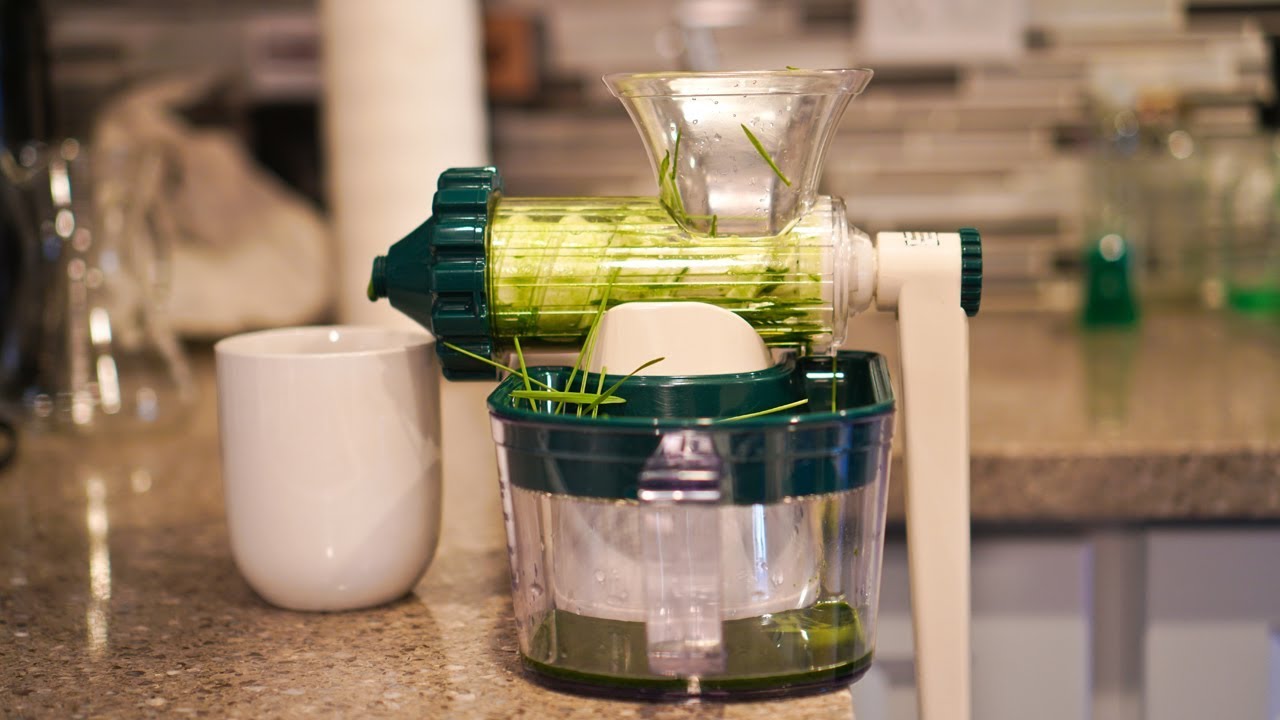
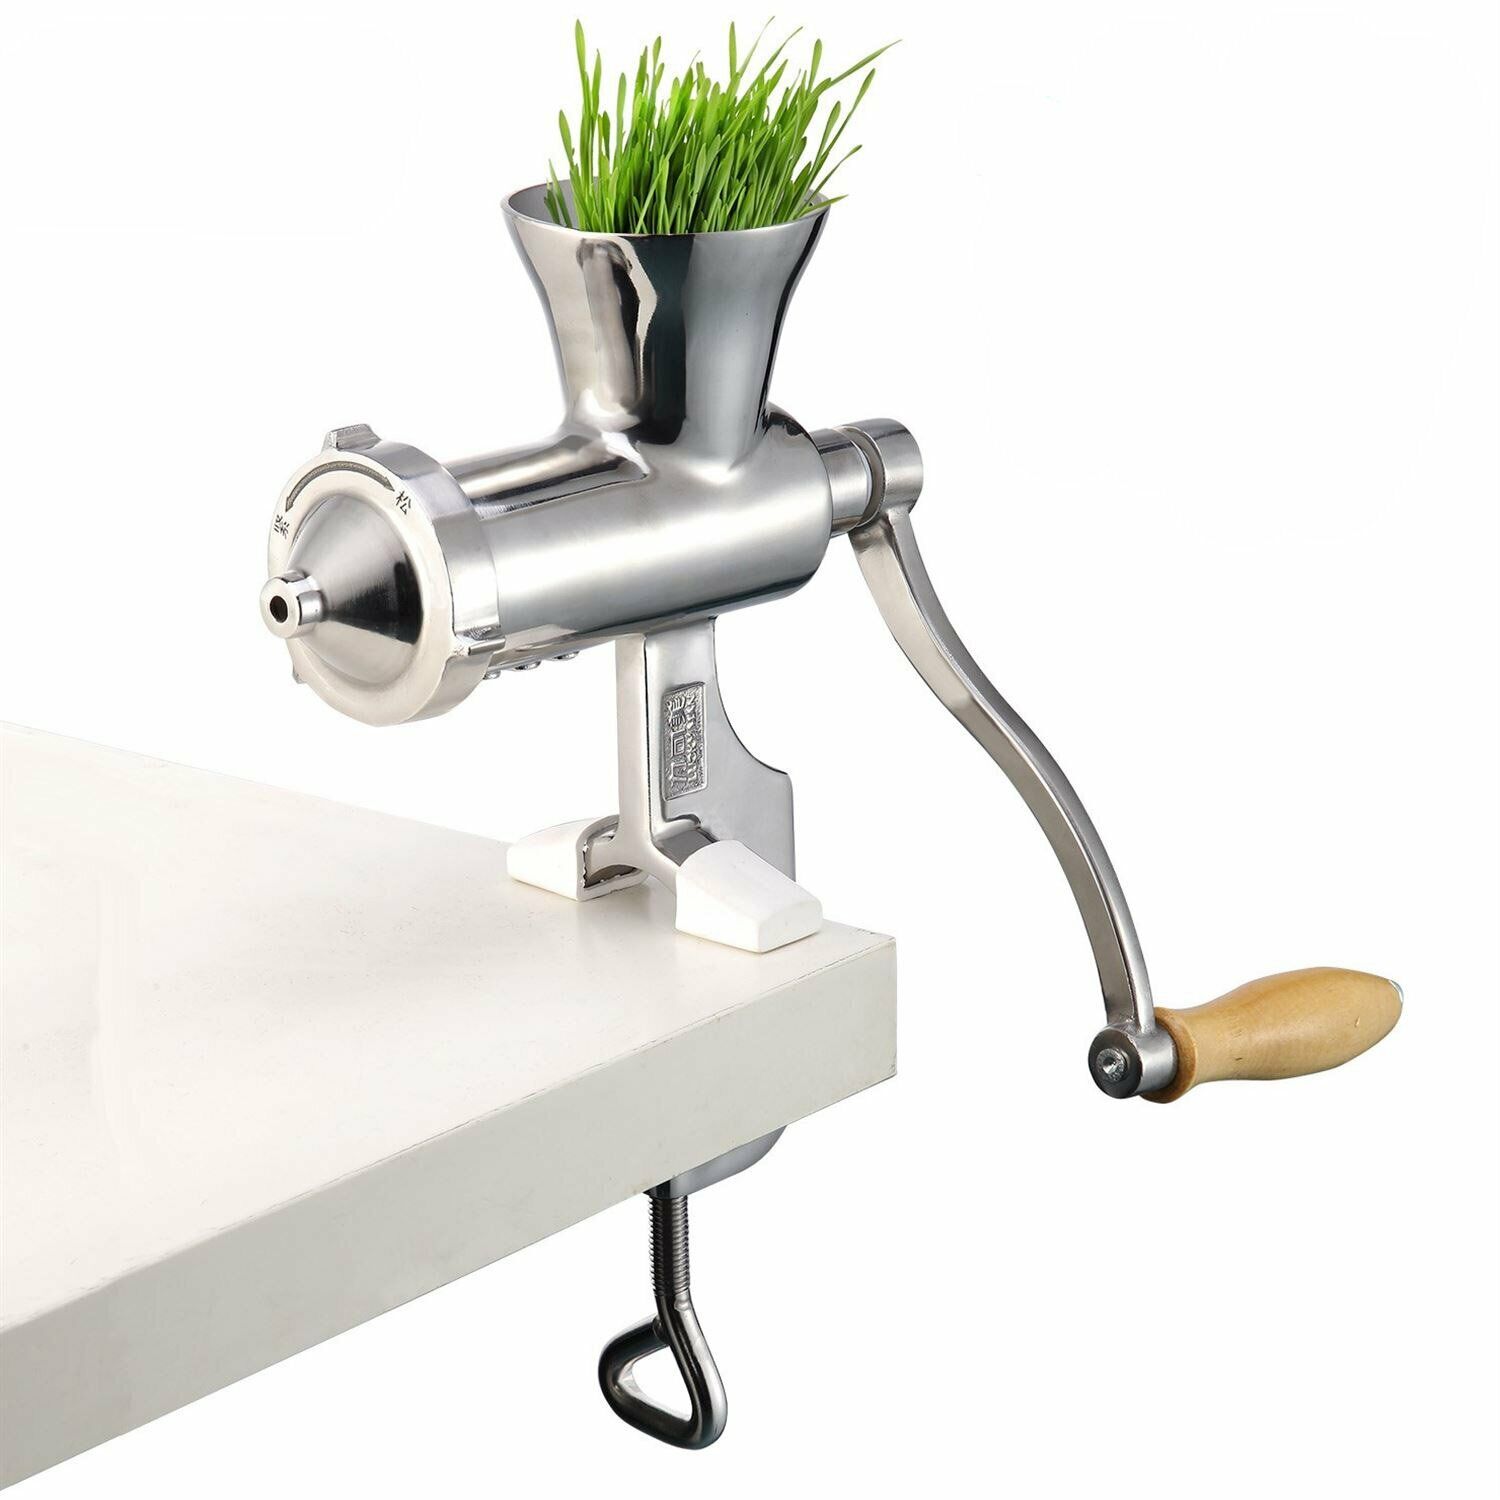
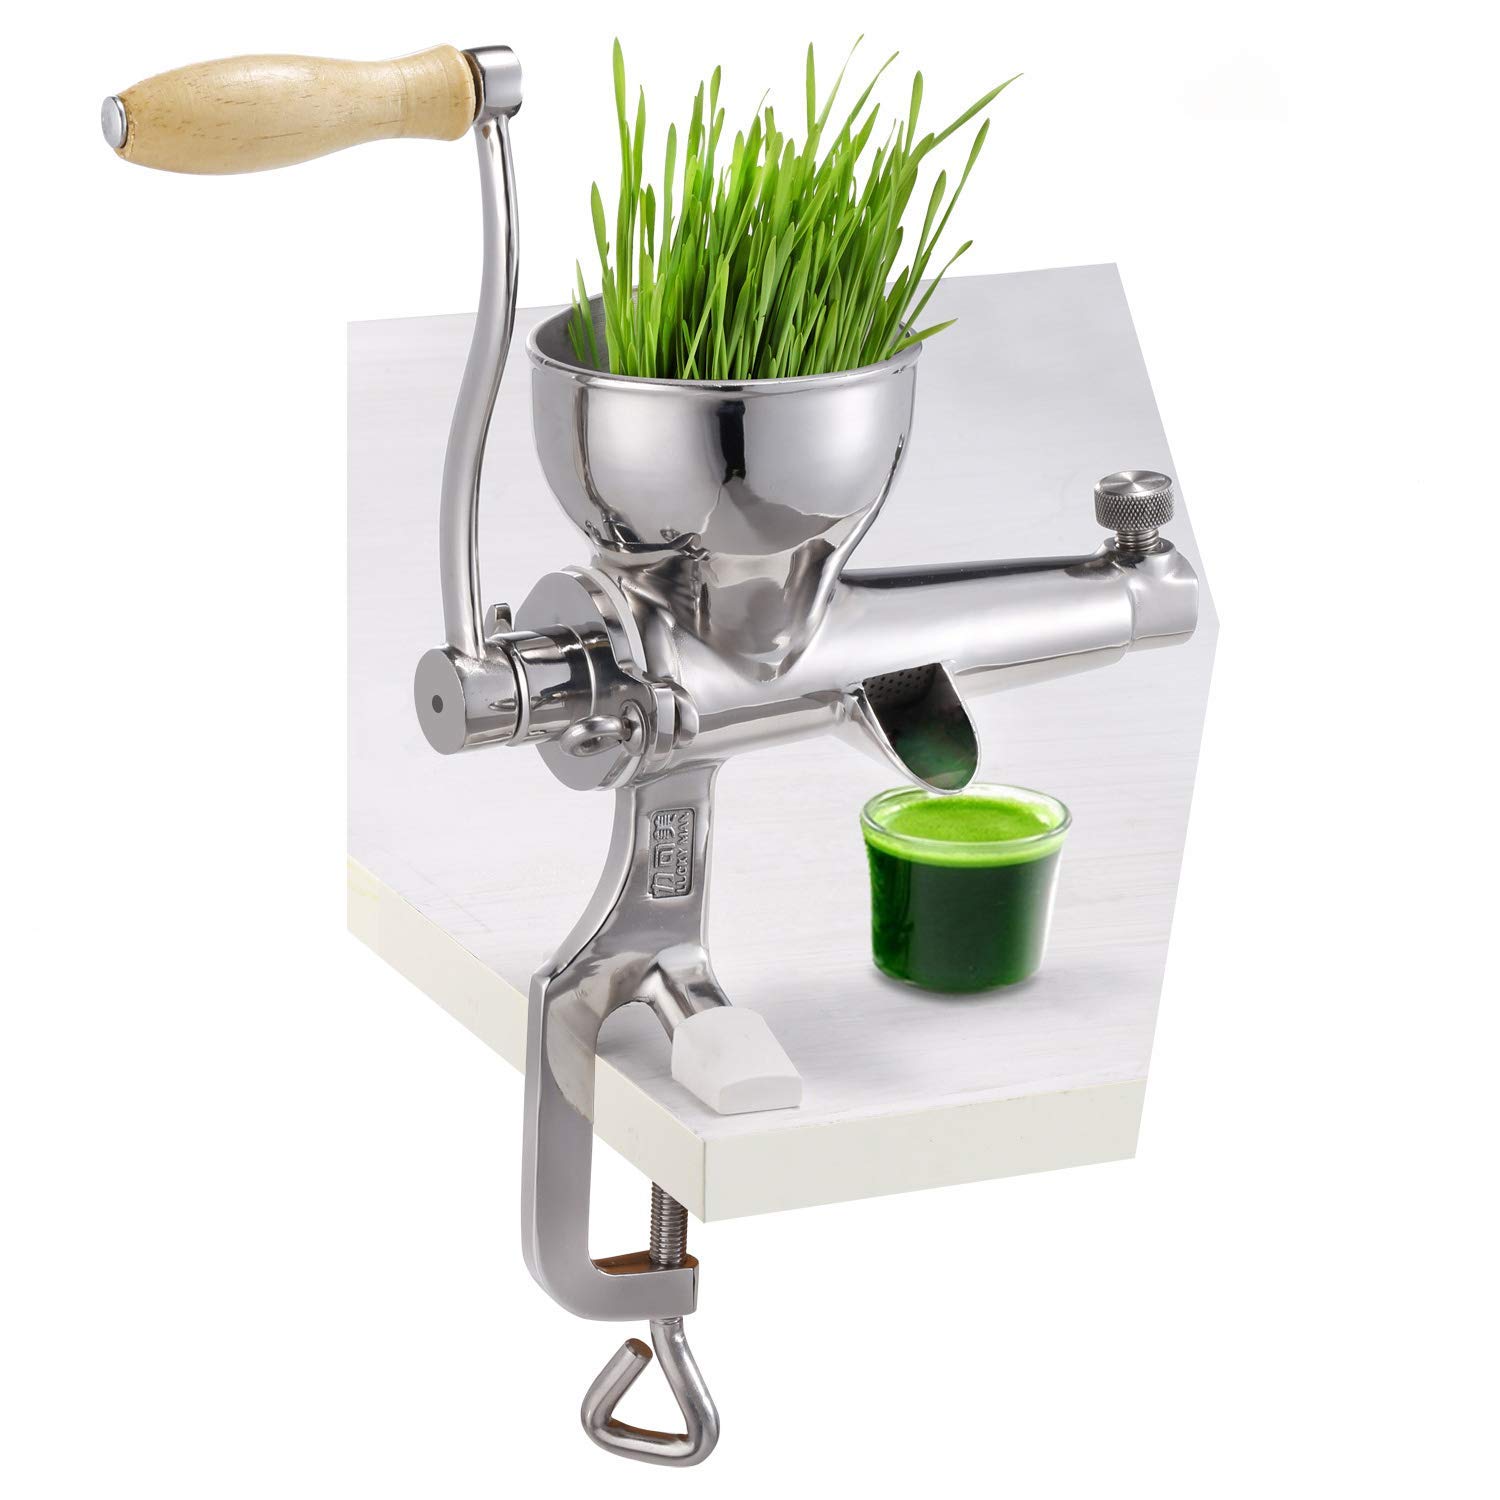
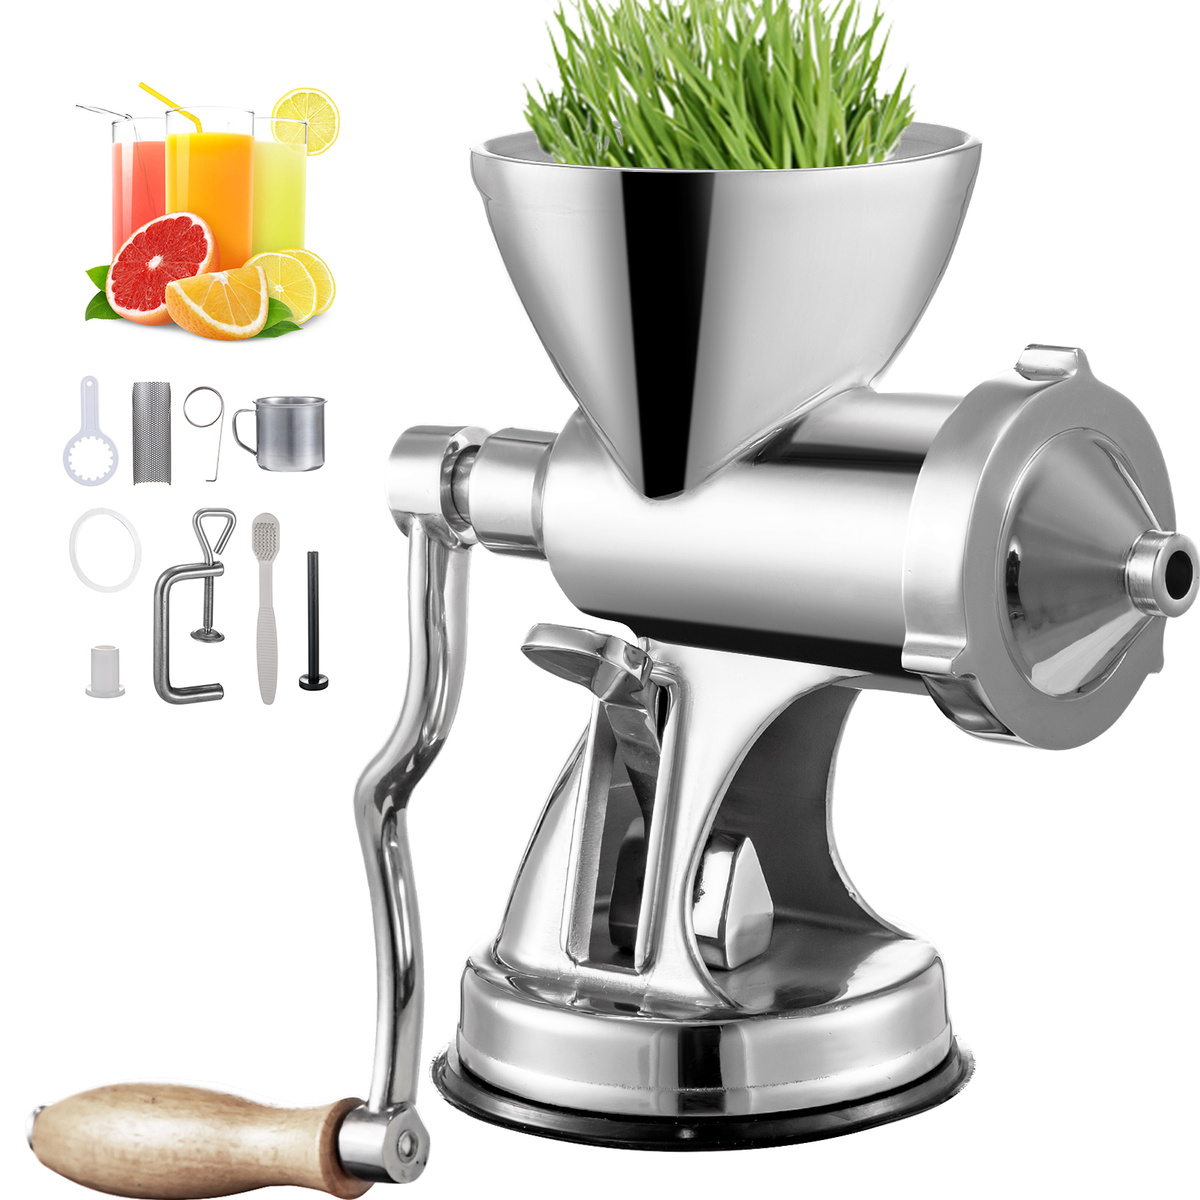
4. Utilization and Enjoyment
The freshly harvested wheatgrass can be utilized in an array of culinary and wellness applications. From juicing and blending into nutrient-packed smoothies to incorporating it into salads, wraps, or as a garnish for various dishes, the harvested wheatgrass offers a versatile and potent addition to your culinary creations. Additionally, consider freezing the harvested wheatgrass in ice cube trays for convenient future use in beverages and recipes.
5. Regrowth and Successive Harvests
Following the initial harvest, the wheatgrass often regenerates, offering the potential for successive harvests. With attentive care, consistent watering, and adequate light exposure, the wheatgrass can regrow, providing additional opportunities for harvesting and enjoying its nutritional benefits.
By meticulously following the harvesting process and embracing the potential for regrowth, you unlock the full potential of your cultivated wheatgrass, transforming it into a valuable and versatile resource for enhancing your well-being and culinary experiences.
Frequently Asked Questions about How To Plant Wheatgrass
Was this page helpful?
At Storables.com, we guarantee accurate and reliable information. Our content, validated by Expert Board Contributors, is crafted following stringent Editorial Policies. We're committed to providing you with well-researched, expert-backed insights for all your informational needs.


0 thoughts on “How To Plant Wheatgrass”