Home>Gardening & Outdoor>Landscaping Ideas>How To Remove Lawn Grass
Landscaping Ideas
How To Remove Lawn Grass
Modified: March 27, 2024
Learn effective landscaping ideas and techniques for removing lawn grass. Discover expert tips for a beautiful and low-maintenance yard. Explore our step-by-step guide!
(Many of the links in this article redirect to a specific reviewed product. Your purchase of these products through affiliate links helps to generate commission for Storables.com, at no extra cost. Learn more)
Introduction
Welcome to the ultimate guide on how to remove lawn grass. Whether you’re looking to replace your turf with a vibrant garden, a low-maintenance landscape, or a more sustainable alternative, removing lawn grass is the crucial first step. While grass can be a beautiful and functional part of a yard, there are numerous reasons why you might want to remove it. Perhaps you’re seeking to reduce your water usage, decrease maintenance efforts, or simply transform your outdoor space into something new and exciting. No matter the reason, this guide will walk you through the process, providing expert tips and insights to ensure a successful lawn grass removal project.
Removing lawn grass involves several key steps, from preparing the necessary tools and materials to properly disposing of the grass. Additionally, you might choose to replant or reseed the area with alternative landscaping options. By following this comprehensive guide, you’ll be equipped with the knowledge and techniques to effectively remove lawn grass while minimizing the impact on the surrounding environment.
So, roll up your sleeves and get ready to embark on a transformative journey for your outdoor space. Let’s dive into the step-by-step process of removing lawn grass and explore the possibilities that await you beyond the green turf!
Key Takeaways:
- Removing lawn grass involves steps like preparing tools, applying herbicide, and responsible disposal. It’s a proactive process that sets the stage for creating a vibrant and sustainable outdoor space.
- After removing grass, consider replanting with native plants, creating wildflower meadows, or incorporating artistic hardscaping. This step allows for creativity and personalization in transforming the outdoor area.
Read more: How To Remove Lawn Turf
Step 1: Prepare the Tools and Materials
Before diving into the process of removing lawn grass, it’s essential to gather the necessary tools and materials. Proper preparation sets the stage for a smooth and efficient grass removal project. Here’s a comprehensive list of items you’ll need:
- Garden Gloves: Protect your hands from debris, thorns, and potential irritants.
- Shovel: A sturdy shovel will be your primary tool for digging up the grass and its roots.
- Herbicide: Select a high-quality herbicide to effectively kill the grass and prevent regrowth.
- Wheelbarrow or Yard Waste Bags: For transporting and disposing of the removed grass.
- Watering Can or Sprayer: To apply herbicide evenly across the targeted area.
- Pruning Shears: Useful for cutting back any overgrown vegetation around the perimeter of the grass area.
- Protective Eyewear: Safeguard your eyes from potential debris and herbicide splatter.
- Optional: Replanting Materials: If you plan to replace the grass with new plants or landscaping features, gather the necessary materials in advance.
Once you’ve assembled the required tools and materials, it’s time to mentally prepare for the task ahead. Consider the environmental impact of the herbicide you’ll be using, and ensure that you’re following all safety guidelines. Additionally, take a moment to envision the future of your outdoor space without the grass, and let this vision inspire and motivate you throughout the process.
With your tools and a clear plan in hand, you’re now ready to move on to the next step: clearing the area in preparation for grass removal.
Step 2: Clear the Area
Clearing the targeted area is an essential preparatory step before initiating the grass removal process. This phase involves removing any obstructions and ensuring a clean, accessible workspace. Follow these steps to effectively clear the area:
- Remove Debris: Begin by clearing the area of any debris, such as rocks, branches, or fallen leaves. This will create a safer and more manageable work environment.
- Cut Back Overgrowth: Trim back any overgrown vegetation, including bushes, shrubs, or low-hanging branches, that may encroach upon the grass area. This step is crucial for unobstructed access during the grass removal process.
- Define the Boundary: Clearly mark the boundaries of the grass area using a temporary marker, such as string or stakes. This delineation will guide your efforts and help prevent accidental damage to surrounding plants and features.
- Address Drainage: Assess the drainage in the area to ensure that water flows appropriately after the grass removal. Correct any drainage issues before proceeding to the next phase.
By diligently clearing the area, you’ll create a conducive environment for the subsequent steps of applying herbicide and removing the grass. Additionally, a well-prepared workspace minimizes the risk of accidental damage to adjacent landscaping elements and facilitates a more efficient grass removal process.
With the area cleared and ready for the next phase, you’re now prepared to move on to applying herbicide to effectively eliminate the grass and its roots.
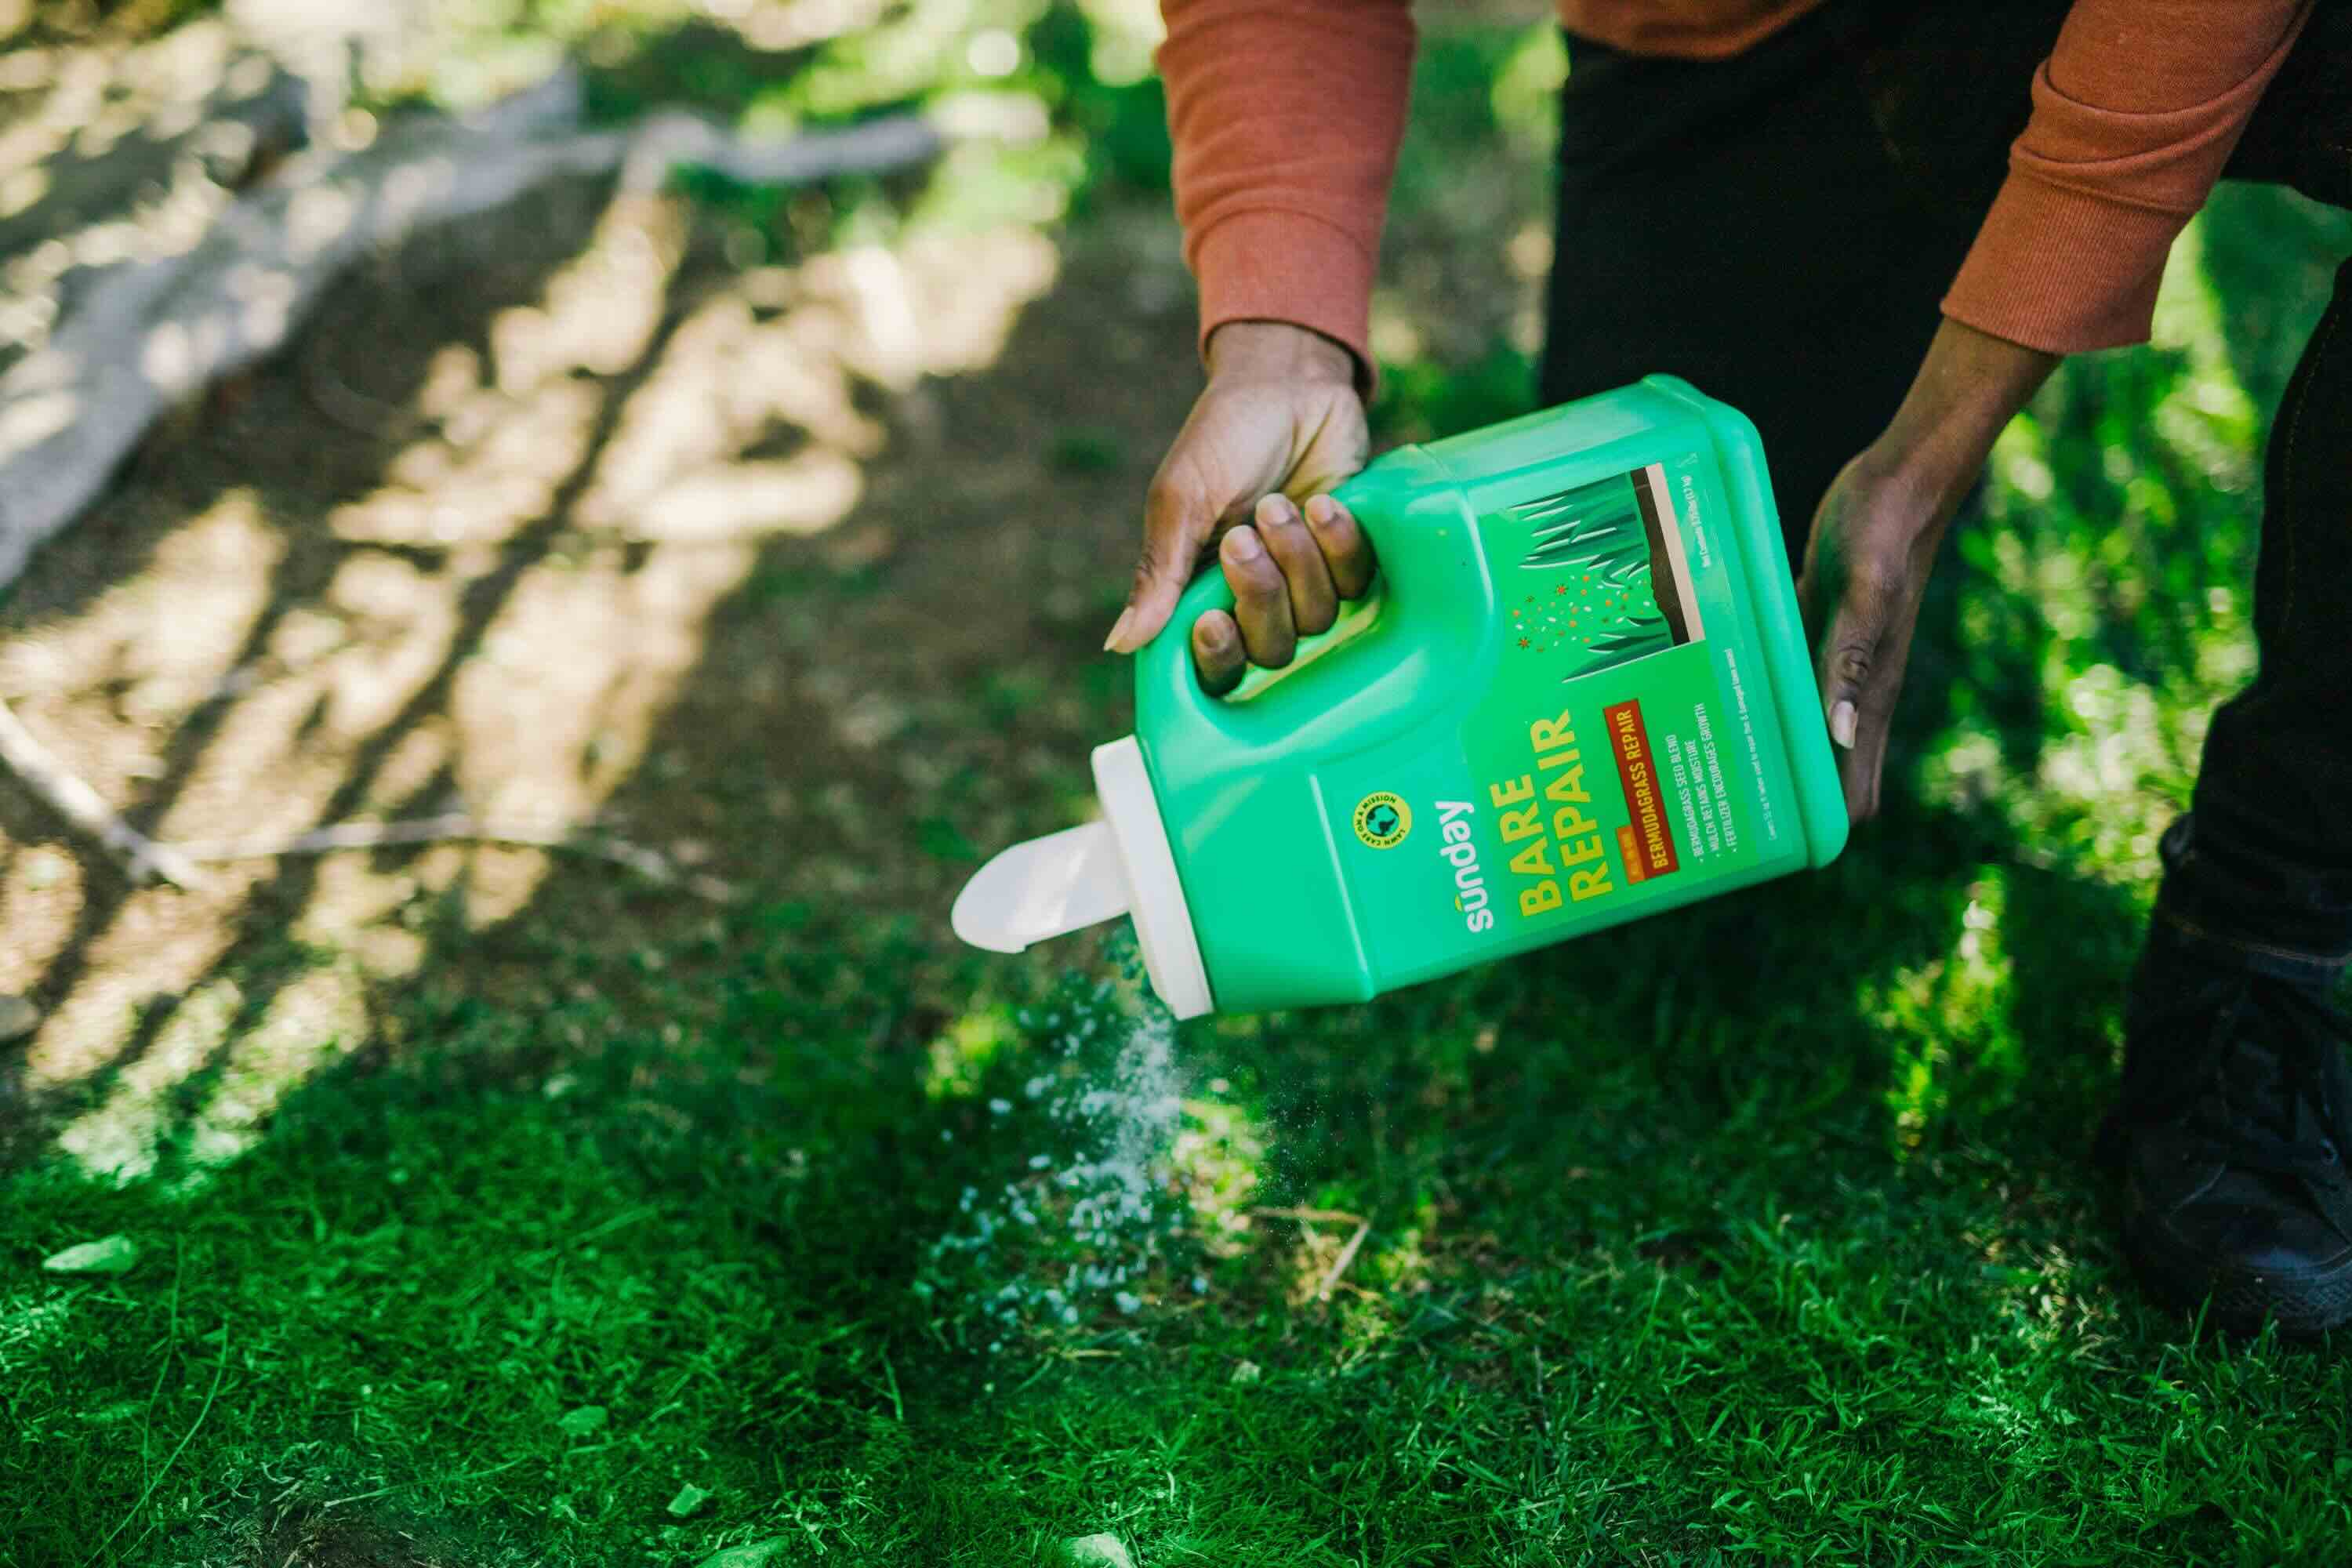
Step 3: Apply Herbicide
Once the targeted area is cleared and prepared, the next crucial step in removing lawn grass is the application of herbicide. Herbicide serves to effectively kill the grass and its roots, preventing regrowth and facilitating the subsequent removal process. Follow these guidelines to apply herbicide safely and efficiently:
- Choose the Right Herbicide: Select a high-quality herbicide specifically designed to target grass species. Consider environmentally friendly options and carefully follow the manufacturer’s instructions.
- Check Weather Conditions: Opt for a calm, dry day to apply the herbicide. Avoid windy conditions that may cause herbicide drift and ensure that no rainfall is expected within the specified timeframe after application.
- Apply Evenly: Use a watering can or sprayer to apply the herbicide evenly across the entire grass area. Take care to avoid oversaturation while ensuring comprehensive coverage.
- Protect Surrounding Plants: Shield any nearby desirable plants from herbicide exposure by covering them with plastic sheeting or a similar protective barrier during the application process.
- Observe Safety Precautions: Wear protective clothing, including gloves and eyewear, and avoid direct contact with the herbicide. Follow all safety guidelines provided by the manufacturer.
- Allow for Absorption: Once the herbicide is applied, allow sufficient time for it to be absorbed by the grass and its root system. Follow the recommended waiting period as specified in the herbicide instructions.
By applying herbicide diligently and responsibly, you’ll effectively eliminate the grass while minimizing the impact on the surrounding environment. This proactive step sets the stage for the subsequent grass removal process, ensuring a more manageable and successful outcome.
With the herbicide applied and given ample time to take effect, you’re now ready to proceed to the pivotal phase of physically removing the grass from the designated area.
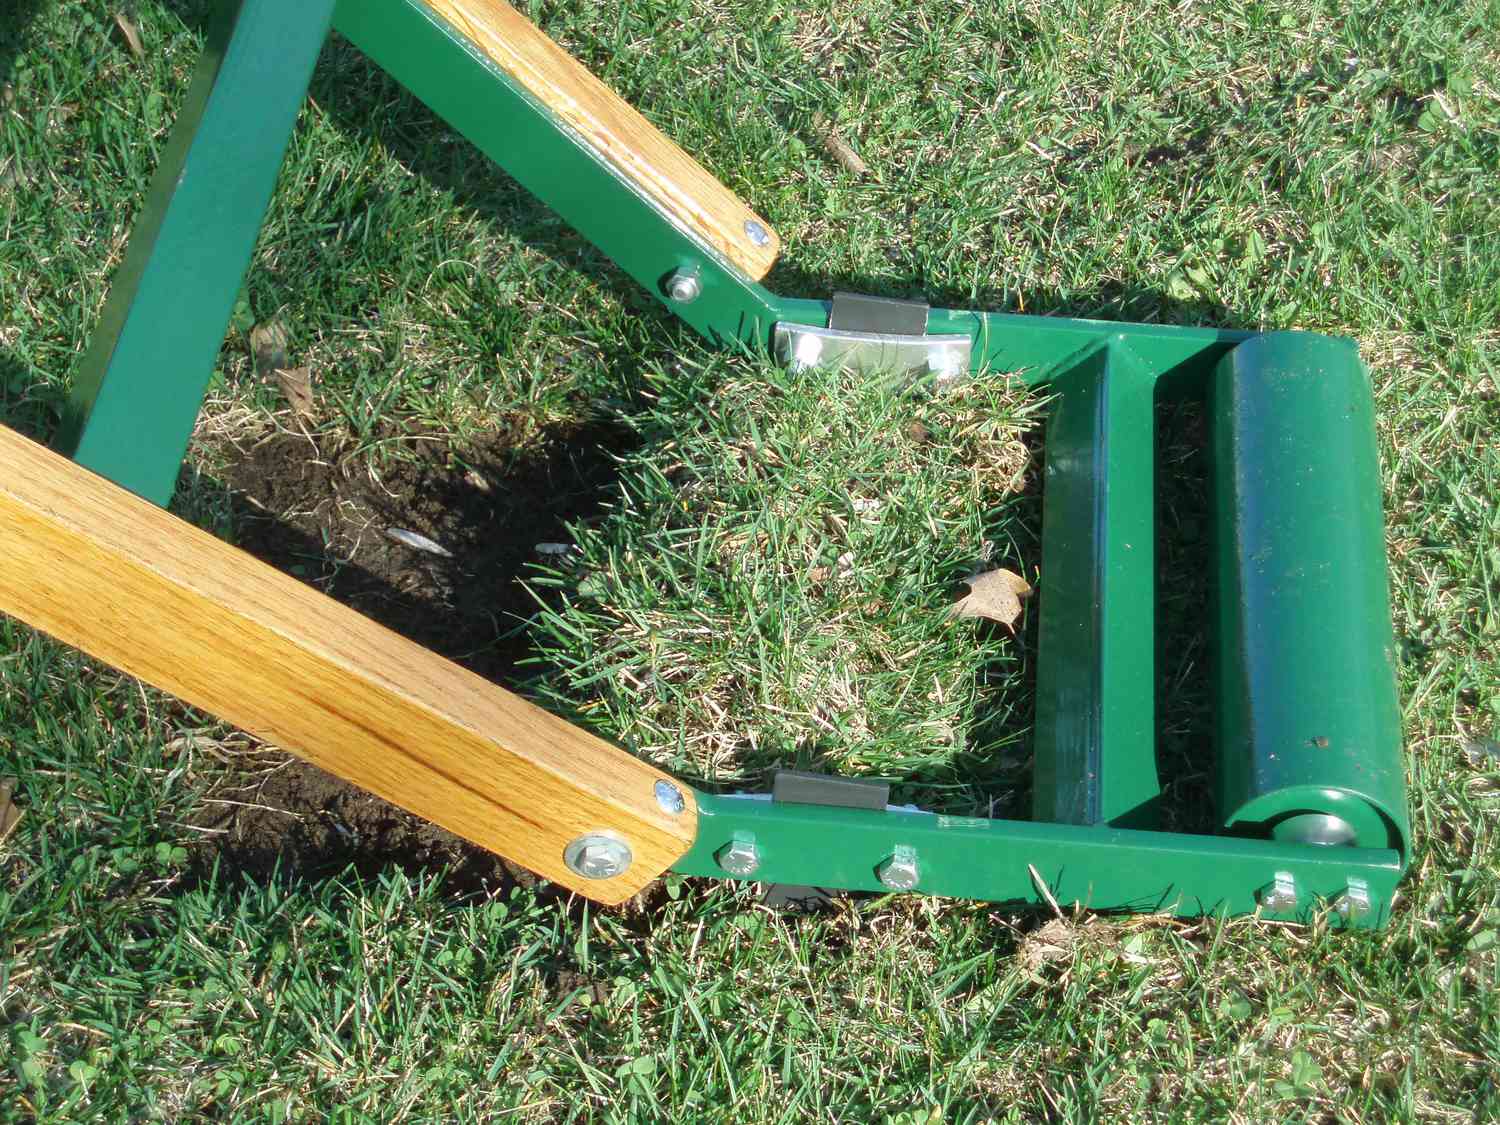
Consider using a sod cutter to remove lawn grass. This machine cuts and lifts the grass and roots, making it easier to clear the area for new landscaping.
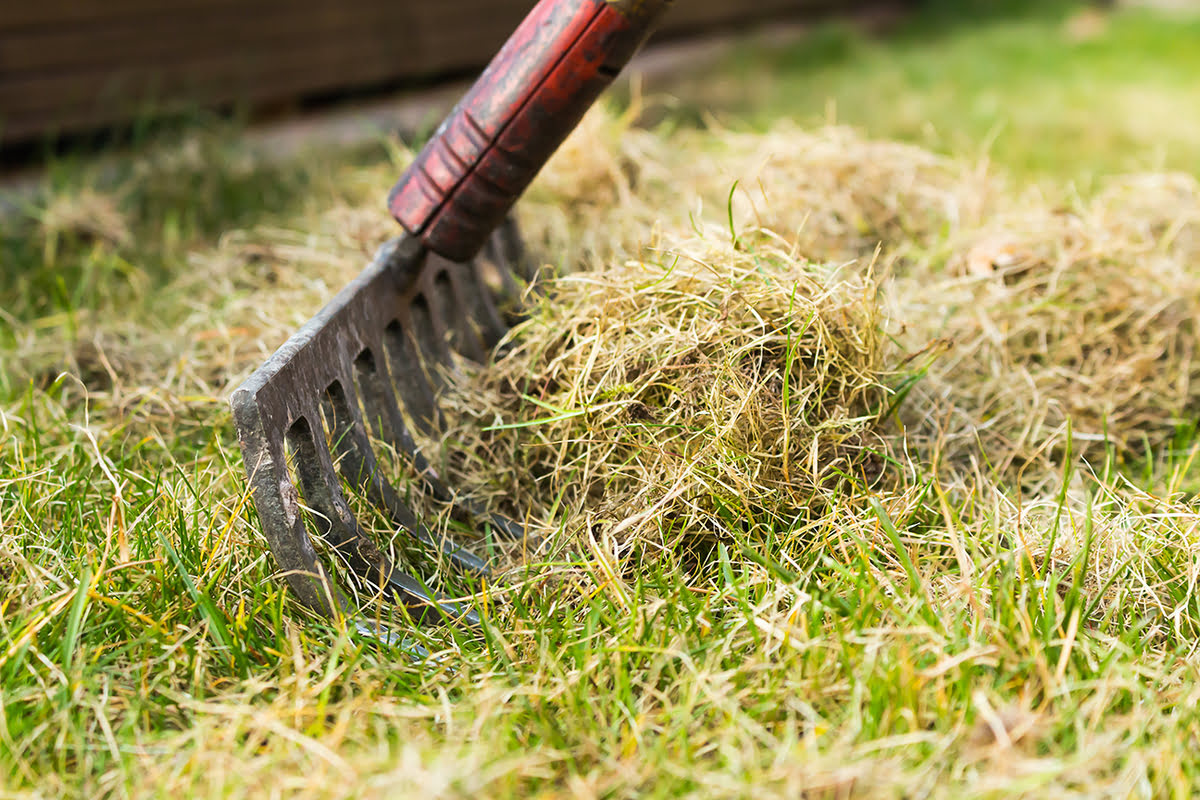
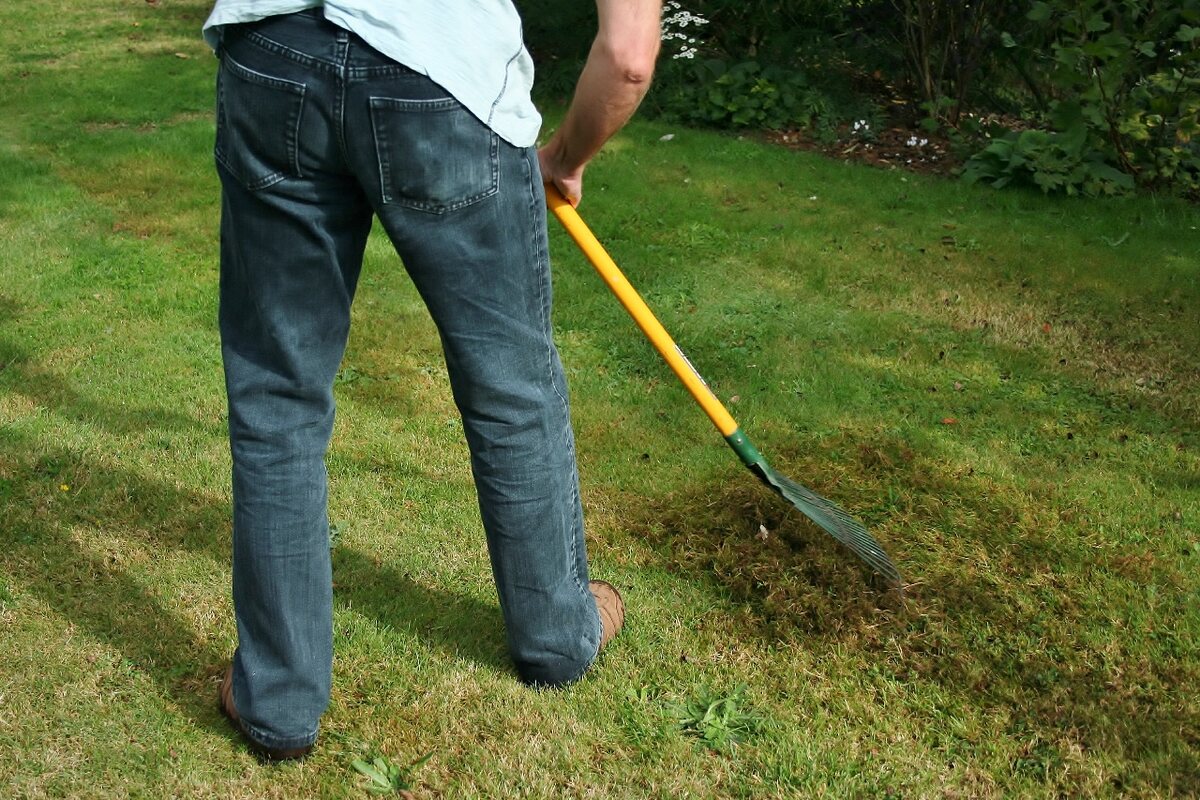
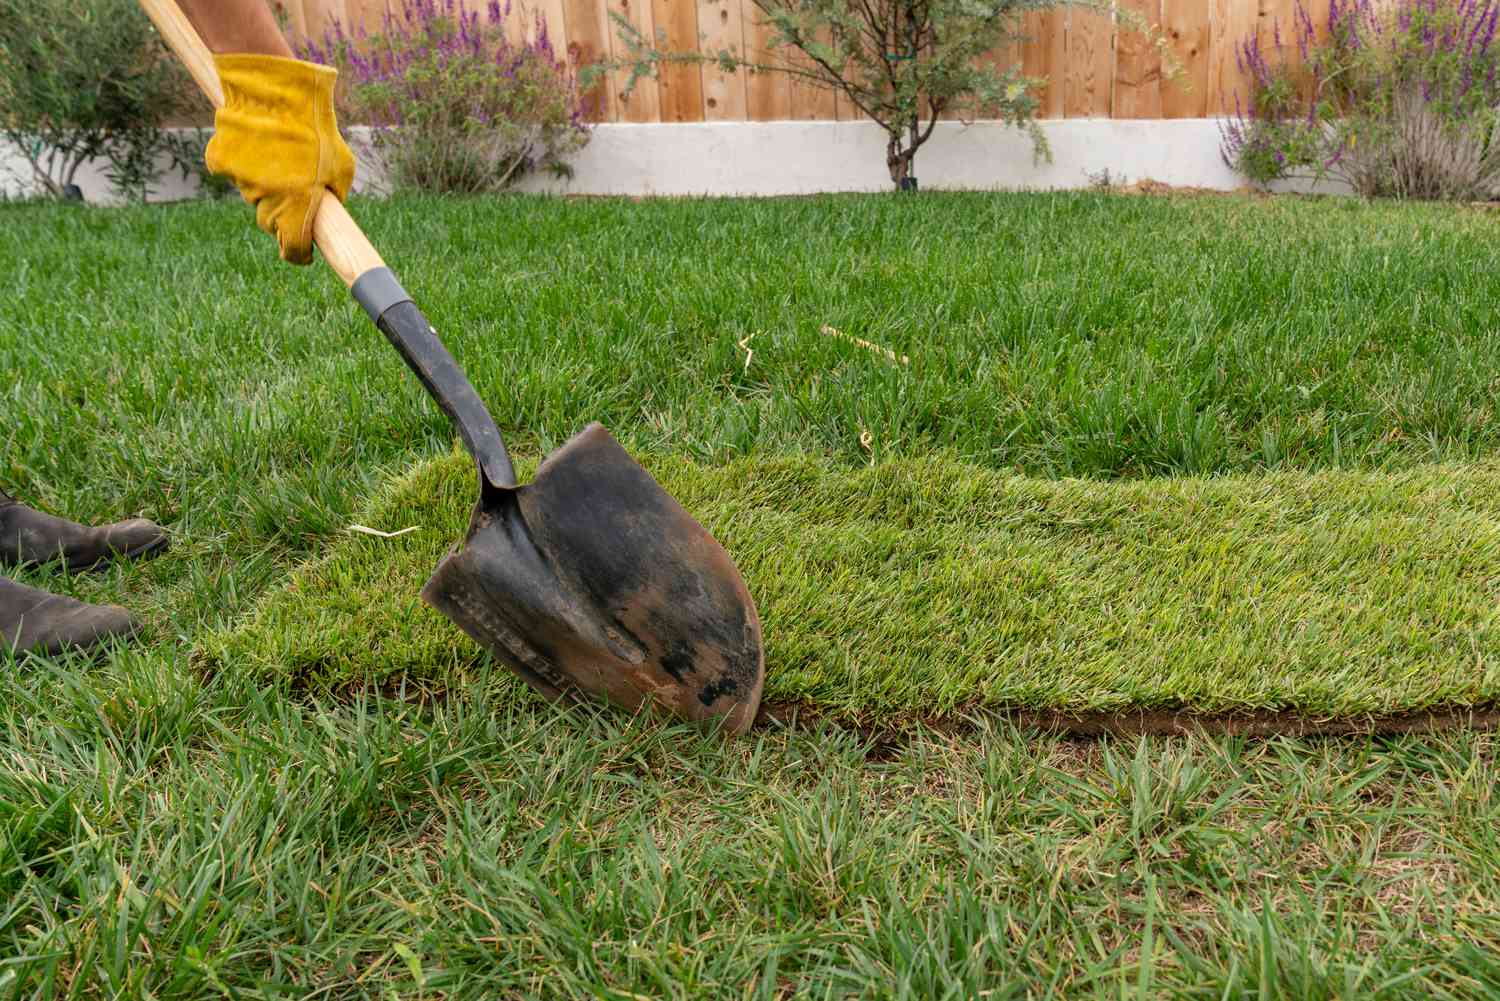
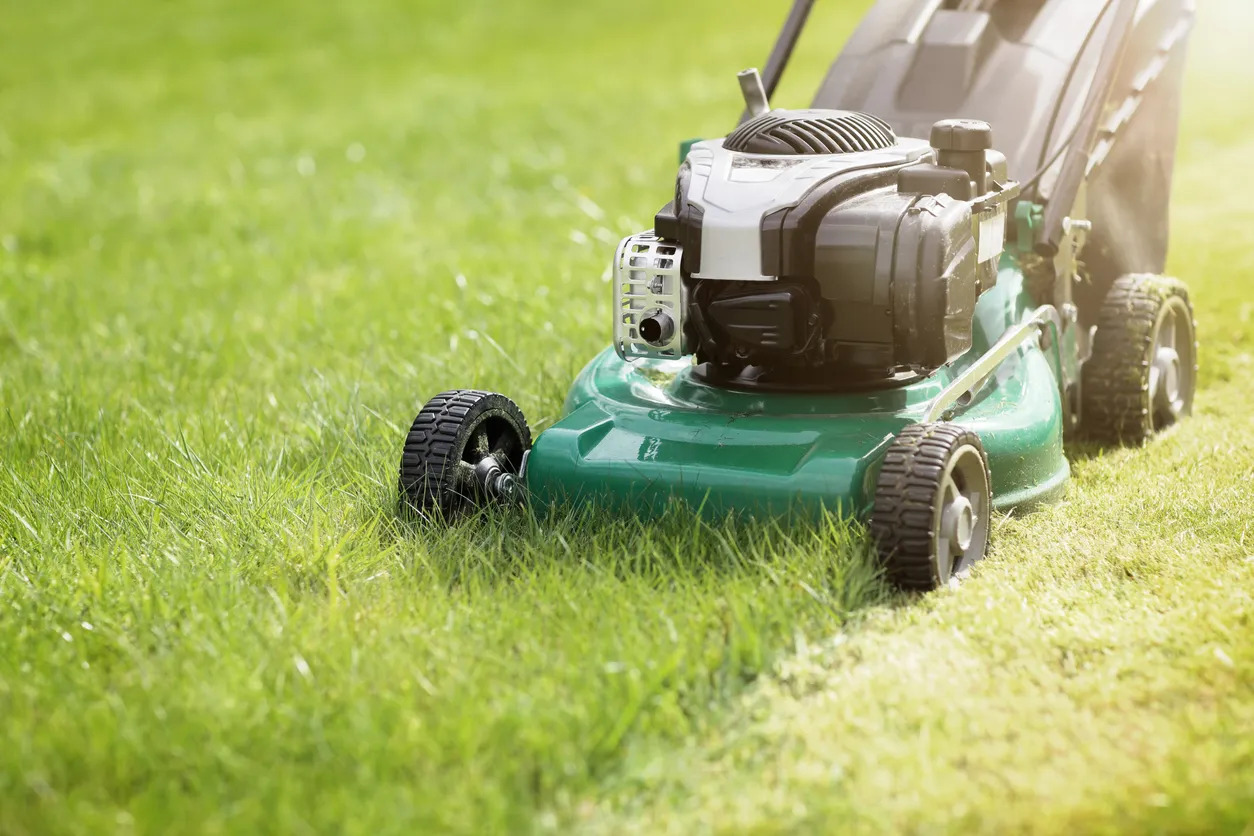
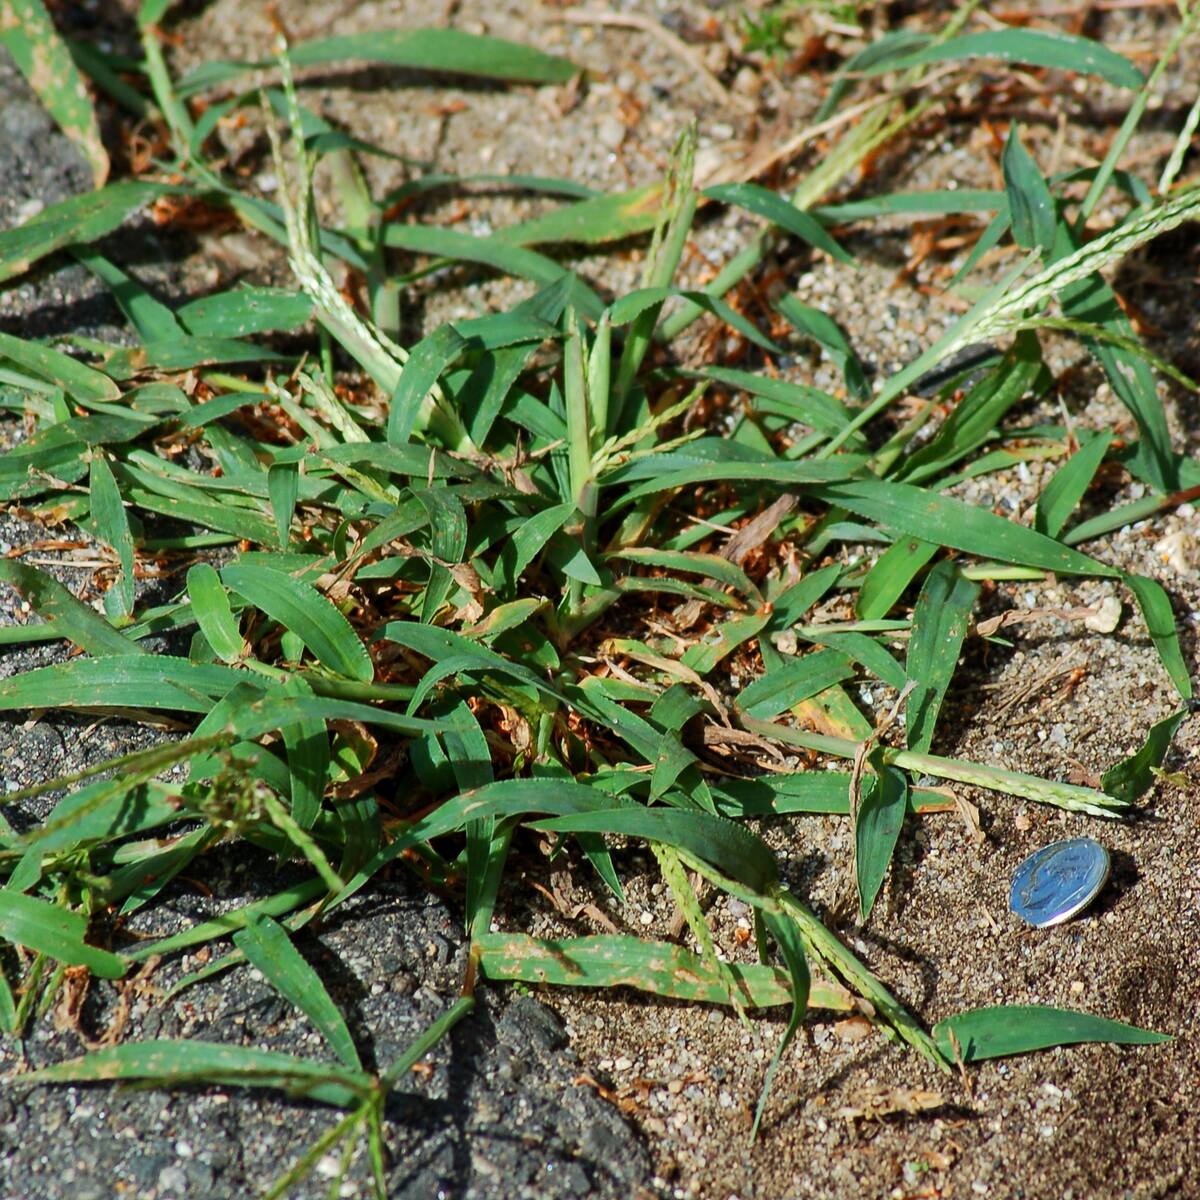
Step 4: Remove the Grass
With the herbicide effectively targeting the grass and its roots, it’s time to physically remove the grass from the designated area. This step requires careful attention to ensure thorough removal while minimizing disturbance to the surrounding soil and landscape. Follow these steps to effectively remove the grass:
- Begin with Edging: Use a shovel or edging tool to define the perimeter of the grass area. This initial step helps create a clear starting point for removing the grass and prevents accidental damage to adjacent landscaping features.
- Start Digging: Using a sturdy shovel, begin digging up the grass and its root system. Work methodically, starting from one end of the area and progressing systematically to ensure comprehensive removal.
- Remove Roots and Rhizomes: Pay close attention to removing not only the visible grass but also its underlying roots and rhizomes. Thorough extraction is essential to prevent regrowth and ensure a clean slate for future landscaping endeavors.
- Inspect and Refine: After the initial removal, inspect the area for any remaining grass or root fragments. Take the time to refine the soil surface, removing any lingering debris and creating a smooth, even foundation.
- Dispose Responsibly: Gather the removed grass, roots, and any associated debris and transfer them to a designated disposal area. If possible, consider composting the grass to contribute to sustainable waste management practices.
By diligently removing the grass and its root system, you’ll create a blank canvas for future landscaping endeavors. This phase sets the stage for the subsequent steps of disposal and potential replanting or reseeding, allowing you to envision the transformation of your outdoor space.
With the grass successfully removed, you’re now prepared to address the responsible disposal of the extracted vegetation and debris, marking the next critical phase in the lawn grass removal process.
Read more: How To Remove Bermuda Grass From Lawn
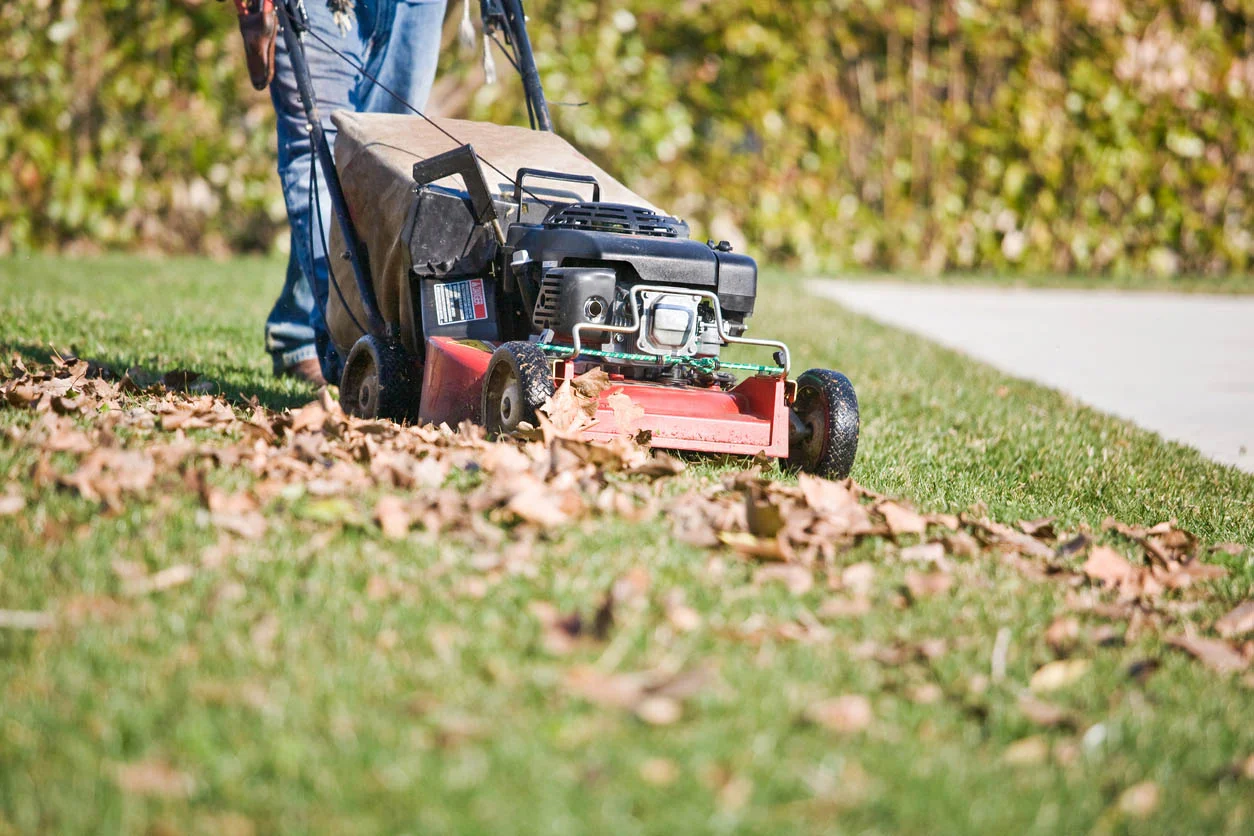
Step 5: Dispose of the Grass
Responsible disposal of the extracted grass and associated debris is a crucial aspect of the lawn grass removal process. By implementing sustainable disposal practices, you can minimize environmental impact and contribute to eco-friendly waste management. Follow these guidelines to effectively dispose of the grass and associated vegetation:
- Composting Option: Consider composting the removed grass, provided that it has not been treated with herbicides or other chemicals. Grass clippings can contribute valuable organic matter to a compost pile, ultimately enriching the soil and supporting sustainable gardening practices.
- Green Waste Collection: Check local regulations and waste management services to determine if green waste collection or drop-off facilities are available for grass disposal. Many communities offer dedicated programs for organic waste, including grass and yard trimmings.
- Landfill Considerations: If composting or green waste collection options are not available, contact local landfill facilities to inquire about proper disposal procedures for grass and organic debris. Adhere to any specific guidelines provided by the landfill authorities.
- Reuse in Landscaping: Explore creative ways to repurpose the extracted grass within your landscaping endeavors. For example, grass clippings can be used as mulch or natural ground cover in other areas of your outdoor space, contributing to a sustainable and resourceful approach.
- Consult with Professionals: If you’re uncertain about the best disposal method for the extracted grass, seek guidance from landscaping professionals or waste management experts. They can provide valuable insights tailored to your specific location and environmental considerations.
By conscientiously handling the disposal of the removed grass, you’ll contribute to sustainable waste management practices and minimize the environmental impact of your lawn grass removal project. Consider the long-term benefits of responsible disposal, as it aligns with a holistic approach to landscaping and environmental stewardship.
With the grass effectively disposed of, you’re now poised to explore potential options for reimagining and enhancing the cleared area, whether through replanting, reseeding, or embracing alternative landscaping features.
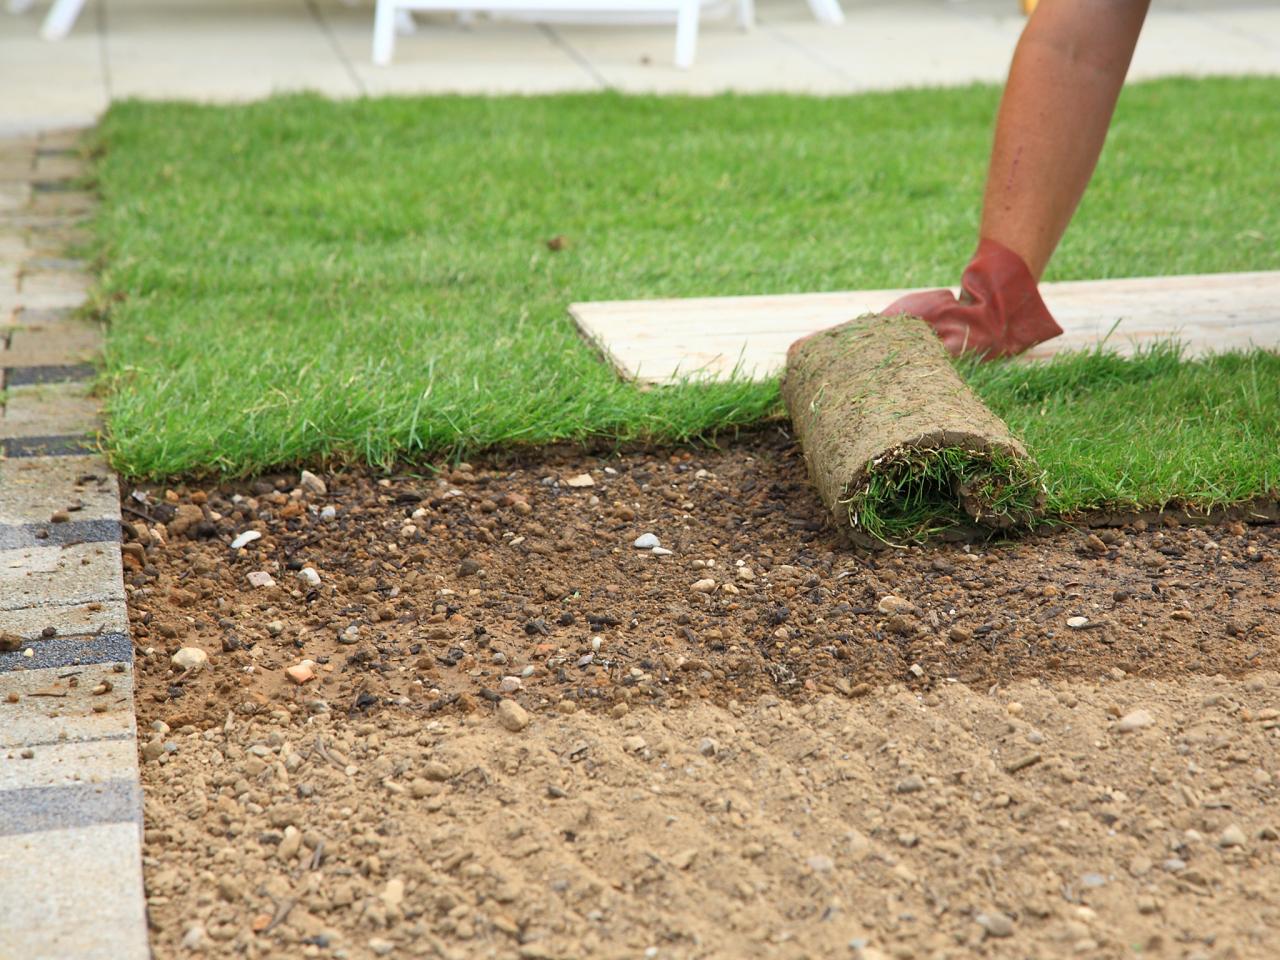
Step 6: Replant or Reseed (Optional)
After successfully removing the grass and responsibly disposing of the extracted vegetation, you have the opportunity to reimagine and revitalize the cleared area through replanting or reseeding. This optional step allows you to introduce new landscaping elements, enhance biodiversity, and create a tailored outdoor space that aligns with your vision. Consider the following approaches for reinvigorating the cleared area:
- Native Plant Selection: Explore the incorporation of native plants that are well-suited to your region’s climate and soil conditions. Native species offer numerous benefits, including resilience, habitat support for local wildlife, and reduced water and maintenance requirements.
- Drought-Tolerant Landscaping: Embrace water-wise landscaping by selecting drought-tolerant plants and ground covers. These resilient species can thrive with minimal irrigation, contributing to water conservation efforts and sustainable outdoor environments.
- Wildflower Meadows: Create a vibrant and biodiverse wildflower meadow by reseeding the cleared area with a diverse mix of native wildflowers. This approach not only adds visual appeal but also supports pollinators and beneficial insects.
- Sustainable Ground Covers: Consider alternative ground cover options, such as ornamental grasses, clover, or low-maintenance perennial plants, to create an attractive and ecologically beneficial landscape without the need for traditional turf grass.
- Artistic Hardscaping: Explore the integration of artistic hardscaping elements, such as decorative pathways, rock gardens, or sculptural features, to transform the cleared area into a visually captivating and functional space.
By embracing the opportunity to replant or reseed the cleared area, you can cultivate a dynamic and purposeful outdoor environment that reflects your aesthetic preferences and environmental values. This step offers a canvas for creativity and innovation, allowing you to tailor the landscape to meet your specific goals and aspirations.
With the potential for replanting or reseeding explored, you’re now equipped to bring your vision to life and embark on the exciting journey of transforming the cleared area into a thriving and personalized outdoor oasis.
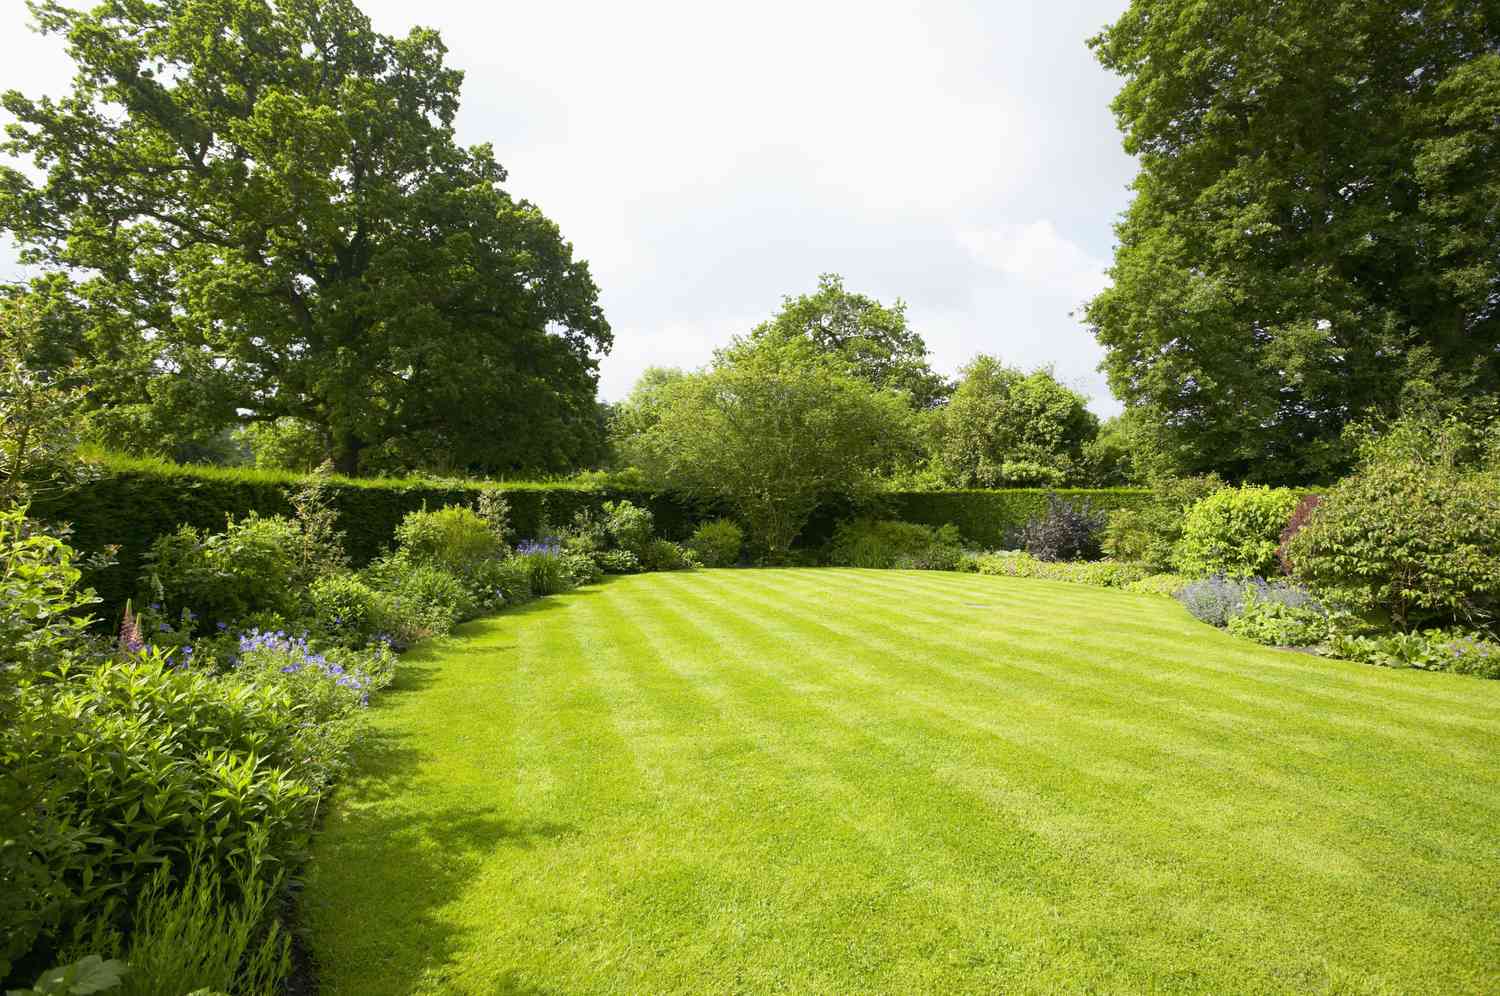
Conclusion
Congratulations on completing the comprehensive journey of removing lawn grass and envisioning the transformation of your outdoor space. By following the step-by-step process outlined in this guide, you’ve taken a proactive approach to reshaping your landscape and embracing new possibilities. Whether your goal is to reduce maintenance, conserve water, or cultivate a more diverse and sustainable environment, your efforts have set the stage for a vibrant and purposeful outdoor oasis.
Throughout the process, you’ve demonstrated a commitment to responsible landscaping practices, from the thoughtful preparation of tools and materials to the conscientious disposal of extracted vegetation. By integrating sustainable approaches and considering the ecological impact of your actions, you’ve contributed to a holistic and environmentally mindful approach to lawn grass removal.
As you look ahead to the future of your outdoor space, consider the diverse options for reimagining the cleared area. Whether it’s embracing native plants, cultivating a wildflower meadow, or integrating artistic hardscaping elements, the possibilities are as boundless as your creativity. By aligning your landscaping choices with your environmental values and aesthetic preferences, you’ll craft a personalized outdoor sanctuary that reflects your vision and enhances the natural beauty of your surroundings.
Remember that the journey of landscaping is an ongoing and evolving process. As you embark on the next stages of your outdoor transformation, continue to explore sustainable practices, embrace biodiversity, and seek inspiration from the rich tapestry of nature. Your commitment to mindful landscaping not only enriches your immediate surroundings but also contributes to the greater tapestry of ecological harmony and stewardship.
With the knowledge and insights gained from this guide, you’re poised to embark on a journey of creativity, sustainability, and natural beauty, shaping your outdoor space into a living testament to your environmental consciousness and aesthetic aspirations. Embrace the possibilities, nurture the landscape, and revel in the transformative power of mindful landscaping.
Frequently Asked Questions about How To Remove Lawn Grass
Was this page helpful?
At Storables.com, we guarantee accurate and reliable information. Our content, validated by Expert Board Contributors, is crafted following stringent Editorial Policies. We're committed to providing you with well-researched, expert-backed insights for all your informational needs.


0 thoughts on “How To Remove Lawn Grass”