Home>Garden Essentials>When To Lay Lawn Turf
Garden Essentials
When To Lay Lawn Turf
Modified: September 2, 2024
Unsure when to lay lawn turf? Discover the optimal time for garden turf installation to ensure a lush and healthy outdoor space.
(Many of the links in this article redirect to a specific reviewed product. Your purchase of these products through affiliate links helps to generate commission for Storables.com, at no extra cost. Learn more)
Introduction
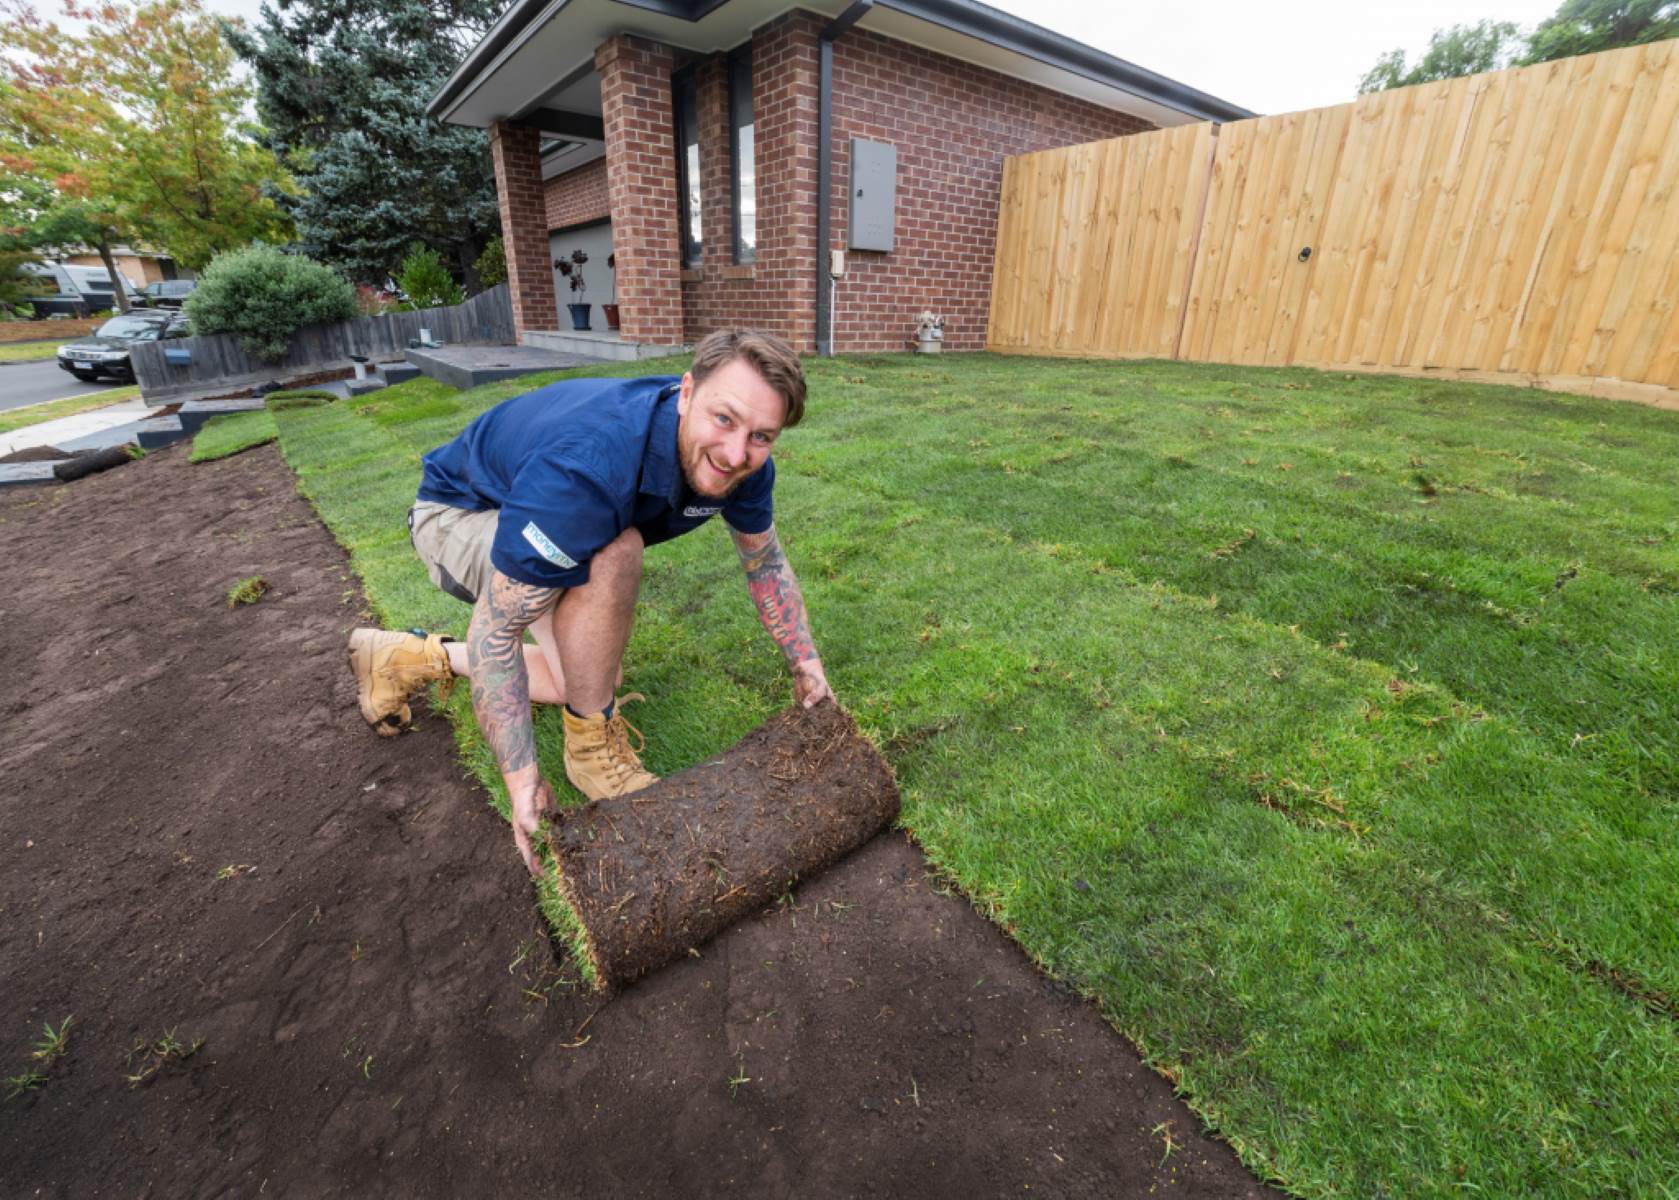
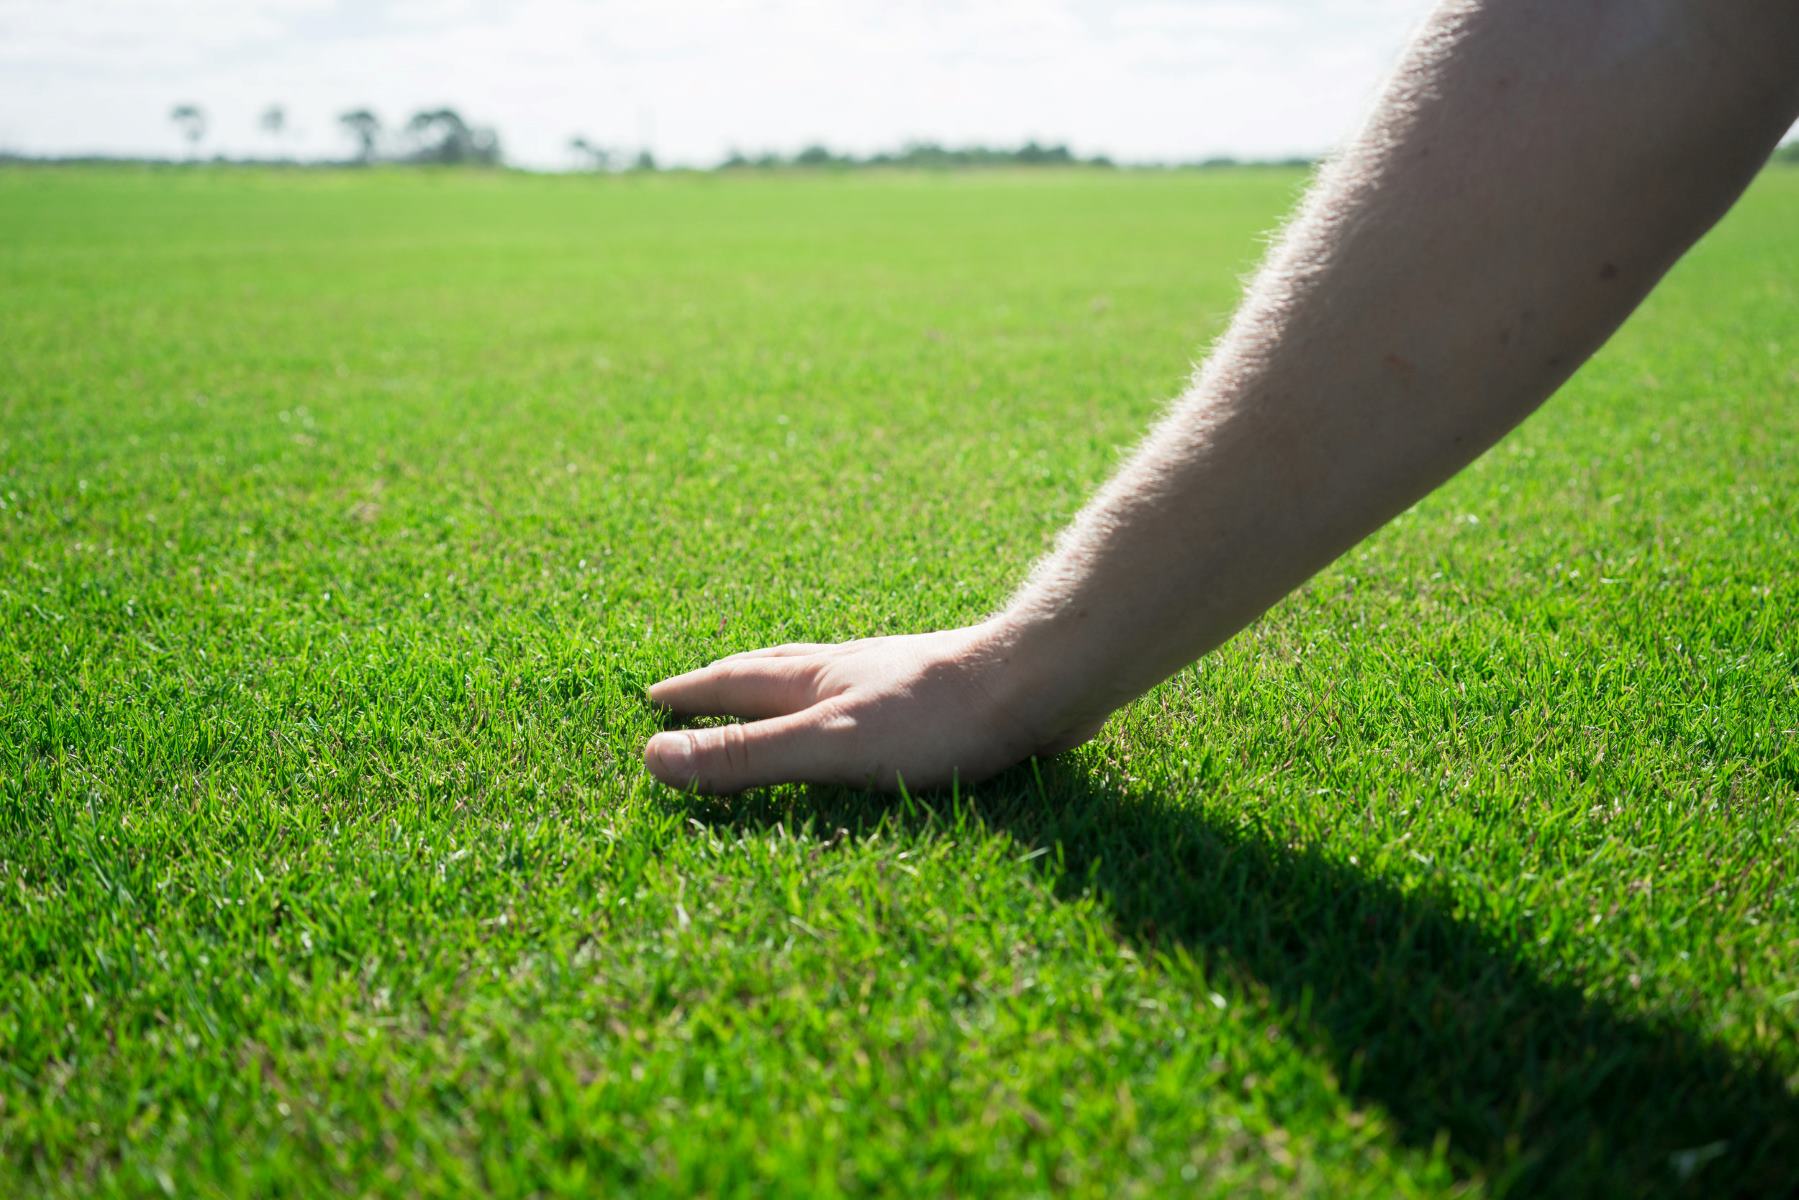
Welcome to the world of gardening! If you’re looking to transform your outdoor space into a lush and vibrant oasis, then laying lawn turf is a great way to achieve that goal. Whether you have a small backyard, a sprawling garden, or a commercial landscape, a well-maintained lawn can bring beauty, functionality, and value to your property.
Before diving into the process of laying lawn turf, there are several factors that need to be considered. From the best time of year to lay the turf to preparing the soil and choosing the right type of turf, each step plays a crucial role in the success of your lawn. By understanding these factors and following a few simple steps, you can achieve a healthy and thriving lawn that will be the envy of your neighbors.
In this article, we will guide you through the process of laying lawn turf, providing you with insights and tips to ensure a successful outcome. So put on your gardening gloves and let’s get started!
Key Takeaways:
- Choose the best time to lay lawn turf in spring or early fall for optimal growth. Consider factors like temperature, rainfall, and wind to ensure successful establishment.
- Prepare the soil by clearing the area, testing the soil, and adding organic matter before laying turf. Follow proper aftercare with watering, mowing, and fertilizing for a healthy, vibrant lawn.
Read more: How To Lay Wildflower Turf
Factors to Consider Before Laying Lawn Turf
Laying lawn turf is an investment of time, effort, and money, so it’s important to carefully consider a few key factors before embarking on the project. By addressing these factors, you can ensure that your lawn turf has the best chance of thriving and providing you with a beautiful and functional outdoor space.
- Site Conditions: Assess the conditions of the area where you plan to lay the lawn turf. Consider factors such as sunlight exposure, soil type, drainage, and the presence of any obstacles like trees or slopes. Different types of turf have different requirements, so choosing the right turf for your site conditions is essential for its long-term success.
- Purpose of the Lawn: Determine the purpose of your lawn to guide your decision-making process. Are you looking to create a play area for children, an entertainment space for gatherings, or simply a visually appealing landscape? The intended use of the lawn will impact factors such as turf variety, durability, and maintenance requirements.
- Budget: Understand your budget constraints and set realistic expectations. Lawn turf prices can vary based on factors such as turf type, quality, and square footage. Take into account not just the cost of purchasing the turf, but also any additional expenses such as soil preparation, irrigation systems, and ongoing maintenance.
- Water Availability: Consider the availability of water in your area and how it will impact the sustainability of your lawn. Some turf varieties require more water than others, and certain regions may have water restrictions in place. Choose a turf variety that is well-suited to the water availability in your area to minimize water usage and maintenance efforts.
- Climate and Weather Patterns: Take into account the climate and prevailing weather patterns of your region. Some turf varieties thrive in cool climates, while others are better suited for hot and humid conditions. Understanding the climate will help you choose a turf variety that can withstand the local weather and provide year-round beauty.
By considering these factors before laying your lawn turf, you can make informed decisions and ensure that your turf is a perfect match for your site conditions, budget, and lifestyle. This will set the stage for a flourishing lawn that brings joy and enhances the overall aesthetic of your outdoor space.
Best Time of the Year to Lay Lawn Turf
The timing of laying lawn turf can greatly impact its success and rate of establishment. While lawn turf can be installed at any time of the year, there are certain seasons that are considered more favorable for optimal growth and root development. Let’s explore the best times to lay lawn turf to ensure the best possible results.
Spring and early fall are generally considered the ideal seasons for laying lawn turf. During these times, the weather is usually mild, with moderate temperatures and increased rainfall. These favorable conditions promote faster root growth and allow the turf to establish itself before facing the harsh heat of summer or the cold of winter.
In the spring, the soil is starting to warm up after the winter months, providing an ideal environment for root development. The cool temperatures and regular rainfall during this season provide ample moisture for the newly laid turf to establish roots and establish a strong foundation. Laying turf in the spring allows it to have a full growing season to develop before facing the stress of summer heat.
Alternatively, early fall is also an excellent time to lay lawn turf. As the summer heat subsides, the soil remains warm, creating ideal conditions for root growth. The cooler temperatures and potential rainfall in the fall help reduce stress on the turf and encourage healthy growth. Turf laid in early fall will have several months to establish before winter, giving it a head start for the next growing season.
While summer and winter are less ideal for laying lawn turf, it is still possible to do so with proper care and attention. In the summer, it is vital to water the turf regularly to prevent it from drying out and to provide shade to protect it from extreme heat. In the winter, the colder temperatures can slow down the establishment process, but with proper preparation and protection, the turf can still establish roots and survive.
Remember, the best time to lay lawn turf ultimately depends on your specific climate and local conditions. If you are unsure about the optimal time for your area, it is recommended to consult with local gardening experts or turf suppliers who have knowledge and experience specific to your region.
By choosing the best time of year to lay lawn turf, you can give your turf the best possible chance to establish a strong root system, resulting in a healthy and beautiful lawn for years to come.
Weather Conditions for Laying Lawn Turf
When it comes to laying lawn turf, the weather conditions play a crucial role in the success of the installation and the subsequent growth of the turf. It is important to carefully consider the weather forecast and choose the right time to lay the turf for optimal results. Here are some weather conditions to keep in mind when planning to lay lawn turf.
Temperature: The temperature is one of the most important factors to consider when laying lawn turf. Ideally, the temperature should be between 55°F (13°C) and 75°F (24°C) for the best turf establishment. This temperature range ensures that the roots can quickly penetrate the soil and establish strong growth. Extreme temperatures, especially heatwaves or frosty conditions, can greatly stress and damage the turf, hindering its growth and survival.
Rainfall: Adequate moisture is crucial for the success of the newly laid turf. While you want the soil to be moist, excessive rainfall can cause puddling and waterlogging, which can negatively impact the establishment of the turf. It’s important to find a balance between sufficient moisture and avoiding waterlogged conditions. If significant rainfall is forecasted, consider postponing the turf laying process until the weather clears up, or protect the turf with covers to prevent waterlogging.
Wind: Strong winds can be detrimental to newly laid turf. They can dry out the soil and the turf, making it difficult for the roots to establish and leading to potential damage. It’s best to choose a day with calm weather or light breezes for laying turf. If strong winds are expected, consider postponing the installation until the wind subsides or use temporary windbreaks to shield the turf from the gusts.
Sunlight: While sunlight is essential for the growth of the turf, intense and prolonged exposure to direct sunlight can dry out the turf and stress the young grass. If possible, choose a partially cloudy day or plan to lay the turf in the late afternoon when the sun’s intensity is less harsh. Providing shade to the newly laid turf, either through temporary covers or nearby structures, can help protect it from excessive sunlight and reduce the risk of damage.
Humidity: Humidity levels in the air can also impact the success of laying lawn turf. High humidity combined with warm temperatures can create ideal conditions for fungal diseases to develop. It’s important to monitor the humidity levels and take appropriate measures to ensure proper airflow and moisture balance, such as avoiding excessive irrigation and promoting good soil drainage.
It’s essential to closely monitor the weather forecast and plan the turf laying accordingly. If the weather conditions are not suitable, it is advisable to postpone the installation until more favorable conditions arise. Patience and careful consideration of the weather will ultimately contribute to the health and longevity of your lawn turf.
Preparing the Soil for Laying Lawn Turf
Proper soil preparation is essential for the success of laying lawn turf. A healthy soil foundation provides the necessary nutrients, drainage, and support for the turf to establish strong roots and thrive. Here are some steps to follow when preparing the soil for laying lawn turf.
- Clear the area: Start by clearing the area of any existing vegetation, such as weeds or grass. Remove any rocks, debris, or large roots that may interfere with the evenness of the soil surface. Use a rake or a shovel to level the surface and create an even, smooth base.
- Test the soil: It’s important to test the soil to determine its pH level and nutrient content. You can use a soil testing kit or send a sample to a local agricultural extension service. The results will provide valuable information on any necessary amendments or adjustments needed to create an optimal growing environment for the turf.
- Aerate the soil: If the soil is compacted, it may hinder the turf’s ability to establish healthy roots and receive adequate airflow. Use a garden fork or a mechanical aerator to create small holes or channels in the soil, allowing for better drainage and root penetration.
- Add organic matter: Incorporate organic matter, such as compost or well-rotted manure, into the soil. This helps improve soil structure, increases nutrient content, and enhances moisture retention. Spread a layer of organic matter over the soil surface and use a garden rake to mix it thoroughly into the top few inches of soil.
- Level and grade the soil: Use a rake or a soil leveler to ensure the soil is evenly distributed and properly graded. Aim for a slightly sloping surface, about 1 inch lower at the edges to facilitate proper water drainage. Avoid creating low spots or high mounds that can result in uneven turf growth.
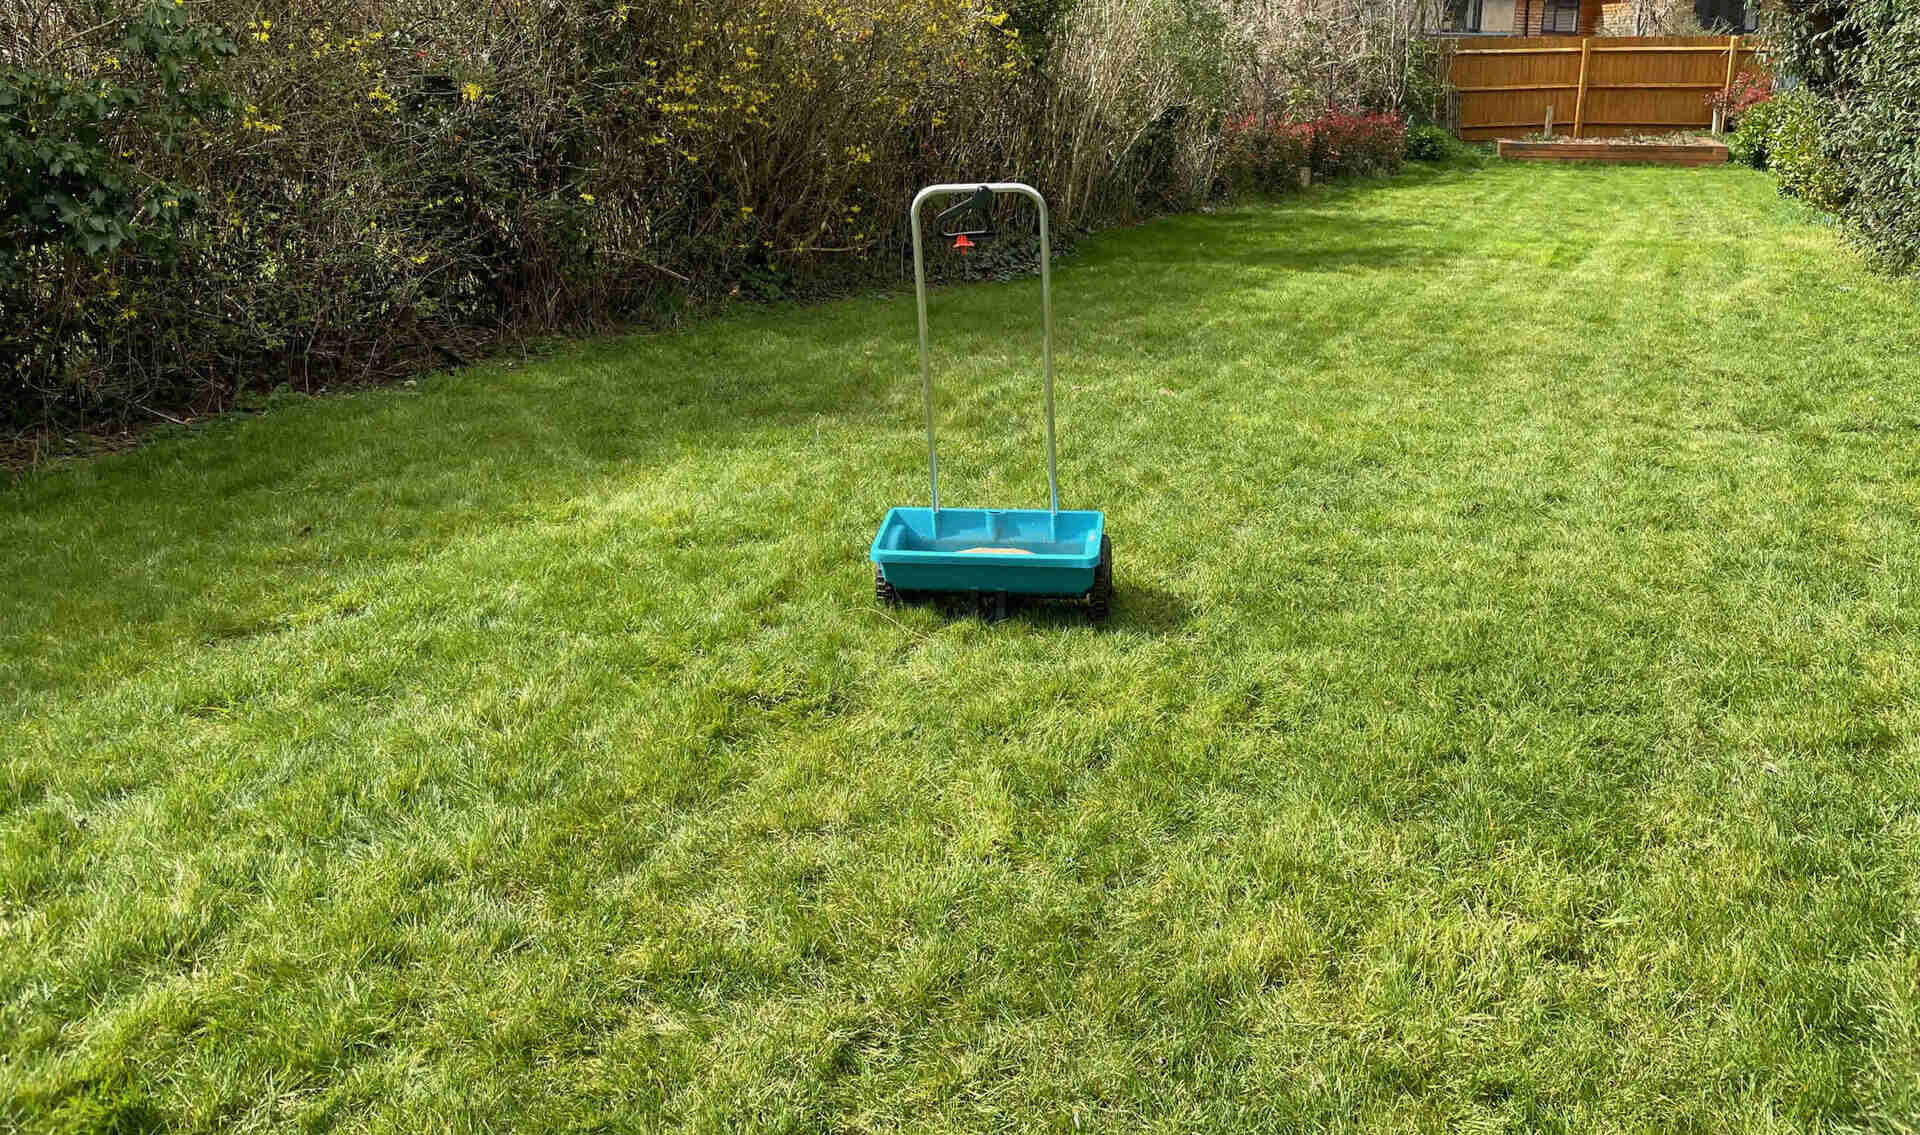
- Apply fertilizers: Based on the results of the soil test, apply the recommended fertilizers to provide the necessary nutrients for turf establishment. Choose a slow-release fertilizer that is suitable for the type of turf you are laying. Follow the manufacturer’s instructions for application rates and timing.
- Water the soil: Before laying the turf, thoroughly water the prepared soil to ensure it is moist but not waterlogged. This will help the turf establish contact with the soil and prevent it from drying out during the laying process.
By following these steps to prepare your soil, you are creating an optimal environment for the turf to take root and flourish. Remember to take into account the specific needs of your chosen turf variety when making amendments and adjustments to the soil. With proper soil preparation, you are setting the stage for a healthy and vibrant lawn that will be the envy of your neighborhood.
Lay lawn turf in the early spring or early fall when the soil is still warm and there is enough moisture. This will help the turf establish strong roots before the hot or cold weather sets in.
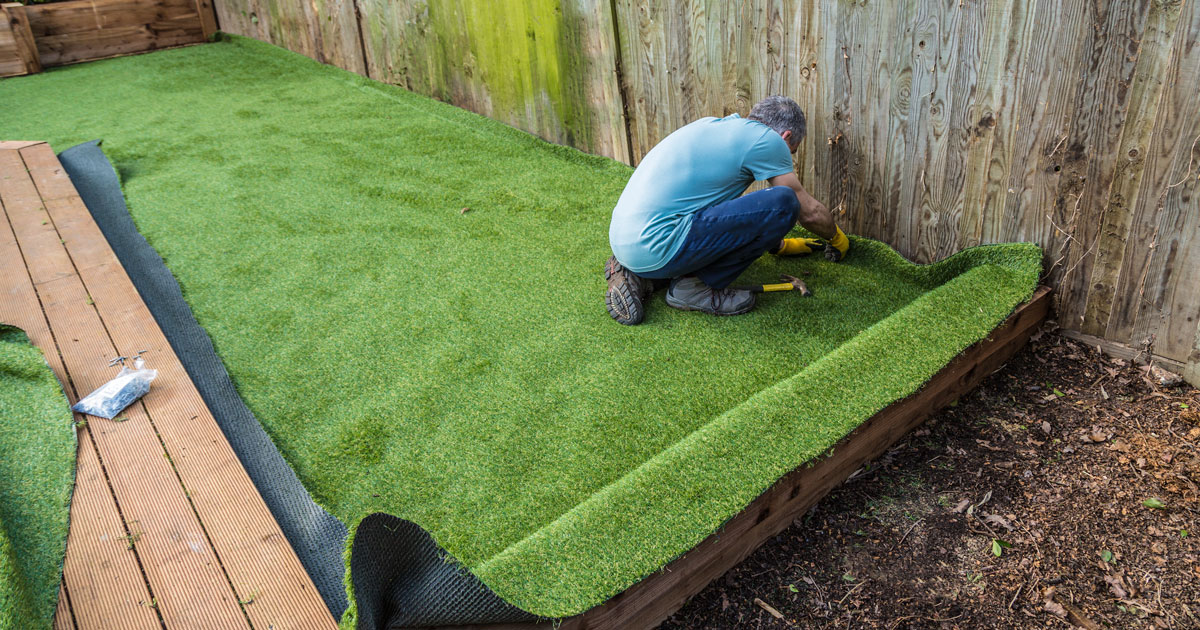
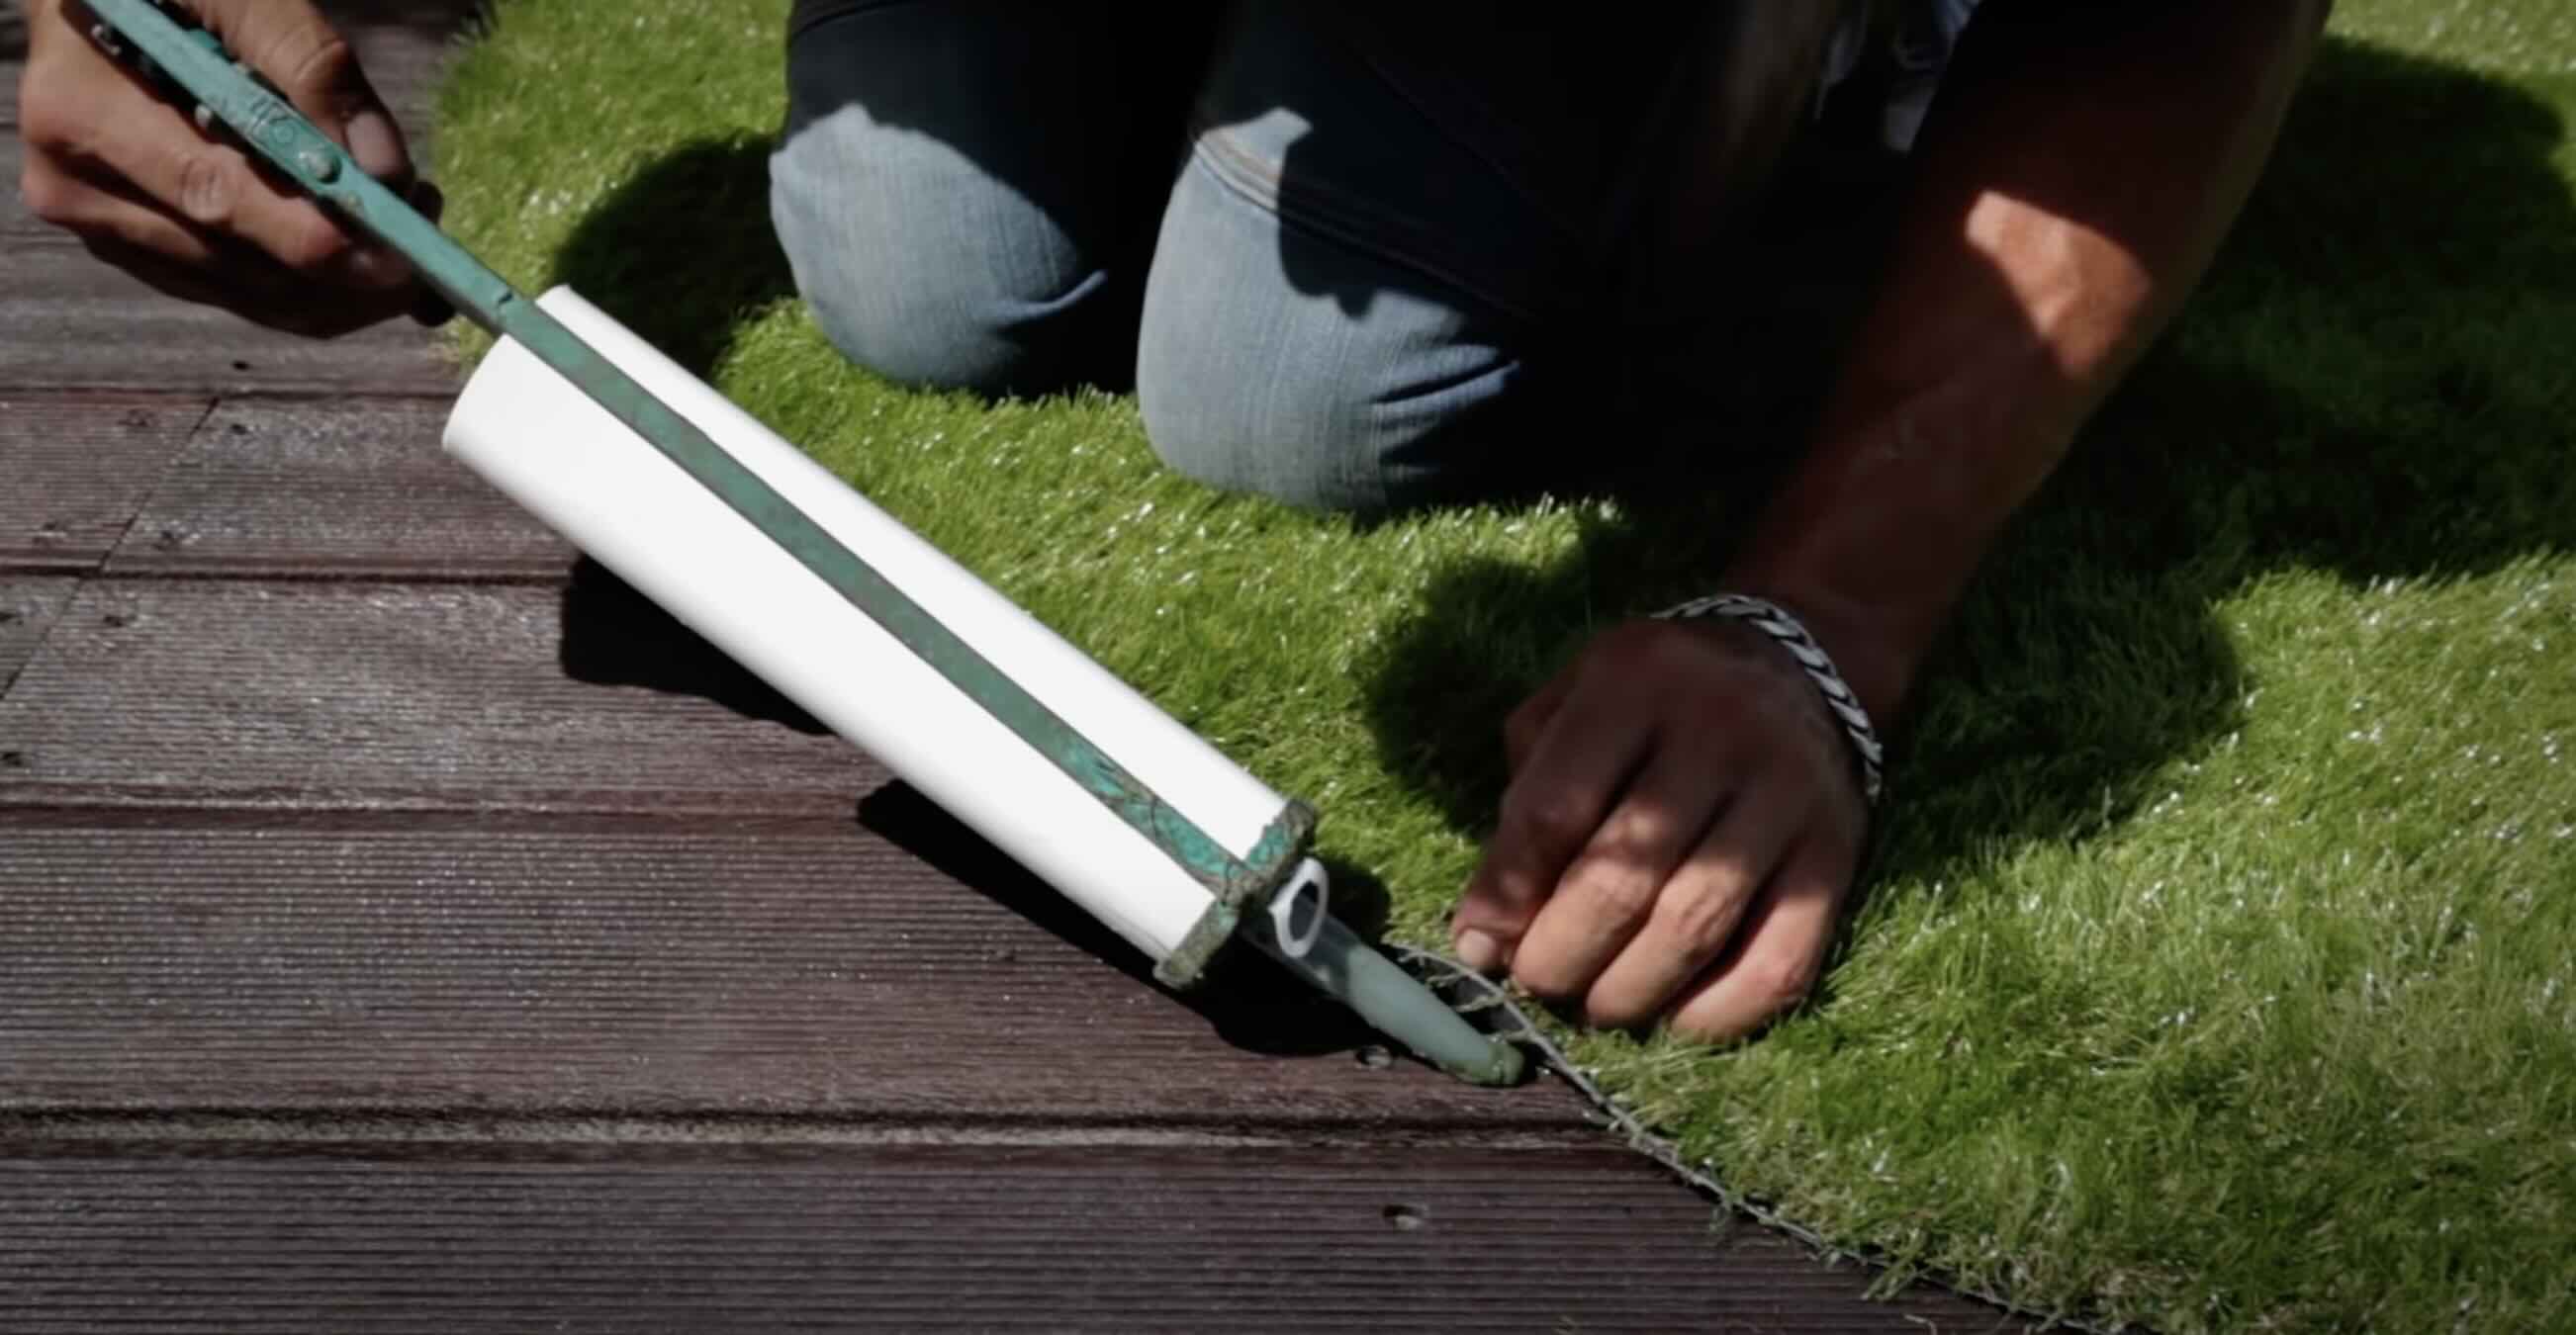
Read more: How To Lay Artificial Turf Grass
Choosing the Right Type of Lawn Turf
Choosing the right type of lawn turf is crucial for creating a lush, healthy, and visually appealing lawn. With various turf varieties available on the market, it’s important to consider factors such as climate, site conditions, intended use, and maintenance requirements. Here are some key points to keep in mind when selecting the right type of lawn turf.
- Climate and Weather: Take into account the climate of your region when choosing lawn turf. Different turf varieties are better suited for specific climates. For example, if you live in an area with hot summers and little rainfall, you may want to consider warm-season turf varieties like Bermuda or Zoysia grass. On the other hand, cool-season turf varieties like Kentucky Bluegrass or Fine Fescue are better suited for regions with cooler temperatures and more rainfall.
- Site Conditions: Assess the site conditions of your lawn, including factors such as sunlight exposure, soil type, and drainage. Some turf varieties thrive in full sun, while others are more shade-tolerant. Consider the soil type and its fertility, as well as the drainage capacity of the area. Certain turf varieties are better suited to sandy soil, while others prefer loamy or clay soils.
- Intended Use: Determine the primary use of your lawn to guide your turf selection. Do you have kids or pets that will be playing on the lawn? Are you planning to use the lawn for hosting gatherings or recreational activities? Some turf varieties, like Kentucky Bluegrass or Tifway 419 Bermuda grass, are known for their durability and ability to withstand heavy foot traffic. Others, like Fine Fescue or St. Augustine grass, may be better suited for low-traffic areas.
- Maintenance Requirements: Consider the level of maintenance you are willing to commit to for your lawn. Some turf varieties require more frequent mowing, fertilizing, and irrigation, while others are more low-maintenance. Determine your desired level of involvement and choose a turf variety that aligns with your maintenance preferences and capabilities.
- Appearance: Lastly, consider the visual appearance and aesthetic appeal of the turf variety. Each turf type has its unique characteristics in terms of color, texture, and density. Some people prefer a vibrant, lush green lawn, while others may prefer a more fine-textured or variegated look. Take into account your personal preferences and the overall style and design of your outdoor space.
It’s important to research and consult with local turf suppliers or gardening experts to determine the best turf variety for your specific needs. They can provide valuable insights and recommendations based on your specific climate and site conditions. Taking the time to choose the right type of lawn turf will ensure that you have a beautiful and resilient lawn that suits your lifestyle and enhances your outdoor space for years to come.
Steps to Lay Lawn Turf
The process of laying lawn turf requires careful preparation and attention to detail. By following these steps, you can ensure a successful installation and establish a healthy and beautiful lawn.
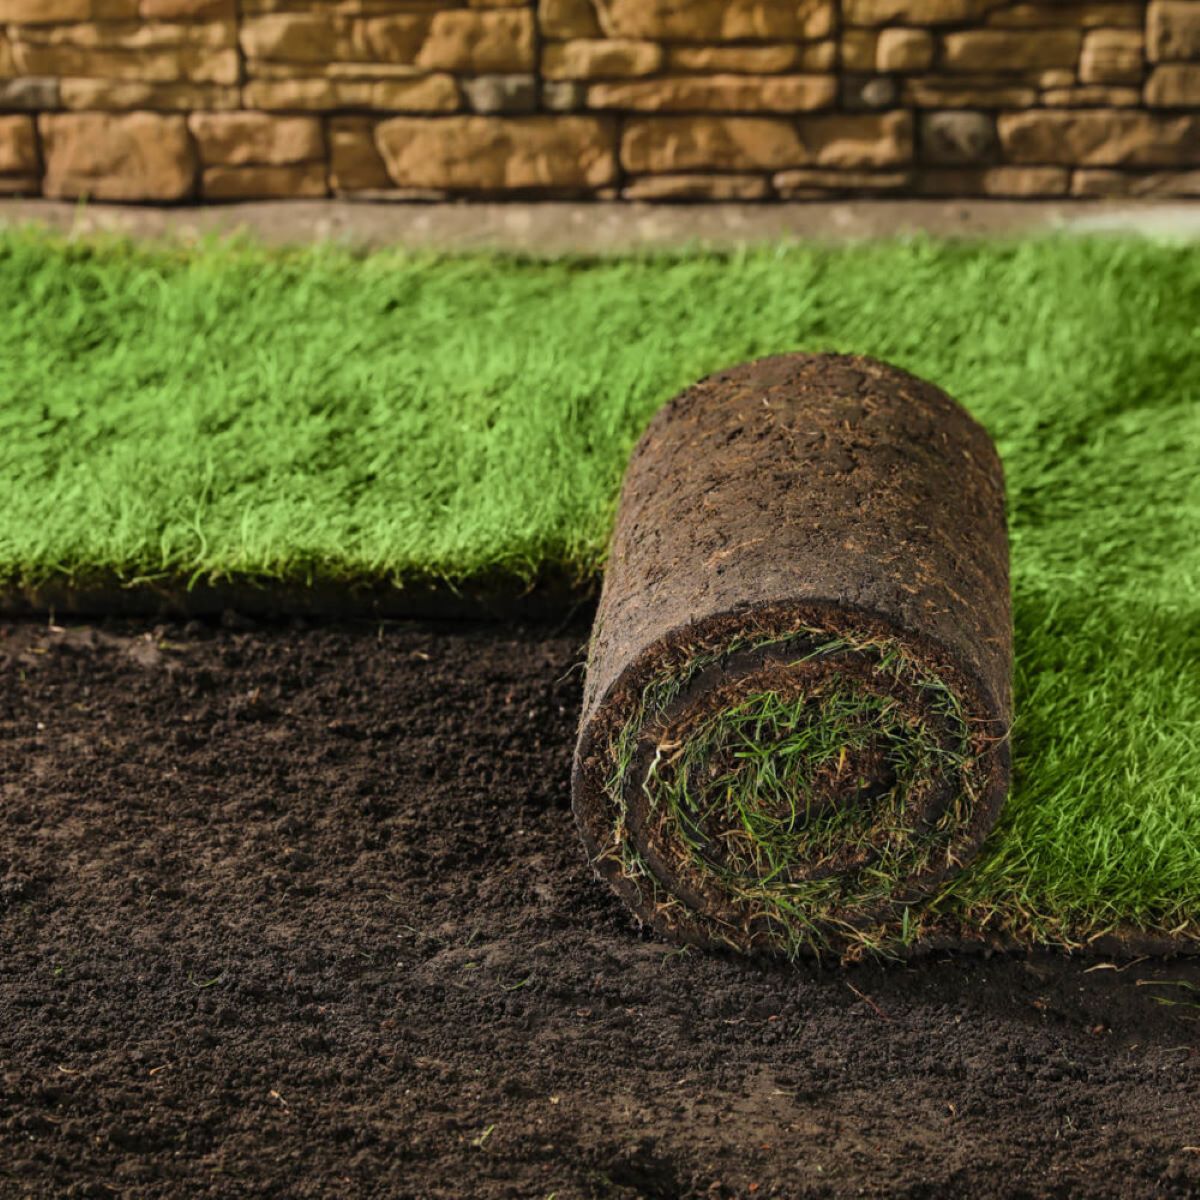
- Prepare the Soil: Start by preparing the soil as outlined in our previous section. Clear the area of any vegetation, test and amend the soil if necessary, and level and grade the soil surface.
- Order and Receive the Turf: Place an order for your desired turf variety based on the measurements of your lawn. Make sure to order enough turf to cover any irregular areas and allow for trimming. When the turf arrives, it’s important to lay it as soon as possible to prevent it from drying out.
- Moisten the Soil: Before laying the turf, lightly moisten the soil to make it easier to work with and promote good contact between the turf and soil. Avoid overwatering, as it can create muddy conditions and make the installation more challenging.
- Lay the First Row: Start by laying the first row of turf along a straight edge, such as a sidewalk or a paving stone. Ensure that the edges of the turf are butted tightly together without overlapping. Use a sharp knife or turf cutter to trim the turf as needed to fit the desired shape.
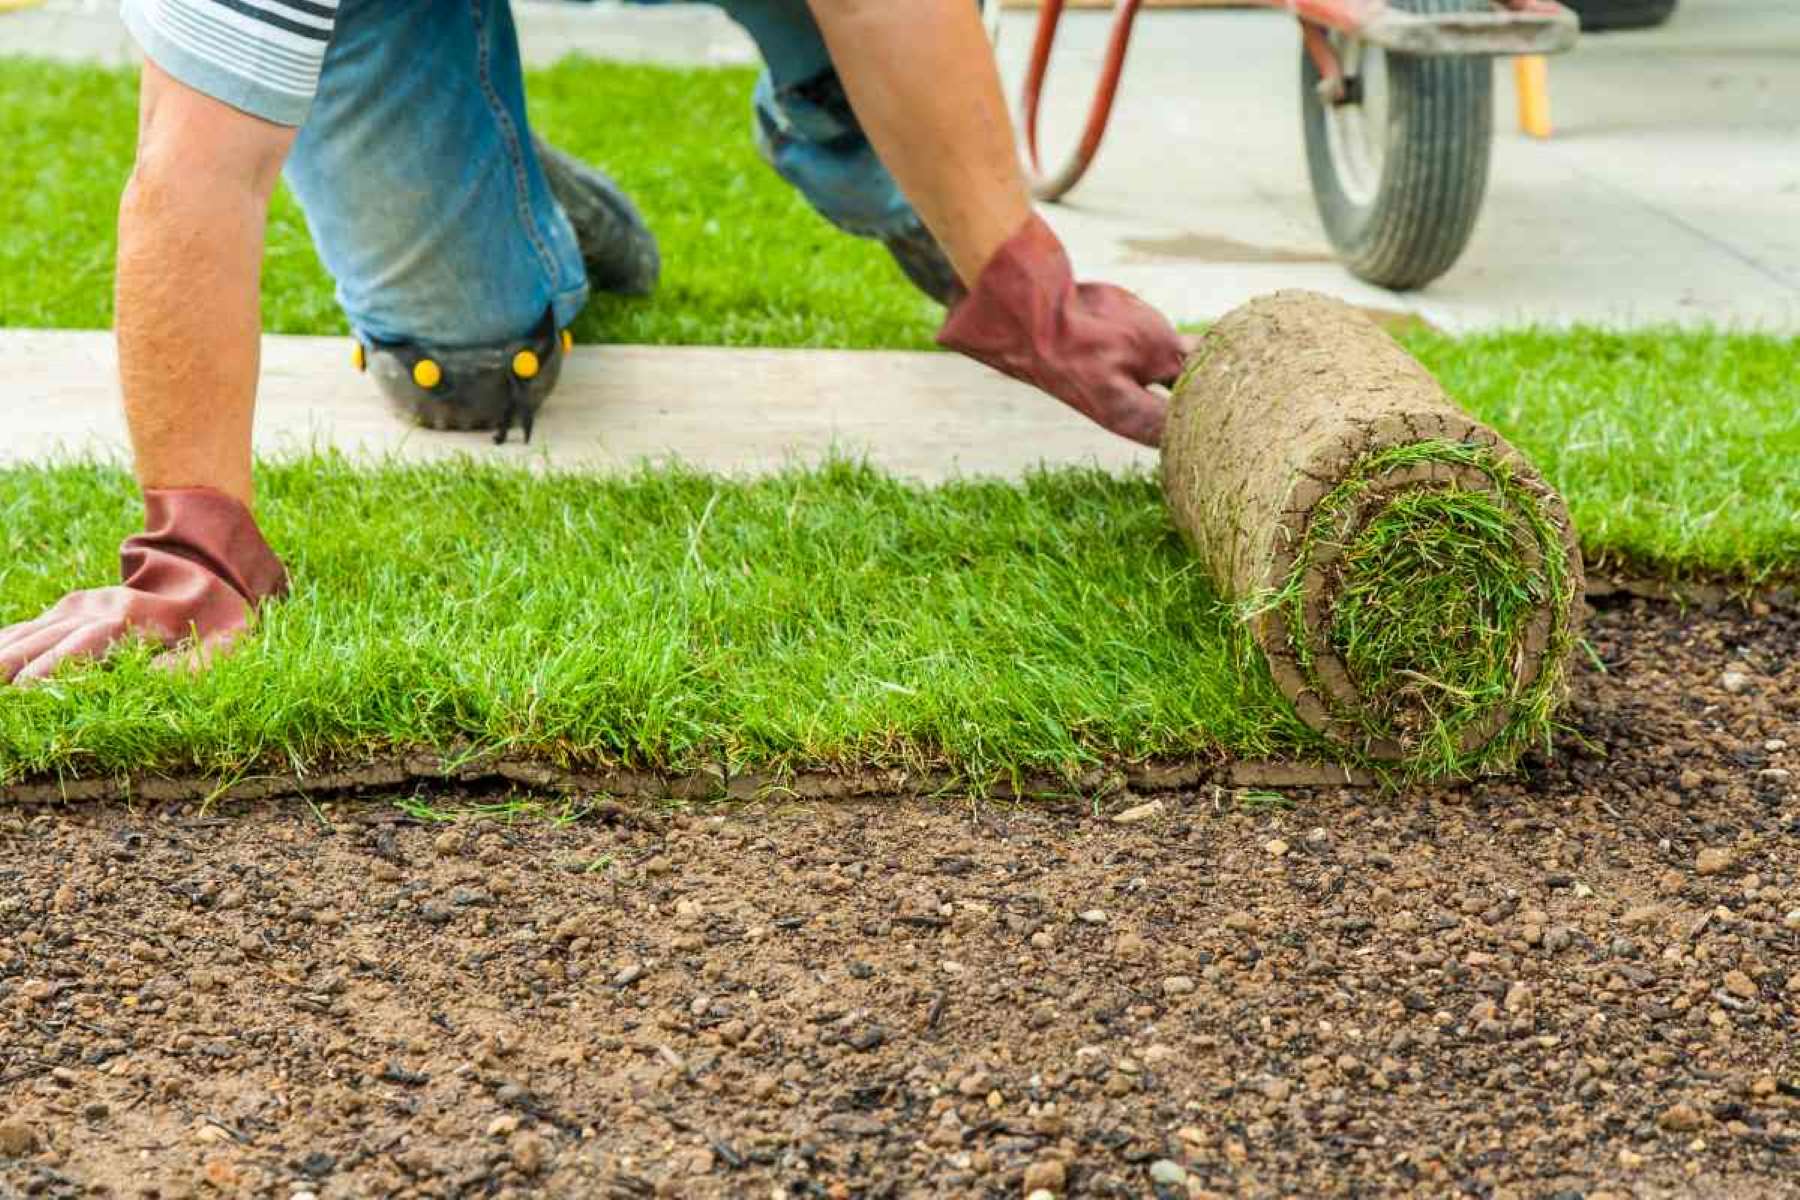
- Continue with Remaining Rows: Lay the subsequent rows of turf, staggering the joints to create a brickwork pattern. Take care to avoid gaps between the turf pieces. Use a board or a flat piece of wood to distribute your weight evenly as you move across the turf to prevent indentations or uneven settling.
- Smooth and Roll: Once all the turf is laid, use a roller or a lawn roller filled with water to gently press the turf into the soil. This helps establish good contact between the turf and the soil, ensuring proper root growth and stability. Rolling also helps remove any air pockets and ensures a smooth surface.
- Water Thoroughly: After laying the turf, water it thoroughly to ensure that the soil beneath is moist. This helps the roots of the turf establish and encourages further growth. Water deeply, being careful not to create run-off. Gradually reduce the frequency of watering as the turf establishes, aiming for deeper and less frequent watering sessions.
- Maintain the Lawn: To ensure the success of your newly laid lawn turf, it’s important to provide proper care and maintenance. Follow a regular watering schedule, mow the turf once it reaches the recommended height for the chosen variety, and fertilize as needed to promote healthy growth. Keep an eye out for weeds or pests and take necessary measures to address them.
By following these steps, you can lay lawn turf with confidence, knowing that you have taken the necessary steps for a successful installation. Remember to provide the newly laid turf with proper care and maintenance to establish a thriving and verdant lawn.
Aftercare for Newly Laid Lawn Turf
After laying lawn turf, proper aftercare is essential to ensure its successful establishment and long-term health. By following these tips for aftercare, you can nurture your newly laid lawn and promote healthy growth.
- Watering: Water the newly laid turf immediately after installation to help it settle and establish contact with the soil. Water deeply, ensuring that the soil beneath the turf is thoroughly moist. For the first few weeks, keep the turf consistently moist, but avoid overwatering, as it can lead to shallow root growth and fungal diseases. Gradually decrease the frequency of watering as the turf establishes, aiming for deeper, less frequent watering sessions.
- Mowing: Wait until the turf has rooted into the soil before mowing, typically around two to three weeks after installation. Set the mower blade to a height that is appropriate for the turf variety you have chosen. Avoid cutting more than one-third of the grass blade at a time to prevent stress on the turf. Regular mowing helps maintain a well-groomed appearance and encourages thick and healthy growth.
- Fertilizing: After the turf has been in place for about six to eight weeks, consider applying a slow-release fertilizer specially formulated for your turf variety. Follow the manufacturer’s instructions for application rates and timing. Fertilizing provides essential nutrients to support healthy growth and vibrant color.
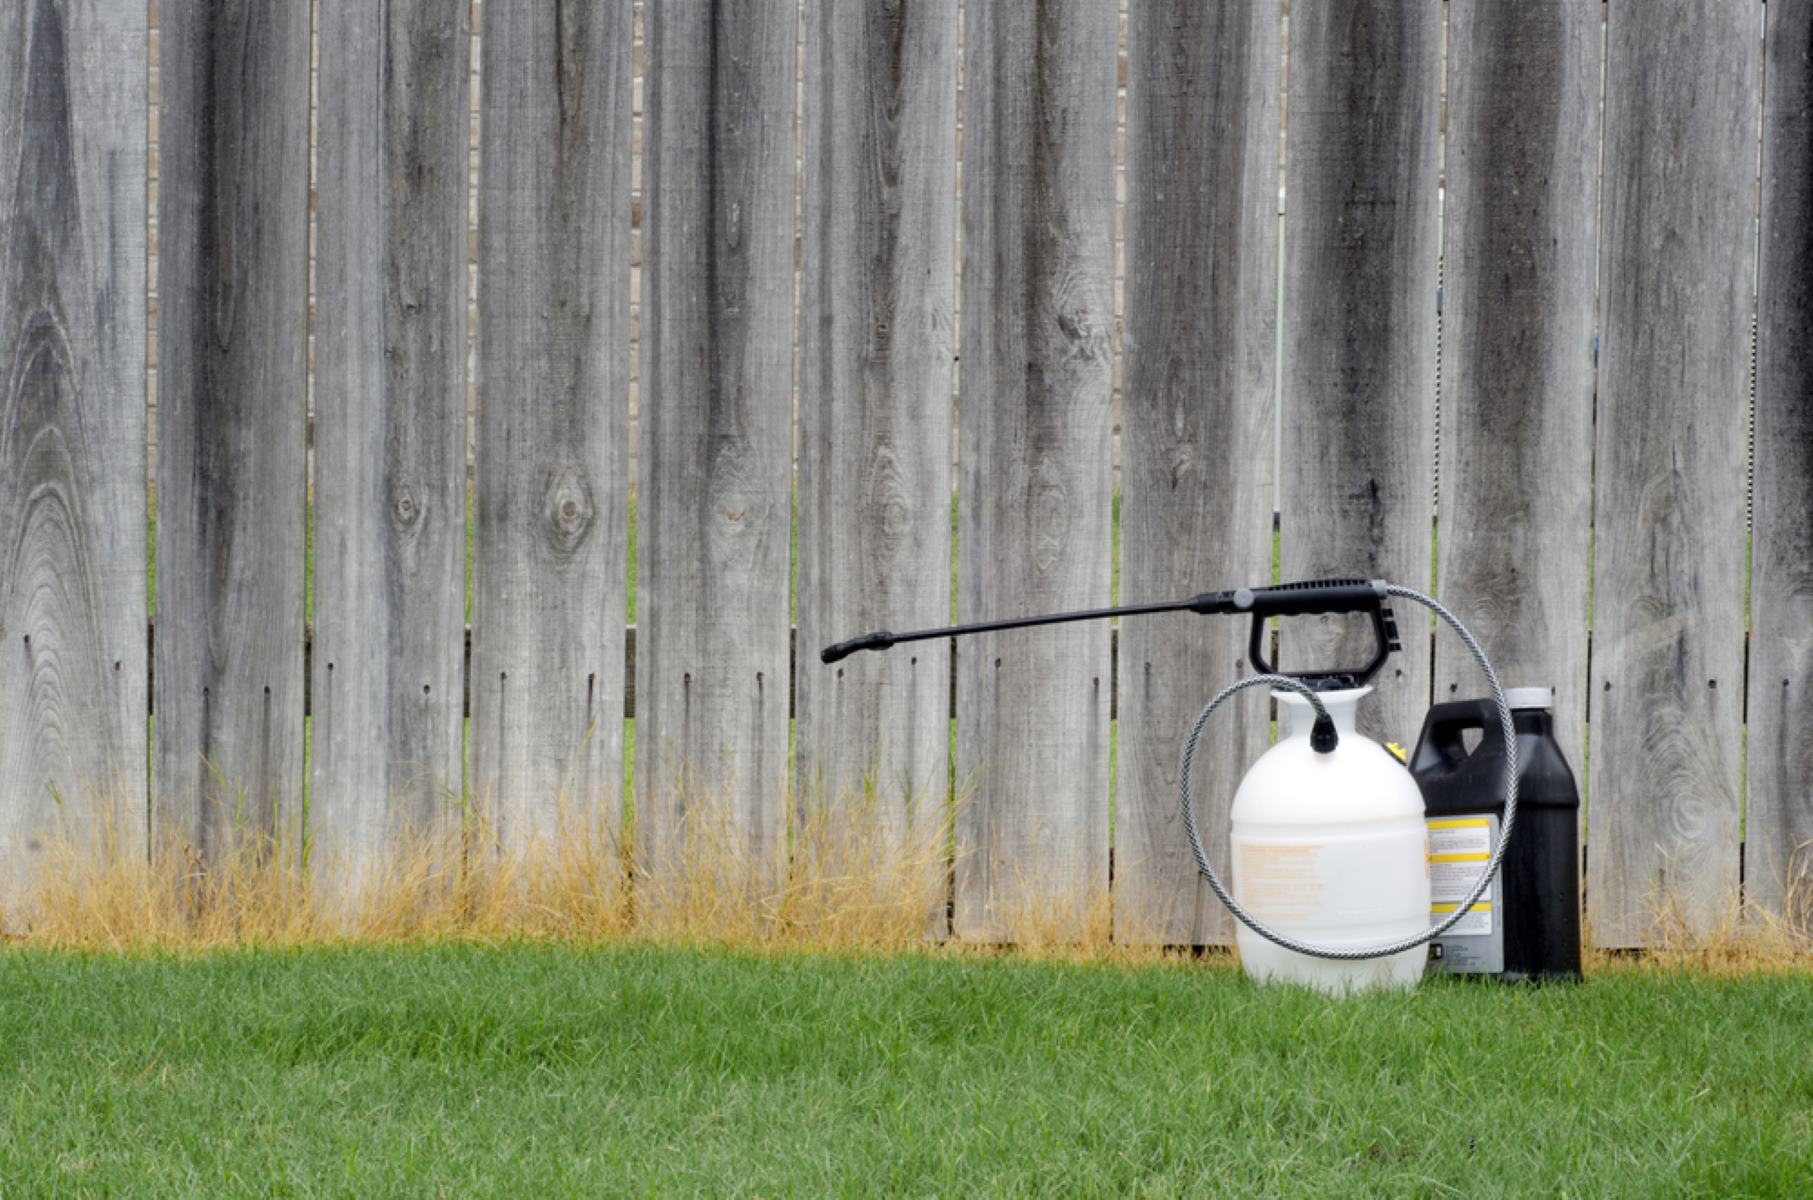
- Weeding: Keep an eye out for any weeds that may appear in the newly laid lawn. Promptly remove any weeds by hand, making sure to get the entire root system. Avoid using herbicides unless absolutely necessary, as the newly laid turf may be sensitive to chemical treatments.
- Avoid Heavy Use: Limit foot traffic and avoid heavy use of the lawn during the initial weeks after installation. This allows the turf to establish strong root systems without being stressed or damaged. Place temporary barriers or signage to remind family members, guests, or pets to stay off the newly laid turf until it has fully rooted and established.
- Monitor and Address Issues: Keep a close eye on the lawn and monitor for any signs of pests, diseases, or unusual discoloration. Address any issues promptly by seeking expert advice or contacting a local lawn care professional. Early intervention can help prevent problems from spreading and damaging the turf.
- Regular Maintenance: Once the newly laid turf has fully established and blended with the surrounding lawn, continue with regular maintenance practices. This includes routine mowing, watering, fertilizing, and aerating as needed. Regular maintenance will help keep your lawn healthy, lush, and visually appealing year-round.
By following these aftercare tips, you can provide the proper nurturing and attention that your newly laid lawn turf needs for successful establishment. With time and consistent care, your lawn will transform into a beautiful and inviting outdoor space that brings joy and enhances the overall aesthetics of your property.
Conclusion
Congratulations! You have successfully learned about the essential factors and steps involved in laying lawn turf. By considering these factors such as site conditions, climate, and maintenance requirements, you can make informed choices when selecting the right type of turf for your lawn. The optimal time of year, weather conditions, soil preparation, and careful installation are all key elements that contribute to the success of your newly laid lawn.
Remember to provide proper aftercare by watering, mowing, fertilizing, and monitoring the health of your lawn. With regular maintenance and attention, your lawn will thrive, creating a beautiful and inviting outdoor space that you can enjoy for years to come.
Whether you are transforming your backyard, creating a recreational area, or enhancing the curb appeal of your property, a healthy and vibrant lawn is the cornerstone of a great outdoor space. The process of laying lawn turf may require some effort and attention, but the end result is well worth it. The satisfaction of seeing your lawn flourish and the sense of pride it brings is truly rewarding.
As you embark on your lawn turf journey, don’t forget to enjoy the process. Gardening is a wonderful opportunity to connect with nature and unleash your creativity. Experiment with different turf varieties, discover your own style, and tailor your lawn to suit your unique preferences and needs.
So, get ready to roll up your sleeves, put on your gardening gloves, and create the lawn of your dreams. With the knowledge and insights gathered from this guide, your lawn turf adventure is bound to be a success. Happy turfing!
Frequently Asked Questions about When To Lay Lawn Turf
Was this page helpful?
At Storables.com, we guarantee accurate and reliable information. Our content, validated by Expert Board Contributors, is crafted following stringent Editorial Policies. We're committed to providing you with well-researched, expert-backed insights for all your informational needs.


0 thoughts on “When To Lay Lawn Turf”