Home>Gardening & Outdoor>Outdoor Entertaining>How Long To Cook A Picnic Roast
Outdoor Entertaining
How Long To Cook A Picnic Roast
Modified: January 20, 2024
Discover the perfect outdoor entertaining recipe with our guide on how long to cook a picnic roast. Impress your guests with this delicious and easy-to-make dish.
(Many of the links in this article redirect to a specific reviewed product. Your purchase of these products through affiliate links helps to generate commission for Storables.com, at no extra cost. Learn more)
Introduction
When it comes to hosting a delightful outdoor gathering, few dishes can rival the succulent appeal of a perfectly cooked picnic roast. Whether you're planning a laid-back family picnic or a lively barbecue with friends, a well-prepared roast can serve as the centerpiece of your outdoor feast. The tantalizing aroma of slow-cooked meat mingling with the fresh outdoor air creates an atmosphere of warmth and conviviality that is hard to replicate indoors.
Cooking a picnic roast to perfection requires a blend of culinary expertise, patience, and a touch of creativity. From selecting the right cut of meat to mastering the art of seasoning and slow cooking, every step plays a crucial role in achieving a delectable outcome. In this comprehensive guide, we will delve into the nuances of preparing and cooking a picnic roast, ensuring that your outdoor entertaining experience is elevated to new heights.
So, roll up your sleeves, gather your ingredients, and let's embark on a culinary journey that will tantalize the taste buds and create lasting memories for you and your guests. Whether you're a seasoned outdoor cooking enthusiast or a novice looking to impress, this guide will equip you with the knowledge and confidence to master the art of cooking a picnic roast that will be the talk of the town.
Key Takeaways:
- Choose a boneless pork shoulder or beef chuck roast for a succulent picnic roast. Look for marbling and fat for tenderness and flavor. Slow cooking at 225°F is key.
- Season the roast with salt, pepper, herbs, and brown sugar for flavor. Use a meat thermometer to ensure doneness. Let the roast rest before carving for juicy, tender slices.
Read more: How Long To Cook Pork Roast On Stove Top
Choosing the Right Cut of Meat
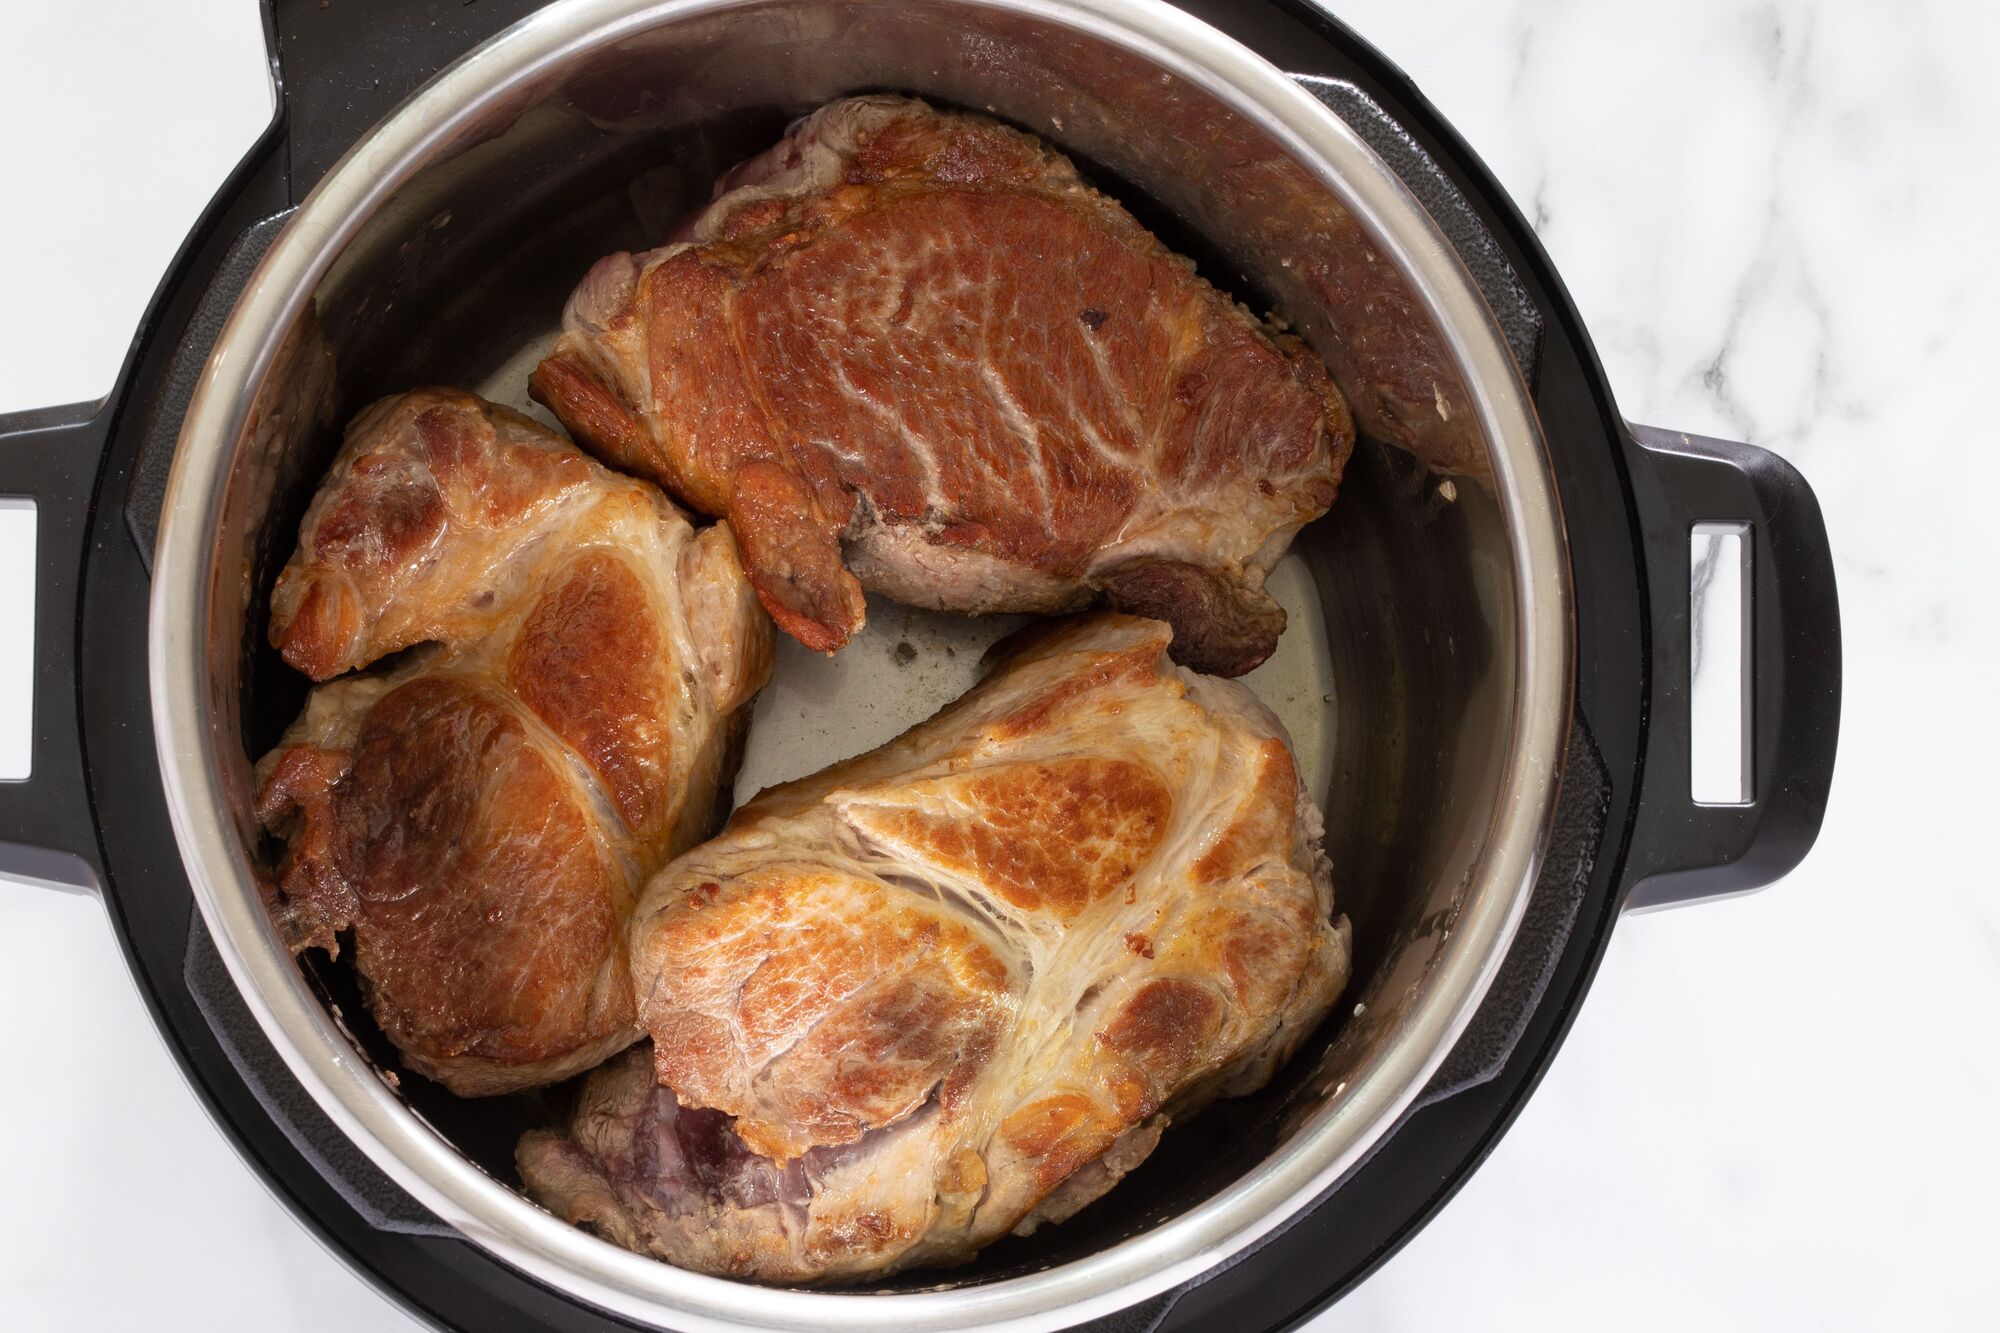
One of the fundamental aspects of preparing a delectable picnic roast is selecting the right cut of meat. The ideal cut for a picnic roast is a boneless pork shoulder, also known as a pork butt. Despite its name, the pork butt is actually from the upper shoulder of the pig. This cut is marbled with just the right amount of fat, which is essential for keeping the meat moist and flavorful during the slow cooking process.
When choosing a pork shoulder, look for a piece with a generous layer of fat on the surface. This fat will render as the roast cooks, infusing the meat with rich flavor and ensuring a succulent texture. Additionally, the marbling within the meat will contribute to its tenderness and juiciness, making for a truly mouthwatering end result.
If you prefer a leaner option, a boneless pork loin can also be used for a picnic roast. While it may not be as inherently juicy as a pork shoulder, a pork loin roast can still yield a delicious outcome when cooked with care and attention.
For those who prefer beef, a boneless beef chuck roast is an excellent choice for outdoor roasting. This cut comes from the shoulder area of the cow and boasts a rich, beefy flavor that intensifies beautifully during slow cooking. Much like the pork shoulder, the beef chuck roast contains enough intramuscular fat to ensure a moist and tender result.
When selecting a beef chuck roast, opt for a piece with good marbling and a moderate amount of fat on the exterior. This will contribute to the roast’s flavor and prevent it from drying out during the cooking process.
Regardless of the type of meat you choose, it’s essential to select a cut that is well-suited for slow cooking. The inherent qualities of these cuts make them perfect candidates for the low and slow cooking method that is essential for a tender and flavorful picnic roast.
Preparing the Roast
Once you’ve chosen the perfect cut of meat for your picnic roast, it’s time to prepare the roast for its flavorful journey to perfection. Properly seasoning and preparing the roast sets the stage for a mouthwatering culinary experience that will leave your guests clamoring for seconds.
Before seasoning the roast, it’s essential to ensure that it is at an even temperature throughout. If the roast has been refrigerated, allow it to sit at room temperature for about 30 minutes before proceeding. This allows the meat to cook more evenly and results in a juicier, more tender roast.
When it comes to seasoning, simplicity is key. A classic picnic roast can be seasoned with a blend of salt, black pepper, and a few aromatic herbs such as rosemary and thyme. This timeless combination allows the natural flavors of the meat to shine while infusing it with subtle herbaceous notes.
Before applying the seasoning, pat the roast dry with paper towels to ensure that the surface is free of excess moisture. This simple step promotes better browning during cooking, adding depth of flavor to the roast. Once the roast is dry, generously season it on all sides, ensuring that the seasoning adheres to the meat’s surface.
For those who enjoy a touch of sweetness, a light dusting of brown sugar can be added to the seasoning blend. This not only enhances the roast’s caramelization during cooking but also contributes a delicate sweetness that beautifully complements the savory flavors of the meat.
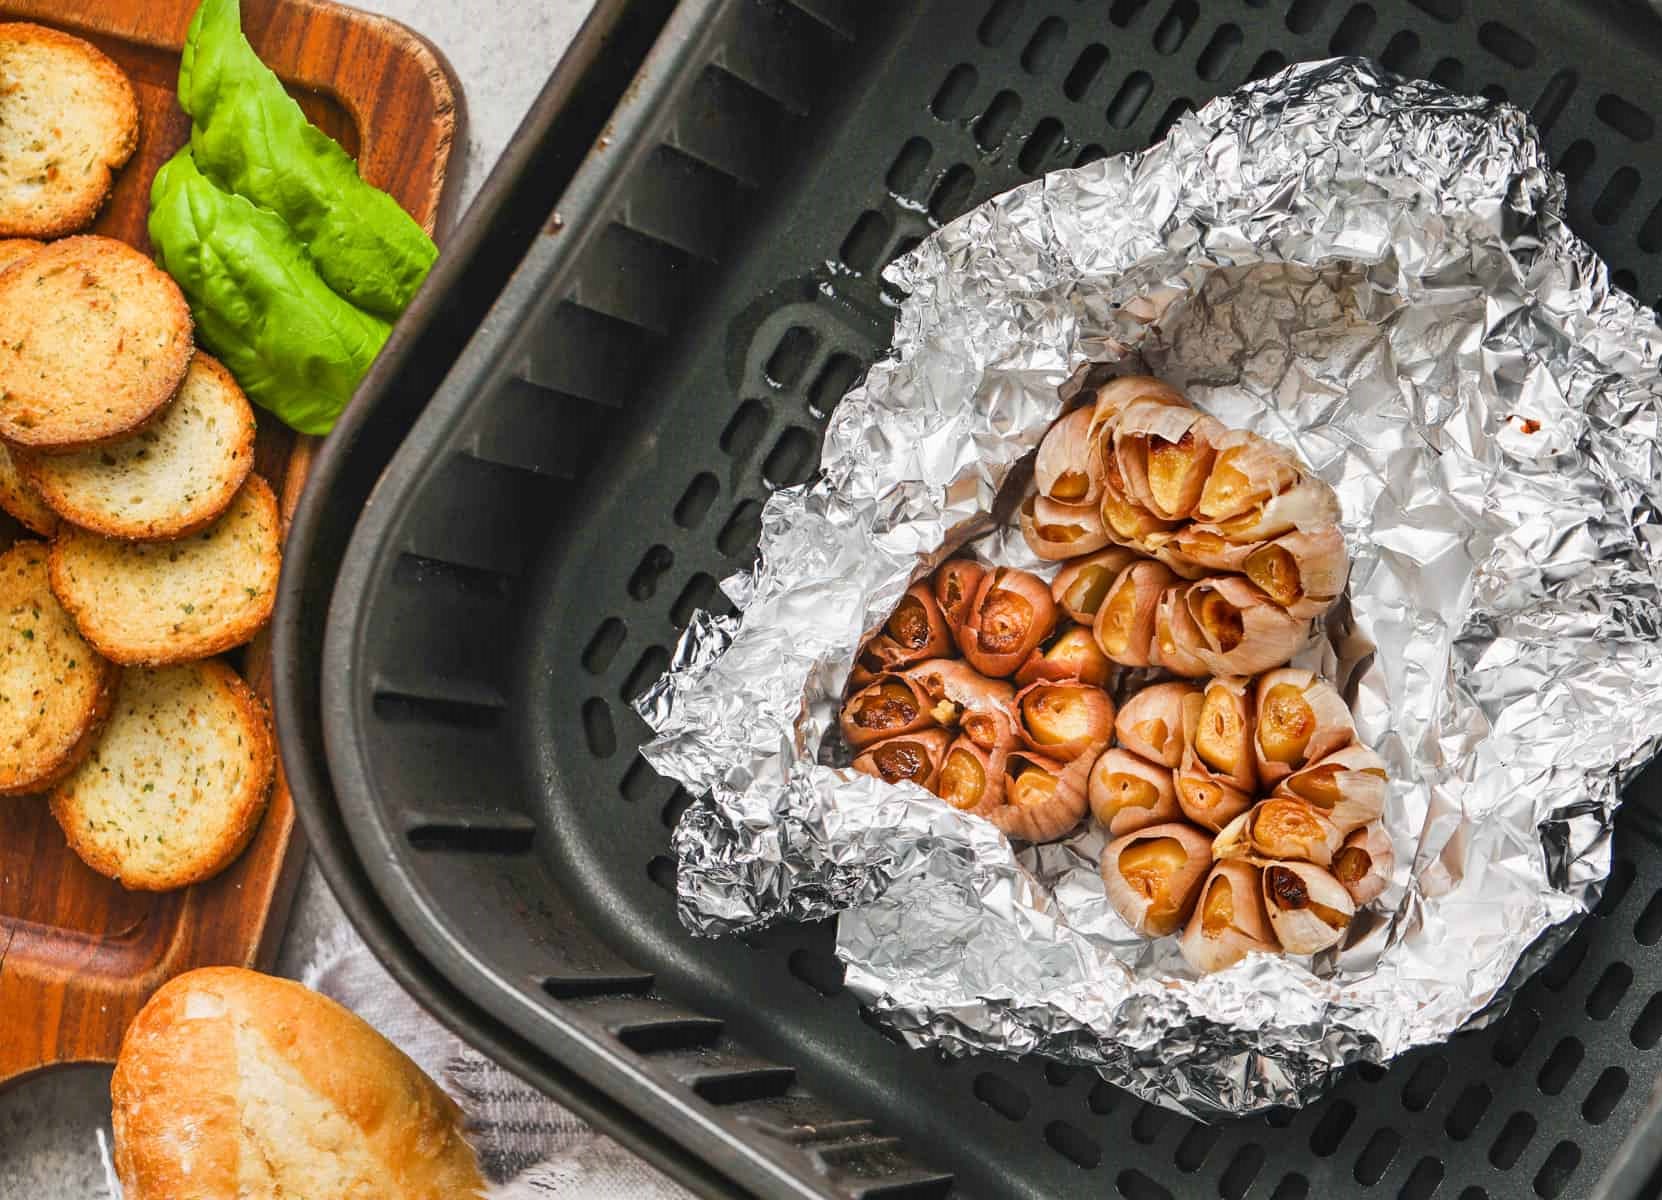
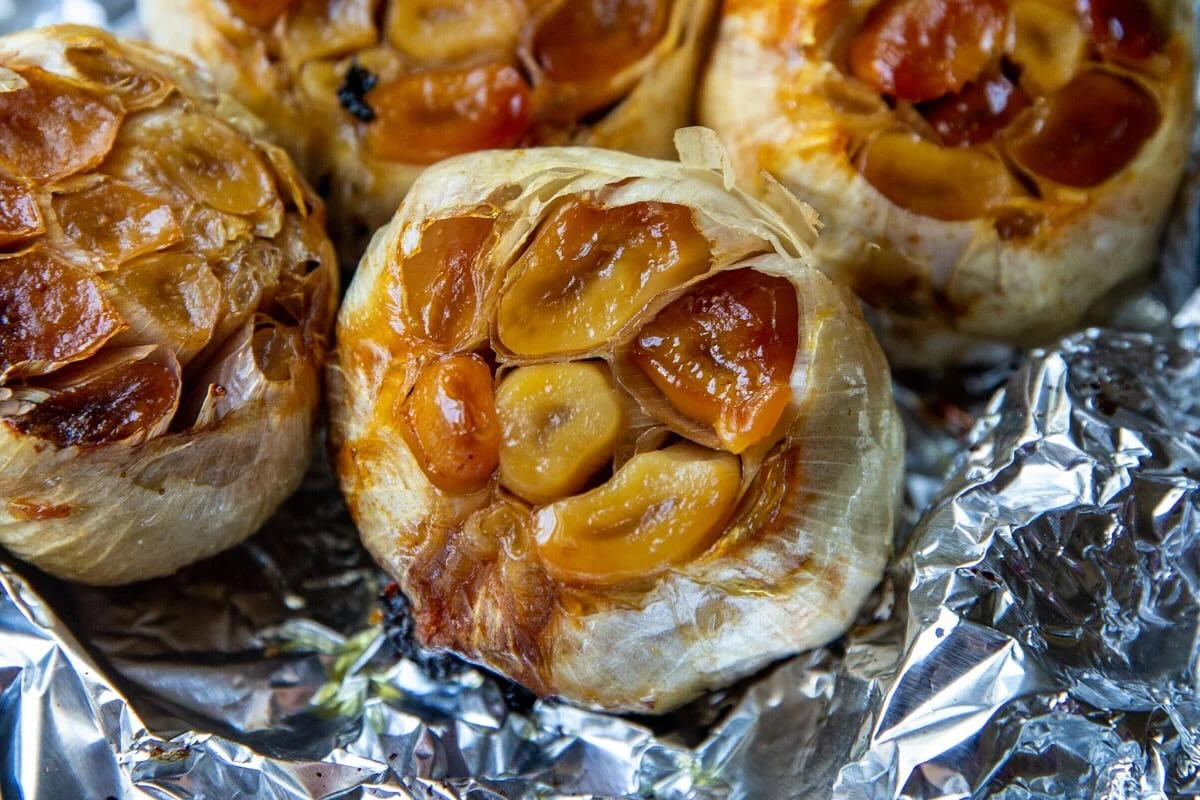
For an extra layer of flavor, consider creating small incisions in the roast and inserting slivers of garlic or aromatic herbs directly into the meat. As the roast cooks, these additions release their flavors, infusing the meat from the inside out and creating a depth of flavor that is truly irresistible.
Once the roast is seasoned to perfection, it’s ready to embark on its slow cooking journey, during which it will transform into a tender, succulent centerpiece for your outdoor feast. The careful preparation and seasoning of the roast set the stage for a culinary masterpiece that will undoubtedly leave a lasting impression on all who partake.
Cooking Times and Temperatures
Mastering the art of cooking a picnic roast to perfection hinges on understanding the optimal cooking times and temperatures for the chosen cut of meat. Whether you’re using a pork shoulder or a beef chuck roast, the key to achieving a melt-in-your-mouth result lies in the gentle, slow cooking process that allows the meat to tenderize and develop rich, complex flavors.
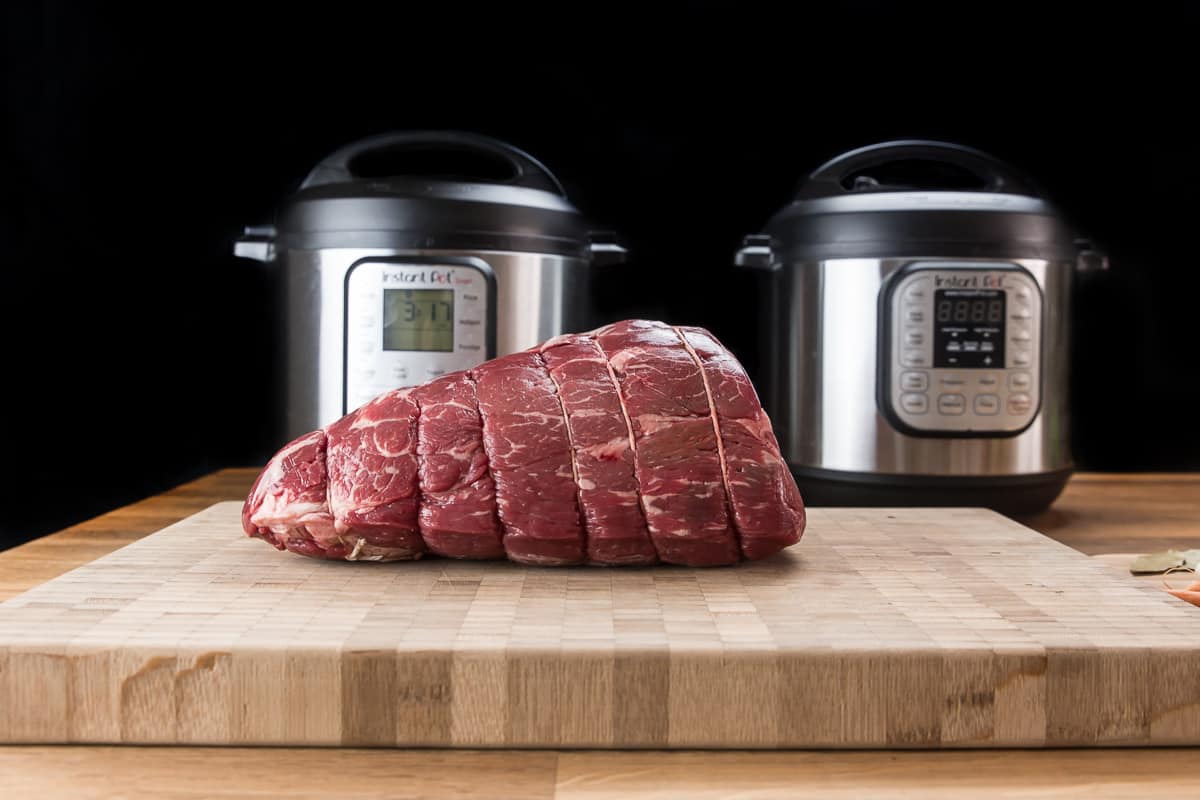
For a boneless pork shoulder, a low and slow approach is paramount. Preheat your outdoor grill or smoker to a temperature of 225°F (107°C) and maintain this gentle heat throughout the cooking process. A general rule of thumb for a pork shoulder roast is to allow approximately 1.5 hours of cooking time per pound (0.45 kg). This slow cooking method ensures that the meat becomes tender and juicy, with ample time for the fat to render and imbue the roast with irresistible flavor.
When using a boneless beef chuck roast, a similar approach applies. Preheat your grill or smoker to 225°F (107°C) and maintain a consistent temperature throughout the cooking duration. Much like the pork shoulder, a beef chuck roast generally requires around 1.5 hours of cooking time per pound (0.45 kg) to achieve the desired level of tenderness and succulence.
It’s important to note that these cooking times are estimates, and the true measure of doneness is the internal temperature of the roast. Invest in a reliable meat thermometer and insert it into the thickest part of the roast to monitor its progress. For a pork shoulder, the ideal internal temperature for tenderness and safety is around 195°F (90°C). Similarly, a beef chuck roast reaches its peak tenderness at an internal temperature of approximately 200-205°F (93-96°C).
While the temptation to increase the cooking temperature may arise, it’s crucial to resist this urge and adhere to the low and slow method. Rushing the cooking process can result in tough, dry meat, undermining the efforts put into selecting and preparing the perfect roast.
By mastering the art of cooking times and temperatures, you’ll be well-equipped to orchestrate a culinary symphony that culminates in a perfectly cooked picnic roast, ready to steal the spotlight at your outdoor gathering.
For a picnic roast, cook at 325°F for 20 minutes per pound. Use a meat thermometer to ensure it reaches an internal temperature of 145°F for medium rare or 160°F for medium. Let it rest for 10-15 minutes before slicing.
Testing for Doneness
As your picnic roast undergoes its slow and tantalizing transformation on the grill or smoker, the anticipation of its succulent outcome grows with each passing minute. However, determining the roast’s doneness is not merely a matter of guesswork; it requires a combination of sensory cues and practical techniques to ensure that the meat reaches its peak tenderness and flavor.
One of the most reliable methods for testing the doneness of a picnic roast is by using a meat thermometer. Invest in a high-quality instant-read thermometer and use it to periodically check the internal temperature of the roast. For a boneless pork shoulder, the desired internal temperature for optimal tenderness and safety is around 195°F (90°C). Similarly, a boneless beef chuck roast reaches its peak tenderness at an internal temperature of approximately 200-205°F (93-96°C).
When using the meat thermometer, ensure that the probe is inserted into the thickest part of the roast, avoiding contact with any bones, as this can result in an inaccurate reading. By monitoring the internal temperature, you can gauge the roast’s progress and intervene if necessary to ensure a perfectly cooked outcome.
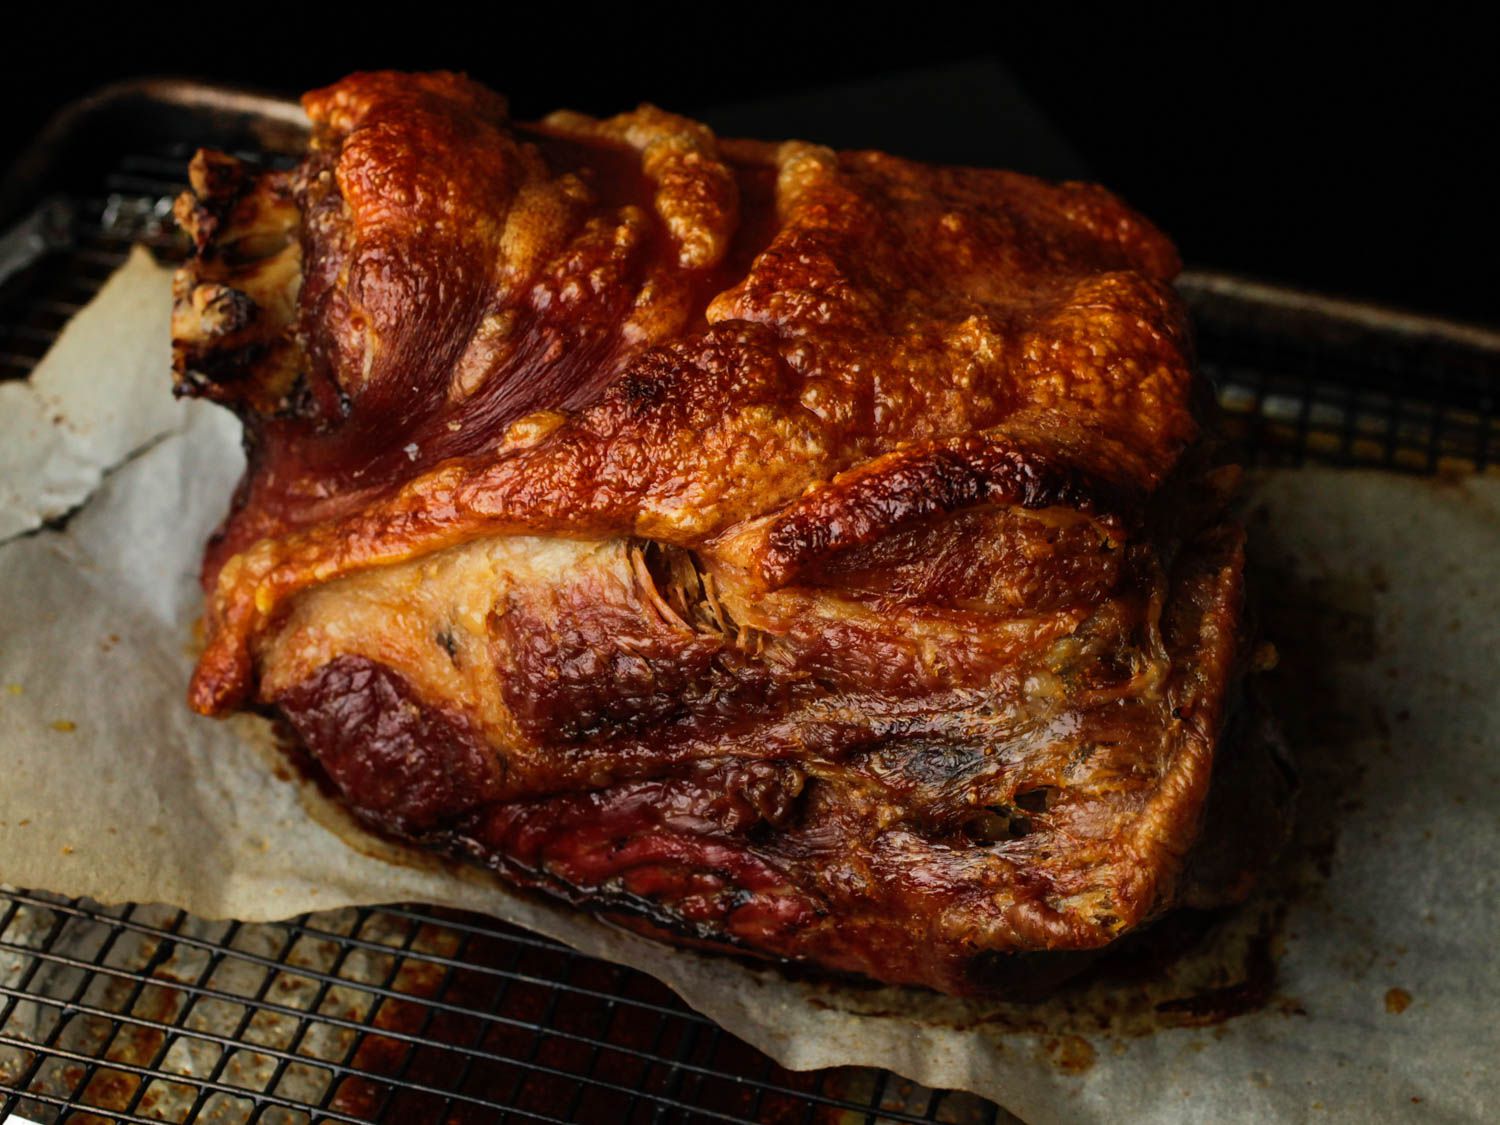
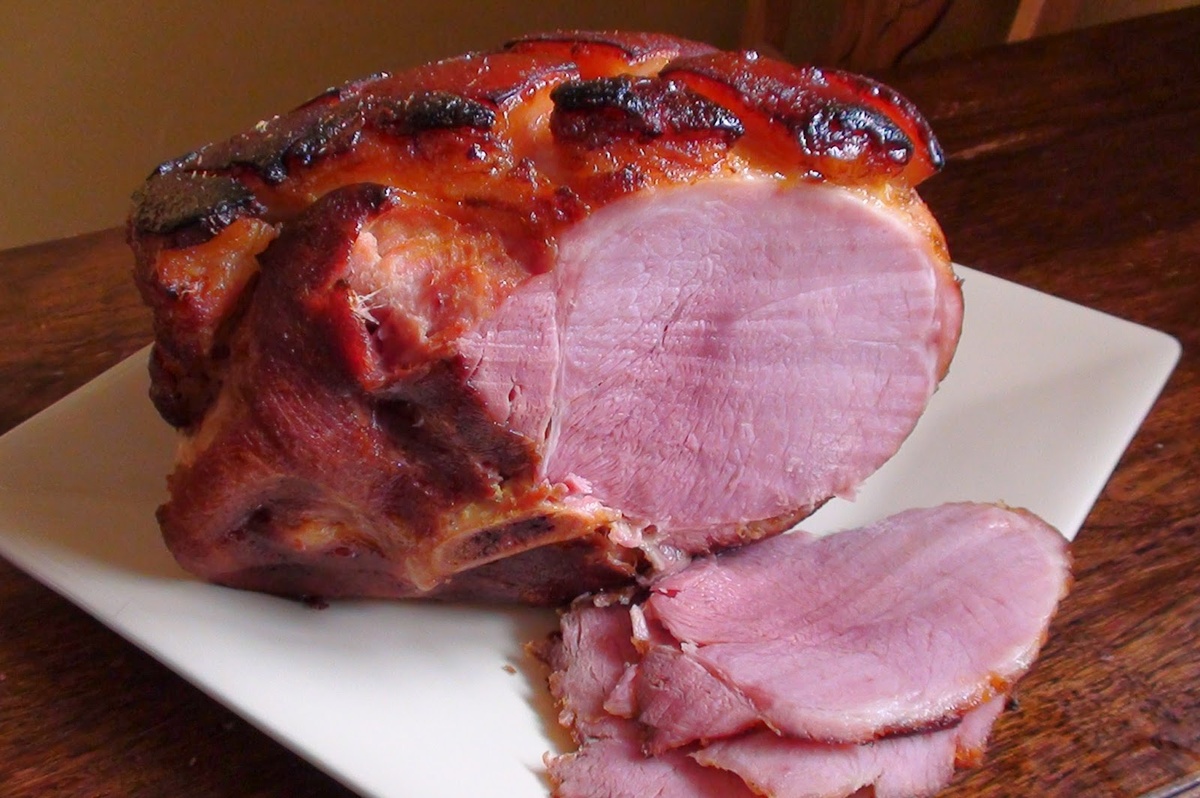
In addition to using a meat thermometer, you can employ visual and tactile cues to assess the roast’s doneness. A well-cooked picnic roast will develop an enticing crust on the exterior, known as the bark, which adds depth of flavor and textural contrast to the meat. The bark should be richly caramelized and boast a tantalizing aroma, signaling that the roast is nearing its peak readiness.
When gently prodded with a fork or tongs, the roast should exhibit a yielding, almost tender quality, indicating that the connective tissues have broken down, resulting in a delectably tender texture. If the roast offers resistance or feels overly firm, it may require additional cooking time to reach the desired level of doneness.
By combining the use of a meat thermometer with visual and tactile assessments, you can confidently ascertain when your picnic roast has reached its peak of succulence and flavor, ready to take center stage at your outdoor gathering.
Read more: How Long To Cook Roast In Air Fryer
Resting and Carving the Roast
As your picnic roast completes its slow and tantalizing journey on the grill or smoker, it’s essential to recognize the crucial role that resting plays in ensuring a succulent and flavorful outcome. Resting allows the roast’s juices to redistribute and reabsorb into the meat, resulting in a moist and tender texture that is a hallmark of a perfectly cooked roast.
Once the roast has reached its desired level of doneness, carefully remove it from the grill or smoker and place it on a clean cutting board. Tent the roast loosely with aluminum foil, creating a shield that retains heat while allowing excess steam to escape. This resting period, lasting approximately 15-20 minutes, allows the roast to relax and reabsorb its flavorful juices, ensuring a moist and delectable outcome.
While the roast rests, take a moment to prepare for the grand finale: carving the succulent masterpiece that will soon grace your guests’ plates. Begin by carefully removing any twine or netting from the roast, taking care not to disturb the beautifully caramelized exterior that has developed during the slow cooking process.
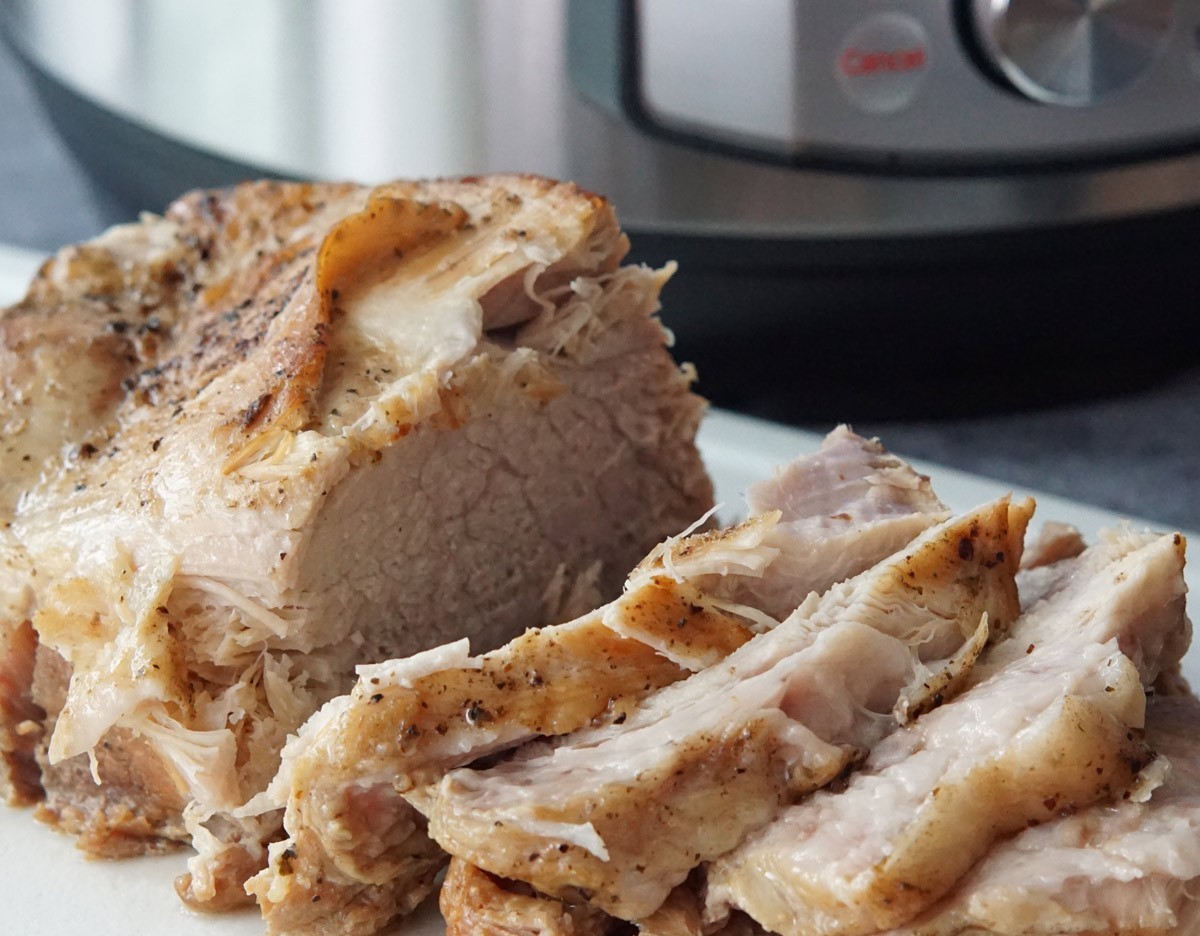
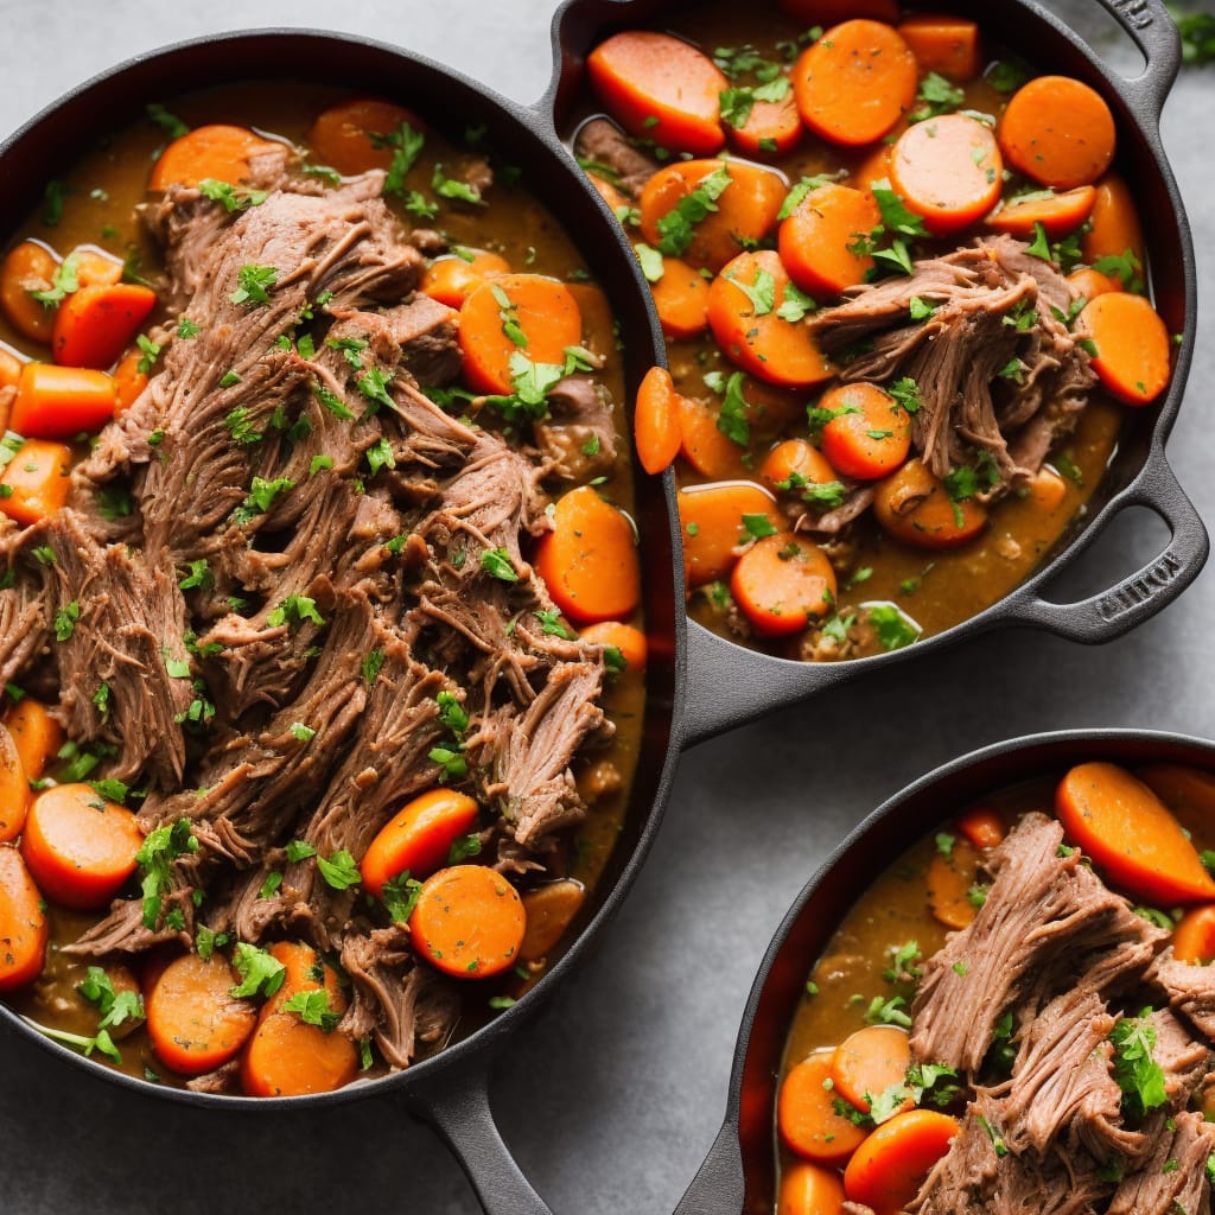
When it comes to carving the roast, it’s essential to work with the meat’s natural grain to ensure tender, uniform slices. For a boneless pork shoulder, identify the direction of the muscle fibers and use a sharp carving knife to slice against the grain, creating slices that are tender and easy to chew. This method maximizes the roast’s tenderness, allowing each slice to practically melt in the mouth.
If you’ve opted for a boneless beef chuck roast, a similar principle applies. Identify the direction of the muscle fibers and carve the roast against the grain, yielding slices that are tender and irresistibly flavorful. The careful attention to carving ensures that each portion of the roast is a delectable experience for your guests.
As you carve the roast, take a moment to savor the tantalizing aroma and rich, succulent texture that is the fruit of your labor. Each slice is a testament to the artistry and patience that went into slow-cooking the perfect picnic roast, ready to delight and impress all who partake in your outdoor gathering.
With the roast expertly carved and ready to be savored, it’s time to gather your guests and bask in the satisfaction of presenting a culinary masterpiece that is sure to be the highlight of your outdoor entertaining experience.
Conclusion
Embarking on the journey of cooking a picnic roast for your outdoor gathering is a culinary endeavor that promises to elevate your entertaining experience to new heights. From the careful selection of the perfect cut of meat to the artful preparation and slow cooking process, every step contributes to the creation of a succulent and flavorful centerpiece for your feast.
Choosing the right cut of meat sets the stage for a delectable outcome. Whether you opt for a boneless pork shoulder with its rich marbling or a beef chuck roast boasting robust flavor, the inherent qualities of these cuts make them ideal candidates for slow cooking and outdoor roasting.
As you prepare the roast, the art of seasoning and creating flavor profiles becomes a labor of love. Simple yet impactful seasonings, along with thoughtful techniques such as incorporating garlic and aromatic herbs, infuse the roast with layers of flavor that culminate in a truly memorable dining experience.
Mastering the art of cooking times and temperatures is essential for coaxing the roast to its peak tenderness and succulence. The low and slow approach, coupled with the use of a reliable meat thermometer, ensures that the roast is cooked to perfection, ready to captivate the palates of your guests.
Testing for doneness becomes a sensory and practical endeavor, combining the use of a meat thermometer with visual and tactile assessments to ascertain when the roast has reached its peak of succulence and flavor.
Finally, the resting and carving of the roast are the culminating acts in this culinary symphony. Allowing the roast to rest and reabsorb its flavorful juices ensures a moist and tender texture, while the careful carving against the grain yields slices that are tender and irresistibly flavorful.
With the picnic roast expertly prepared, carved, and presented, the satisfaction of delighting your guests with a culinary masterpiece is a reward in itself. The shared enjoyment and camaraderie that accompany a well-prepared roast serve as a testament to the power of outdoor entertaining to create lasting memories and cherished moments.
As you savor the fruits of your labor and witness the joy on your guests’ faces, take pride in the culinary journey you’ve embarked upon, knowing that you’ve mastered the art of cooking a picnic roast that will be remembered long after the embers of the grill have cooled.
Frequently Asked Questions about How Long To Cook A Picnic Roast
Was this page helpful?
At Storables.com, we guarantee accurate and reliable information. Our content, validated by Expert Board Contributors, is crafted following stringent Editorial Policies. We're committed to providing you with well-researched, expert-backed insights for all your informational needs.
0 thoughts on “How Long To Cook A Picnic Roast”