Home>Gardening & Outdoor>Outdoor Entertaining>How To Connect A Propane Tank To A Fire Pit

Outdoor Entertaining
How To Connect A Propane Tank To A Fire Pit
Modified: October 20, 2024
Learn how to safely connect a propane tank to your fire pit for outdoor entertaining. Follow these simple steps for a hassle-free setup.
(Many of the links in this article redirect to a specific reviewed product. Your purchase of these products through affiliate links helps to generate commission for Storables.com, at no extra cost. Learn more)
Introduction
Introduction
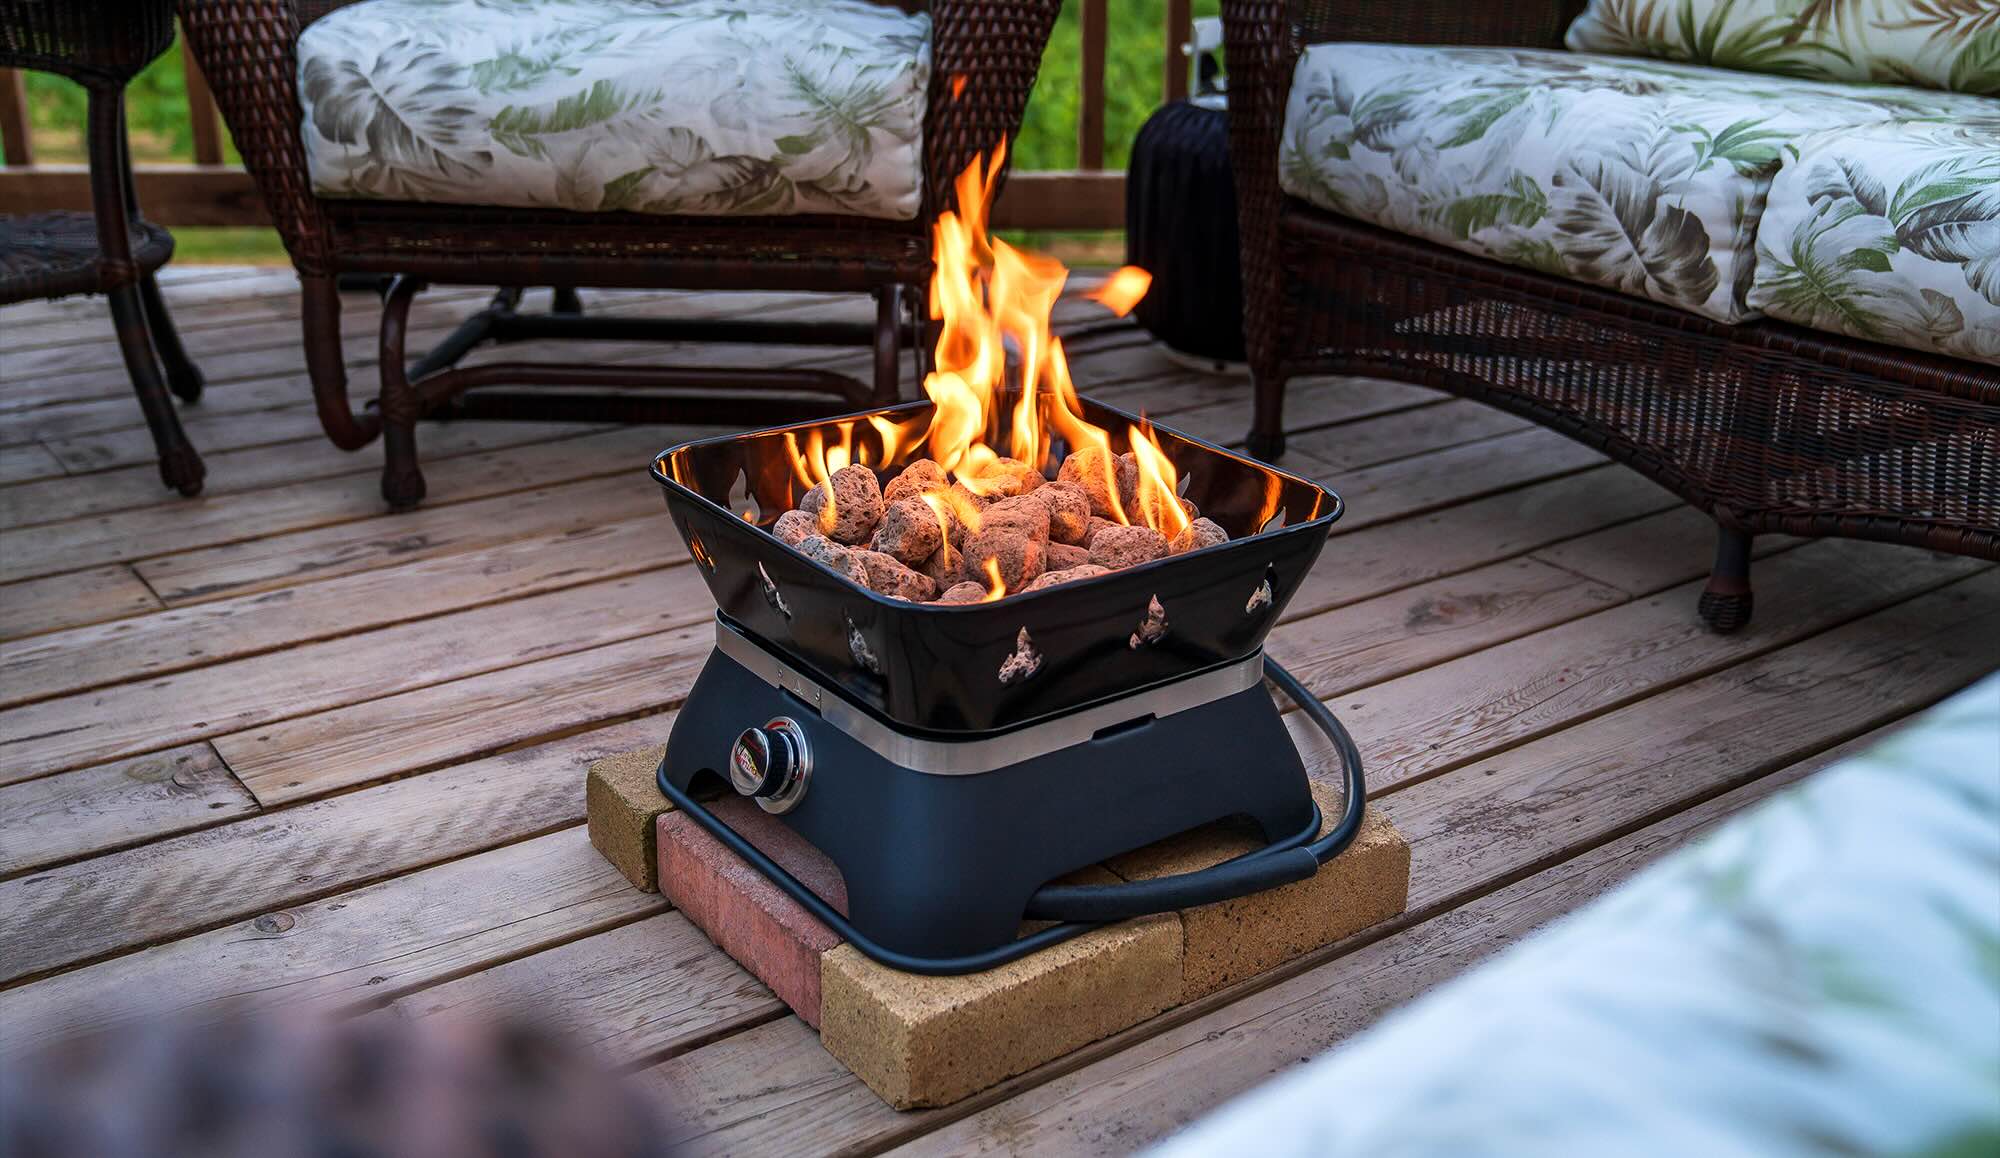
Outdoor entertaining has become increasingly popular, and a fire pit can be a focal point for gatherings, providing warmth and ambiance. Connecting a propane tank to a fire pit is a convenient and efficient way to fuel the flames, offering a clean and easily controllable source of heat. Whether you are setting up a new fire pit or replacing an existing propane tank, understanding the process of connecting the two is essential for a safe and enjoyable outdoor experience.
In this comprehensive guide, we will walk you through the step-by-step process of connecting a propane tank to a fire pit. From safety precautions to the required materials and the actual connection steps, we will cover everything you need to know to complete this task with confidence. By following these instructions, you can ensure that your fire pit is ready to provide warmth and comfort for your outdoor gatherings. Let's dive in and explore the necessary steps to connect a propane tank to a fire pit safely and effectively.
Safety Precautions
Key Takeaways:
- Safety First!
Before connecting a propane tank to a fire pit, prioritize safety by checking for leaks, keeping flammable materials away, and following manufacturer’s instructions. Safety ensures a secure and enjoyable outdoor experience. - Step-by-Step Connection
Position the propane tank securely, connect the regulator, hose, and fire pit carefully, and test the connection thoroughly. Following these steps ensures a seamless and safe propane delivery system for your fire pit.
Safety Precautions
Before embarking on the process of connecting a propane tank to a fire pit, it is crucial to prioritize safety. Propane is a highly flammable gas, and mishandling can lead to hazardous situations. To ensure a secure and risk-free setup, it is essential to adhere to the following safety precautions:
- Outdoor Use Only: Always operate a propane-fueled fire pit in a well-ventilated outdoor area. Using it indoors or in an enclosed space can lead to carbon monoxide buildup, posing a serious health risk.
- Check for Leaks: Before connecting the propane tank, inspect all the components, including the regulator, hose, and fittings, for any signs of damage or wear. Additionally, perform a leak test using a solution of soapy water to detect any gas leaks once the connections are made.
- Keep Flammable Materials Away: Position the fire pit away from combustible materials such as overhanging tree branches, dry leaves, or outdoor furniture. This minimizes the risk of accidental fires and ensures a safe distance from potential hazards.
- Follow Manufacturer’s Instructions: Adhere to the specific guidelines provided by the fire pit and propane tank manufacturers. This includes recommended distances from structures, proper assembly, and usage instructions to guarantee safe and efficient operation.
- Store Propane Tanks Properly: When the fire pit is not in use, store the propane tank in a well-ventilated outdoor area, away from direct sunlight and extreme heat. Always keep the tank in an upright position to prevent gas leakage and ensure the safety valve is protected.
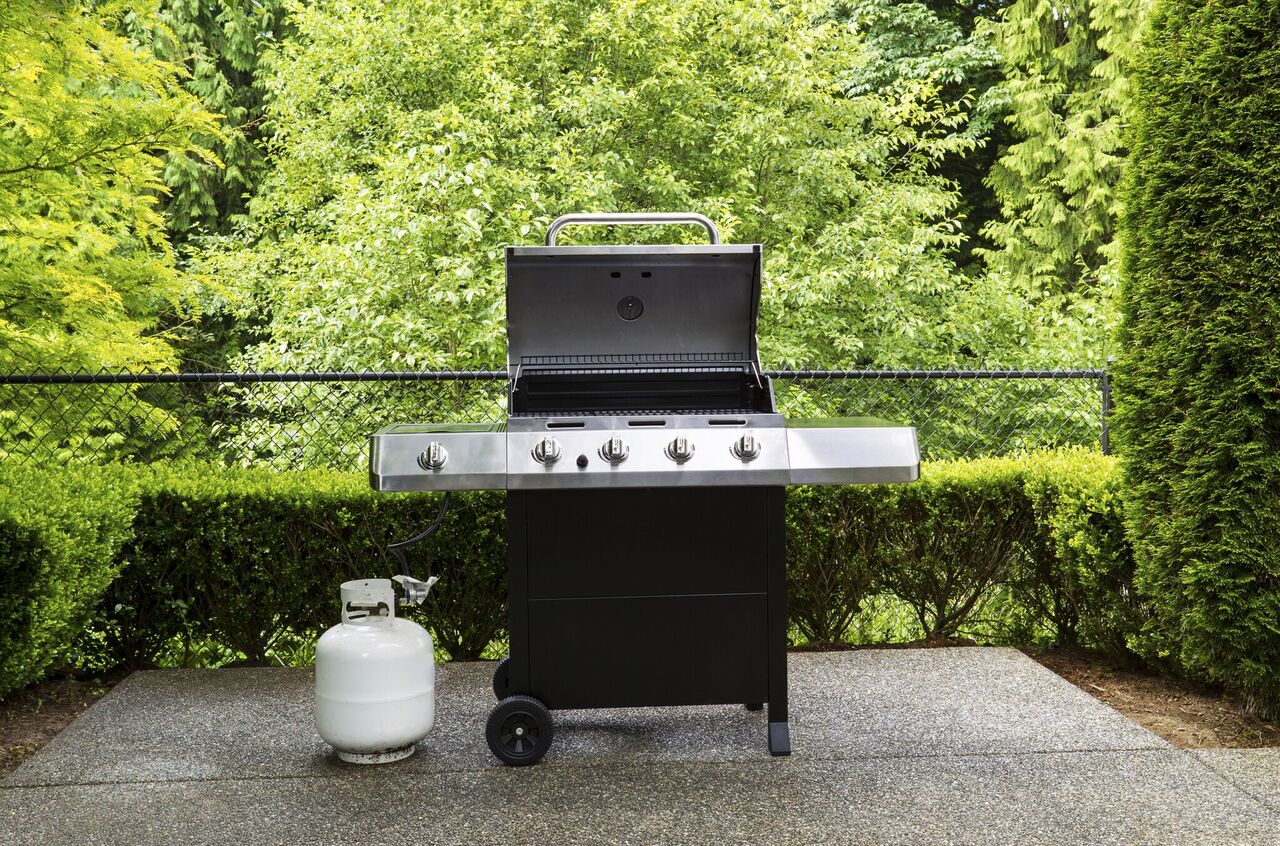
- Use a Properly Sized Tank: Ensure that the propane tank is of an appropriate size and capacity for your fire pit. Using an undersized or oversized tank can lead to operational issues and potential safety hazards.
By prioritizing safety and attentively following these precautions, you can create a secure environment for enjoying your propane-fueled fire pit. Now that we’ve covered the essential safety measures, let’s move on to the materials needed for the connection process.
Required Materials
Required Materials
Before starting the process of connecting a propane tank to a fire pit, it’s essential to gather all the necessary materials. Ensuring that you have the right components on hand will streamline the installation process and minimize the risk of interruptions. Here’s a list of the essential materials you will need:
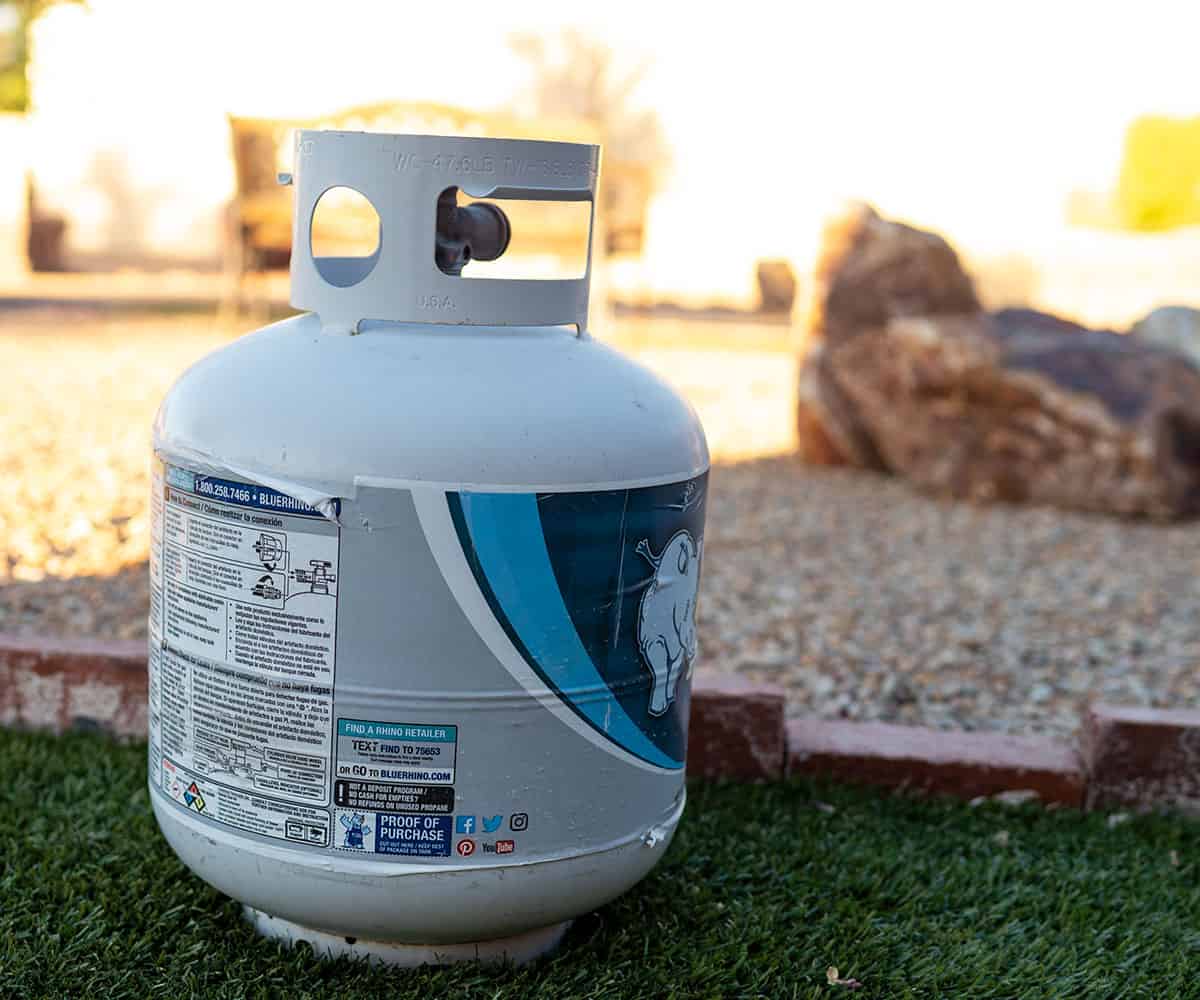
- Propane Tank: The heart of the fire pit’s fuel system, the propane tank should be in good working condition and equipped with a functional valve.
- Regulator: A regulator controls the flow of propane from the tank to the fire pit, ensuring a consistent and safe supply of gas. It’s crucial to use a regulator specifically designed for use with propane.
- Hose: A high-quality, flexible hose designed for propane use is necessary to connect the regulator to the fire pit. Ensure that the hose is of the appropriate length for your setup.
- Adjustable Wrench: An adjustable wrench will be used to securely fasten the connections, providing a tight seal and preventing gas leaks.
- Leak Detection Solution: A solution of soapy water will be used to check for leaks in the connections once the system is set up. This simple yet effective method can help identify any potential issues.
- Protective Gloves: Working with propane and making connections can expose your hands to potential hazards. Wearing protective gloves will safeguard your hands and provide a better grip when handling the components.
By ensuring that you have these materials at your disposal, you can proceed with confidence, knowing that you have everything needed to complete the connection process. With the safety precautions in place and the required materials gathered, let’s move on to the step-by-step process of connecting the propane tank to the fire pit.
Step 1: Positioning the Propane Tank
Step 1: Positioning the Propane Tank
Before connecting the propane tank to the fire pit, it’s crucial to position the tank in a suitable location. Follow these steps to ensure the tank is safely and conveniently situated:
- Choose a Level Surface: Select a flat and stable surface for the propane tank. This will prevent tipping and ensure the tank remains secure during use.
- Maintain Proper Distance: Position the tank a safe distance away from the fire pit, as per the manufacturer’s guidelines. This distance helps prevent heat exposure and allows for easy access to the tank.
- Secure the Tank: If the tank is equipped with a base or stand, ensure it is securely in place. For added stability, consider using straps or clamps to anchor the tank to a nearby structure or support.
- Check for Obstructions: Ensure that the area around the tank is clear of any obstacles or potential hazards. This includes ensuring there are no flammable materials, sharp objects, or sources of heat in the immediate vicinity.
- Protect from the Elements: If the tank will be exposed to the elements, consider using a protective cover to shield it from direct sunlight, rain, or extreme temperatures. This helps prolong the life of the tank and maintains its integrity.
By carefully positioning the propane tank, you can create a safe and accessible setup for fueling your fire pit. With the tank in place, you’re ready to proceed to the next step: connecting the regulator to the tank.
Step 2: Connecting the Regulator to the Tank
Read more: How To Fix A Propane Fire Pit
Step 2: Connecting the Regulator to the Tank
Connecting the regulator to the propane tank is a crucial step in establishing the fuel supply for your fire pit. Follow these detailed instructions to ensure a secure and functional connection:
- Turn Off the Valve: Before making any connections, ensure that the valve on the propane tank is completely closed. This prevents gas from escaping during the setup process.
- Inspect the Threads: Examine the threads on the regulator and the tank’s valve to ensure they are clean and undamaged. Any debris or imperfections can affect the seal and lead to gas leaks.
- Attach the Regulator: Align the regulator’s inlet fitting with the tank’s valve, then gently hand-tighten the connection. Once hand-tightened, use an adjustable wrench to secure the fitting, applying a quarter-turn to create a snug and leak-free seal.
- Perform a Leak Test: After the regulator is securely attached, apply a small amount of the leak detection solution to the connection point. Open the valve on the propane tank momentarily to pressurize the system, then check for bubbles indicating a leak. If bubbles appear, tighten the connection further and retest until no leaks are present.
- Ensure Proper Orientation: Position the regulator so that the hose outlet points in the direction of the fire pit, allowing for a smooth and kink-free connection to the next component.
By following these steps, you can effectively connect the regulator to the propane tank, establishing the initial link in the fuel delivery system. With the regulator securely in place, you’re ready to move on to the next step: connecting the hose to the regulator.
Step 3: Connecting the Hose to the Regulator
Step 3: Connecting the Hose to the Regulator
With the regulator securely attached to the propane tank, the next step is to connect the hose that will carry the propane gas from the tank to the fire pit. Follow these detailed instructions to ensure a safe and reliable connection:
- Inspect the Hose: Before proceeding, inspect the entire length of the hose for any signs of damage, such as cuts, abrasions, or kinks. A damaged hose should never be used, as it can compromise the integrity of the system.
- Attach the Hose: Align the threaded end of the hose with the outlet fitting on the regulator, then hand-tighten the connection. Once hand-tightened, use an adjustable wrench to securely fasten the fitting, ensuring a leak-free seal without over-tightening.
- Route the Hose: Position the hose in a manner that avoids sharp bends or kinks, allowing for a smooth and unrestricted flow of gas. Take care to keep the hose away from potential sources of heat or physical damage.
- Perform a Leak Test: Apply the leak detection solution to the hose’s connection point with the regulator, then briefly open the valve on the propane tank to pressurize the system. Check for any signs of gas leakage, tightening the connection further if necessary until no leaks are present.
By following these steps, you can securely connect the hose to the regulator, establishing a vital link in the propane delivery system. With the hose in place, you’re ready to proceed to the final connection step: linking the hose to the fire pit.
Step 4: Connecting the Hose to the Fire Pit
Read more: How Do You Vent A Propane Fire Pit
Step 4: Connecting the Hose to the Fire Pit
Connecting the hose from the regulator to the fire pit is the final step in establishing the fuel supply for your propane-fueled fire pit. Follow these detailed instructions to ensure a secure and effective connection:
- Prepare the Fire Pit: Position the fire pit in its desired location, ensuring that it is stable and level. Clear any debris or obstructions from the area where the hose will be connected.
- Locate the Inlet: Identify the inlet port on the fire pit designed for the connection of the propane hose. It is typically located near the burner assembly and may be covered by a protective cap or fitting.
- Attach the Hose: Align the threaded end of the hose with the inlet port on the fire pit, then hand-tighten the connection. Once hand-tightened, use an adjustable wrench to securely fasten the fitting, ensuring a leak-free seal without over-tightening.
- Check for Clearance: Ensure that the hose does not impede the operation of any components within the fire pit, such as the burner assembly or ignition system. Position the hose to allow for unobstructed functionality.
- Perform a Leak Test: Apply the leak detection solution to the connection point between the hose and the fire pit’s inlet. With the valve on the propane tank open, check for any signs of gas leakage, tightening the connection further if necessary until no leaks are present.
By following these steps, you can effectively connect the hose from the regulator to the fire pit, completing the vital link in the propane delivery system. With the hose securely attached to the fire pit, you’re now ready to move on to the crucial step of testing the connection.
Testing the Connection
Testing the Connection
Before igniting the fire pit, it’s essential to perform a thorough test of the entire propane connection to ensure that everything is functioning correctly and safely. Follow these steps to conduct a comprehensive test of the connection:
- Check for Leaks: Apply the leak detection solution to all the connection points, including the regulator, hose fittings, and the fire pit inlet. Open the valve on the propane tank and pressurize the system, carefully inspecting each connection for any signs of gas leakage. If any leaks are detected, immediately shut off the valve on the propane tank and address the issue before proceeding.
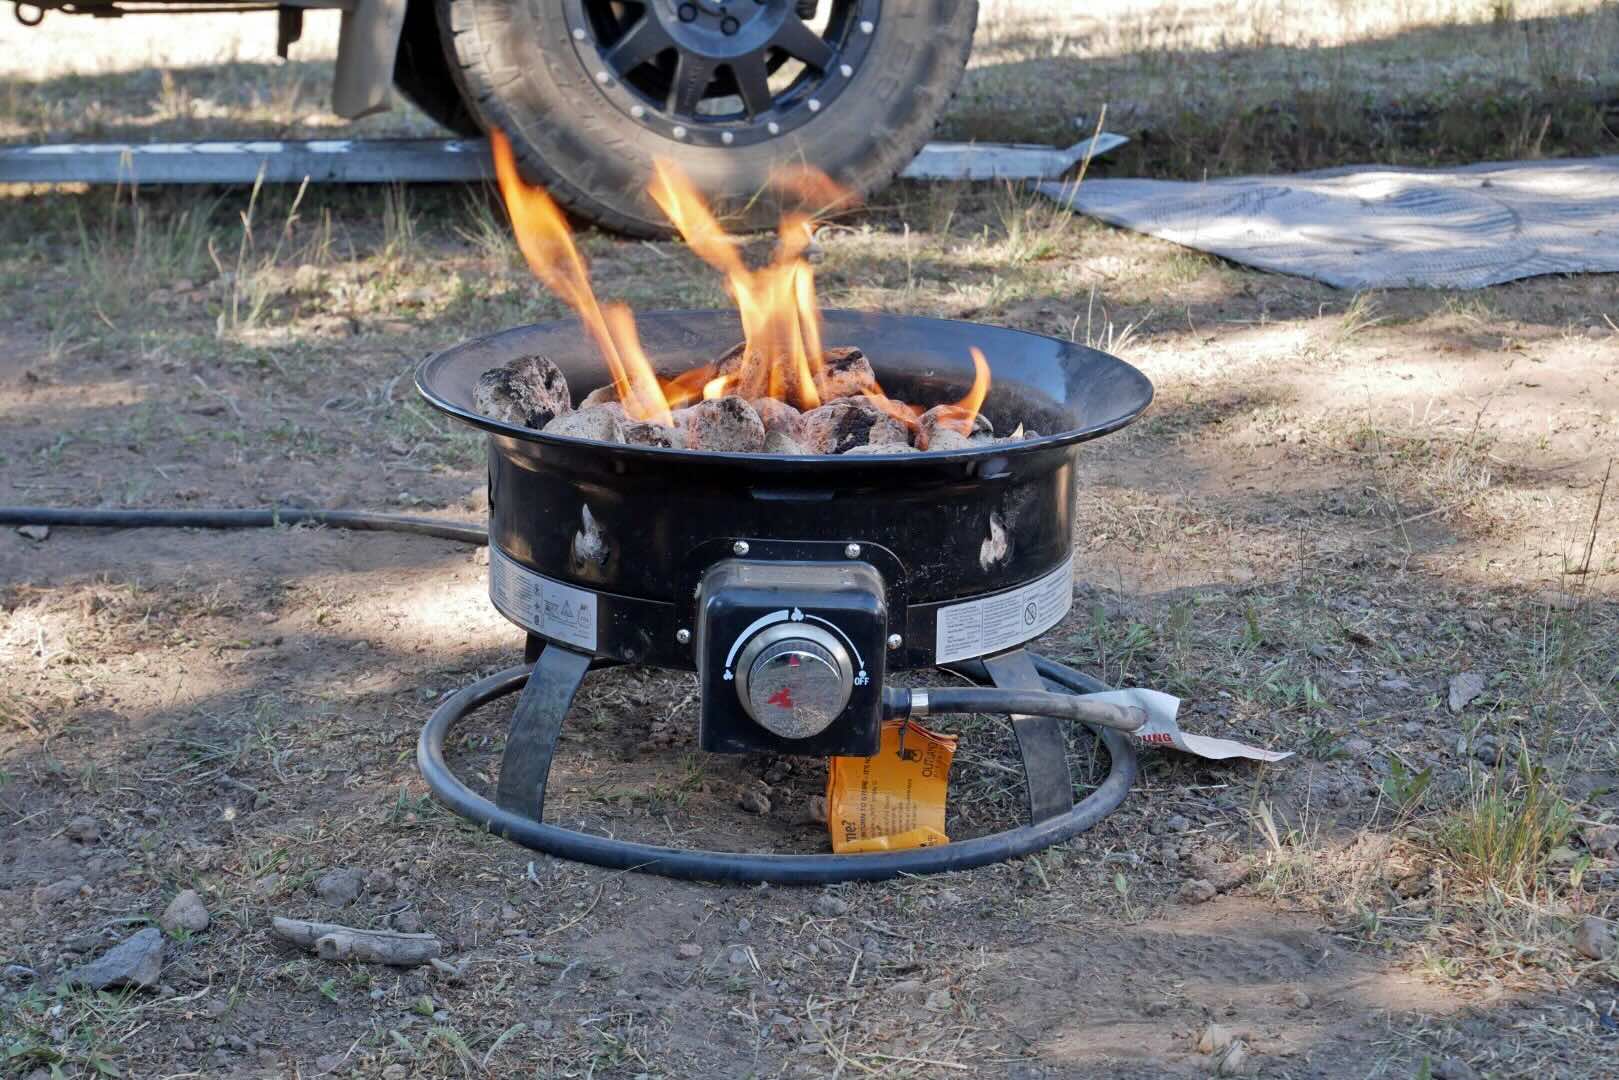
- Ignite the Fire Pit: Following the manufacturer’s instructions, ignite the fire pit and observe the flames. Ensure that the flames are consistent and evenly distributed across the burner assembly, indicating a proper and balanced gas flow. If any irregularities are observed, such as uneven flames or sputtering, immediately turn off the fire pit and investigate the cause.
- Monitor for Proper Operation: Once the fire pit is ignited, observe its operation for a sufficient duration, ensuring that the flames remain steady and that there are no indications of gas leaks or malfunctions. Pay attention to any unusual odors or sounds, as these can be indicators of potential issues.
- Shut Down and Secure: After completing the testing process and ensuring that the fire pit operates as intended, safely turn off the flames and close the valve on the propane tank. Secure any protective caps or covers on the hose and fire pit inlet to prevent debris accumulation and protect the connections.
By meticulously testing the connection and verifying the proper operation of the propane-fueled fire pit, you can confidently enjoy its warmth and ambiance while prioritizing safety and functionality. With the thorough testing complete, you have successfully connected the propane tank to the fire pit and are ready to create memorable outdoor experiences around the comforting glow of the flames.
Conclusion
Read more: How Does A Propane Fire Pit Work
Conclusion
Connecting a propane tank to a fire pit is a fundamental yet crucial process that ensures a safe and reliable fuel supply for outdoor gatherings and relaxation. By following the step-by-step instructions outlined in this guide, you have acquired the knowledge and confidence to complete this task effectively. From prioritizing safety precautions to gathering the required materials and executing the connection steps, you have taken the necessary measures to create a secure and functional setup.
By positioning the propane tank carefully and connecting the regulator, hose, and fire pit in a methodical manner, you have established a seamless propane delivery system. The thorough testing of the connection further ensures that the fire pit operates as intended, providing warmth and ambiance for your outdoor space.
As you embark on this journey of connecting a propane tank to a fire pit, remember to always prioritize safety, adhere to manufacturer’s guidelines, and perform regular maintenance to ensure the continued reliability of your outdoor heating setup. Whether it’s for cozy gatherings with loved ones or moments of tranquil solitude, your propane-fueled fire pit is now ready to enhance your outdoor experiences with its inviting glow and comforting warmth.
With the completion of this comprehensive guide, you are well-equipped to connect a propane tank to a fire pit confidently and enjoy the countless benefits of outdoor entertaining in the embrace of a radiant and inviting fire.
Frequently Asked Questions about How To Connect A Propane Tank To A Fire Pit
Was this page helpful?
At Storables.com, we guarantee accurate and reliable information. Our content, validated by Expert Board Contributors, is crafted following stringent Editorial Policies. We're committed to providing you with well-researched, expert-backed insights for all your informational needs.

0 thoughts on “How To Connect A Propane Tank To A Fire Pit”