Articles
How To Attach Propane Tank To Grill
Modified: October 28, 2024
Learn how to safely attach a propane tank to your grill with our informative articles. Find step-by-step instructions and helpful tips to ensure a successful and enjoyable grilling experience.
(Many of the links in this article redirect to a specific reviewed product. Your purchase of these products through affiliate links helps to generate commission for Storables.com, at no extra cost. Learn more)
Introduction
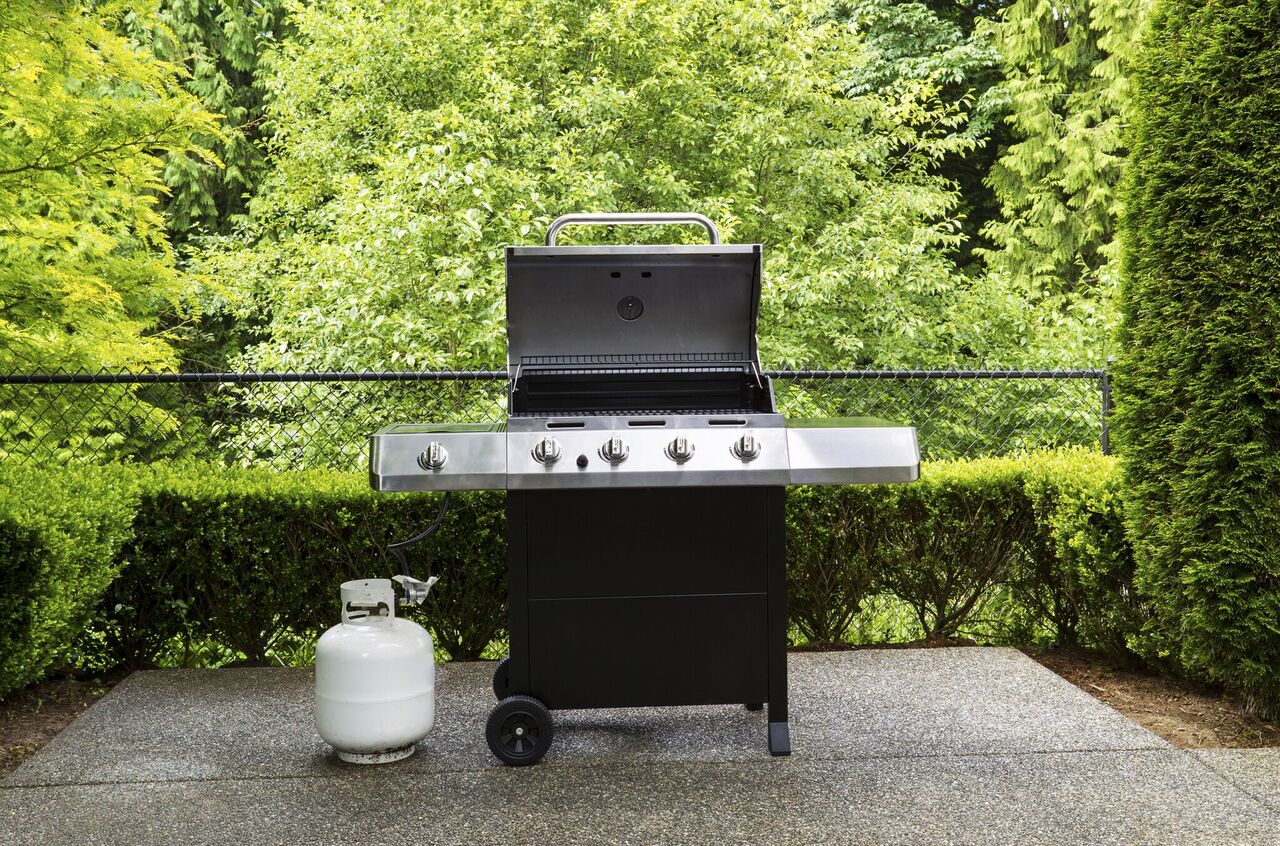
Welcome to this step-by-step guide on how to attach a propane tank to your grill. Whether you’re a seasoned grill master or a beginner, ensuring the proper connection between your propane tank and grill is crucial for a safe and enjoyable cooking experience. With the right equipment and a few simple steps, you’ll be ready to fire up your grill and savor the taste of delicious barbecued meals.
Before we begin, it’s important to note that propane gas is a highly flammable substance, so always prioritize safety when handling tanks and connecting them to your grill. Ensure you are in a well-ventilated area, away from any open flames or sparks, and follow all safety guidelines provided by the manufacturer of your grill and propane tank.
In this guide, we will walk you through the process of attaching a propane tank to your grill. We’ll cover everything from gathering the necessary equipment to testing the functionality of your grill. So, let’s get started!
Key Takeaways:
- Ensure safety by checking compatibility, securing connections, and testing for leaks when attaching a propane tank to your grill. Follow manufacturer guidelines and prioritize regular maintenance for a safe and enjoyable grilling experience.
- Position your grill and propane tank in a well-ventilated area, ensure stable placement, and conduct a thorough functionality test before cooking. Prioritize safety, gather necessary equipment, and enjoy the delicious results of outdoor grilling.
Read more: How To Store A Propane Tank
Step 1: Gather necessary equipment
Before you start attaching your propane tank to the grill, make sure you have all the necessary equipment handy. Here is a list of items you will need:
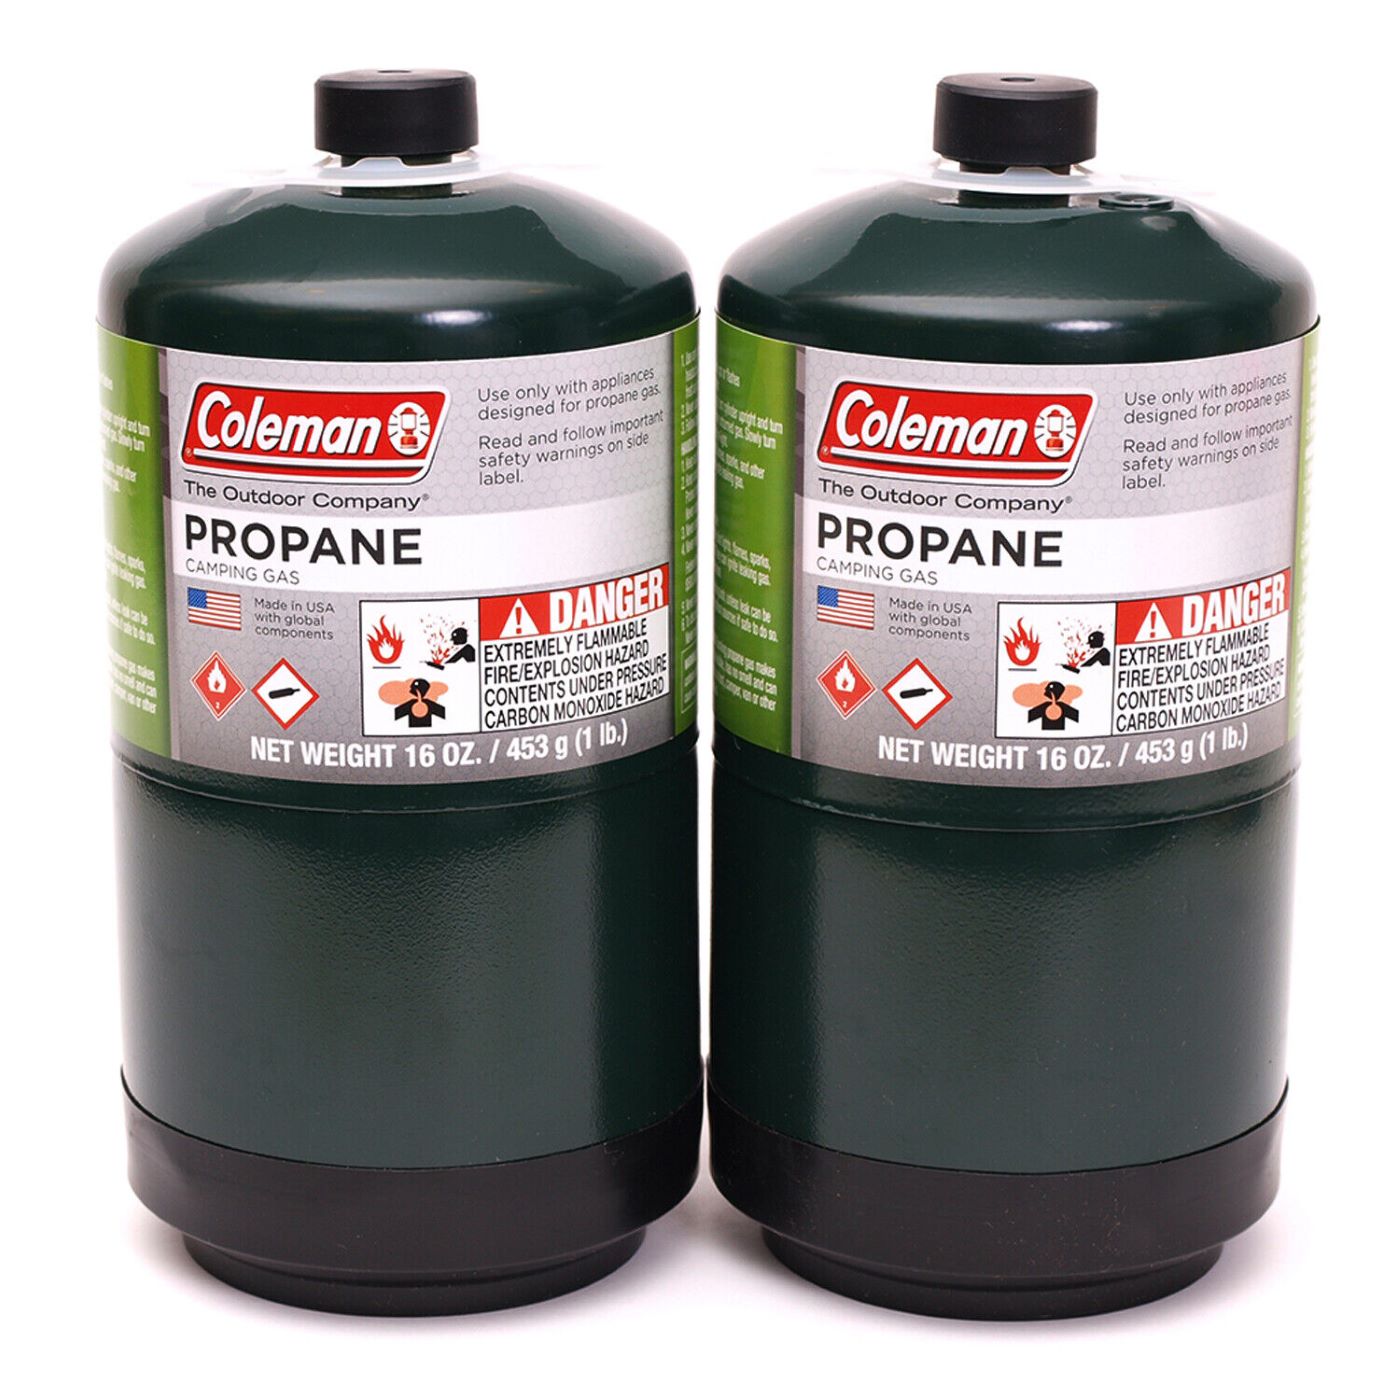
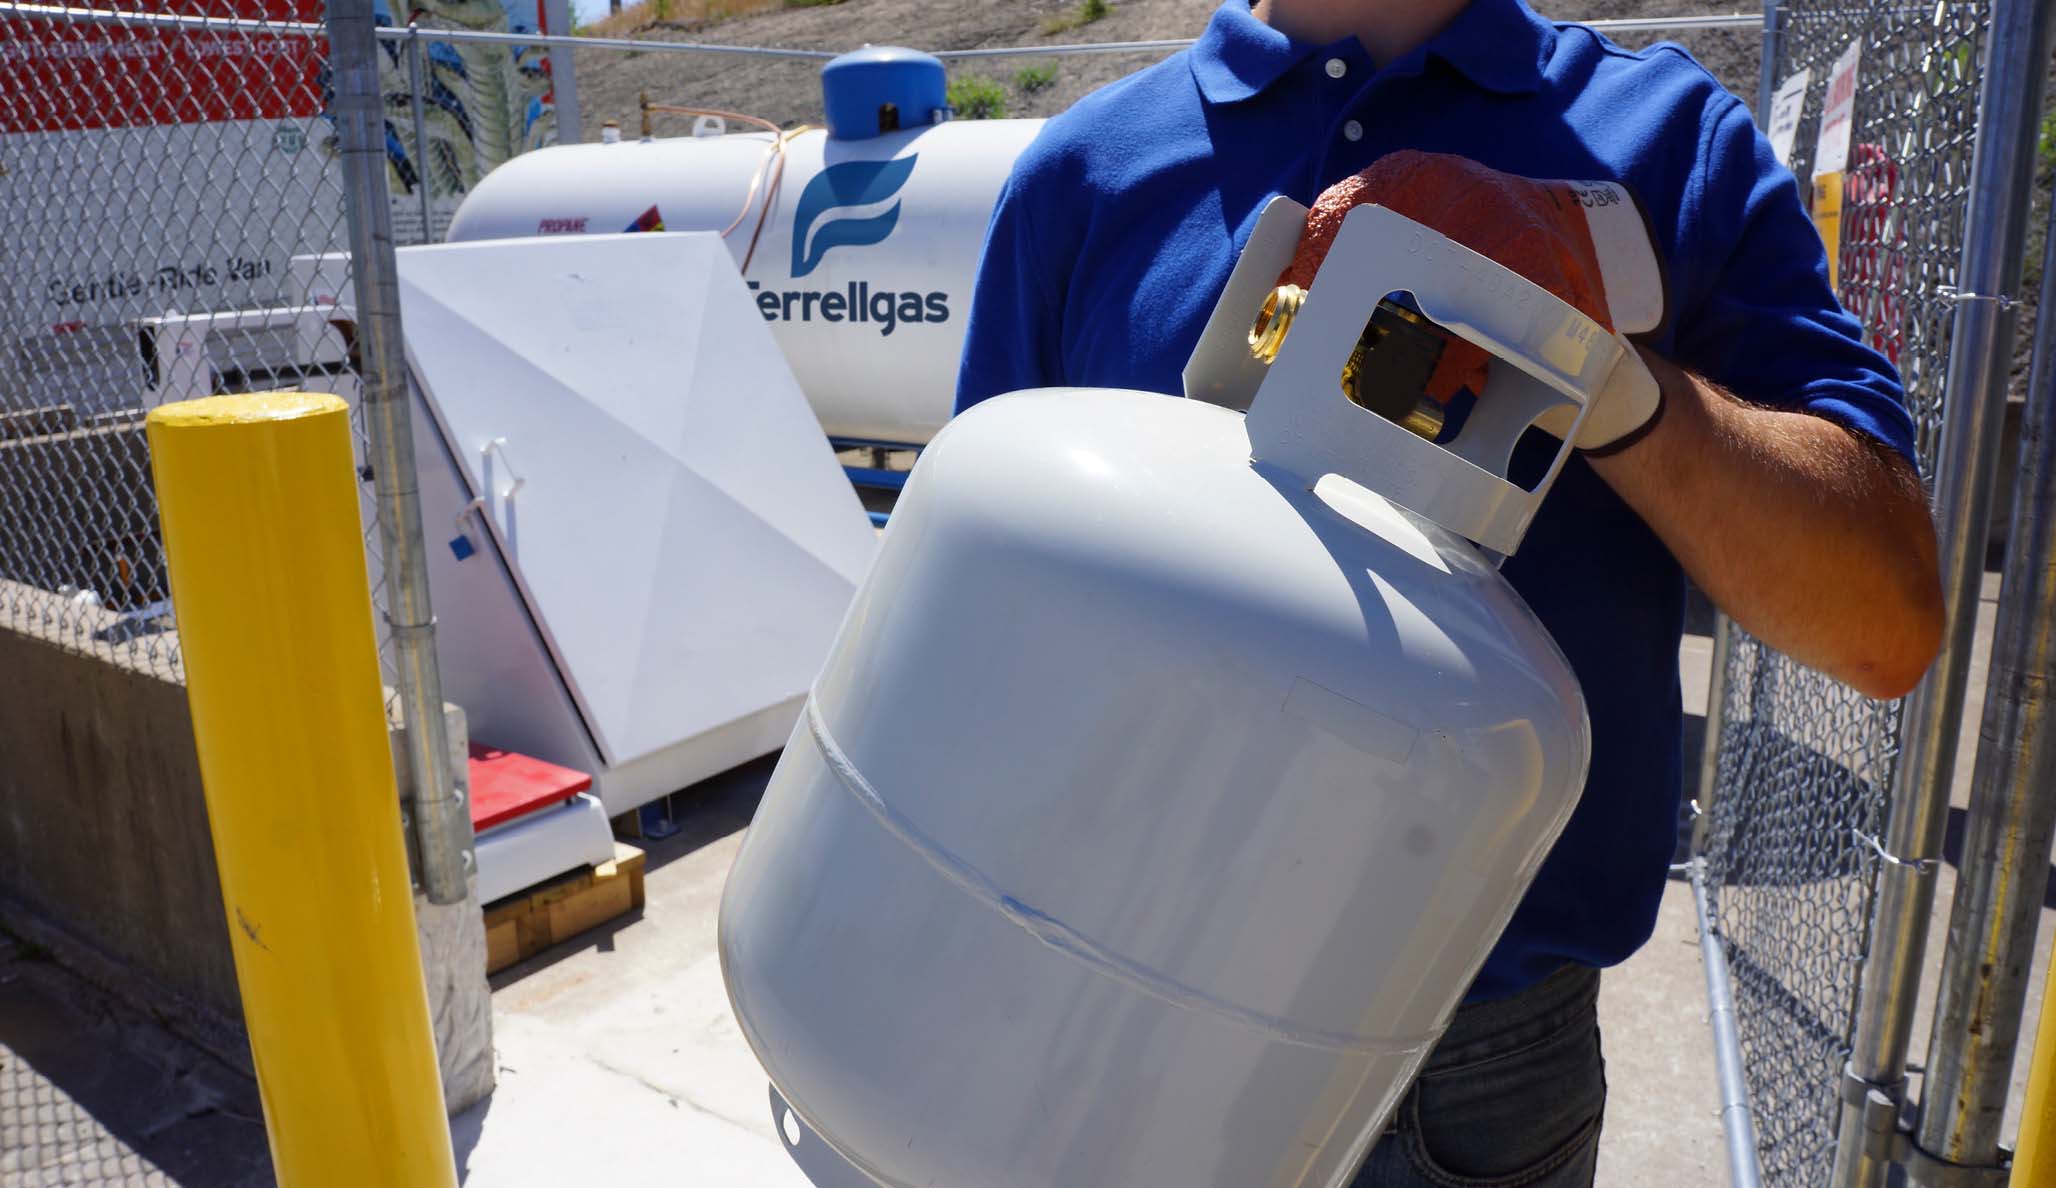
- A propane tank: Ensure the tank is filled and in good condition. Check for any signs of damage or leaks before proceeding.
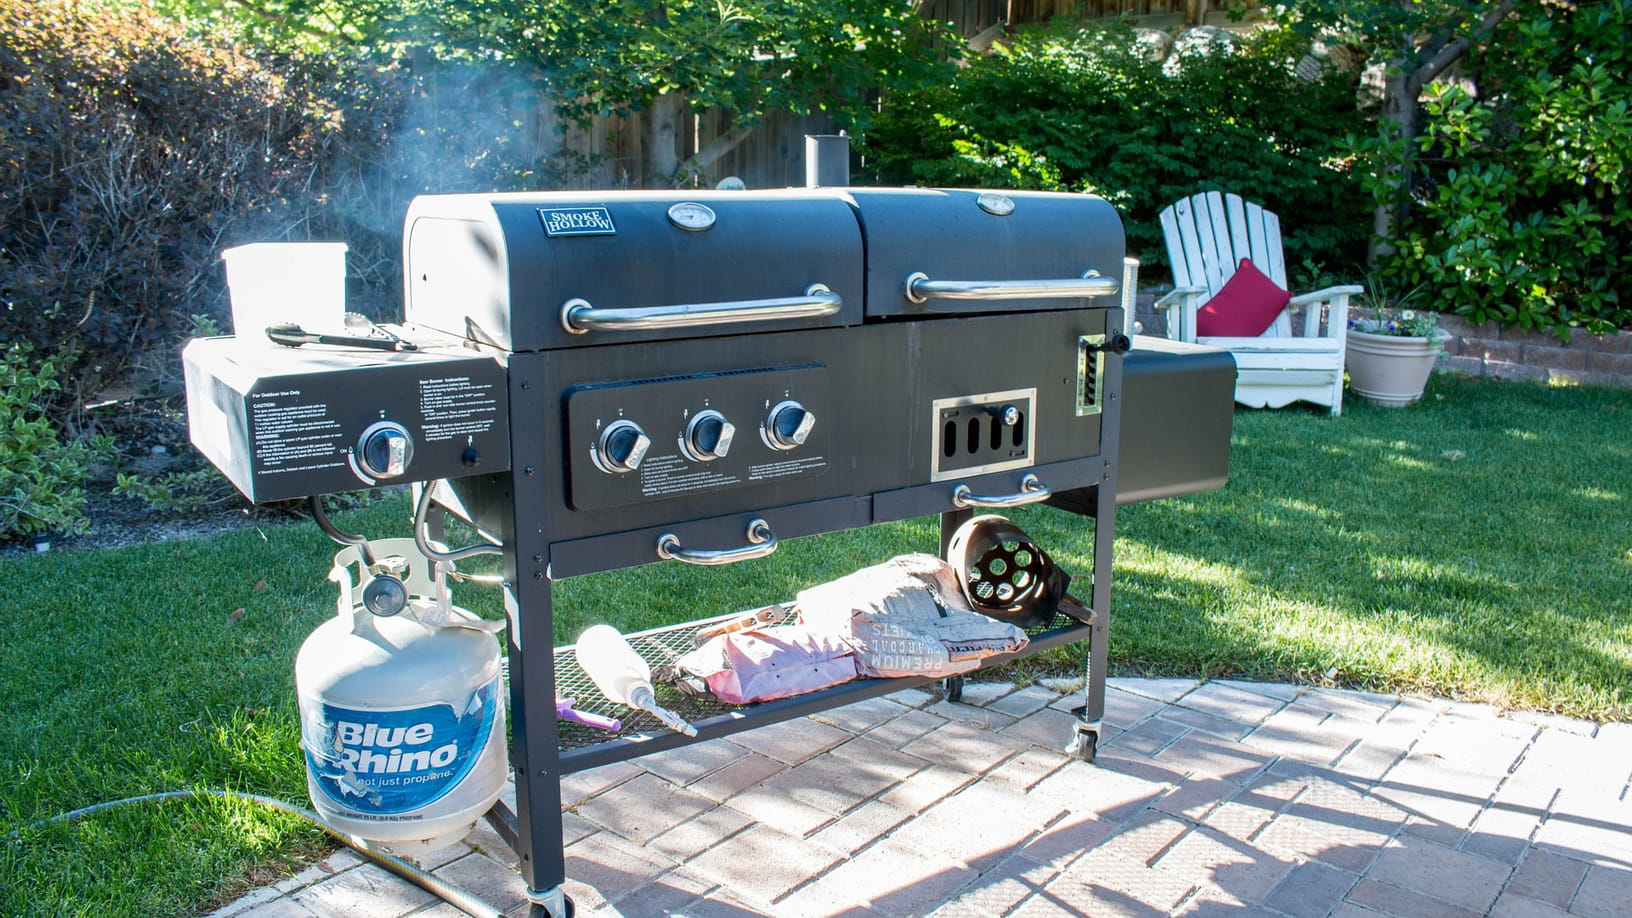
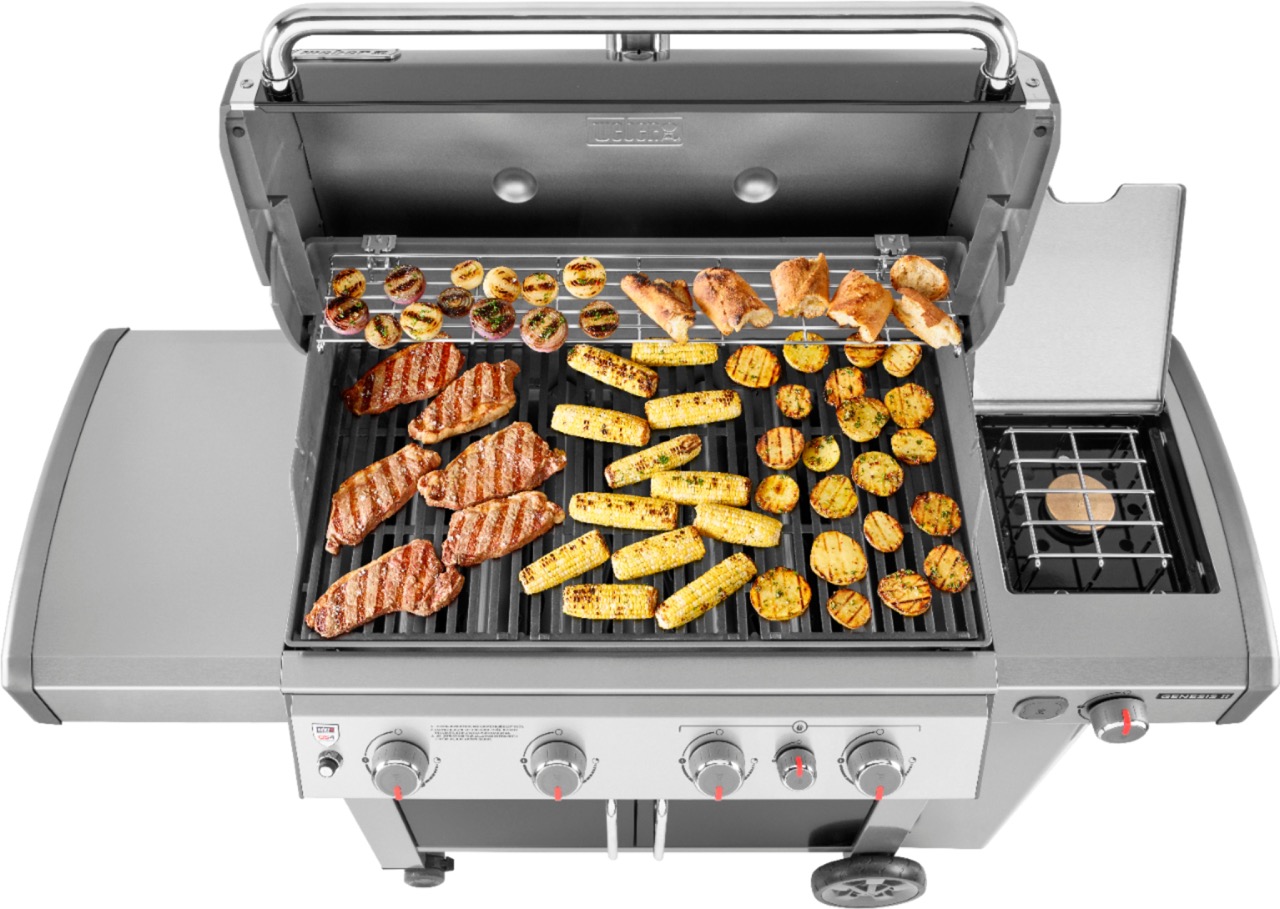
- A compatible grill: Confirm that your grill is designed to work with propane gas and has the necessary fittings for connection.
- A regulator: This device regulates the flow of gas from the propane tank to the grill.
- A gas hose: Ensure the hose is the appropriate length to reach from the regulator to the grill.
- Adjustable wrench: This will be used to tighten connections securely.
- Soap and water solution: This will help you check for any gas leaks in the connections.
Once you have gathered all the necessary equipment, you’ll be ready to move on to the next step. It’s important to have everything prepared to ensure a smooth and efficient installation process.
Pro tip: It’s always a good idea to read the instruction manuals provided by the manufacturer for both the propane tank and the grill. These manuals often contain specific information and safety guidelines that may be unique to your equipment.
Step 2: Check propane tank and grill compatibility
Before you proceed with connecting your propane tank to the grill, it is crucial to ensure that both the tank and the grill are compatible. This step is important to ensure a safe and successful setup.
First, check the manufacturer’s specifications for your grill to determine if it is designed to use propane gas. Most grills will have a label or sticker indicating the type of fuel it is compatible with. Make sure your grill is equipped for propane before proceeding.
Next, check the propane tank valve. The majority of propane tanks have a valve with a Type 1 connection. This is a standard connection used for most grills, but it’s essential to confirm that your grill also has a matching Type 1 connection.
If your grill and propane tank have compatible connections, you can proceed with the installation process. However, if they are not compatible, you may need to purchase an adapter or consult a professional to ensure a proper and safe connection.
Remember, using incompatible equipment can result in leaks, malfunctioning valves, or even potential hazards. It’s always better to be cautious and make sure your grill and propane tank are compatible before proceeding.
Pro tip: Keep in mind that propane tanks have an expiration date. Check the date on your tank and ensure it is within its valid period. If the tank has expired or is nearing its expiration date, it is recommended to replace it for optimal safety.
Step 3: Position grill and propane tank
Once you have confirmed the compatibility of your grill and propane tank, it’s time to position them in the appropriate location for your cooking needs. Follow these steps to ensure proper placement:
- Choose a well-ventilated outdoor area: It’s essential to use your grill in a well-ventilated area to prevent the buildup of potentially dangerous fumes. Make sure the area is open and free from any overhead obstructions.
- Keep a safe distance from flammable materials: Position your grill away from any combustible materials such as plants, wooden structures, or flammable liquids. Maintain a safe distance to reduce the risk of accidents.
- Ensure a stable foundation: Place your grill on a level surface to prevent any wobbling or tipping. This will ensure stability and safety while cooking.
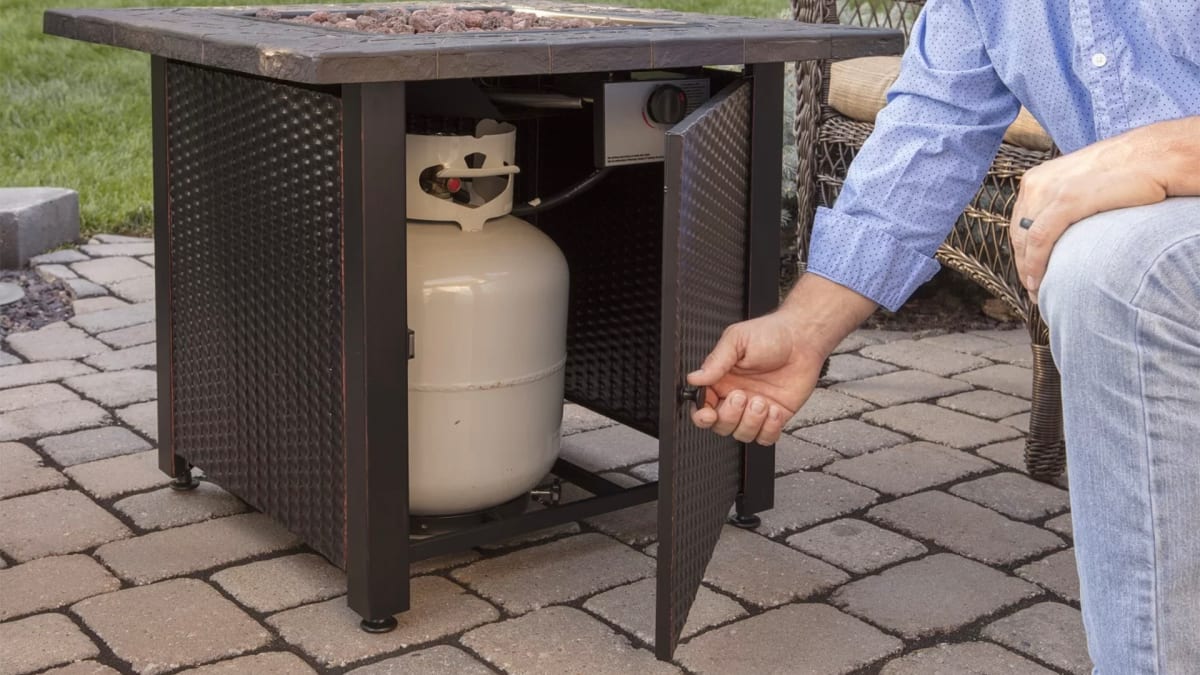
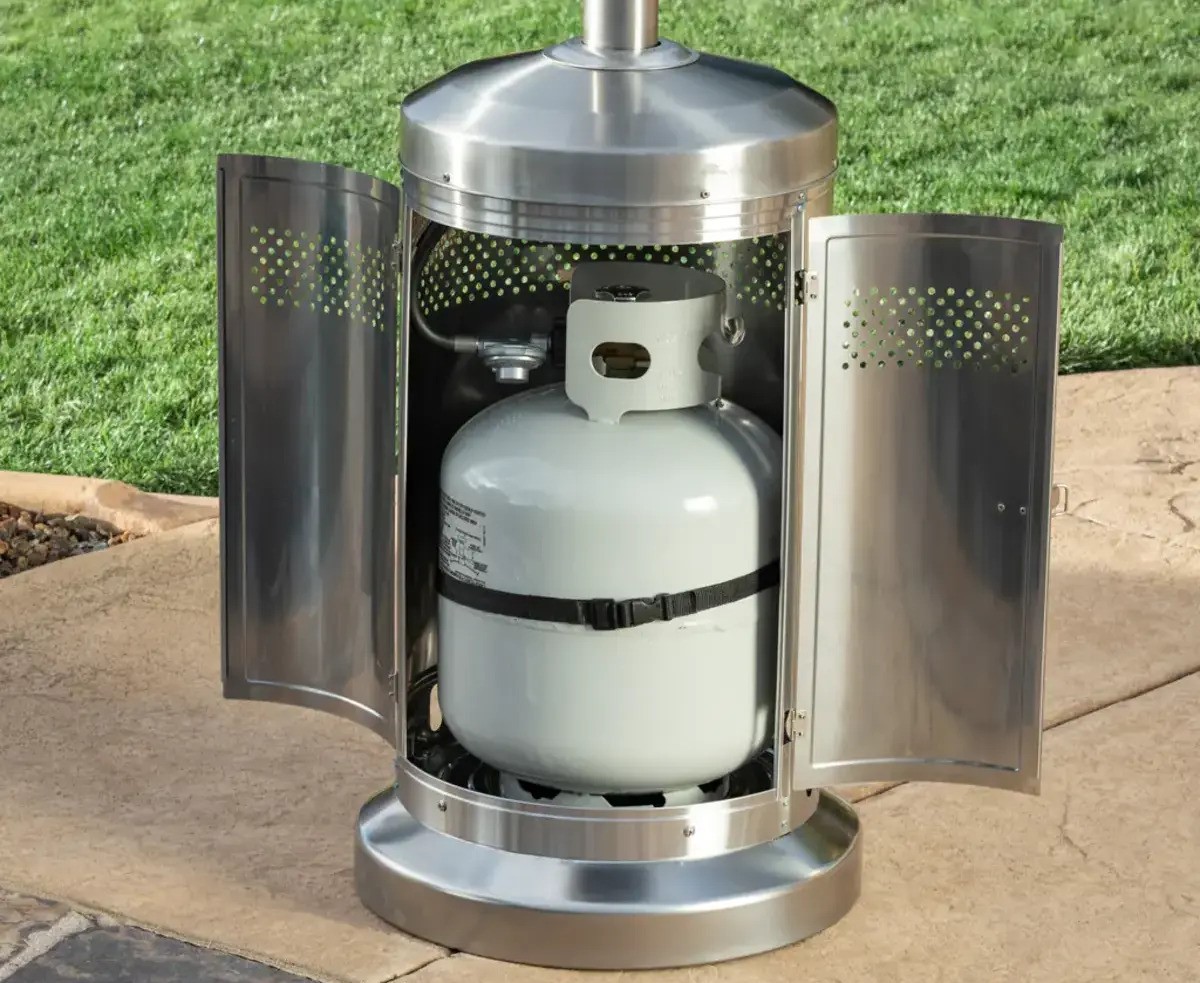
- Position the propane tank nearby: Place the propane tank in a convenient location near the grill. Make sure it is easily accessible for connection and monitoring.
By positioning your grill and propane tank correctly, you can create a safe and efficient cooking environment. Always follow the manufacturer’s guidelines regarding the distance between the grill and propane tank to ensure proper ventilation and safety.
Pro tip: Consider using a grill cart or stand specifically designed for your grill model. This will provide a secure and organized setup, allowing you to easily move your grill and maintain a tidy grilling area.
Step 4: Attach regulator to propane tank valve
Now that you have positioned your grill and propane tank, it’s time to attach the regulator to the propane tank valve. The regulator is responsible for regulating the flow of gas from the tank to the grill. Follow these steps for a secure connection:
- Locate the propane tank valve: The valve is typically located on the top of the tank and should have a protective cap. Remove the cap to access the valve.
- Inspect the regulator: Take a close look at the regulator to ensure there are no visible signs of damage or wear. This includes cracks, tears, or loose fittings. If you notice any issues, replace the regulator before proceeding.
- Match the connections: The regulator should have a threaded connection that matches the valve on the propane tank. Align the threads of the regulator with the threads on the valve.
- Tighten the connection: Use an adjustable wrench to tighten the connection between the regulator and the propane tank valve. Be careful not to overtighten, as this can damage the threads.
Ensure the connection between the regulator and the propane tank valve is secure but avoid using excessive force that could potentially cause damage. A proper connection will prevent any gas leaks and ensure a smooth flow of propane to your grill.
Pro tip: Apply a small amount of soapy water to the connection and check for bubbles. If you see bubbles forming, it indicates a gas leak. In this case, disconnect the regulator, check for any issues, and then reconnect it securely.
Once you have attached the regulator to the propane tank valve, you are ready to move on to the next step of connecting the gas hose to the grill.
Before attaching the propane tank to the grill, make sure the grill is turned off. Then, connect the regulator to the tank valve and tighten the connection. Finally, open the tank valve slowly and check for any gas leaks using soapy water.
Read more: How To Start Propane Grill
Step 5: Connect gas hose to regulator and grill
With the regulator securely attached to the propane tank valve, the next step is to connect the gas hose to both the regulator and the grill. The gas hose is responsible for carrying the propane gas from the tank to the grill. Follow these steps to ensure a proper connection:
- Inspect the gas hose: Examine the gas hose for any signs of damage, such as cracks, cuts, or deteriorated fittings. If you notice any issues, replace the gas hose with a new one before proceeding.
- Identify the gas hose connections: The gas hose should have two ends – one end with a fitting that attaches to the regulator and another end with a fitting that attaches to the grill. Inspect the fittings to ensure they match the connections on both the regulator and the grill.
- Attach the gas hose to the regulator: Align the fitting on one end of the gas hose with the regulator connection. Apply gentle pressure and twist the fitting clockwise until it is securely fastened. Use an adjustable wrench if needed, but avoid applying excessive force.
- Attach the gas hose to the grill: Locate the gas inlet connection on the grill. Align the fitting on the other end of the gas hose with the grill connection and fasten it in the same manner as with the regulator. Ensure a tight connection to prevent any gas leaks.
Once the gas hose is securely connected to both the regulator and the grill, you have completed an essential step in the setup process. The gas hose acts as a conduit, allowing the propane gas to flow from the tank to the grill.
Pro tip: Double-check the connections by applying a soap and water solution to the fittings. If bubbles form, it indicates a gas leak. In this case, turn off the propane tank valve, disconnect the gas hose, and inspect the fittings for any issues. Rectify the problem before reconnecting the gas hose.
Now that the gas hose is properly connected, it’s time to proceed to the next step to ensure there are no leaks and to secure the connections.
Step 6: Check for leaks and secure connections
After connecting the gas hose to both the regulator and the grill, it is crucial to check for any potential gas leaks and ensure that all connections are securely fastened. Follow these steps to complete this important safety check:
- Prepare a soapy water solution: Mix a small amount of dish soap with water in a spray bottle or a bowl.
- Turn on the propane tank valve: Slowly open the propane tank valve in a counterclockwise direction. This will allow gas to flow through the system.
- Spray or apply the soapy water solution: Spray or apply the soapy water solution to all the connections, including the regulator-to-tank connection, the gas hose connections, and the grill connections.
- Observe for bubbles: Carefully inspect the connections for any bubbles forming. If bubbles appear, it indicates a gas leak. In such a case, close the propane tank valve immediately and address the issue before continuing.
- Secure loose connections: If you notice any loose connections during the leak check, use an adjustable wrench to tighten them gently. Avoid overtightening, as it can cause damage to the connections.
It’s important to conduct this leak check every time you set up your grill or replace the propane tank. Checking for leaks ensures the safety of both you and those around you by minimizing the risk of gas leaks and potential accidents.
Pro tip: If you are uncertain about performing the leak check yourself, consider consulting a professional or contacting the manufacturer for assistance. It’s always better to seek expert advice when it comes to ensuring safety.
Once you have checked for leaks and secured all the connections, you can proceed to the next step of opening the propane tank valve.
Step 7: Open propane tank valve
Now that you have checked for gas leaks and ensured secure connections, it’s time to open the propane tank valve. This step will allow the flow of propane gas to reach the grill and prepare it for cooking. Follow these guidelines to open the propane tank valve:
- Locate the propane tank valve: The valve is usually located on the top of the tank. It may have a knob or lever that controls the flow of gas.
- Turn off all grill burner knobs: Before opening the propane tank valve, ensure that all grill burner knobs are in the off position. This will prevent any accidental ignitions during the setup process.
- Safety first: Ensure you are in a well-ventilated outdoor area, away from any open flames, sparks, or sources of ignition.
- Slowly open the propane tank valve: Turn the tank valve counterclockwise to open it slowly. This will allow gas to flow into the grill.
As you open the propane tank valve, you may hear a slight hissing sound, indicating the gas flowing into the system. This is normal. However, if you notice any unusual noises or smells, close the propane tank valve immediately and double-check for any leaks or issues with the connections.
Pro tip: It’s a good practice to check the propane tank level periodically, ensuring you have an adequate supply before each grilling session. Running out of propane during cooking can be inconvenient and disrupt your outdoor barbecue plans.
Now that the propane tank valve is open, you are ready to proceed to the final step of testing the functionality of your grill before you start cooking your favorite meals.
Step 8: Test grill for functionality
With the propane tank valve open, it’s time to test the functionality of your grill to ensure everything is working correctly before you start cooking. Follow these steps to complete the testing process:
- Ignite the grill: Follow the manufacturer’s instructions to ignite your grill. This may involve using a built-in ignition system, a match, or a lighter. Make sure you are following the proper ignition procedure to avoid any accidents.
- Check for even flame distribution: Once your grill is ignited, observe the burners to ensure that the flame is evenly distributed across all the burners. Uneven flame patterns can indicate blockages or issues with the burners that may need to be addressed.
- Adjust the temperature control: Set your grill to the desired temperature using the temperature control knobs. Allow the grill to heat up for a few minutes, ensuring that the temperature is rising to the desired level.
- Verify all burners are working: Turn on each burner individually and observe if each one is producing a flame. This step is essential to ensure all burners are functioning correctly.
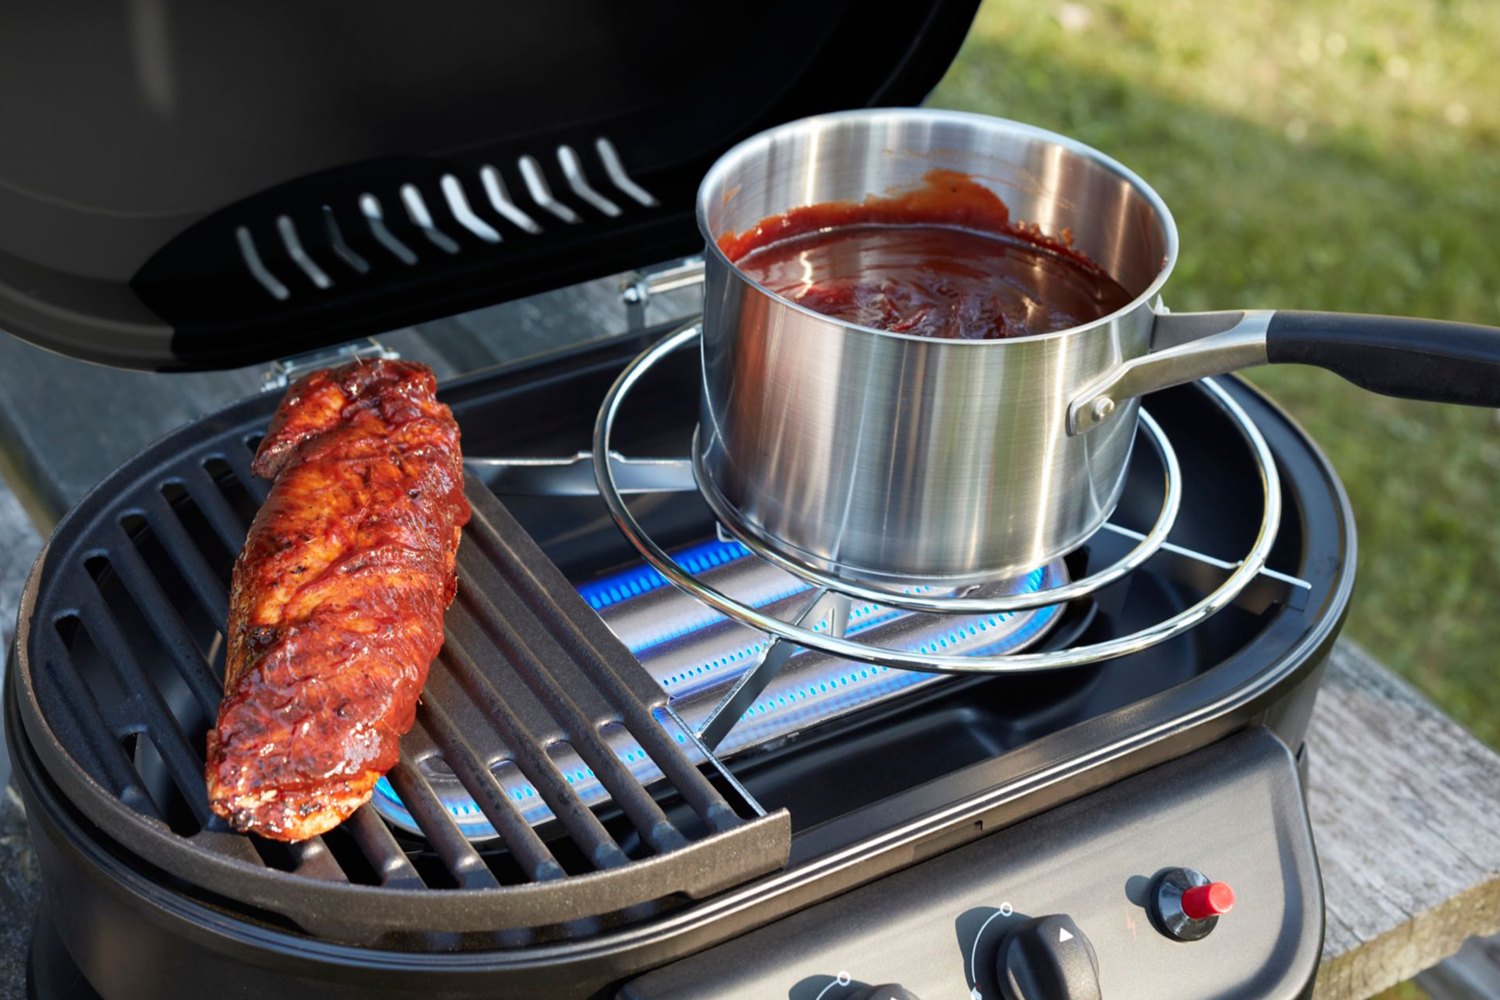
- Perform a quick cooking test: Place a small amount of food, such as a test burger or vegetable, on the grill grates. Observe the cooking process to ensure that the food is cooking evenly and being heated appropriately.
During the testing process, pay attention to any unusual smells, excessive smoke, or any other signs that may indicate a problem. If you notice any issues, turn off the grill and consult the manufacturer’s instructions or seek professional assistance to troubleshoot and resolve the problem.
Pro tip: Remember to always operate your grill in accordance with the manufacturer’s guidelines and safety instructions. Regular maintenance and cleaning will help prolong the life of your grill and ensure optimal performance with each use.
Once you have successfully tested your grill and verified its functionality, you are ready to start cooking and enjoy your outdoor grilling experience!
Read more: How To Store 1Lb Propane Tanks
Conclusion
Congratulations! You have successfully learned how to attach a propane tank to your grill. By following these step-by-step instructions, you have ensured a safe and efficient connection, allowing you to enjoy delicious grilled meals with ease.
Remember, safety should always be the top priority when working with propane tanks and grills. Be sure to check for compatibility between your propane tank and grill, and always follow the manufacturer’s guidelines and safety instructions.
Gathering the necessary equipment, positioning the grill and propane tank, attaching the regulator and gas hose, checking for leaks, opening the propane tank valve, and testing the functionality of your grill are all essential steps to ensure a successful grilling experience.
Regular maintenance, cleaning, and inspection of your grill and propane tank are also important. This will help ensure their longevity and optimal performance.
Now, it’s time to gather your ingredients, fire up your grill, and get ready to create delicious grilled masterpieces for friends and family to savor. Enjoy the experience of outdoor cooking and the mouthwatering flavors that grilling brings!
Frequently Asked Questions about How To Attach Propane Tank To Grill
Was this page helpful?
At Storables.com, we guarantee accurate and reliable information. Our content, validated by Expert Board Contributors, is crafted following stringent Editorial Policies. We're committed to providing you with well-researched, expert-backed insights for all your informational needs.

0 thoughts on “How To Attach Propane Tank To Grill”